Toddler Workbench
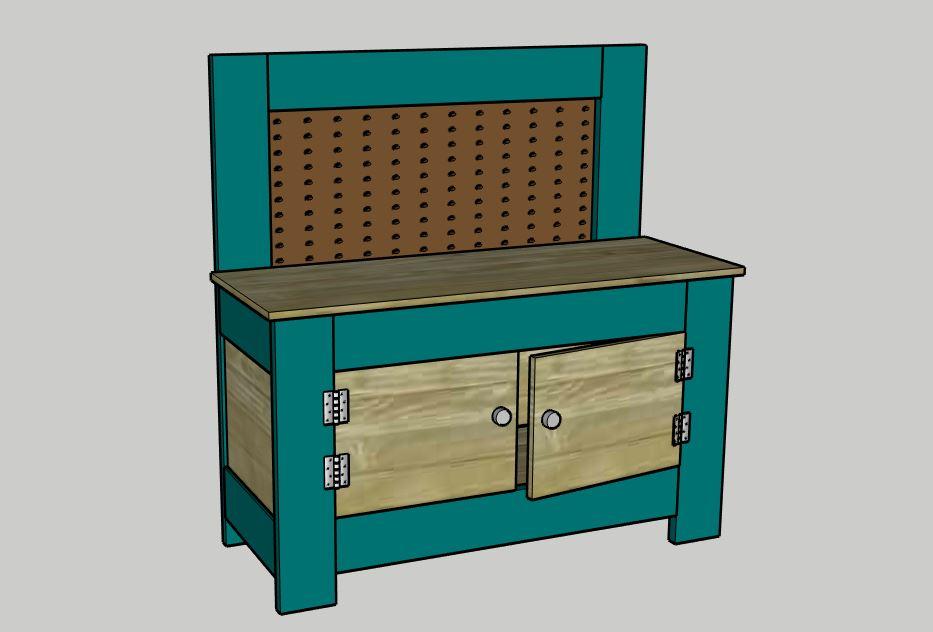
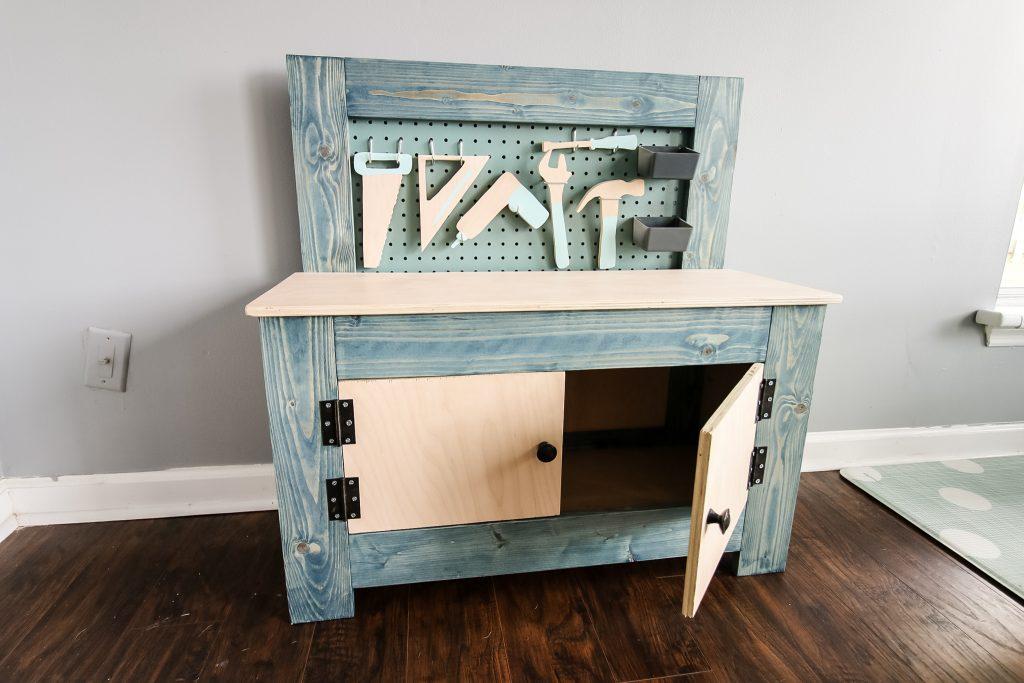
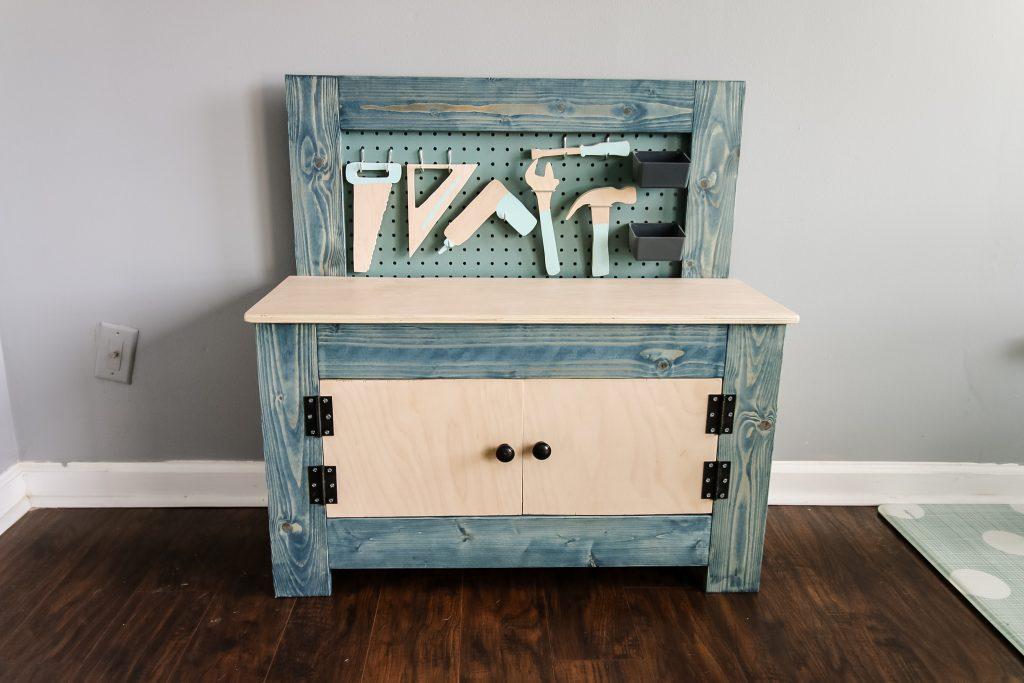
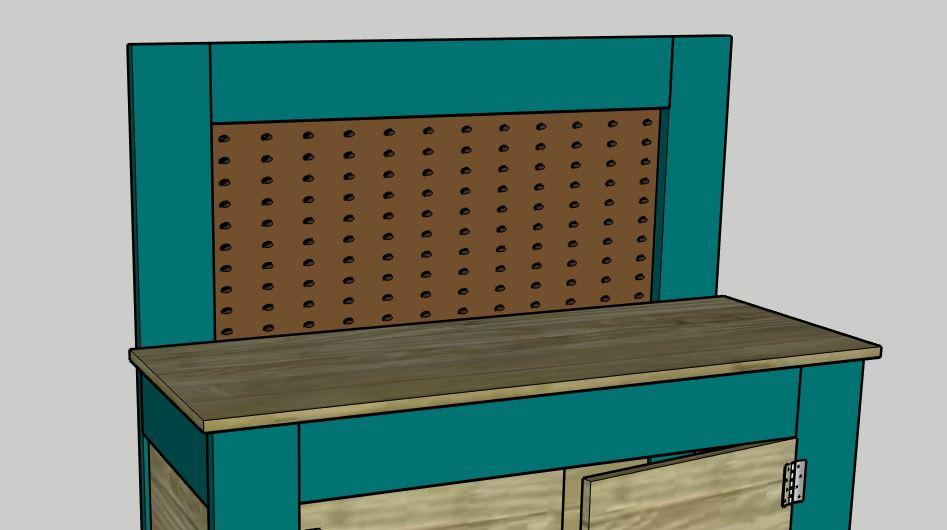
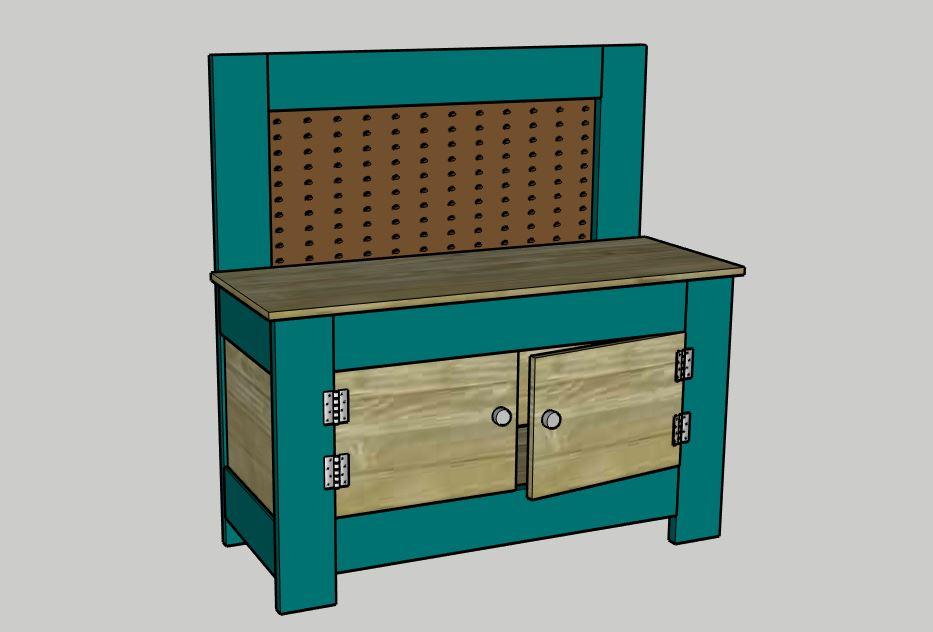
By Charleston CraftedGet your toddler started learning about DIY projects right alongside you as they use their very own kid workbench! This workbench is designed for small kids who can work in the shop with mom or dad and play pretend as they build new things, just like you!
Directions
-
Make Cuts and Pocket Holes
Make all cuts according to the cut list. Add pocket holes in the ends of the Horizontal Beams and the Side Beams. Add pocket holes around the edges of all plywood pieces except for the Top and Doors.
-
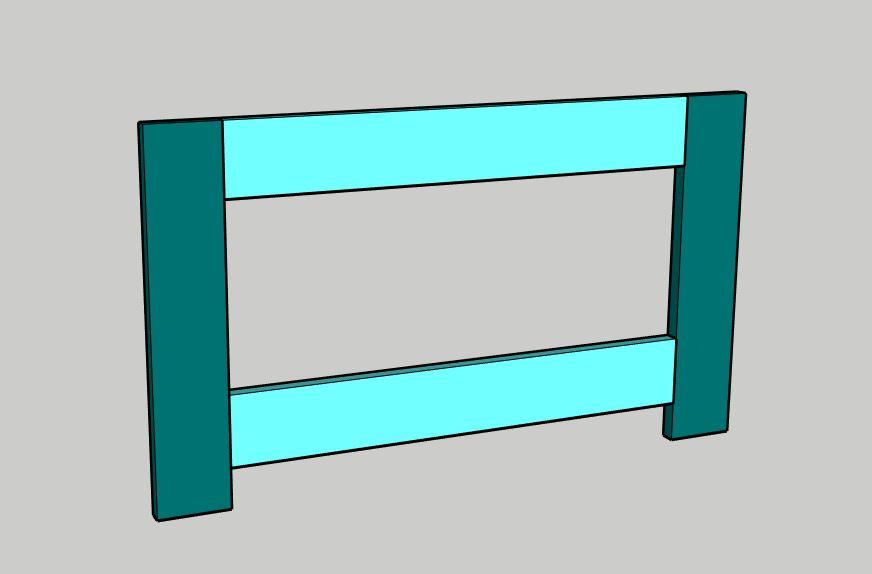
Build Front
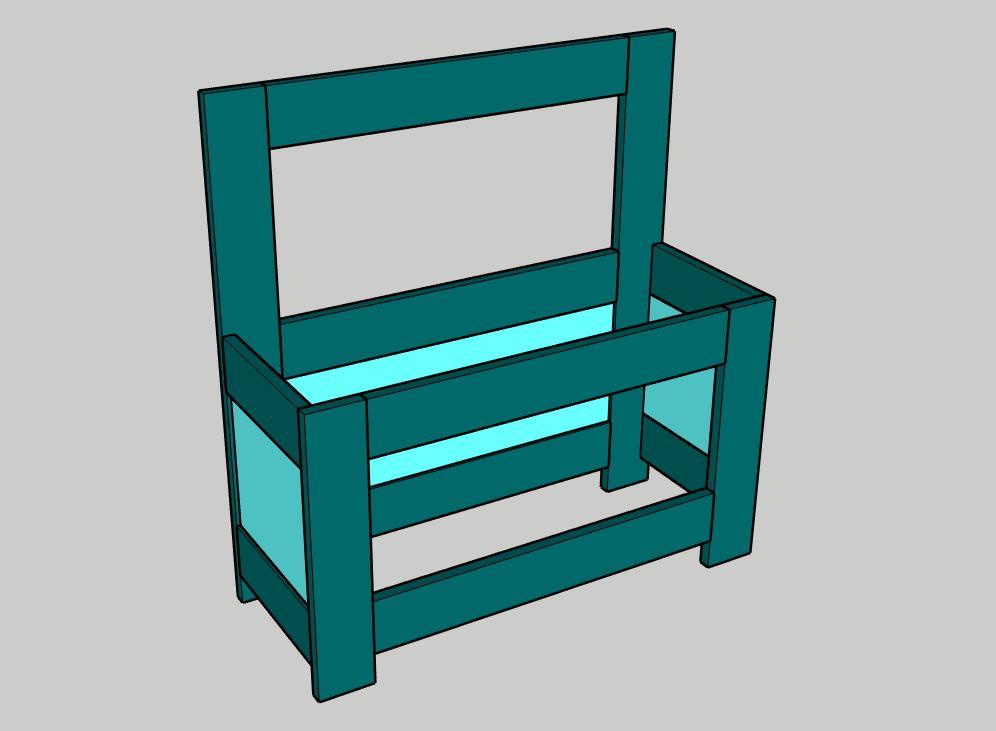
Build the front of the workbench by connecting two Horizontal Beams to the two Front Legs. Attach one Horizontal Beam flush with the top of the Legs and one 2" up from the bottom of the Legs.
-
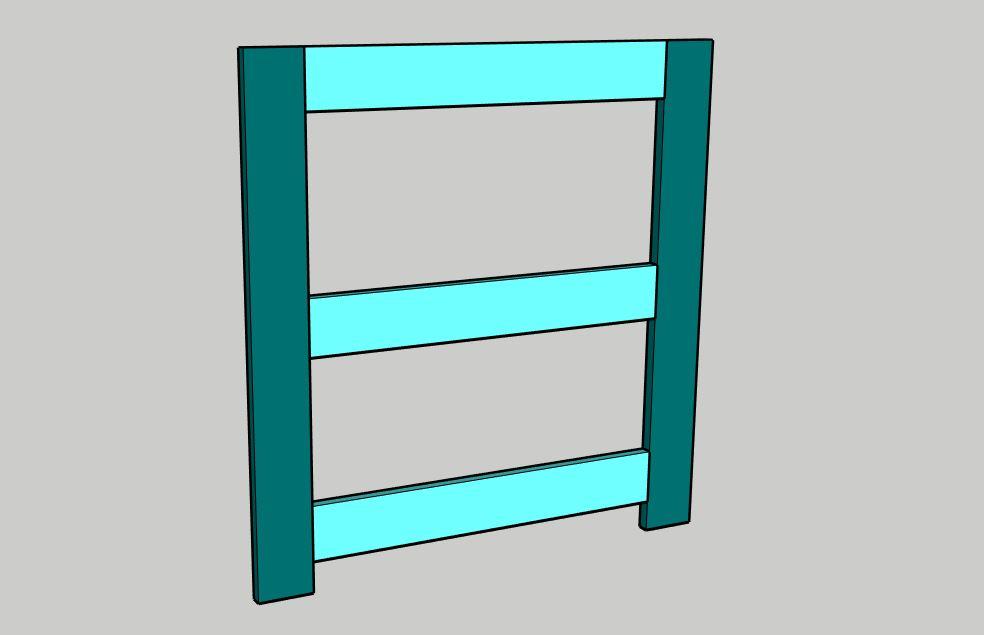
Build Back
Build the back by connecting three Horizontal Beams to the two Back Legs. Connect one beam flush with the top of the Back Legs. The other two Horizontal Beams should be lined up with the beams from the front section. One should be 2" up from the bottom and one should be 18" up.
-
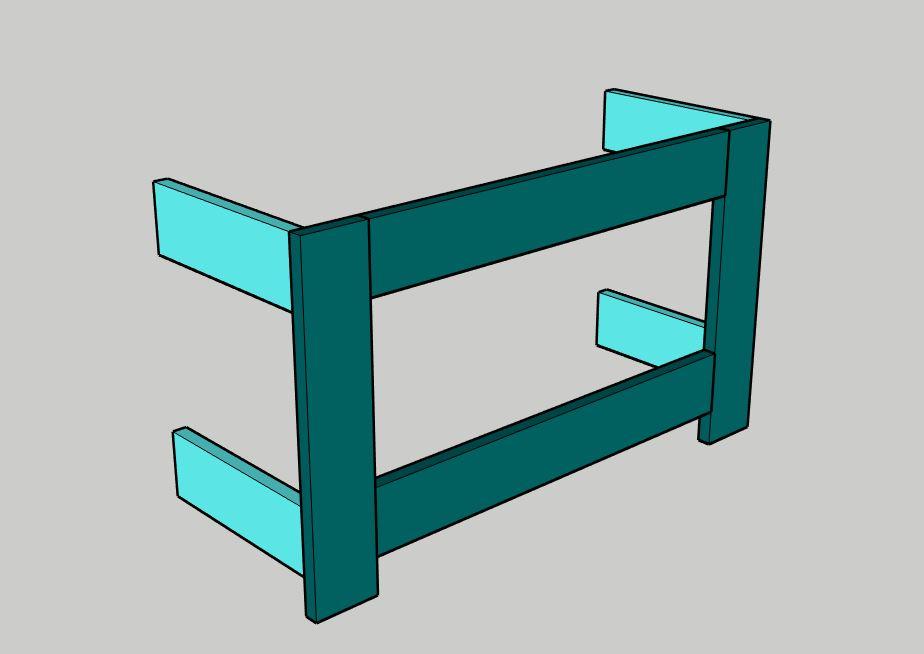
Connect Front and Back
Connect the front and back sections with the Side Beams, attaching the beams flush with the outside edges and even with the Horizontal Beams. Attach to the front section first, then attach to the back.
-
Stain
If you'd like to do a two-toned look like we did, take the opportunity to stain the frame now, before connecting all the plywood pieces.
-
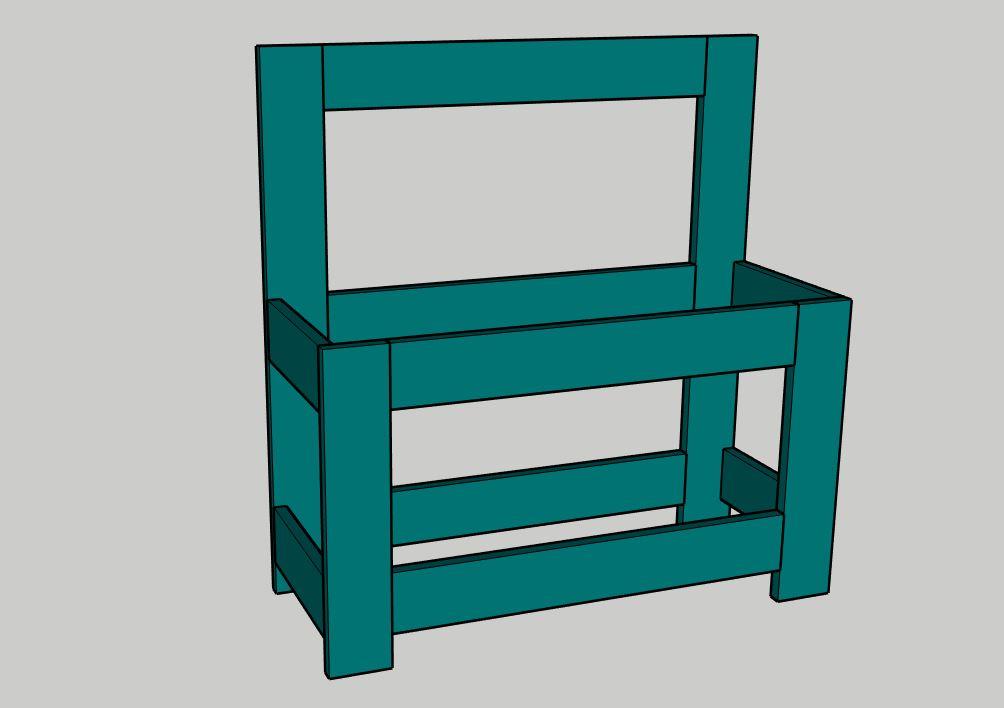
Connect Plywood Sides
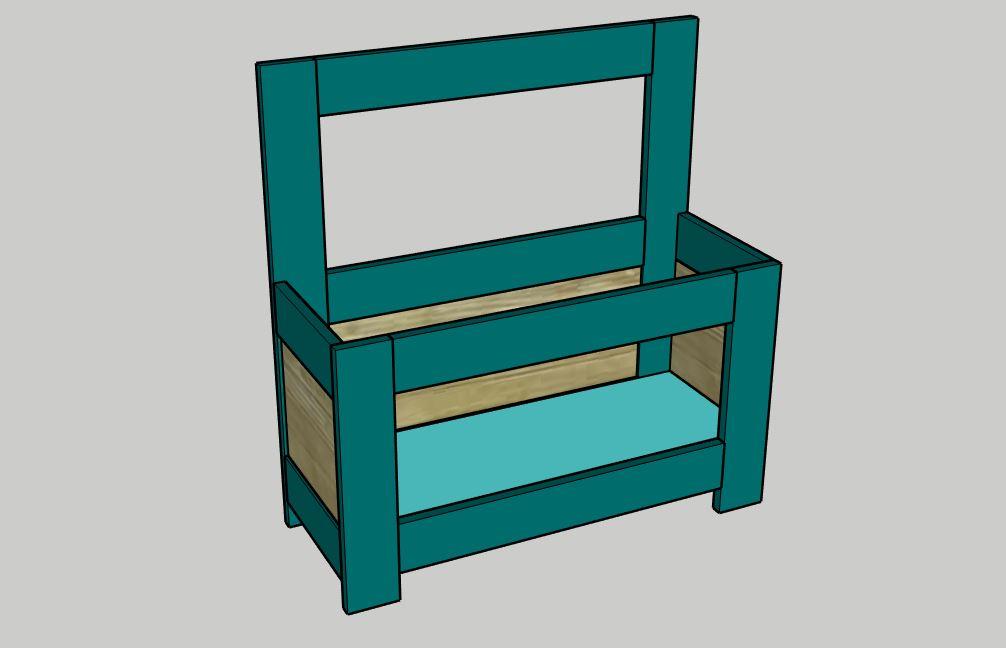
Attach the Side Plywood pieces and the Back Plywood piece using pocket screws. We recommend attaching the plywood flush with the inside edge of the boards, so you have a 1/4" indentation on the outside, which adds to the look.
-
Connect Bottom Plywood
Attach the Bottom Plywood to the underside of the bench using pocket screws.
-
Attach Doors
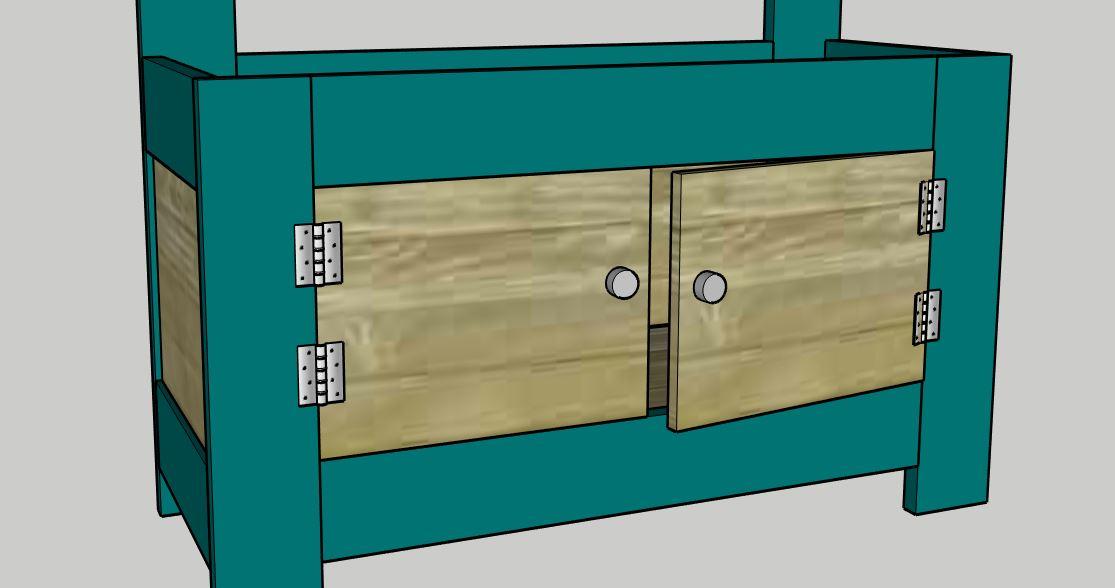
Attach the two Doors to the front of the workbench using four hinges. Add a knob to each door, centered down the board and 1" in from the edge.
-
Attach Top
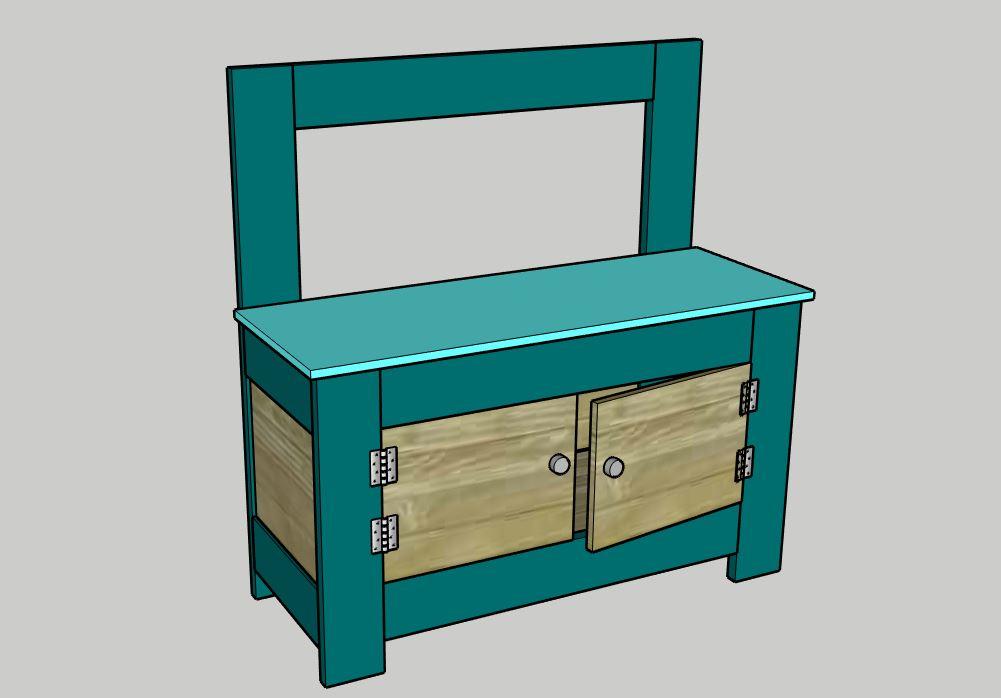
Attach the Top using wood glue and clamps. Put a bead of wood glue down along the upper edge of the bench and clamp down the Top.
-
Attach Pegboard
Attach the pegboard piece to the back of the kid workbench using 1/2" or 3/4" screws.
-
Enjoy!
Enjoy watching your child work on the workbench and playing with their imagination while you build something else next to them.
-
Visit www.CharlestonCrafted.com
Visit https://www.charlestoncrafted.com/diy-toddler-workbench-plans/ for more photos and the behind the scenes of the build! You can also get lots of other plans for great kid projects on our site!


