

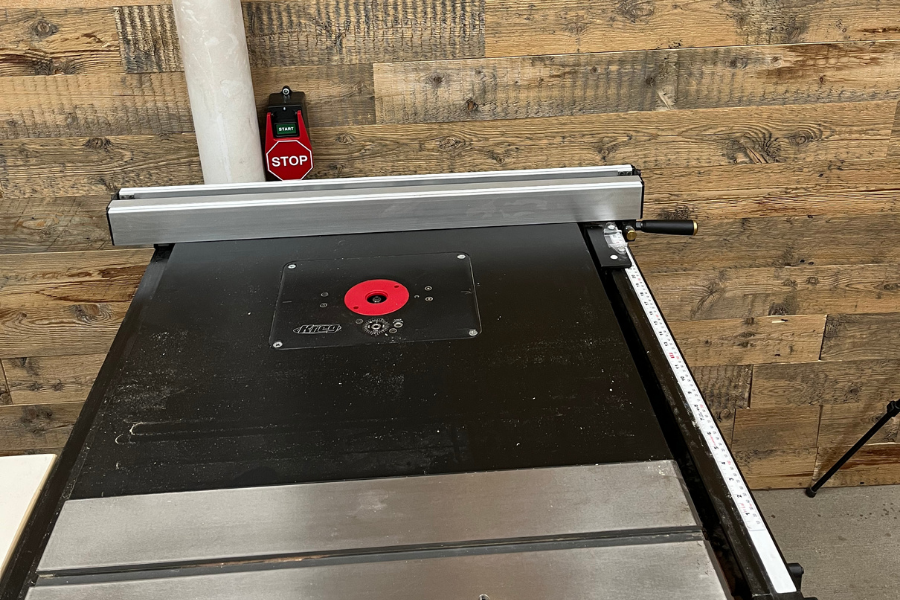
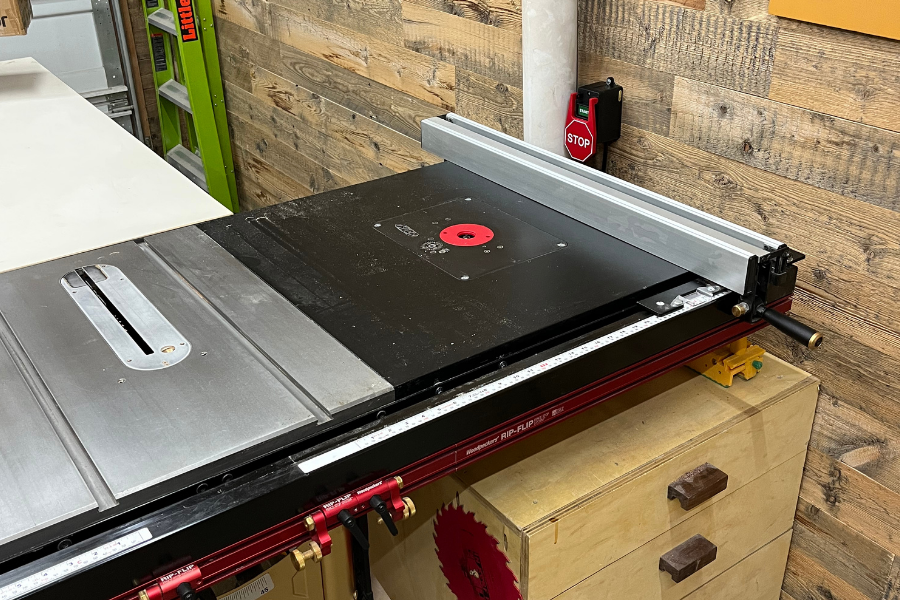
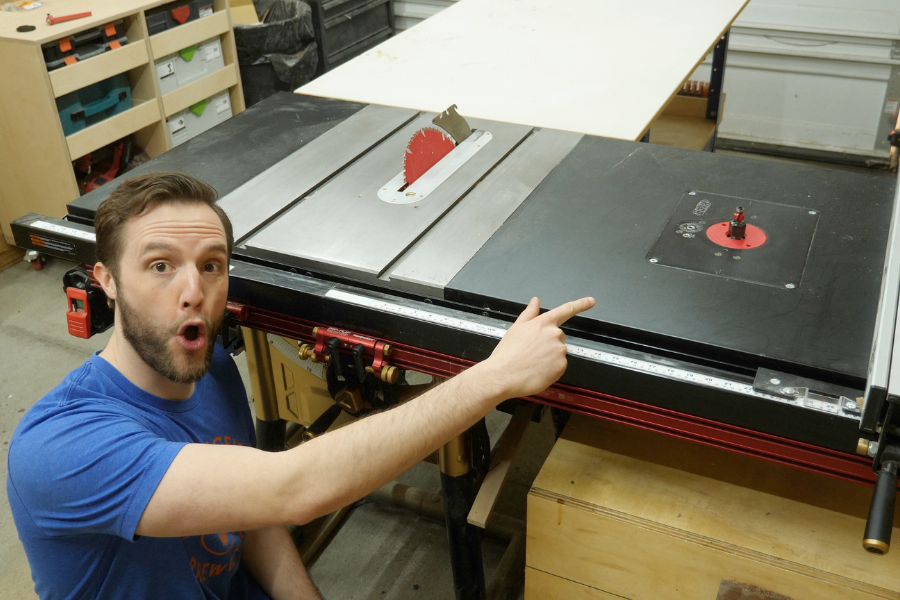


Save TONS of valuable space in your shop by inserting a router lift into the extension wing of your table saw
Tools
Kreg Tools


Other Tools
-
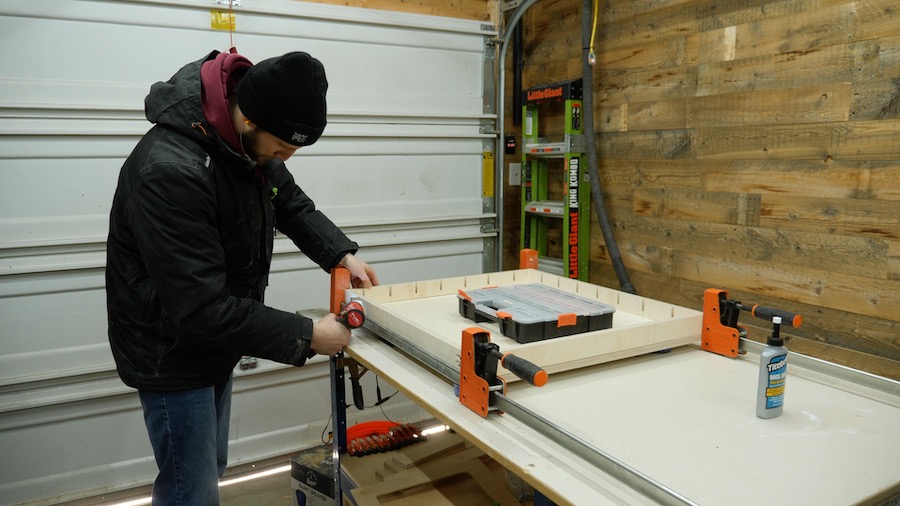
Precision miter gauge

-
Table saw
Materials
Wood Products
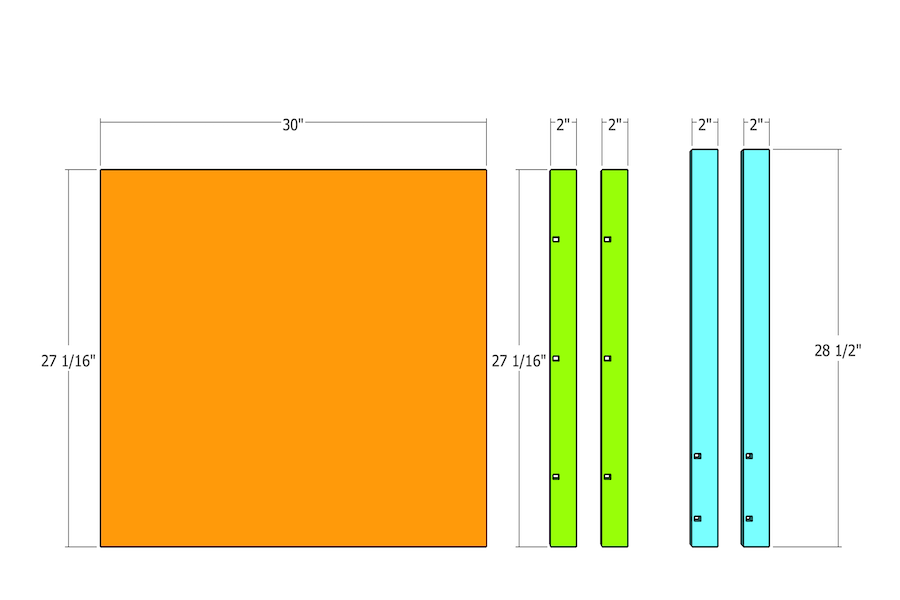
- 1 Sheet plywood , ¾’ x 4 x 8
Hardware & Supplies
- 1 Box of 1 ¼” pocket hole screws (See tools list)
Directions
-
Cut plywood
Cut all pieces according to the cutlist. Note that all of the pieces on this project are made out of ¾” plywood.
-
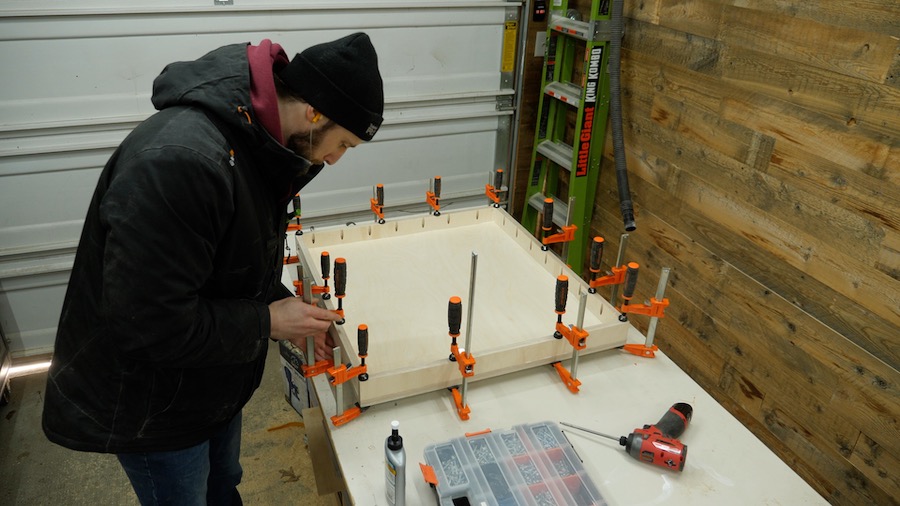
Attach side pieces together
Using pocket holes, attach all of the side pieces together securely.
-
Attach side assembly to top
Using pocket holes, attach the side assembly to the top.
-
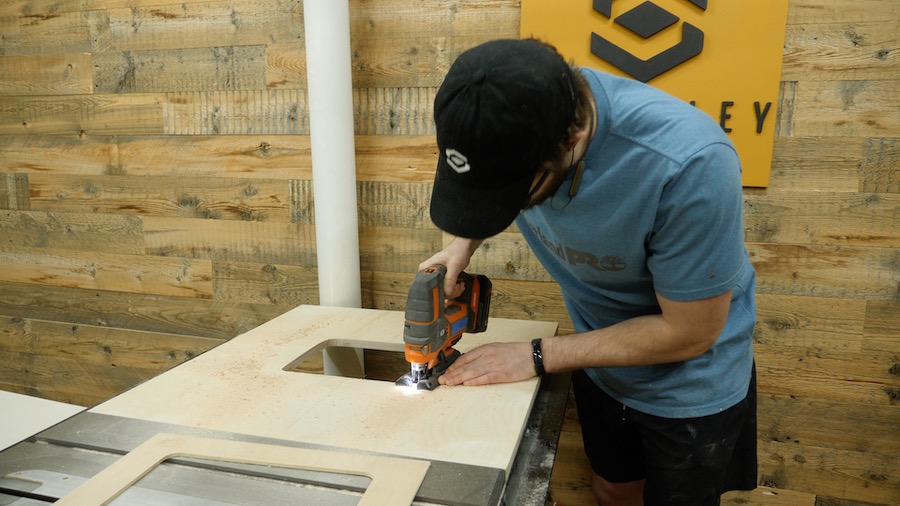
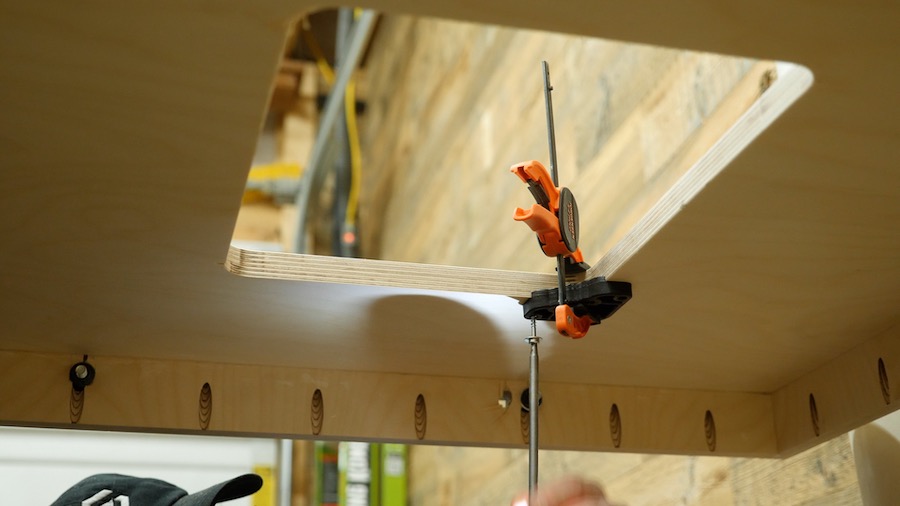
Cut out router plate
After determining where you want the router plate, cut out the shape with a jigsaw.
-
Attach router plate levelers
Secure router plate levelers to the bottom of the router table to ensure router is secure.
-
Apply durable finish
Apply a durable finish like epoxy or polyurethane to help protect the router table from bumps and bruises over time.

-
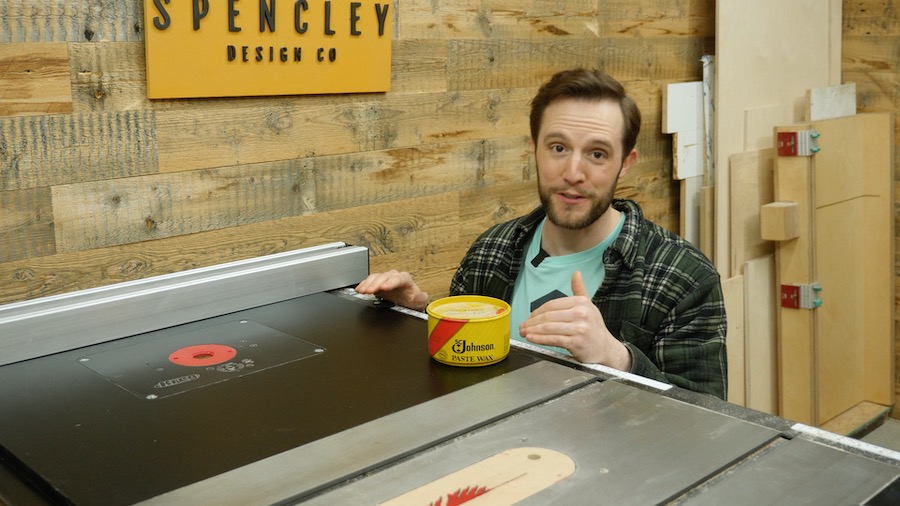
Wax table
To ensure that pieces slide nicely on the router table, apply a simple wax coating and you are finished!
YouTube video for this project
Find More Projects at SpencleyDesignCo.com
Spencley Design Co on YouTube
Spencley Design Co on Instagram
Spencley Design Co on TikTok
Spencley Design Co on Facebook