Succulent Tabletop Planter
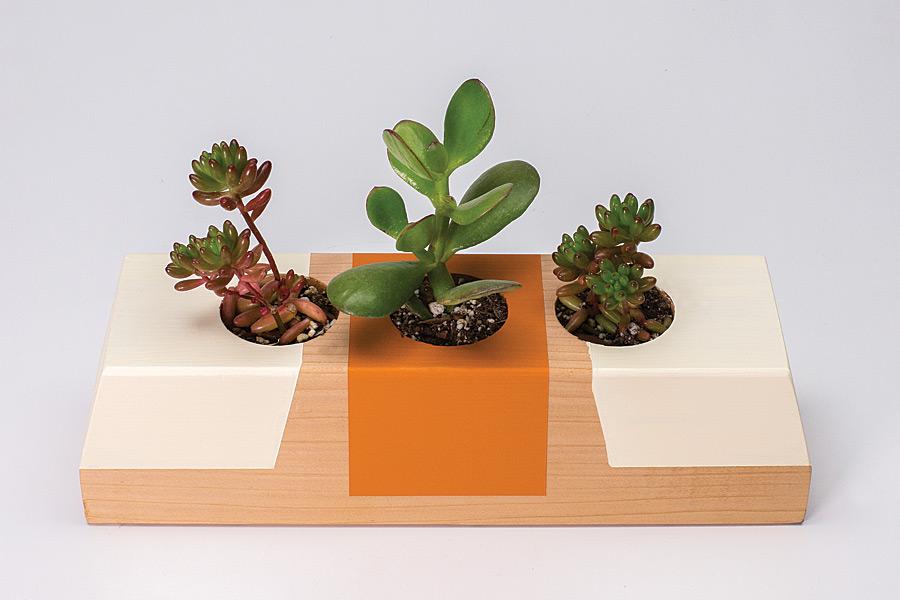
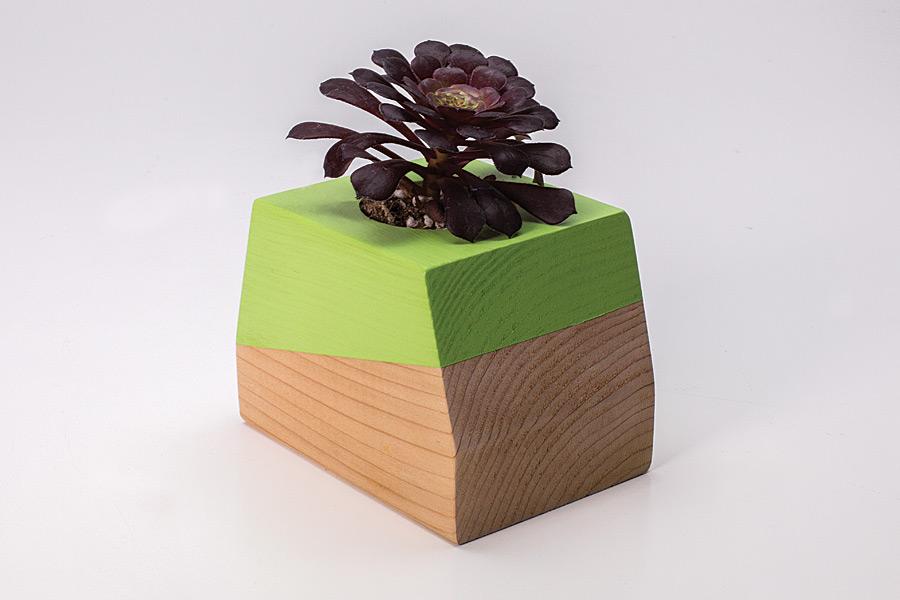
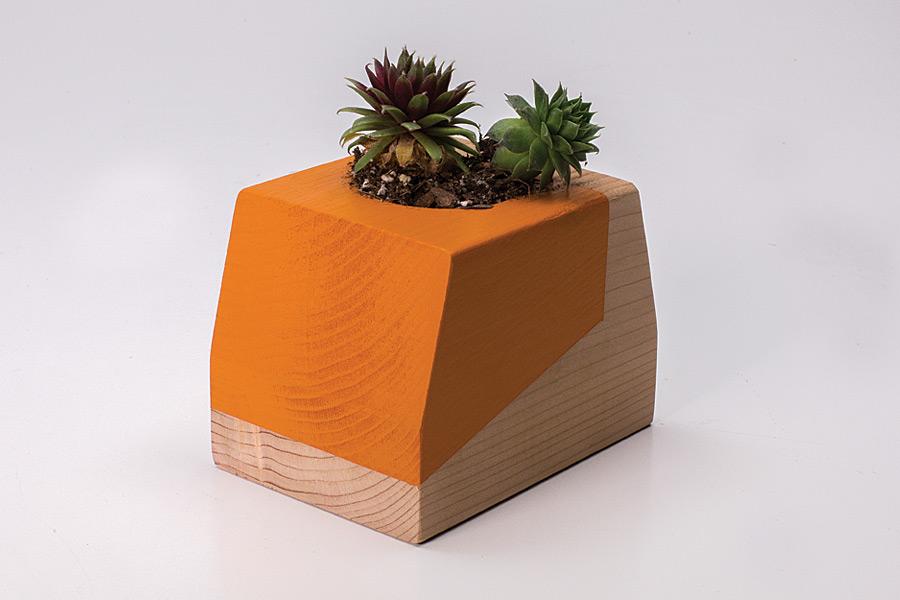
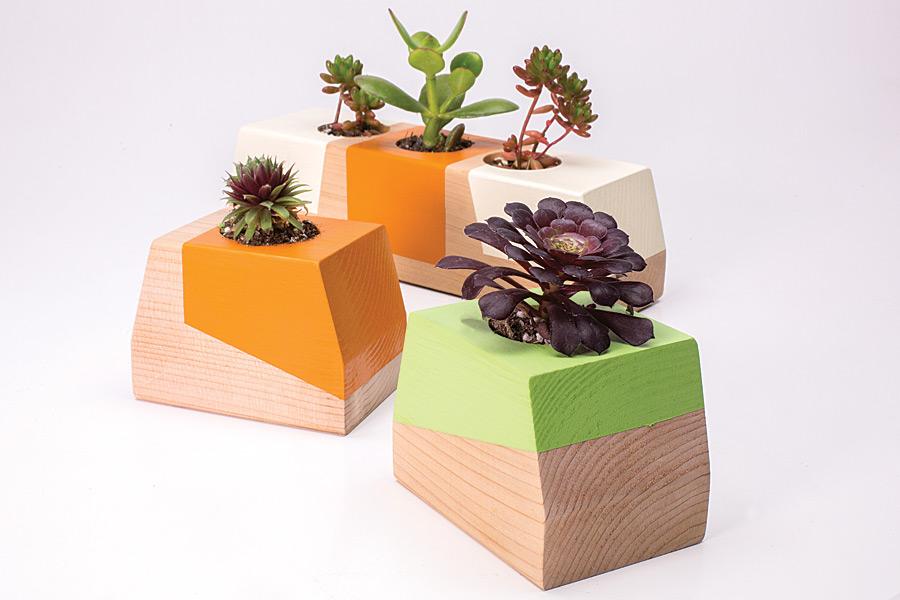
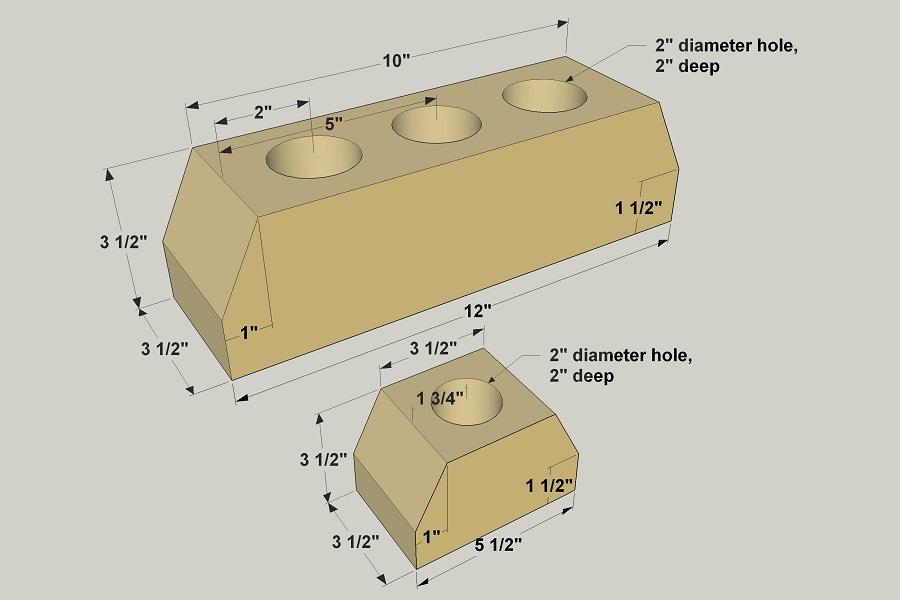
By Kreg ToolThis planter is incredibly simple to make, and it brings the beauty of succulent plants to any tabletop. Either the three-hole planter or the single-hole version is simply cut from a cedar 4x4 using a miter saw. Then you drill 2" holes and your favorite paint colors. Add plants, and you're done!
Directions
-
Cut the Planter Blocks
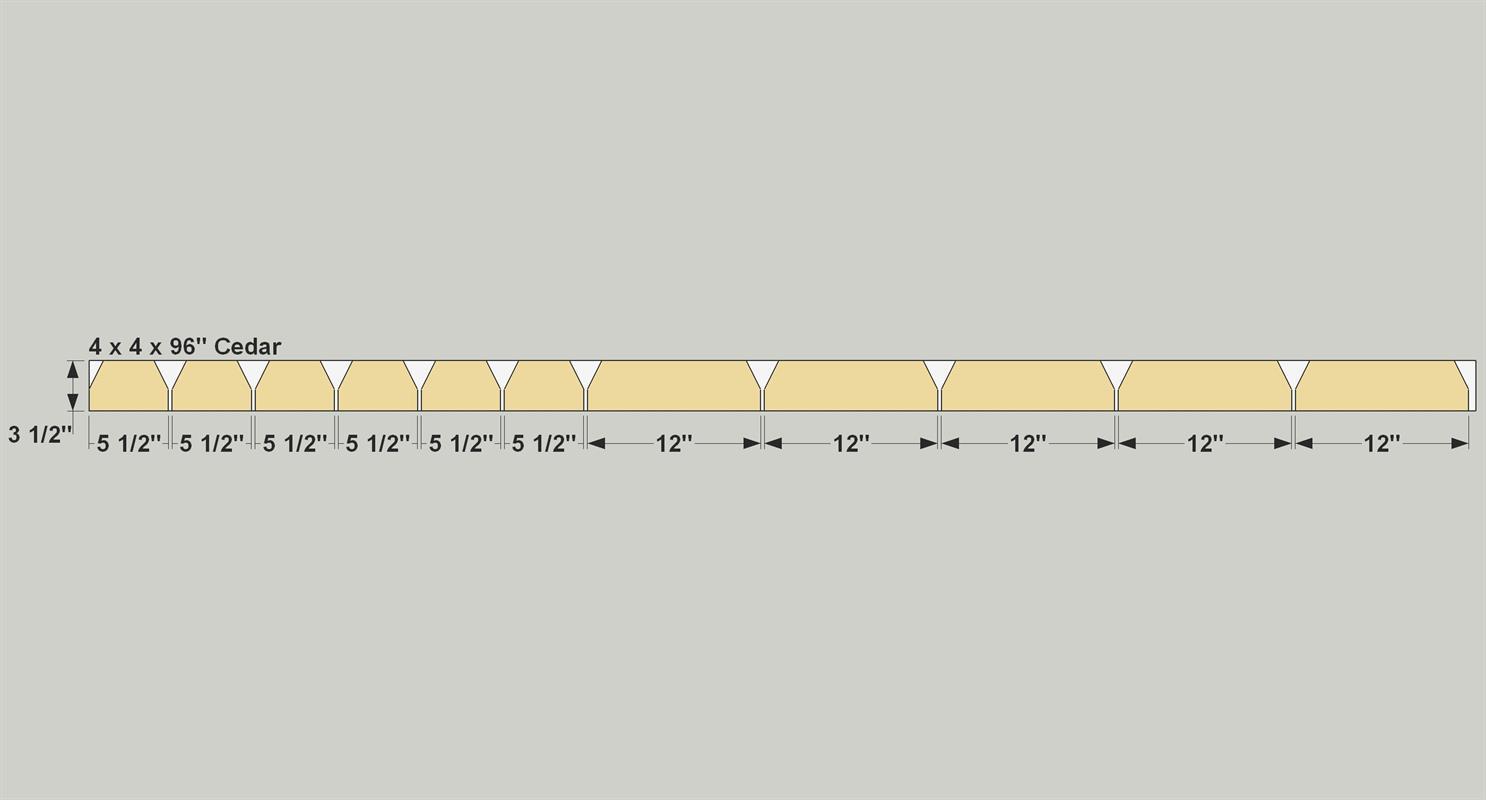
Cut as many single and or triple planters as you’d like to length from a 4 x 4 x 96" cedar board, as shown in the cutting diagram. You can get a bunch out of a single board.
-
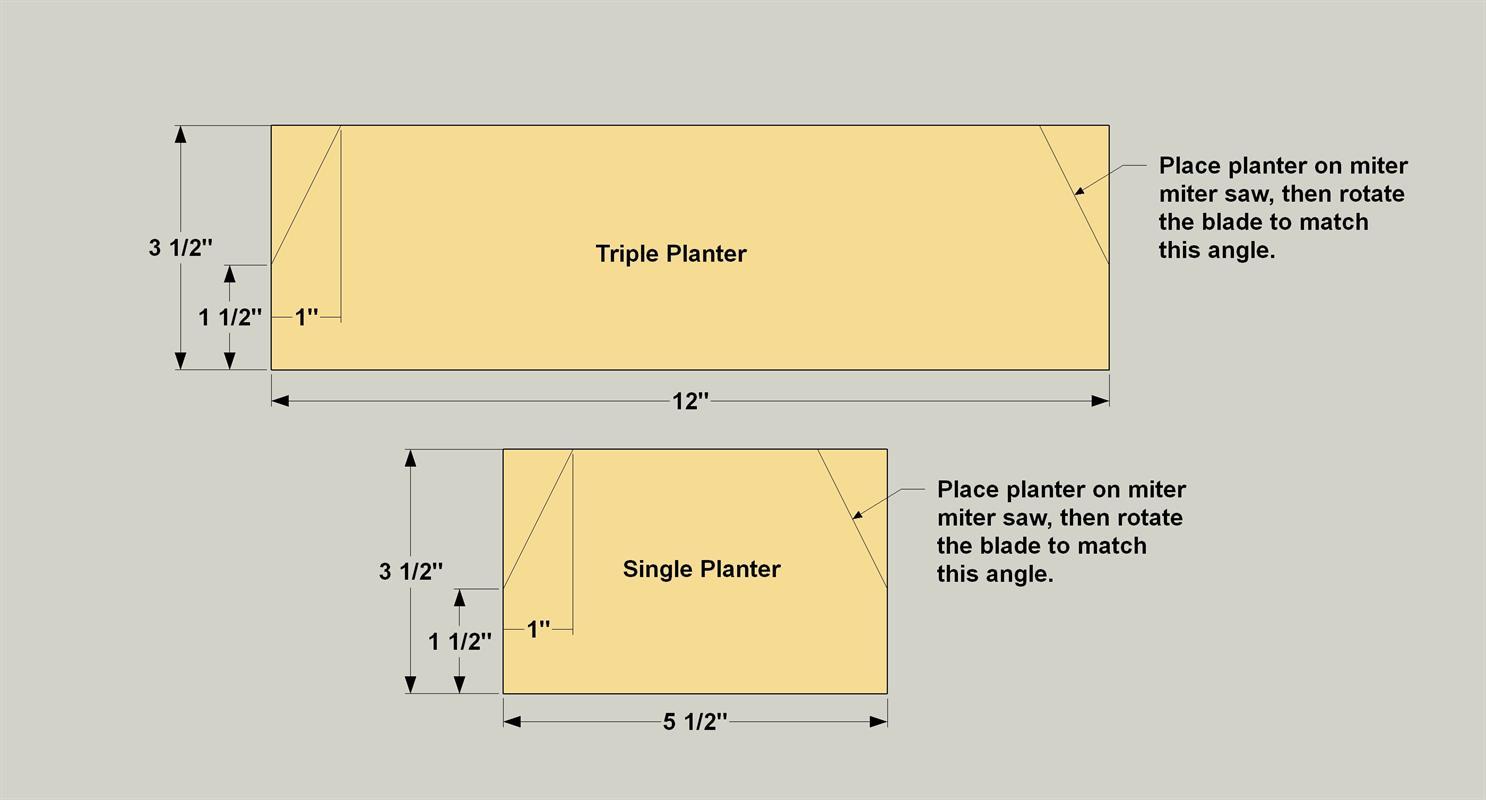
Cut the Angled Ends
Now you can lay out the angled ends, as shown. Then set your miter saw to match this angle (it’s somewhere around 26°), and then cut both ends of each planter.
-
Drill Holes for the Plants
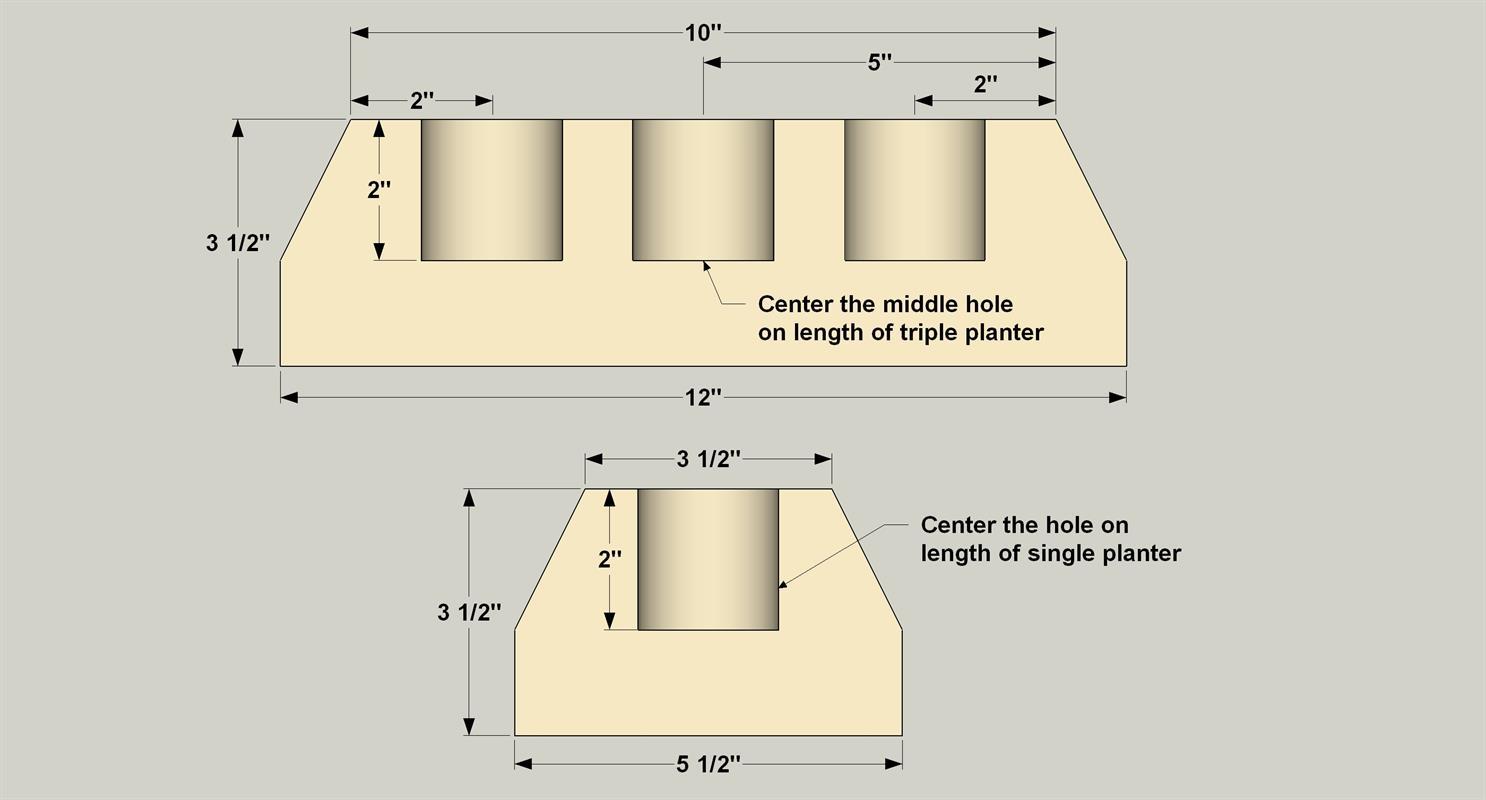
Mark the locations of the hole(s) in your planter(s). Now you need to drill the holes using a 2"-diameter Forstner bit. It’s a big bit, and the planters are small, so be sure to clamp your planter(s) to your work surface before you drill. If your drill has two speeds, set it to the lowest speed. If your drill doesn’t have two speeds, use a light trigger finger to keep the speed slow. Hold the drill so the bit is perpendicular to the surface, and slowly drill the hole(s). Cedar is soft, so drilling should be easy. You might want to practice on a scrap piece before drilling your planter(s), though.
-
Sand, Tape and Paint
After drilling the holes, sand your planter(s) smooth. Tape off a geometric pattern and paint. You’ll only need small amounts of paint, so you can use leftovers that you have on hand. You could buy small containers at of craft paint, or get sample pots from a paint store. After the paint dries, remove the tape. You can wipe some oil on the wood surfaces, or leave them bare. After that, pick out some favorite succulent plants, and place them in the holes.


