

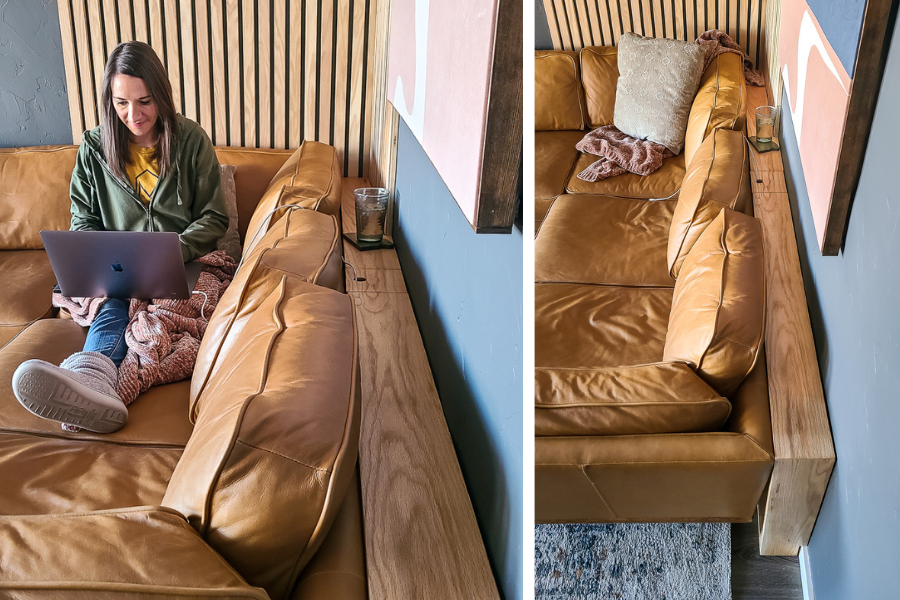
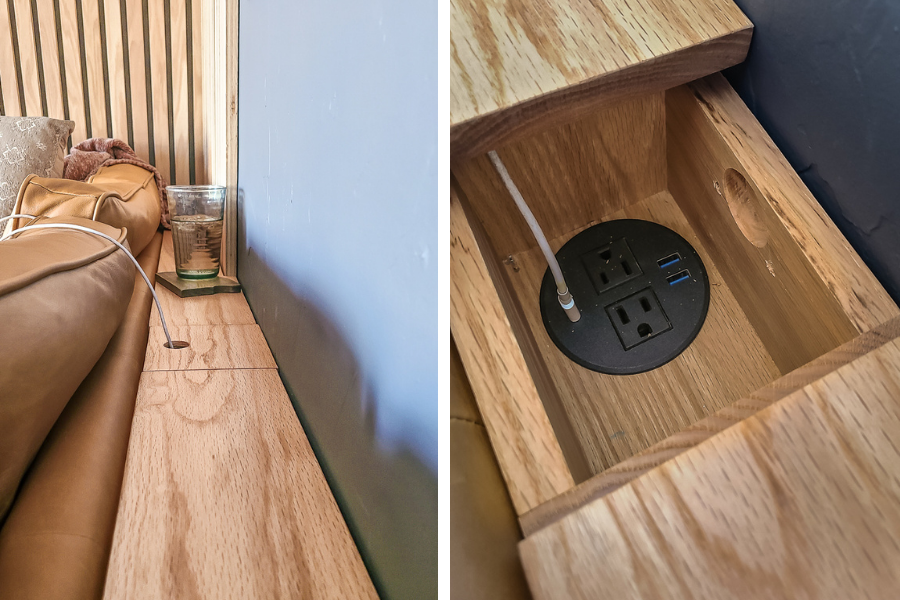


This skinny sofa table is perfect to hold your drinks while sitting on the couch. With a hidden recessed outlet box, charging your devices while relaxing on the couch is easy!
Tools
Kreg Tools


Other Tools
-
Bevel miter saw

-
Table saw
-
Tape measure
-
Finish nail gun
-
Clamps
-
3 1/4" hole saw
Materials
Wood Products
- 2 Oak boards , ¾” x 5 ½” x 8’
- 1 Oak boards , ¾” x 5 ½” x 10’
Hardware & Supplies
- 1 Box of 1 ¼” Kreg pocket hole screws (See tools list)
- 1 80 grit sandpaper
- 1 150 grit sandpaper
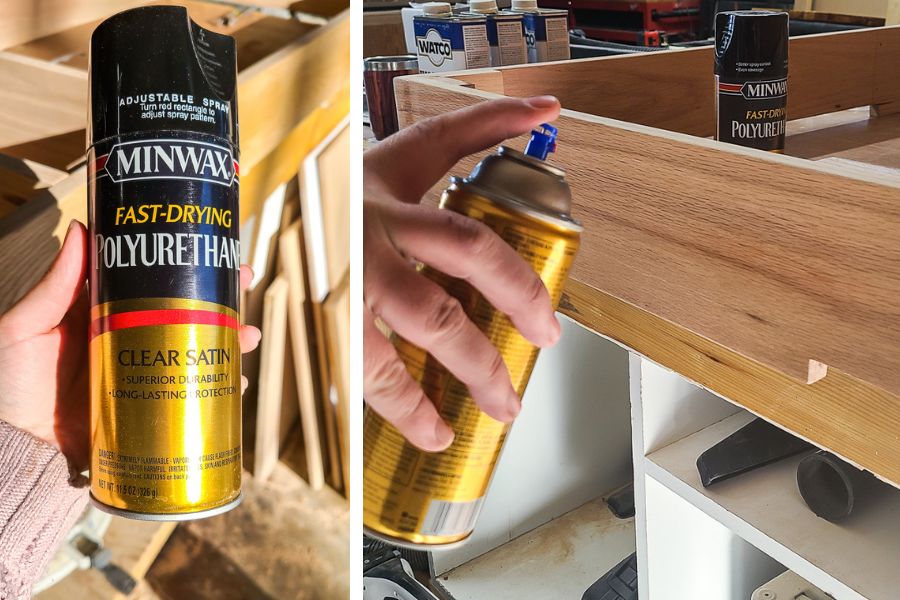
- 1 Can of spray polyurethane
- 1 Recessed power outlet
- 1 Wood filler
- 1 Box of 1 ½” finish nails
- 1 Wood glue
Directions
-
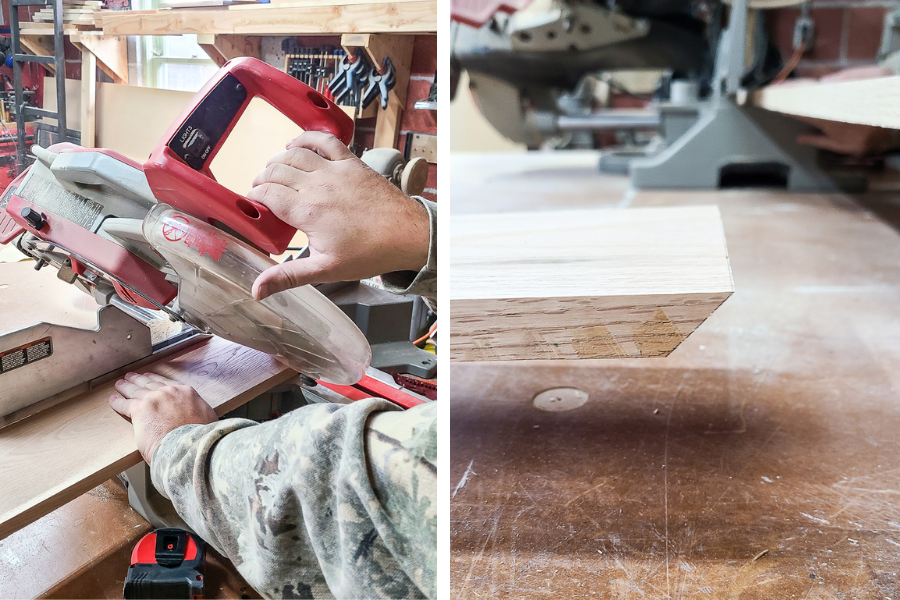
Cut wood.
Cut wood according to the visual cut list in the woodworking plans with a miter saw. There are a few bevel cuts that will require a bevel miter saw. In the woodworking plans, you’ll see that there is a notch in the bottom of the table to accommodate baseboards so the table will sit flush against the wall. To cut this, we used a Circular Saw, but you could also use a Jigsaw. Lightly sand all pieces of wood before assembling with an orbital sander and 80 then 150 grit sandpaper. We had a second notched-out area on one side of the table that was specific to our living room, designed to fit around a slat wall. We’ve removed this extra notched-out area on the plans since you won’t need to do this.
-
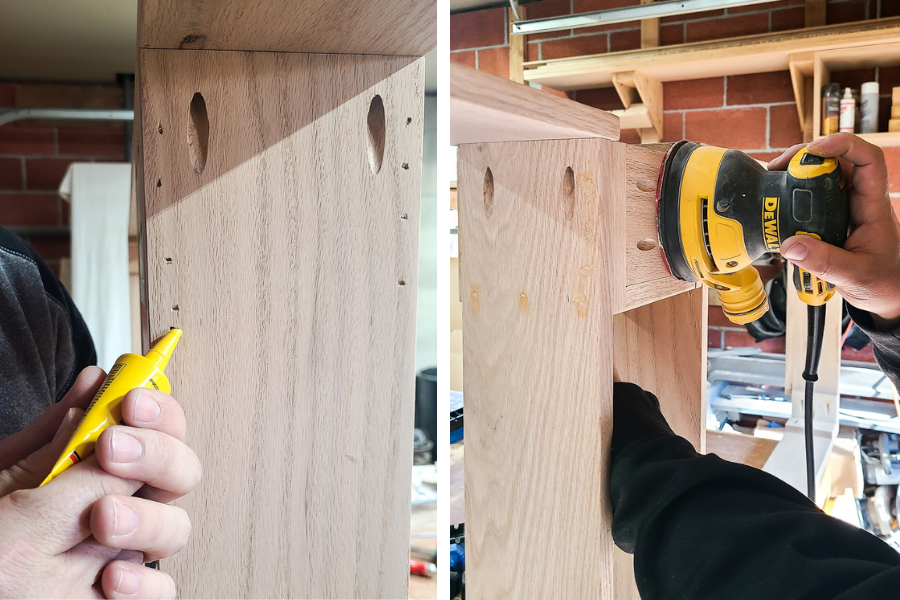
Make corner supports.
Assemble the 4 corner supports with a little bit of wood glue and 1 ½” finish nails. The large corner supports will go on the top inside corners and the small corner supports will go on the bottom inside corners. The bottom ones are smaller because the base of the table is notched to accommodate for baseboards. Set corner supports aside once put together.

-
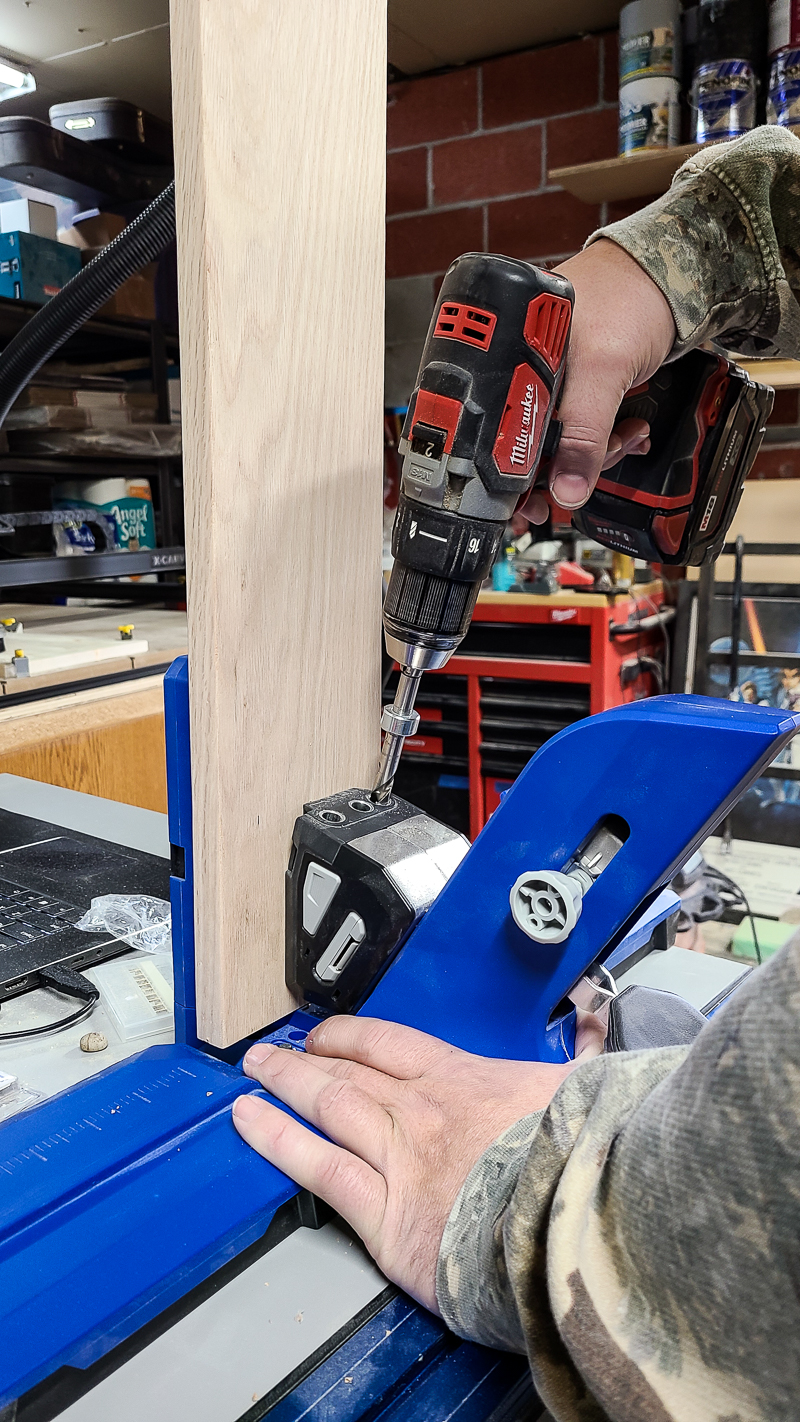
Drill pocket holes.
Drill pocket holes as shown in the woodworking plans. We used the 720 Pro.
-
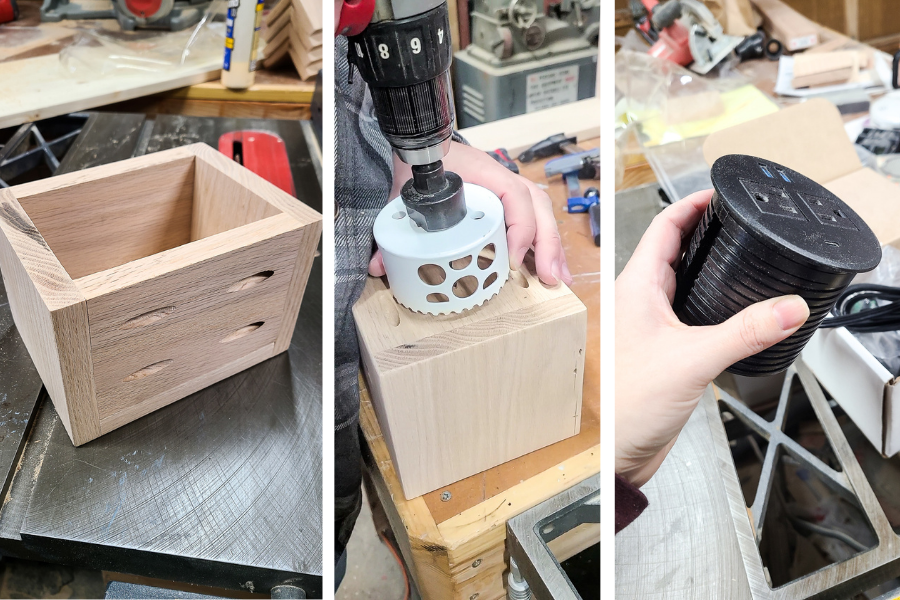
Assemble small outlet box.
Assemble small box with pocket hole joinery. Using a 3 ¼” hole saw drill a hole in the bottom of the box for the recessed outlet. Attach small box to the 2 vertical pieces with pocket holes.
-
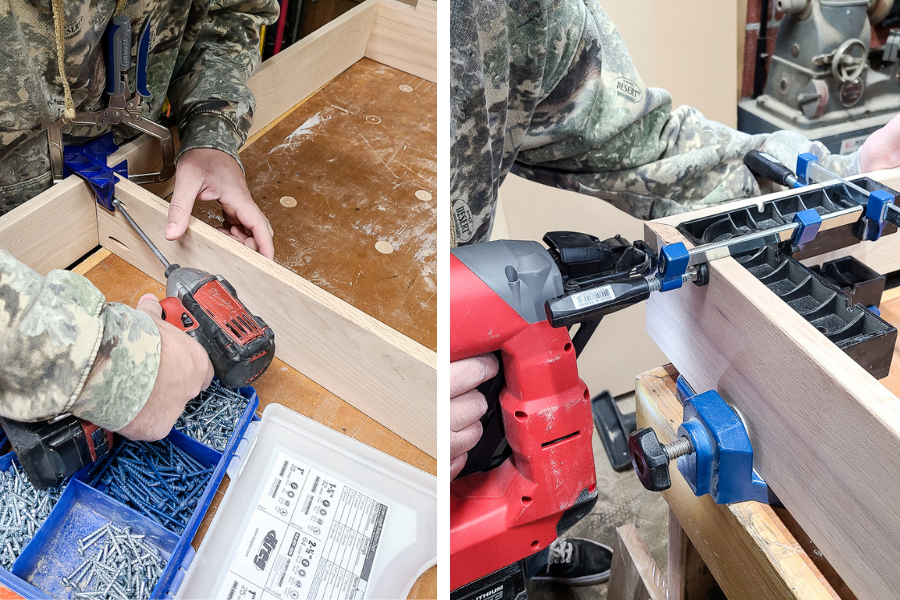
Assemble table.
Assemble the sofa table with the pocket holes and 1 ¼” inch pocket hole screws. Start with the inside vertical pieces & small box and attach that to the top and bottom panels. Next, add the vertical end pieces on and attach with 1 ½” finish nails. Be sure to check to make sure everything is square before attaching. We used corner clamps to keep everything aligned while assembling. Add the small outlet box in the middle in between the two inside vertical pieces. Attach with finish nails. Lastly, add the corner supports in all four corners with finish nails.
-
Fill holes and sand.
Fill all nail holes with stainable wood filler. Let dry. Sand smooth with 150 grit sandpaper and an orbital sander. Wipe everything well after sanding to remove sanding dust.
-
Drill hole in the top of the lid.
Using 1 ¼” hole saw make a hole in the lid for the box. This is for the cords to come out that are plugged into the outlet.
-
Seal or paint.
Seal with stain/finish or paint of your choice. We used spray polyurethane for a natural wood finish. Let dry.
-
Add recessed outlet.
Add outlet into the hole in the bottom of the box and thread on the ring on the bottom to secure.