


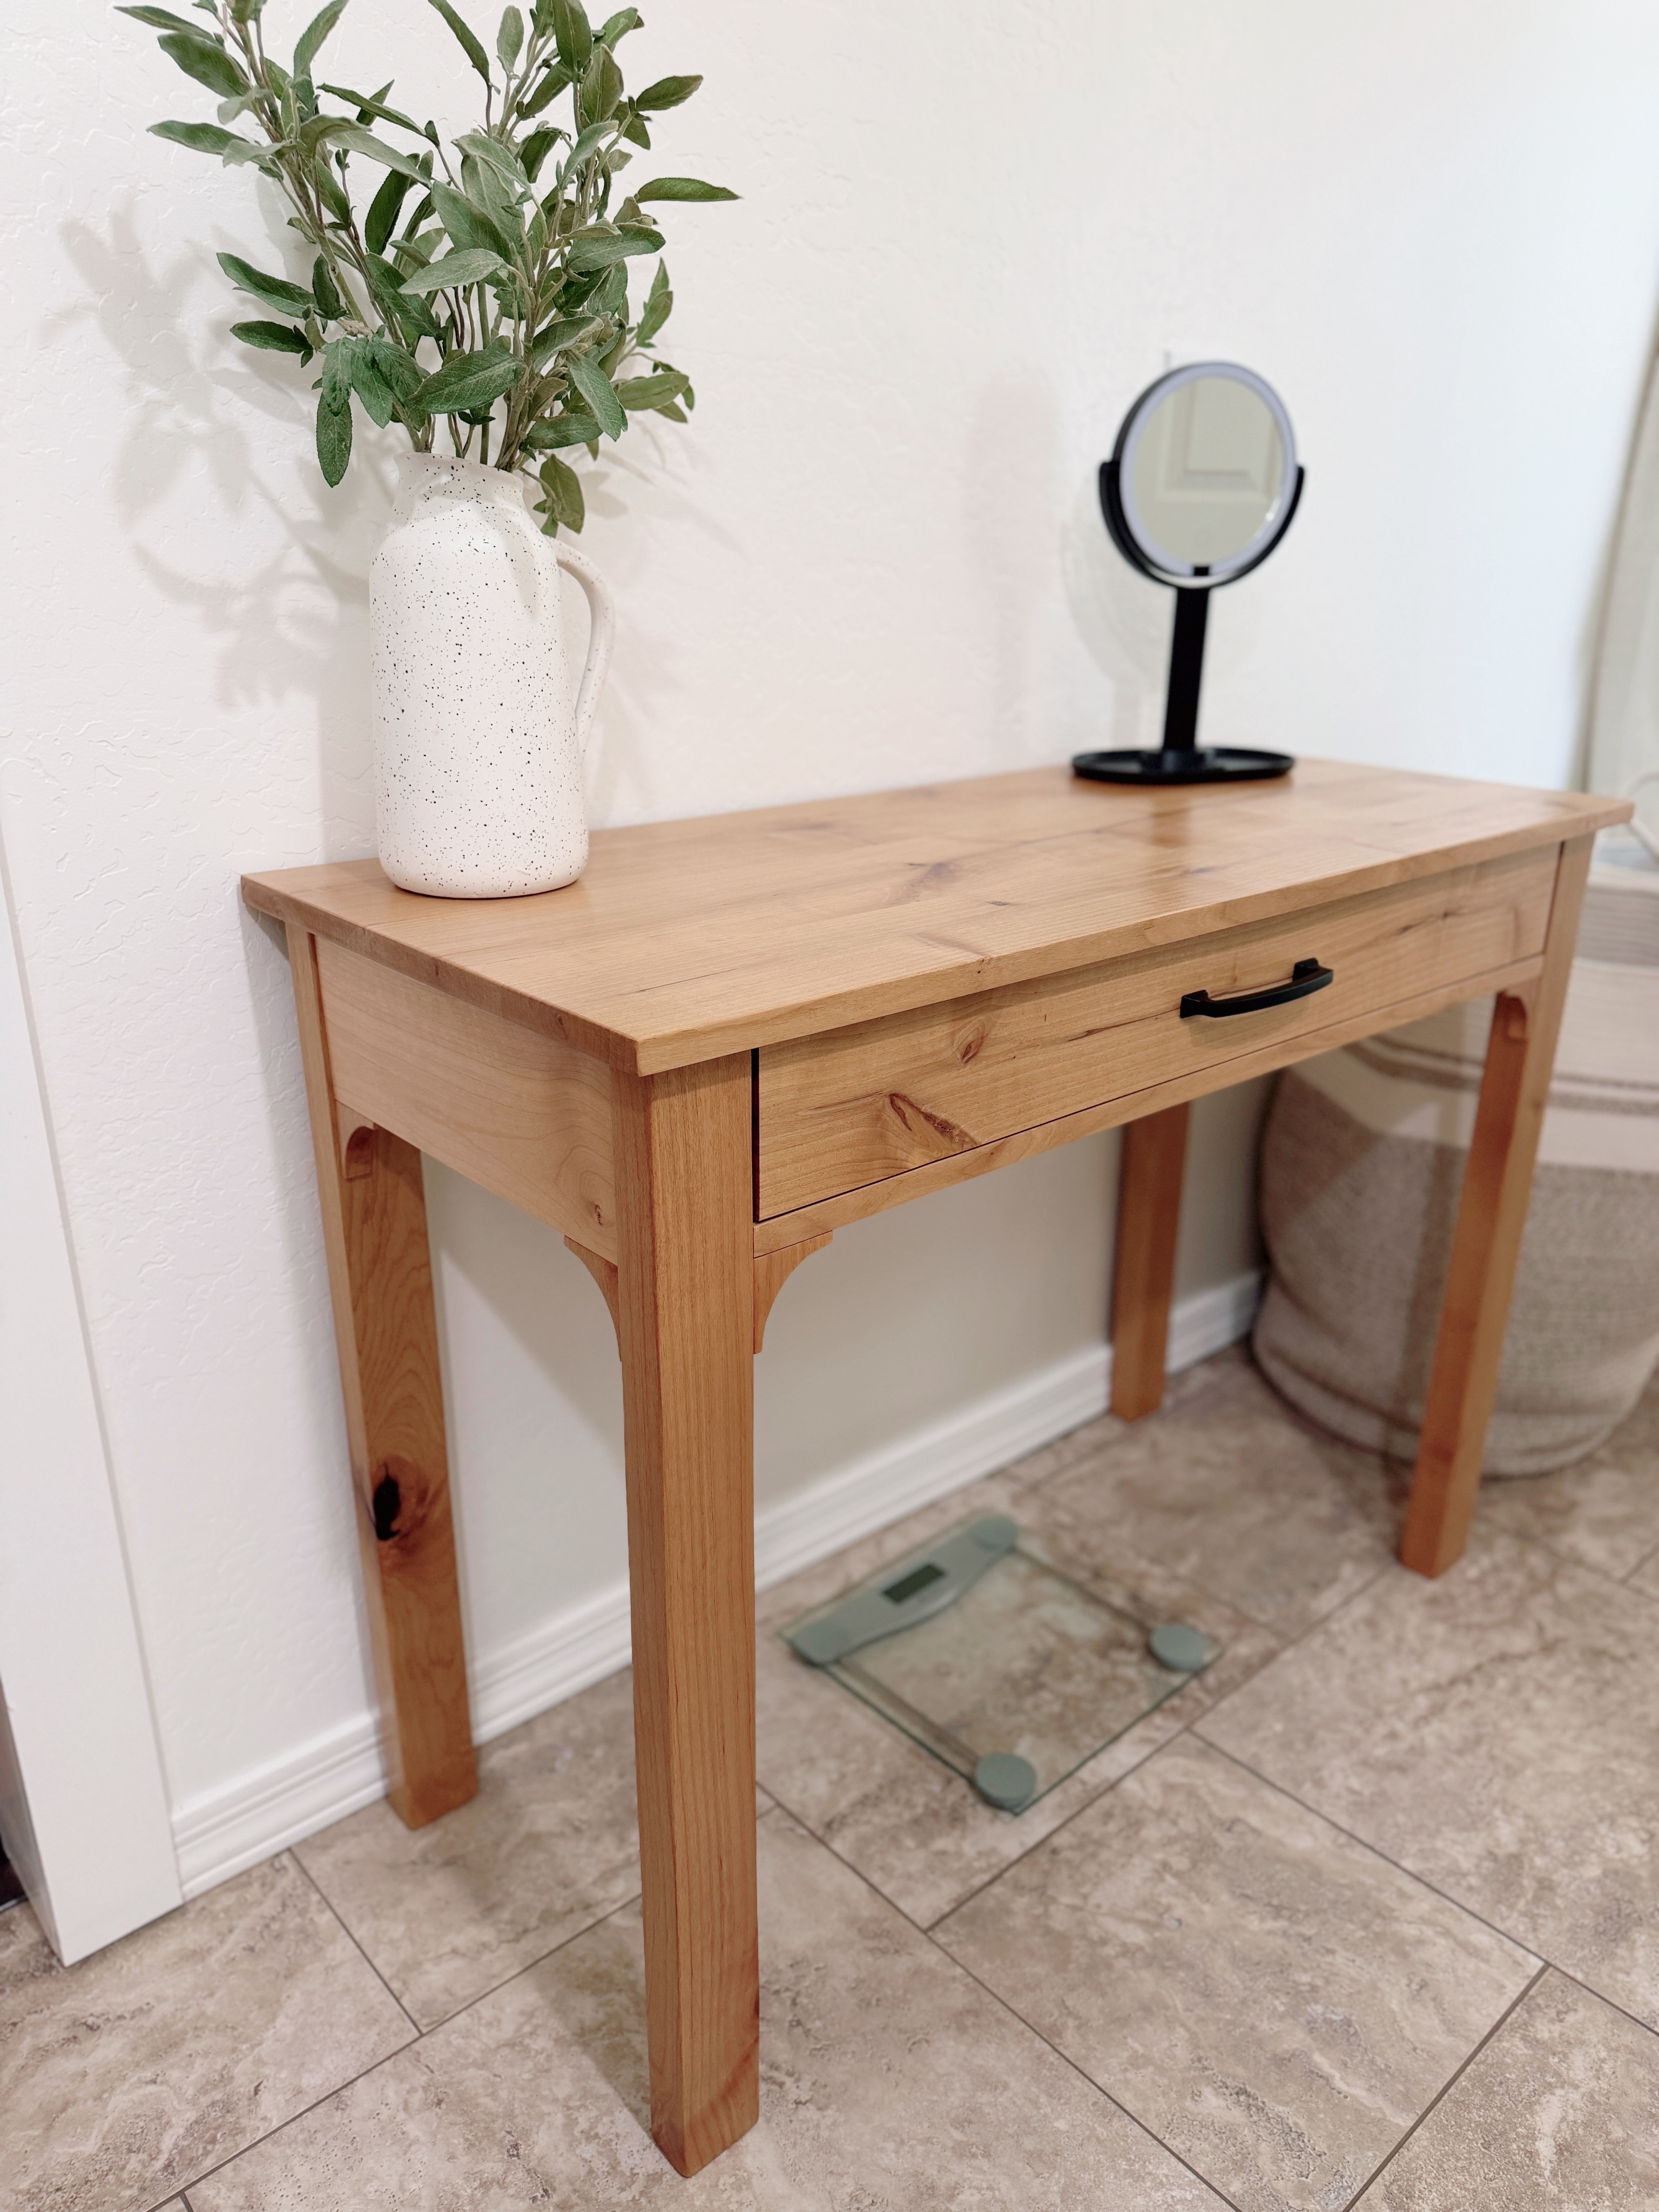
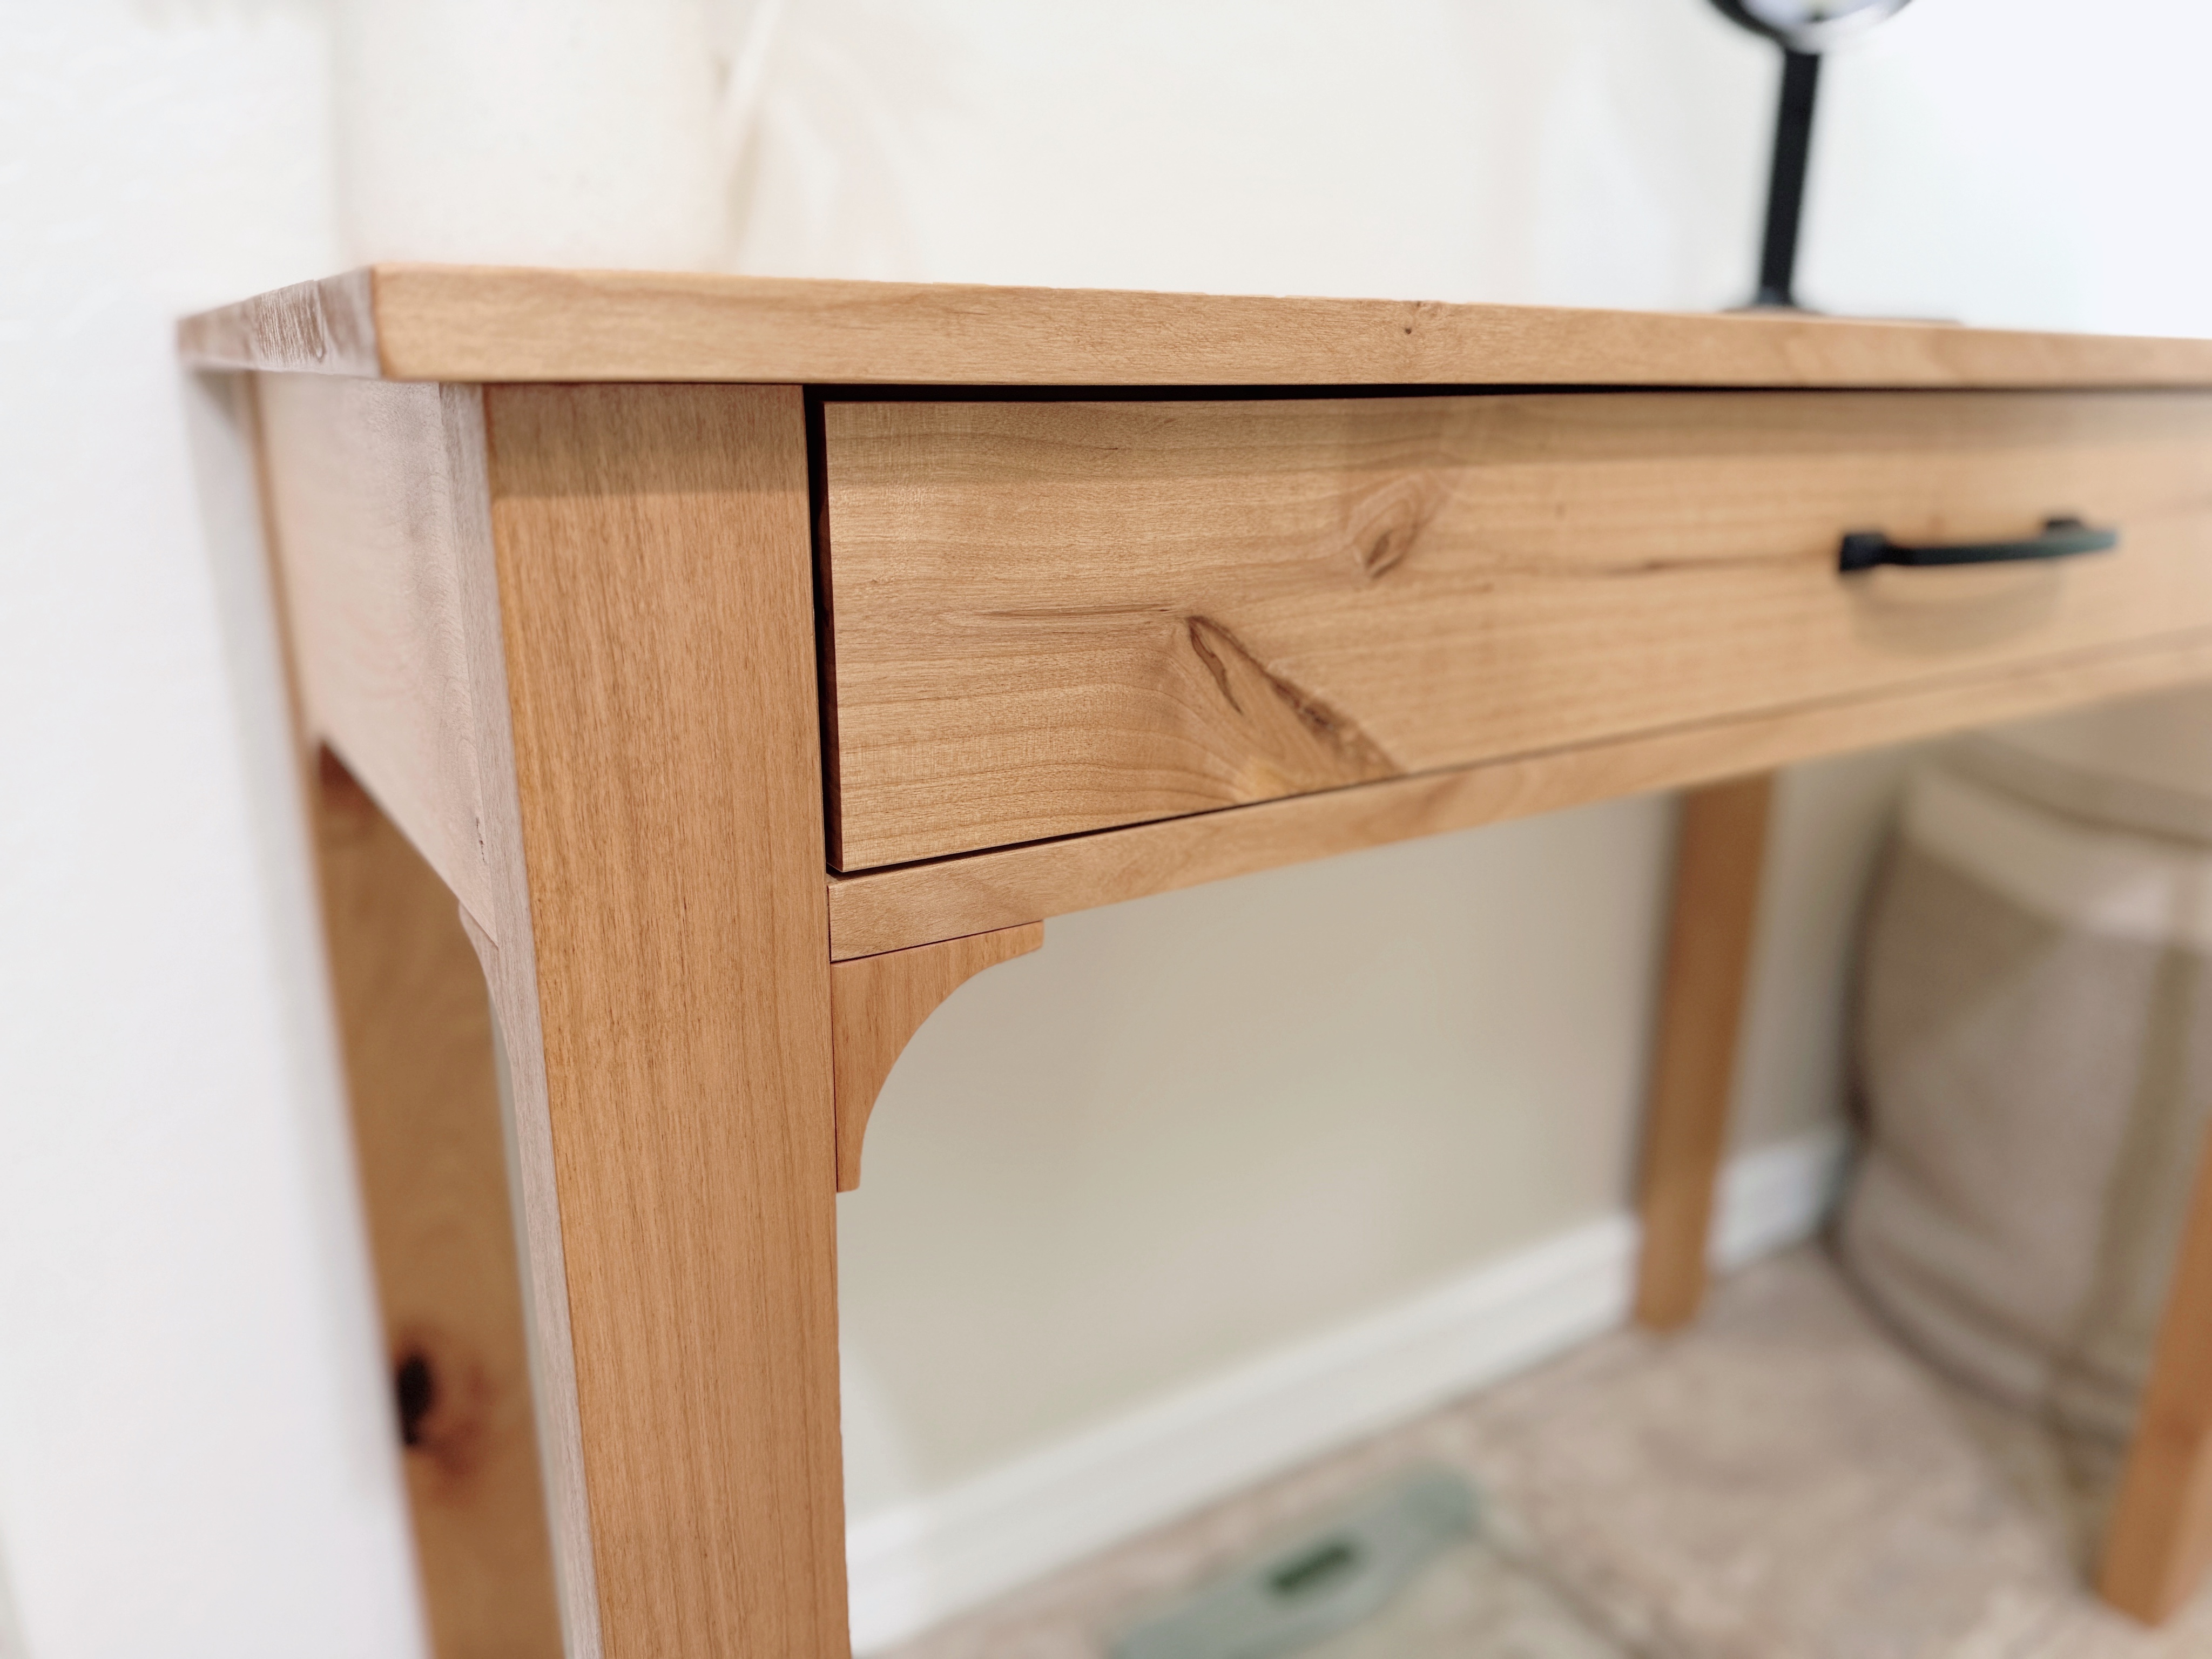
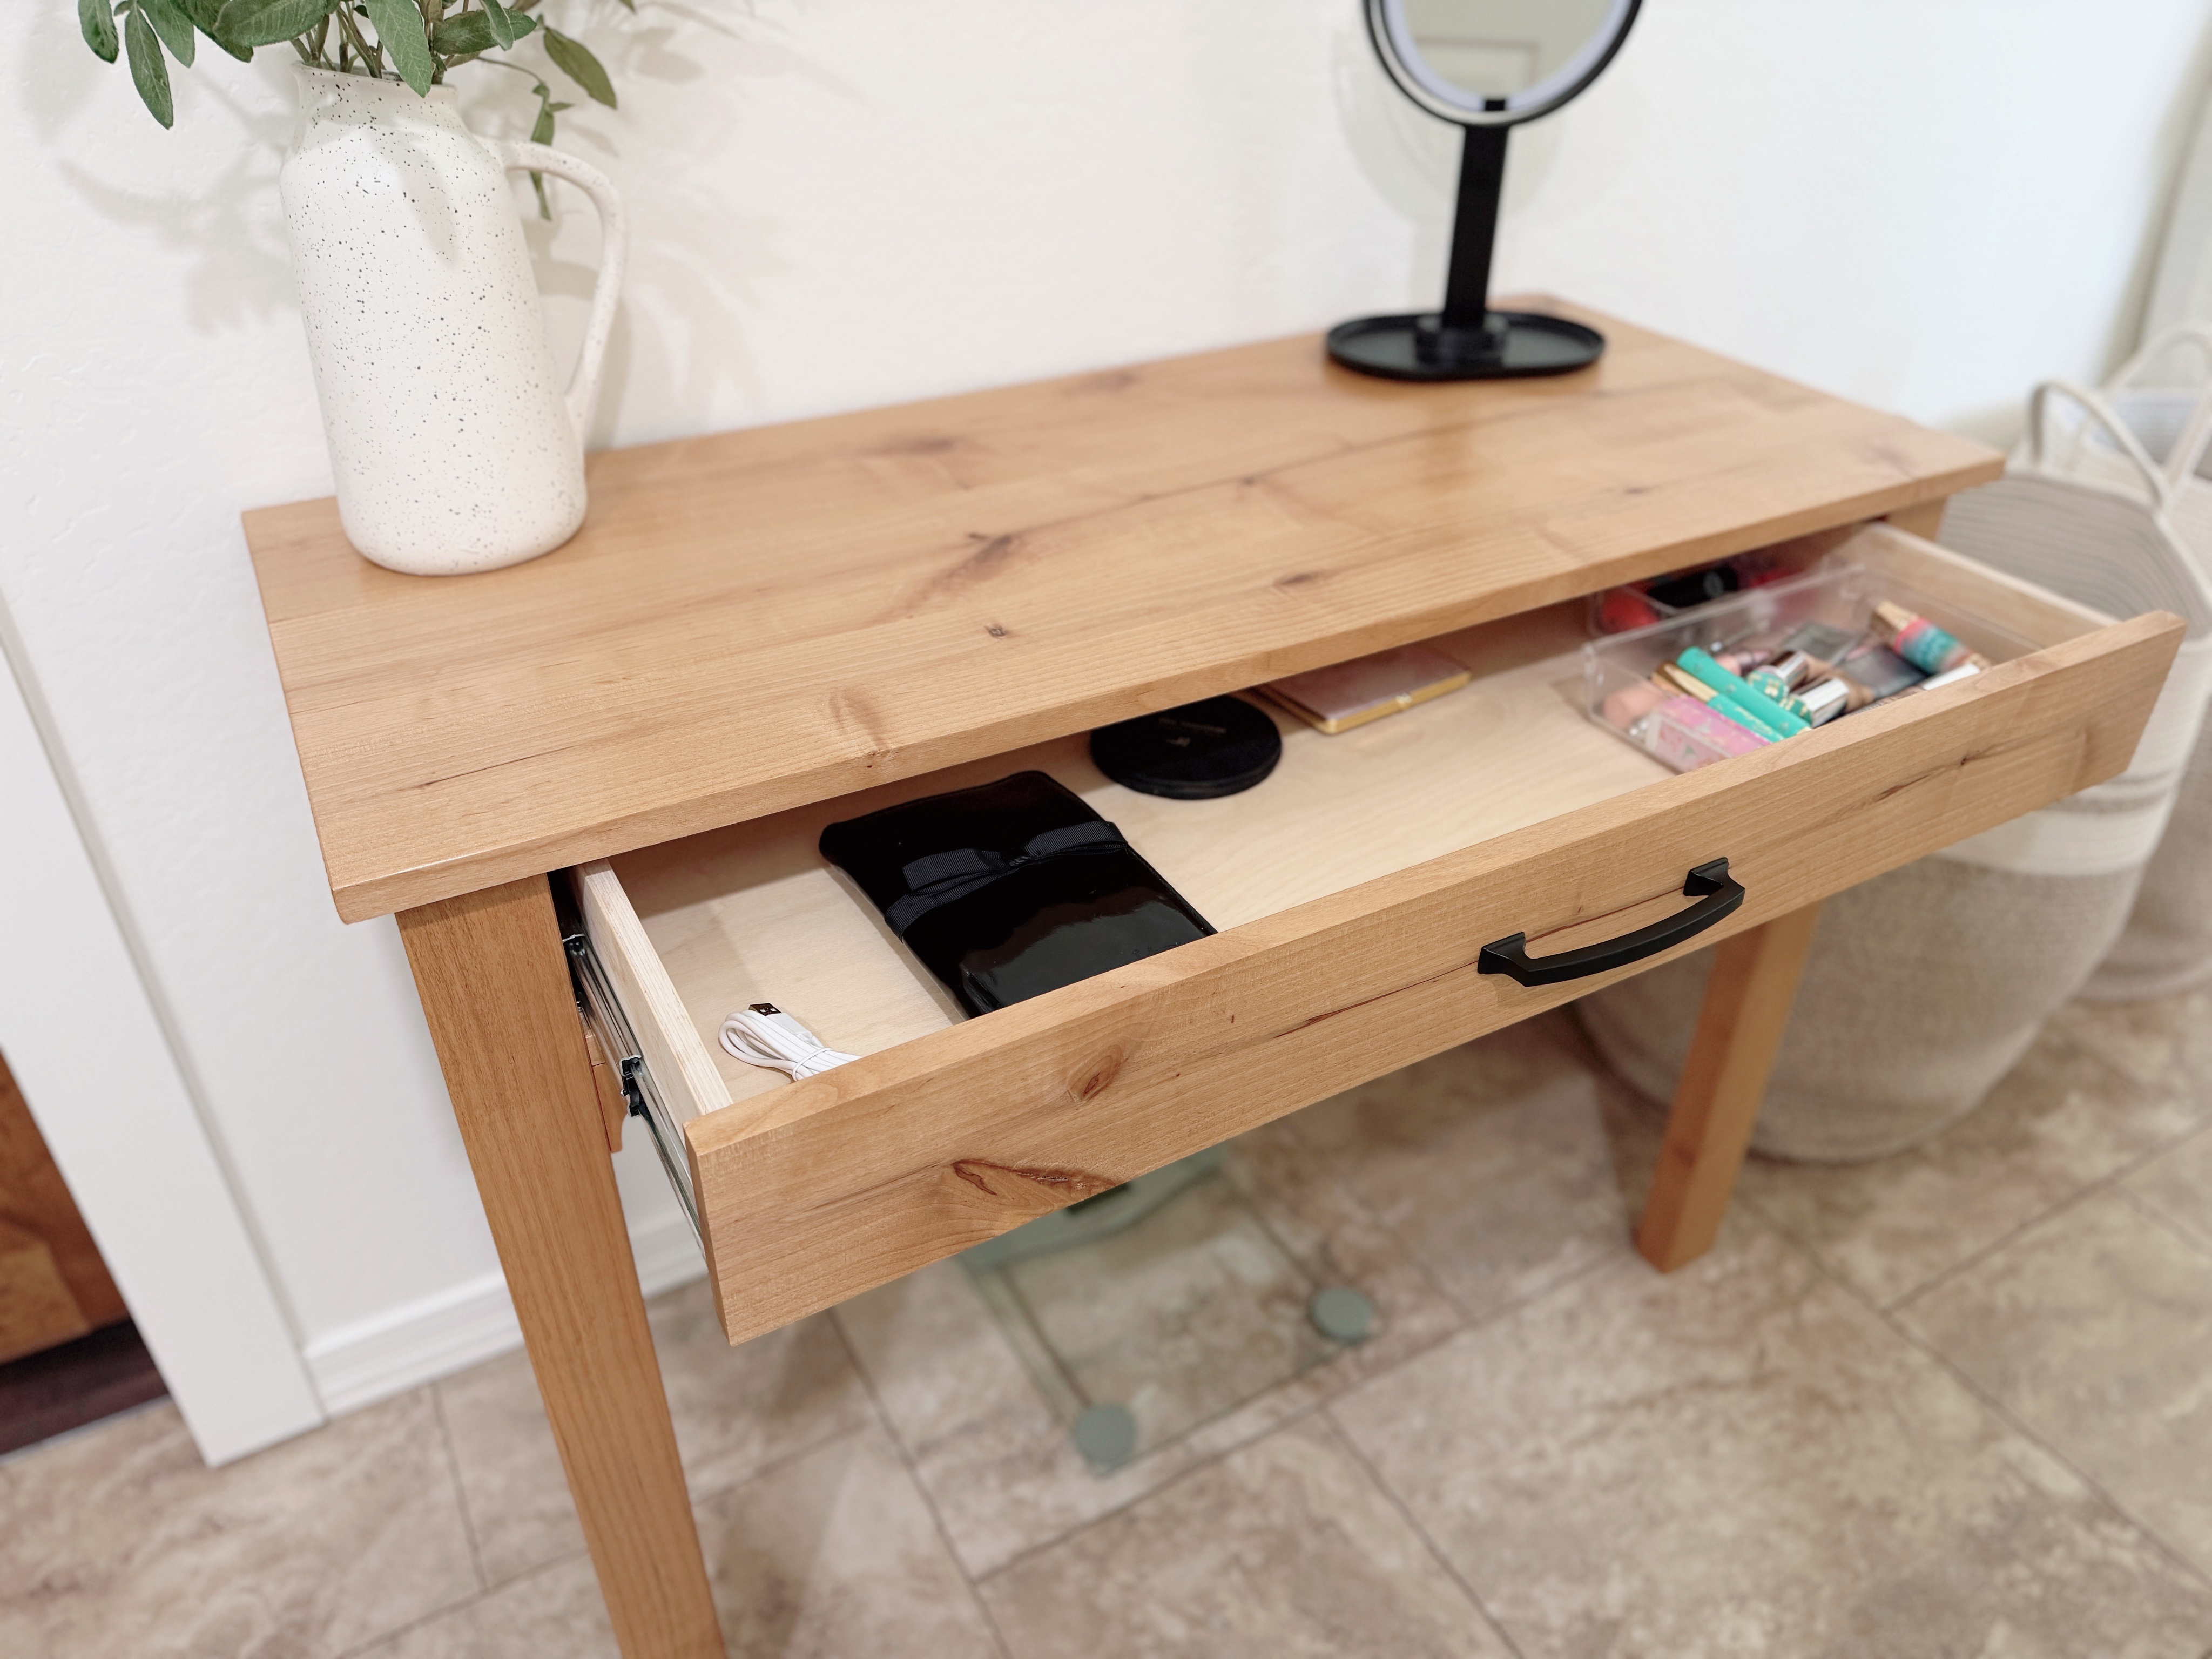


Build a beautiful, compact vanity table that adds both function and warmth to your space. This beginner-friendly plan includes step-by-step instructions, a materials list, cut list, and detailed measurements to guide you through the entire build. Its slim profile makes it a great fit for a bathroom, bedroom, or small dressing area, while the spacious drawer keeps makeup, toiletries, and everyday essentials neatly tucked away.
Tools
Kreg Tools

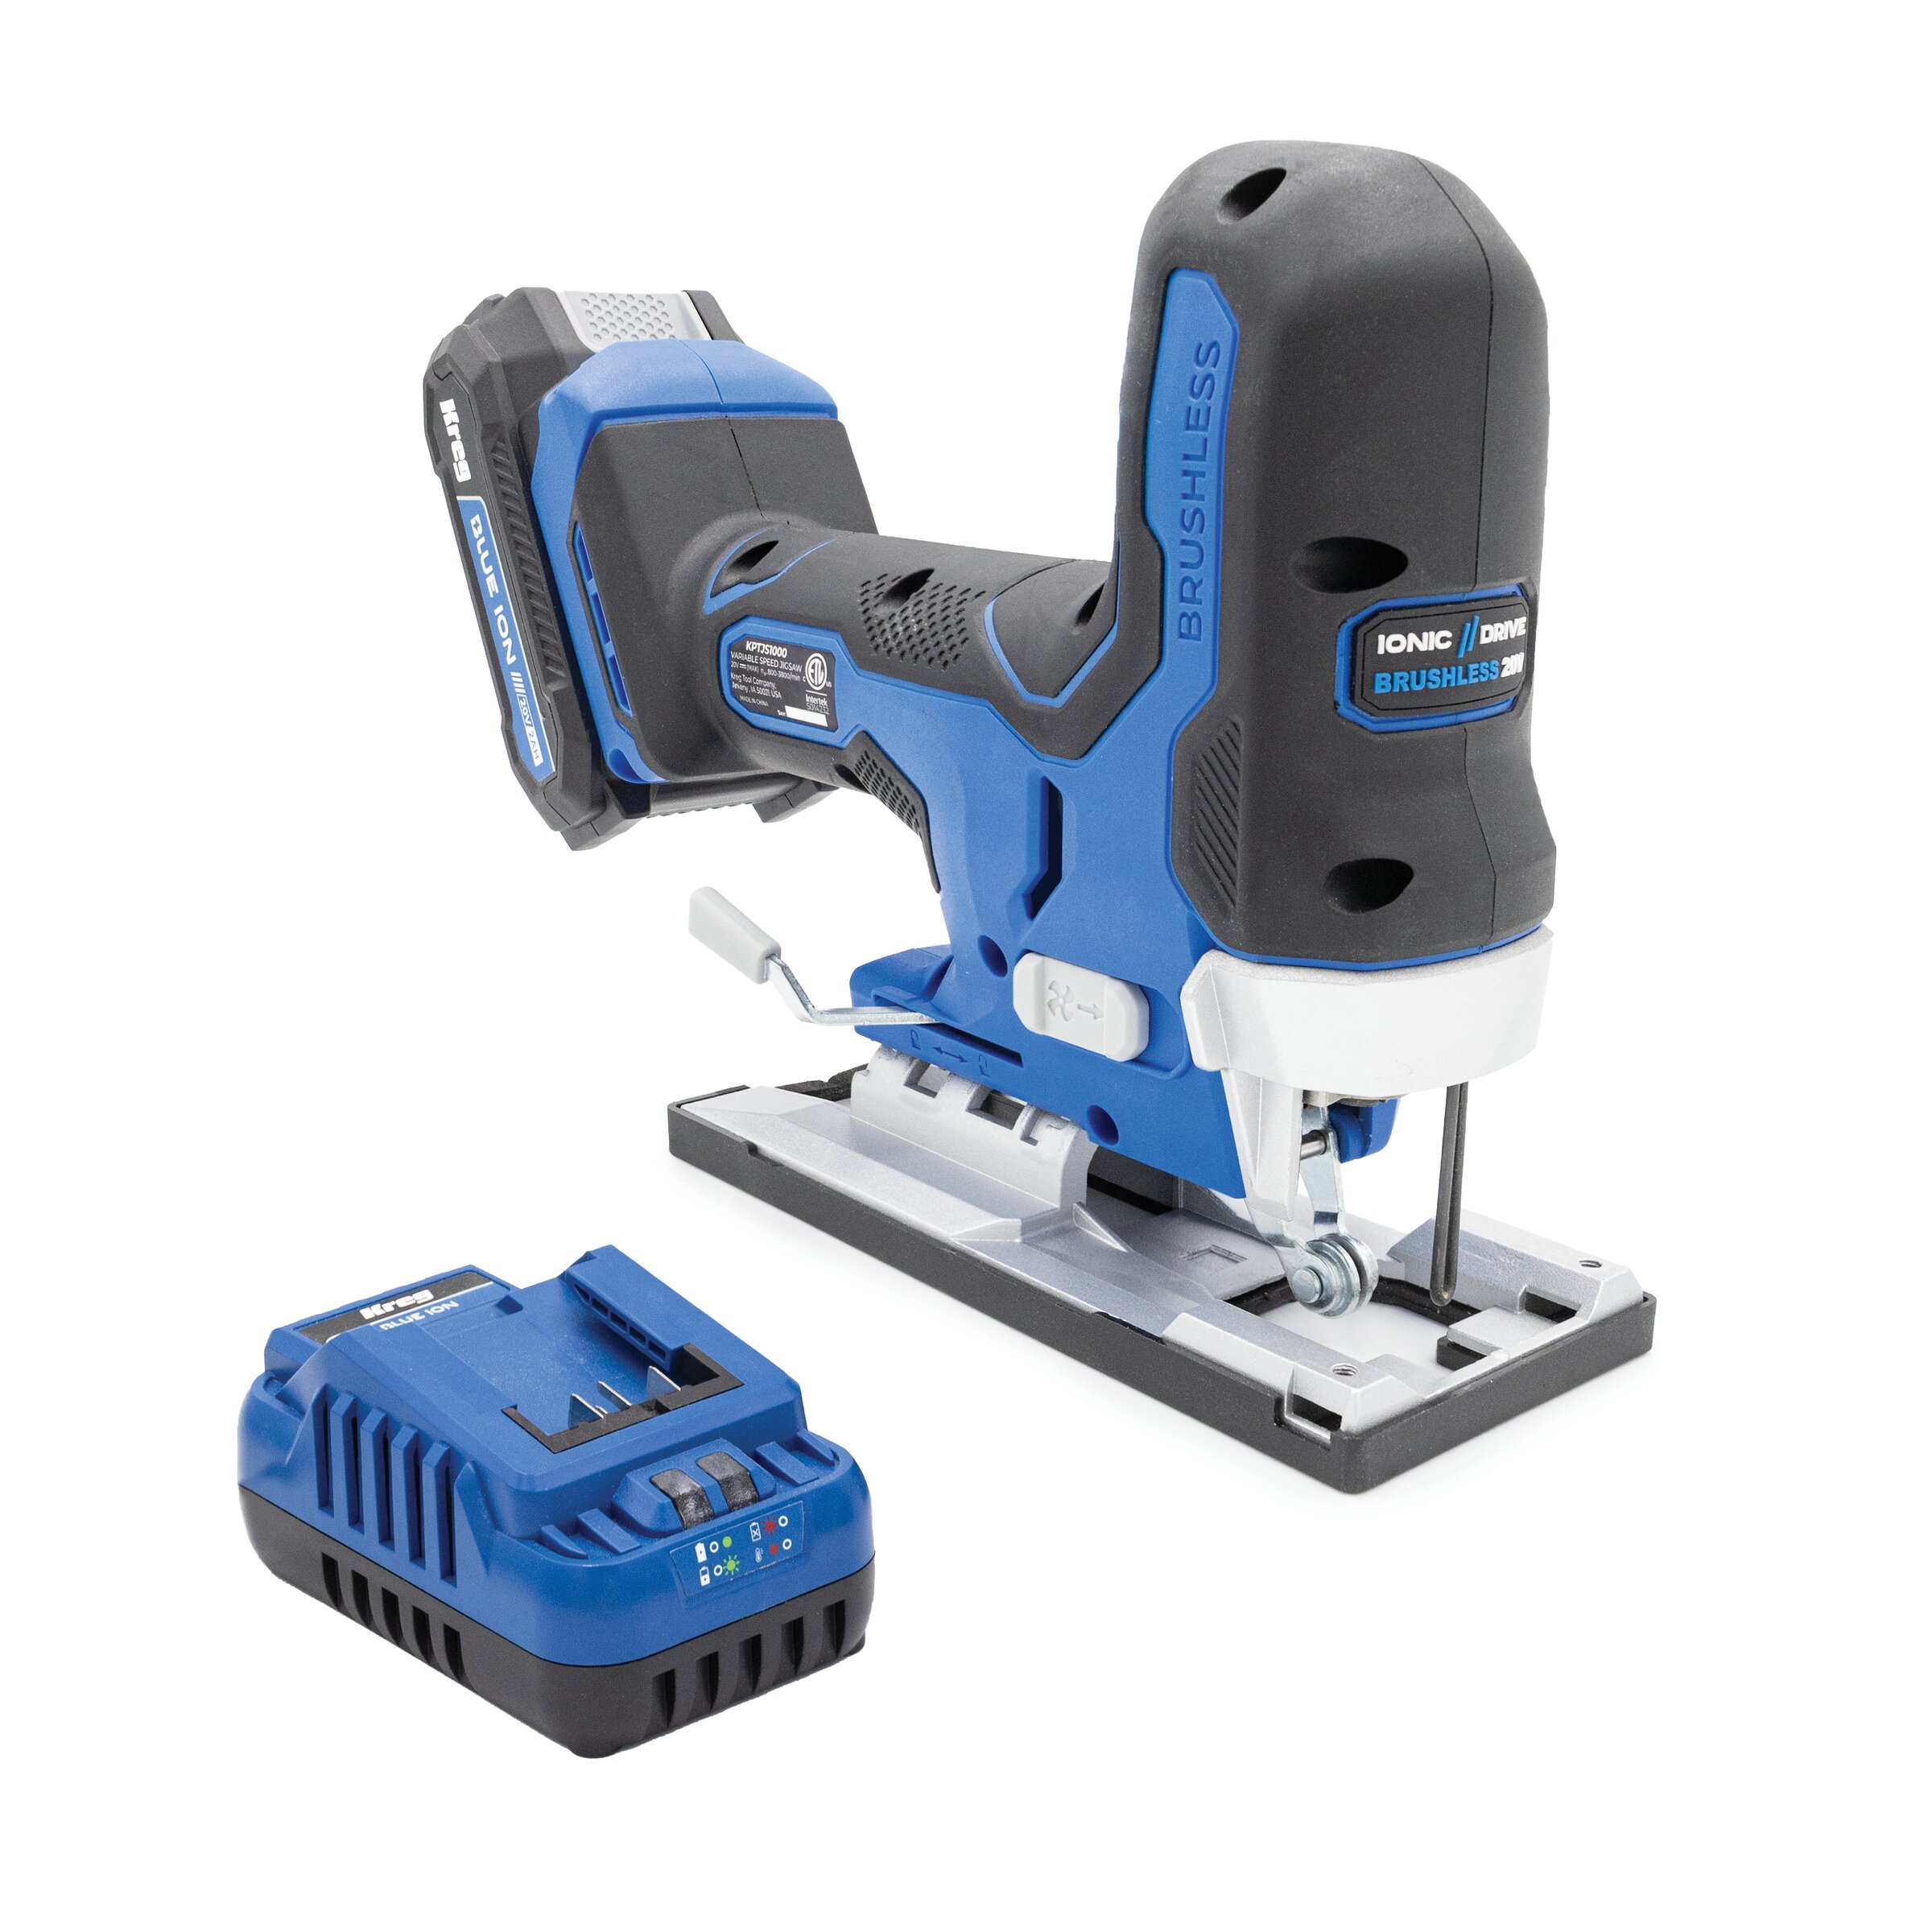
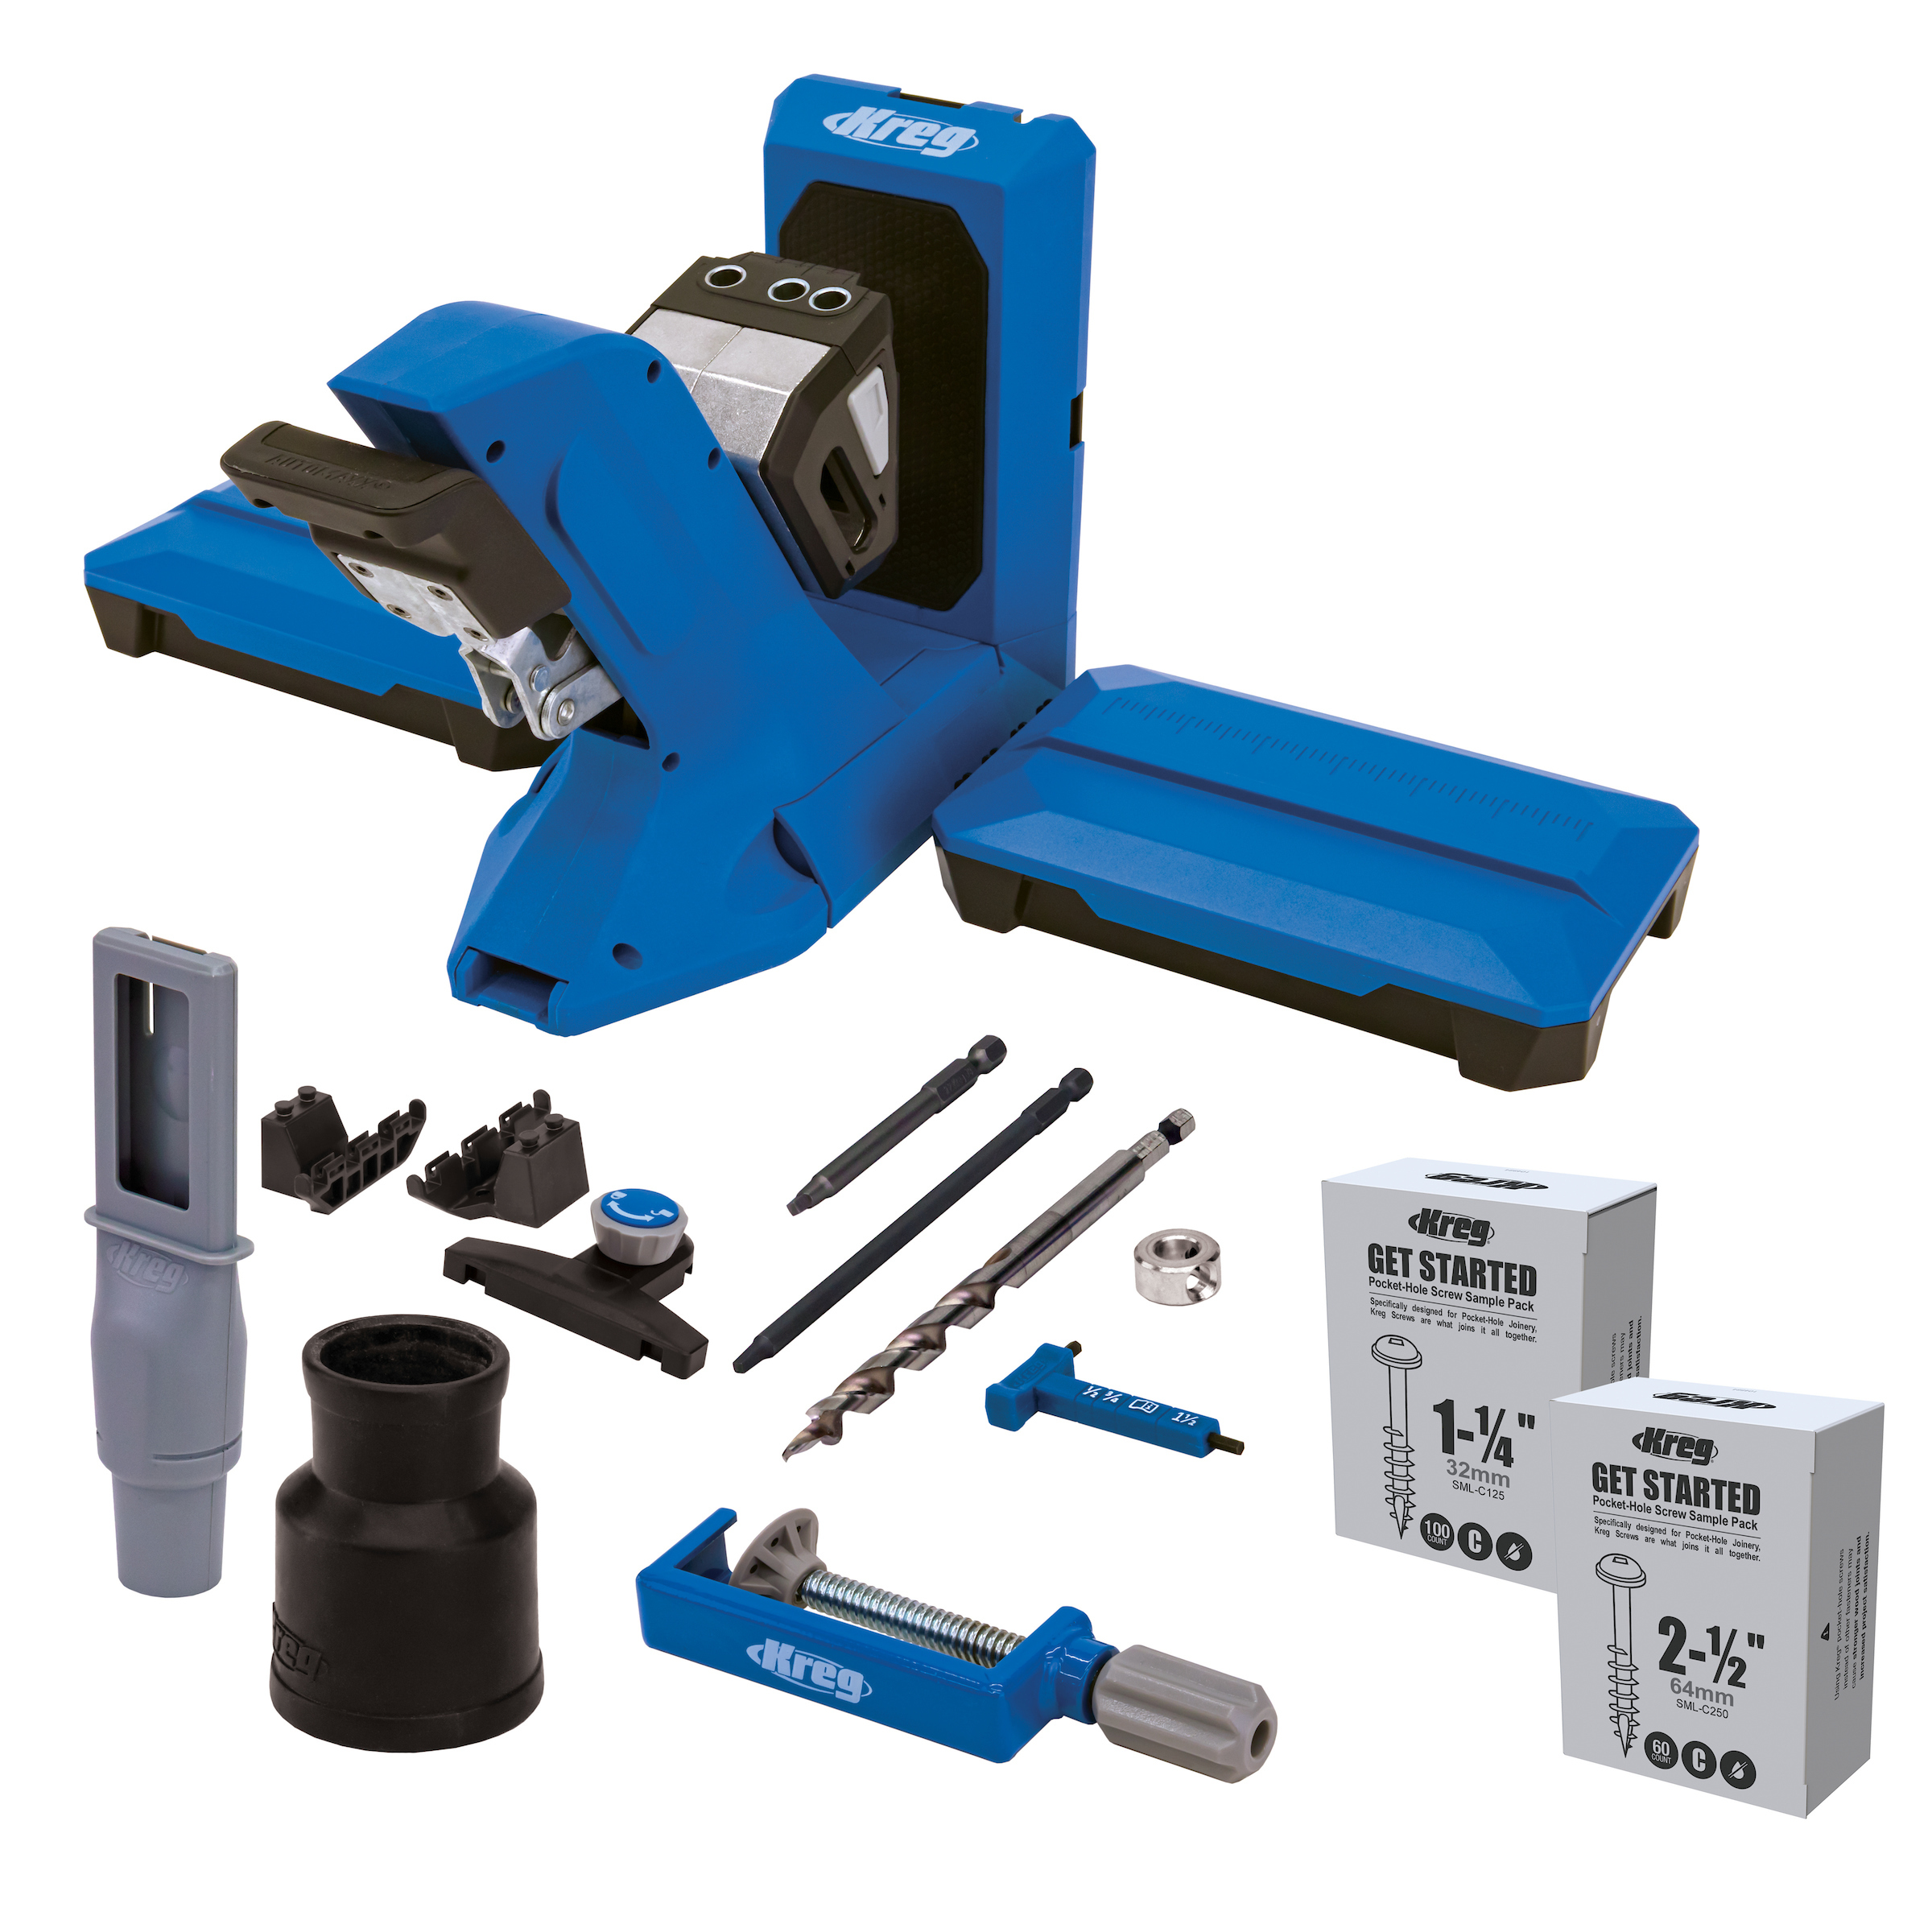


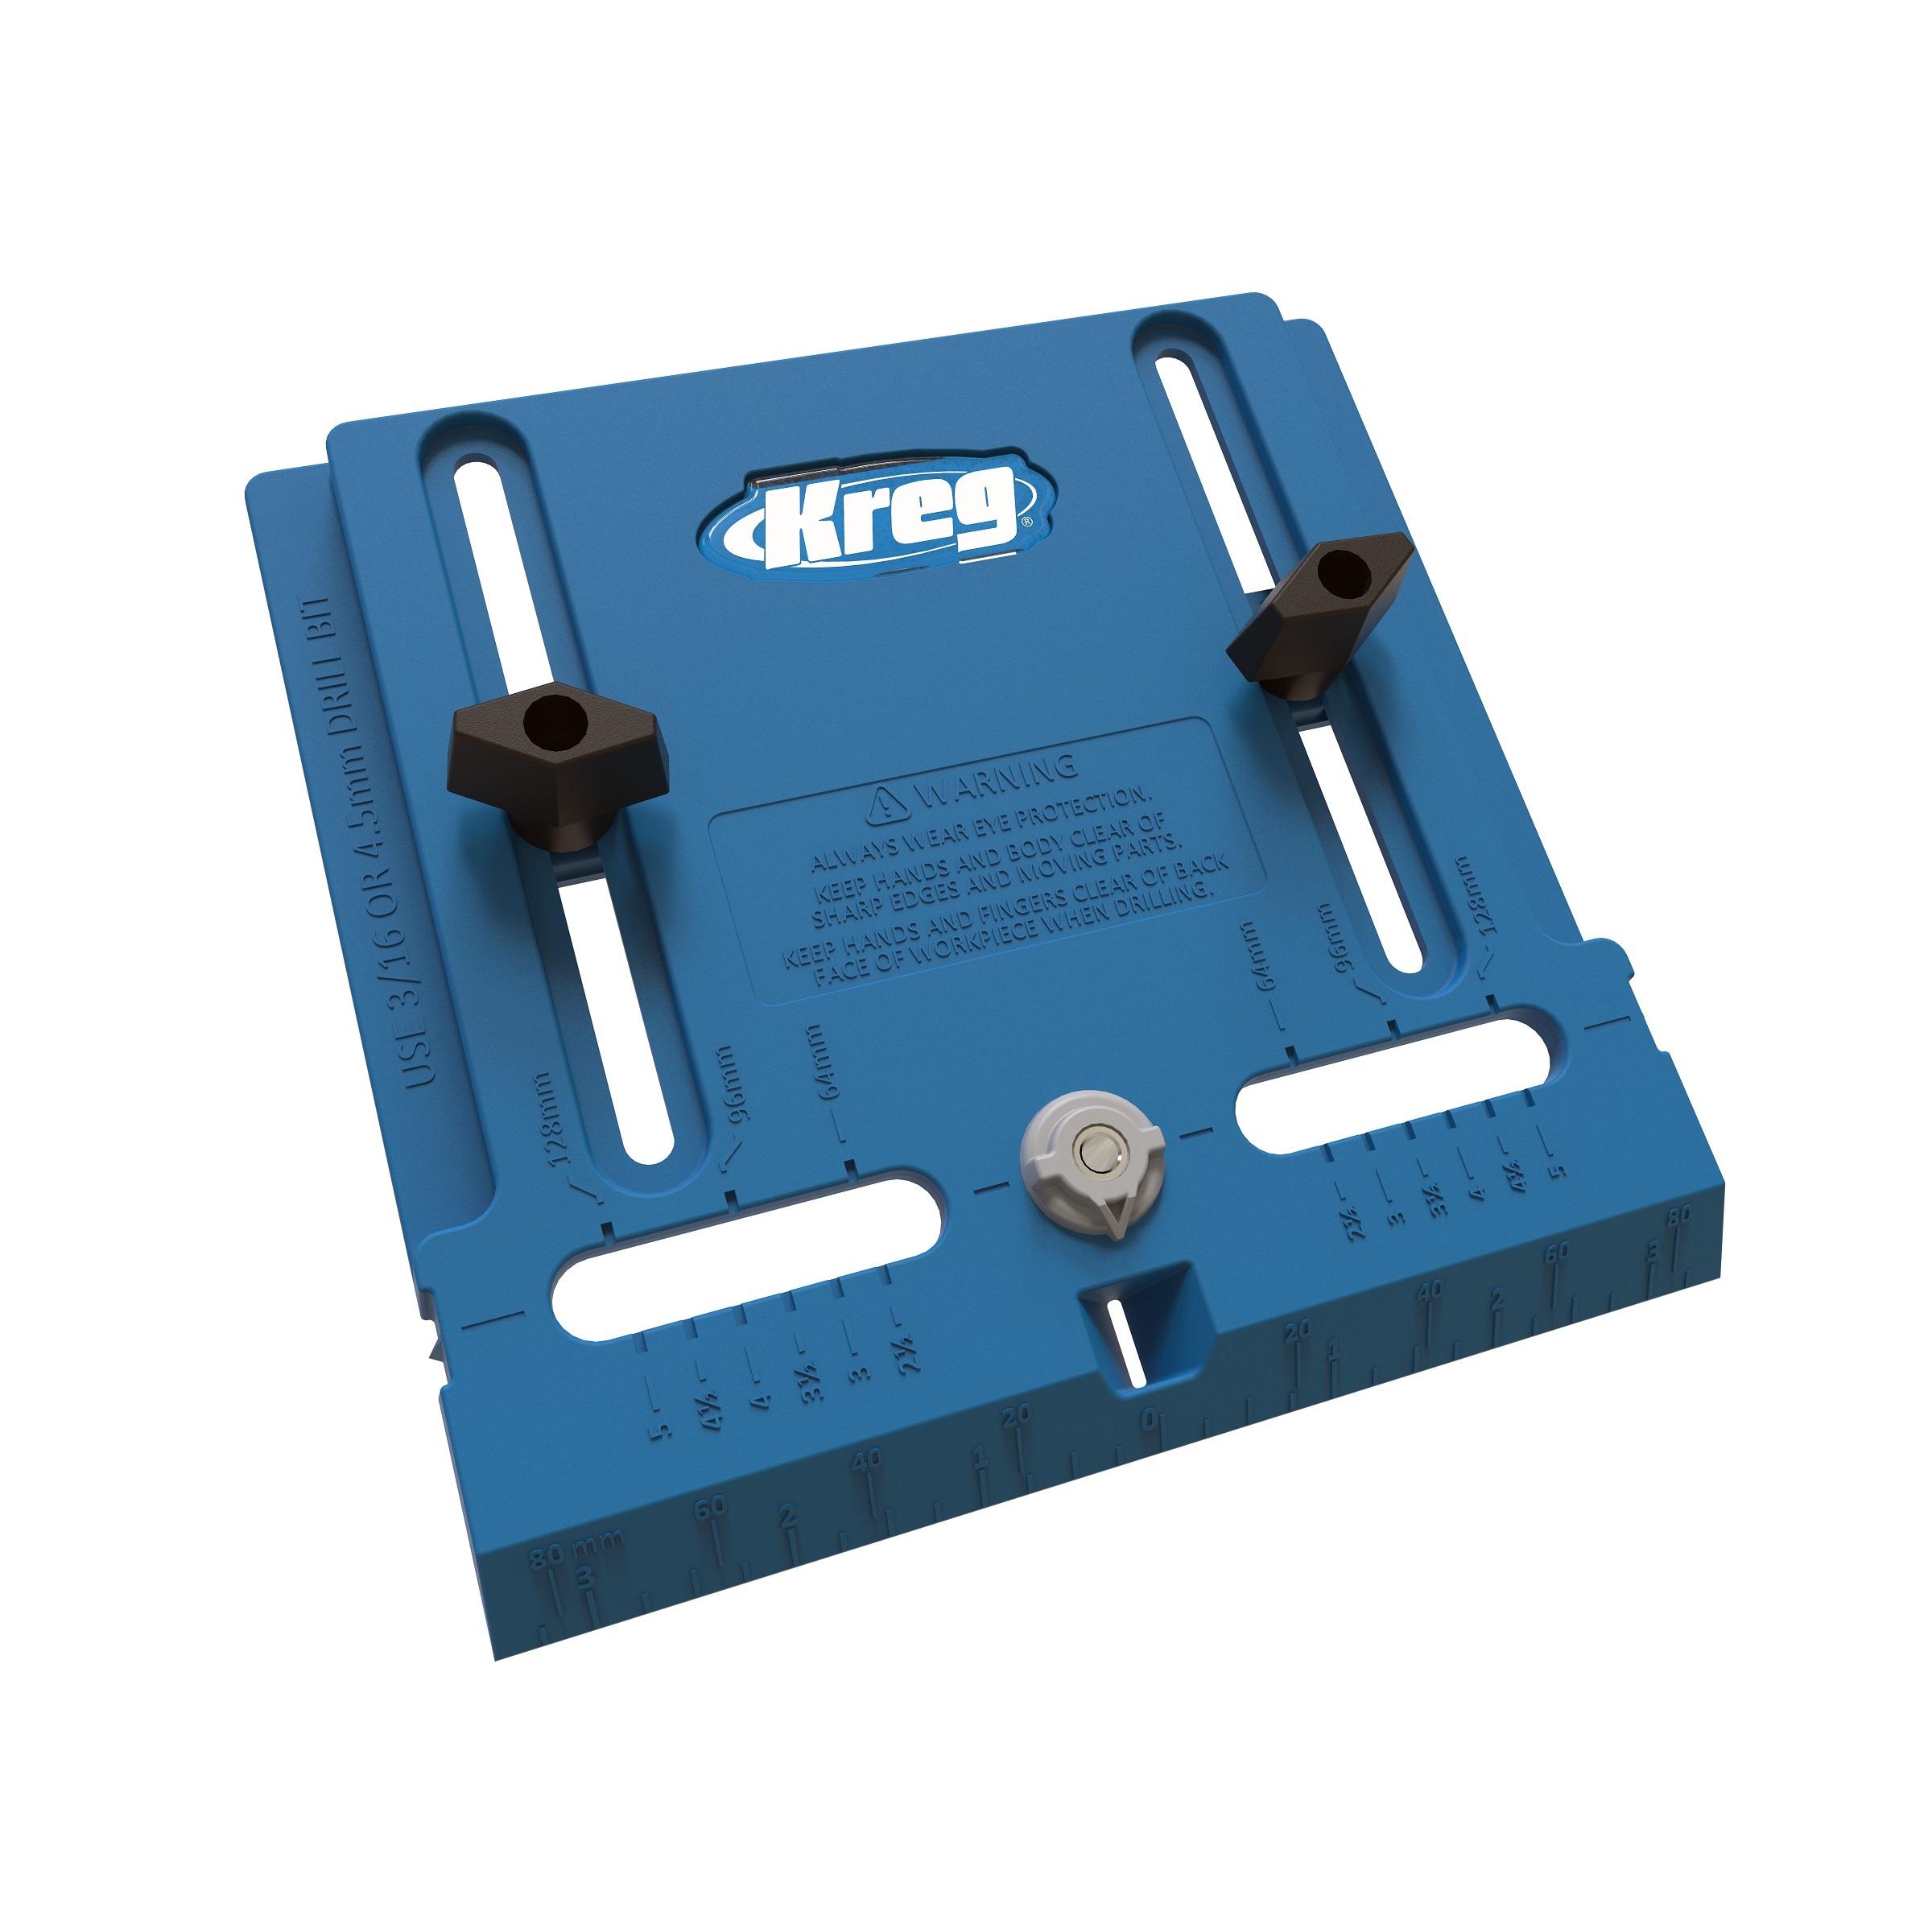
Other Tools
-
Pin Nailer

Materials
Wood Products
- 2 2x3 Pine , 1 1/2" x 2 1/2" , 8'
- 1 1x6 Pine , 3/4" x 5 1/2" , 8'
- 1 1x6 Pine , 3/4" x 5 1/2" , 4'
- 1 1x2 Pine , 3/4" x 1 1/2" , 6'
- 1 1/2" plywood , 24" x 48"
- 1 3/4" Pine Project Panel , 24" x 48"
- 1 1x3 Pine (optional) , 3/4" x 2 1/2" , 4' long
Hardware & Supplies
- 1 1 1/4" Pocket Screws
- 1 1" Pocket Screws
- 2 14" drawer slides
- 1 1 1/4" pin nails
- 1 Wood glue
- 1 Paint or finish of choice
- 1 Drawer Pull
Directions
-
Assemble the frame
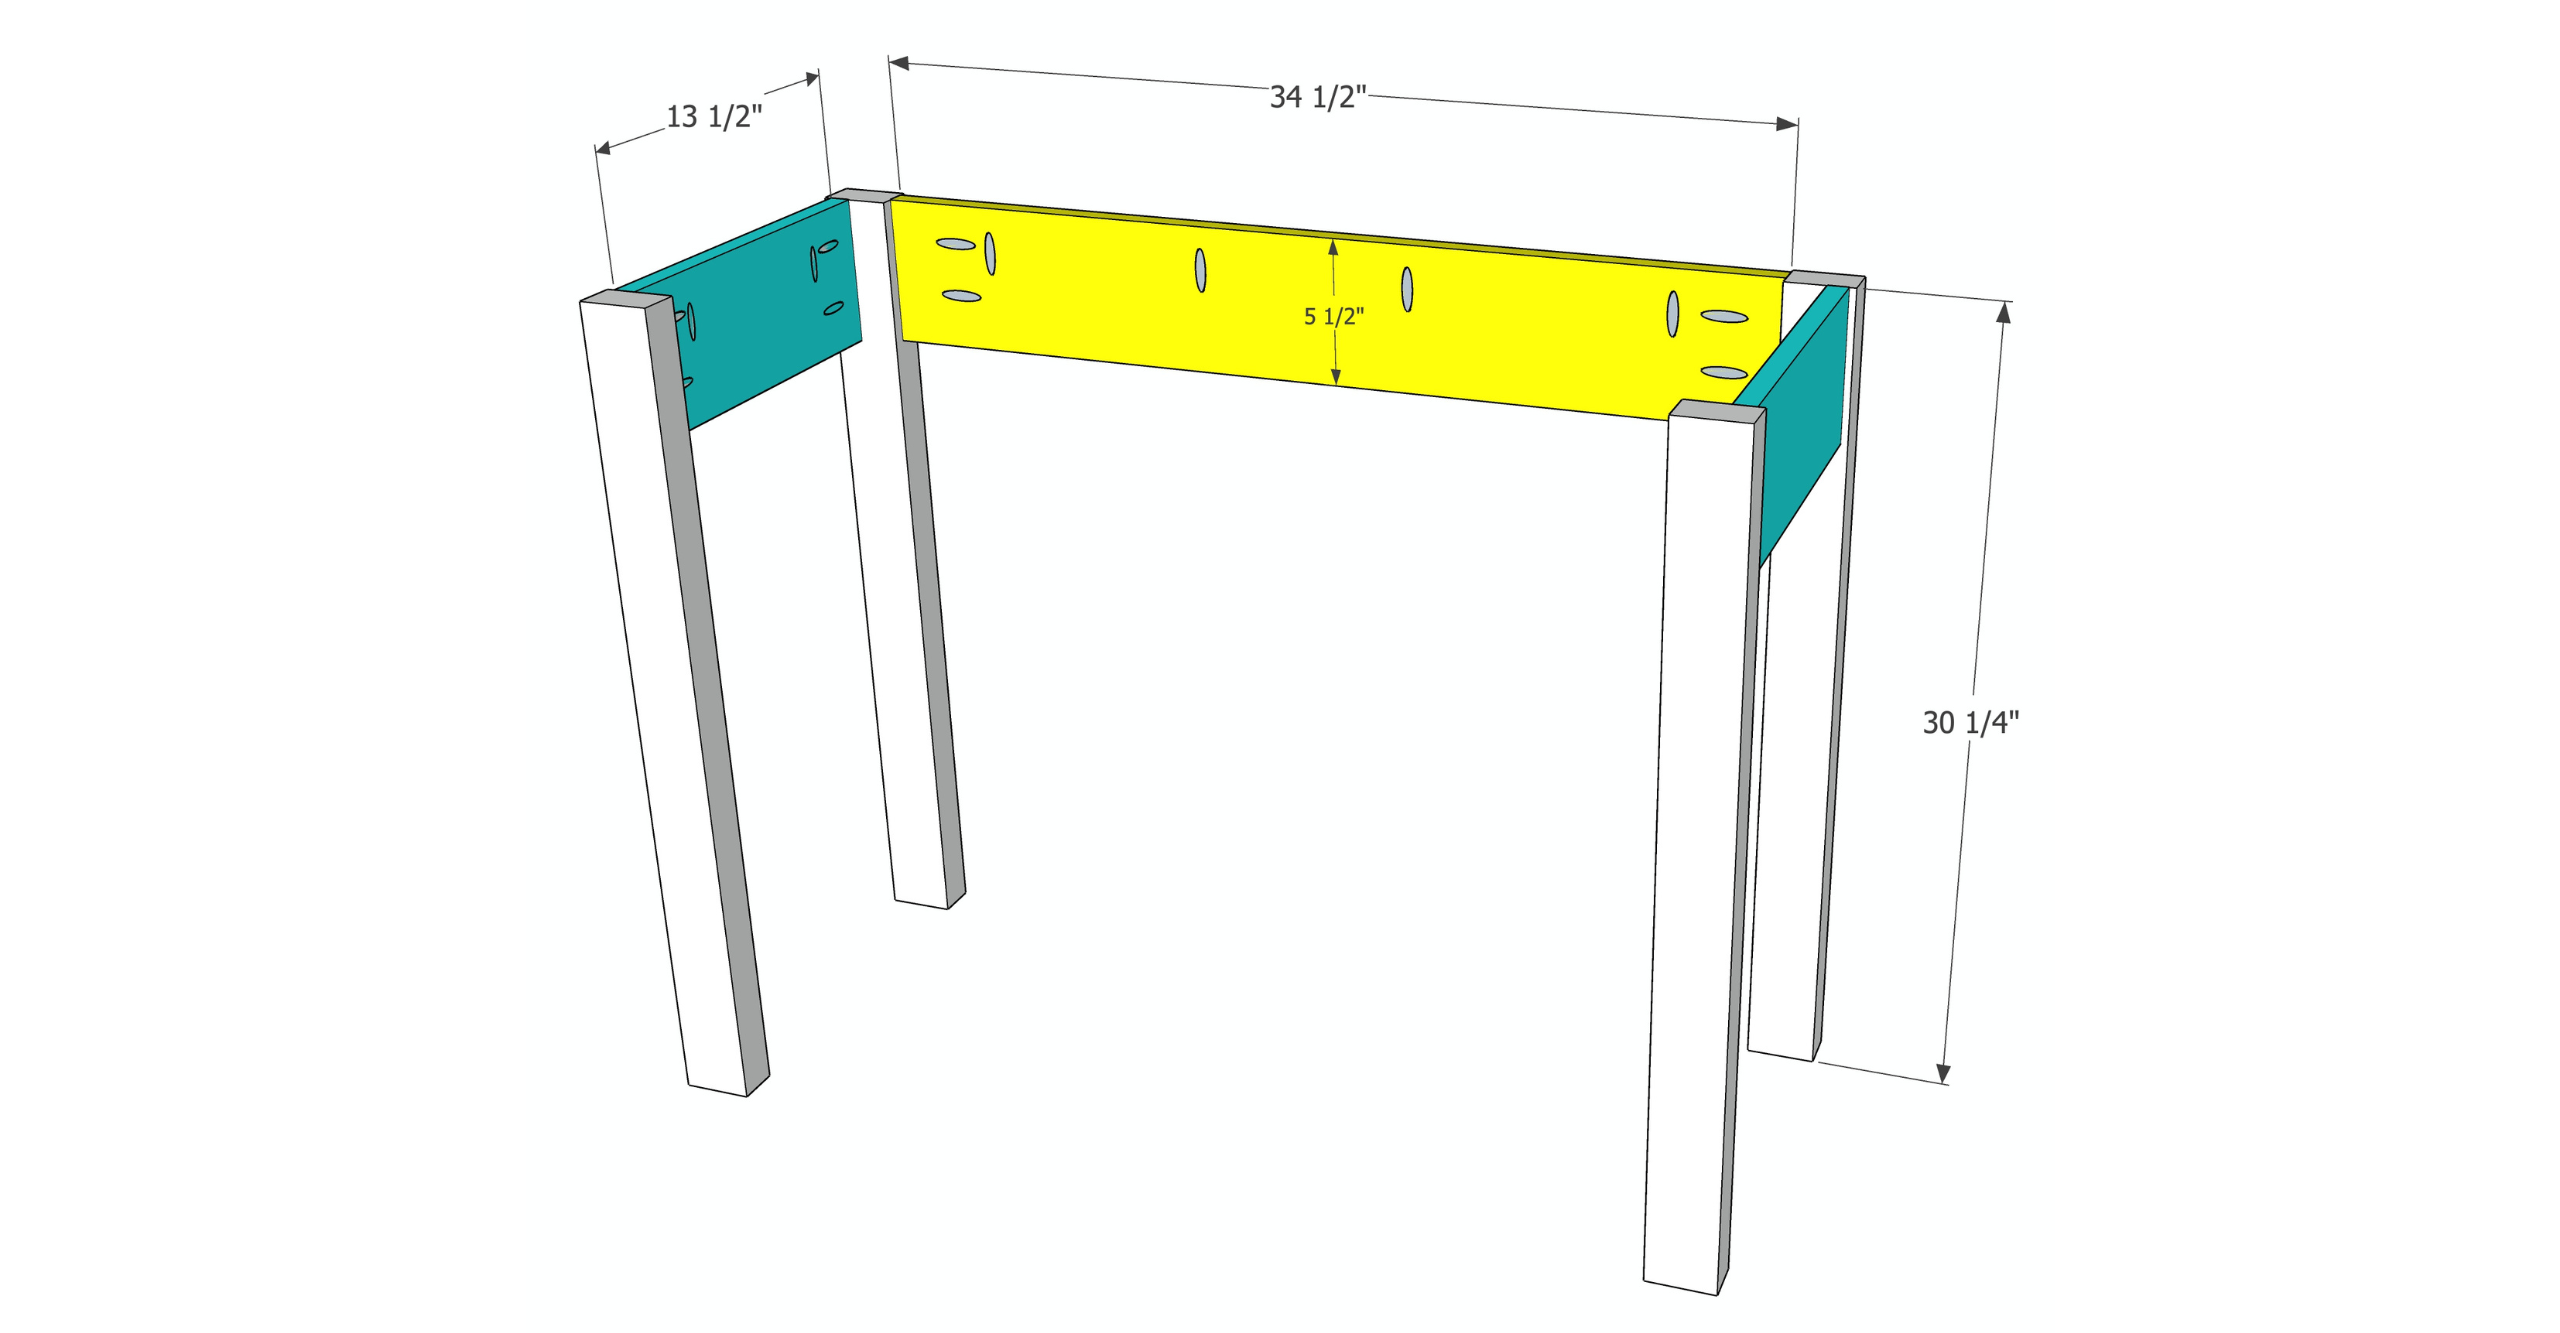
Drill 3/4" pocket holes into each end of the apron pieces as well as the long edge of each of the apron pieces (this will allow the table top to be attached later).
Build the sides first. Add wood glue to each end of the 13 1/2" apron pieces and clamp them flush with the top end of the table legs. Make sure that the pocket holes are going upward to allow the table top to be attached. Attach to the legs with 1 1/4" pocket screws.
When the sides are assembled, add wood glue to each end of the rear apron and clamp to the back legs. Attach with 1 1/4" pocket screws.
-
Attach the front stretcher
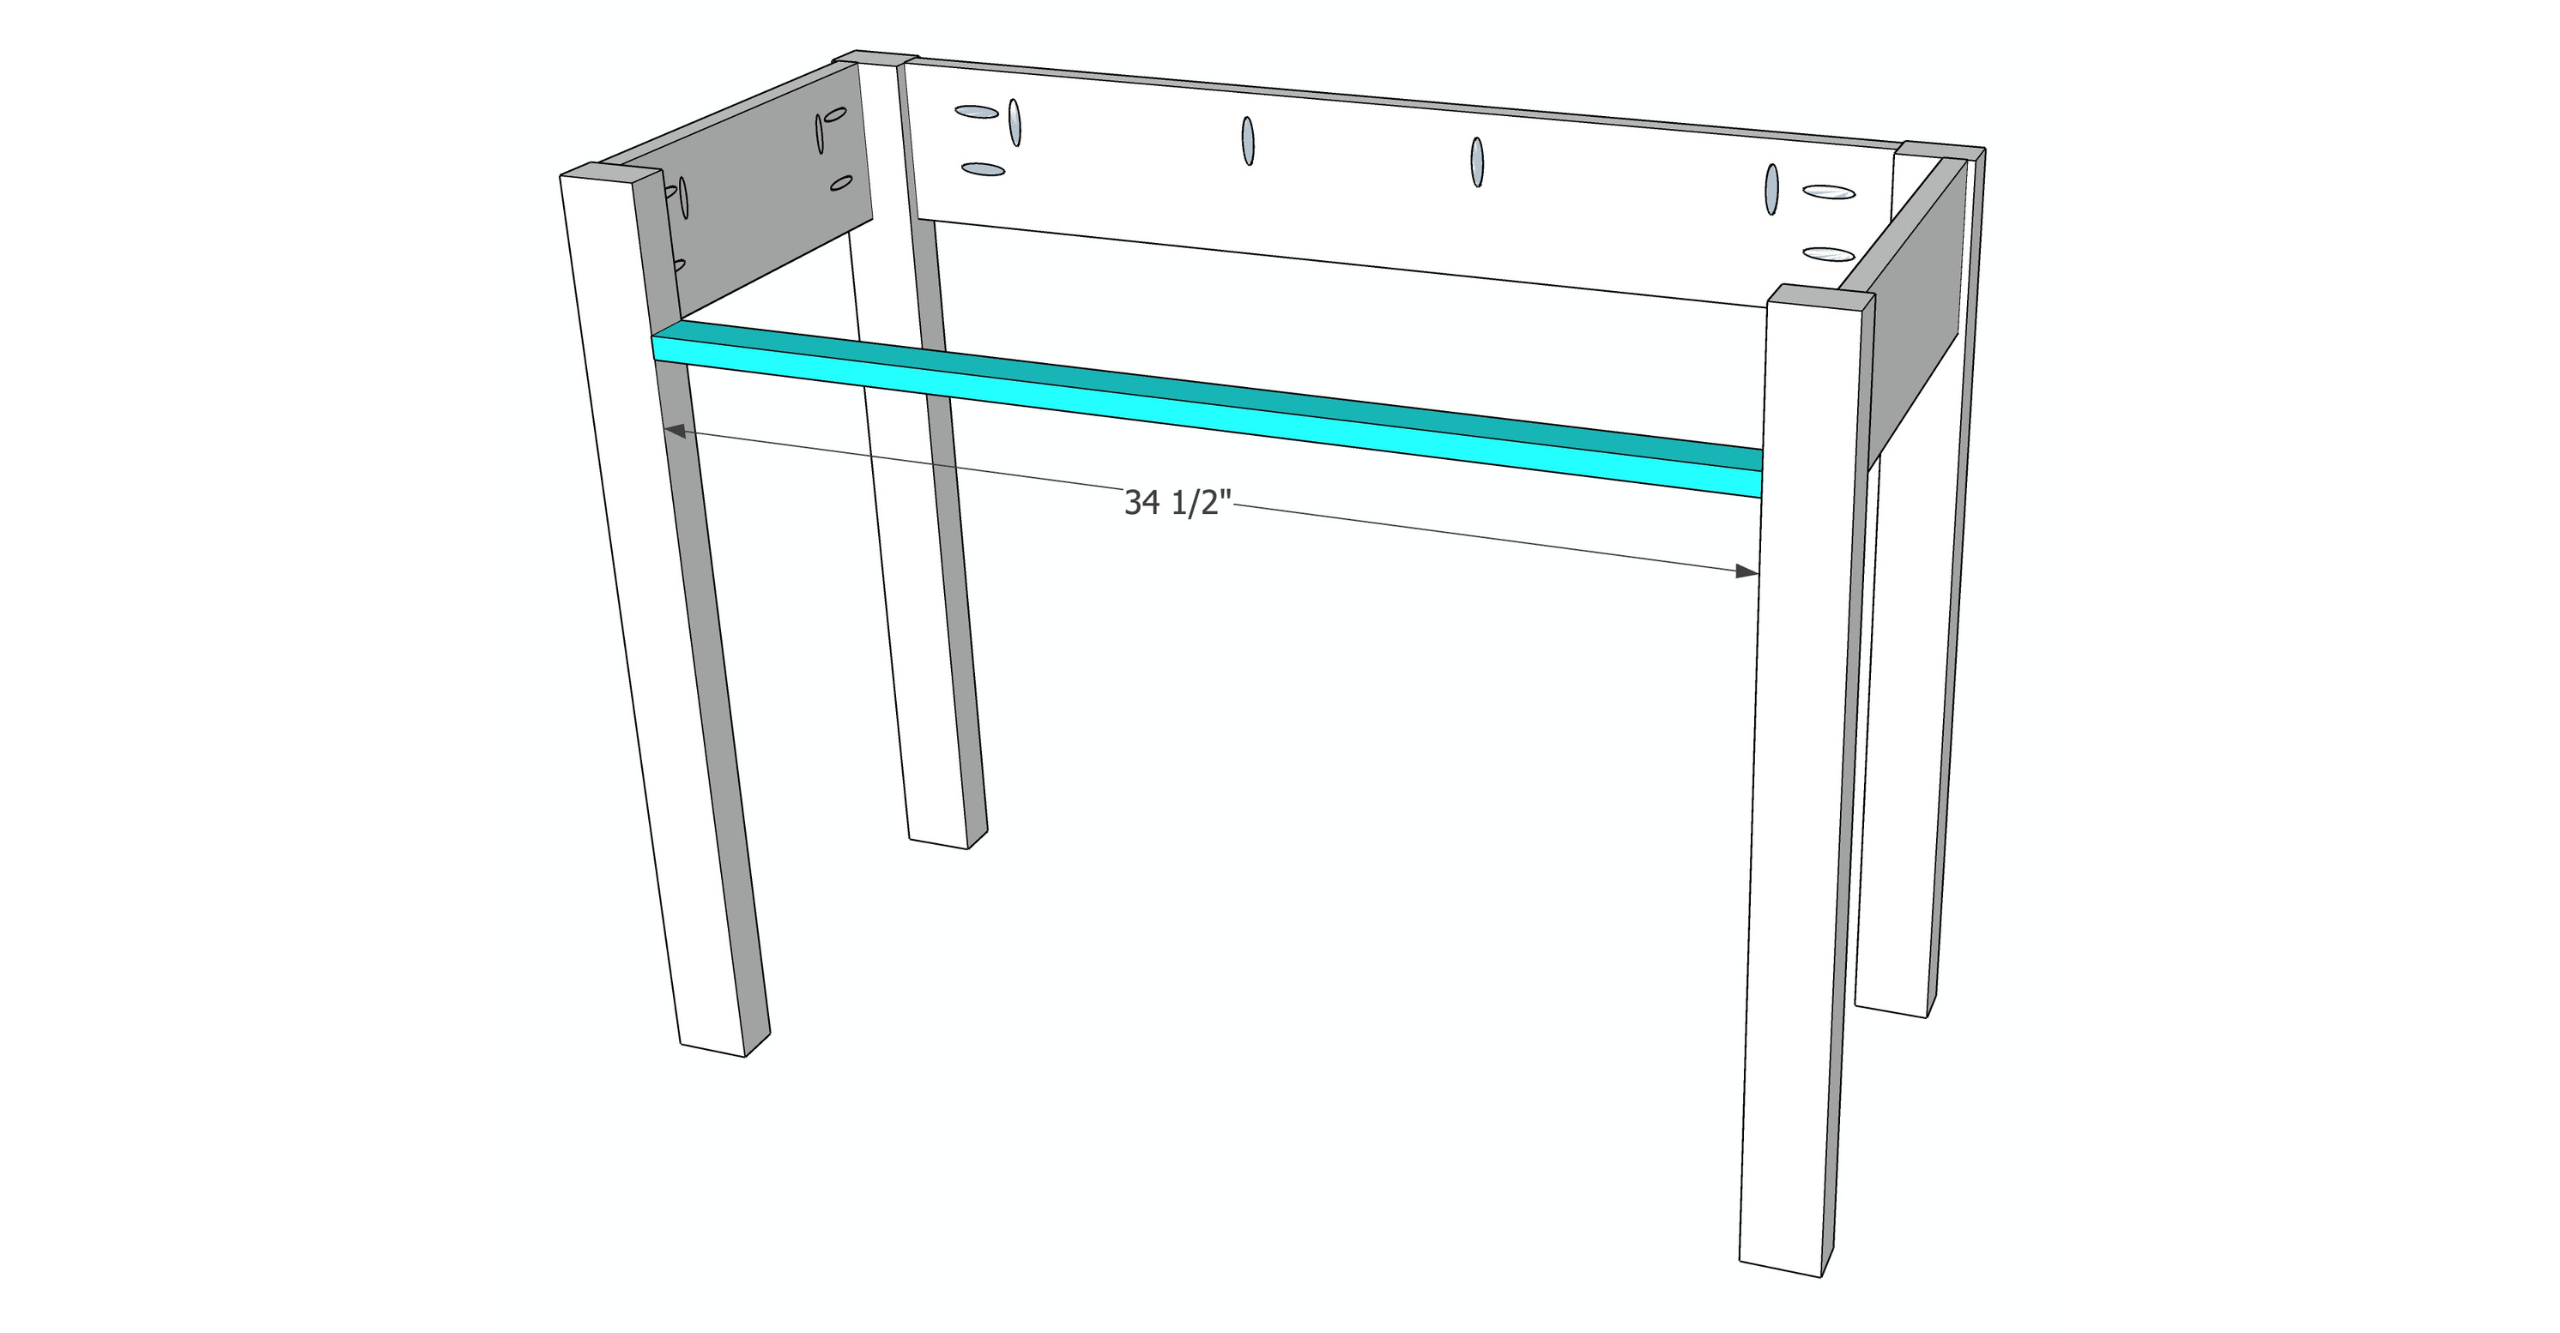
Drill 3/4" pocket holes into each end of the front stretcher. Measure 4 3/4" down from the top of the table legs. The top edge of the stretcher will be placed at this point. Add wood glue to each end of the stretcher and clamp in place. Attach with 1 1/4" pocket screws.
-
Install the Drawer Slide Cleats
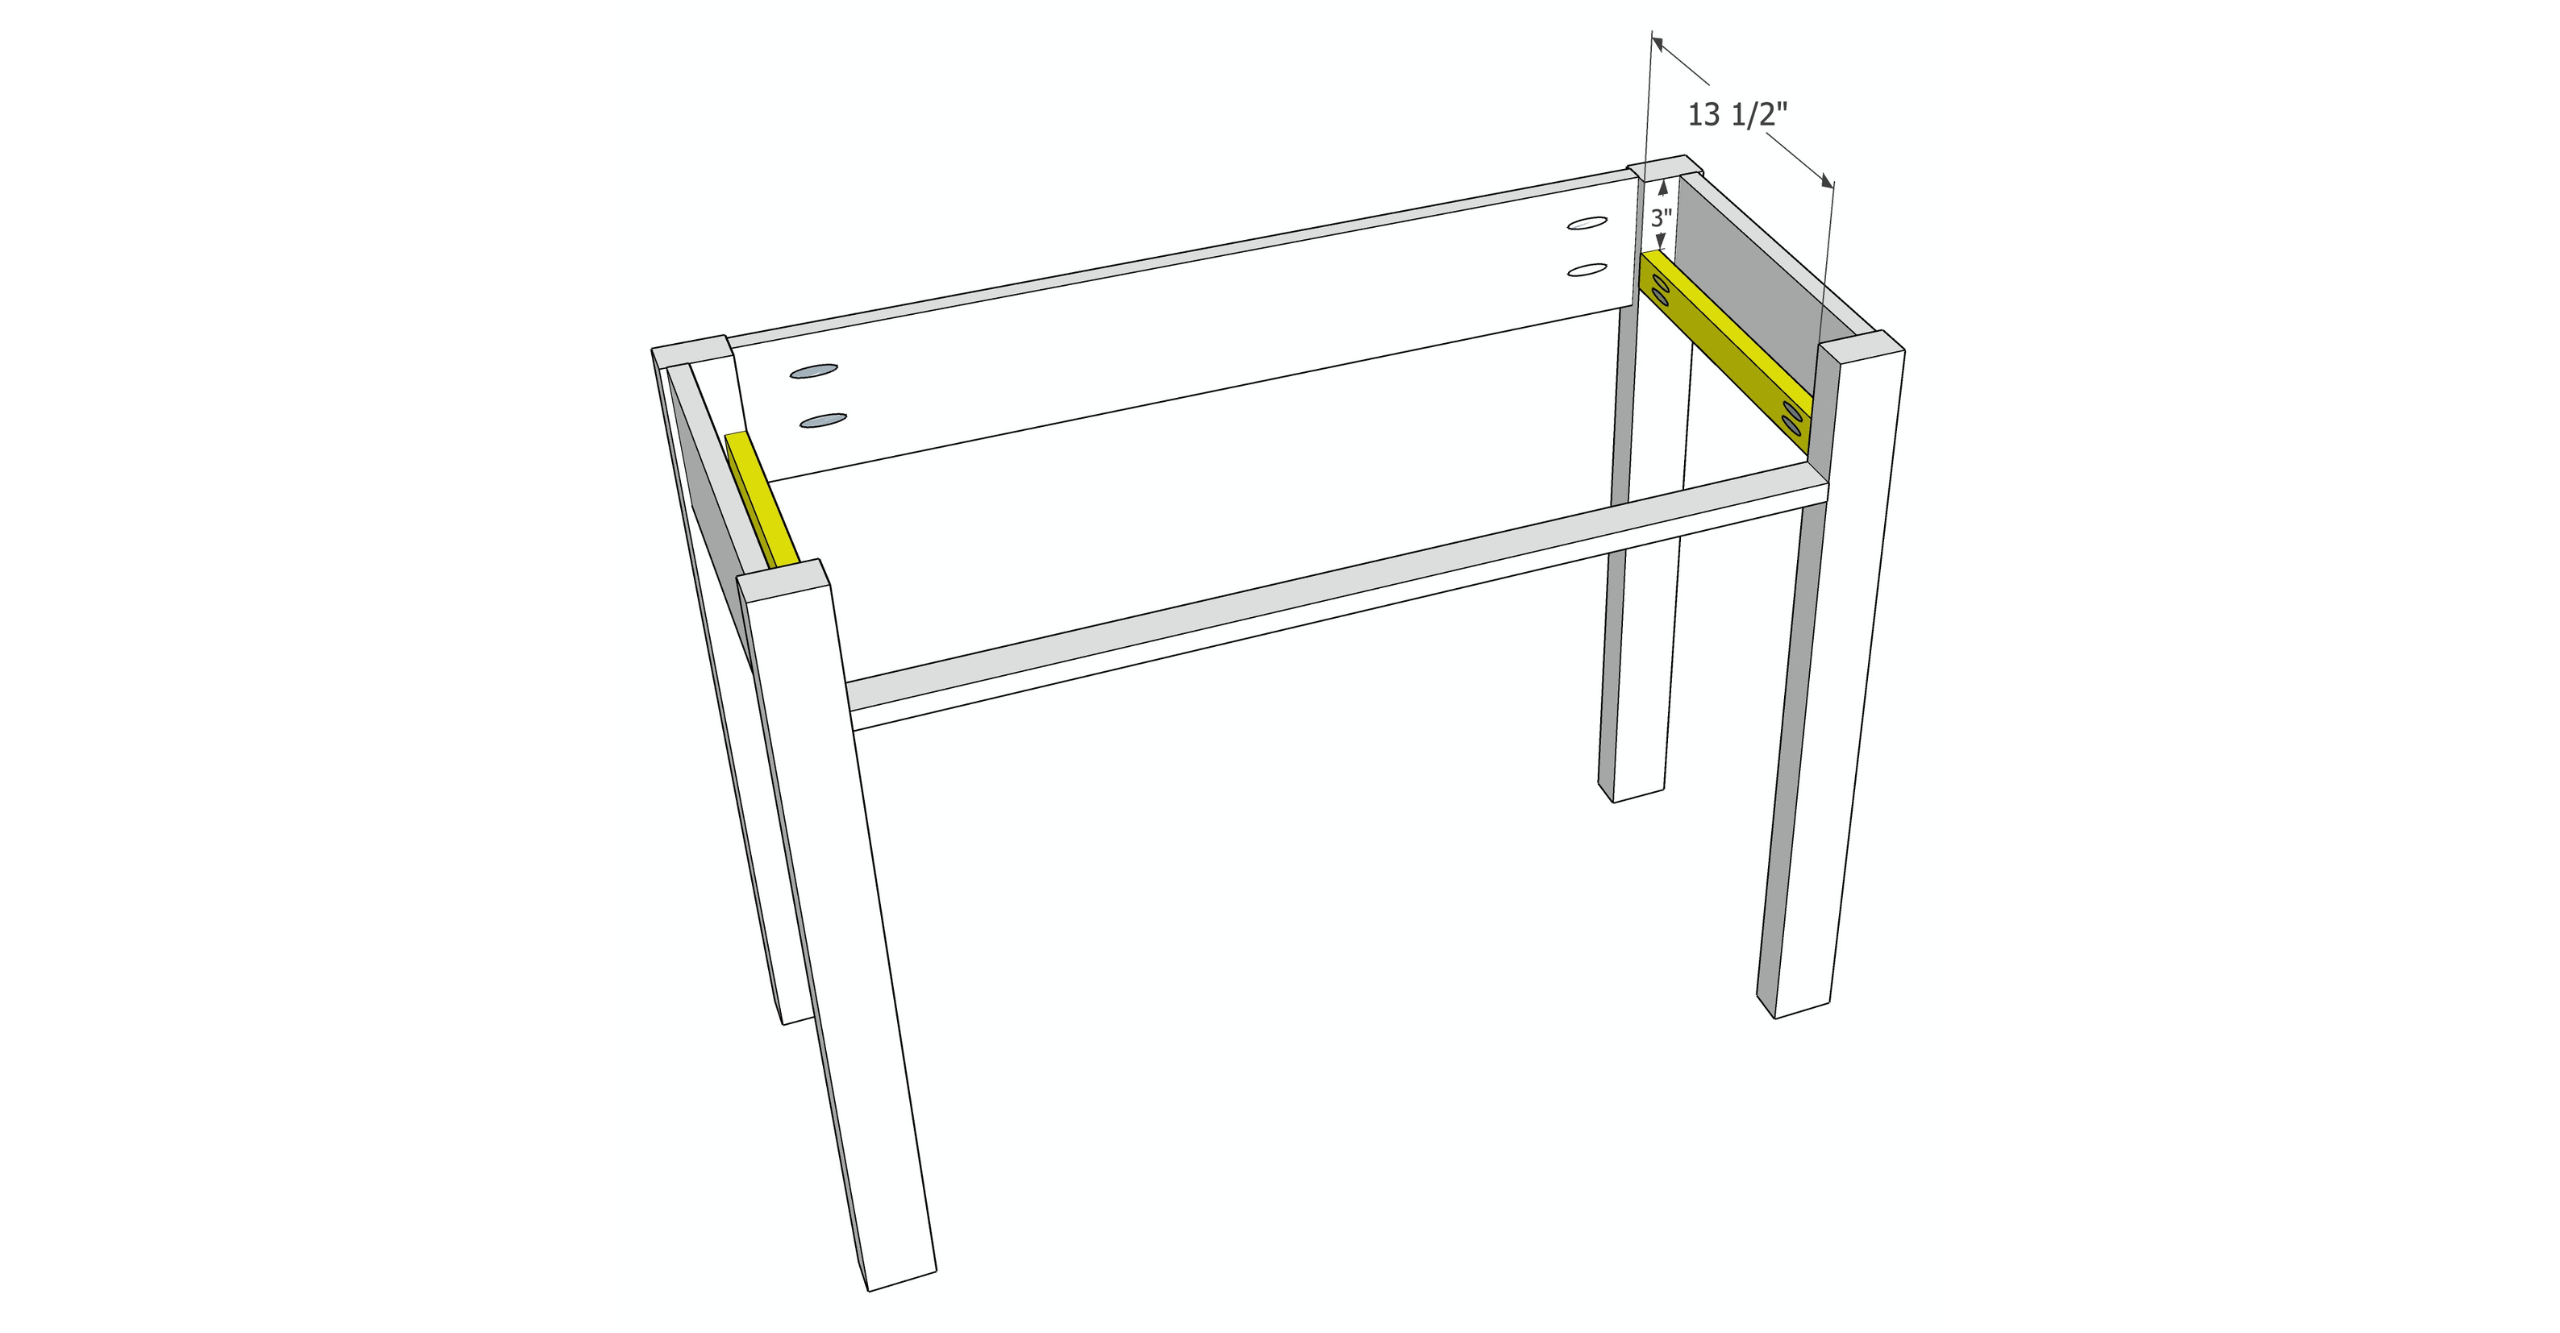
Drill 3/4" pocket holes into each end of the 1x2 drawer glide cleats. Set the cleats 3" flush with the inside edge of the table legs and 3" down from the top of the legs. Clamp and attach with 1 1/4" pocket screws.
-
Assemble The Drawer Box
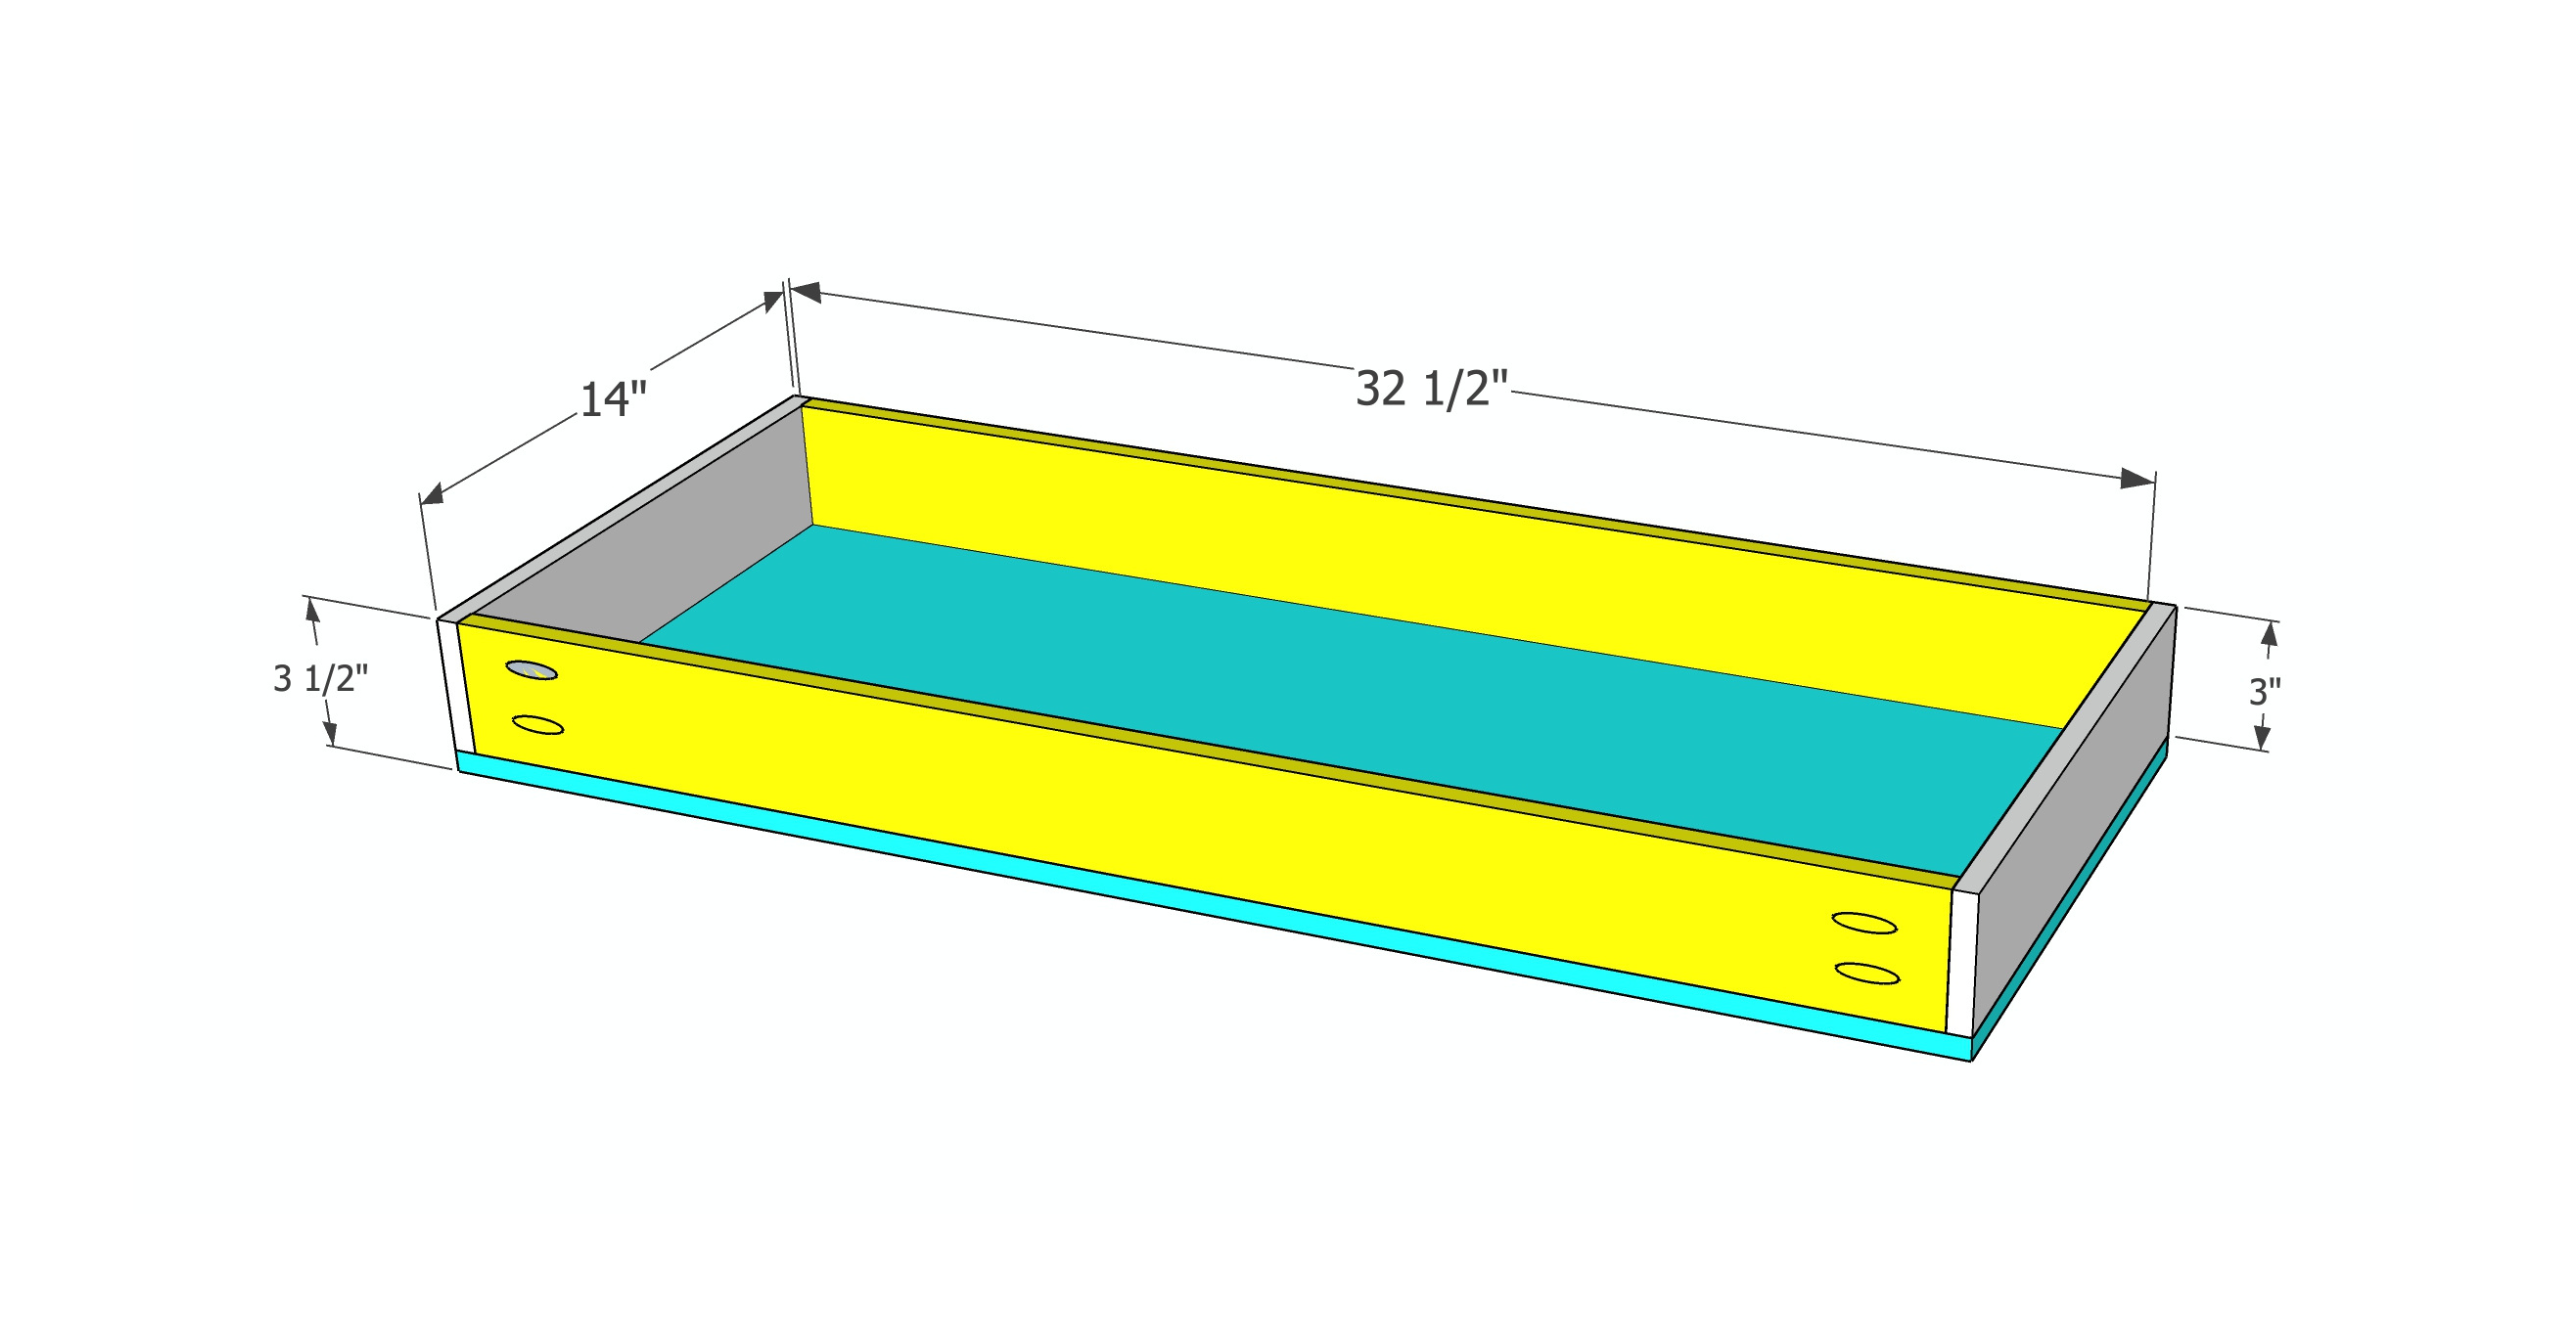
Drill 1/2" pocket holes into each end of the front and rear sides of the drawer box. Add wood glue to each end of these pieces and clamp the drawer slides to them to make a box. Attach with 1" pocket hole screws.
Add a thin bead of wood glue to the bottom edge of the drawer box and set the drawer bottom on top, making sure all edges are lined up flush. Attach with 1 1/4" pin nails.
-
Install the drawer slides
Install the side mount drawer slides flush with the top edge of the installed cleats. For the portion of the drawer slides that fit onto the drawer box, install those flush with the bottom edge of the drawer box.
Once both portions of the drawer slides are attached, install the drawer.
-
Install the Drawer Front
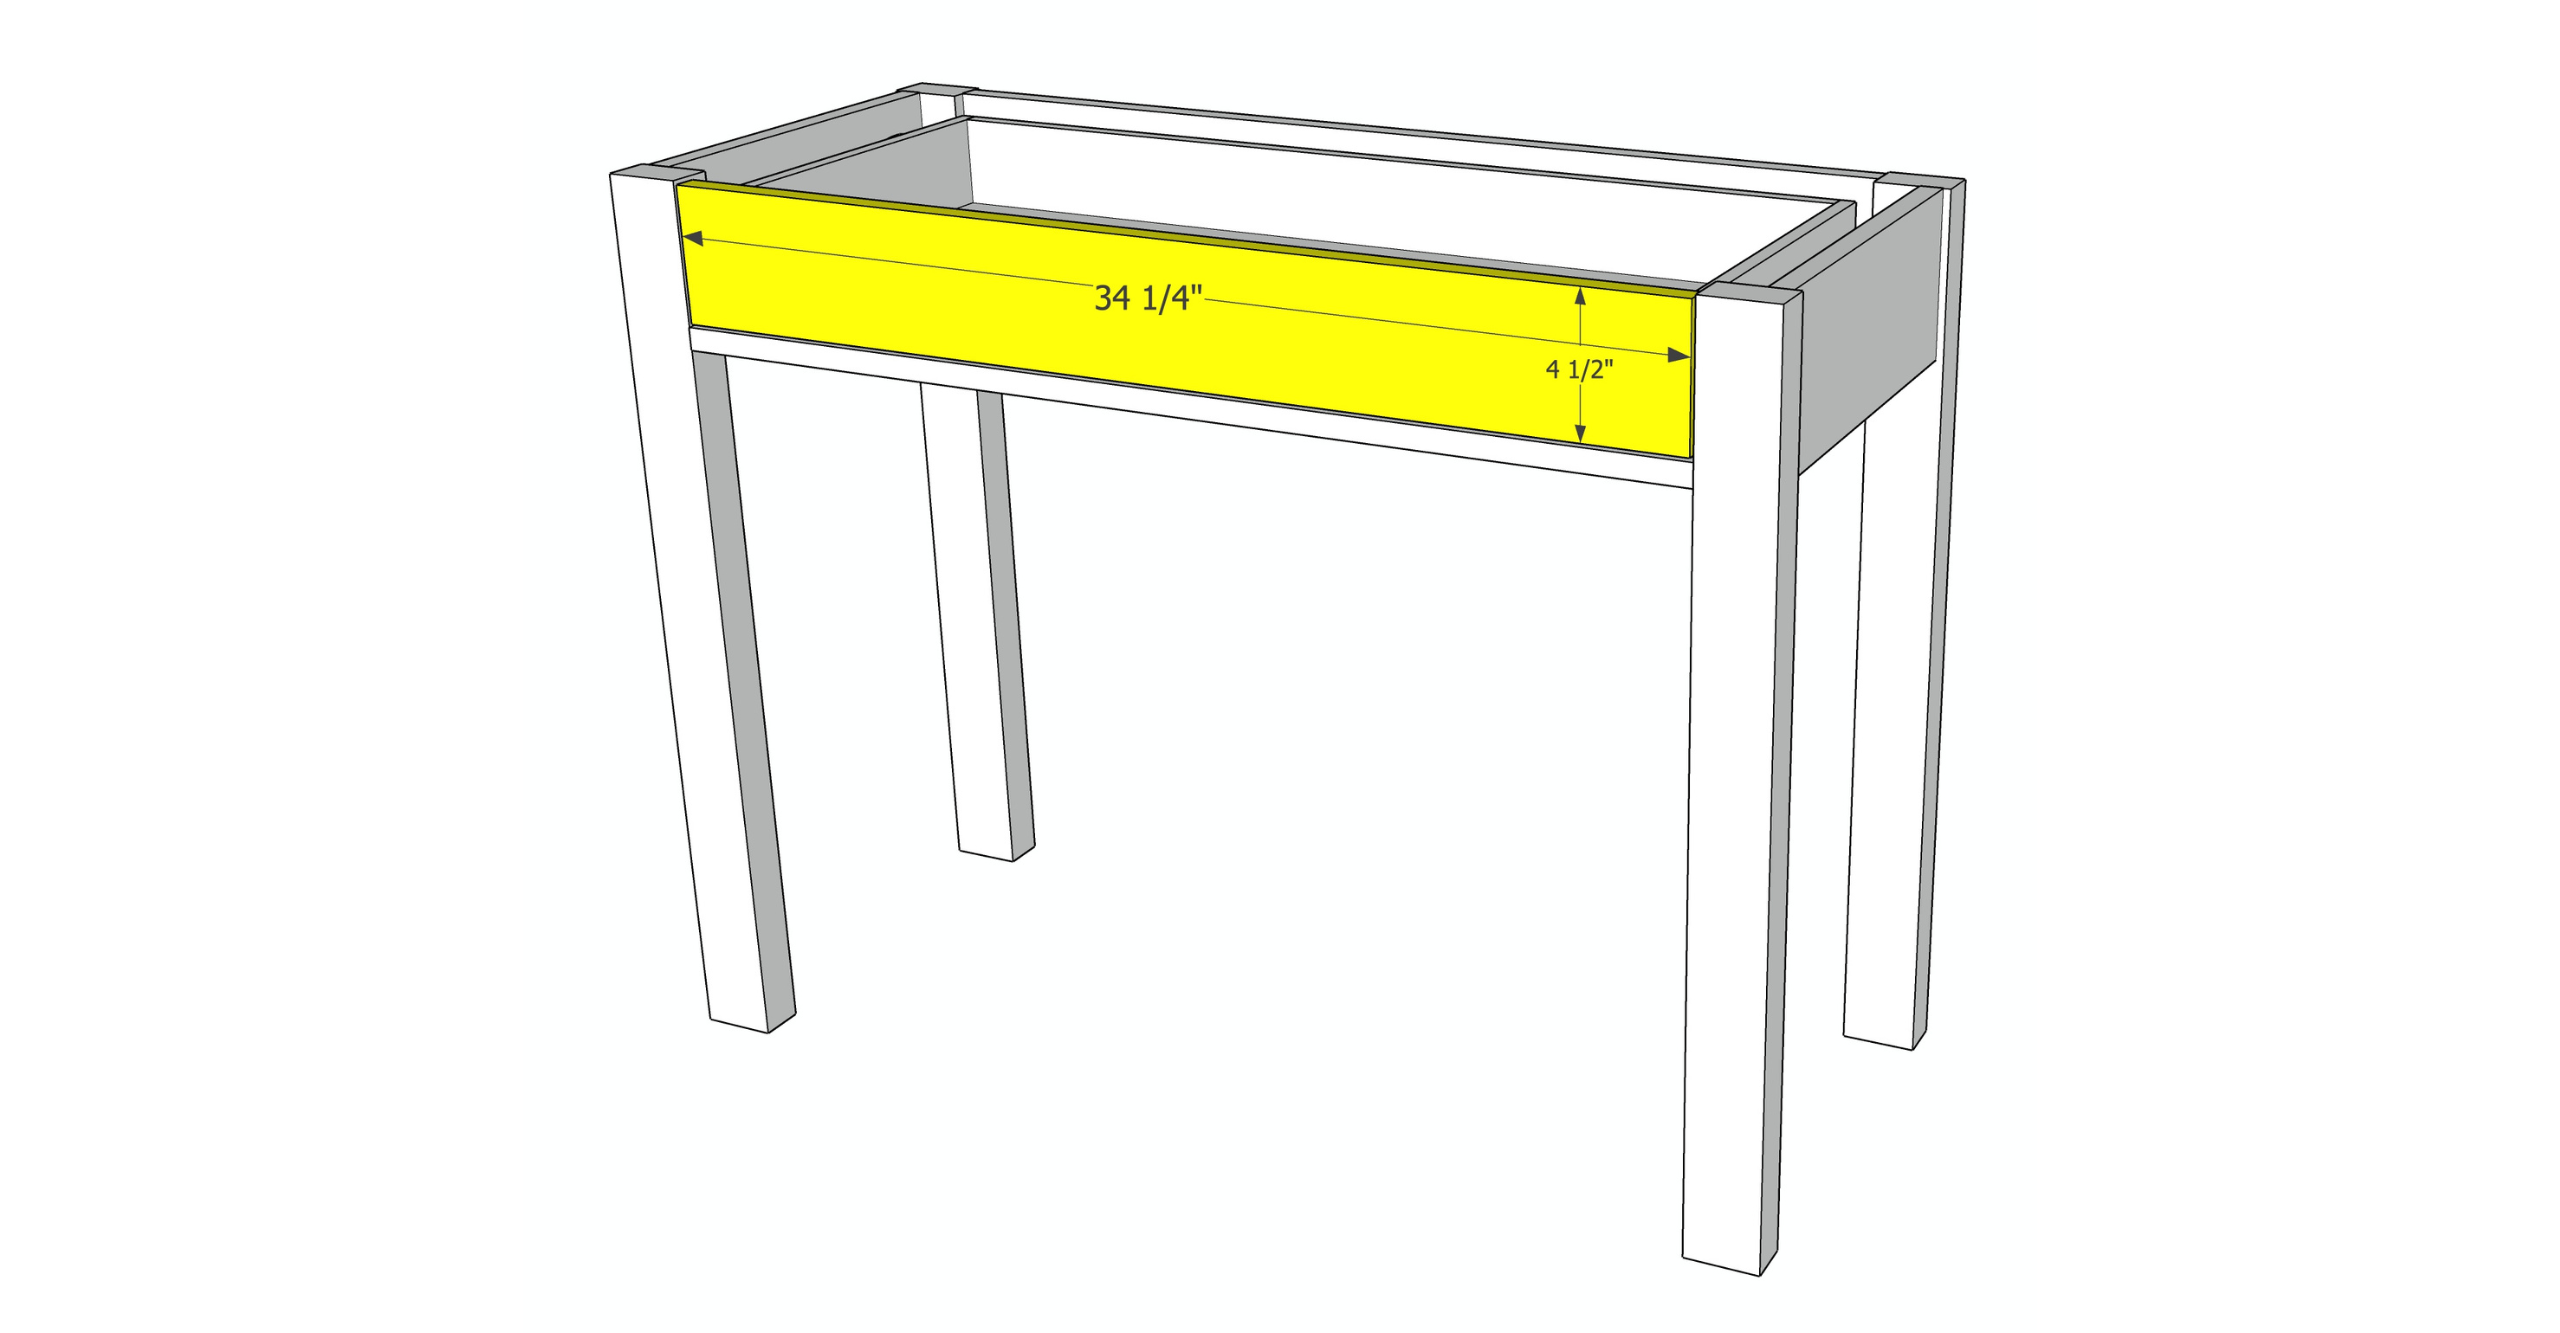
Use spacers to achieve an 1/8" gap around all sides of the drawer front and then clamp the drawer front in place. From the inside of the drawer box, drive 1" pocket screws through the front of the drawer box and into the drawer front. Do this in all four corners.
-
Attach the Drawer Pull
Using the Kreg Hardware Jig, determine placement for the drawer pull and set up the hardware jig to match the spacing for the screws on the drawer pull and the placement on the front of the drawer front. Drill the holes for the drawer pull and install it with the screws included with the drawer pull.
-
Attach the Table Top
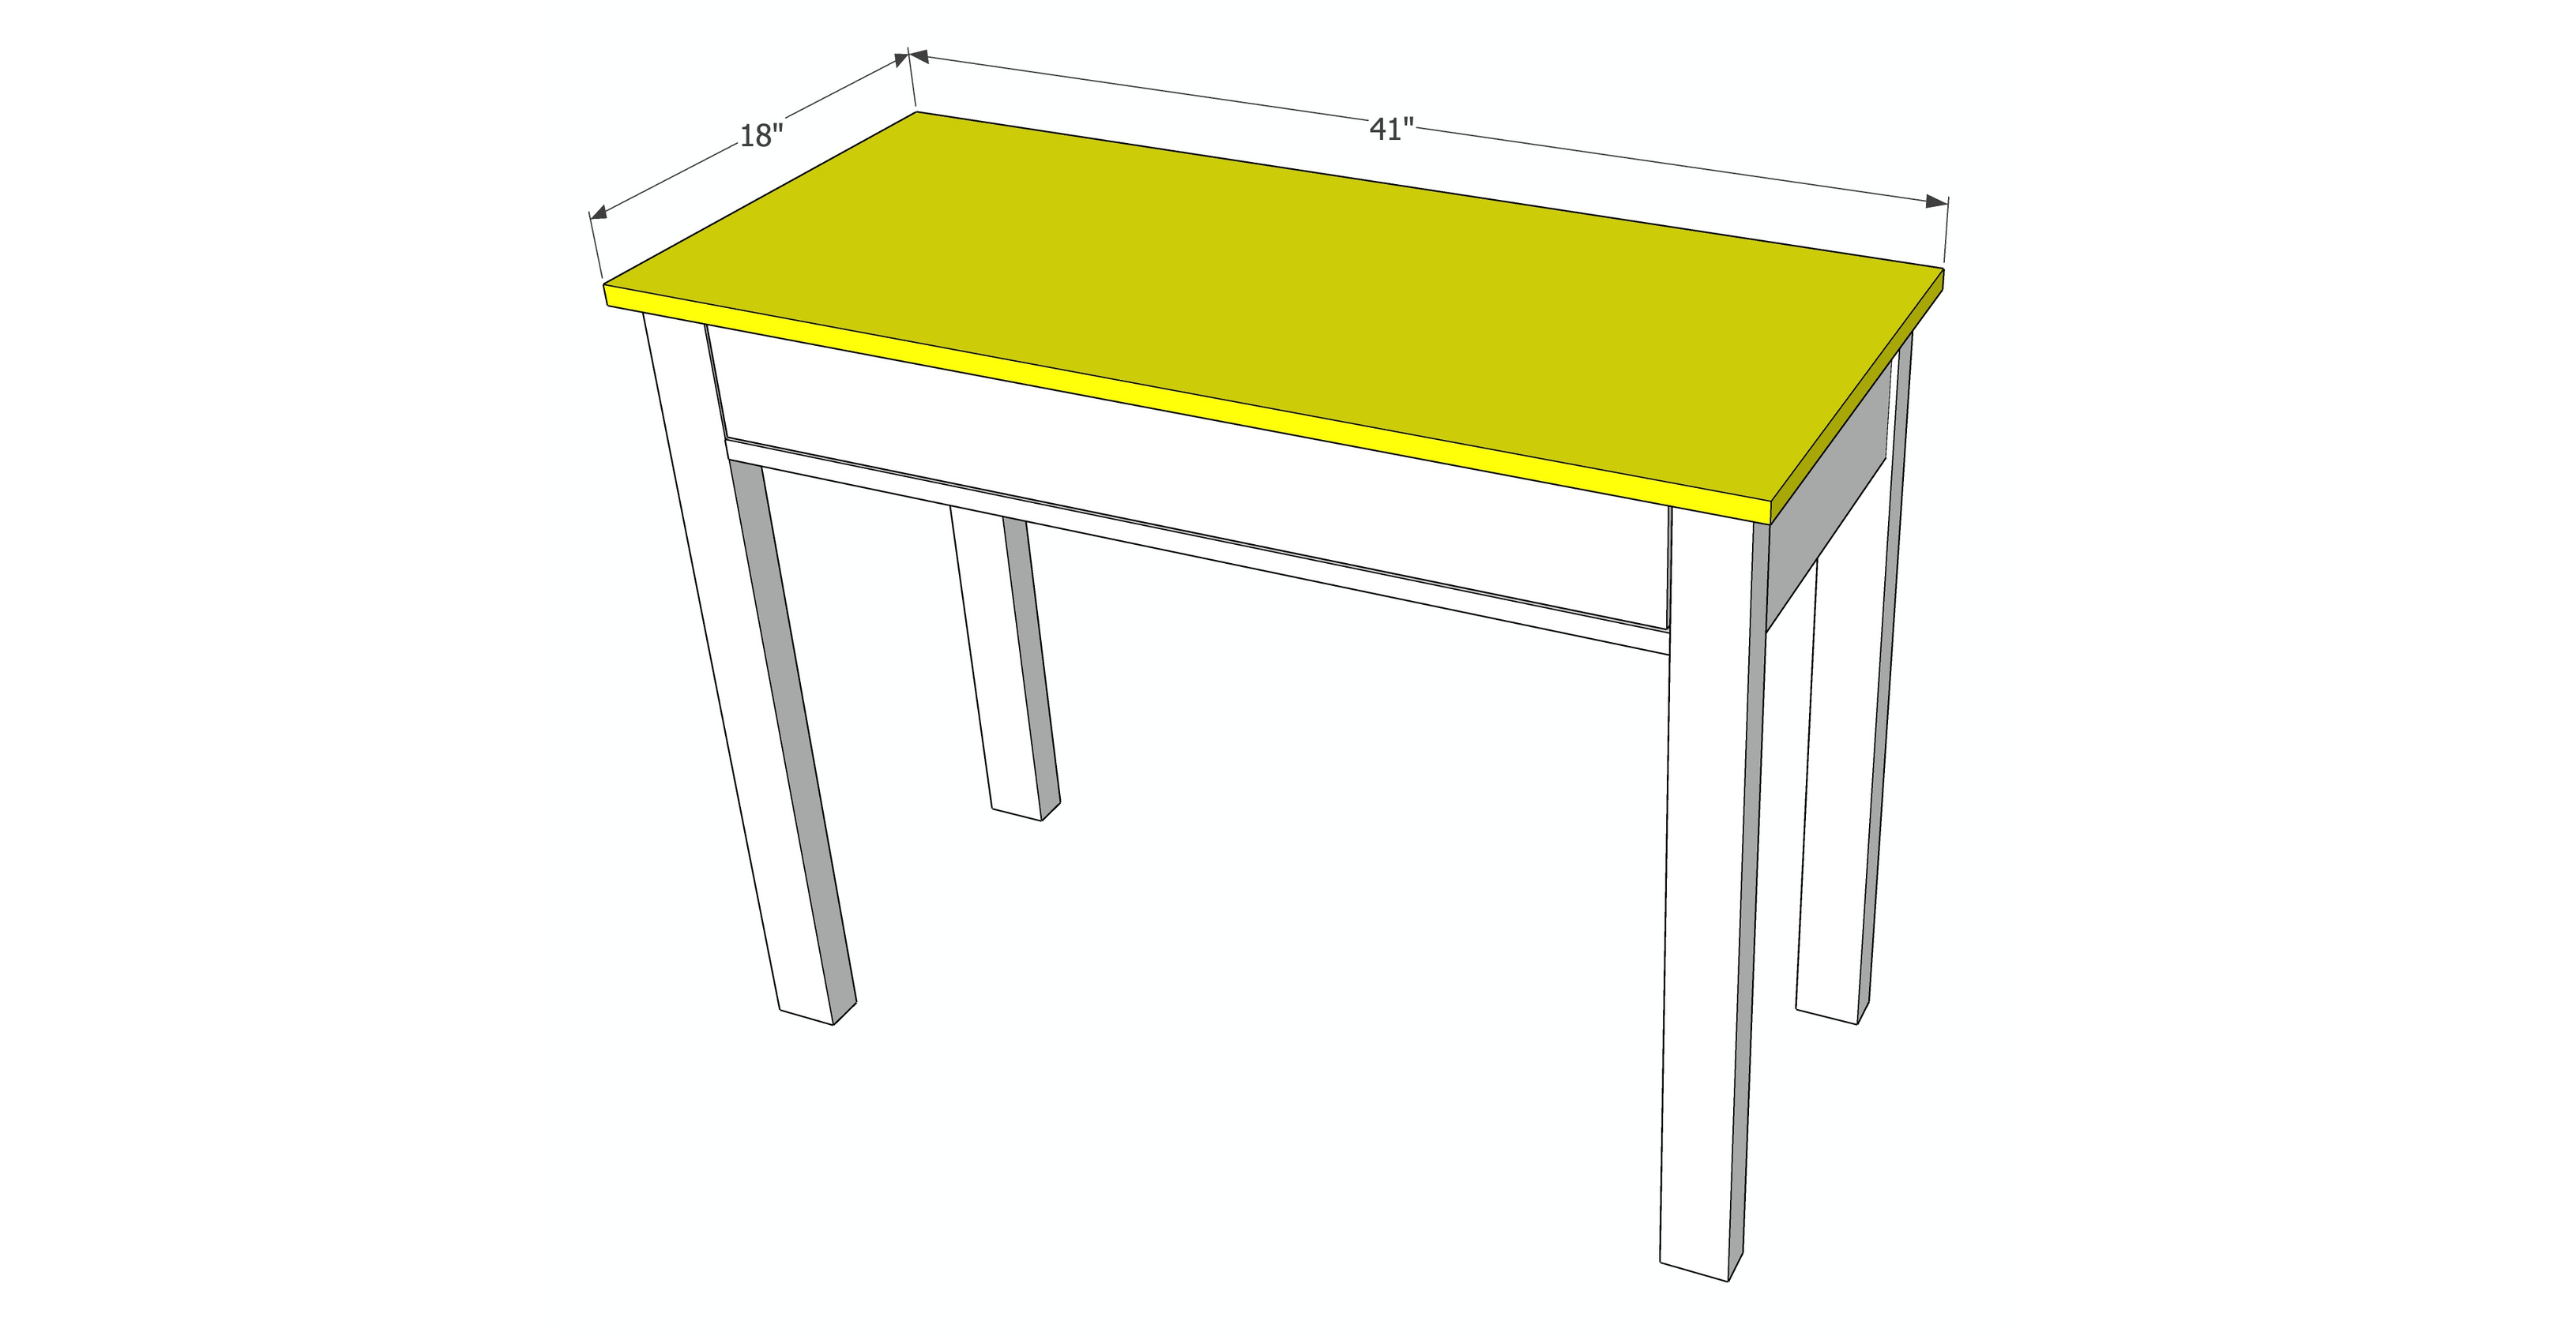
Remove the drawer from the table. Set the table top onto the table, leaving a 3/4" overhang on all sides of. Clamp the table top to the table base. Attach the table top with 1 1/4" pocket screws using the holes previously drilled into long edge of the table aprons.
-
Make and Install the Cove Brackers
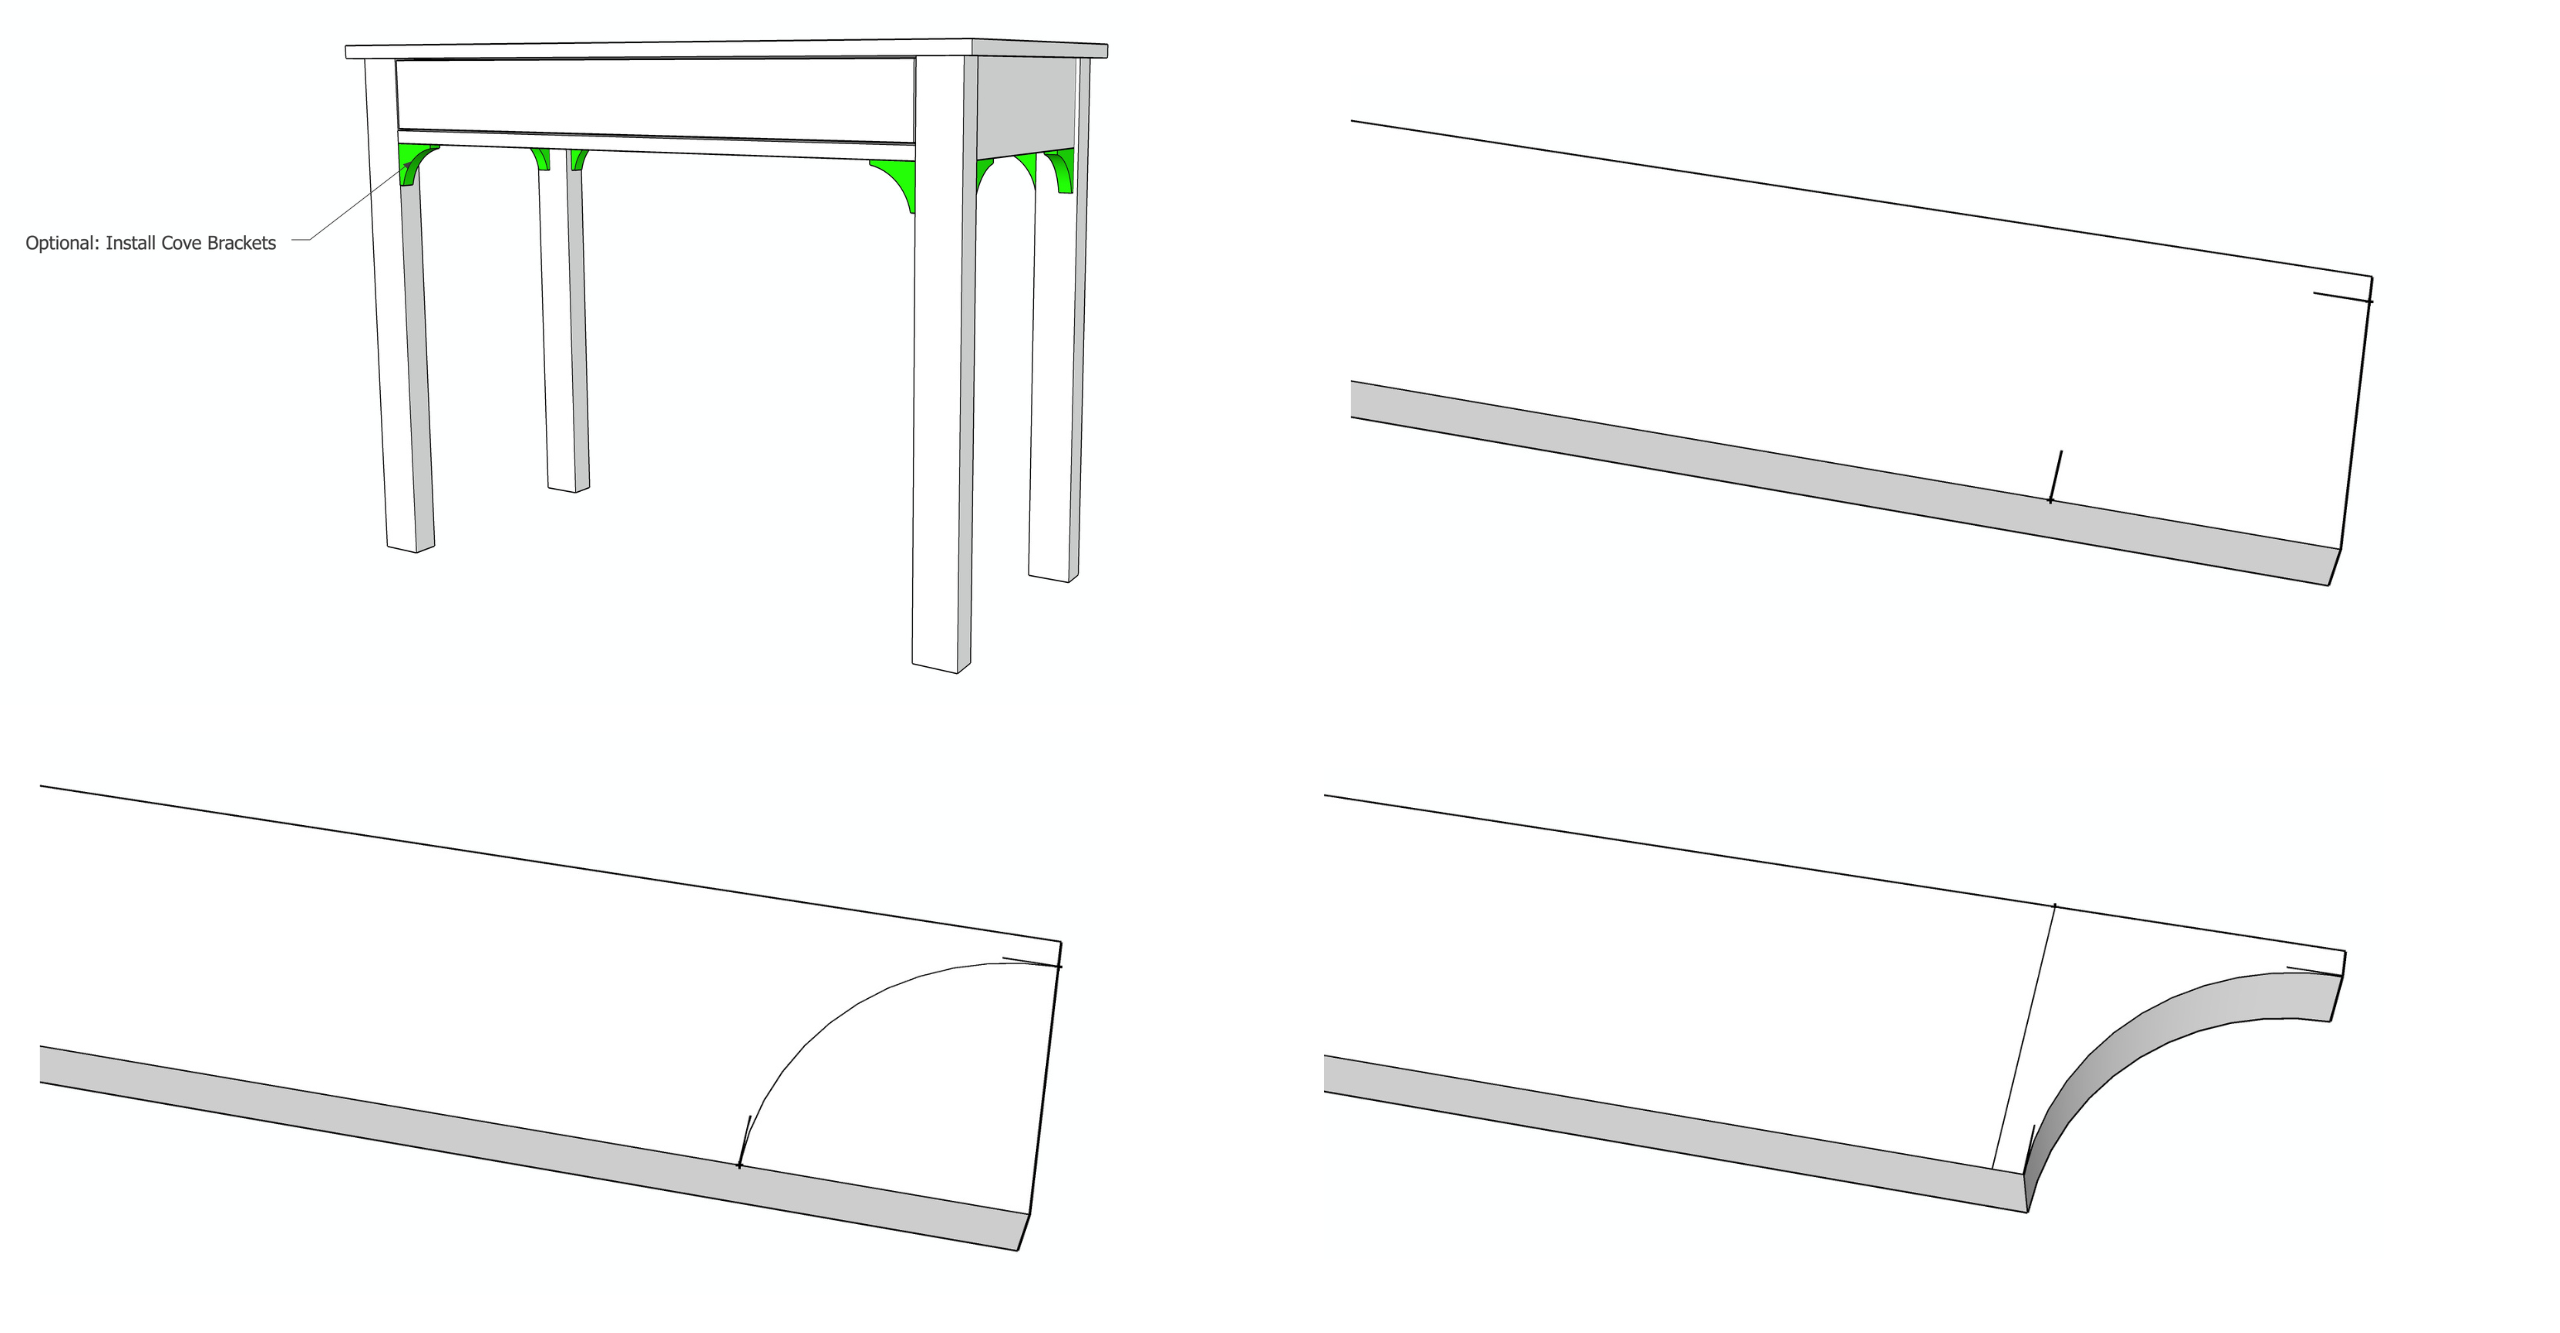
This step is entirely optional but adds a little something extra to the table. Using the 1x3 board, make a mark 2 1/4" in from the edge and 2 1/4" up on one side of the board. Using a compass fitted with a pencil, place the tip of the compass on the very corner of the board and line it up with one of the pencil marks and draw and arc to the next pencil mark. Clamp the board to your work bench and use a jigsaw to cut the arc. Then measure 2 1/2" from the end of the board and cut the board at that mark to make a small cove bracket. Sand the bracket smooth and then glue and nail to the bottom of the table aprons and stretcher with 1 1/4" pin nails. See the detailed diagram on exactly how to make these marks and cuts. Repeat this step to make a total of 8 cove brackets.
-
Finish Table As Desired
Once the table is completed, finish as desired with paint or stain and a clear urethane finish.