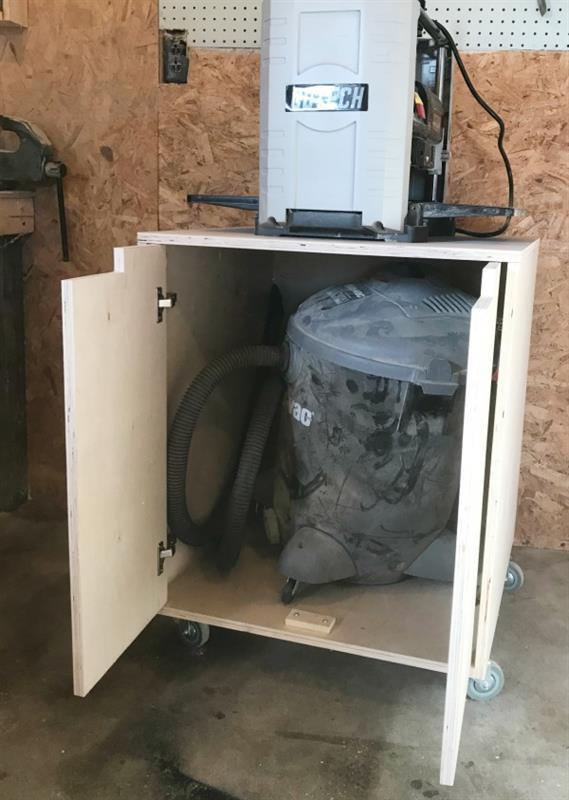
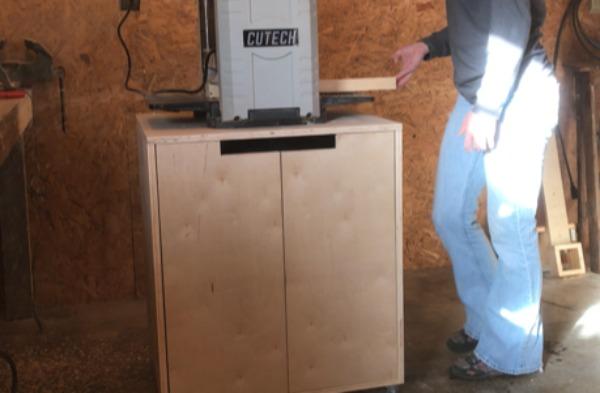
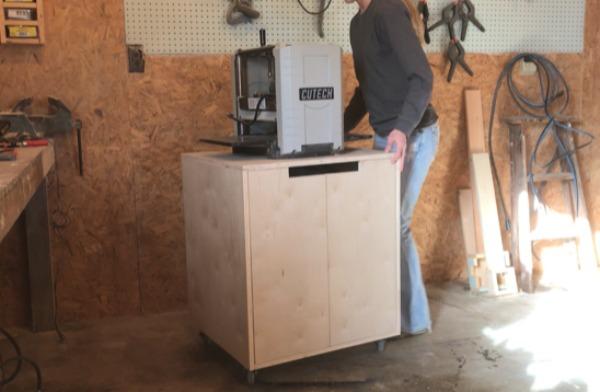
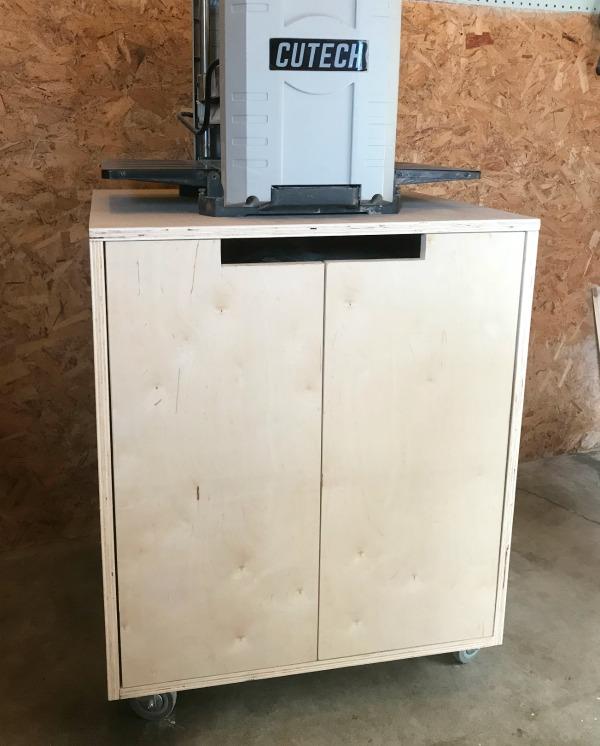

Made from one sheet of plywood, this simple mobile tool stand can be built in just a few hours and can house several of your favorite tools. Place your planer, miter saw, even your Kreg Jig on top and use the cabinet to store your vacuum, clamps, or other tools. Makes a great versatile shop cart.
Tools
Kreg Tools


Other Tools
-
Square

-
Tape Measure
Materials
Wood Products
- 1 Plywood , 3/4" Thick , Full Sheet
Hardware & Supplies
- 4 Swivel Casters
- 4 Concealed hinges (2 pair)
- 24 1 1/4" pocket hole screws
Directions
-
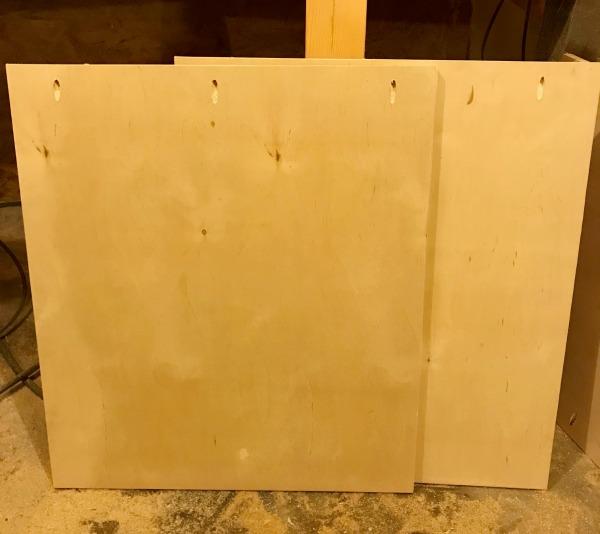
Cut Plywood Down
First, cut down your sheet of plywood to two 24” strips. It’s easy to use your Kreg Rip Cut for this. Once you have your two 24” strips, cut out the pieces from the cut list above. A Kreg AccuCut works perfect for this as well. NOTE: for the doors, you can cut a 26 1/4" long piece, then just rip in half to make the two doors.

-
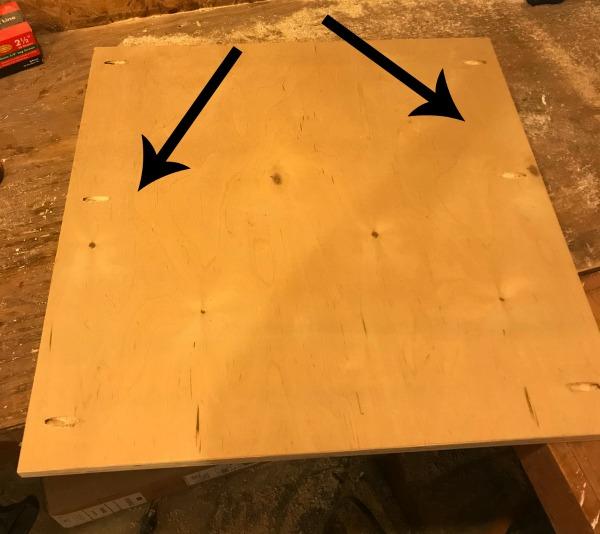
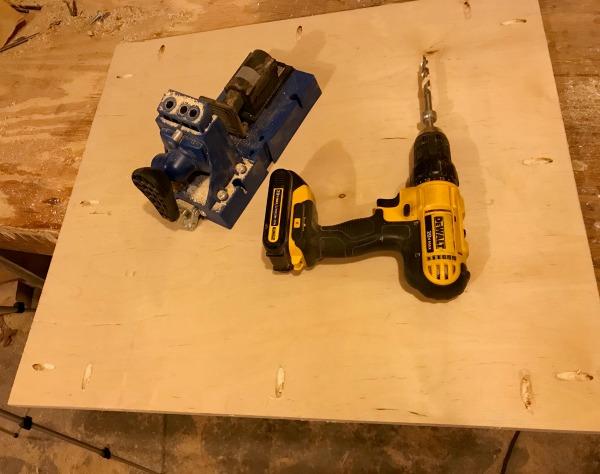
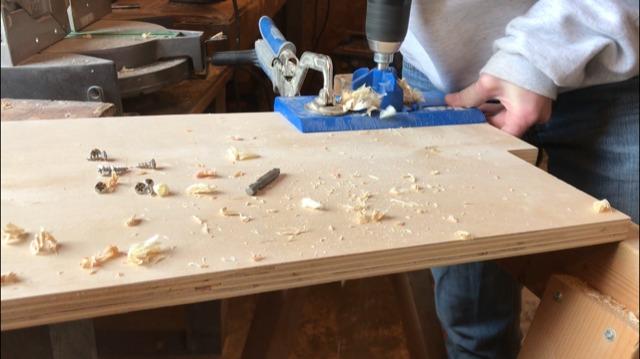
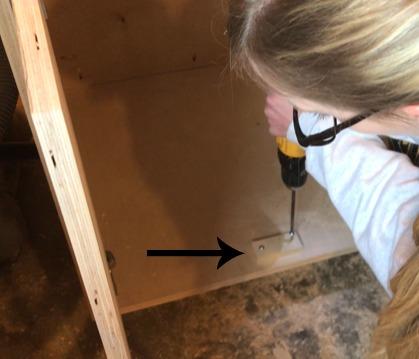
Drill Pocket Holes in Bottom Piece
Drill three ¾” pocket holes each into two opposite sides of your bottom piece of plywood like shown.
-
Drill Pocket holes into Side Pieces
Drill ¾” pocket holes into the two side pieces. You only have to drill these along one of the 24” long edges. This will attach your top piece later.
-
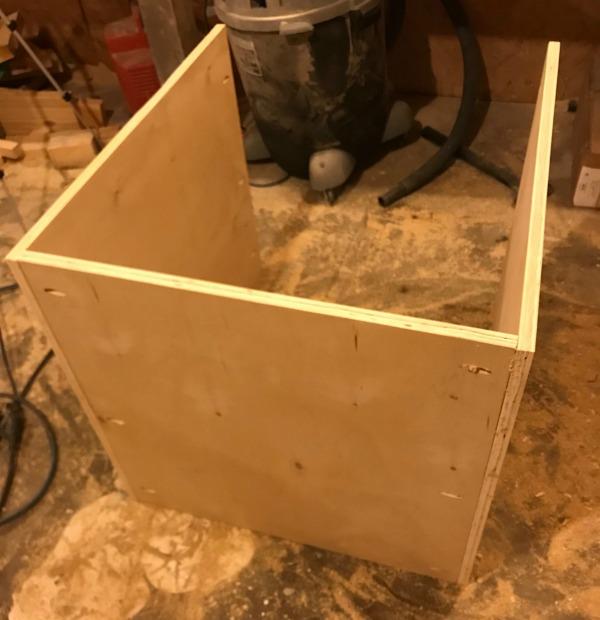
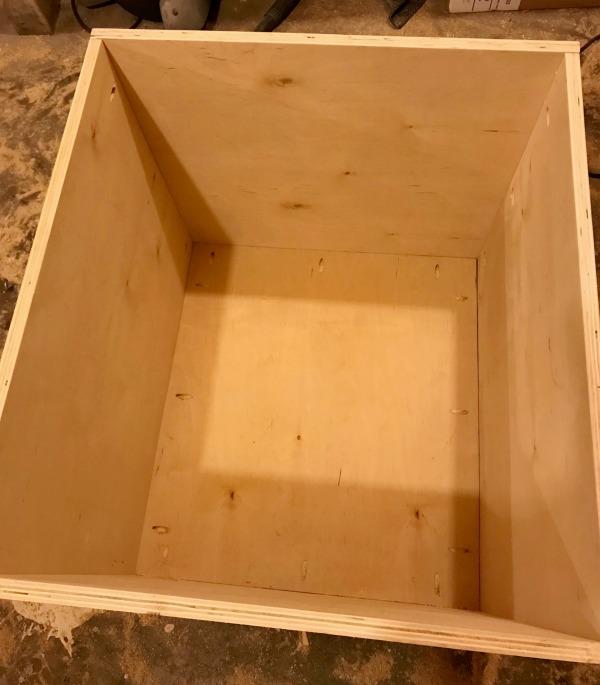
Attach Bottom and Side Pieces
Using 1 ¼” pocket hole screws, attach the bottom between the two side pieces as shown. Make sure that the pocket holes on the side pieces face up and are on the inside of the cabinet.
-
Attach Top Piece
Using 1 ¼” pocket hole screws, attach the top like shown through the pocket holes in the side pieces. Make sure the top is flush to the side pieces on the side edges when you attach.
-
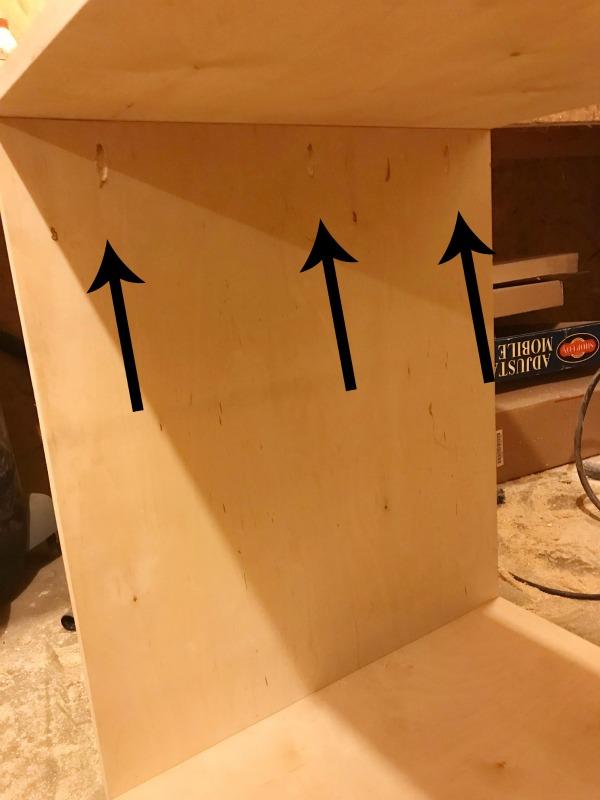
Drill Pocket Holes into Back Piece
Drill ¾” pocket holes along the edges of the back piece as shown.
-
Attach Back Piece
Using 1 ¼” pocket hole screws, attach the back piece as shown. You can have the pocket holes on the inside or outside of the cabinet. It’s just your personal preference on where you want to see them. Make sure the back is flush when you attach.
-
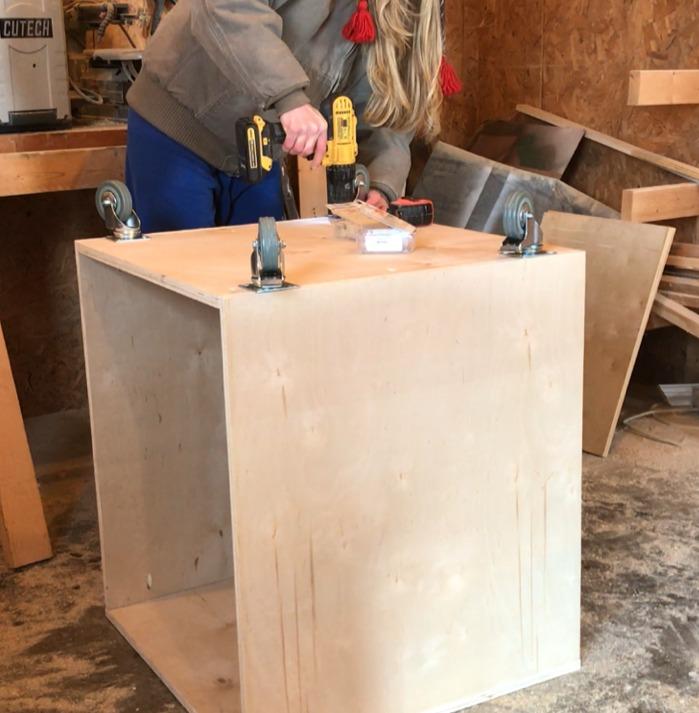
Attach Casters
I wanted my cart to roll around the shop, so I attached 3” caster wheels along the bottom corners. This is optional, but will make the cart much more practical if you have a small work space like I do. You can find the link to the casters I used in the blog post link in the Extras tab on this plan.
-
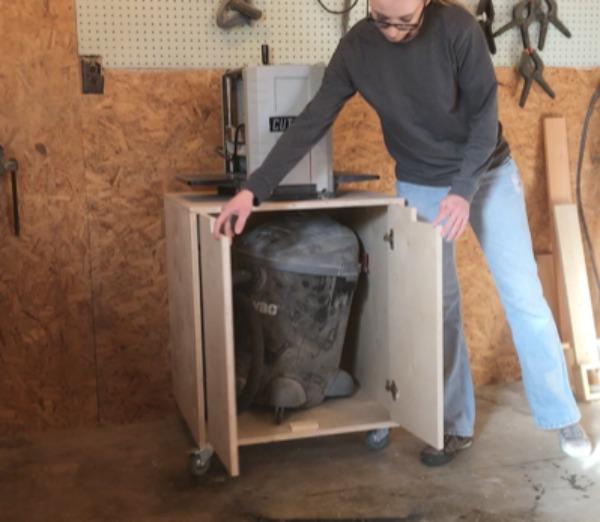
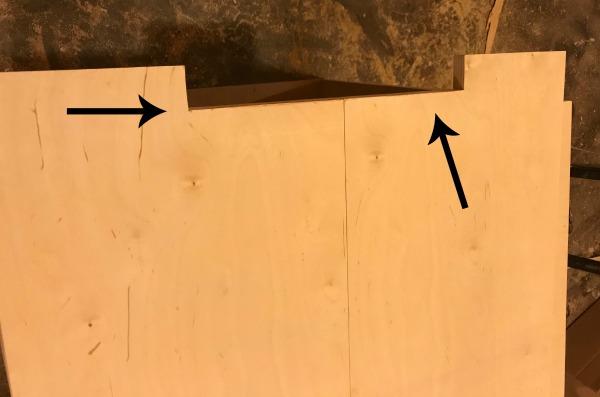
Prepare the Doors
Once you have your door pieces cut according to the cut list above, you will need to either add hardware (knobs or pulls) or you can cut a hole or notch to get your hands into to open. I chose to cut a notch on the top of each door. I did this using a jig saw. You could also cut circles using a drill and hole saw. Whatever works best for you is fine.
-
Attach Doors
I attached my doors using concealed hinges. The Kreg Concealed Hinge Jig is perfect for this. Once I drilled the holes for my hinges, I simply attached them onto the cabinet sides.
-
Add Stop Block
This is optional, but to keep the doors from folding too far into the cabinet, I added a little scrap wood stop block at the bottom of the inside of the cabinet. Any little scrap wood piece will work fine.
-
Place Your Tools On/In Your Cart
I built this cabinet for my planer, but it would work great for several tools--miter saw, band saw, even your Kreg Jig! Just place your preferred tool on the cart, secure it, and get to work. If you wanted, you could use a Kreg Shelf Pin Jig to add adjustable shelves to the inside of the cart, but I chose to use this space for my Shop Vac.