Simple Gaming Table
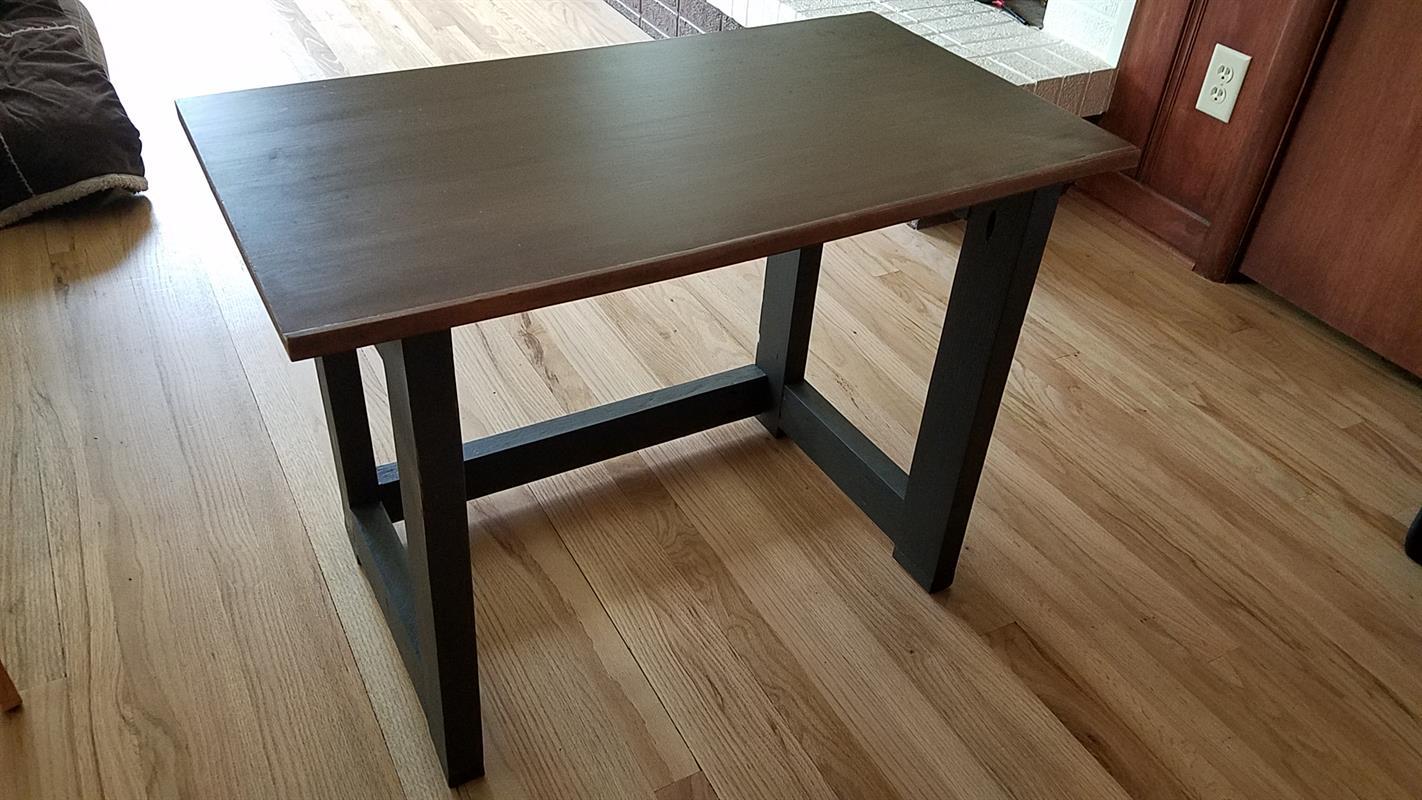
By yahhrMy son needed a table that was the right height ergonomically to sit on a couch and use his laptop while gaming and socializing. It replaced a TV tray he was using that was too small and the wrong height.
This plan is based on a miter table plan I found on YouTube. See Extras for the link.
Directions
-
Cut parts and Pocket holes
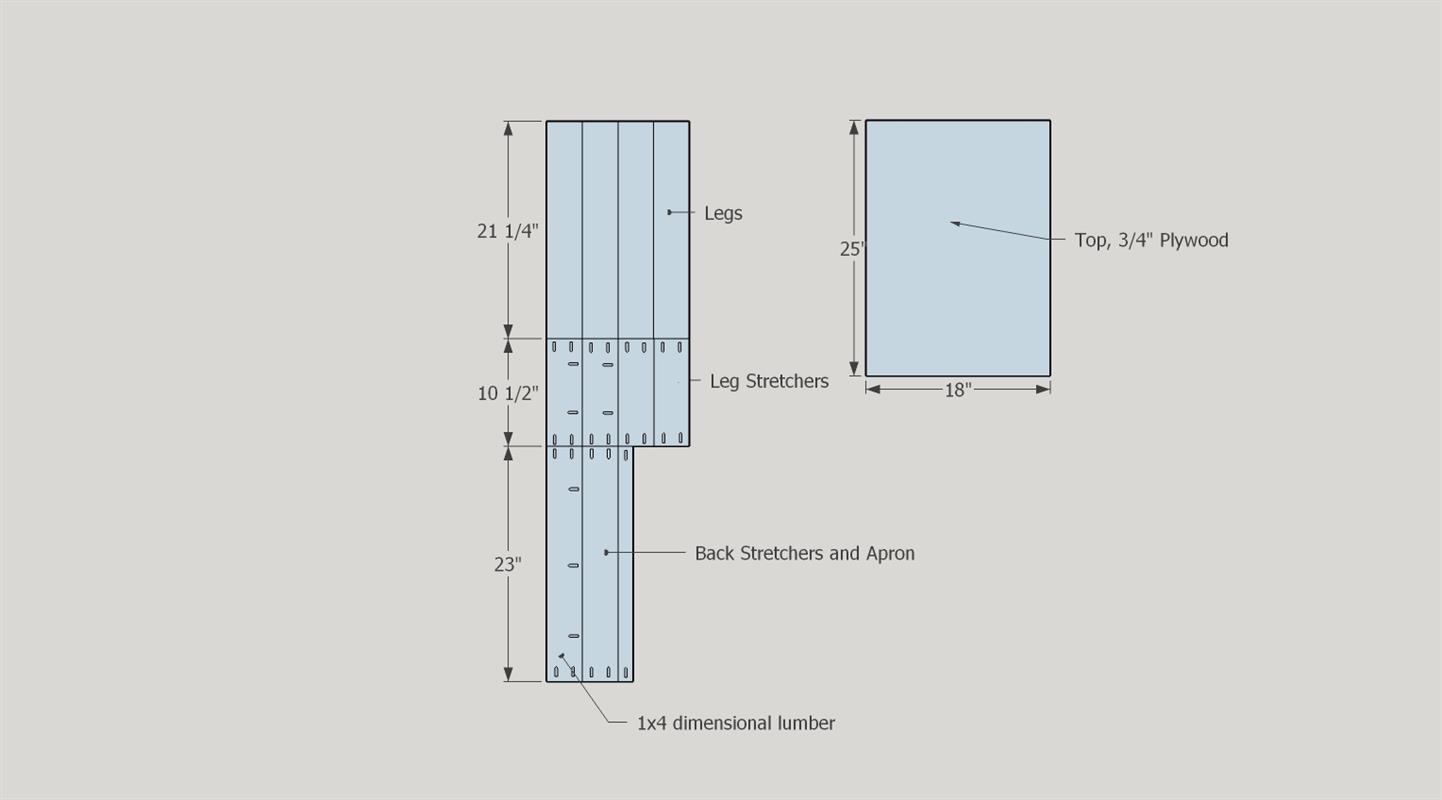
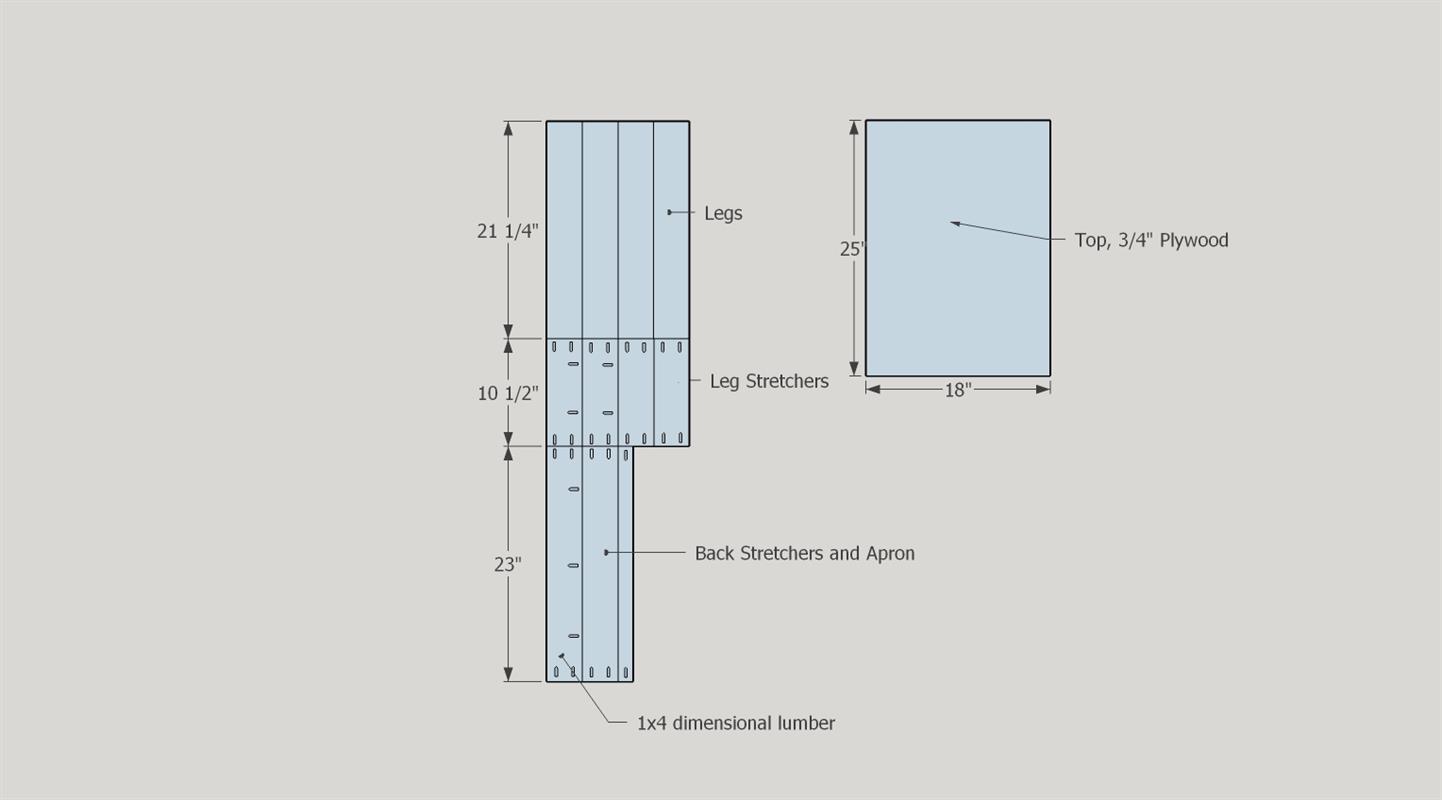
Cut the pieces according to the cut list. I used 1x4 dimensional lumber and a 3/4" sheep of high quality plywood I had left from another project.
The legs on this project are a custom length depending on the needs of the individual using this table. I made the height 2-3" taller than the top of the knees of the person using the table. For demonstration purposes, the legs on this model are 21-1/2" long.
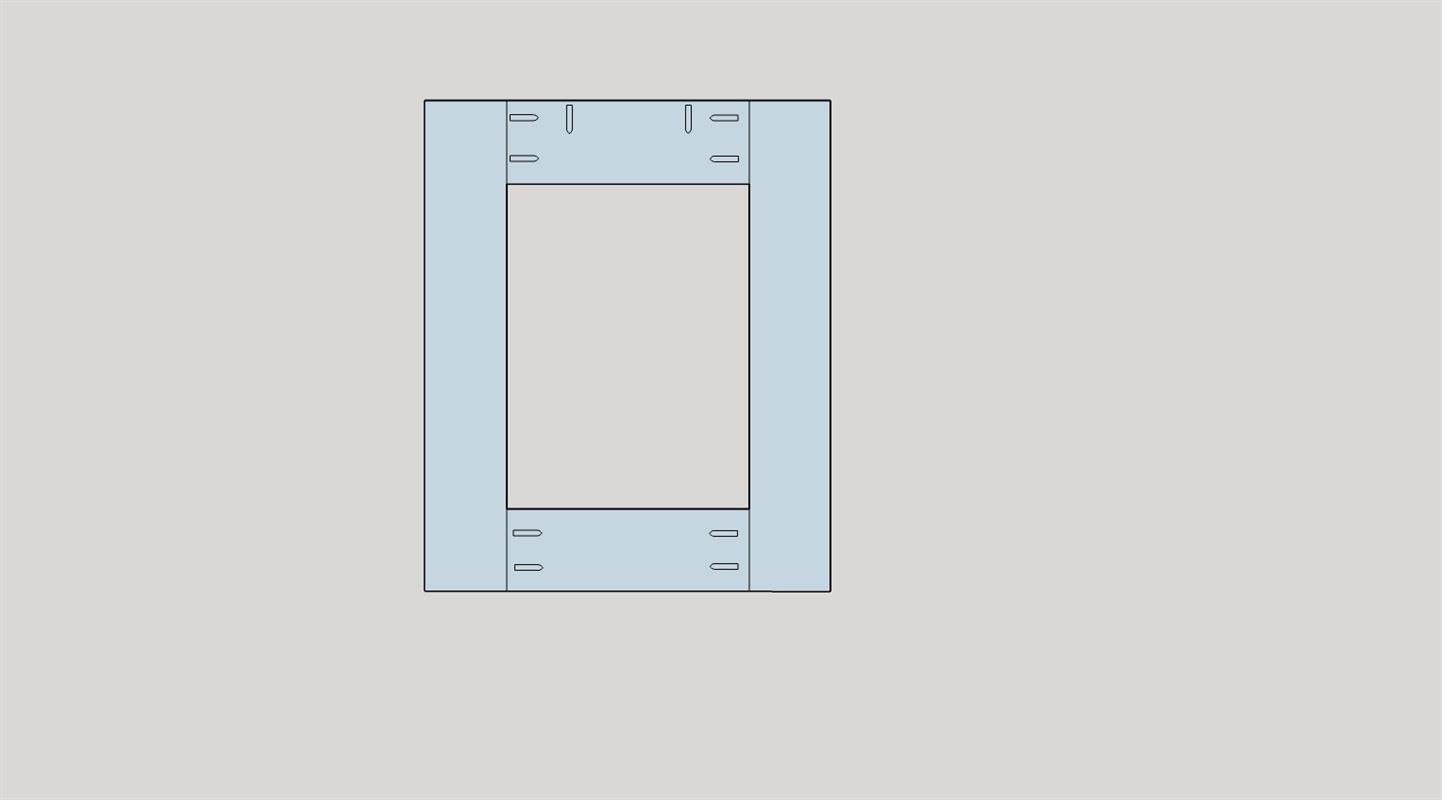
Add the pocket holes for 1-1/4" pocket screws to the parts as shown. -
Assemble Legs
Glue two of the 10-1/2" stretchers to the top and bottom of two of the legs and secure with pocket screws. See photo for layout of pocket holes. Note that one of the stretchers has pocket holes on the long side of the stretcher and one does not.
You will make two of these leg assemblies. -
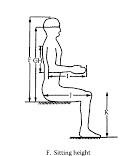
Measure your user's lower legs
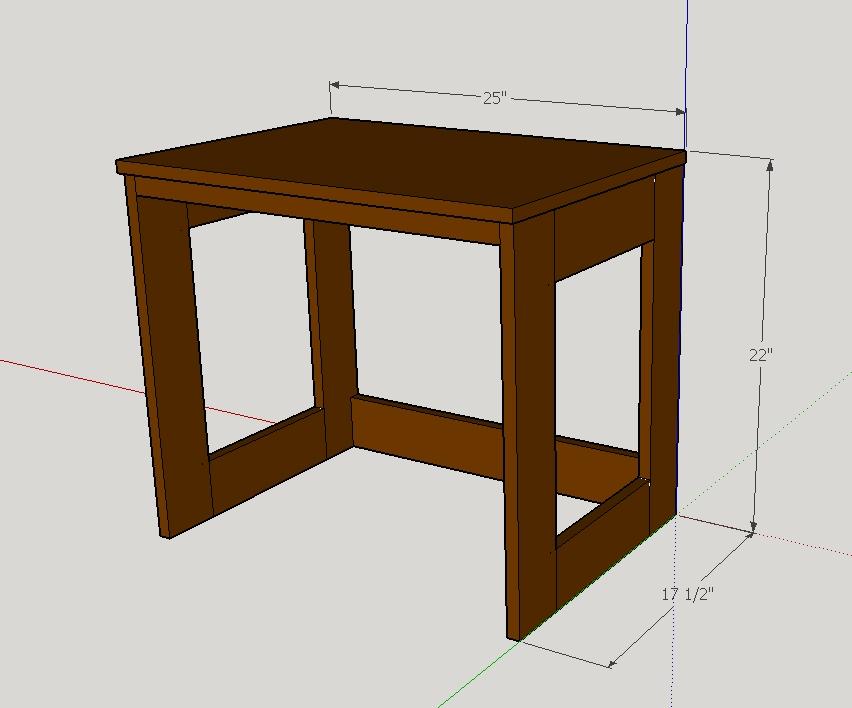
Measure the height of the users lower legs while sitting from the floor to the knees. Add 2-3" to the height of the legs based on that number. For demonstration purposes, the height of the legs for this plan will be 21-1/2 " giving the user a surface 22" from the floor. The TV tray was 26" and a typical coffee table height is 18" so this gave the user a height that was better ergonomically for laptop and gaming use.
-
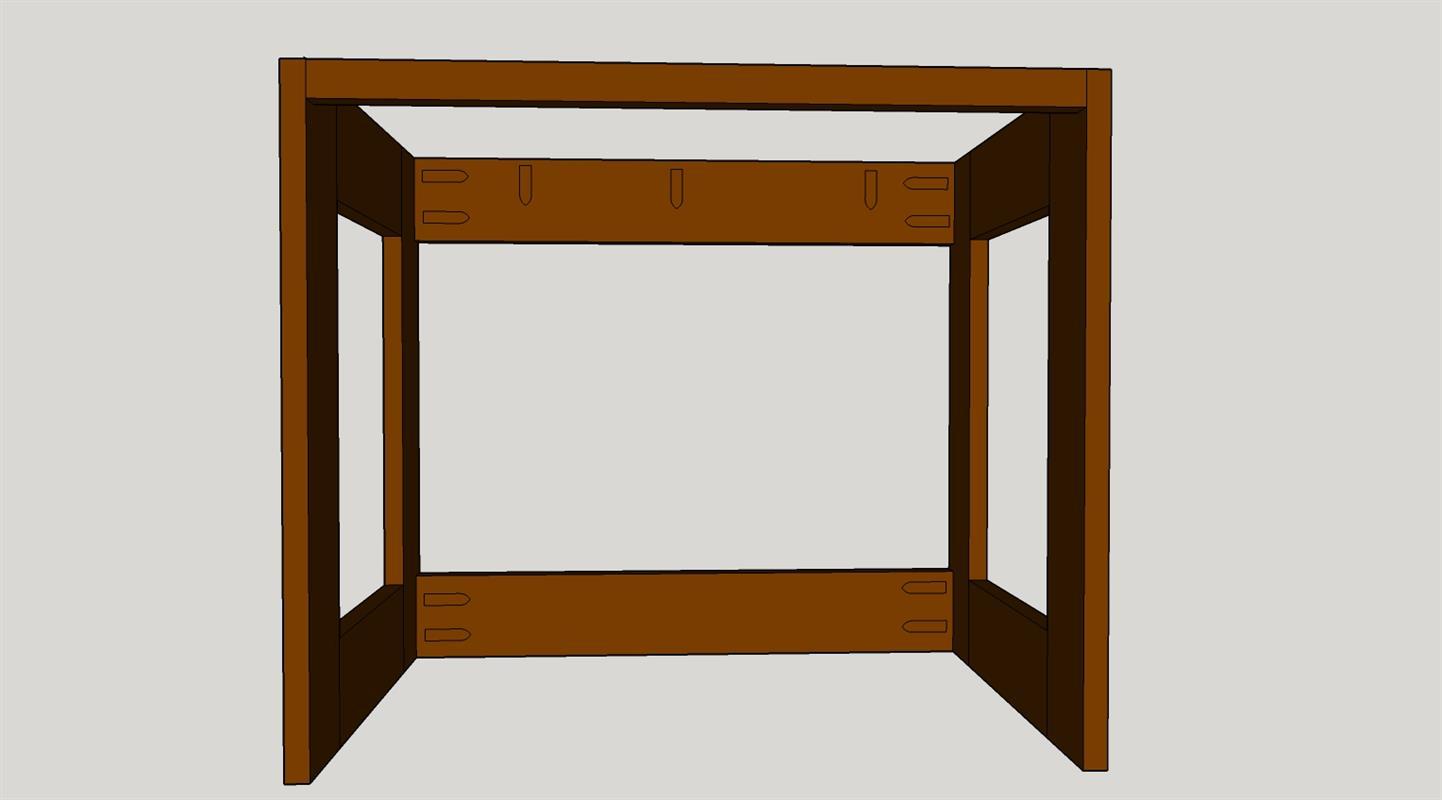
Attach back stretcher and apron
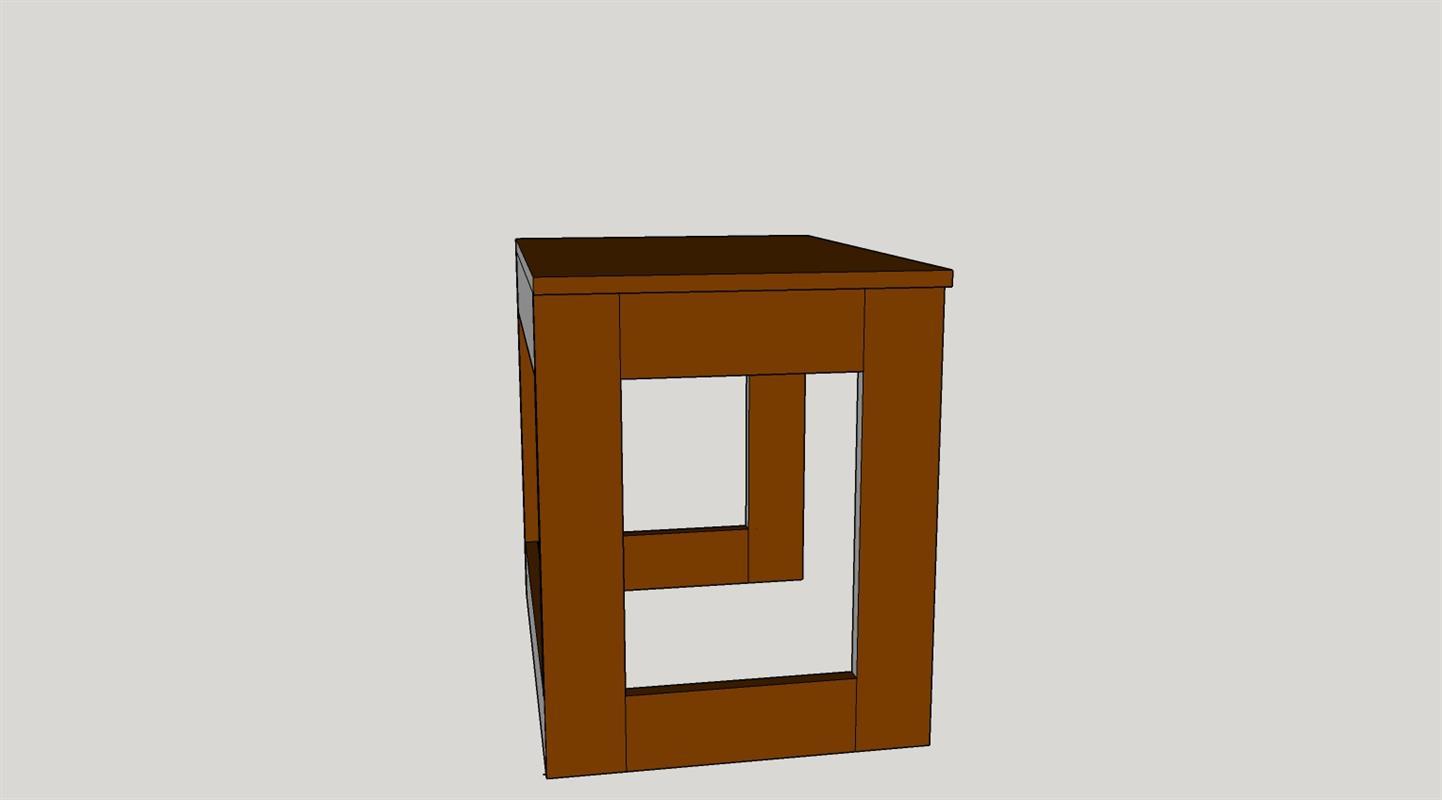
Attach the 23" stretchers to the back of the legs, making sure the stretcher with pocket holes on the 23" side are on the top as you did for the legs. Add the apron to the top front of the table.
-
Attach Top
Using the pocket holes from the stretchers, attach the top to the legs, making sure the top is flush to the back and there is a 1/4" overhang around all other edges.
-
Finish
Using a round-over bit, go over all edges of the table, and then sand the surfaces.
Plug pocket holes as desired.
Choose your favorite finish or paint as desired. -
Comments
Check out the link in the Extras section to see where I got the inspiration for this table. While this is a much smaller design and used 1x4's instead of 2x4's, it is a sturdy, big table that is useful for a good sized laptop, gaming controllers and your drink at a great height for typing without holding your laptop in your lap. Maybe a cup holder would be handy!


