Simple DIY Toy Box with Faux Slats
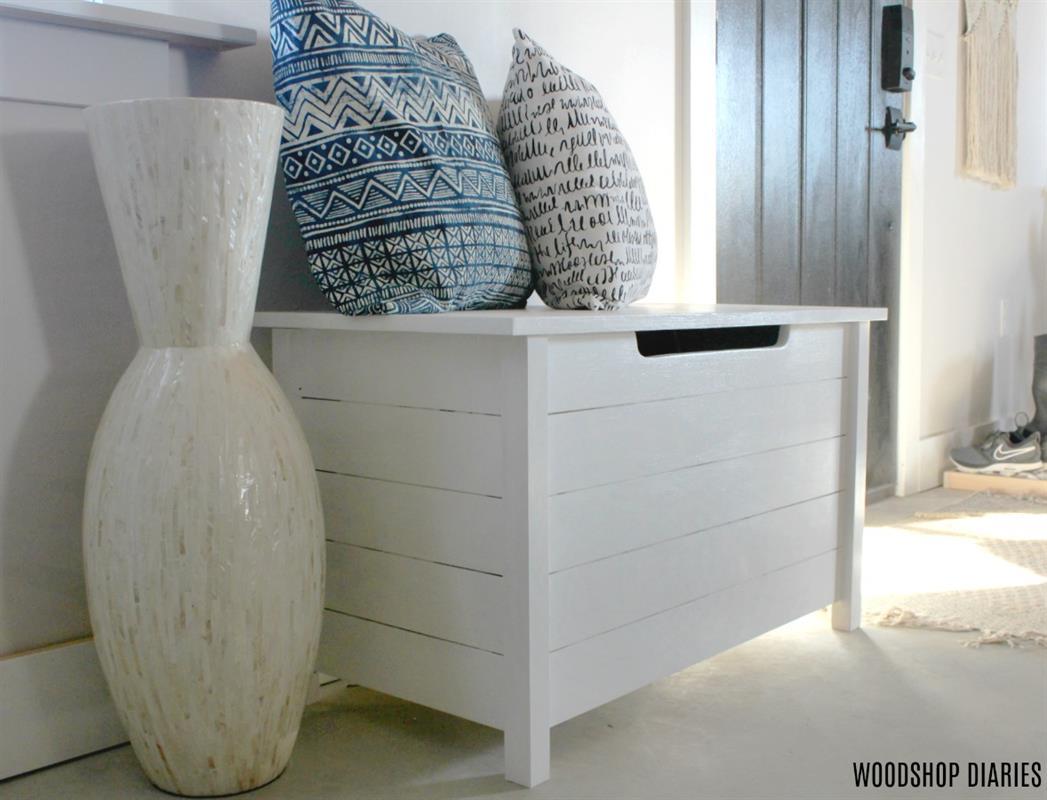
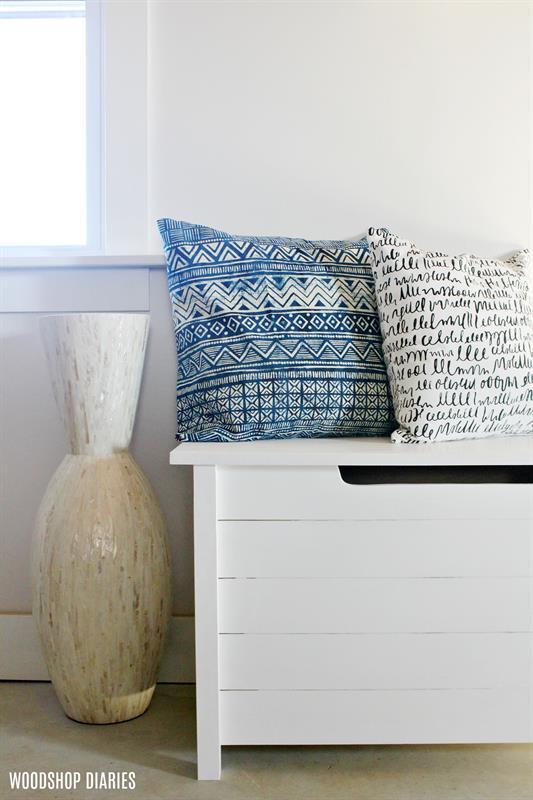
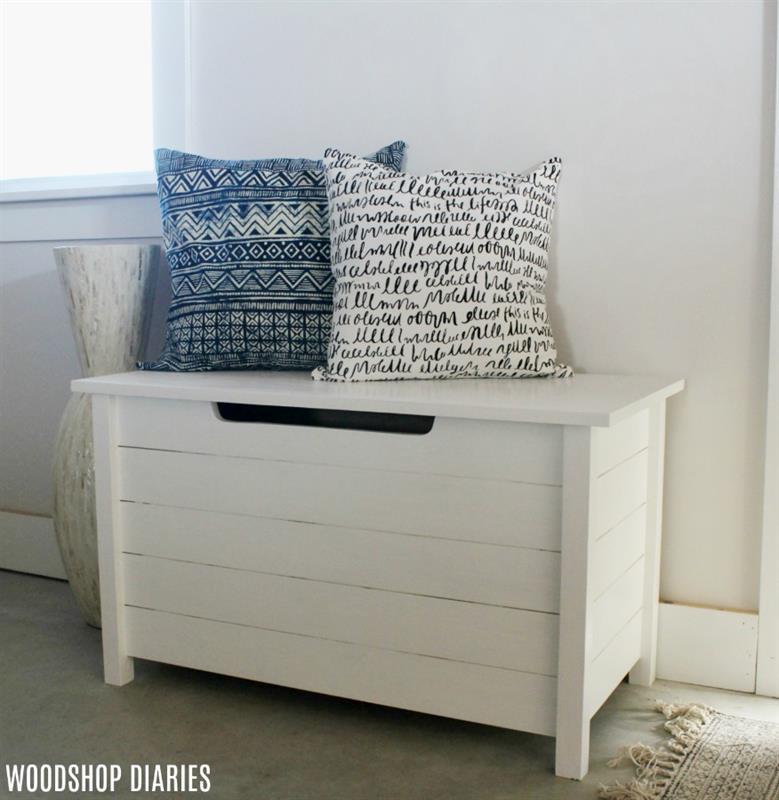
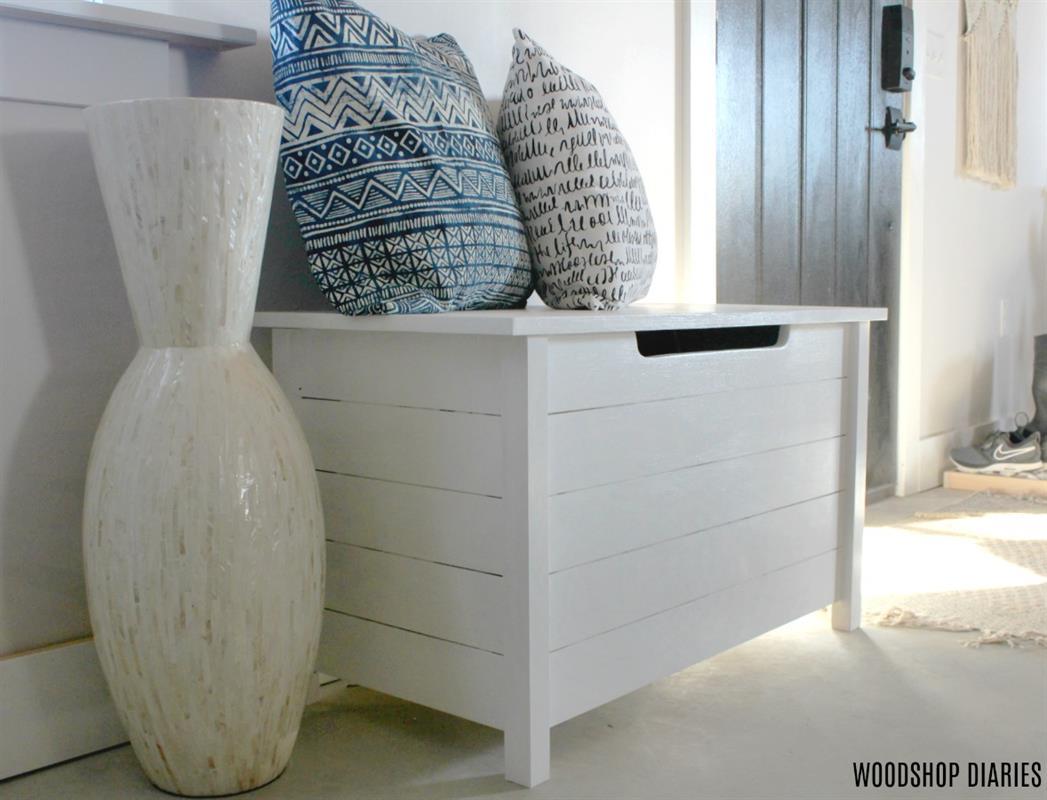
By Woodshop DiariesThis easy to build DIY toy box is the perfect storage solution for your child's playroom, your entryway, or even the end of the bed for blankets and pillows. Made from only one board and some plywood, it's a simple build, but the faux slats give it some visual interest without adding the extra work.
Directions
-
Cut your Plywood Pieces
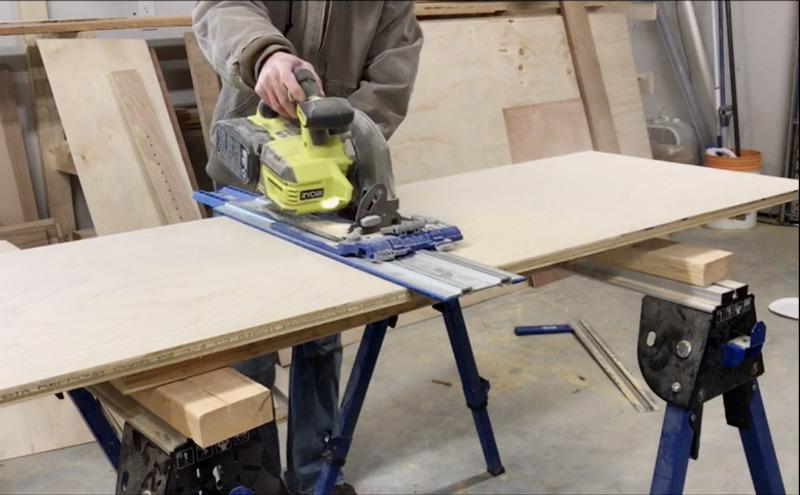
This entire box was made from 3/4" plywood except for the legs. It makes the project go faster and more efficiently if you cut all your plywood pieces from the beginning. A Kreg Rip Cut and a Kreg AccuCut both make cutting down full sheets of plywood so much easier. Pair them with a set of Kreg Workhorse Sawhorses and you will be a plywood cutting machine ;) So, all that being said, the first step is to cut your plywood down to the sizes listed in the cut list.
-
Optional add Slats to Sides
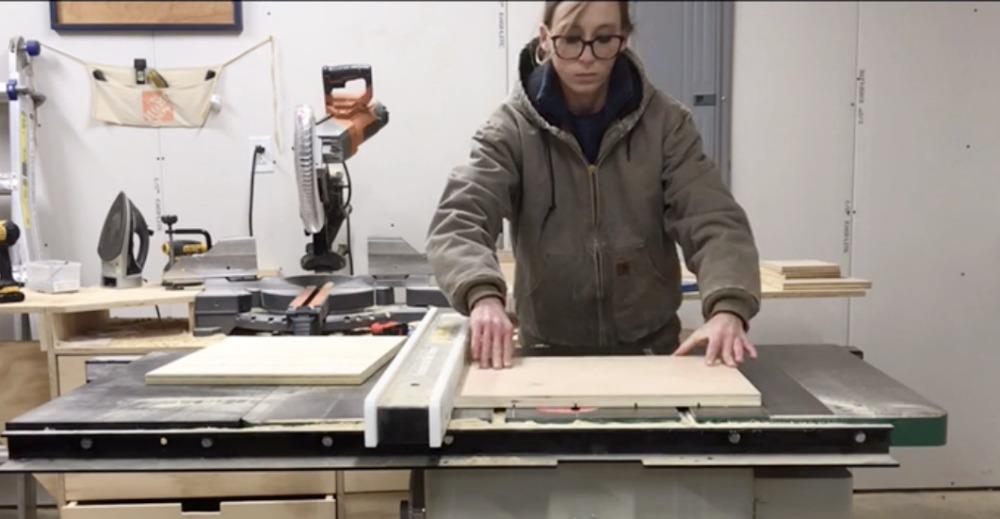
This step is optional, but I think it adds to the overall appearance of the box to add the slats. You can use a table saw to do this or a circular saw and a Kreg AccuCut. Adjust the blade height on your table saw or your blade depth on your circular saw to cut into the wood about 1/4". Adjust your rip fence on your table saw to 3 1/2" from the blade and run each side panel piece through on each end (to cut two slats). See video in the extras tab for details. Then do the same thing adjusting the blade 7" from the sides this time. That gives you five slats on each side panel. OR, using a Kreg AccuCut, line it up to cut 3 1/2" from each edge and cut a slat with the circular saw. Then do the same thing, but adjusting to 7" from each edge.
-
Cut Out Finger Slot
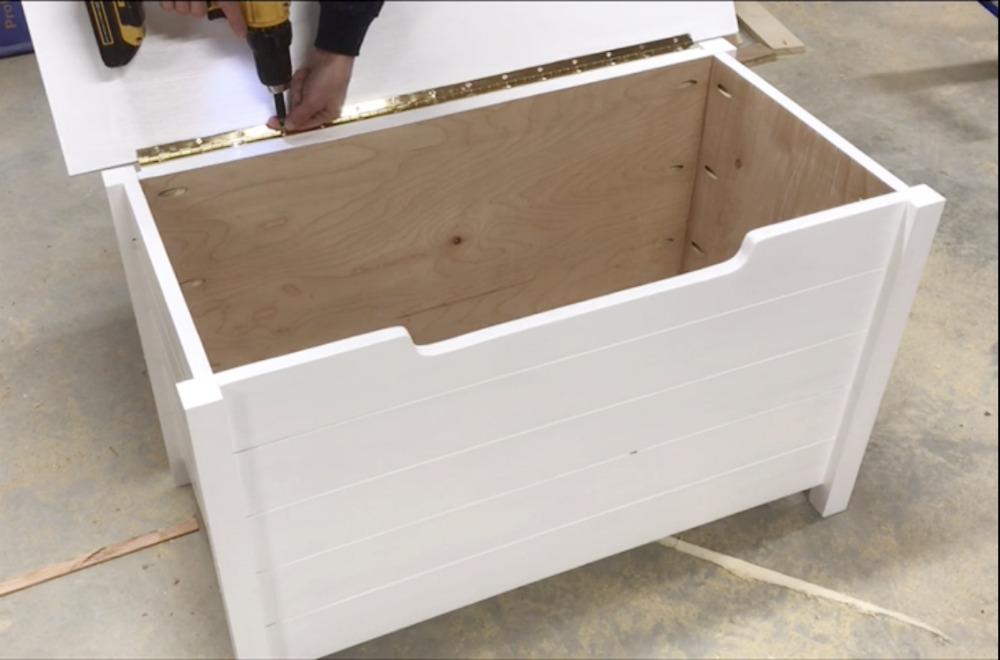
The slot on the front of the toy box adds to the visual interest of the project, but also is helpful if this is going to be used by small children. it can help protect fingers from getting smashed between the box and the lid. Using a jig saw, cut a slot (you can decide how big you'd like yours, but I made mine about 1 1/2" deep and about 16" wide) in the top of the front side panel.
-
Add Edge Banding
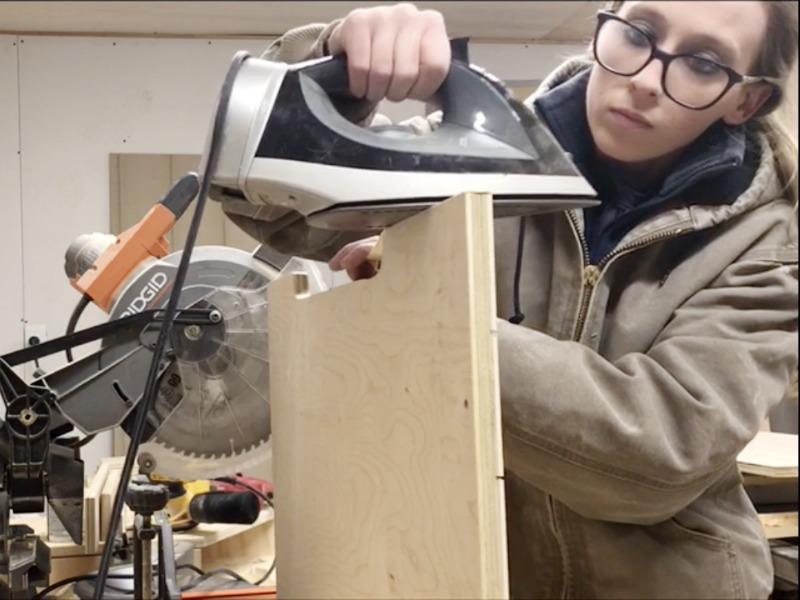
Next, apply glue on edge banding to the top sides of the side panel pieces. This just gives a cleaner edge to the sides you will be seeing.
-
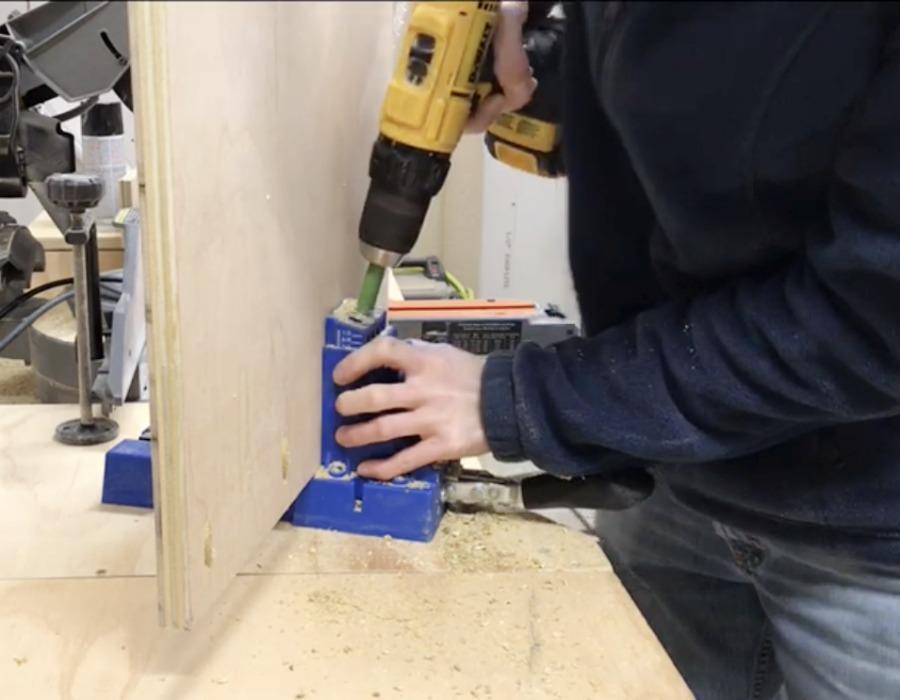
Drill Pocket Holes in Side Panels
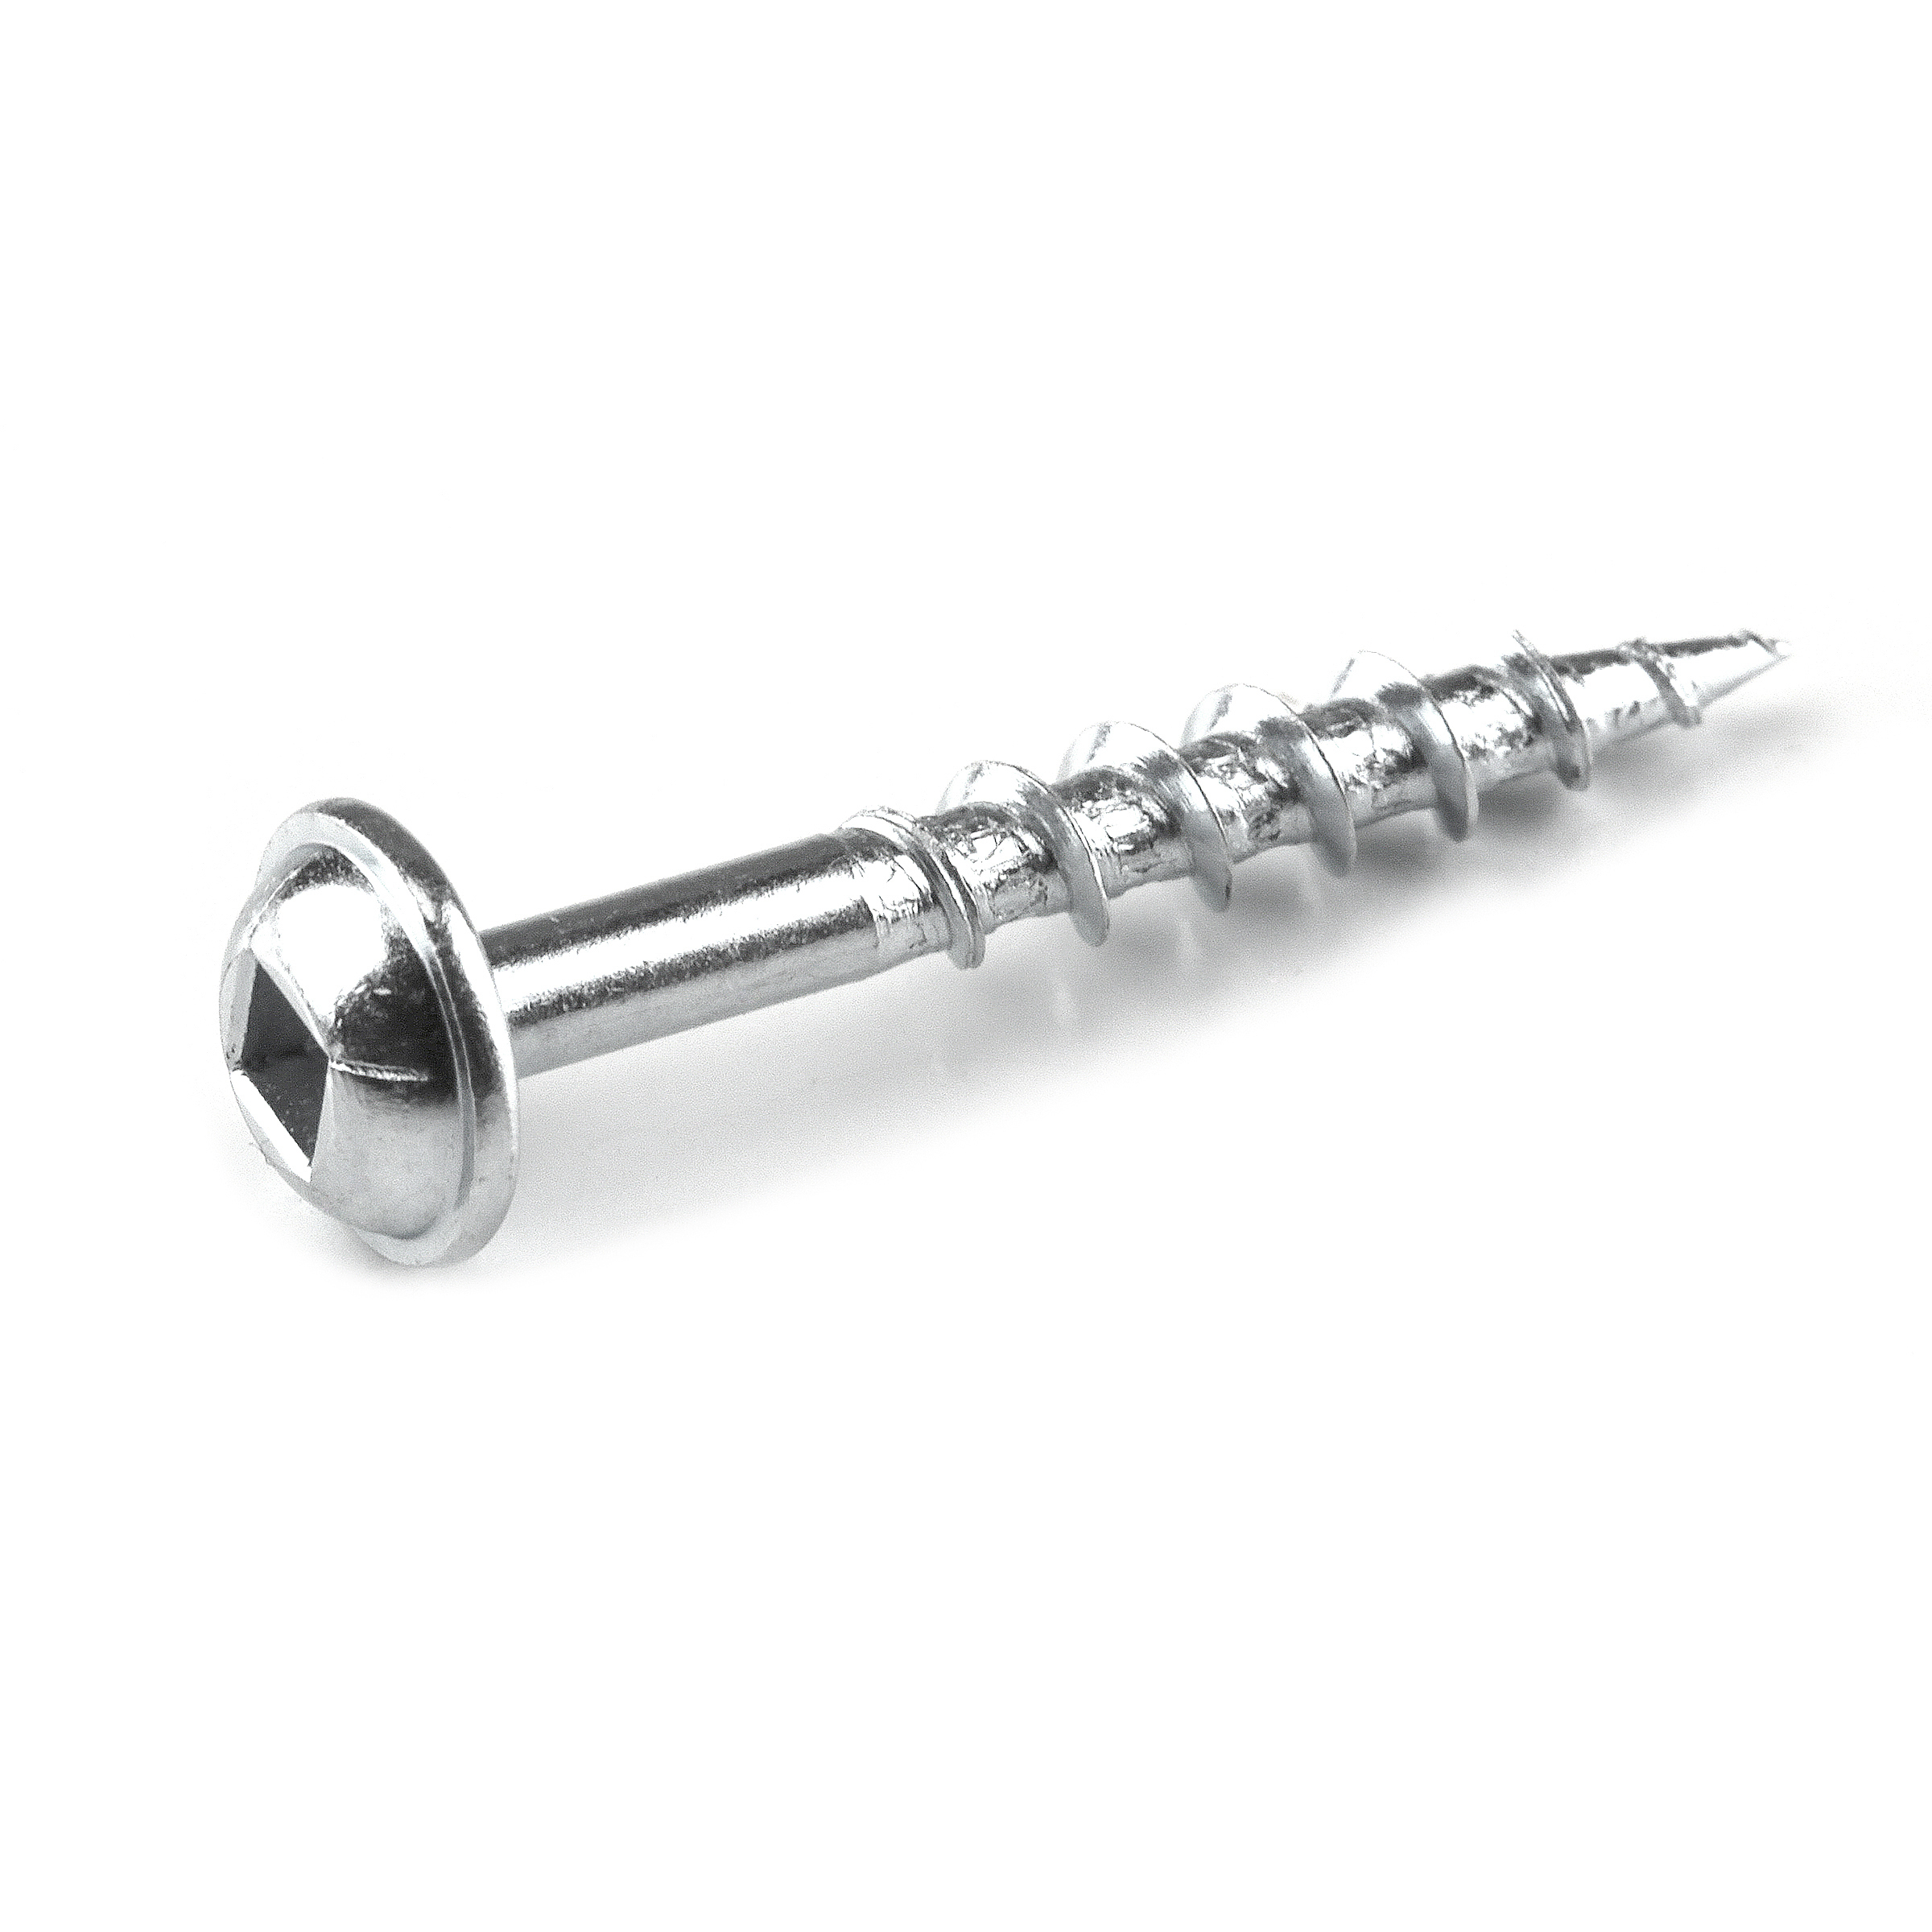
Next, drill 3/4" pocket holes into the edges of each side panel piece using a Kreg Pocket Hole Jig. I drilled 4 holes on each edge that will be attaching to the legs.
-
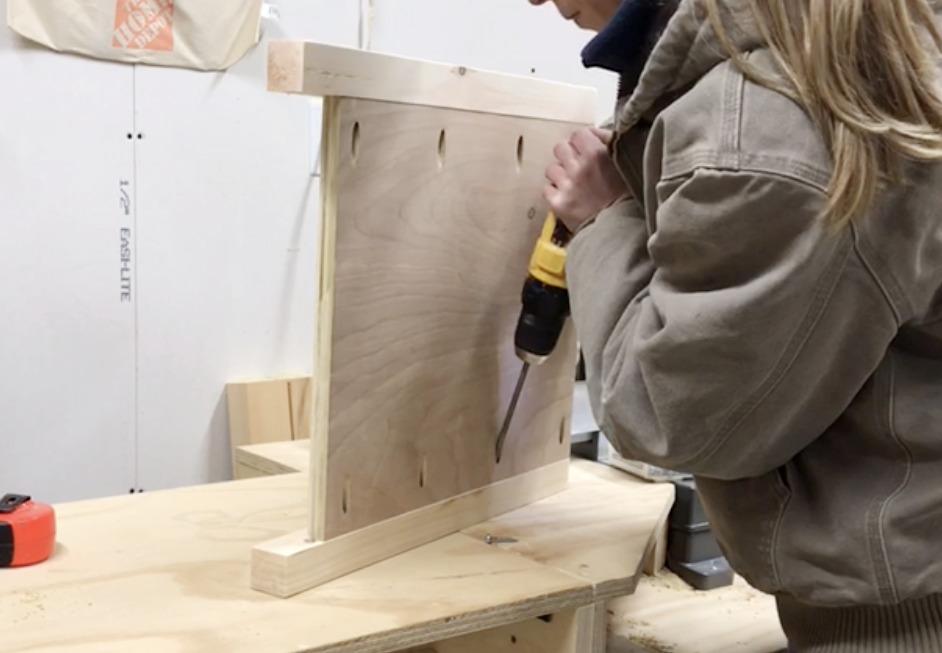
Assemble Side Panels
Now it's time for assembly. Attach the two short plywood side panels between two 2x2 legs using 1 1/4" Kreg pocket hole screws to make your two sides of the toy box. Make sure to attach so that ONE end is flush with the top of the 2x2s. And make sure to attach so that the INSIDE of the toy box is flush.
-
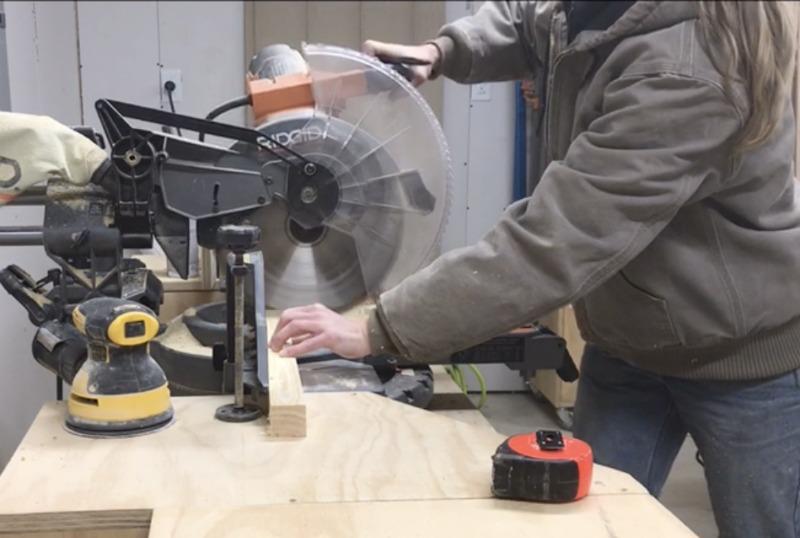
Cut Legs
Cut your 2x2 legs for the toy box using a miter saw. These should be 20" long. If you want a taller toy box, you could make these longer.
-
Attach Front and Back Sides
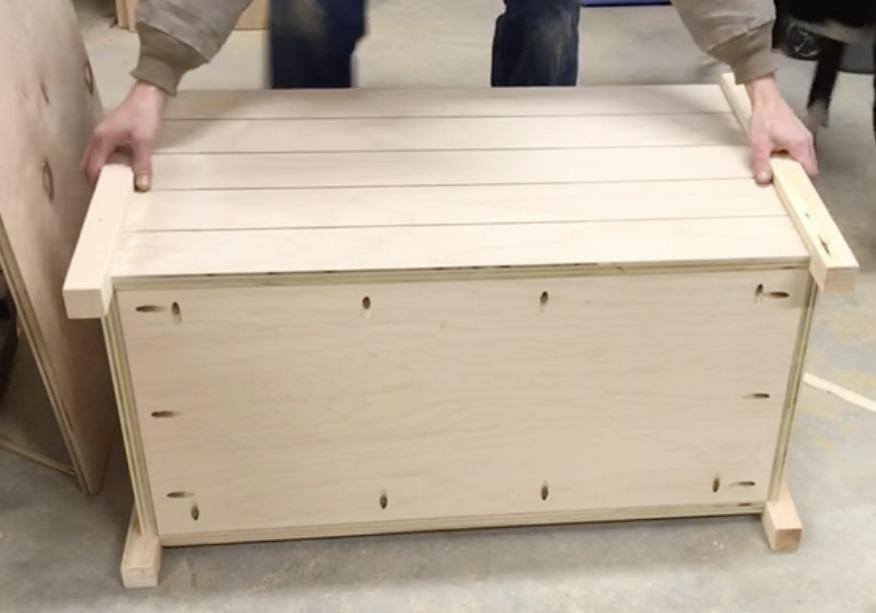
Now that the two sides are assembled, attach the front and back panels between them using 1 1/4" Kreg pocket hole screws. Make sure the inside of the box panels are flush with the inside of the 2x2 legs.
-
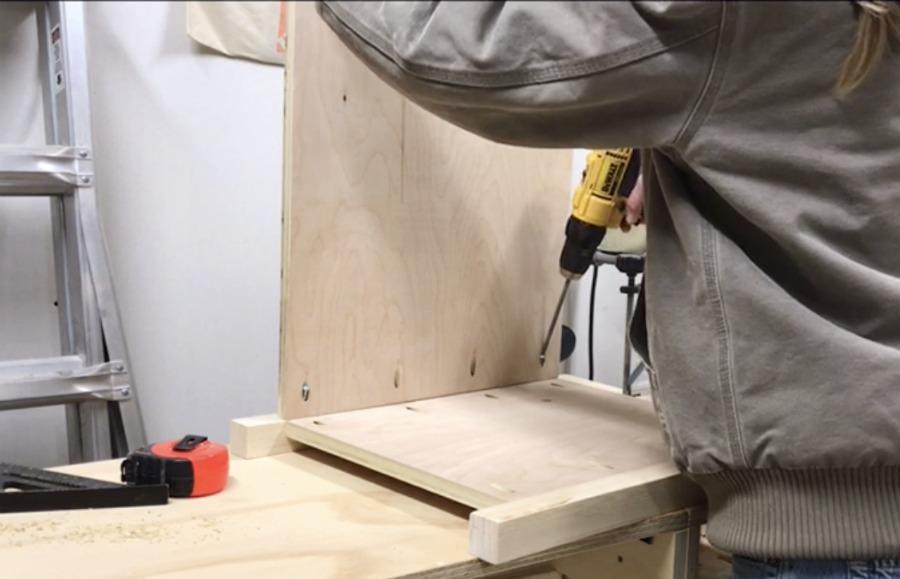
Add Bottom
Next, drill 3/4" pocket holes along all four edges of the bottom plywood piece and attach like shown using 1 1/4" pocket hole screws.
-
Add Back Trim Piece
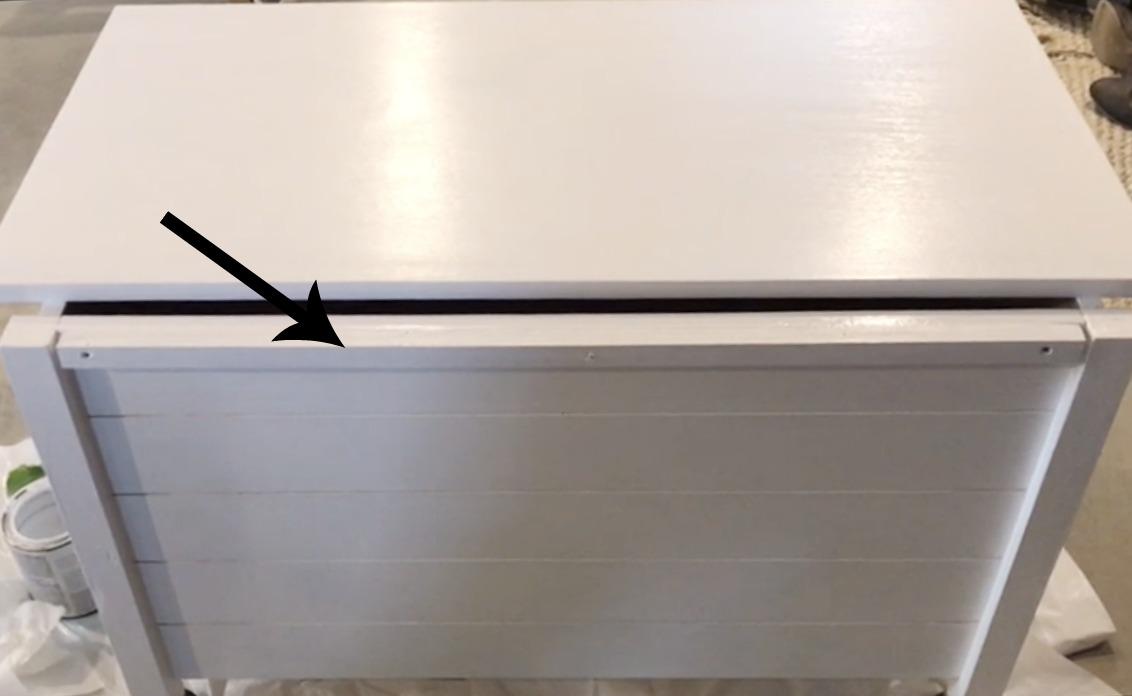
I didn't realize when I designed this box that you wouldn't be able to open the lid using a piano hinge unless it was flush all the way across the top of the back side. With this particular design, since the plywood was inset from the legs about 3/4", if I used a piano hinge, the lid wouldn't open. So, I took a piece of scrap 1x2 and screwed into the top of the back side like shown. This gave me something to attach the hinge to in the next step. You can use a small piece of scrap plywood here or a 1x2. But you just need something 3/4" thick to screw along the top for the hinge.
-
Install Piano Hinge to Attach Top
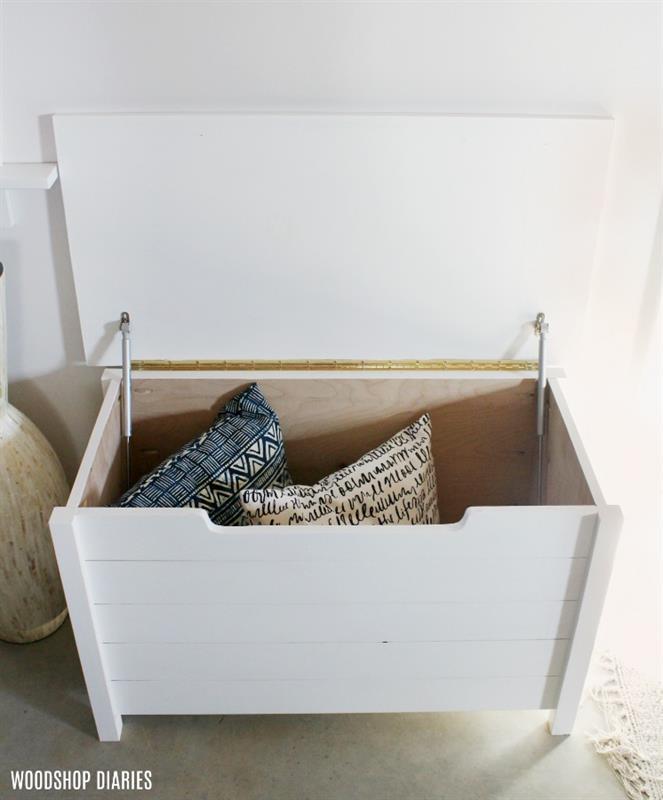
Apply edge banding along the top piece for a cleaner look. Then, attach the top to the box using a 30" piano hinge like shown. You will attach the bottom of the hinge to the trim piece from the previous step and the top of the hinge to the top of the toy box. As an optional feature, you could also install soft close hinges as well. I added some soft close hinges that are designed to work WITH the piano hinge to help prevent smashed fingers for this toy box. You can find the details at the link in the extras tab.
-
Finish as Desired
I actually finished the top and the box separately before I installed the hinge. You can finish before or after...whichever you wish. Feel free to paint or stain however you'd like. Then sit back and admire your work ;)


