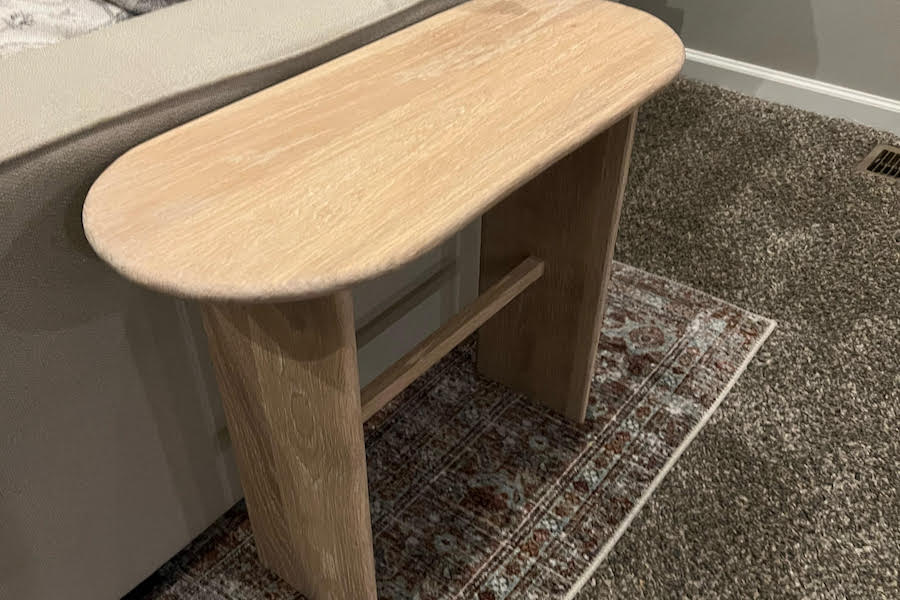


This sturdy side table with a built in wireless charger is the perfect addition to your living area. The rounded edges give this table a modern look. The best part is: You can customize it to fit your needs!
Tools
Kreg Tools


Other Tools
-
Miter saw

-
Clamps
-
Upcut spiral bit
-
1/4" roundover bit
Materials
Wood Products
- 4 Boards , 3/4” x 1' x 6'
Hardware & Supplies
- 1 Box of 1 1/4" Kreg Pocket Hole Screws (see tools list)
- 1 80, 120, 220 grit sandpaper
- 1 Wood glue
- 1 Stain
- 1 Wireless charger
- 1 Double sided tale
Directions
-
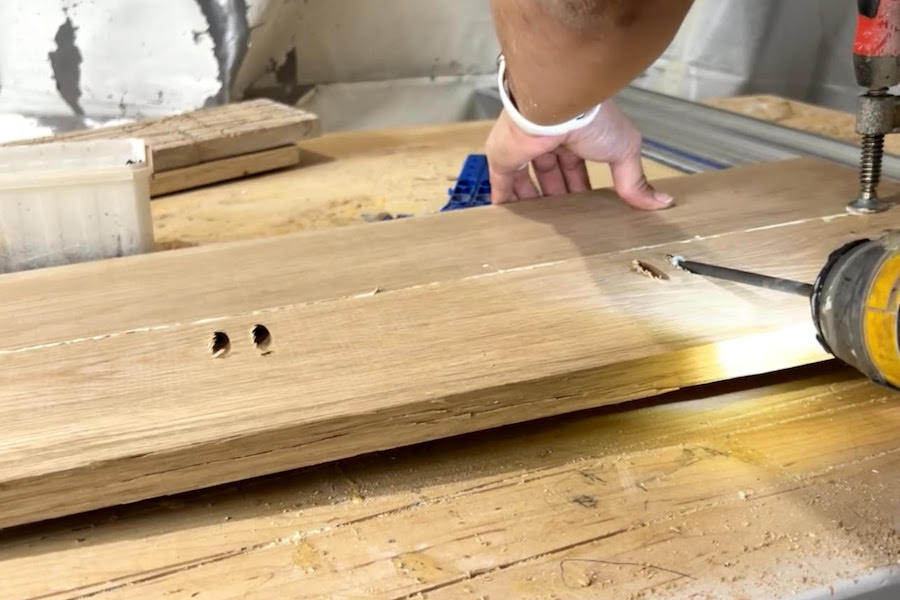
Step One
Cut the top boards about 2” longer than you need. Set your Pocket hole jig to 3/4” and the stop collar on the drill bit to 3/4”. Drill pocket holes on the backside of the boards, then glue and join them together using 1 1/4” pocket hole screws.
-
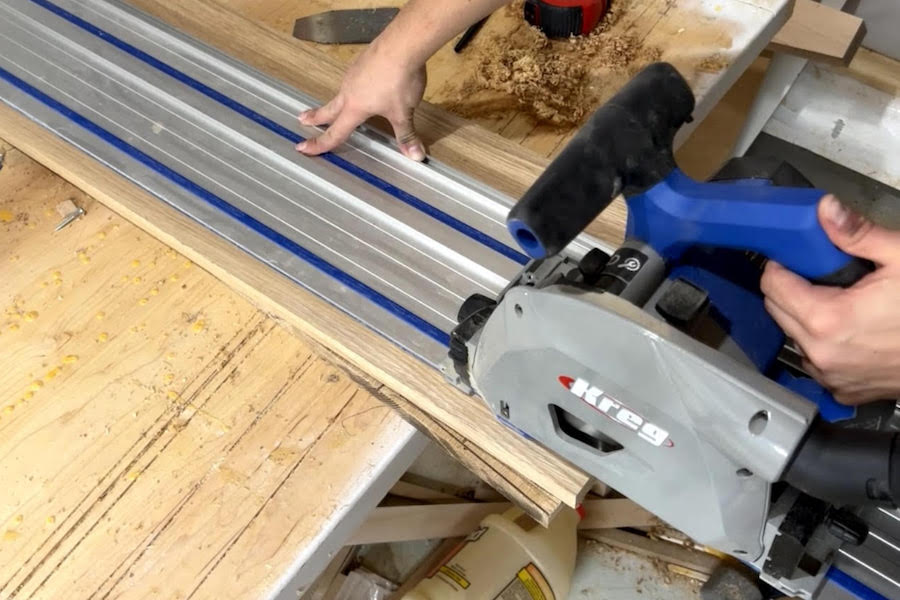
Step Two
Cut the top to size with the Kreg Jig Track saw.
-
Step Three
Cut the legs about 2” longer than you need. Pocket hole and glue them together like you did the top.
-
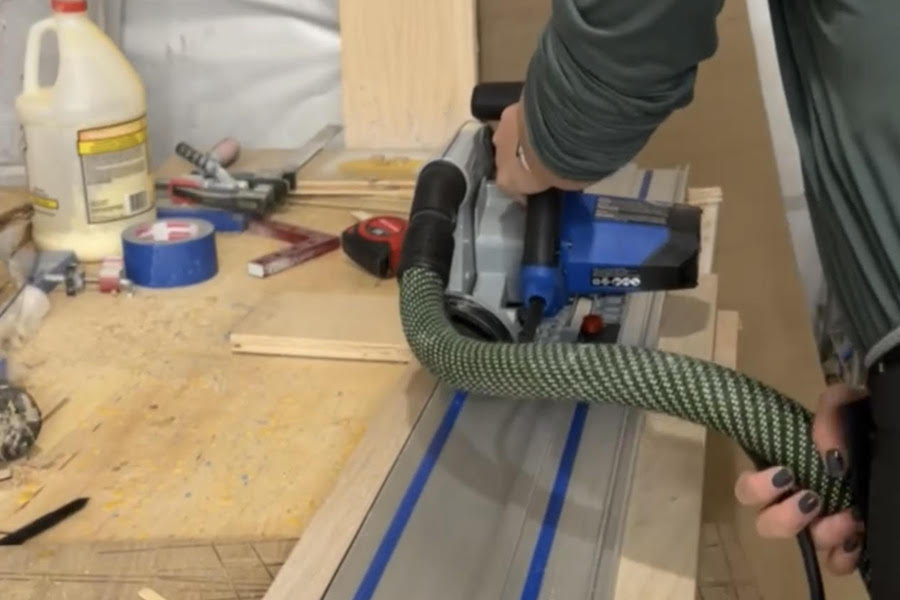
Step Four
Cut the legs to size with the Kreg Jig Track saw.
-
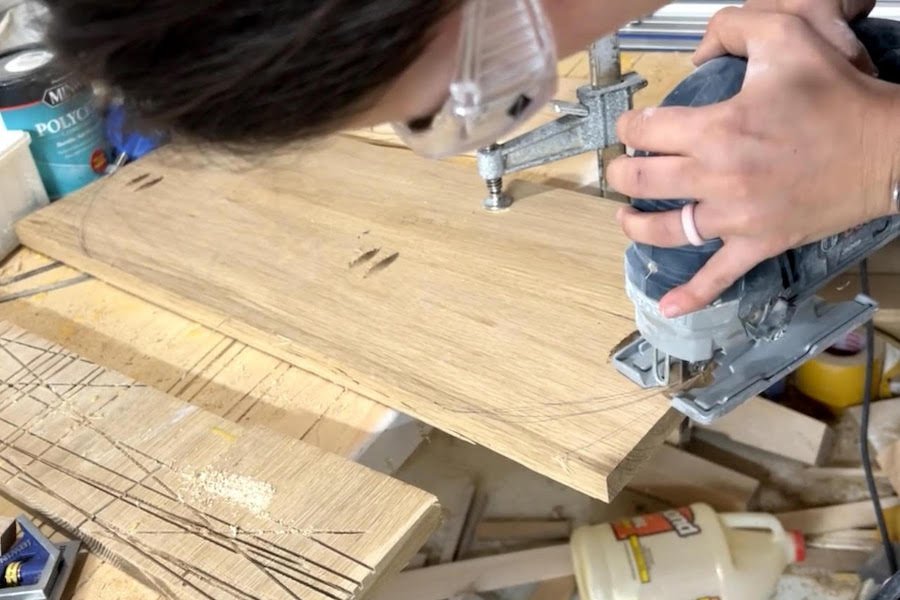
Step Five
Using a template such as a bowl or a cup, trace it on both sides of the top. This will be the template for your oval shape. Cut out the shape with a jigsaw.
-
Step Six
Repeat this same process on the legs.
-
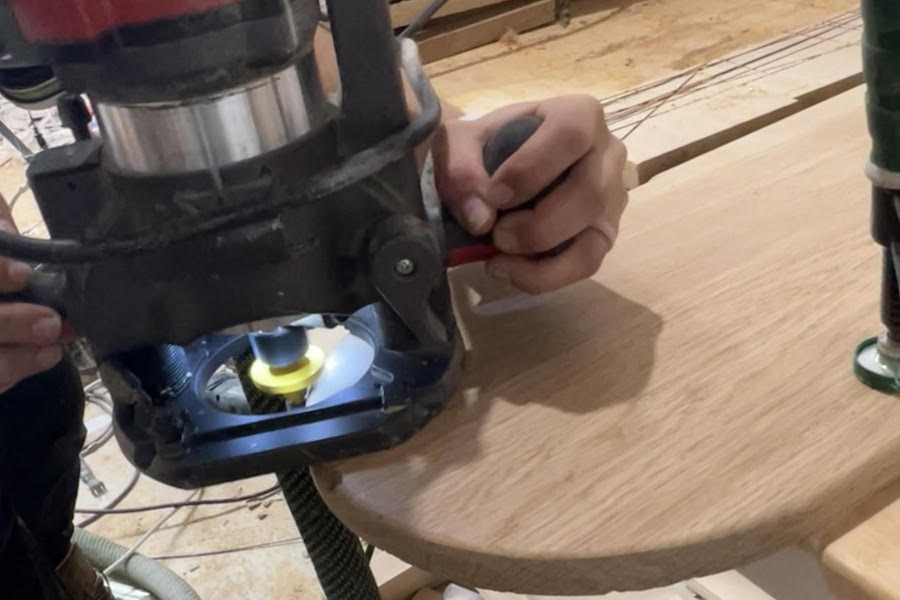
Step Seven
Optional step: Use 1/4” roundover bit to roundover all sides of the top and legs.
-
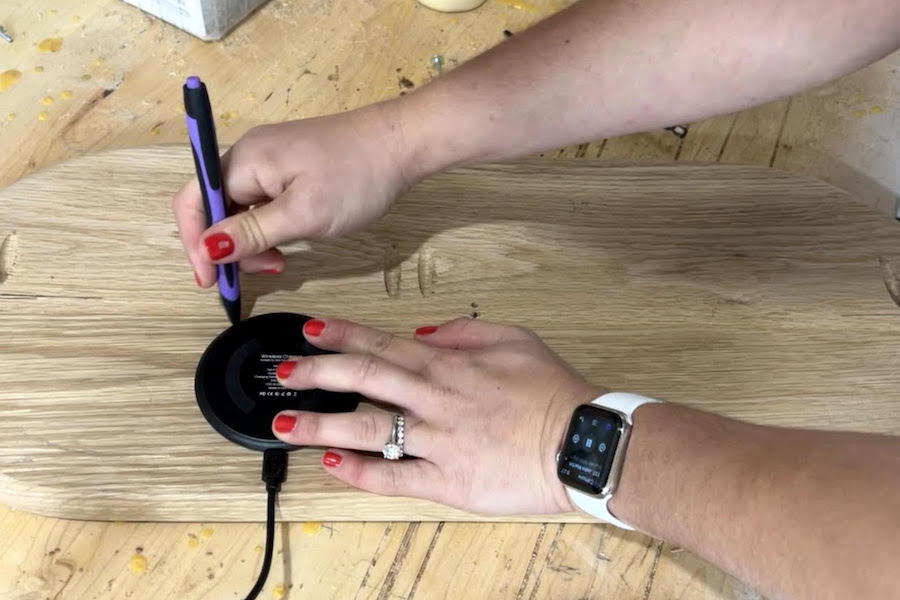
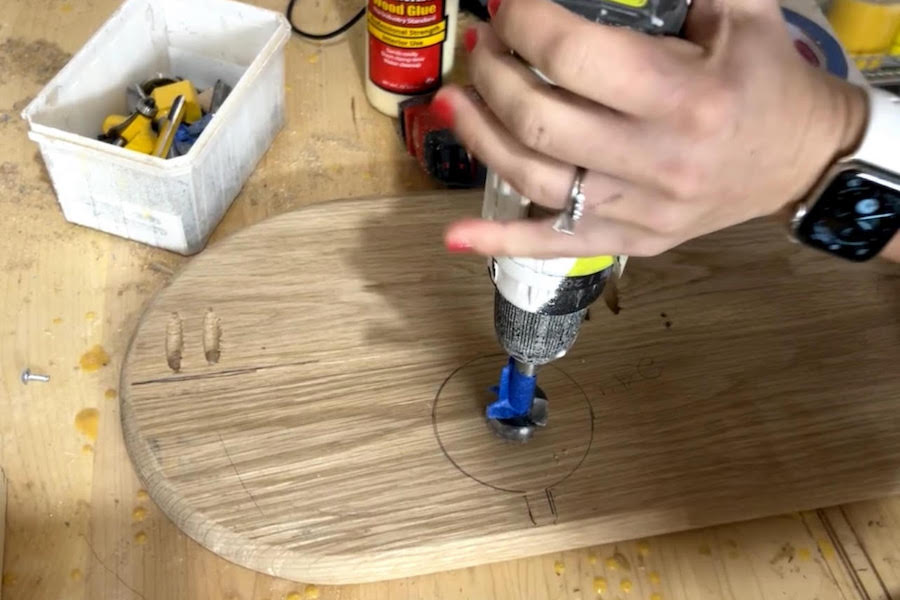
Step Eight
Trace the shape of the wireless charger on the underside of the table top. Mark 1/2” depth on the forstner bit using tape. Drill in the center until you reach the tape.
-
Step Nine
With your router and upcut spiral bit, make shallow passes until you reach the same depth as the bottom of the hole you made with the forstner bit.
-
step Ten
Using double sided tape, push your wireless charger into the hole you made. Make sure to test to see if your phone charges.
-
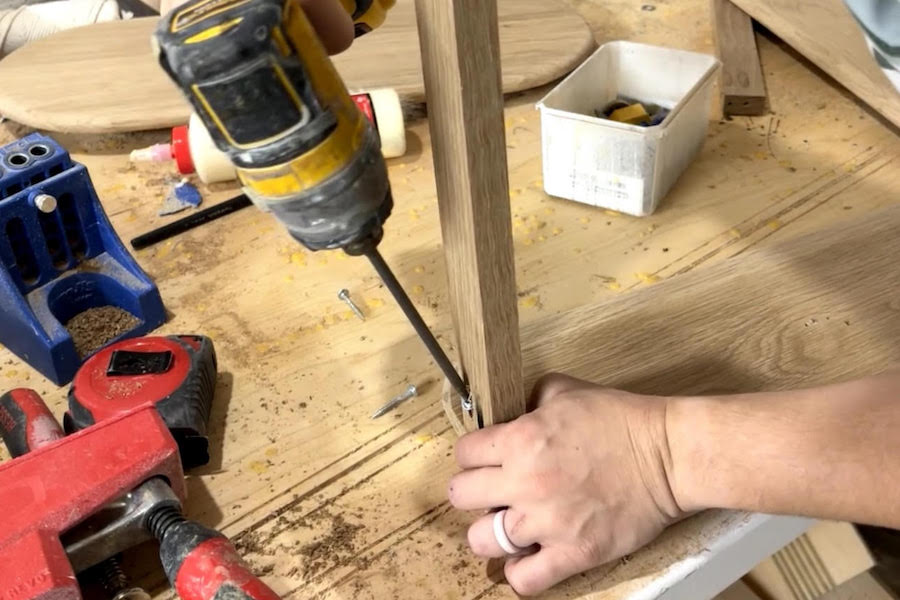
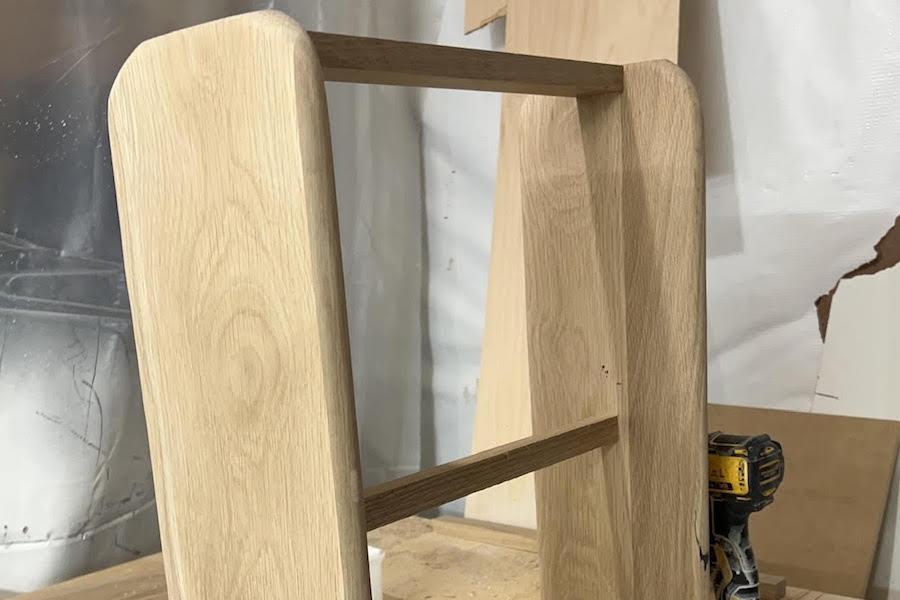
Step Eleven
Attach the top support between the two oval shapes you made for the legs using pocket holes and screws.
-
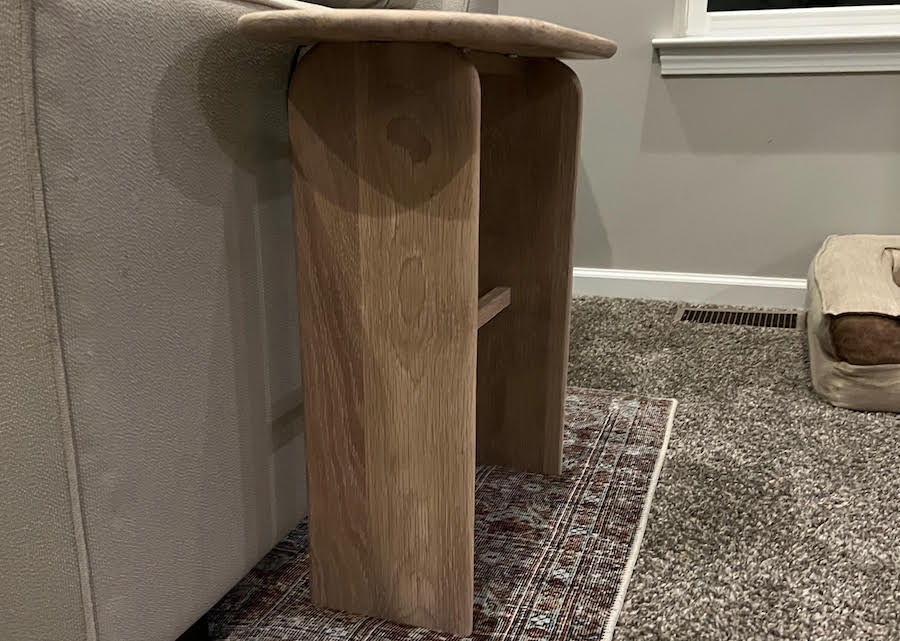
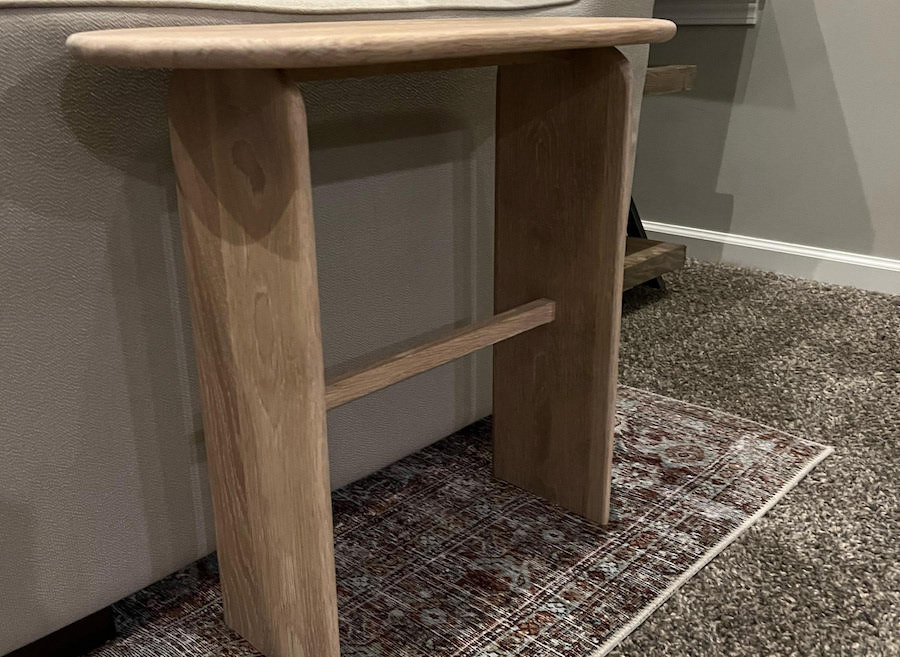
Step Twelve
Attach the middle support about 10” up from the bottom of the legs using pocket holes and screws.
-
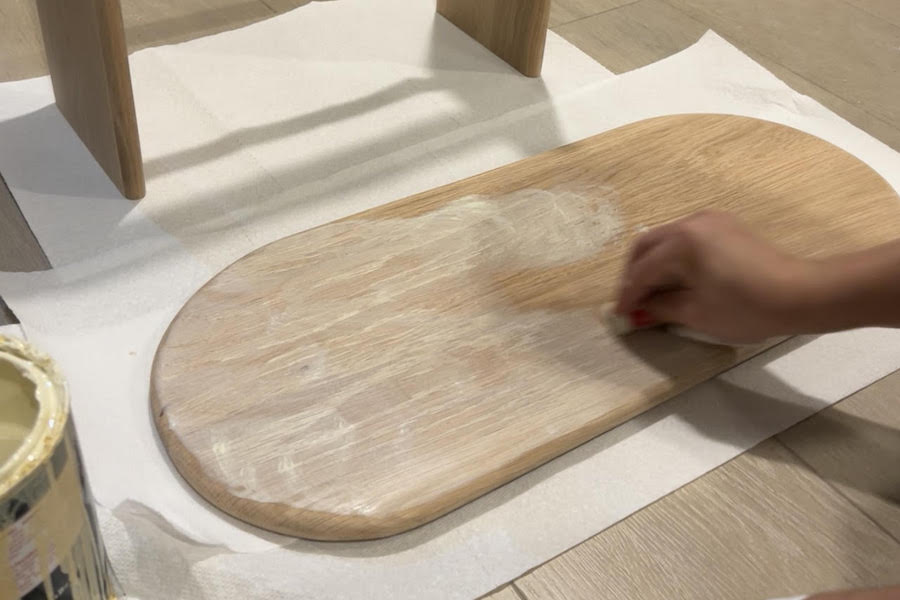
Step Thirteen
Sand, stain and you have a brand new table!