

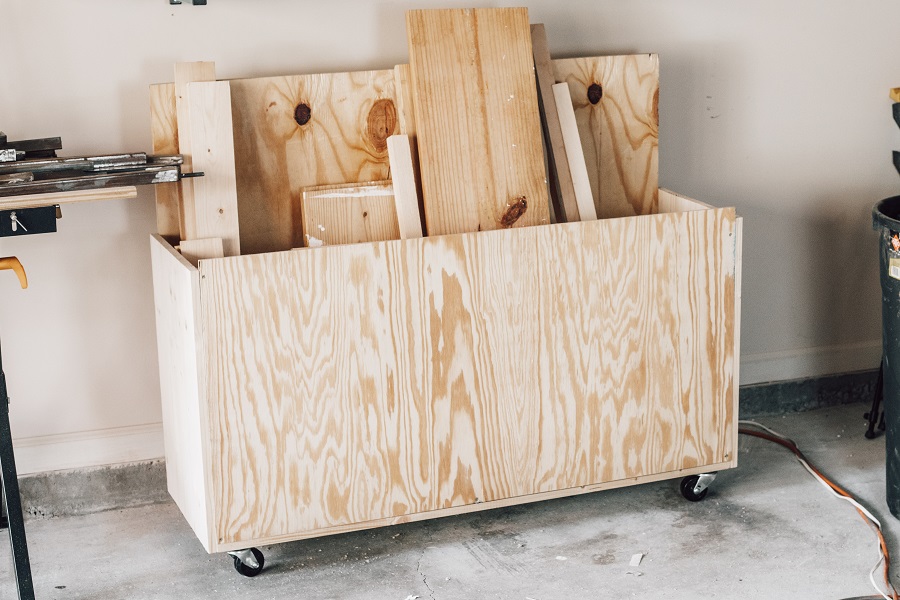


This DIY scrap wood storage cart is a quick and easy build and is definitely needed in any workshop. This cart was made with materials I had on hand, but you could build the whole thing using ¾” thick plywood.
Tools
Kreg Tools


Other Tools
-
Saw

Materials
Wood Products
- 1 Plywood , (I recommend using ¾” thick plywood for the entire cart, but since I was using materials I had on hand, I used a combination of ¾” thick plywood and ¼” thick plywood.)
- 1 Project Panel , (optional)
- 1 Scraps , 1x2 scraps (optional)
Hardware & Supplies
- 1 Set of casters
- 1 Box of 1" wood screws
- 1 Box of 1/2" wood screws
Directions
-
Cut
First, cut your wood to the following dimensions.
¾” thick plywood cut to 4 ft. long x 3 ft. high
Project panel cut to 4 ft long x 15 ½” wide
(2) Project panel pieces cut to 24” long x 15 ½” wide
(5) 1x2 scrap pieces cut to 3-4 inches long each
¼” thick plywood cut to 4 ft. long x 24” wide
(Alternate option: You could use ¾” thick plywood for the whole cart, but I was improvising and trying to use materials I had on hand.) -
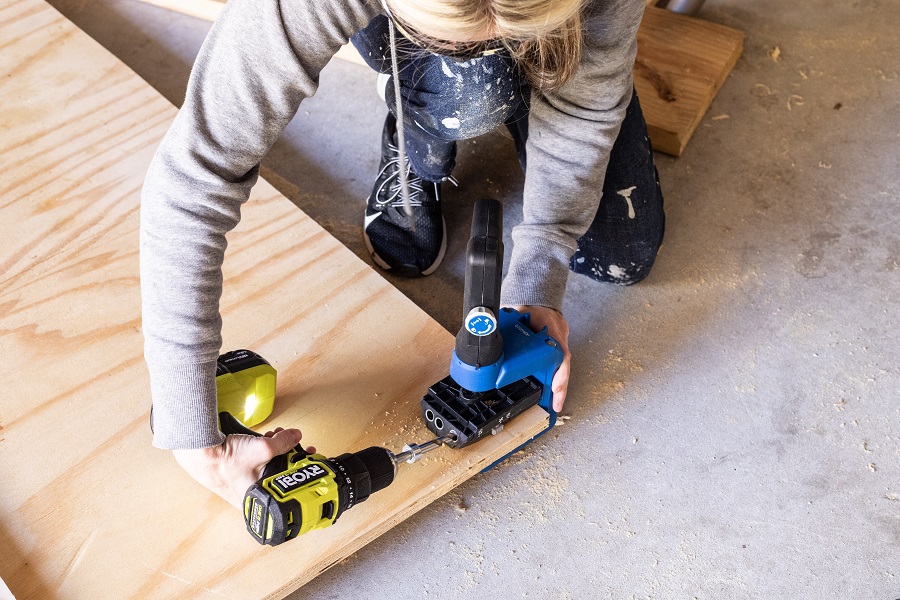
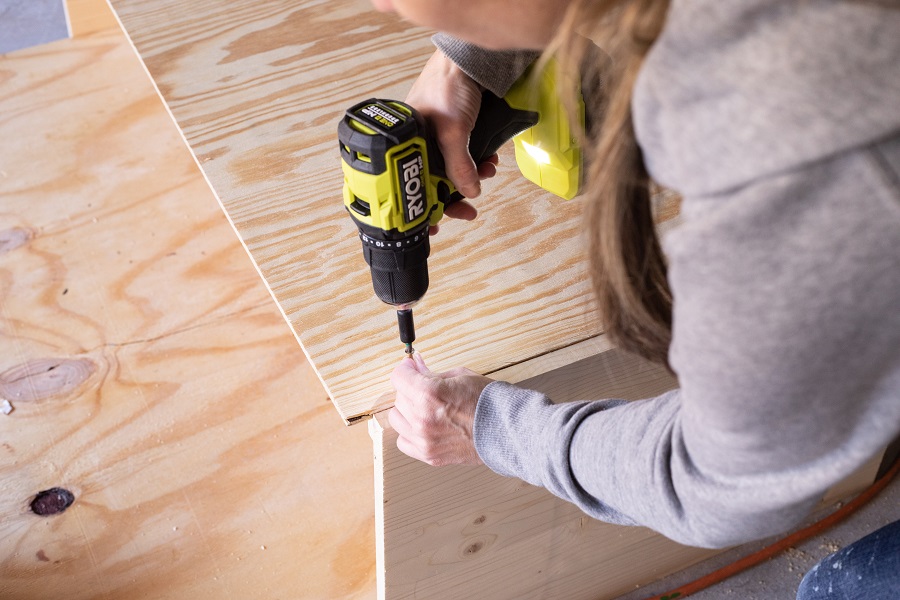
Drill Pocket Holes
Drill pocket holes along the longest side of your large ¾” thick plywood piece (spaced about 4-5 inches apart) as well as along each of the shorter sides, stopping about a third of the way up. Also drill pocket holes in one of the shorter sides and one of the longer sides of each of your side pieces.
-
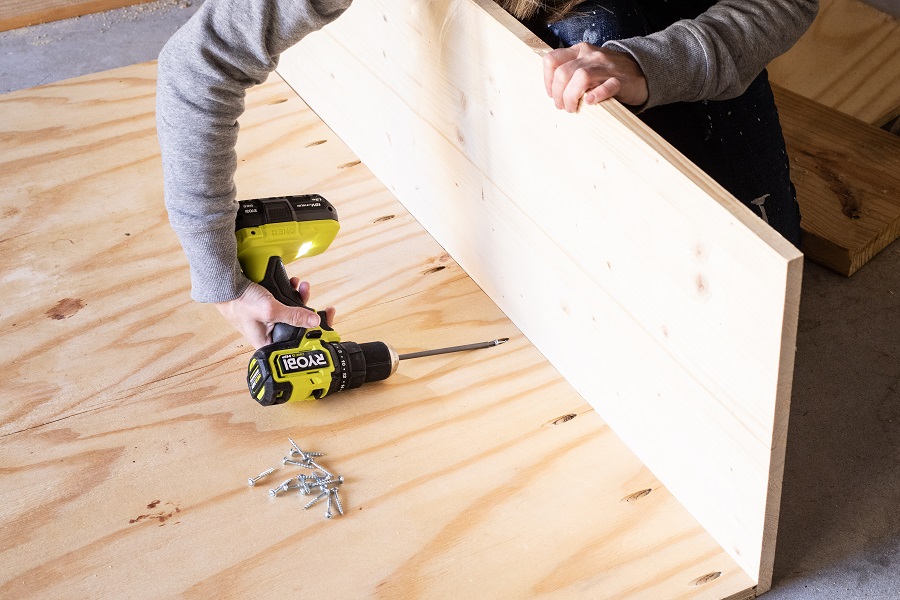
Attach Back and Sides
Attach the bottom piece to the back using 1 ¼” pocket hole screws. Attach the side pieces to the back and bottom pieces, also using 1 ¼” pocket hole screws.
-
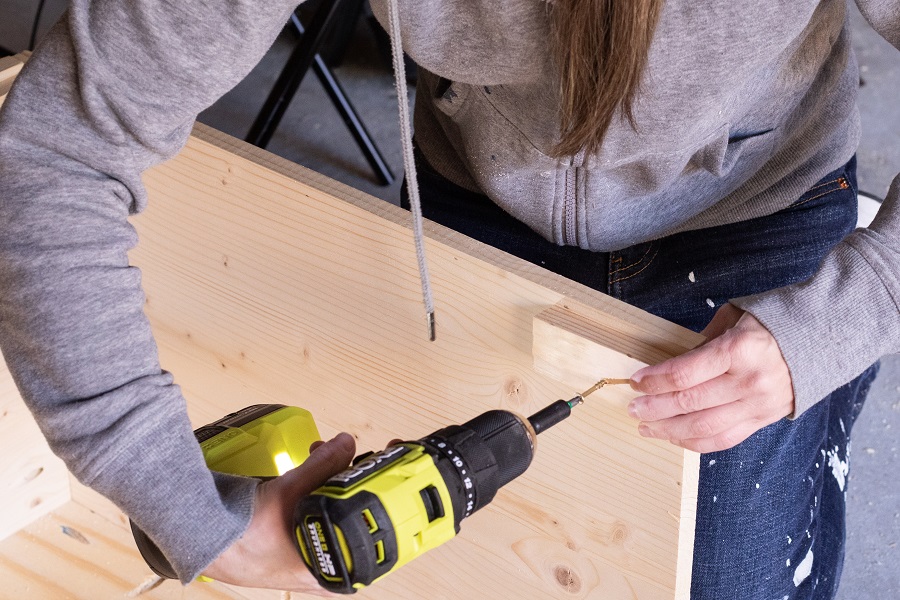
Add Scrap 1x2 pieces
This step is not needed if you use ¾” thick plywood for the whole cart, but since I was improvising I needed something to attach the ¼” thick plywood front piece to. I attached small 1x2 scraps (3-4 inches long) around the perimeter of the cart where the front would be attached, using 1” wood screws. I added a piece in each corner, one in the center at the bottom, and one where the top corners of the front would be. I made sure to leave a ¼” gap between the scrap pieces and the edge so the front piece would lay flush with the sides when attached.
-
Attach Front
I attached my front plywood piece to the scrap 1x2 pieces using 1” wood screws.
-
Add Casters
I attached casters to the bottom using ½” screws.
