

Upgrade your Kreg router lift with a dust collection system that captures virtually all of the dust created on the router table!
Tools
Kreg Tools


Other Tools
-
Table saw

Materials
Wood Products
- 1 Sheet plywood , ⅝”x4x8
Hardware & Supplies
- 1 Box of 1 ¼” pocket hole screws (See tools list)
Directions
-
Watch the video
Before attempting this project, watch the full youtube video to get a better understanding of how to complete the project. Link in Extras below.
-
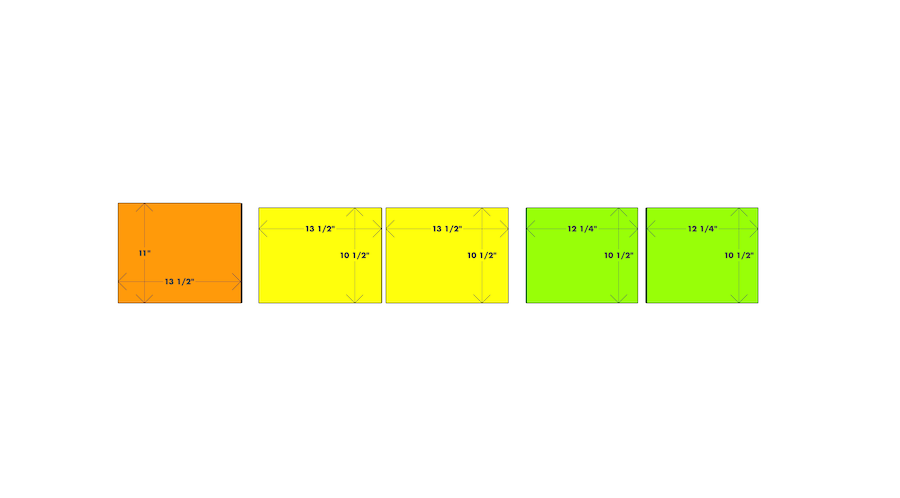
Cut plywood
Cut all pieces according to the cutlist. Note that all of the pieces on this project are made out of ⅝” plywood but you can substitute different thickness if you adjust dimensions properly.
-
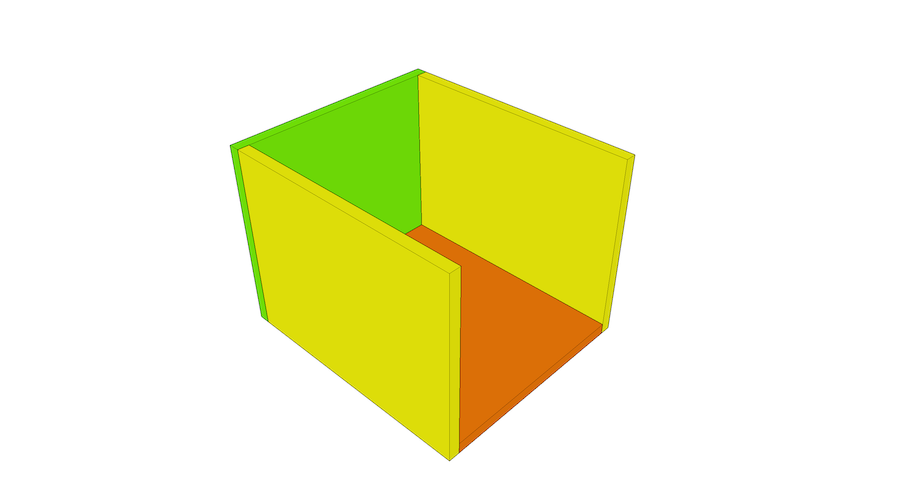
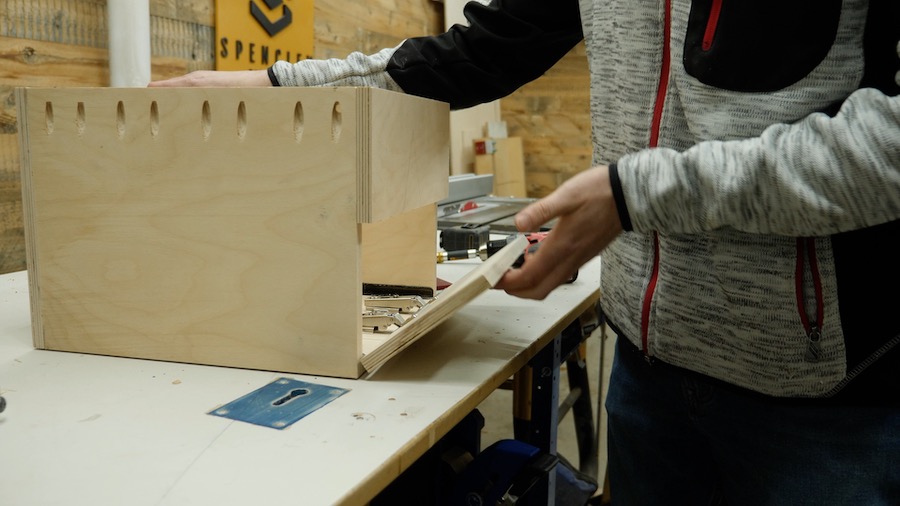
Attach side, bottom, and back pieces together
Using pocket holes, attach all of the side pieces together securely
-
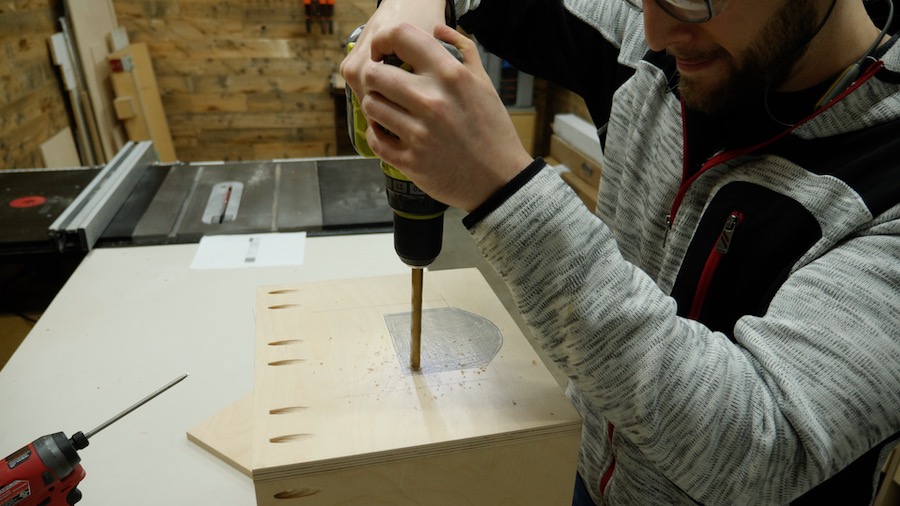
Cut out a hole for the dust port
Use a drill to drill some pilot holes in the back of the dust box, then cut out the rest of the hole using a jigsaw
-
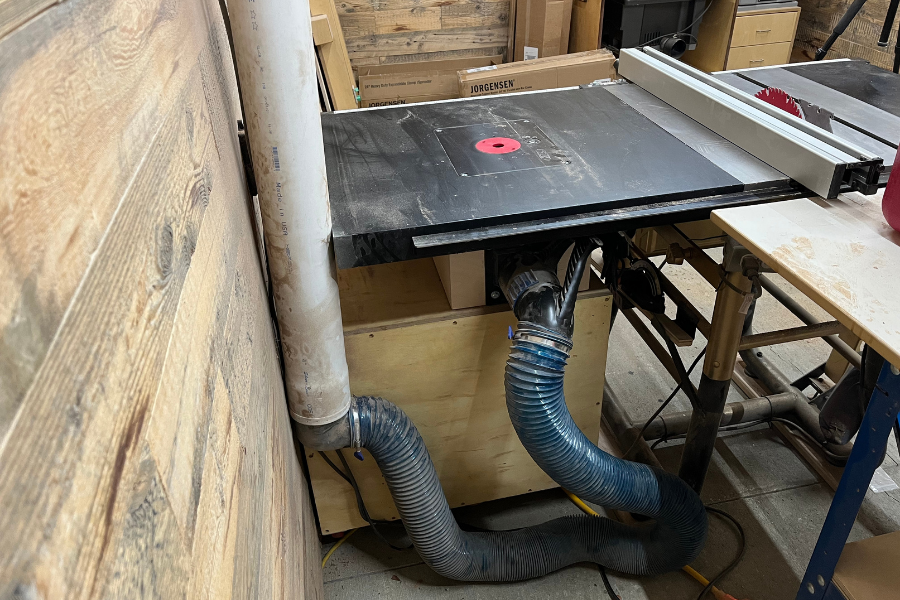
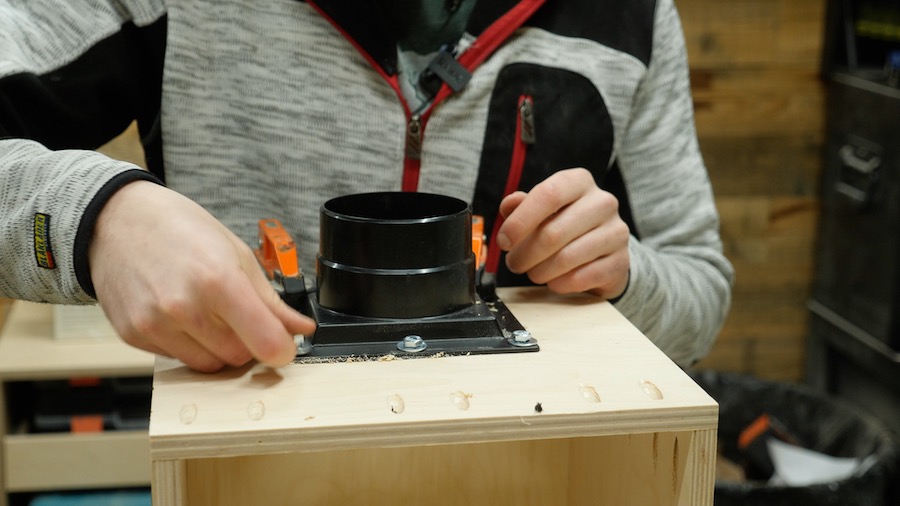
Attach dust collection port
After cutting out the hole in step 3, attach the dust collection port with screws or bolts to secure it to the back of the box
-
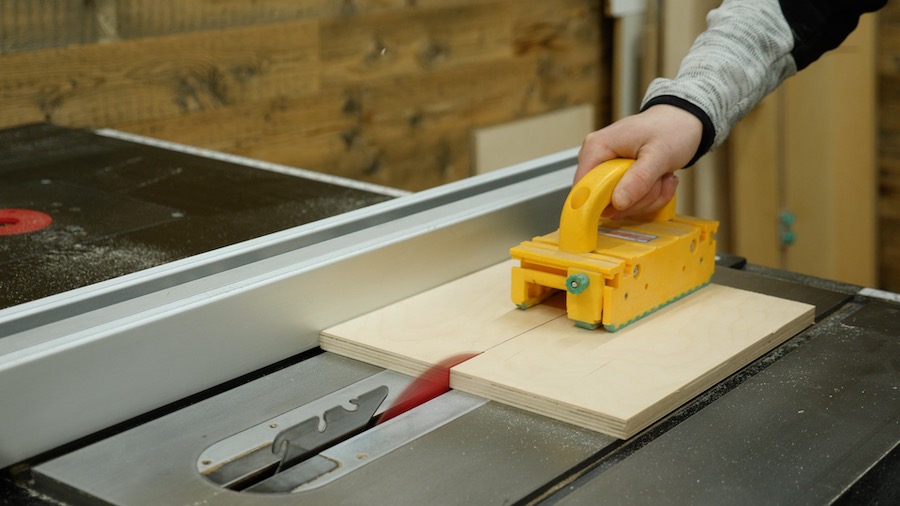
Cut door panel
Grabbing the extra front panel that you cut earlier, cut the panel roughly in half to create a door for the dust collection box
-
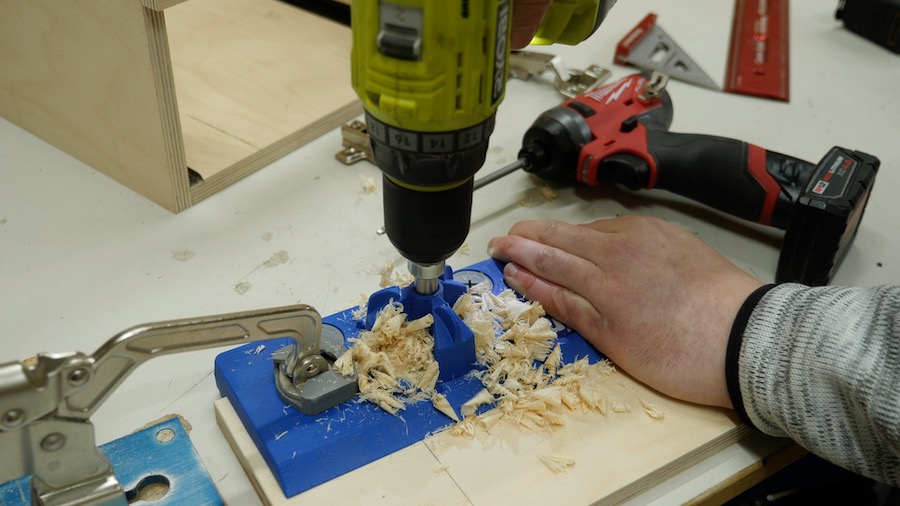
Drill hinge cups
Using the Kreg Concealed Hinge Jig, drill out cups for the concealed hinges to sit in
-
Attach door to dust box
Once the concealed hinges are attach to the door, attach the opposite side of the hinges to the dust box to create a functional door
-
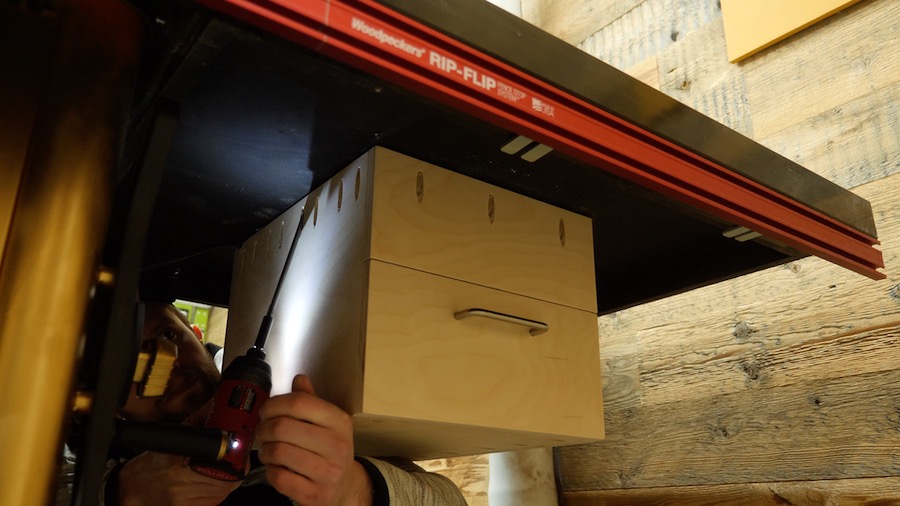
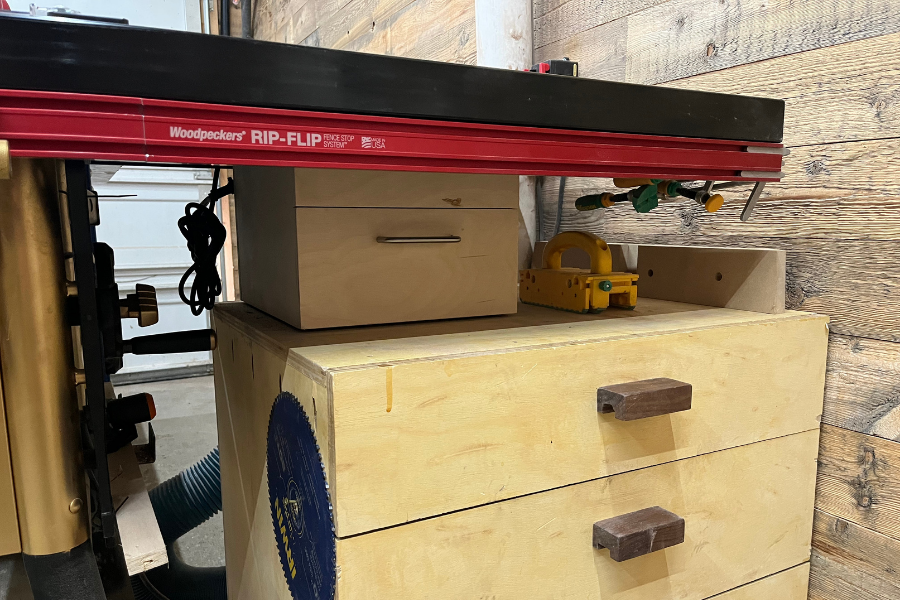
Attach dust box to router table
With the door attached, using pocket hole screws to attach the dust collection box underneath the router table and you are done!