

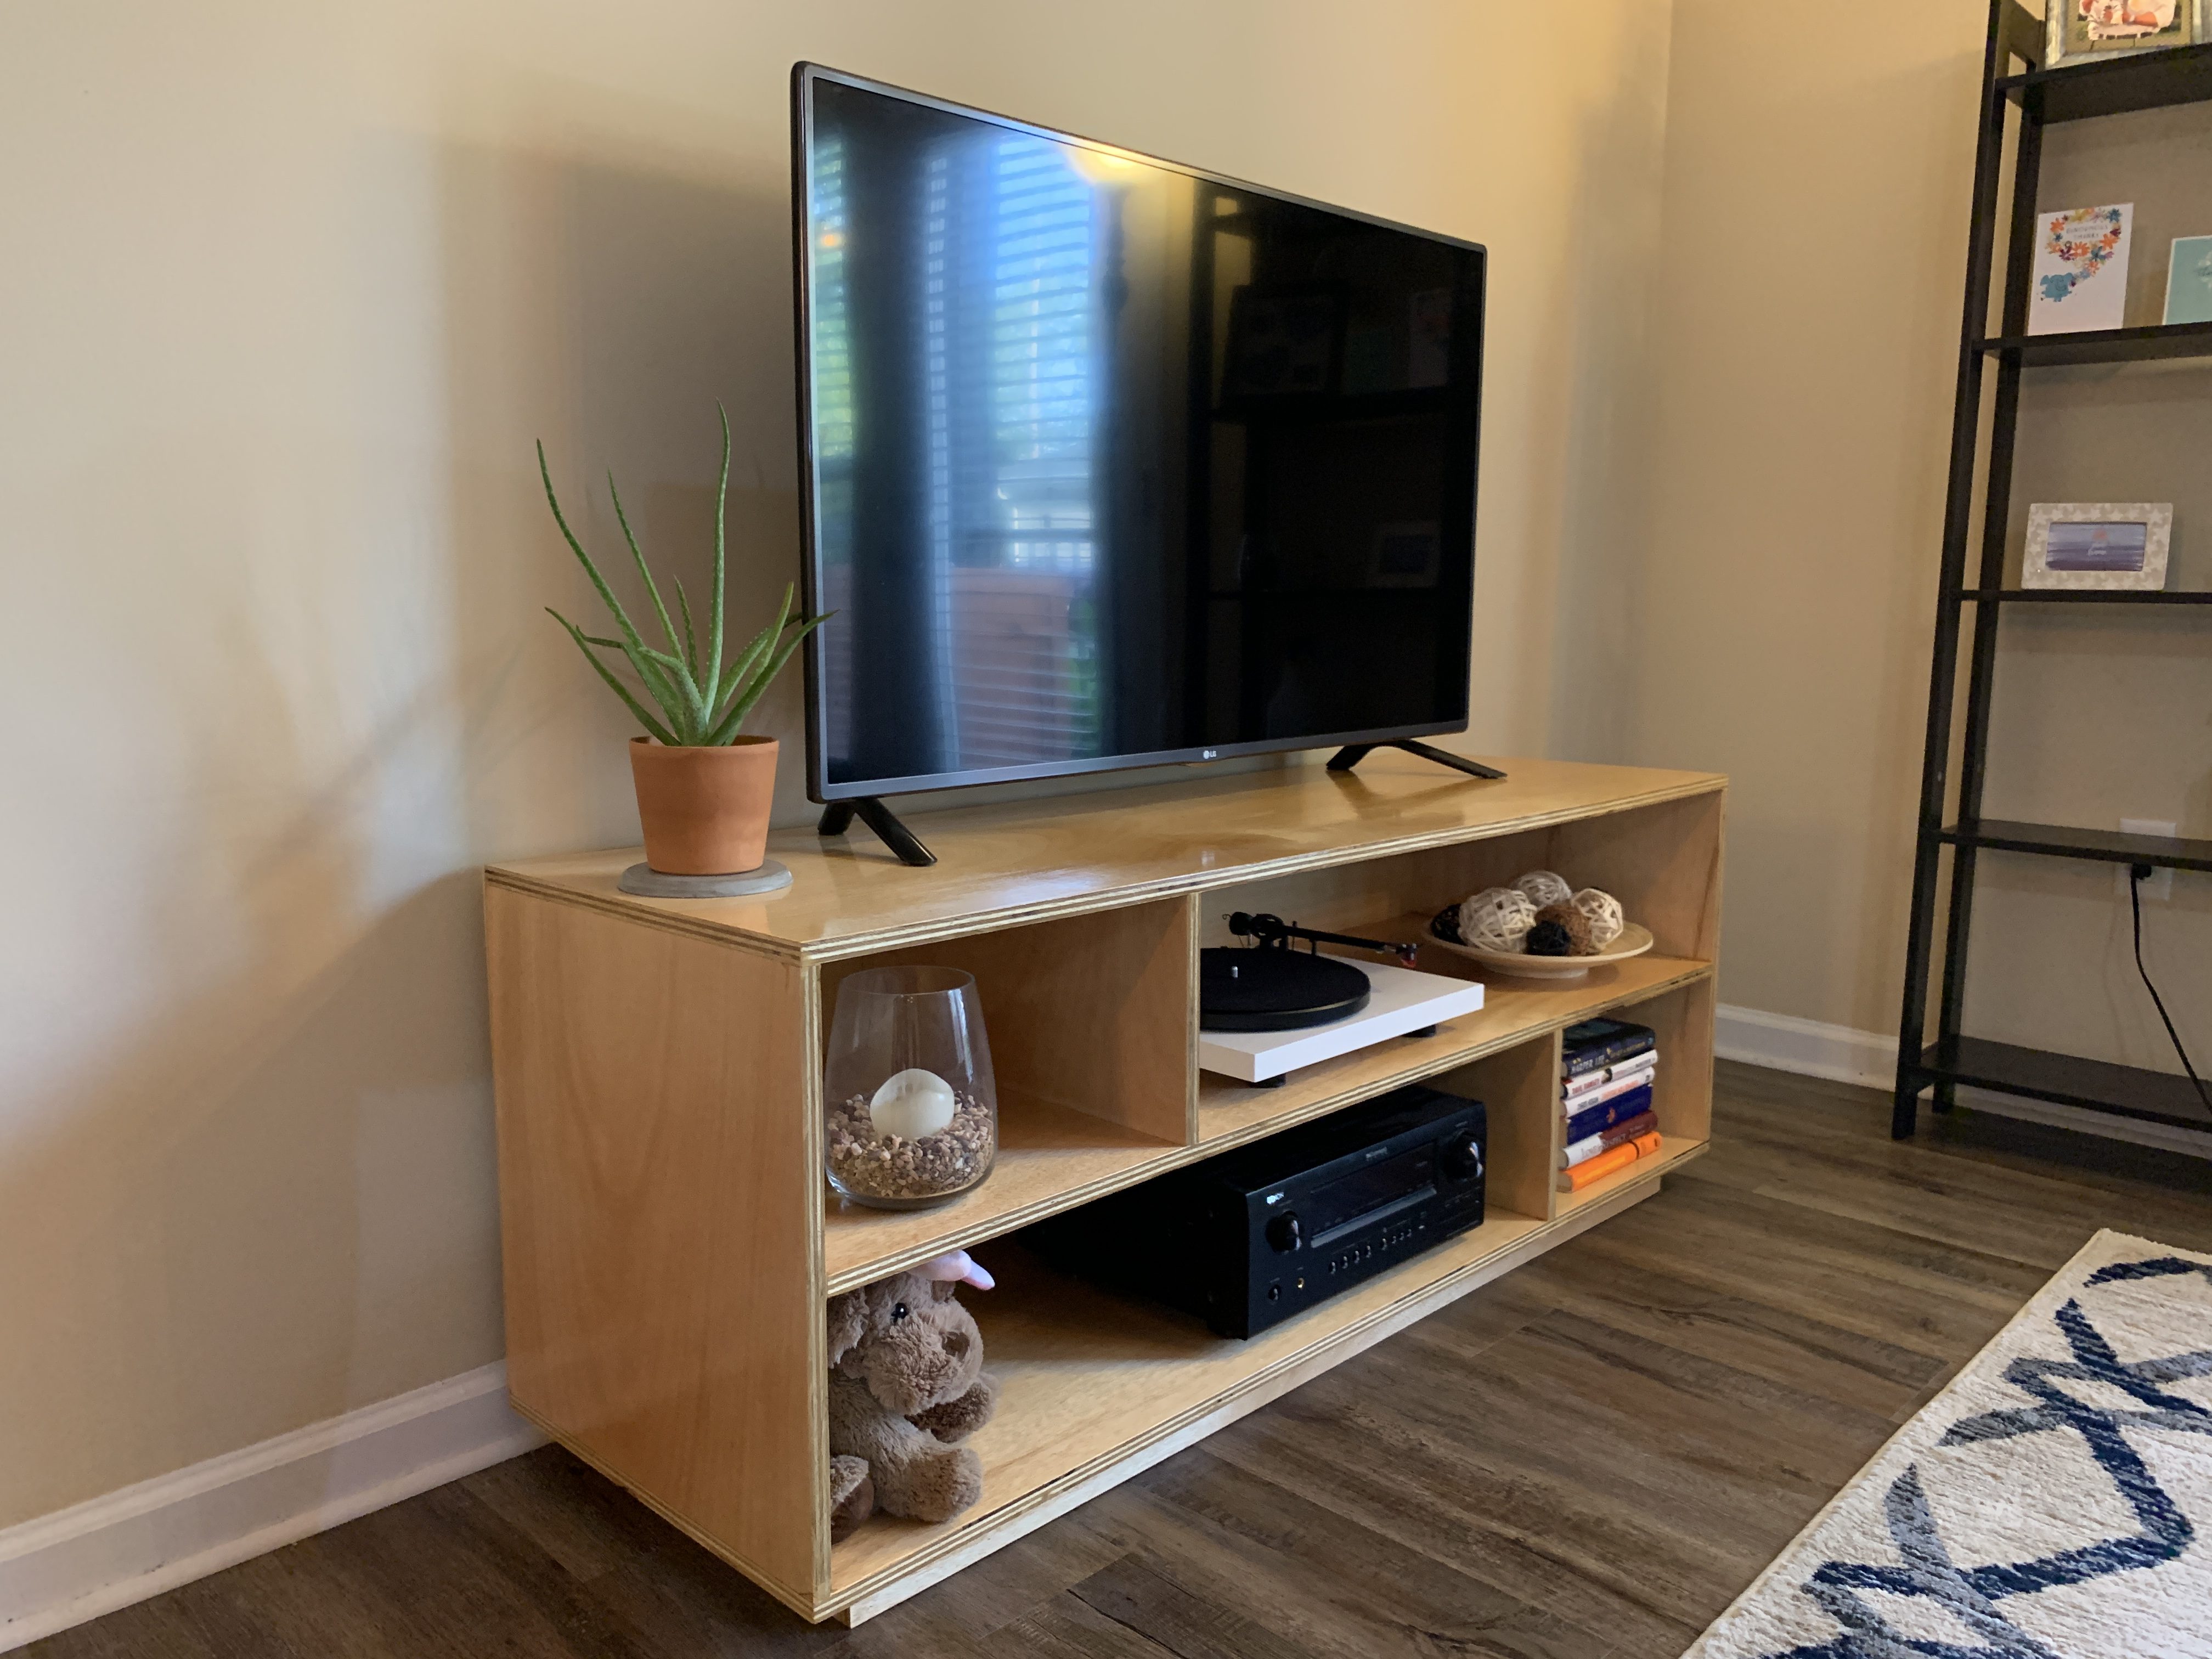
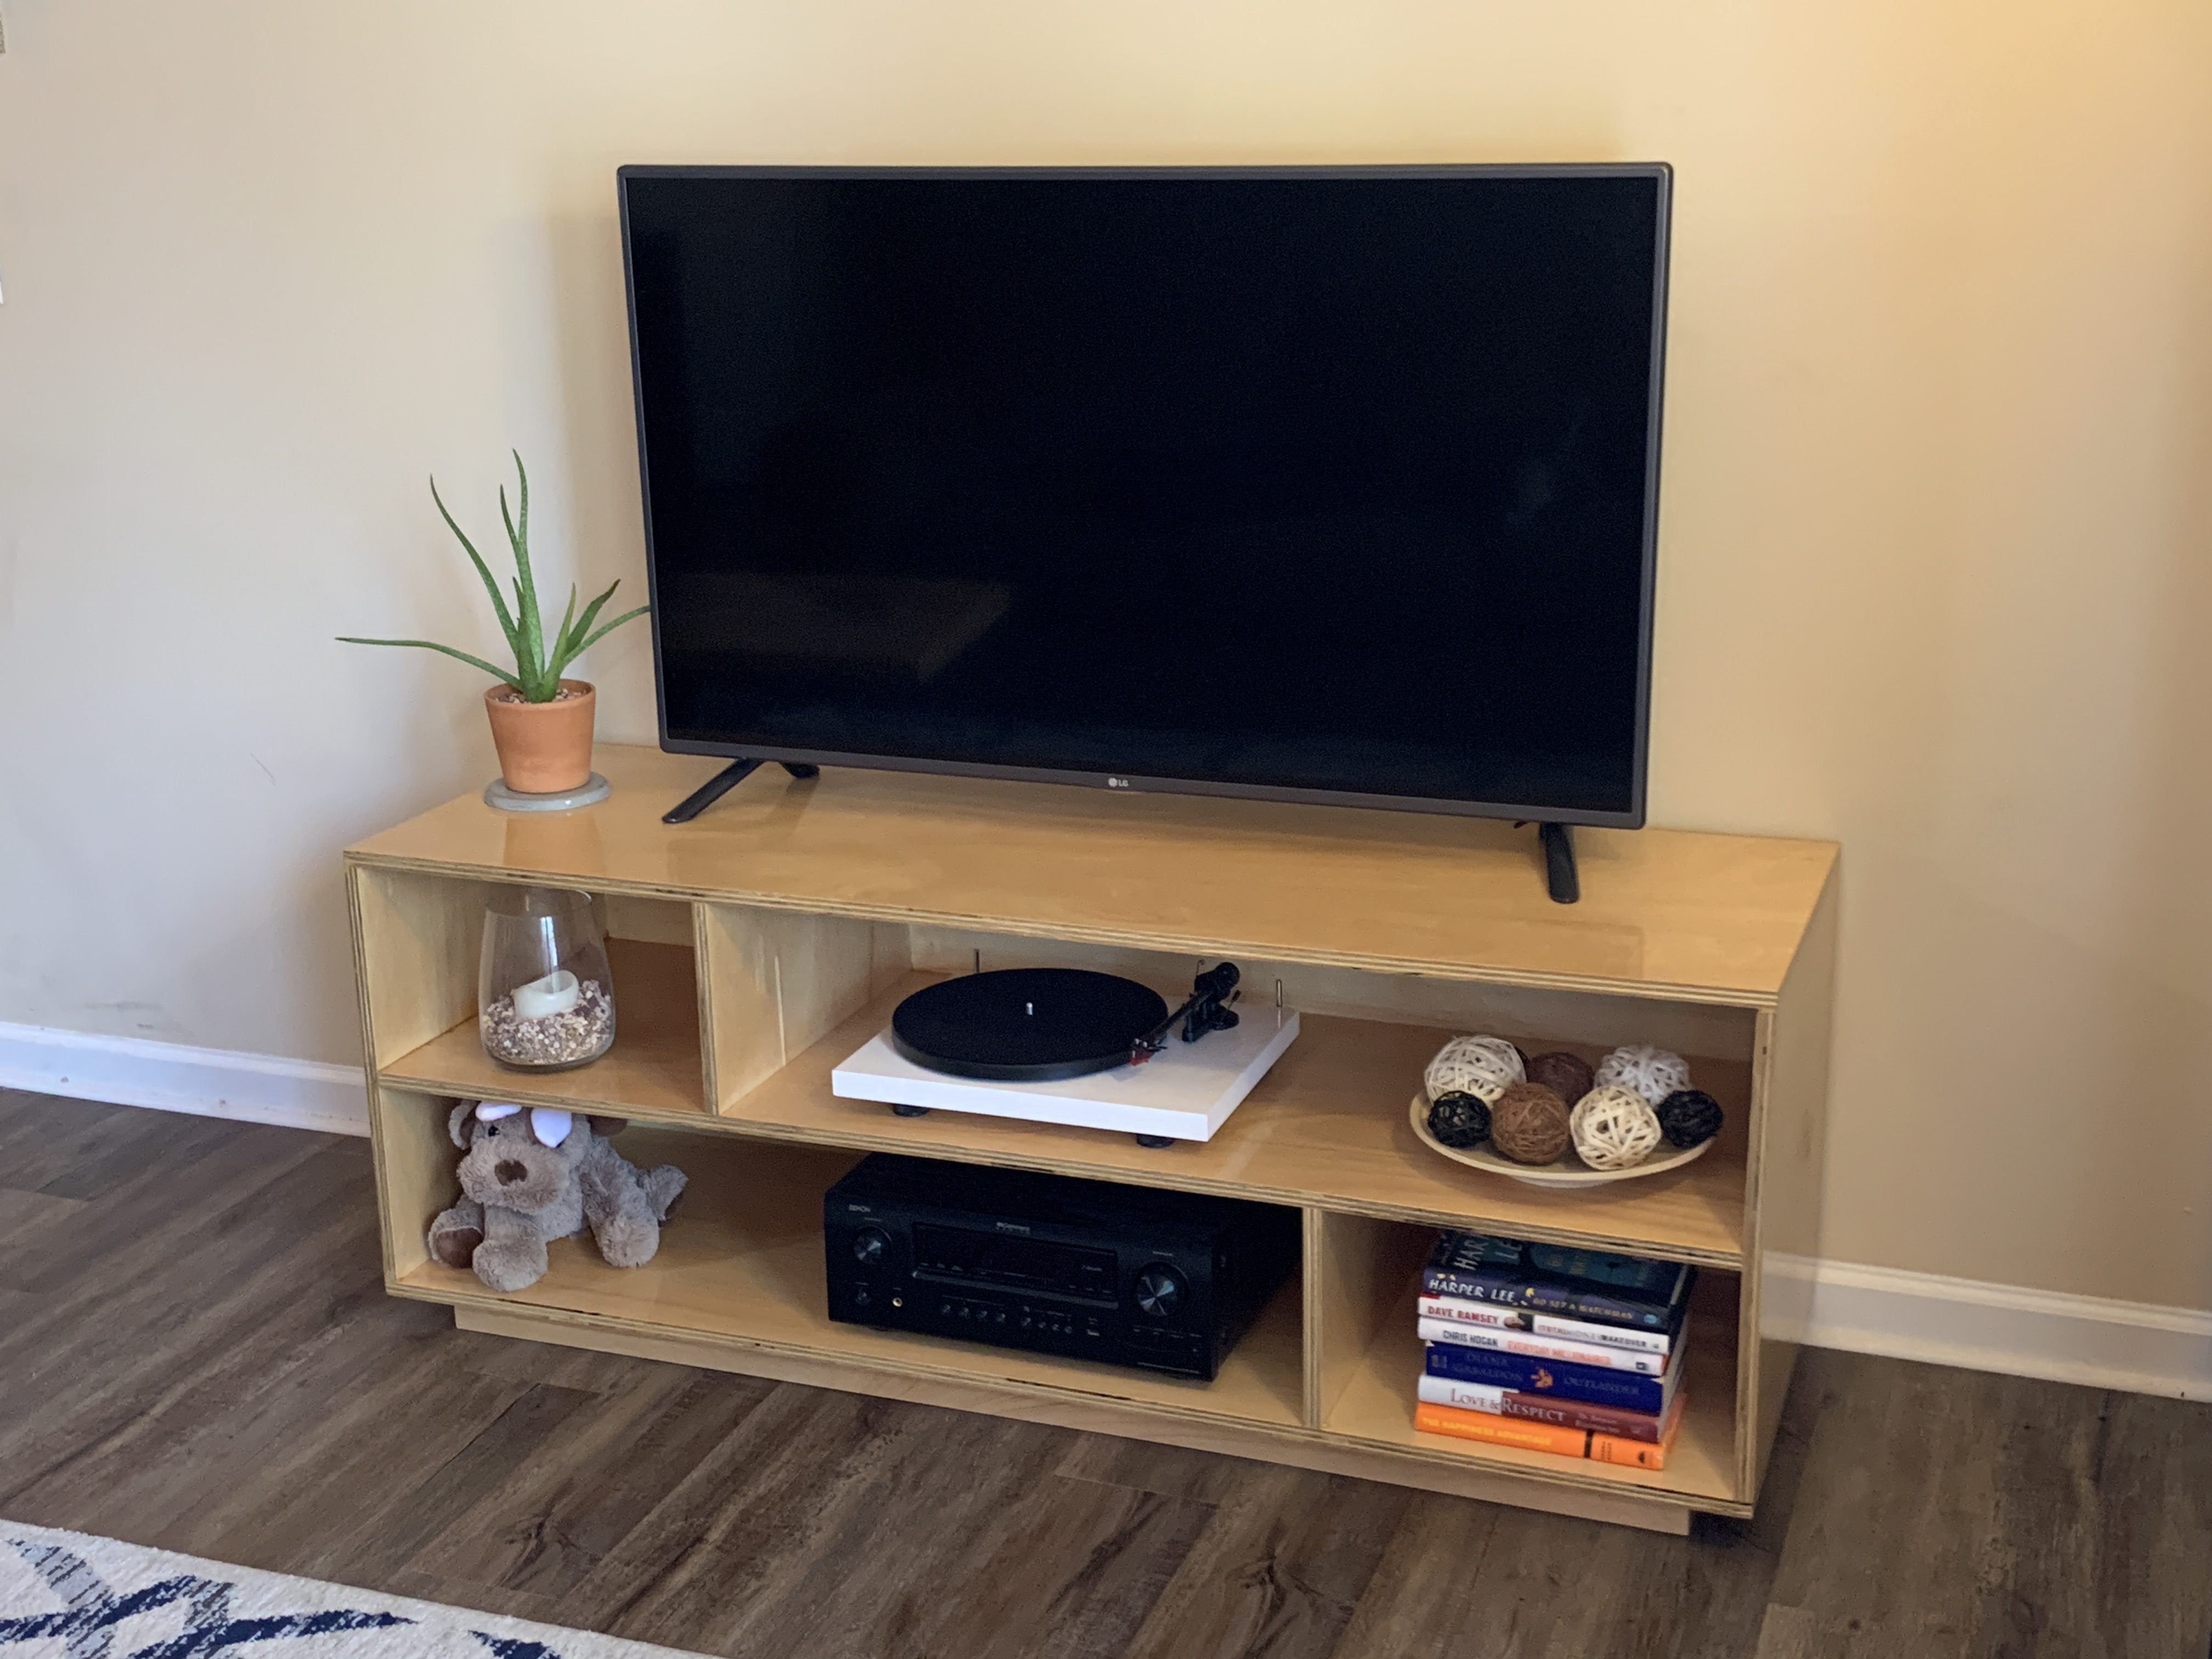
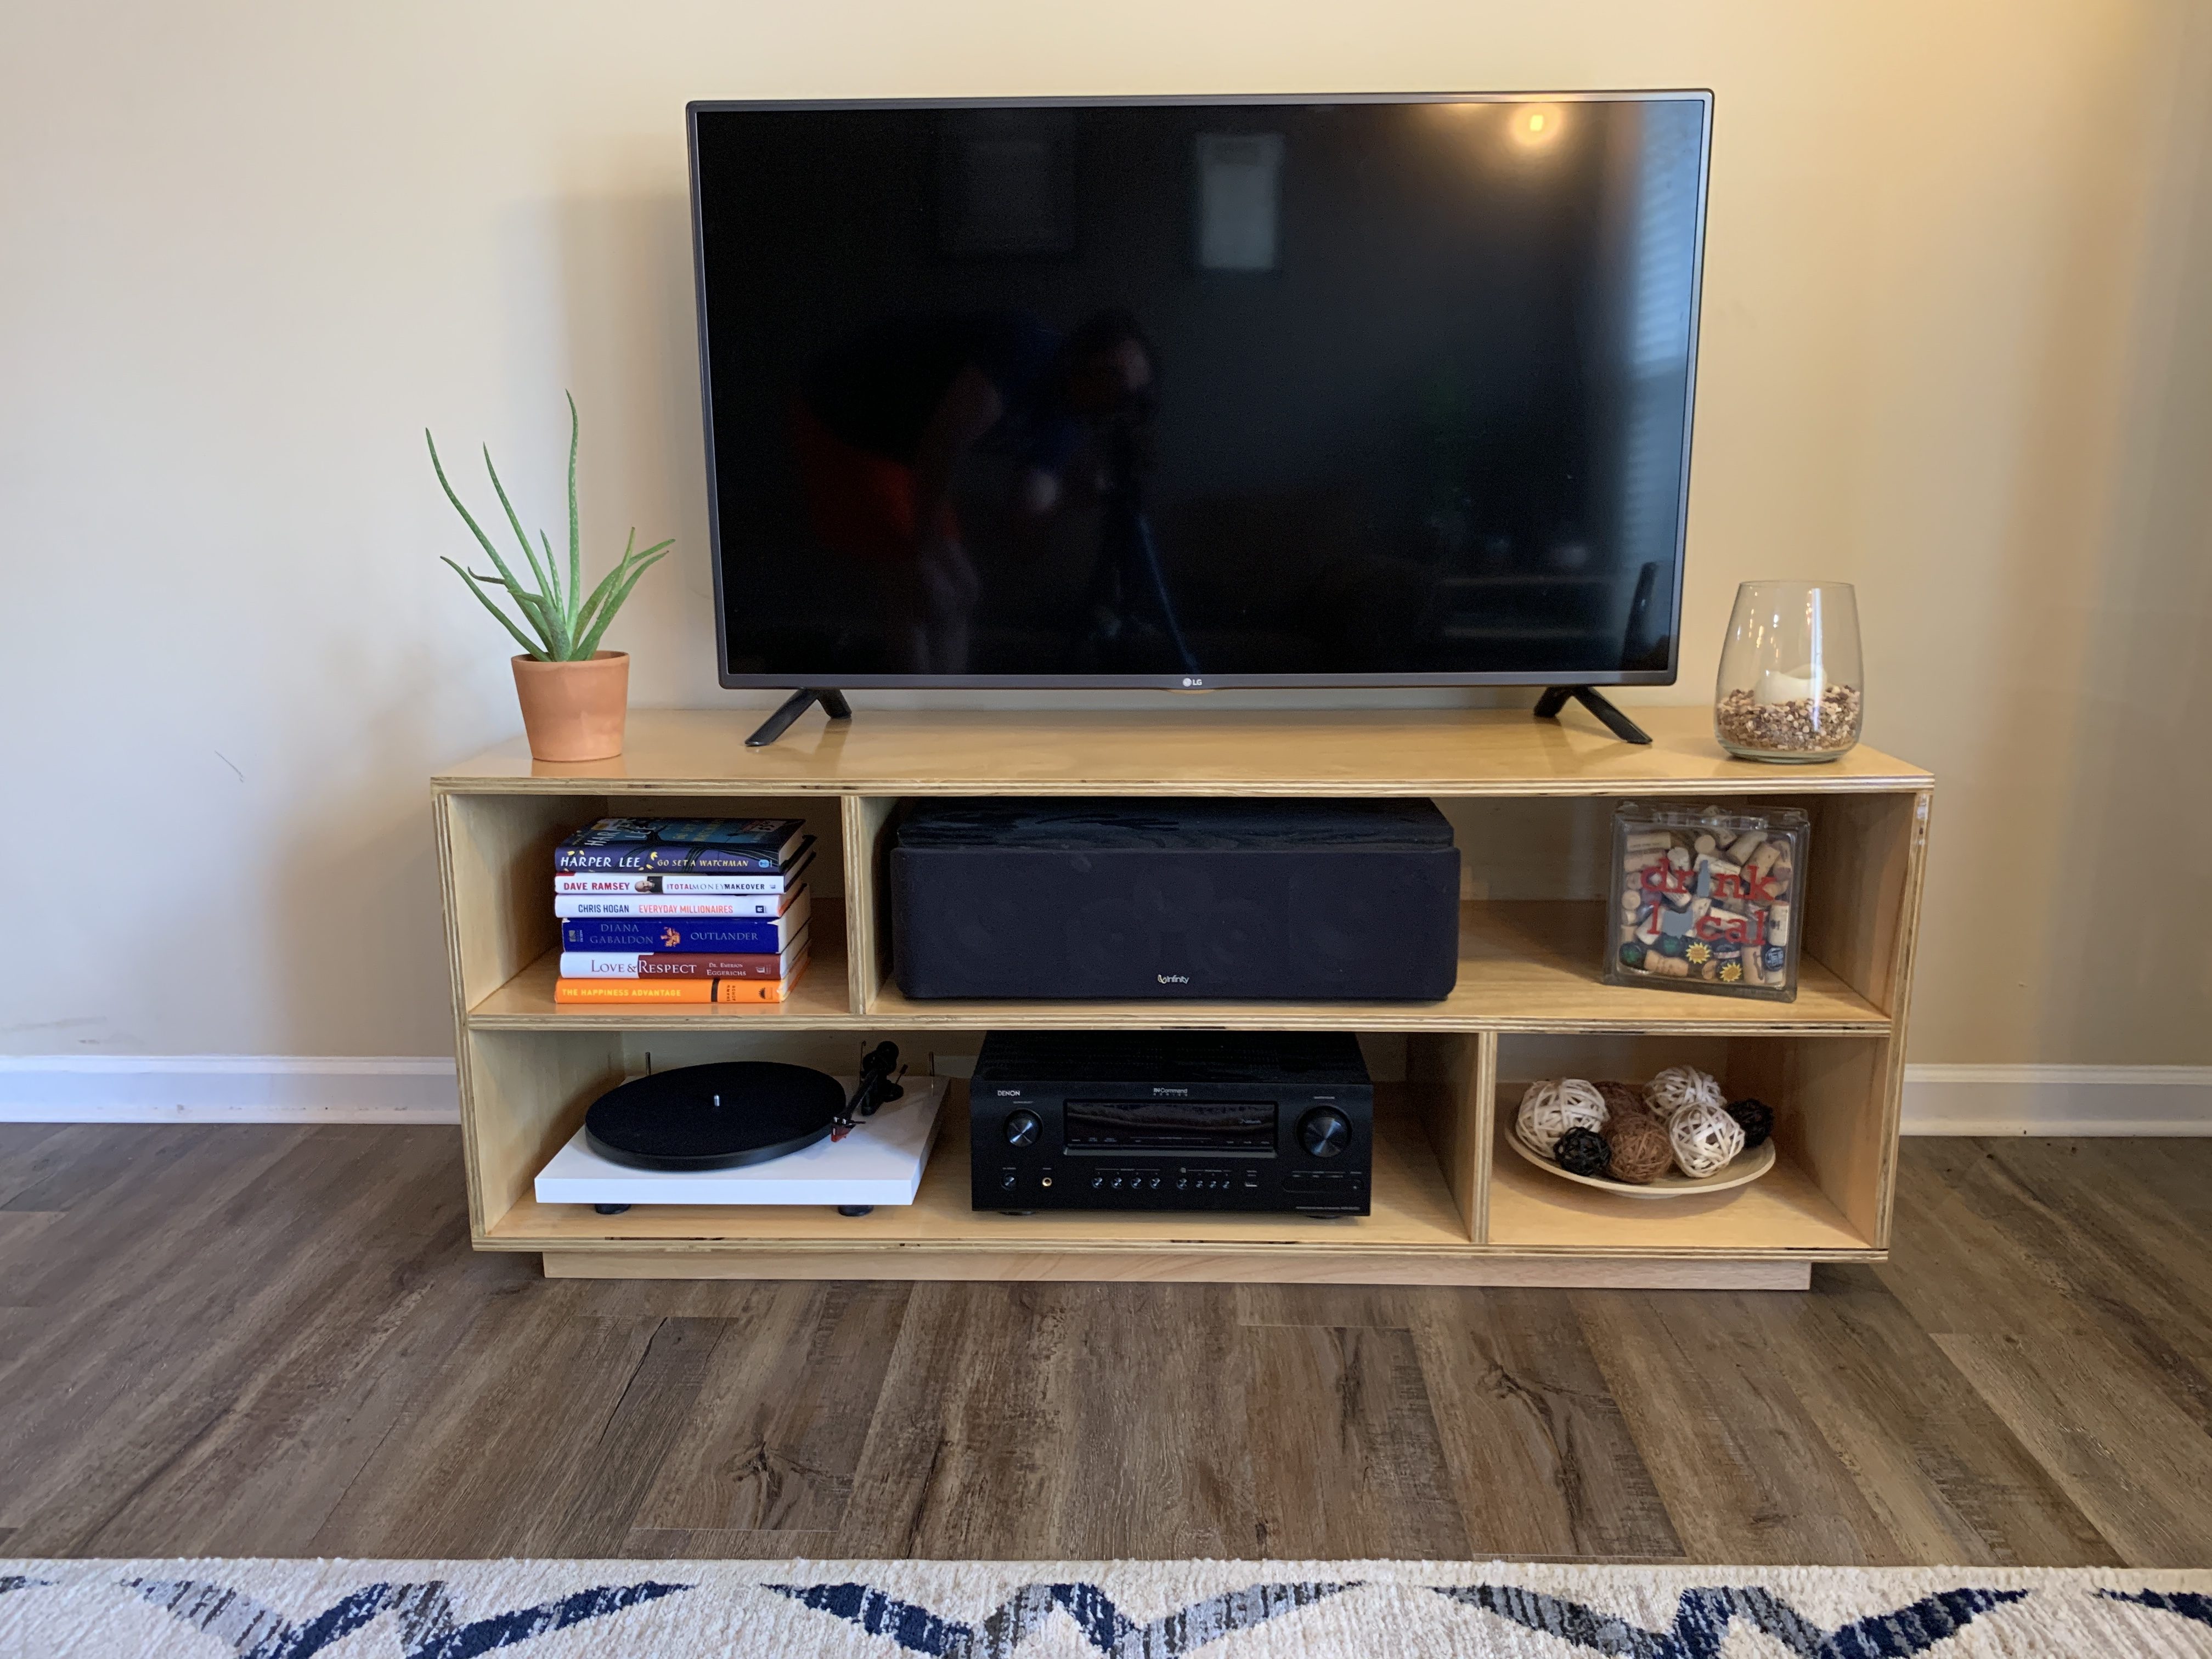
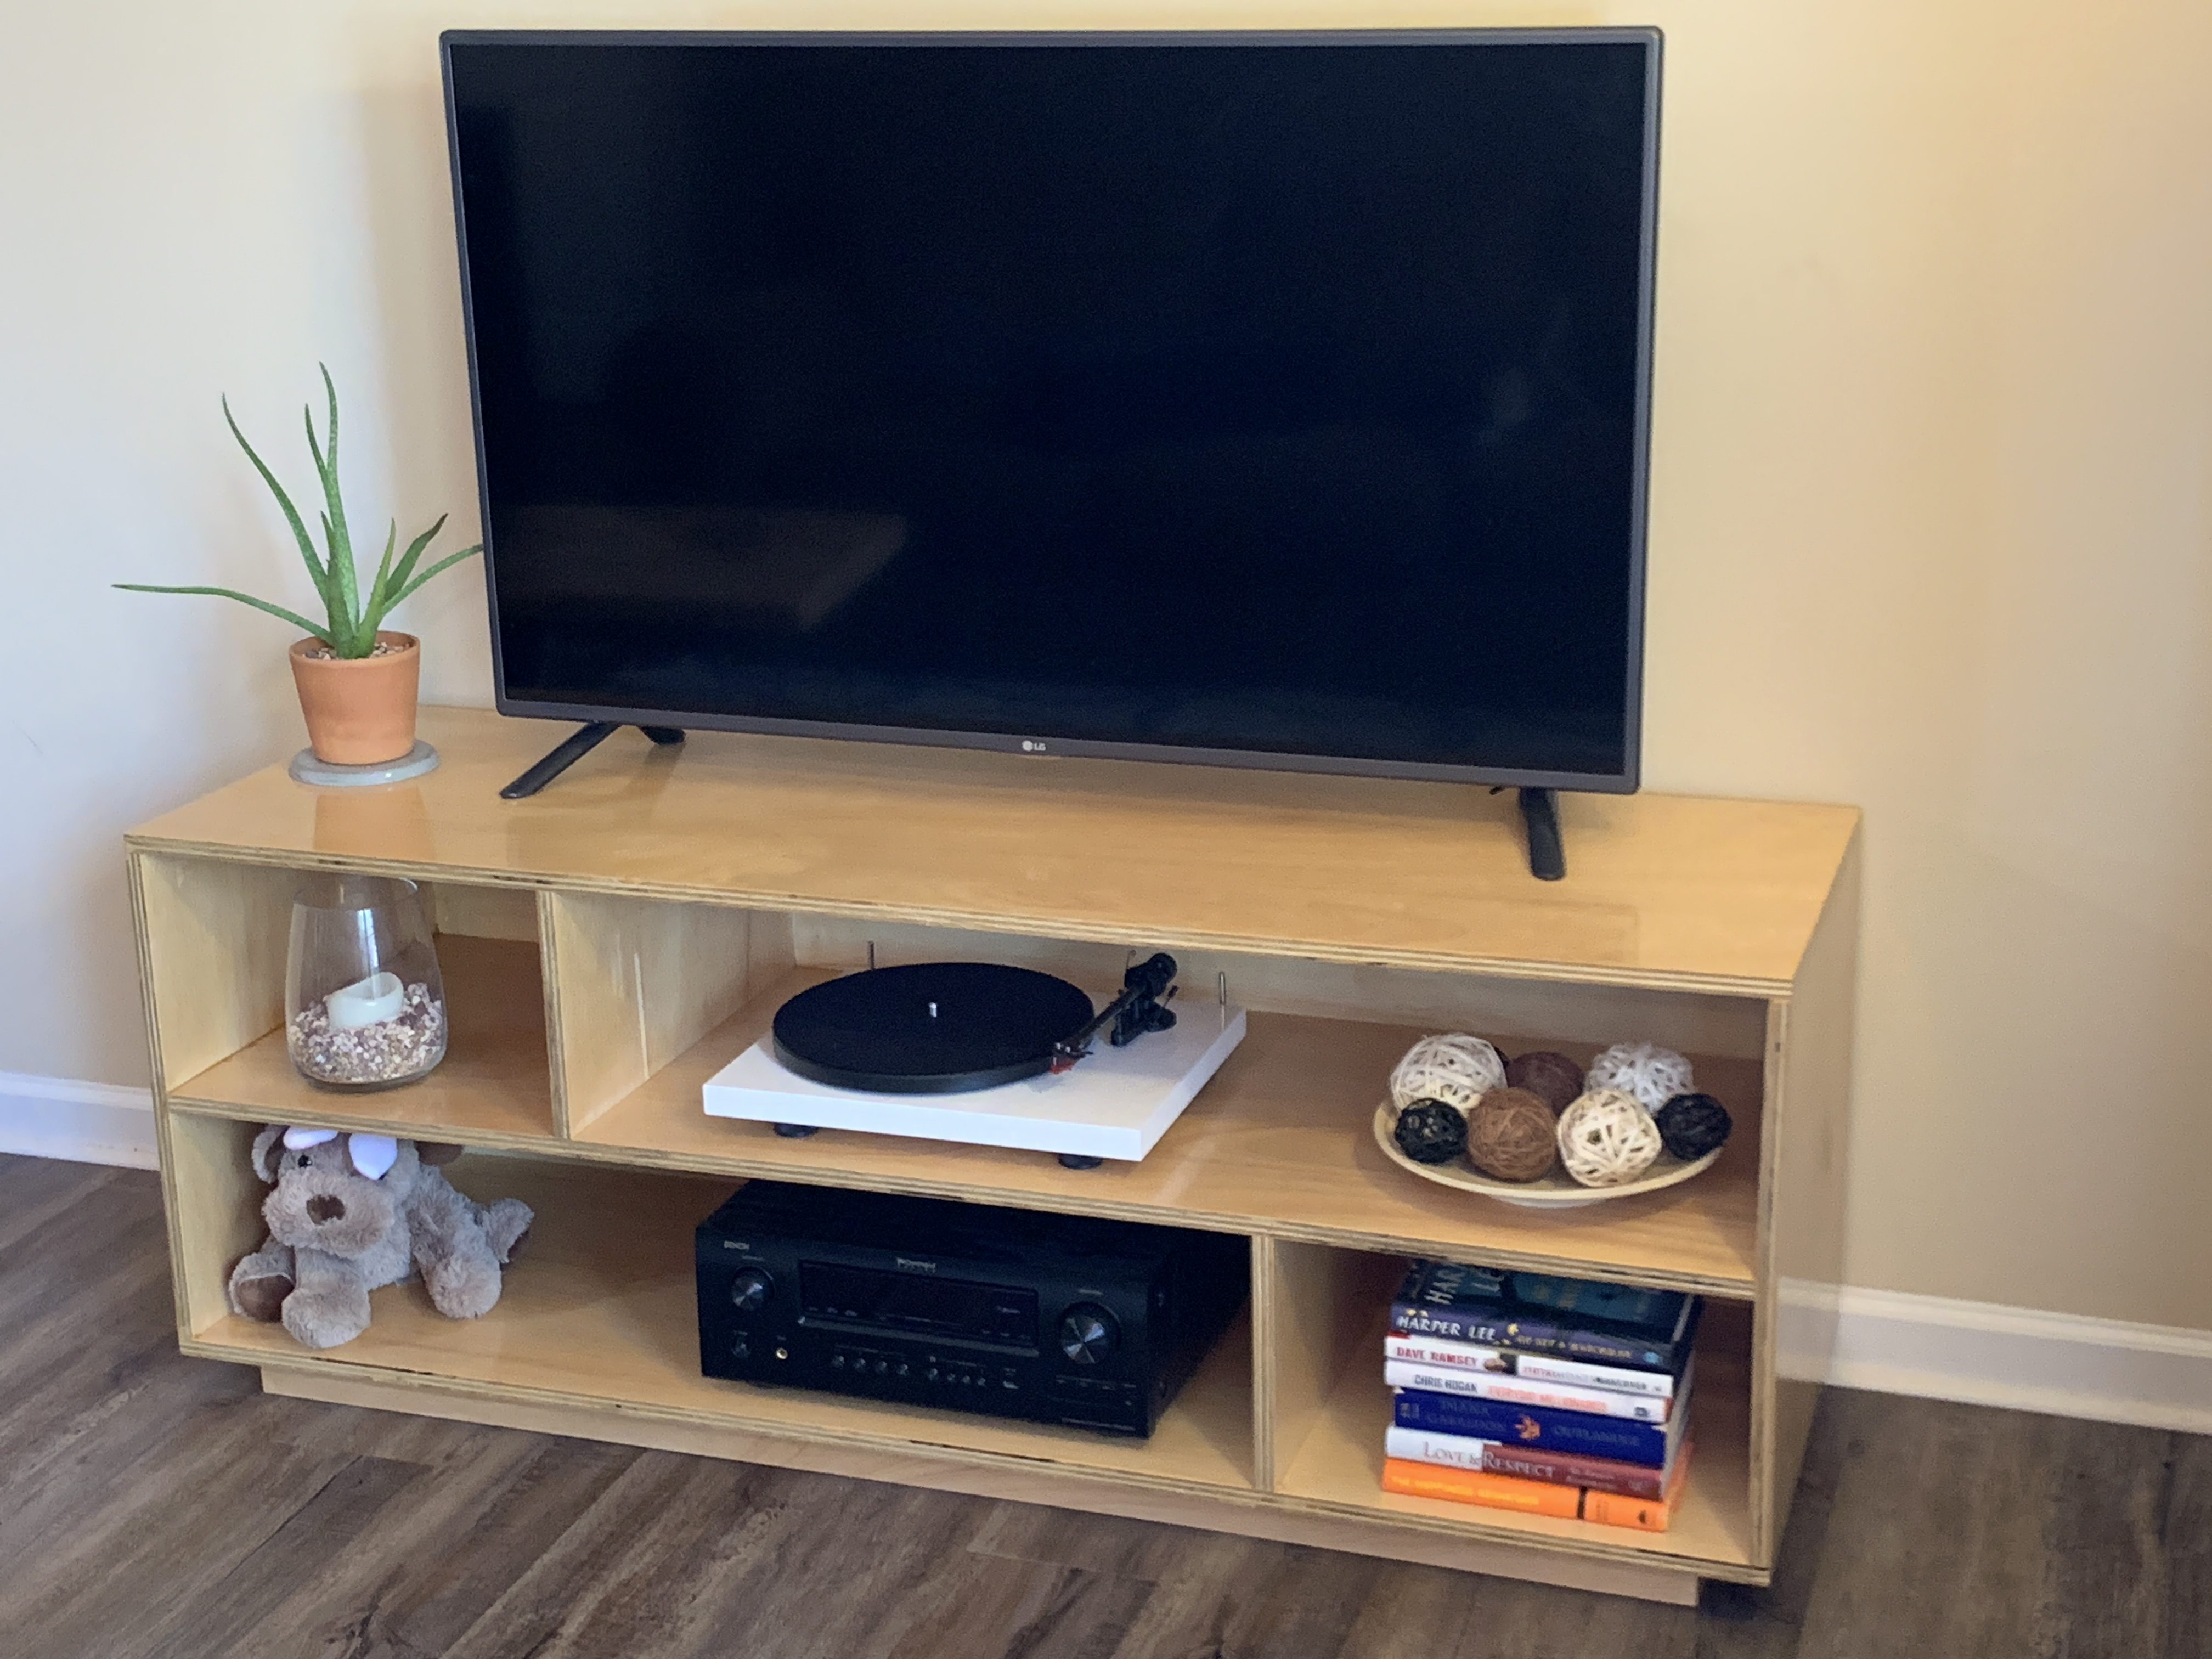
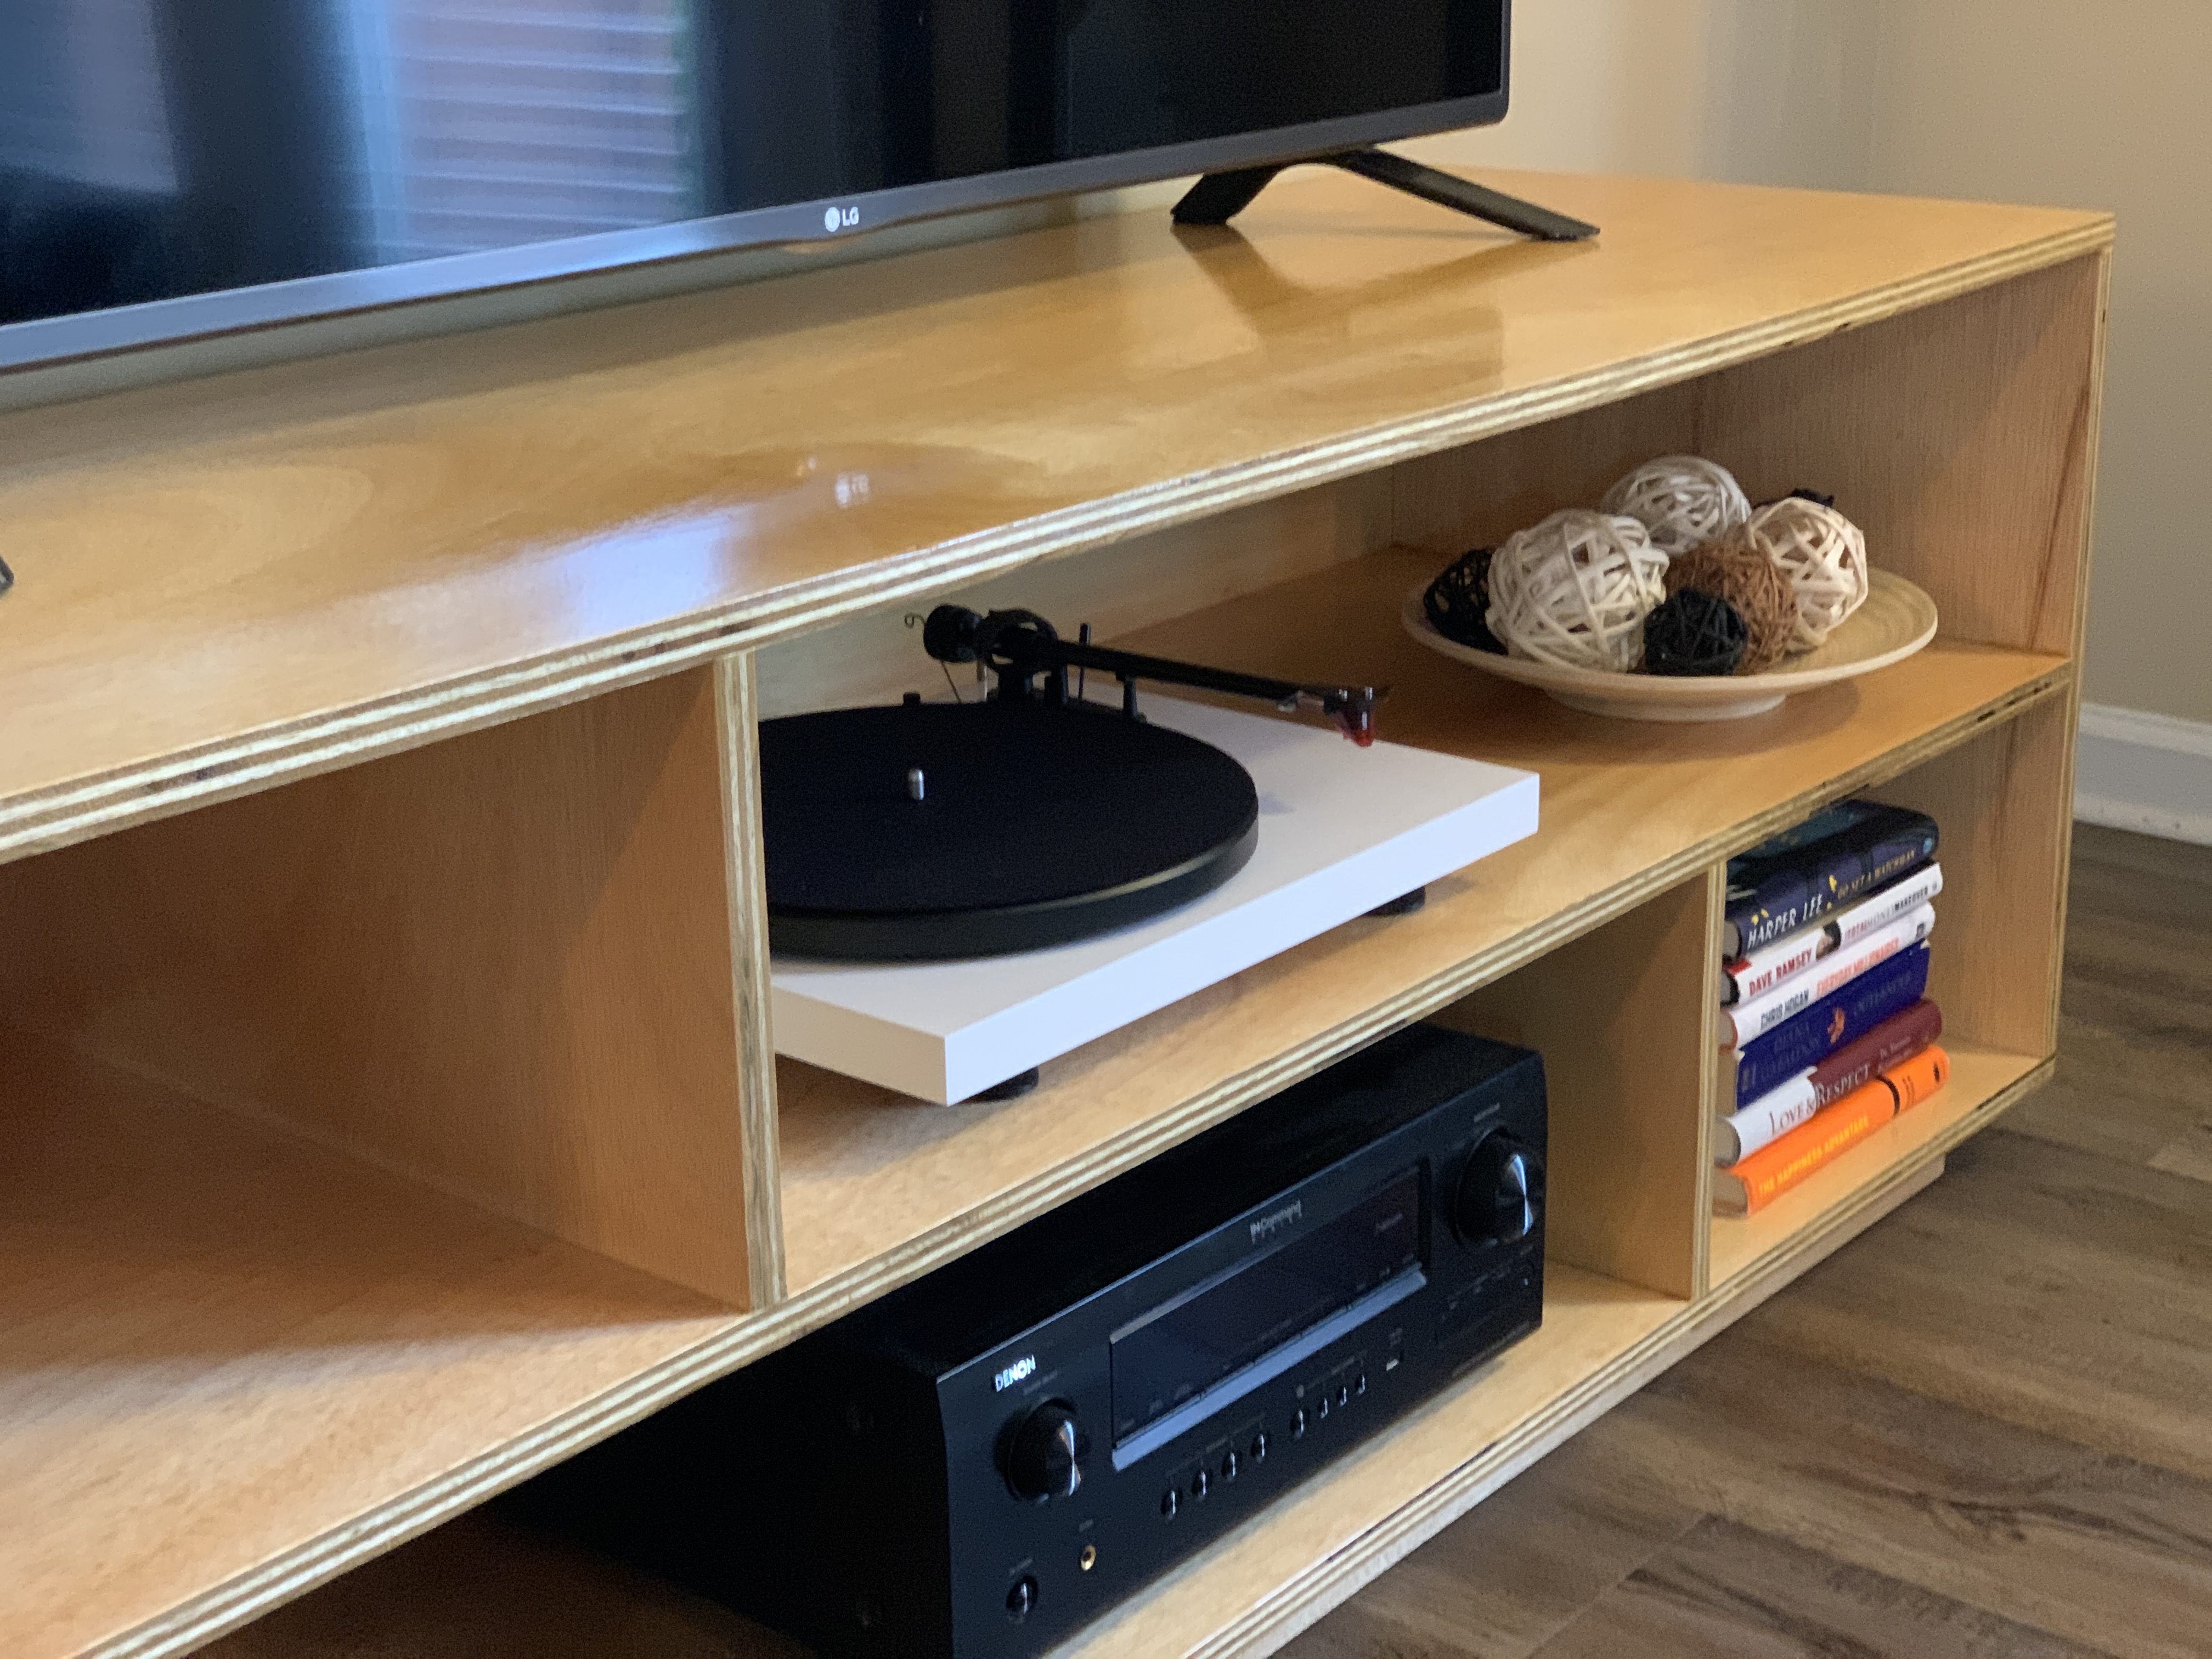


Build this modern plywood media with basic tools! This is the perfect first furniture project for the new DIYer!
Tools
Kreg Tools


Other Tools

Materials
Wood Products
- 1 1/4" Thick Plywood , 4' x 8'
- 2 3/4" Thick Plywood , 4' x 8'
Hardware & Supplies
- 1 Box of 1 1/4" pocket-hole screws
Cut List & Parts
- 1 Purple Back , 60" x 20 3/4" x 1/4" Thick Plywood
- 1 Gold Middle Shelf , 58 1/2" x 19" x 3/4" Thick Plywood
- 2 Red Top/Bottom Shelf , 60" x 19" x 3/4" Thick Plywood
- 2 Blue Sides , 19 1/2" x 19" x 3/4" Thick Plywood
- 2 Green Supports , 9 1/4" x 19" x 3/4" Thick Plywood
- 6 Purple Base Supports , 16" x 2" x 3/4" Thick Plywood
- 2 Yellow Back Supports , 15 7/8" x 2" x 3/4" Thick Plywood
- 2 White Base Supports , 57" x 2" x 3/4" Thick Plywood
- 2 White Checkered Back Supports , 41 5/8" x 2" x 3/4" Thick Plywood

Directions
-
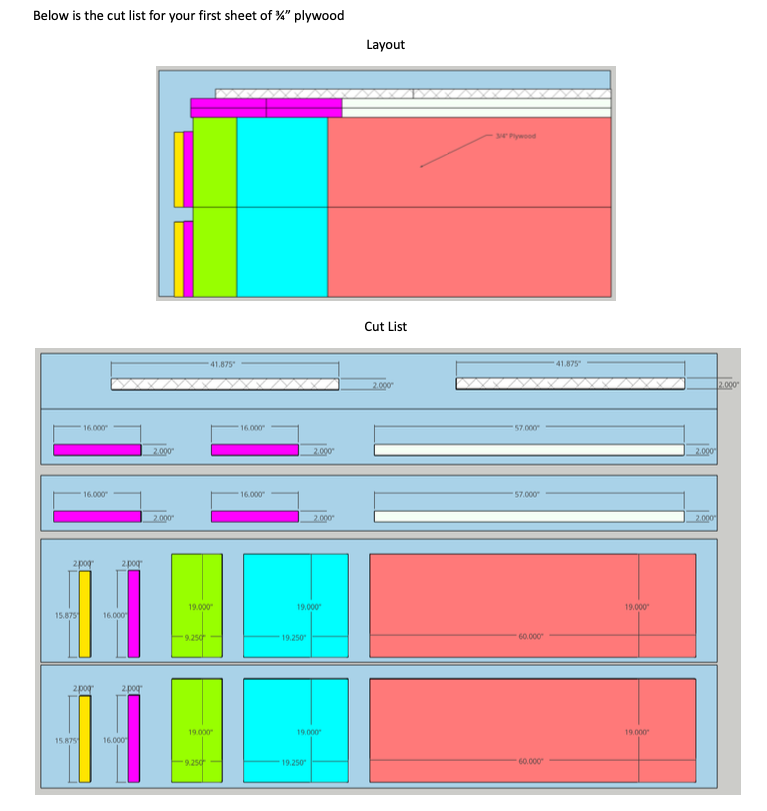
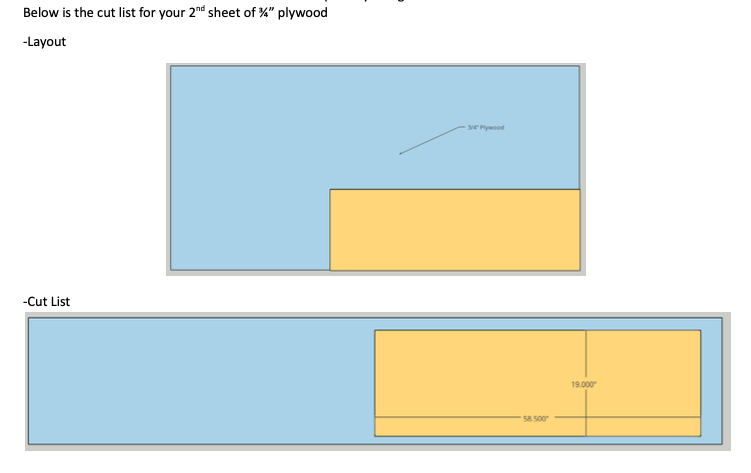
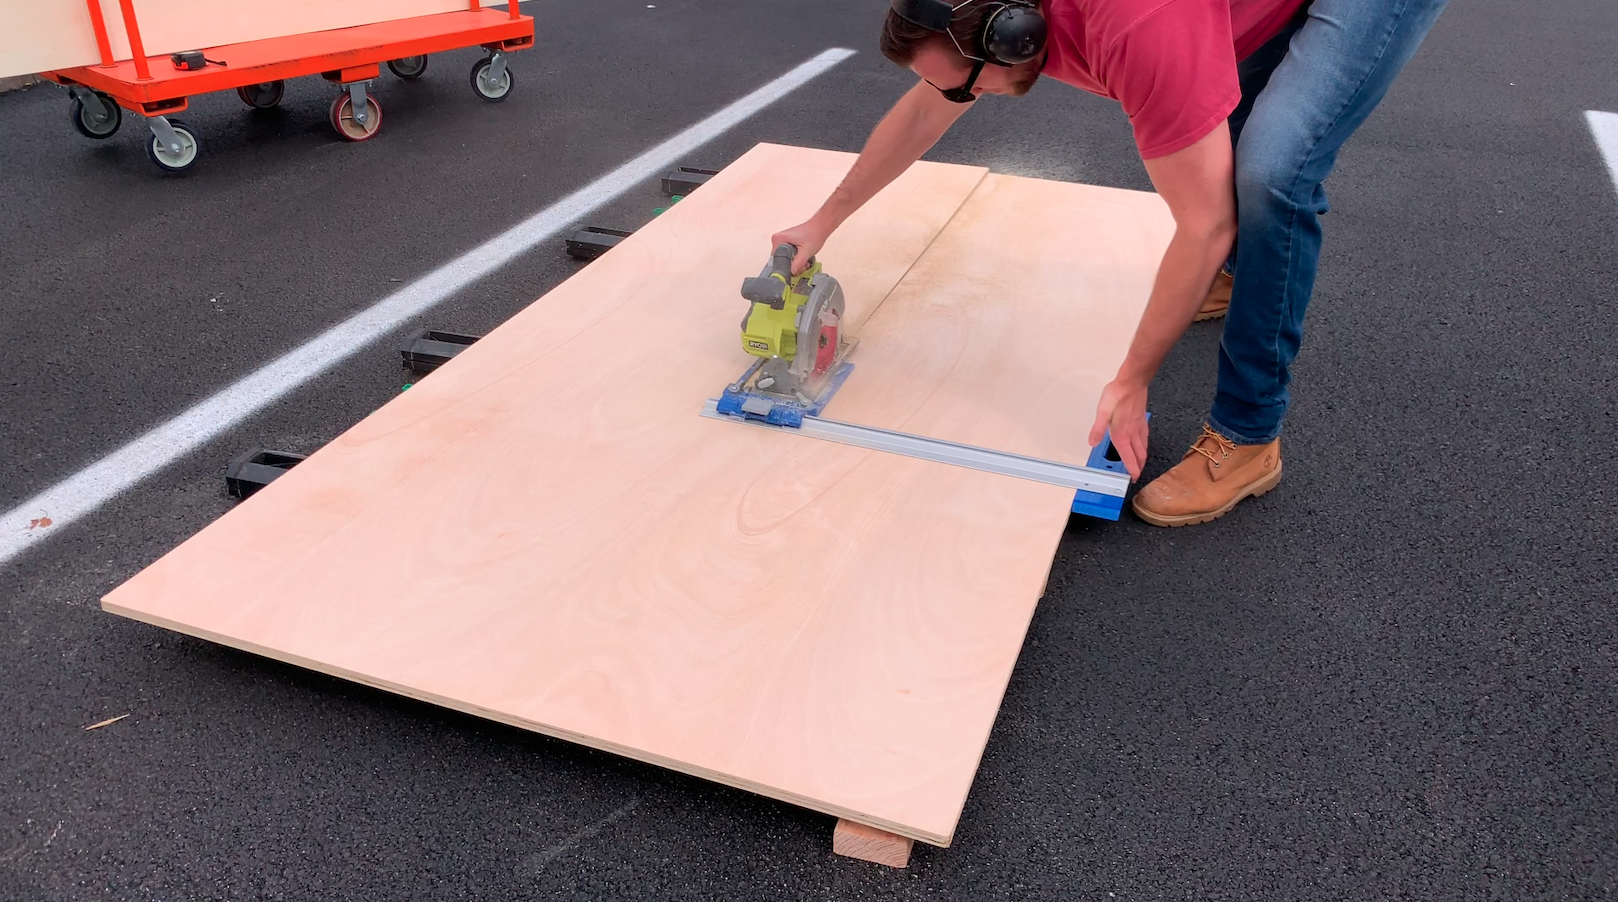
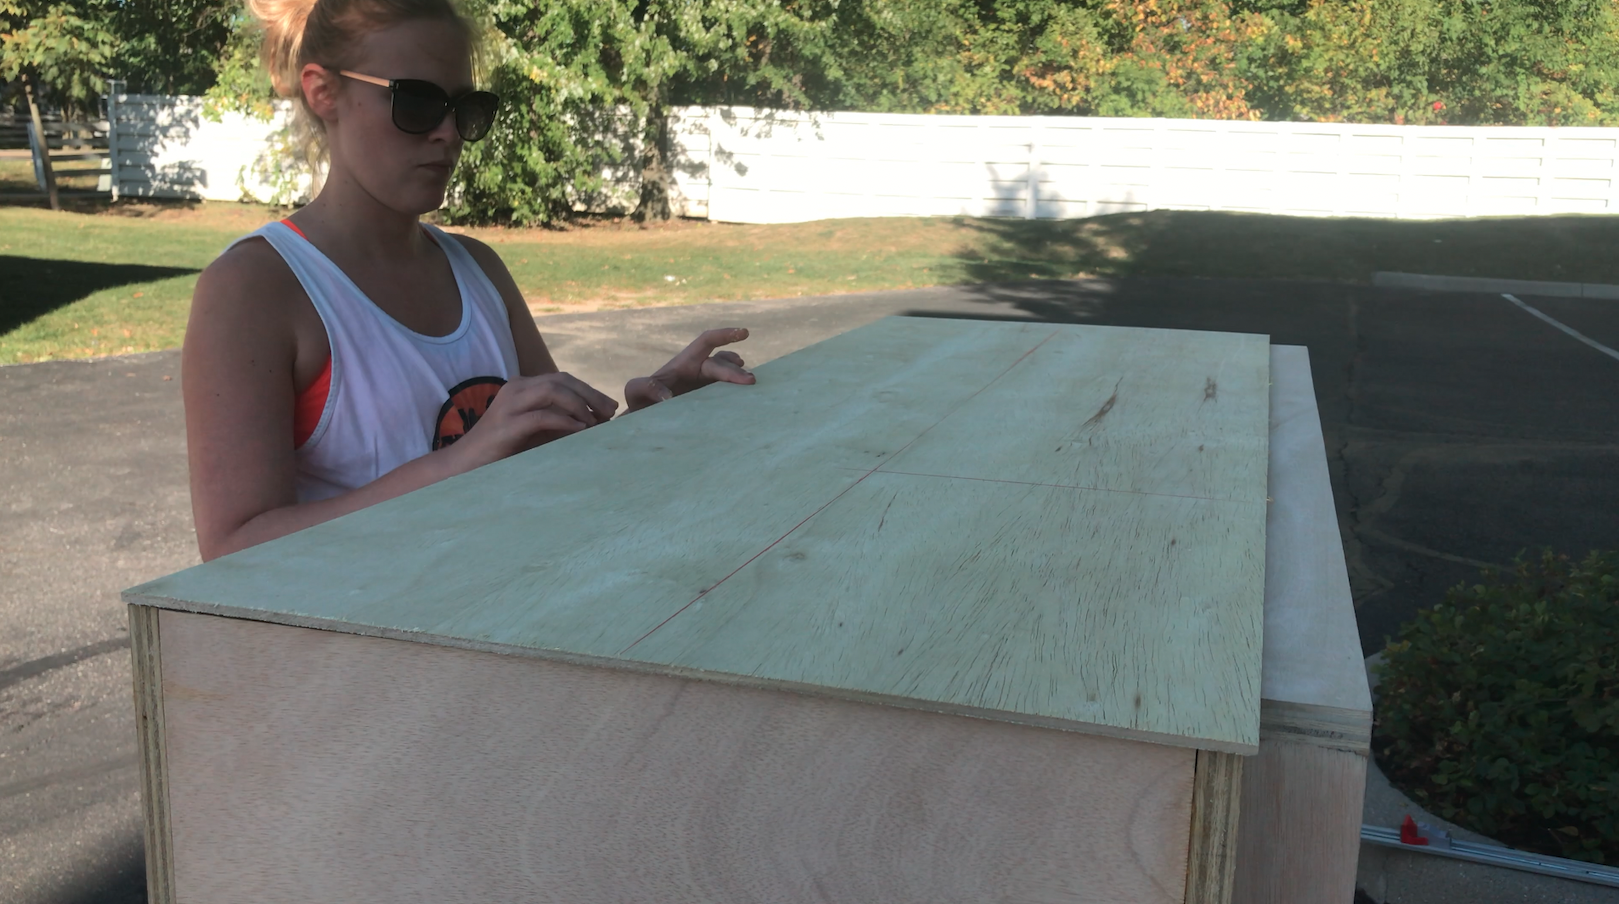
Break down plywood
Break down all of your pieces of plywood according to the cutlist included in the plans above
-
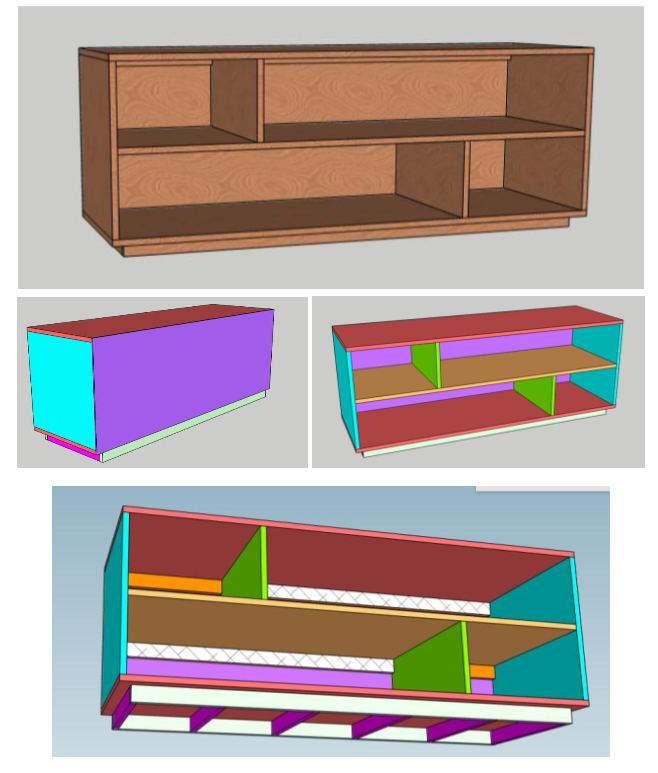
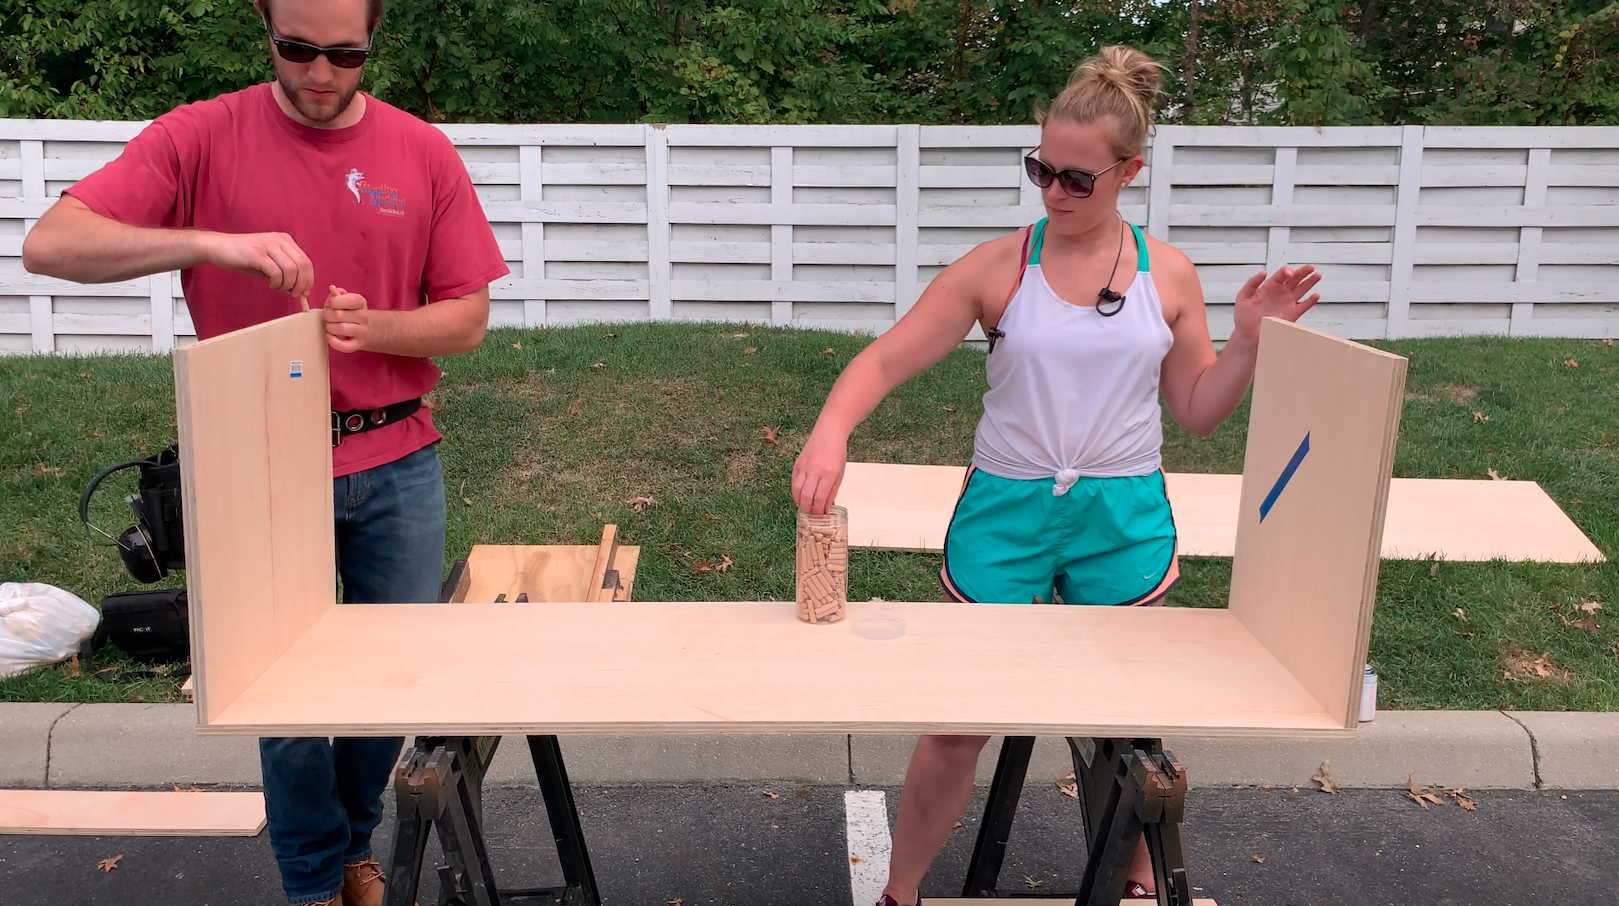
Assemble Case
Assemble the outer structure of the case using glue and a joinery method to increase the strength. Pocket holes are a great option here, but you can also use a doweling jig if you want the joinery to be hidden.
-
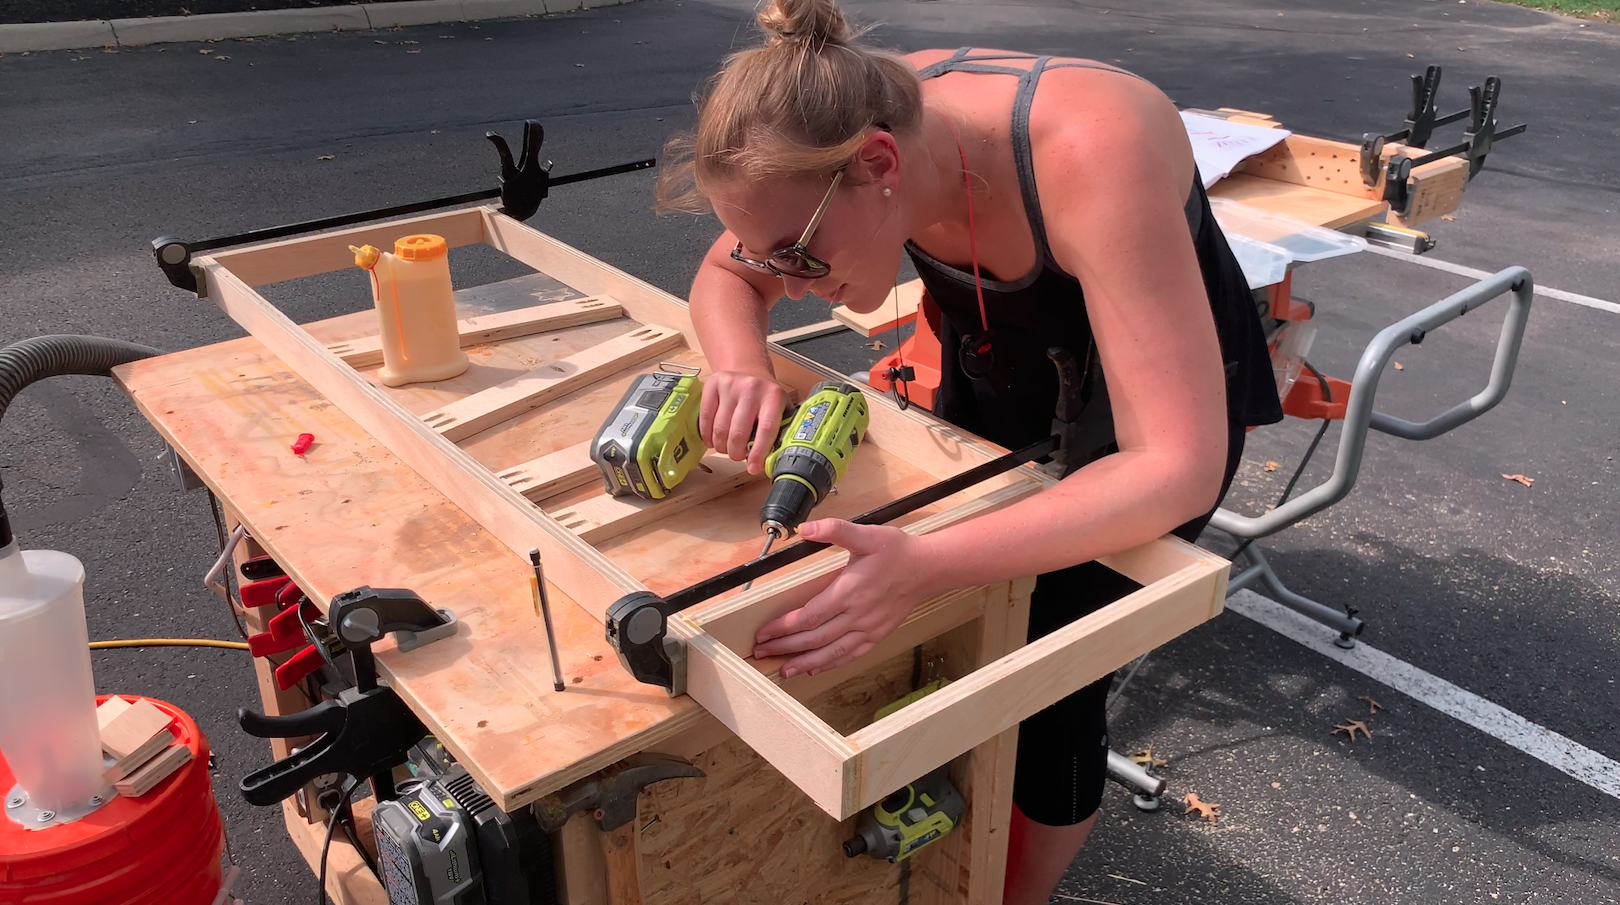
Assemble Base
Using pocket holes, assemble the base structure. I would recommend also using glue here (and in all of the other joints) to further increase the strength of the joint.
-
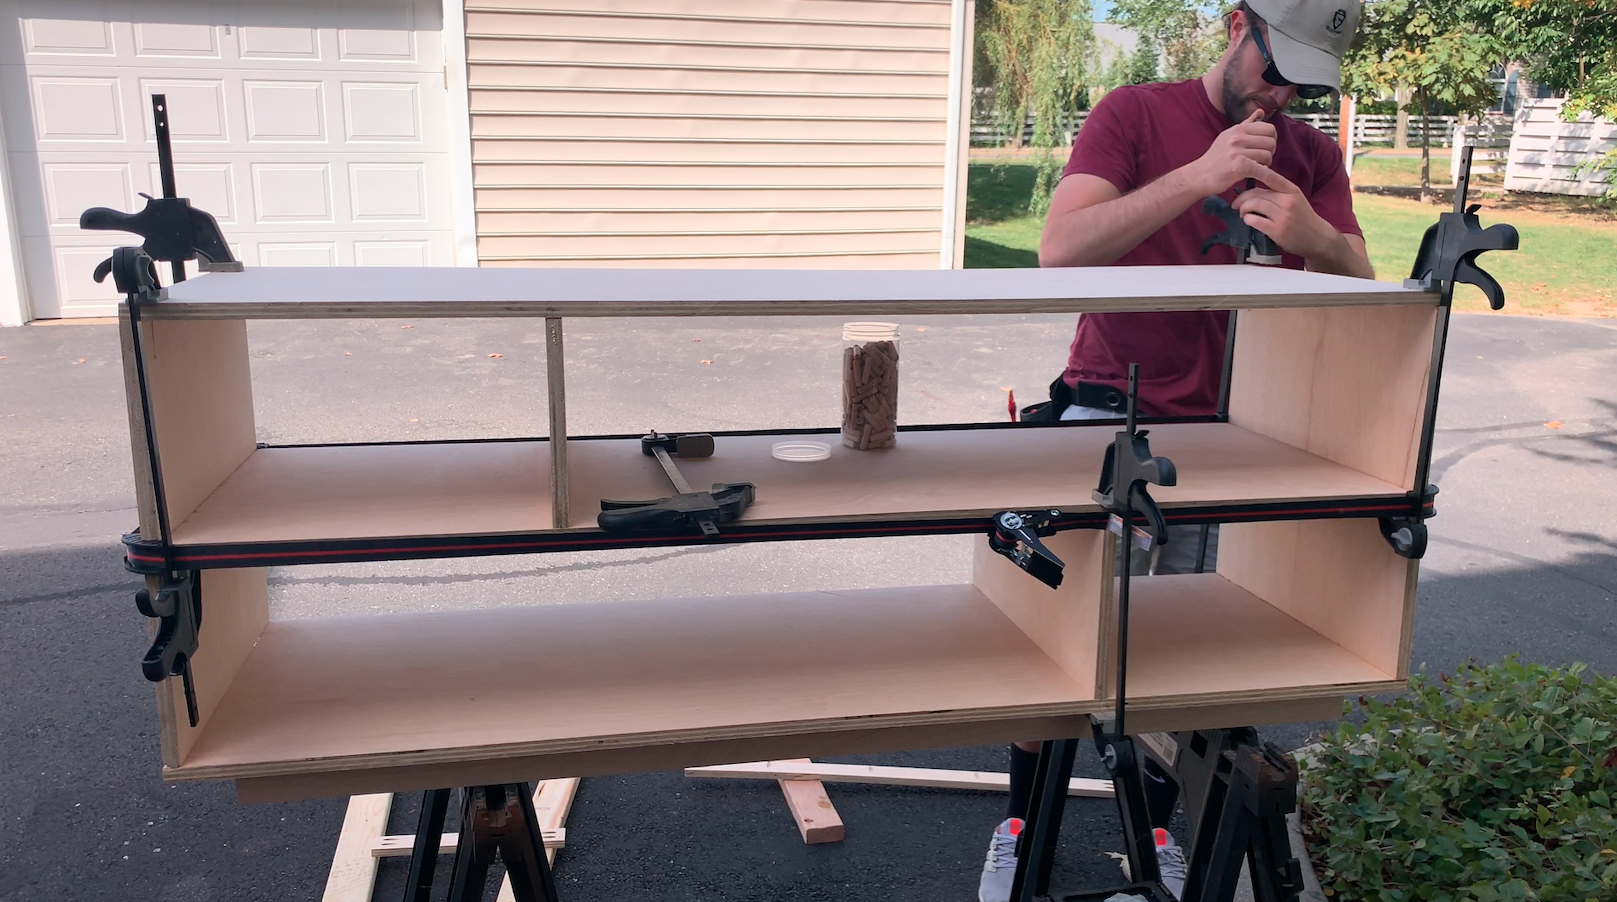
Finish Case Assembly
Attach the base to the bottom of the case, and insert the rest of the supports and shelves. Make sure your pieces are staying square as you glue them up so you don't have a warped looking media console!
-
Attach back panel
Attach the back panel to the main case to further strengthen the structure and keep things looking neat and clean. Glue works great here, but throwing in a few brad nails helps hold the panel in place while the glue dries
-
Apply Finish
After assembly, you can apply you choice of finish. Then you are done and ready to decorate the media console!
- Find More Projects at SpencleyDesignCo.com
- https://www.spencleydesignco.com/all-videos
- Spencley Design Co on YouTube
- https://youtube.com/spencleydesignco
- Spencley Design Co on Instagram
- https://www.instagram.com/spencleydesignco/?hl=en
- Spencley Design Co on TikTok
- https://www.tiktok.com/@spencleydesignco
- Spencley Design Co on Facebook
- https://www.facebook.com/spencleydesignco