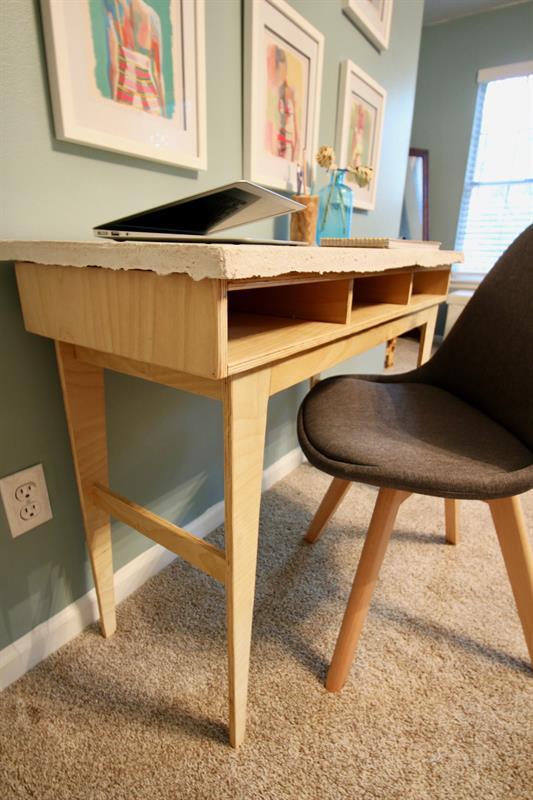


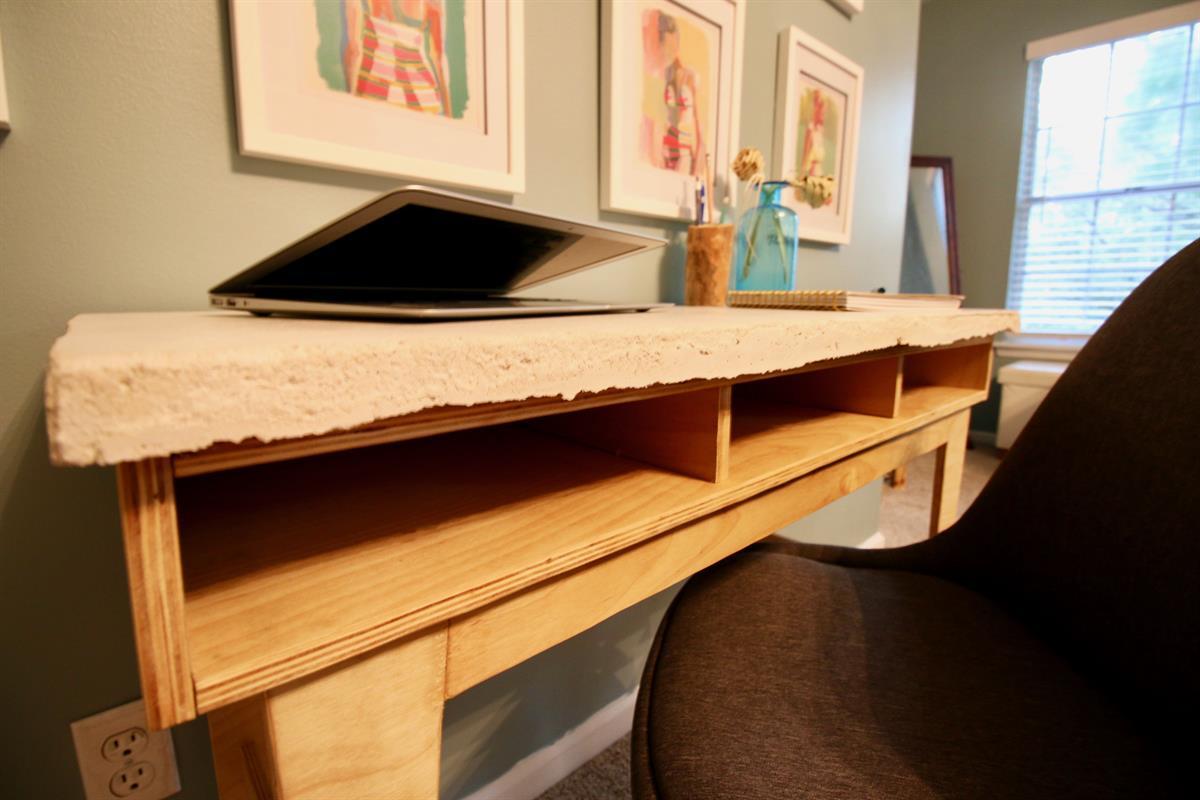
Using plywood and concrete, you can create an amazing little writers desk. This desk is perfect for a computer, writing, or sketching. With the structure made entirely of plywood and Kreg Jig joinery, you know it's secure. Add a rustic concrete top for an extra special unique aspect.
Tools
Kreg Tools


Other Tools
-
Tape Measure

-
Workbench
Materials
Wood Products
- 1 Plywood , 1/2" Thick , 48"
Hardware & Supplies
- 1 Bag of Quikrete Countertop Mix
- 1 Finishing Oil
- 1 Box of 1" Kreg Screws
- 1 80 grit sandpaper
- 1 Gorilla Glue
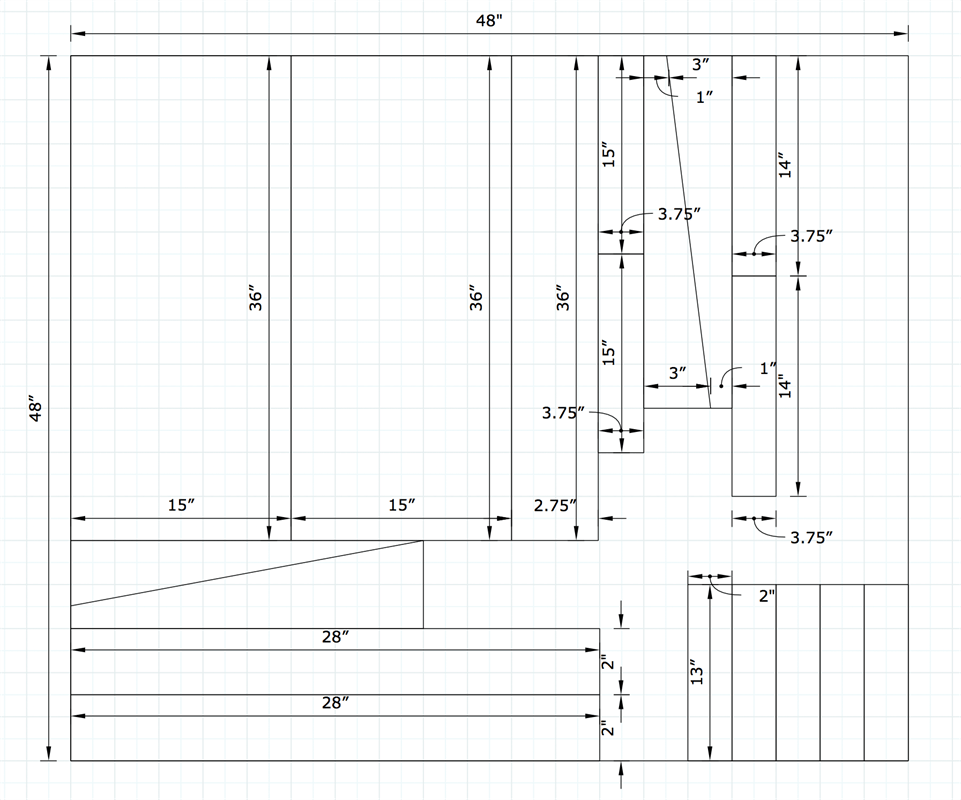
Cut List & Parts
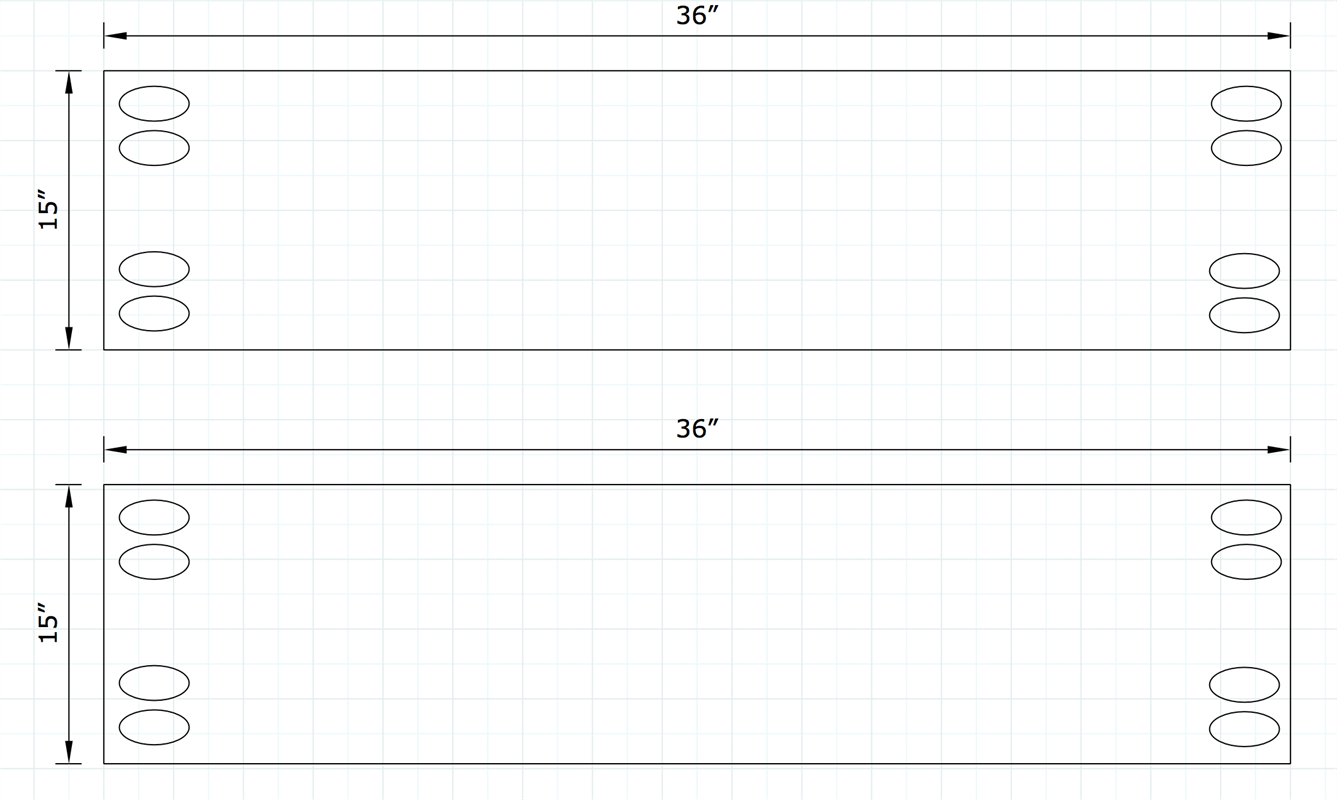
- 2 Top and bottom of box , 36"x15"
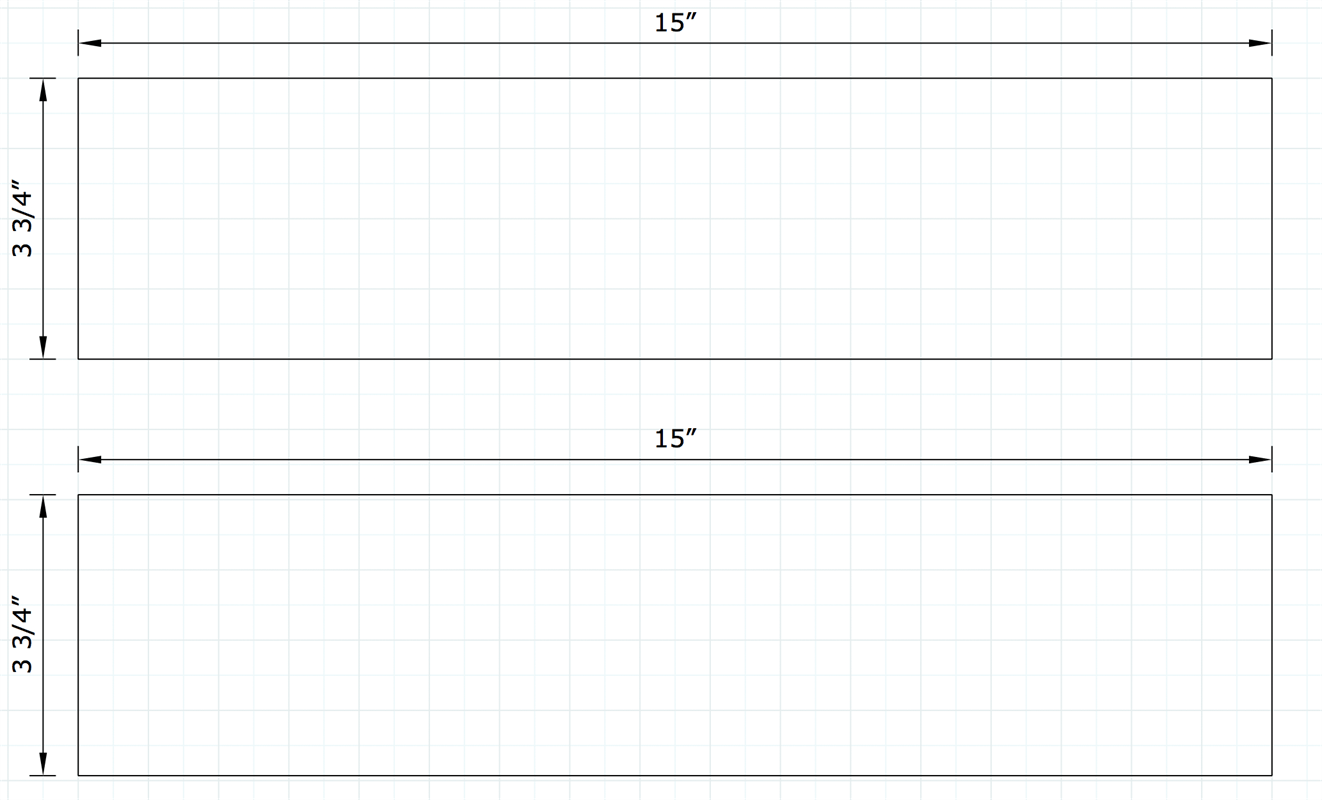
- 2 Sides of box , 15"x3.75"
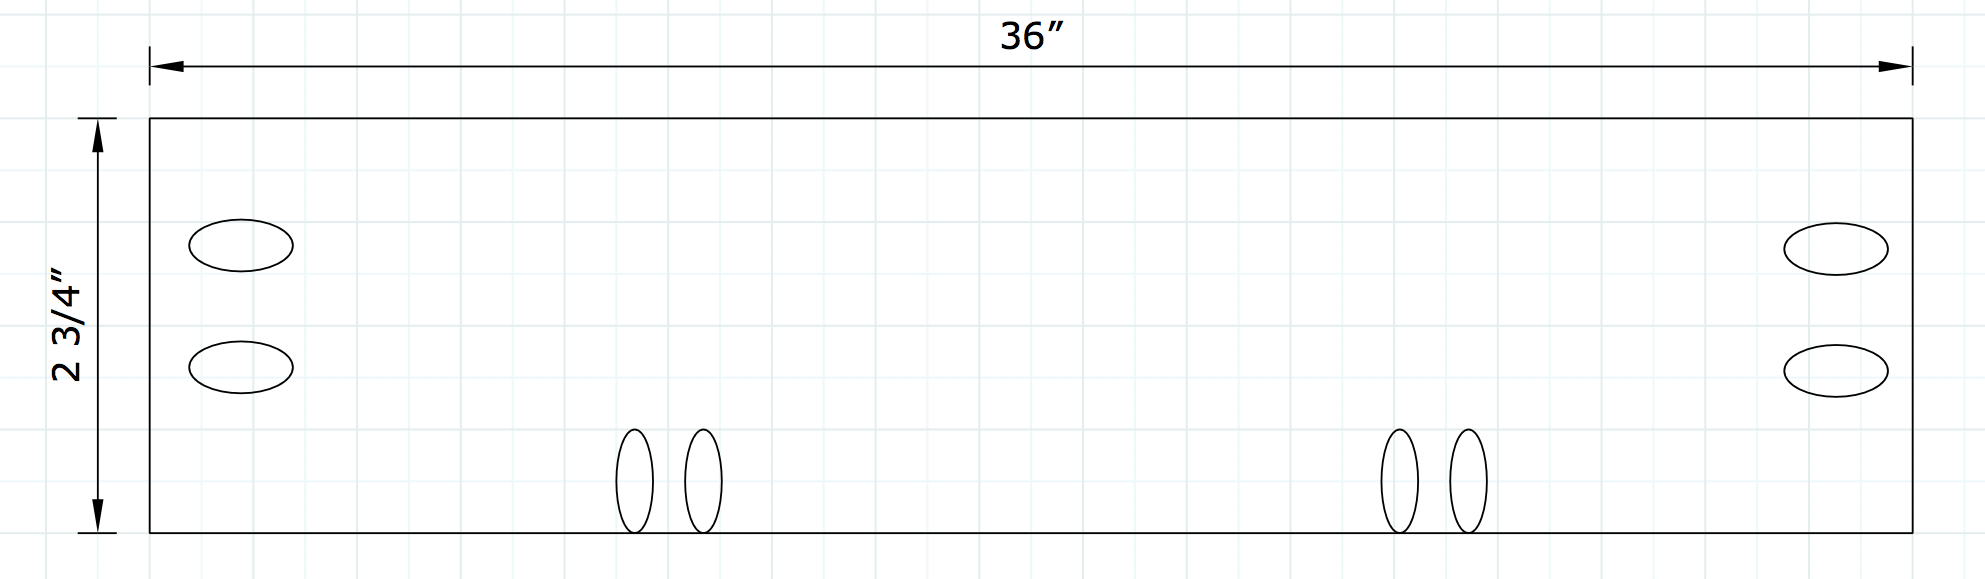
- 1 Back of box , 36"x 2.75"
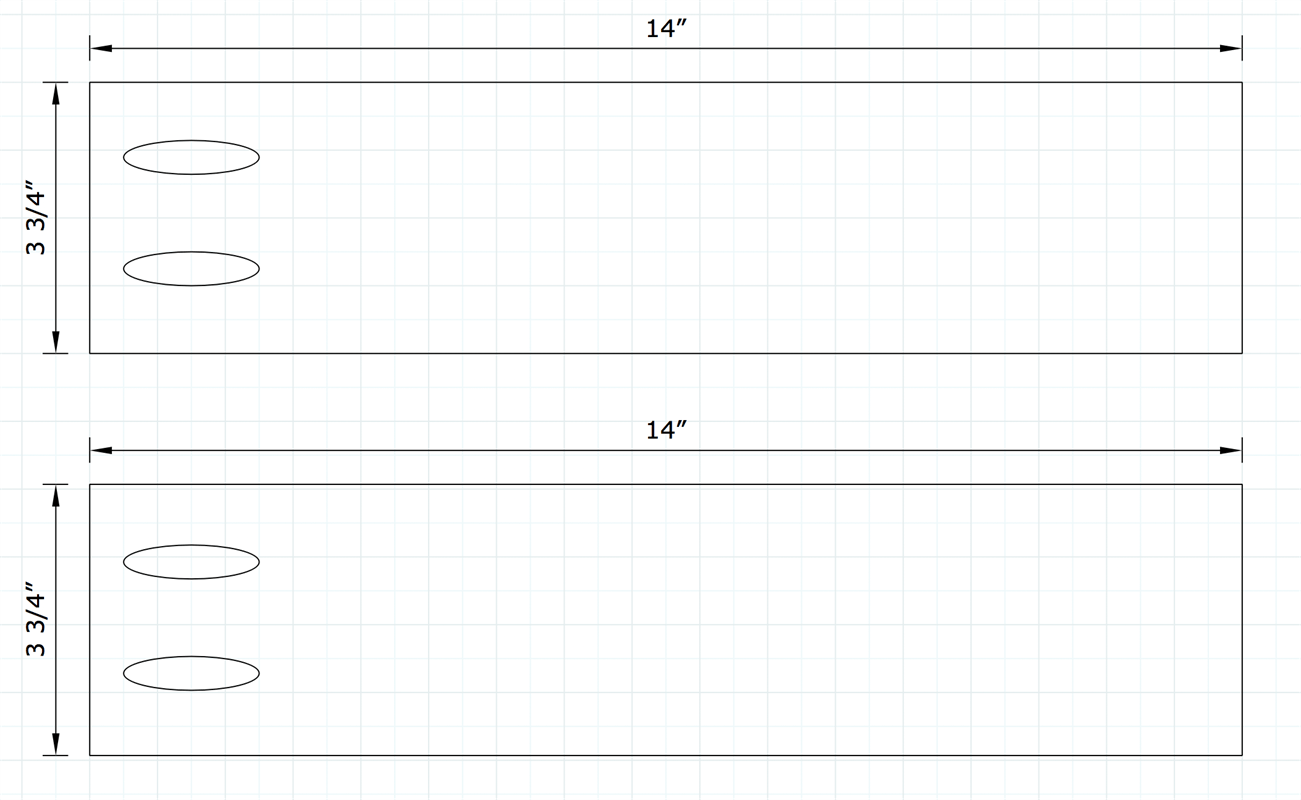
- 2 Box supports , 14"x3.75"
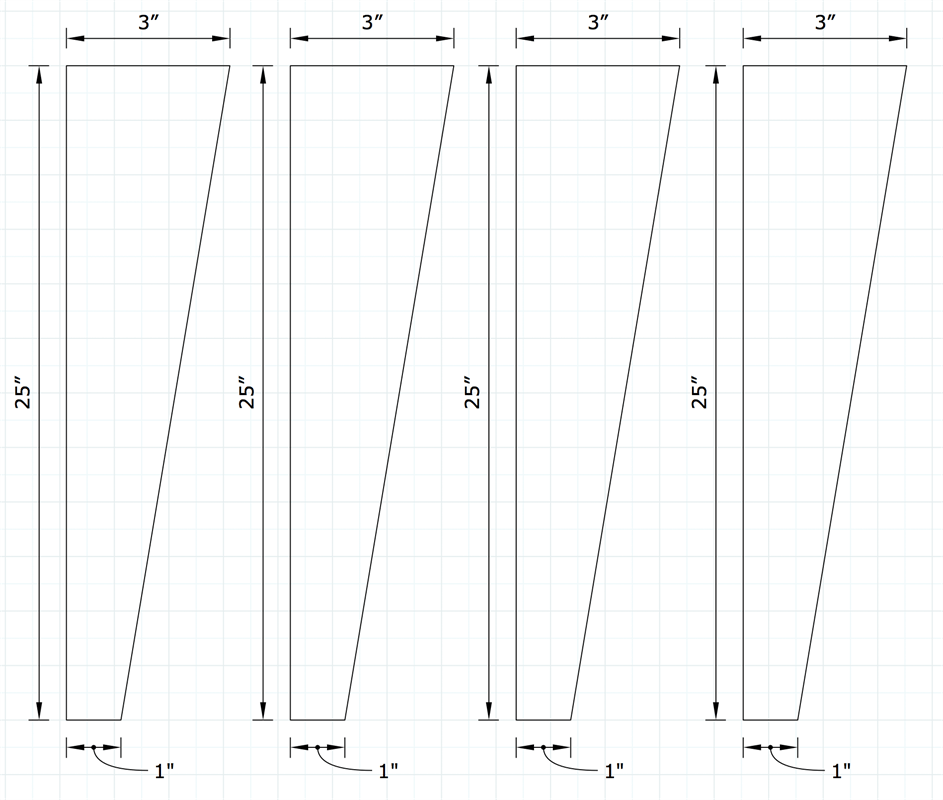
- 4 Legs , 25" long, tapered from 1" to 3"
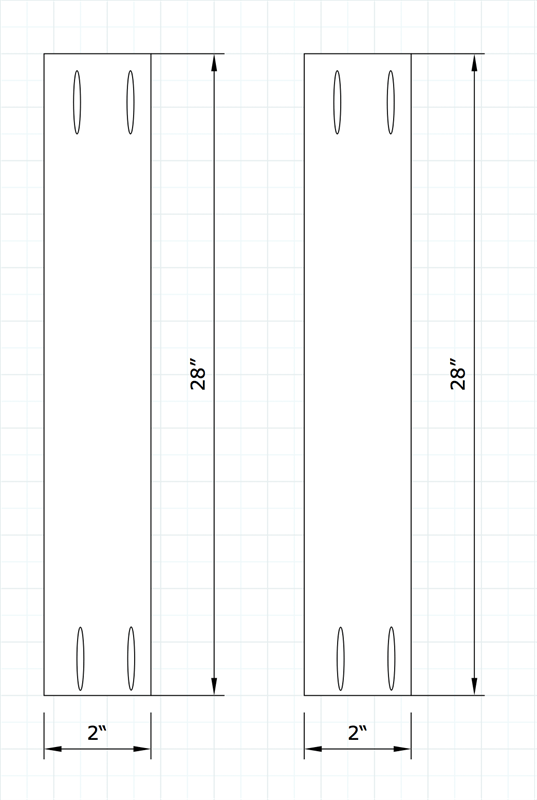
- 2 Long leg supports , 28"x2", with 5 degree miter on short sides
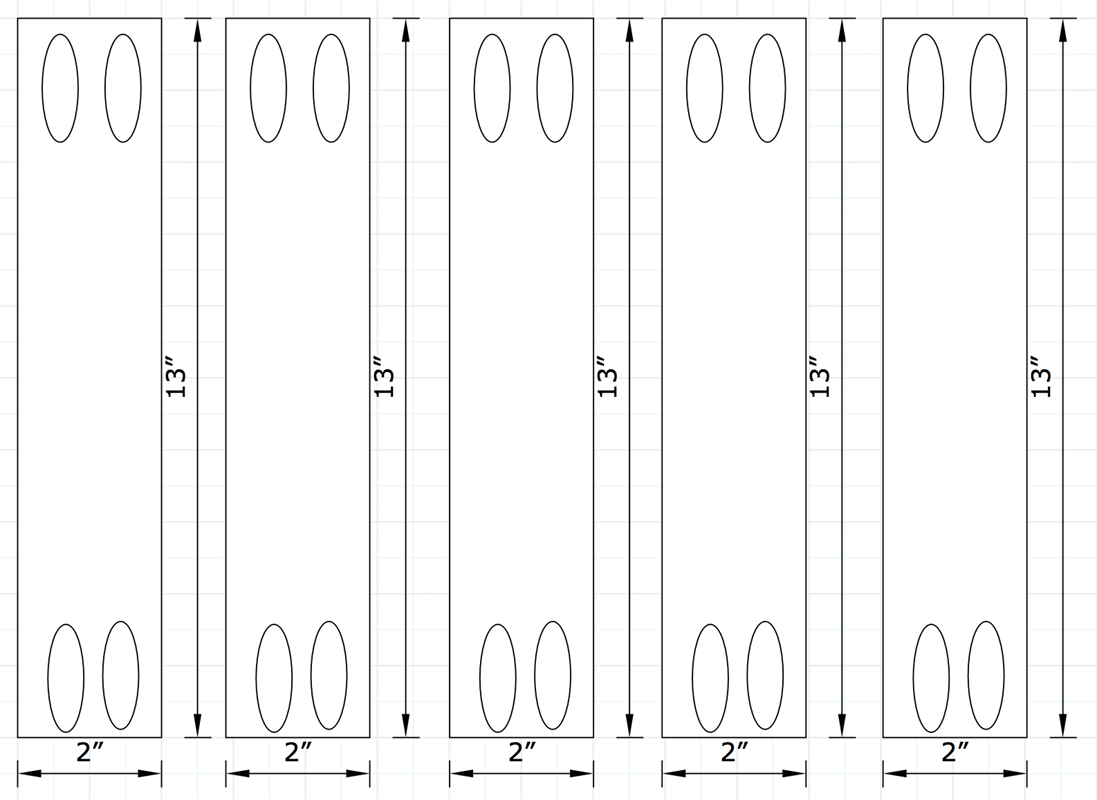
- 5 Short supports , 13"x2"
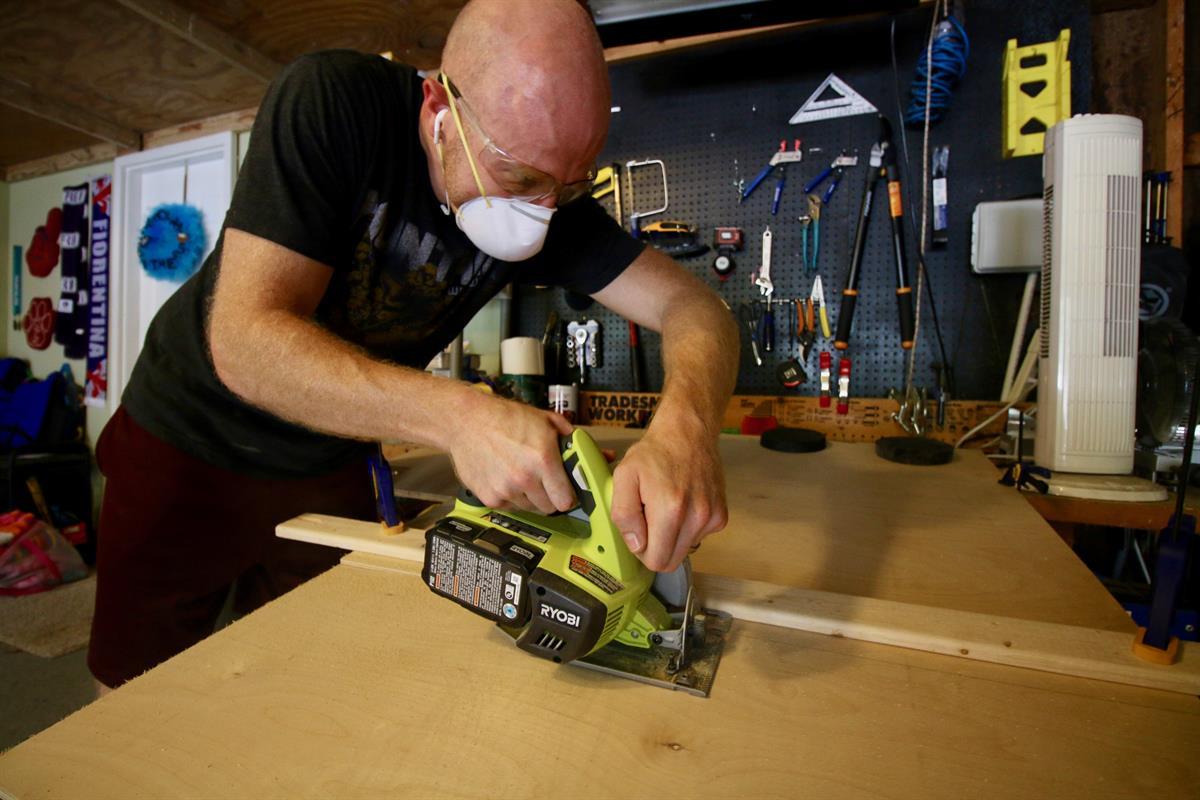
Directions
-
Get one sheet of plywood
Using one sheet of 4'x4' 1/2 inch thick plywood, you can make all the cuts you will need for this project.
-
Cut Legs
Cut four legs measuring 1" at the bottom and 3" at the top and 25" long.
-
Cut two long supports
Cut two long supports that are 2" wide and 28" long. Angle the two ends with a 5 degree cut.
-
Cut five short supports
Cut five short support beams for the legs that are 2" wide and 13" long.
-
Construct Leg Structure
Using Kreg Jig pocket holes set to the appropriate setting for 1/2 inch plywood, drill pocket holes on both sides of all the support beams and drill the structure together.
-Start by connecting the front two legs with one of the long supports and the back two legs with the other long support. Make sure the top edge of the wood is flush.
-Then use three of the short supports to connect the back piece to the front piece. Use two supports on the outside to make a frame and one piece in the middle for support.
-Connect the other two support beams 12 inches down from the box to support the legs from front to back on the right and left of the leg structure.
-
Cut top and bottom of box
Cut two pieces of wood 36"x15" to serve as the top and bottom of the box.
-
Cut two sides for box
Cut two 15"x3 3/4" pieces for the sides of the box.
-
Cut supports for inside box
Cut two support beams for the inside of the box at 14"x3 3/4"
-
Cut back of box
Cut the back of the box at 36"x2 3/4"
-
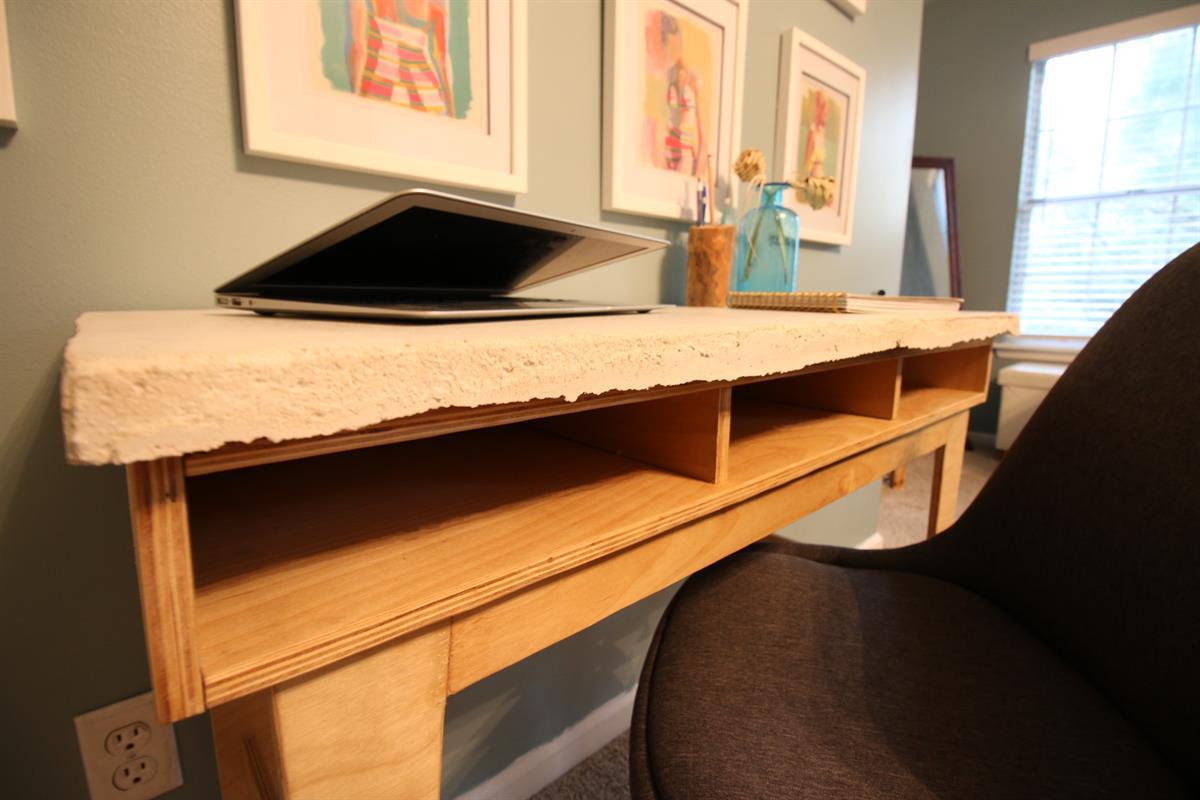
Construct the box top
Using Kreg Jig pocket holes entirely to the inside of the box and constructing the box upside down:
-Connect the two side pieces to the TOP piece, ensuring that the two sides are to the outside of the top piece and flush on the surface. The edges should line up.
-Connect the back piece of the box on the INSIDE of the sides and on top of the top.
-Connect the two center supports equidistant from each other and the edges by connecting them to the back piece and the top piece.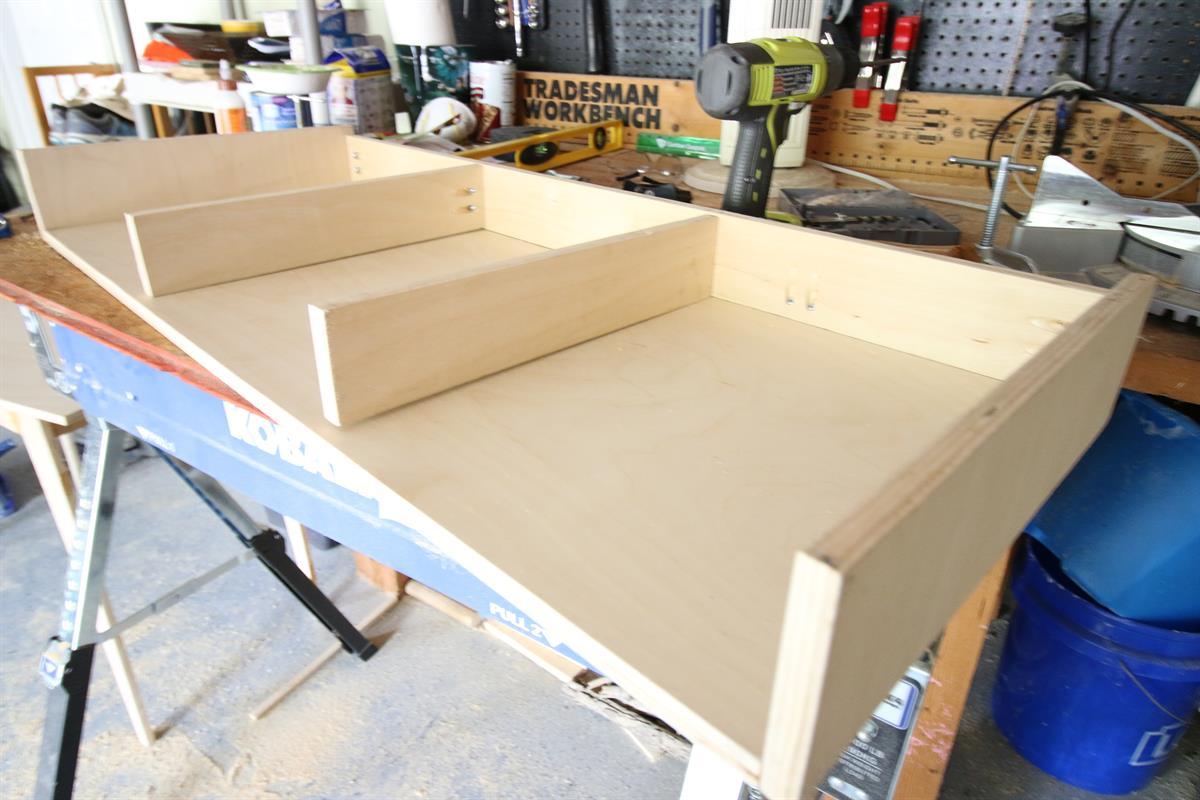
-
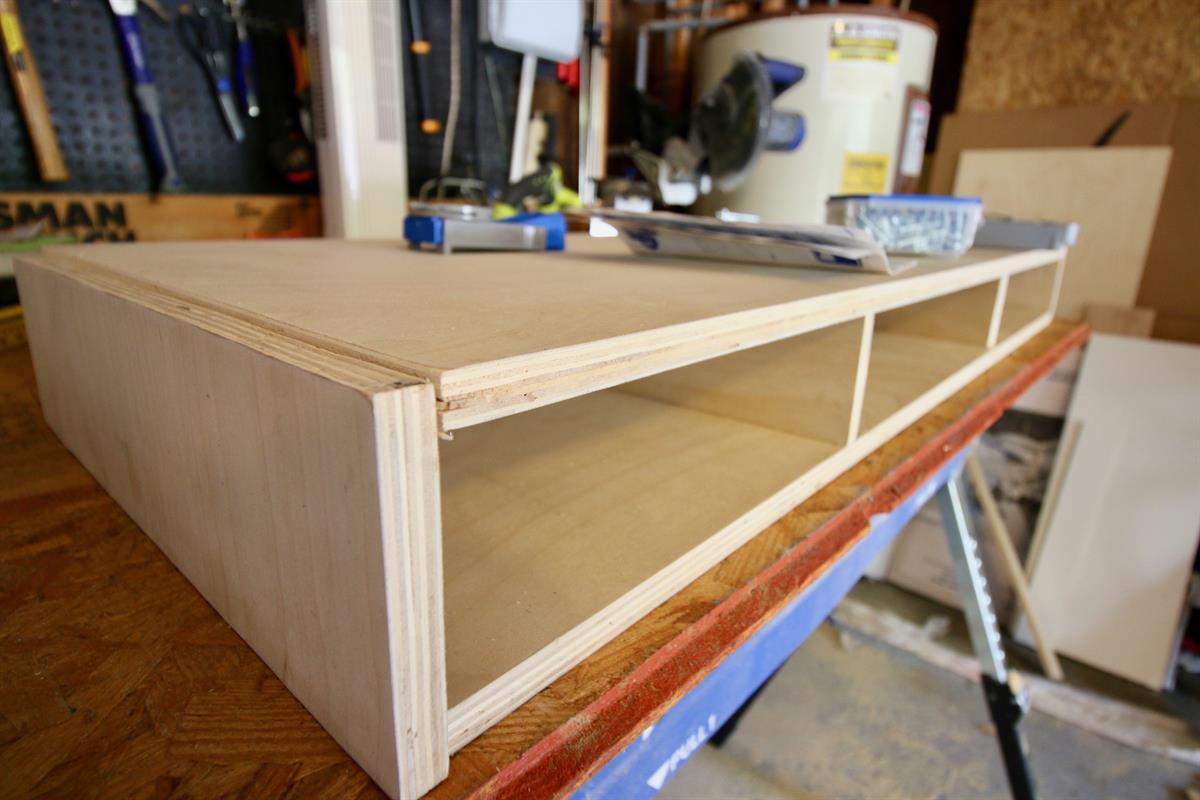
Connect the bottom of the box top
The bottom piece of the box top should set inside the two outer side pieces and flush on top of the back piece and the center support beams. Use Kreg Jig pocket holes on the outside to connect this piece to the sides.
-
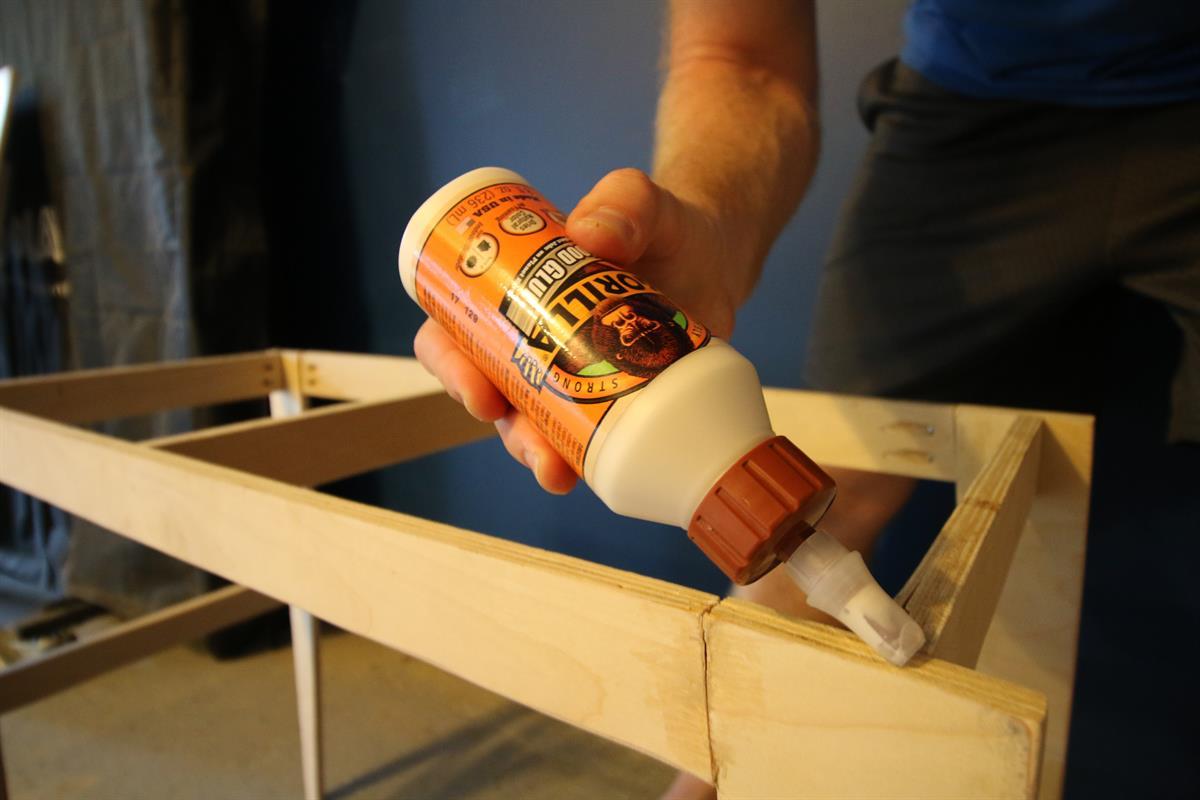
Attach box top to leg structure
Flip the box top over and attach the bottom (side with the pocket holes) to the leg structure using wood glue place on all top surfaces of the leg structure.
-
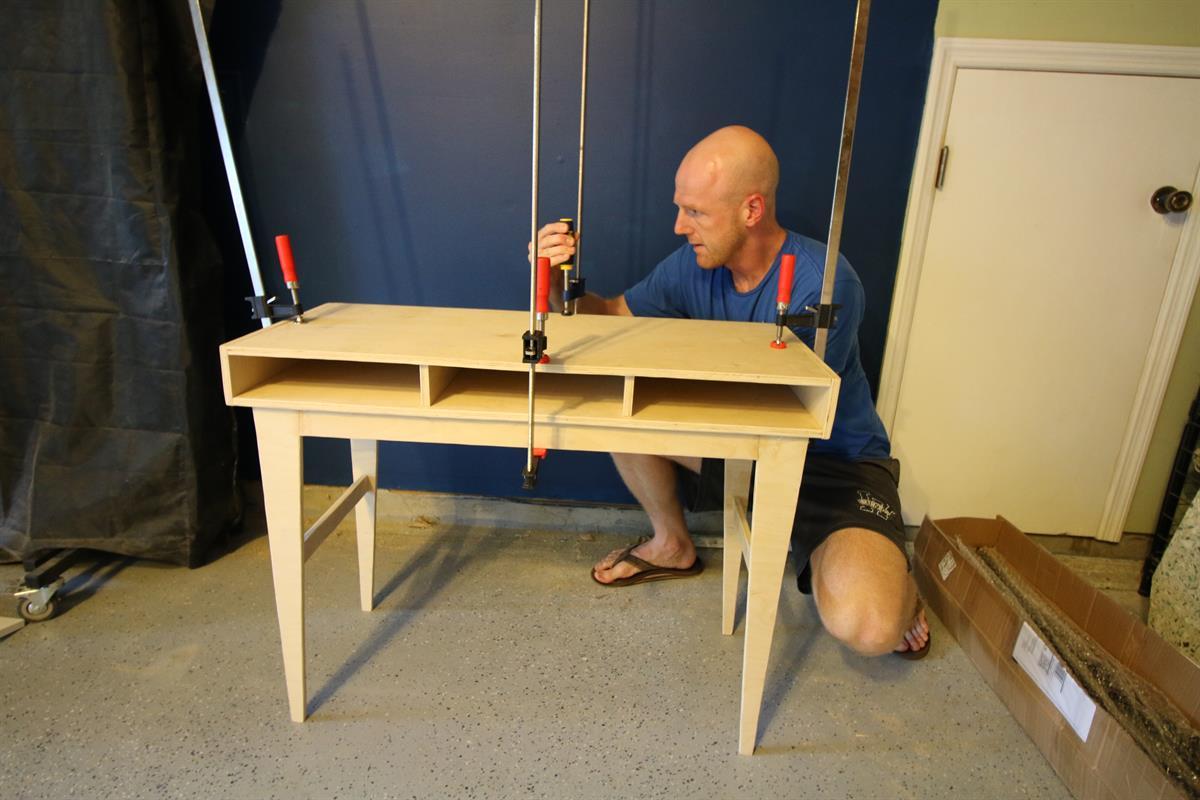
Clamp together
Clamp these pieces together for 24 hours to set the support.
-
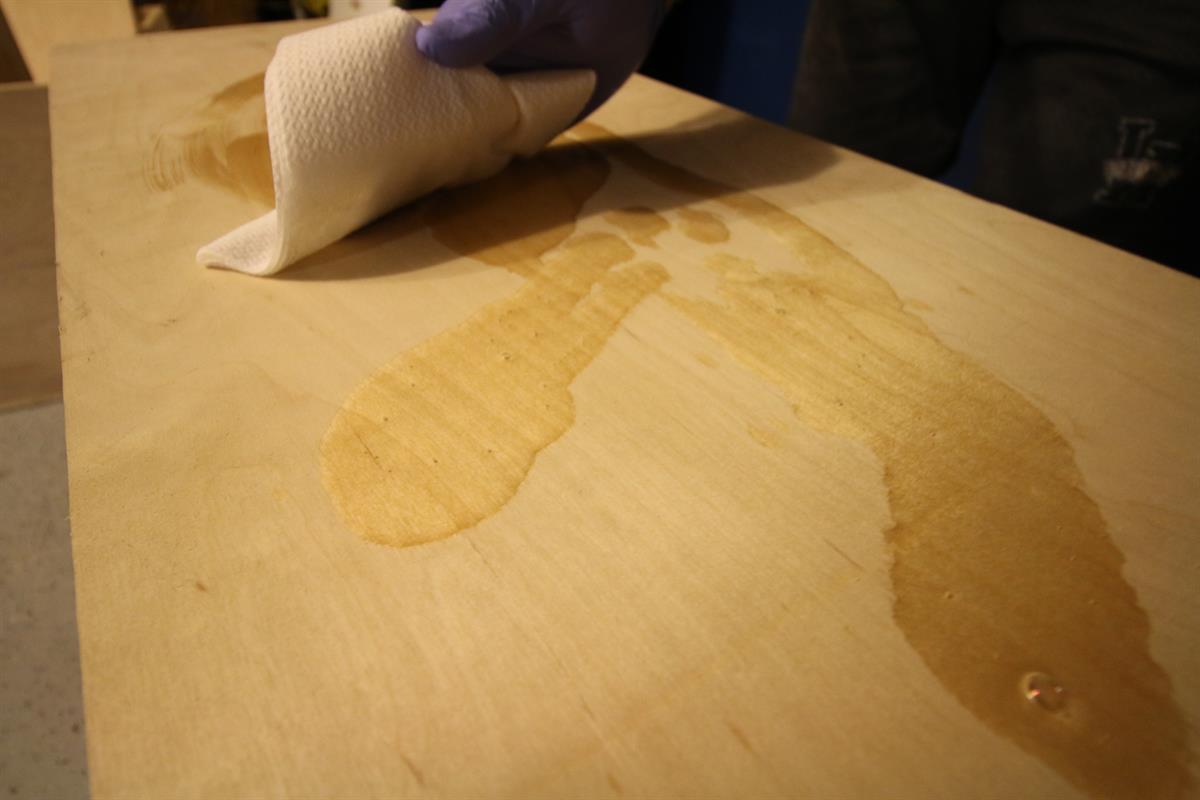
Sand and stain
Sand the edges to round them off, then add oil or stain or your choice of finishing to the wood.
-
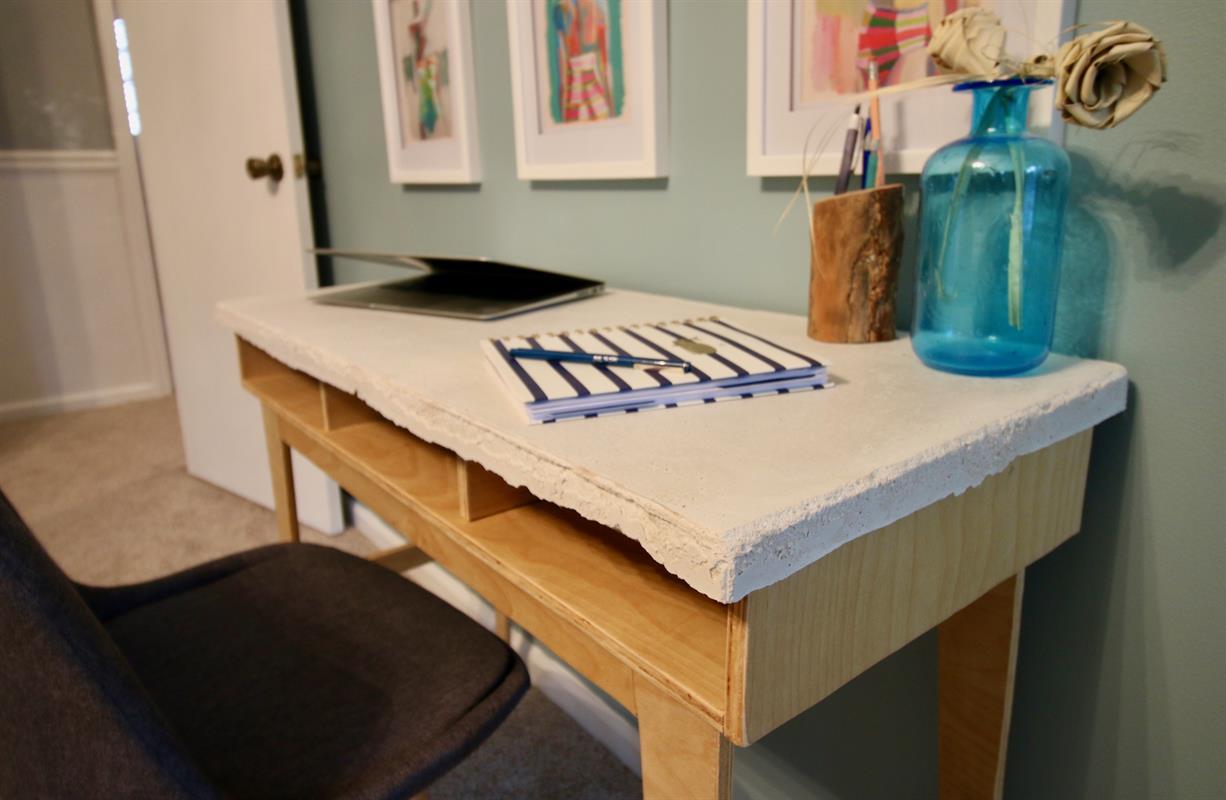
Form concrete top
You can leave the desk how it is or add a concrete top. We used Quikrete Countertop mix in white to make a rustic top.
-Build a form to pour the concrete into that is 38"x17"
-Mix concrete according to package instructions
-Pour into the form 1" deep
-Use an orbital sander to bump along the edges to release air bubbles
-Let set for 72 hours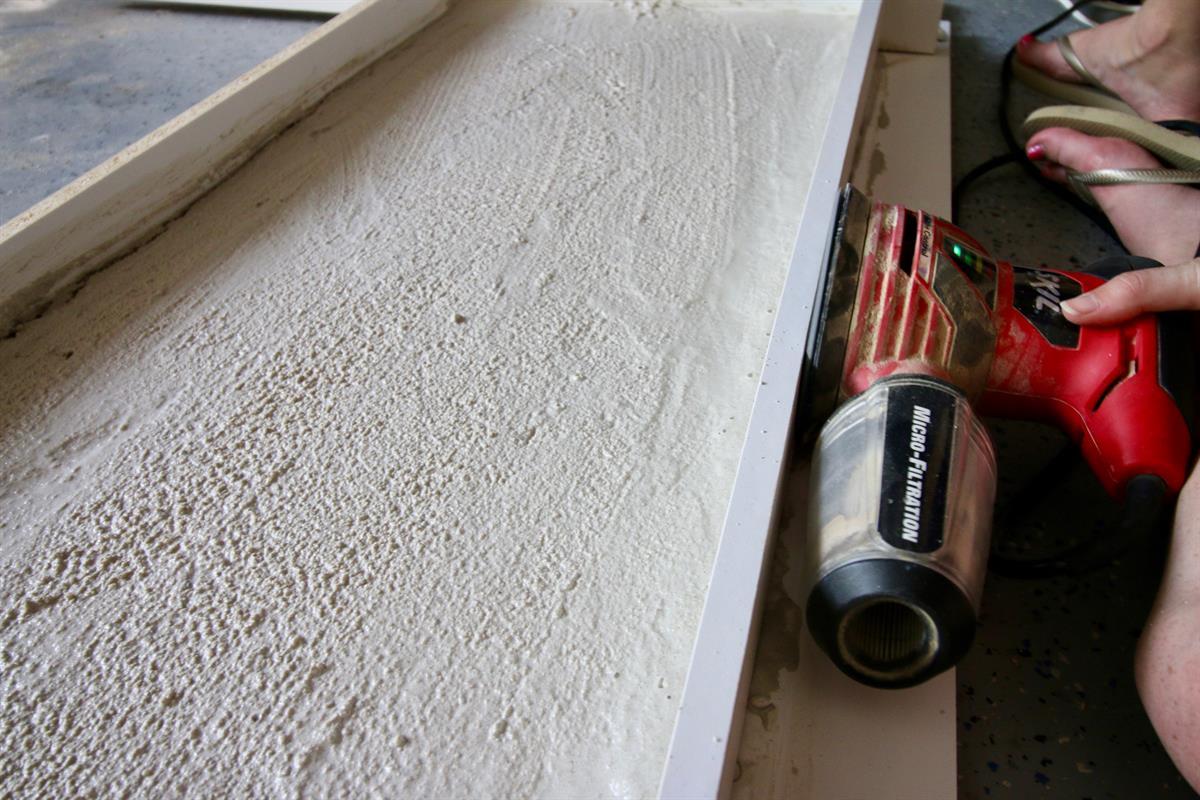
-
Attach concrete top
After you remove the form from the concrete, sand down any rough edges, then attach the concrete top to the wooden desk using Gorilla Glue or construction adhesive.
-
Visit CharlestonCrafted.com
If you liked this project and want to see more like it and follow along with our journey of crafting our first home into our dream home while empowering you to try DIY, visit our website at www.CharlestonCrafted.com.