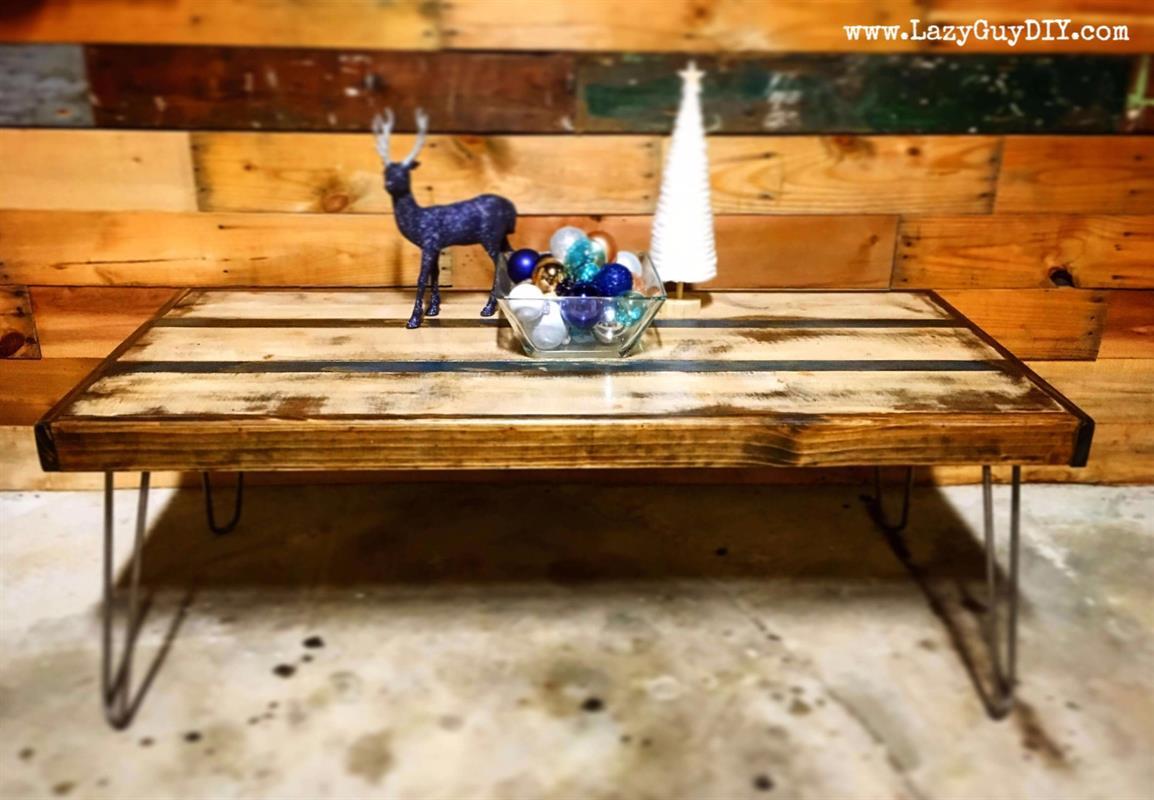
Pinstripe Coffee Table
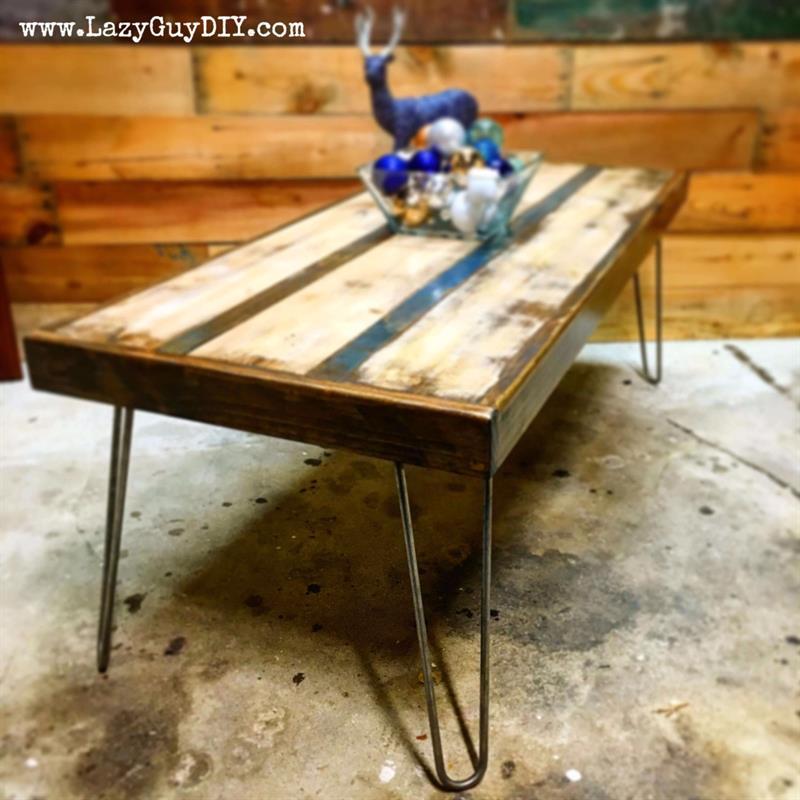
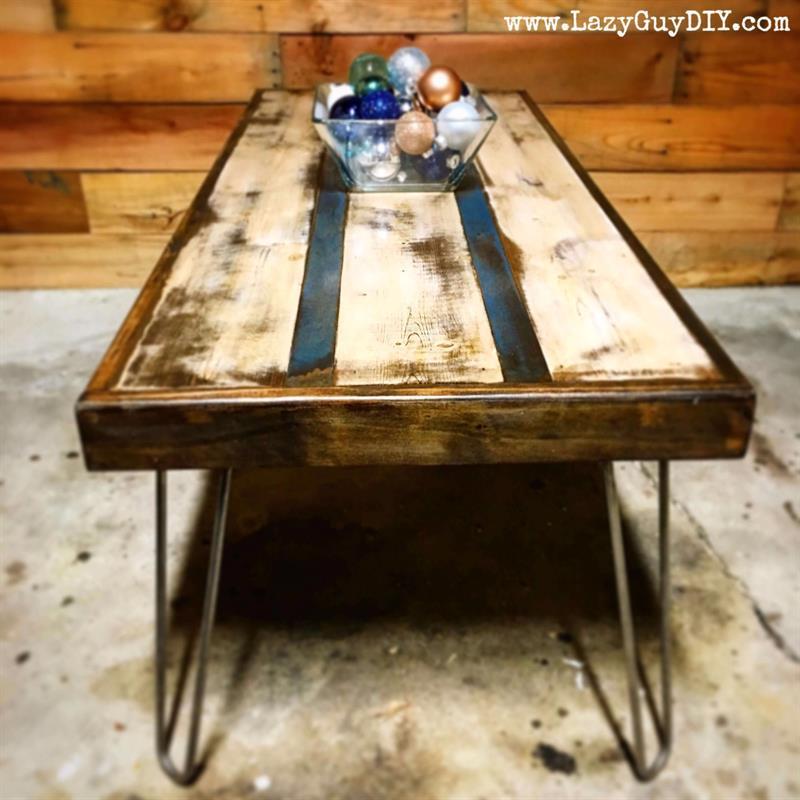
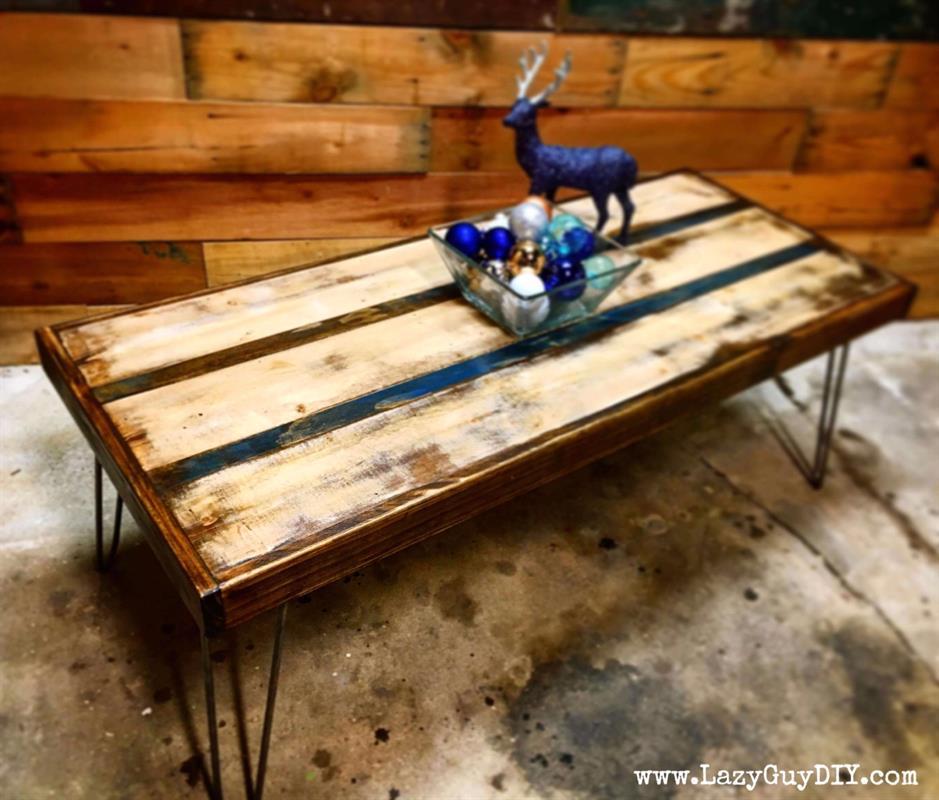
By Lazy Guy DIYThis pinstripe coffee table was designed for a die-hard Yankee fan that wanted to show their team spirit, but still have the table subtle enough to fit into any setting. The table has a faux antique finish and hairpin legs to complete the look.
Directions
-
Prep & Attach Planks
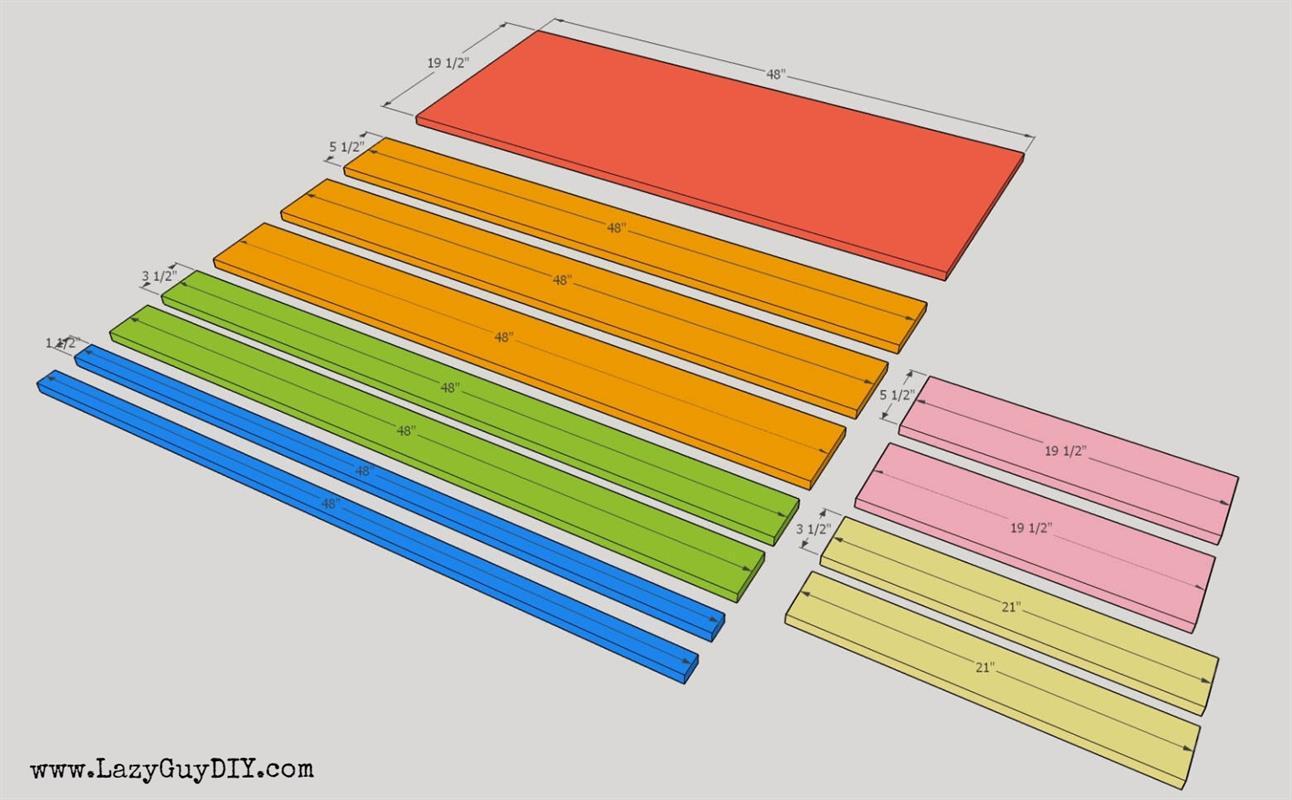
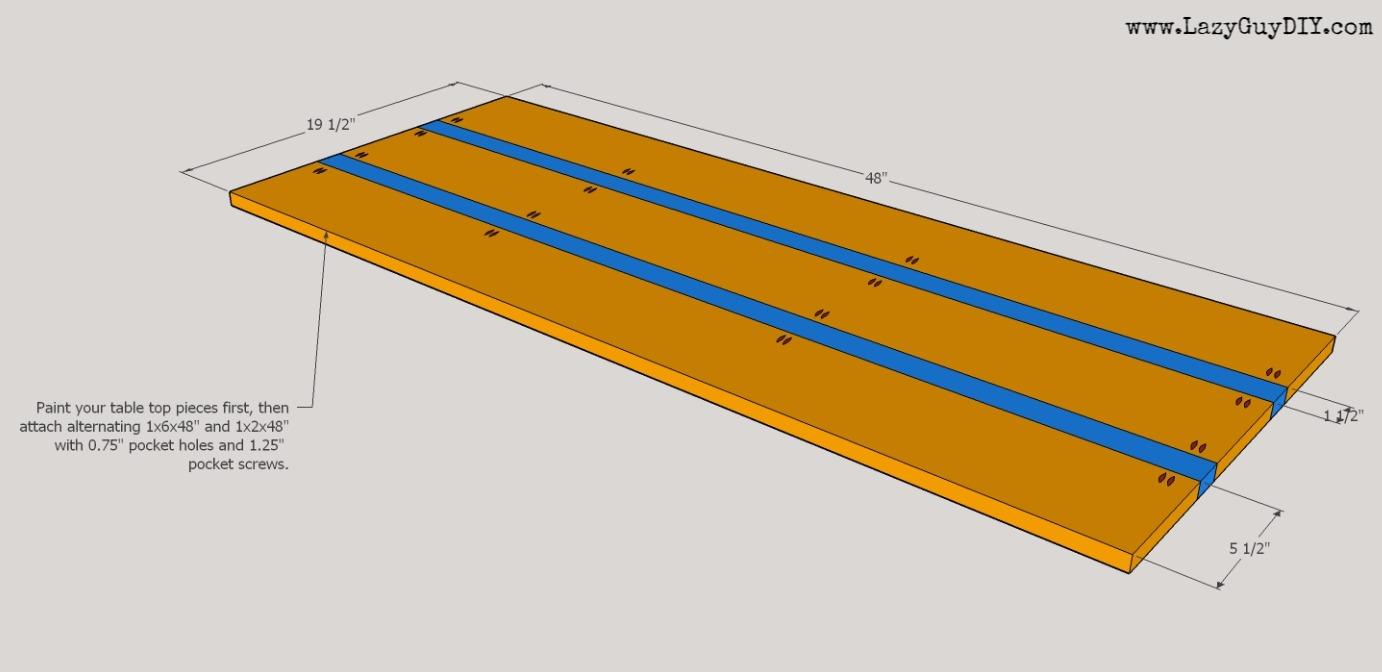
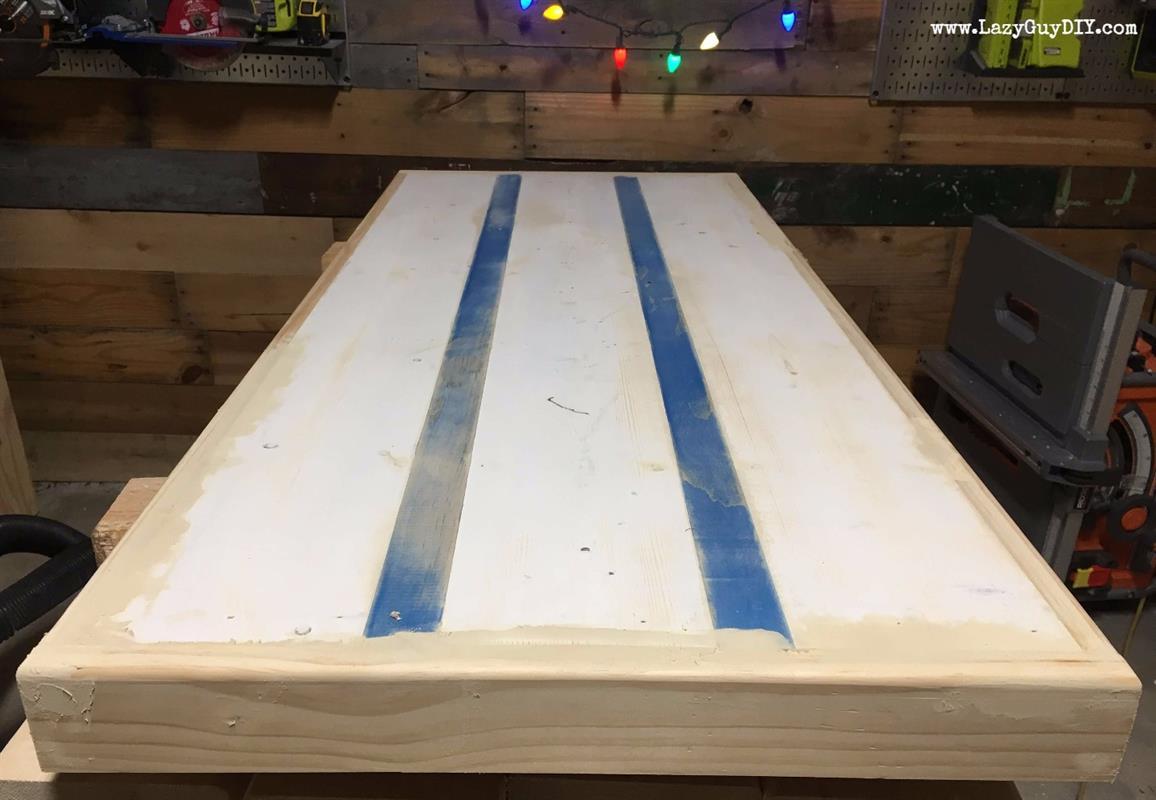
Cut (3) 48" planks of 1x6 and (2) 48" planks of 1x2. Sand the tops smooth, but do not round the edges. Pre-drill 0.75" pocket holes with your Kreg Jig into the 1x6's to attach the 1x2 pinstripes. Do not attach at this time. On the smooth side, paint the planks with your base colors. Once the paint is dry, attach the alternating planks with 1-1/4" pocket screws.
-
Add Plywood Base
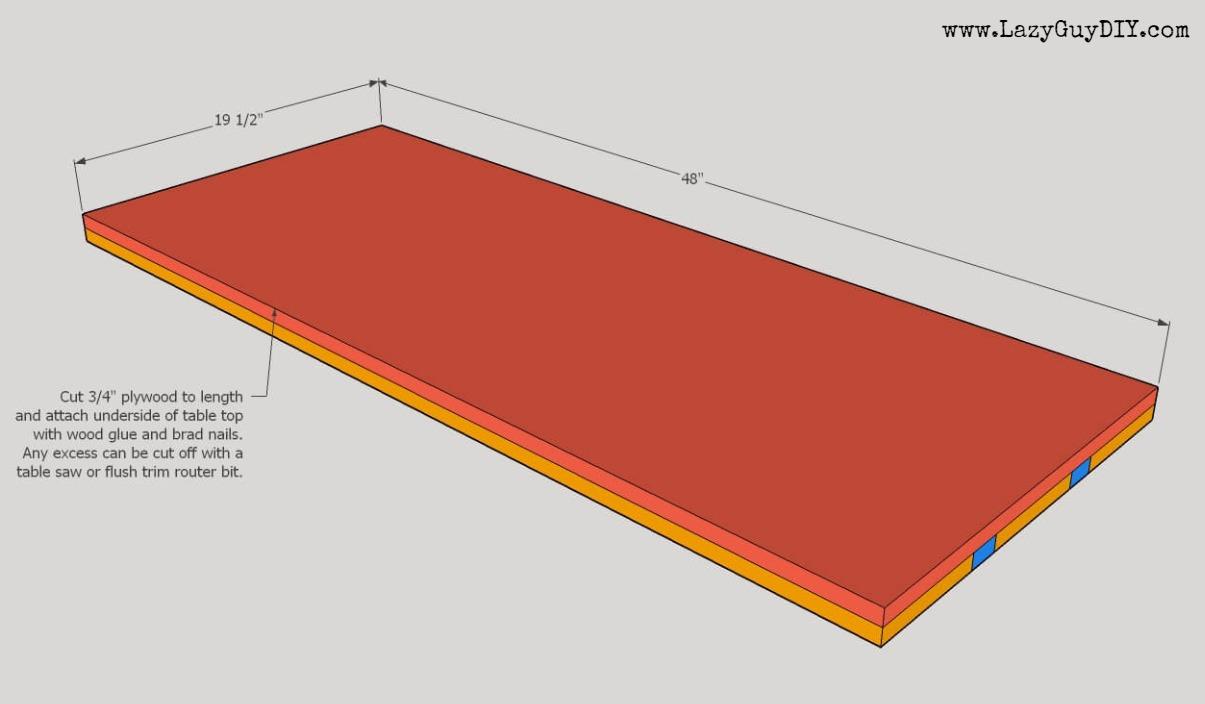
Measure the assembled plank top, it should be 19.50" x 48". Cut your sheet of plywood the same dimension. Then attach to the underside of the plank top with wood glue and brad nails. Make sure the edges are flush. You can always trim off the excess with a flush trim bit on a router or run that side through the table saw.
-
Add The Aprons
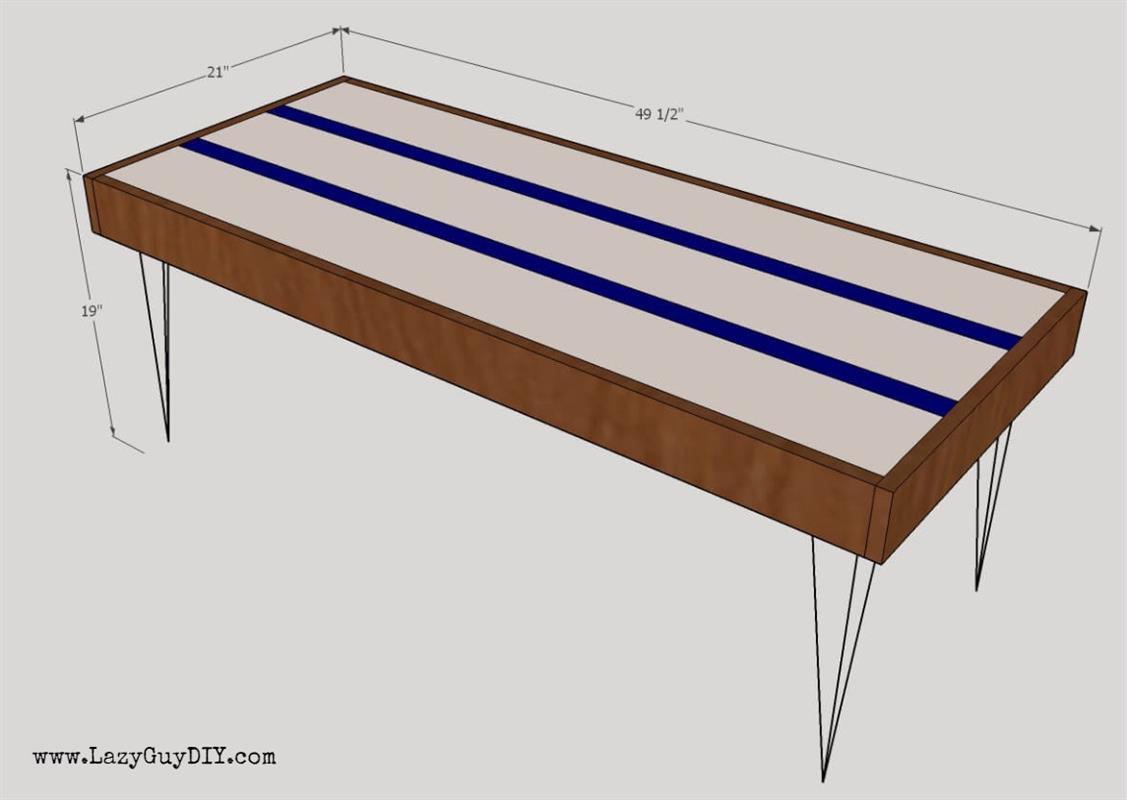
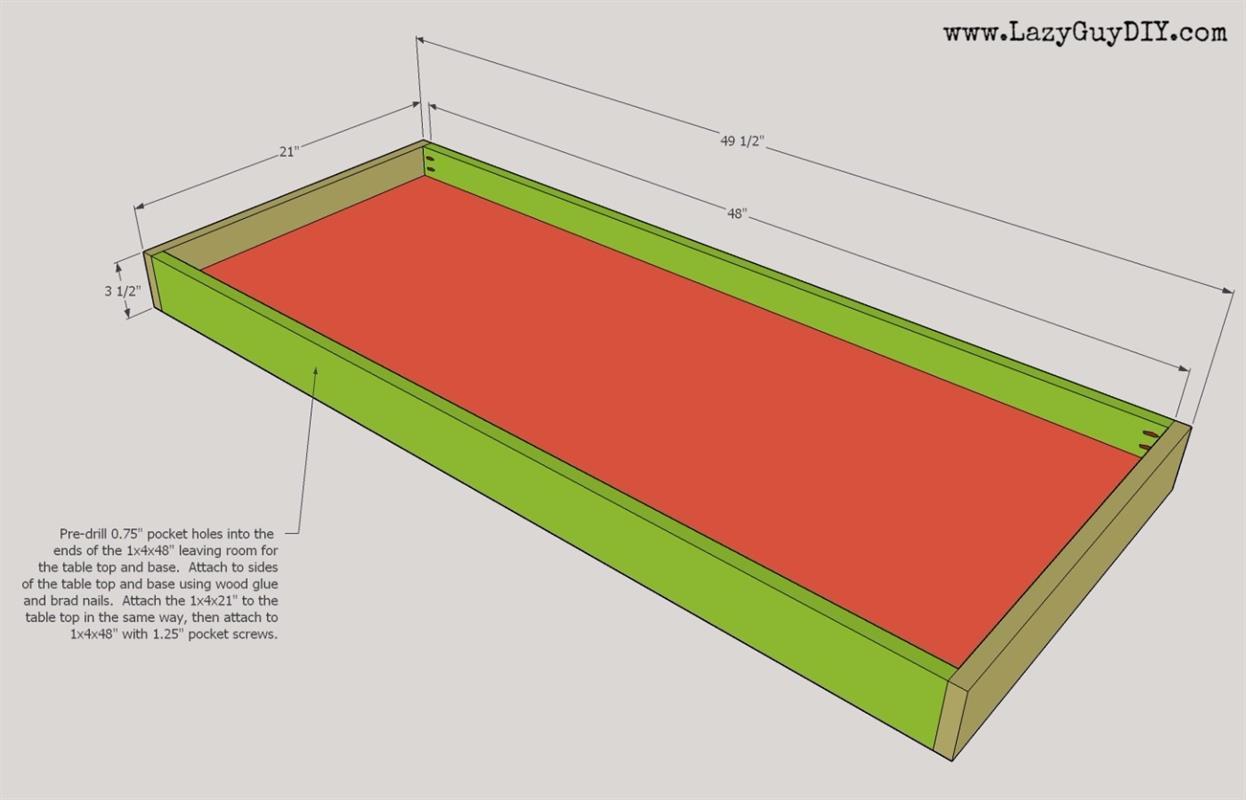
Cut (2) 1x4" side aprons to 48" and (2) end aprons to 21". The end aprons will overlap the side aprons. Add 0.75" pocket holes to both side aprons leaving enough spacing so the pocket holes will not be covered by the base. Leaving the table top upside down on a flat surface, attach the side aprons (flush with the plank top) using wood glue and brad nails. Attach the side aprons with wood glue, brad nails and 1-1/4" pocket screws.
-
Add Leg Base
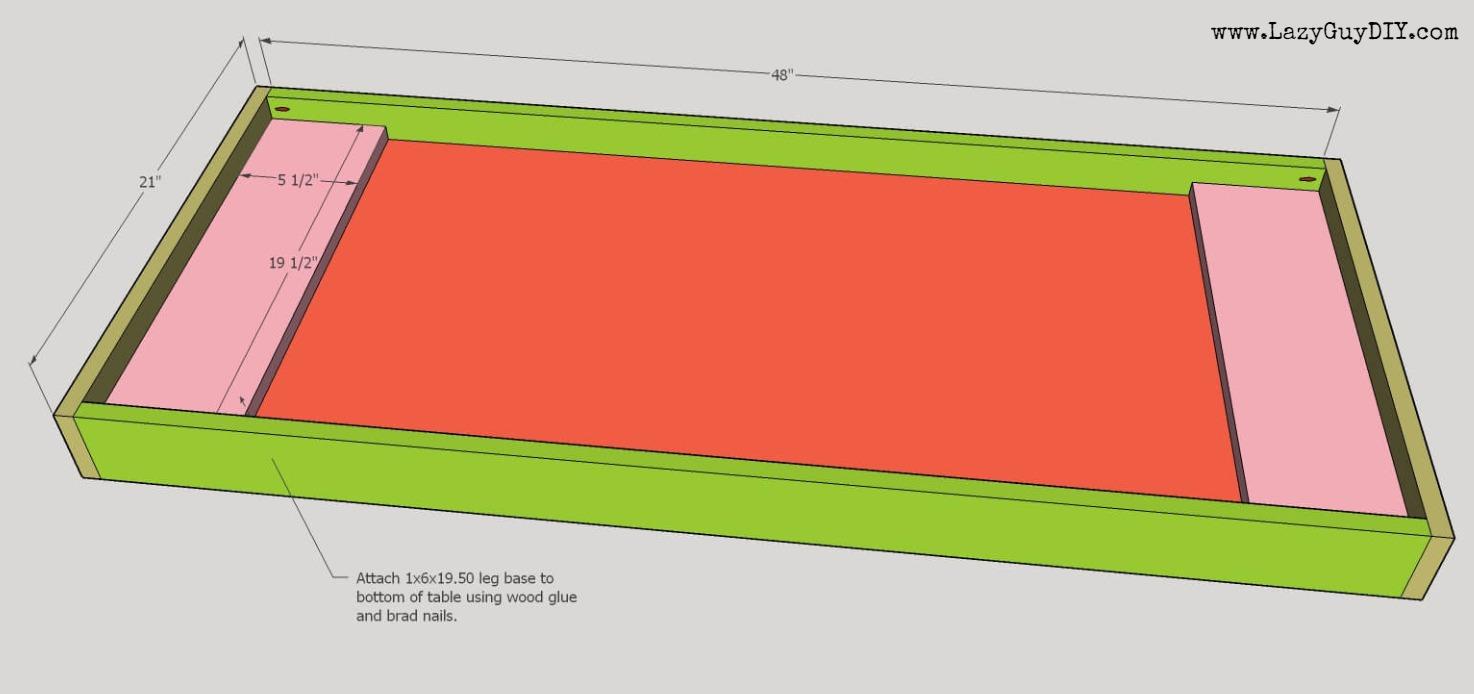
Cut (2) 1x6's to 19.50" and attach to the underside of the table base. These will add additional depth for the screws used to secure the hairpin legs. Attach with wood glue and brad nails.
-
Patch Gaps & Prep Top
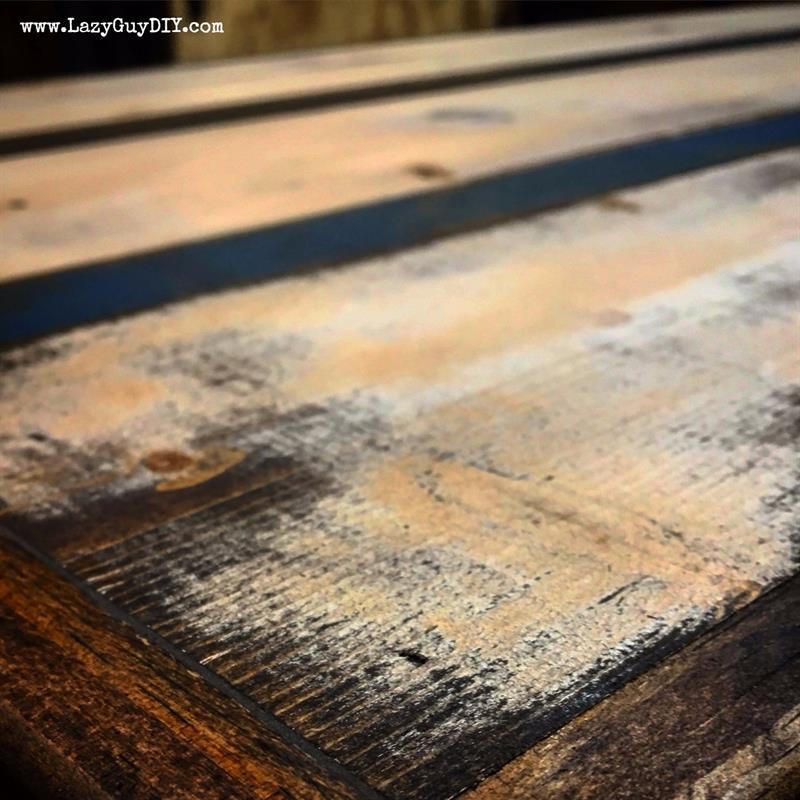
Using a round over bit with a router, round the edges of the table aprons. If you don't have a router you can use a sander to smooth over the edges. After the edges are finished, patch any visible gaps and nail holes with wood filler. Once the wood filler has dried, sand off all the excess. Then sand 25-35% of the paint off the surface of the planks. Pay particular attention the the outside edges of each plank, You want a natural worn away look that will be picked up by the stain in the next step.
-
Antiquing The Finish
Using a dark stain (I used MinWax Espresso) stain the entire piece (top and aprons). Do not use a stain and poly combo, use only stain. Coat the entire piece at once, then wipe away the excess stain in the order of application. Let the stain dry.
-
Attach Legs
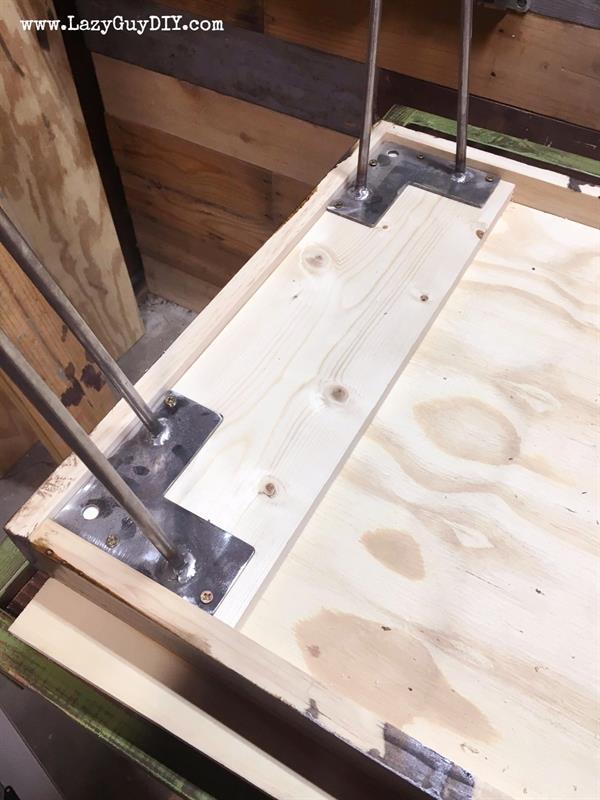
Attach the hairpin legs to the base using the provided screws. These were purchased from (www.DIYHairpinLegs.com).
-
Seal The Top
Seal the table top using MinWax Semi Gloss Poly. I applied 4 coats. After the first coat has dried, hand sand with 300+ grit sandpaper. Do not over sand. Sand smooth to the touch, clean off and reapply poly. Once poly has dried, hand sand and repeat. Each coat will apply a smoother finish.


