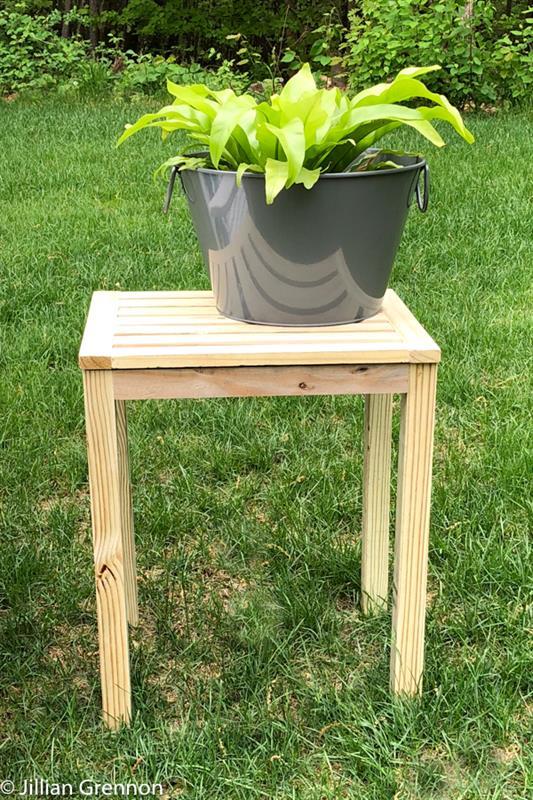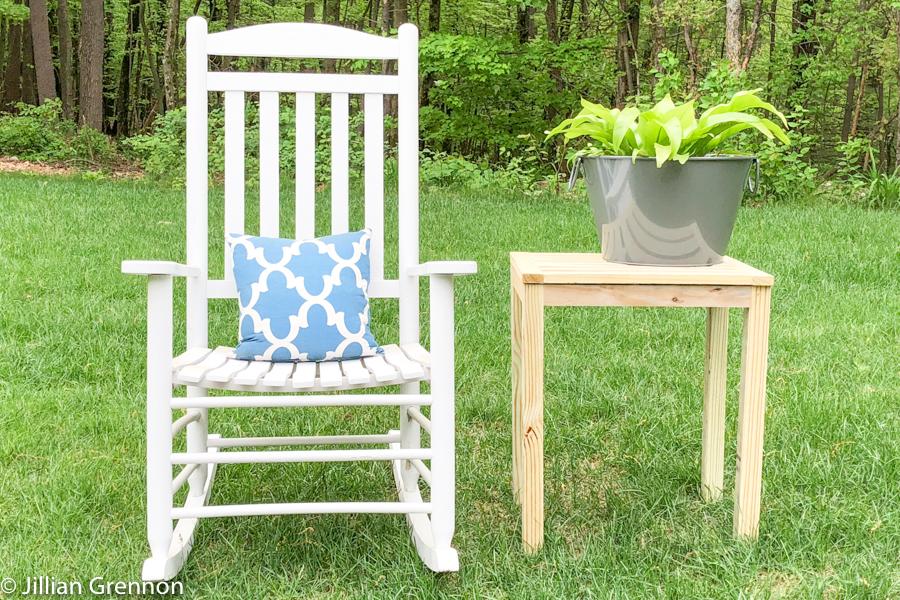


This simple side table is a great addition to your yard or front porch. It will add a spot for a lemonade or even for all your s’mores ingredients.
Tools
Kreg Tools


Other Tools
-
Miter Saw

-
Table Saw
-
Tape Measure
Materials
Wood Products
- 2 Board , 1x4 , 72"
- 1 Board , 2x4 , 96"
Hardware & Supplies
- 50 1 1/2" outdoor Kreg pocket screws
- 8 1 1/4" outdoor Kreg pocket screws
Directions
-
Make Cuts
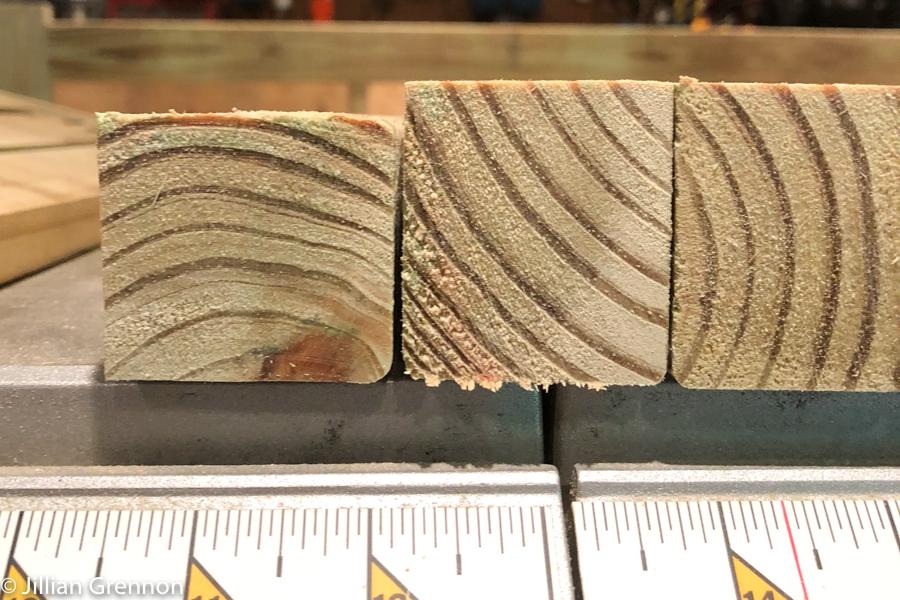
Start by cutting your boards. Each board you are using will need to be ripped in half with a table saw. I preferred to cut the boards into the smaller sections before ripping them. You will need 6 sections of 1x4 cut to 16", 2 sections of 1x4 cut to 11 1/2 and 2 sections of 2x4 cut to 21 3/4". Then, rip each cut in half. I used pressure treated wood for this project.
-
Assemble the Top
Assemble the table top by attaching the two side top pieces to the slats using 1 1/2" pocket hole screws. I started with the outside and then filled in the inside.
-
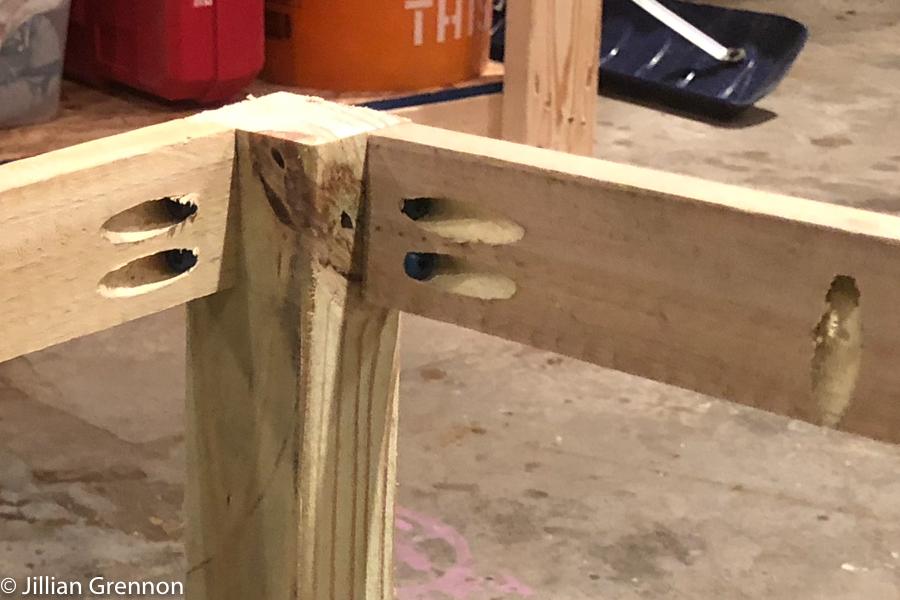
Drill Pocket Holes
You will need two on either end of each slat, 2 on either end of each apron as well as two holes along one side of each apron to attach the top to the base.
-
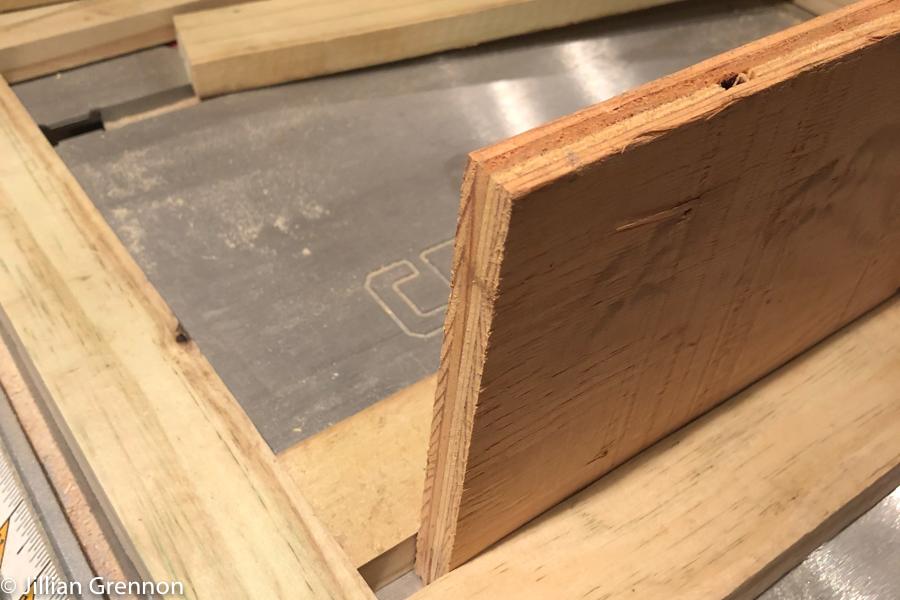
Space the Slats
Add each additional slat spaced 1/2" apart to complete the tabletop. To make sure spacing is even, I used a piece of 1/2" thick, scrap plywood to space the slats.
-
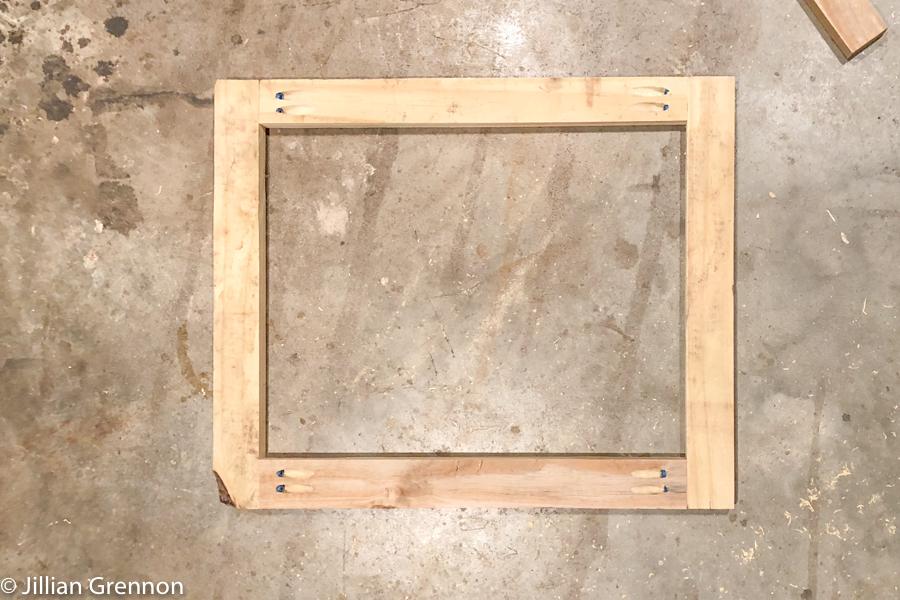
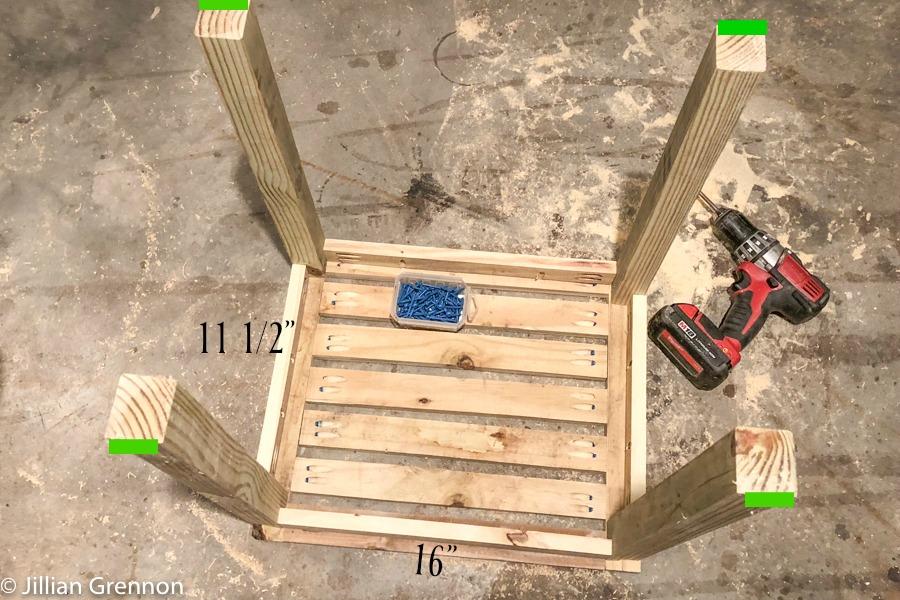
Assemble the Base
Attach the aprons to the legs as shown using 1 1/2" screws. The 11 1/2" aprons will be on the sides and the 16" aprons will be under the slats. Please note that your ripped 2x4 legs will not be perfect squares. You could easily adjust your base cuts if you want them to be square, but I was ok with leaving them as is after I ripped them. The cut side should be facing out as identified by the green marks in the picture. I left a 1/2 inch overhang on the front and back but the sides are almost flush.
-
Join the Pieces
Join the top to the base by using 1 1/4" pocket srews in the 2 holes along each apron of the table.

-
Enjoy
That's it! Can you believe building your own side table is that easy?! You could easily use cedar or any other wood you choose, just make sure you finish it correctly to protect it from weather.