

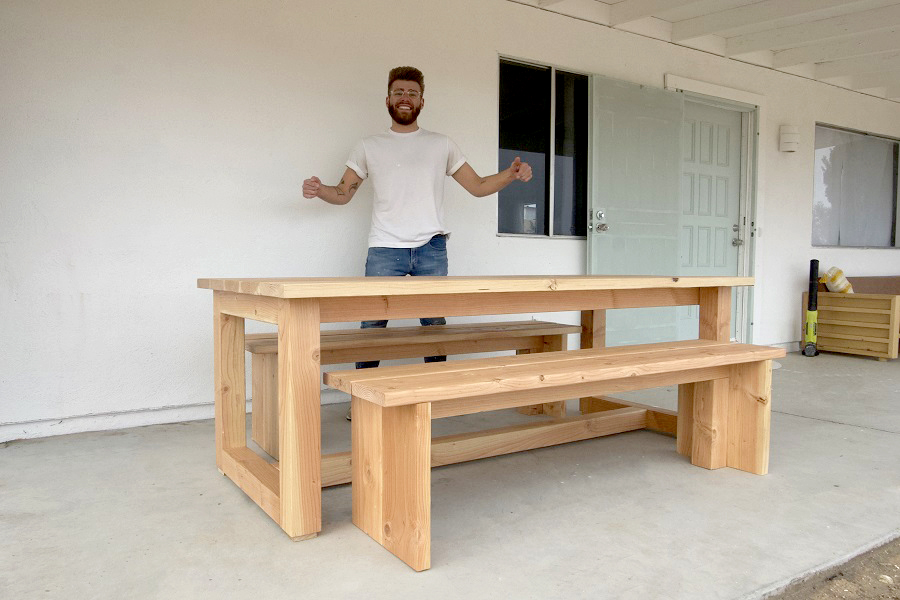
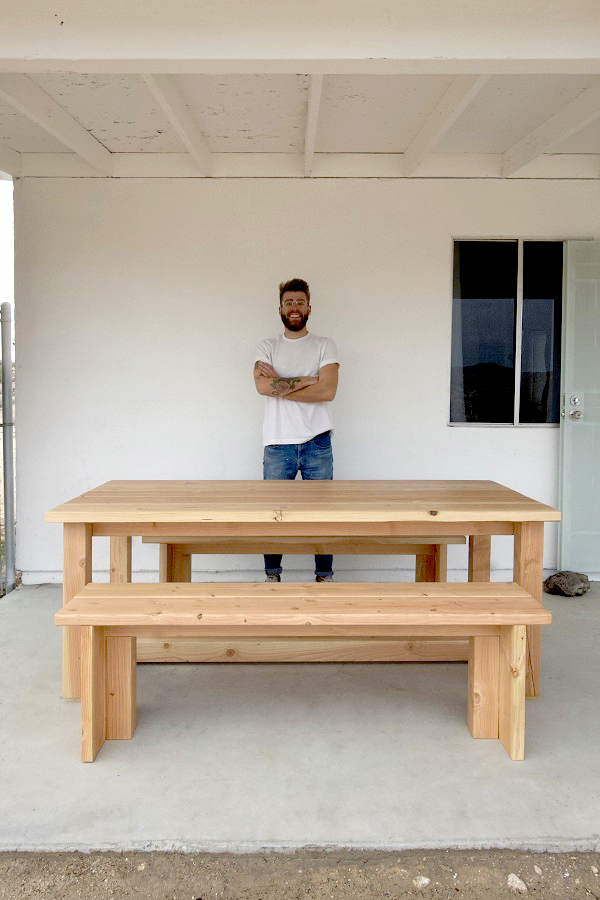


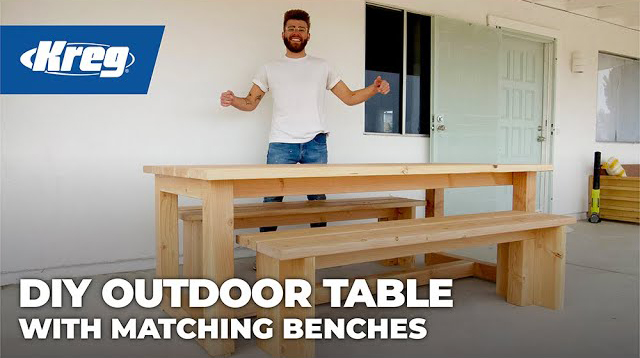
Build an outdoor dining table with coordinating benches out of 2x8s and 4x4s!
Tools
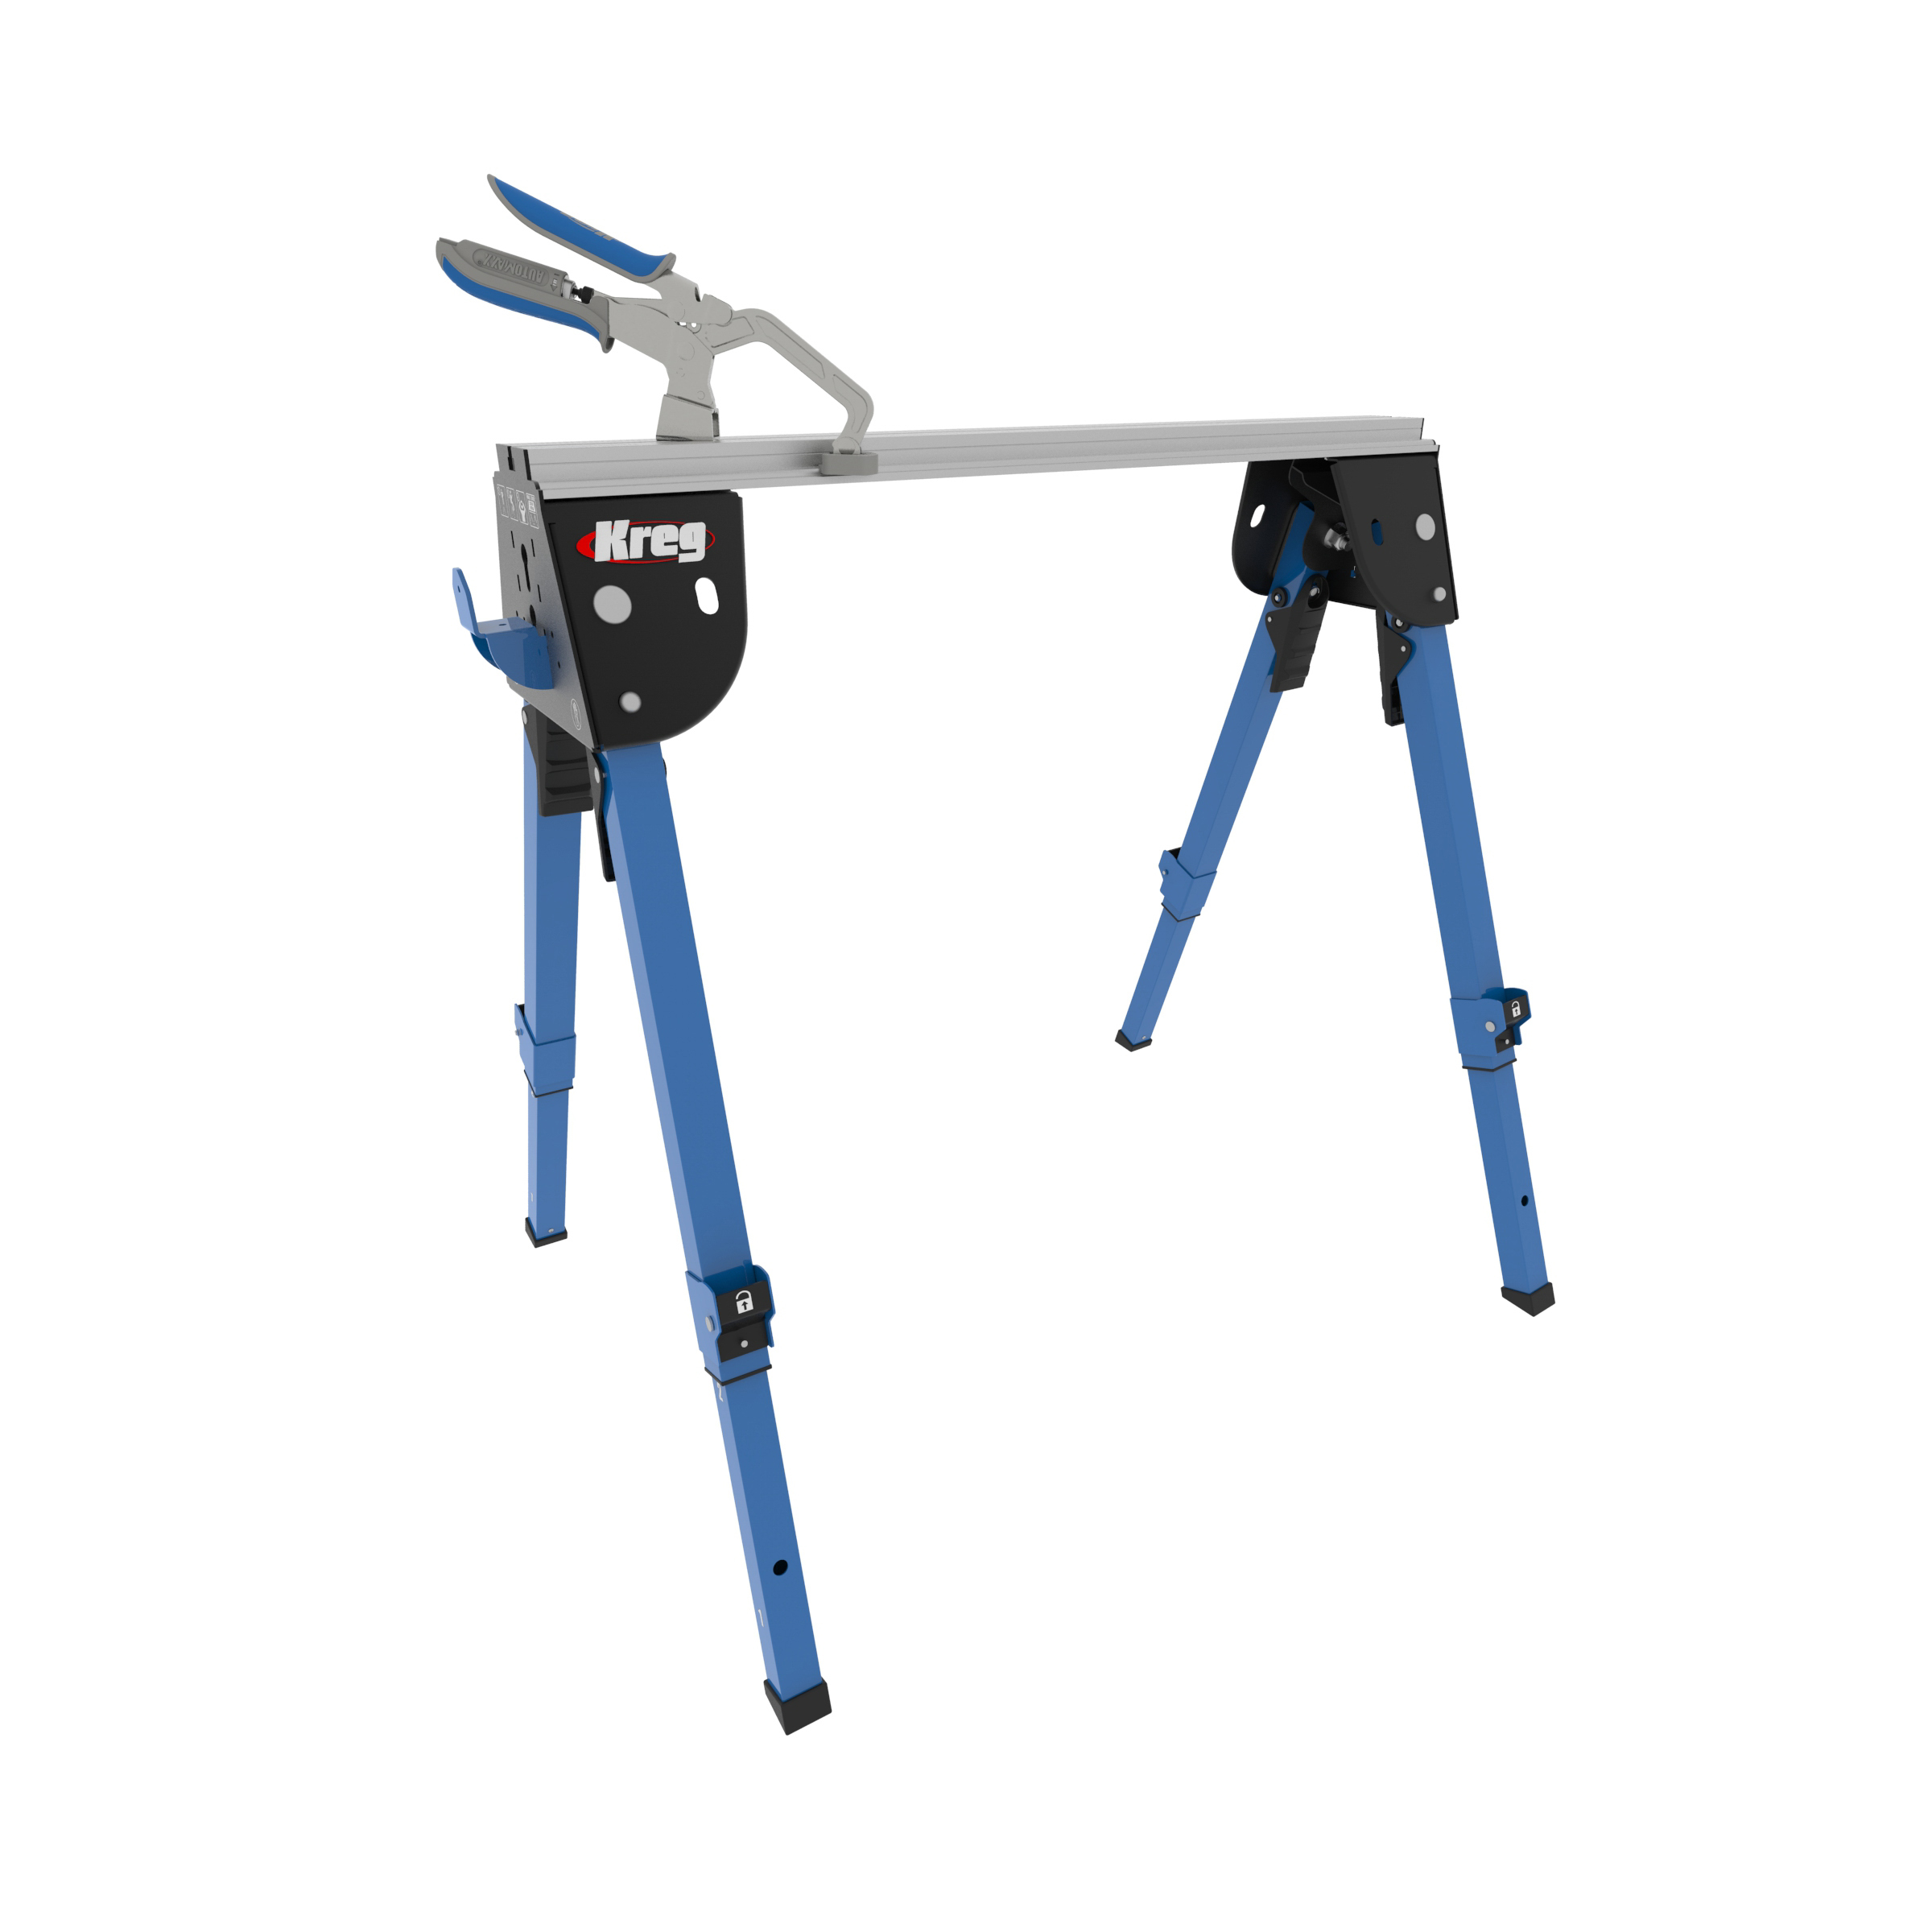
Kreg Tools


Materials
Wood Products
- 9 Pine boards , 2"x8"x8'
- 6 Pine boards , 4"x4"x8'
Hardware & Supplies
- 1 Box of 2 1/2" Kreg XL Screws (see tools list)
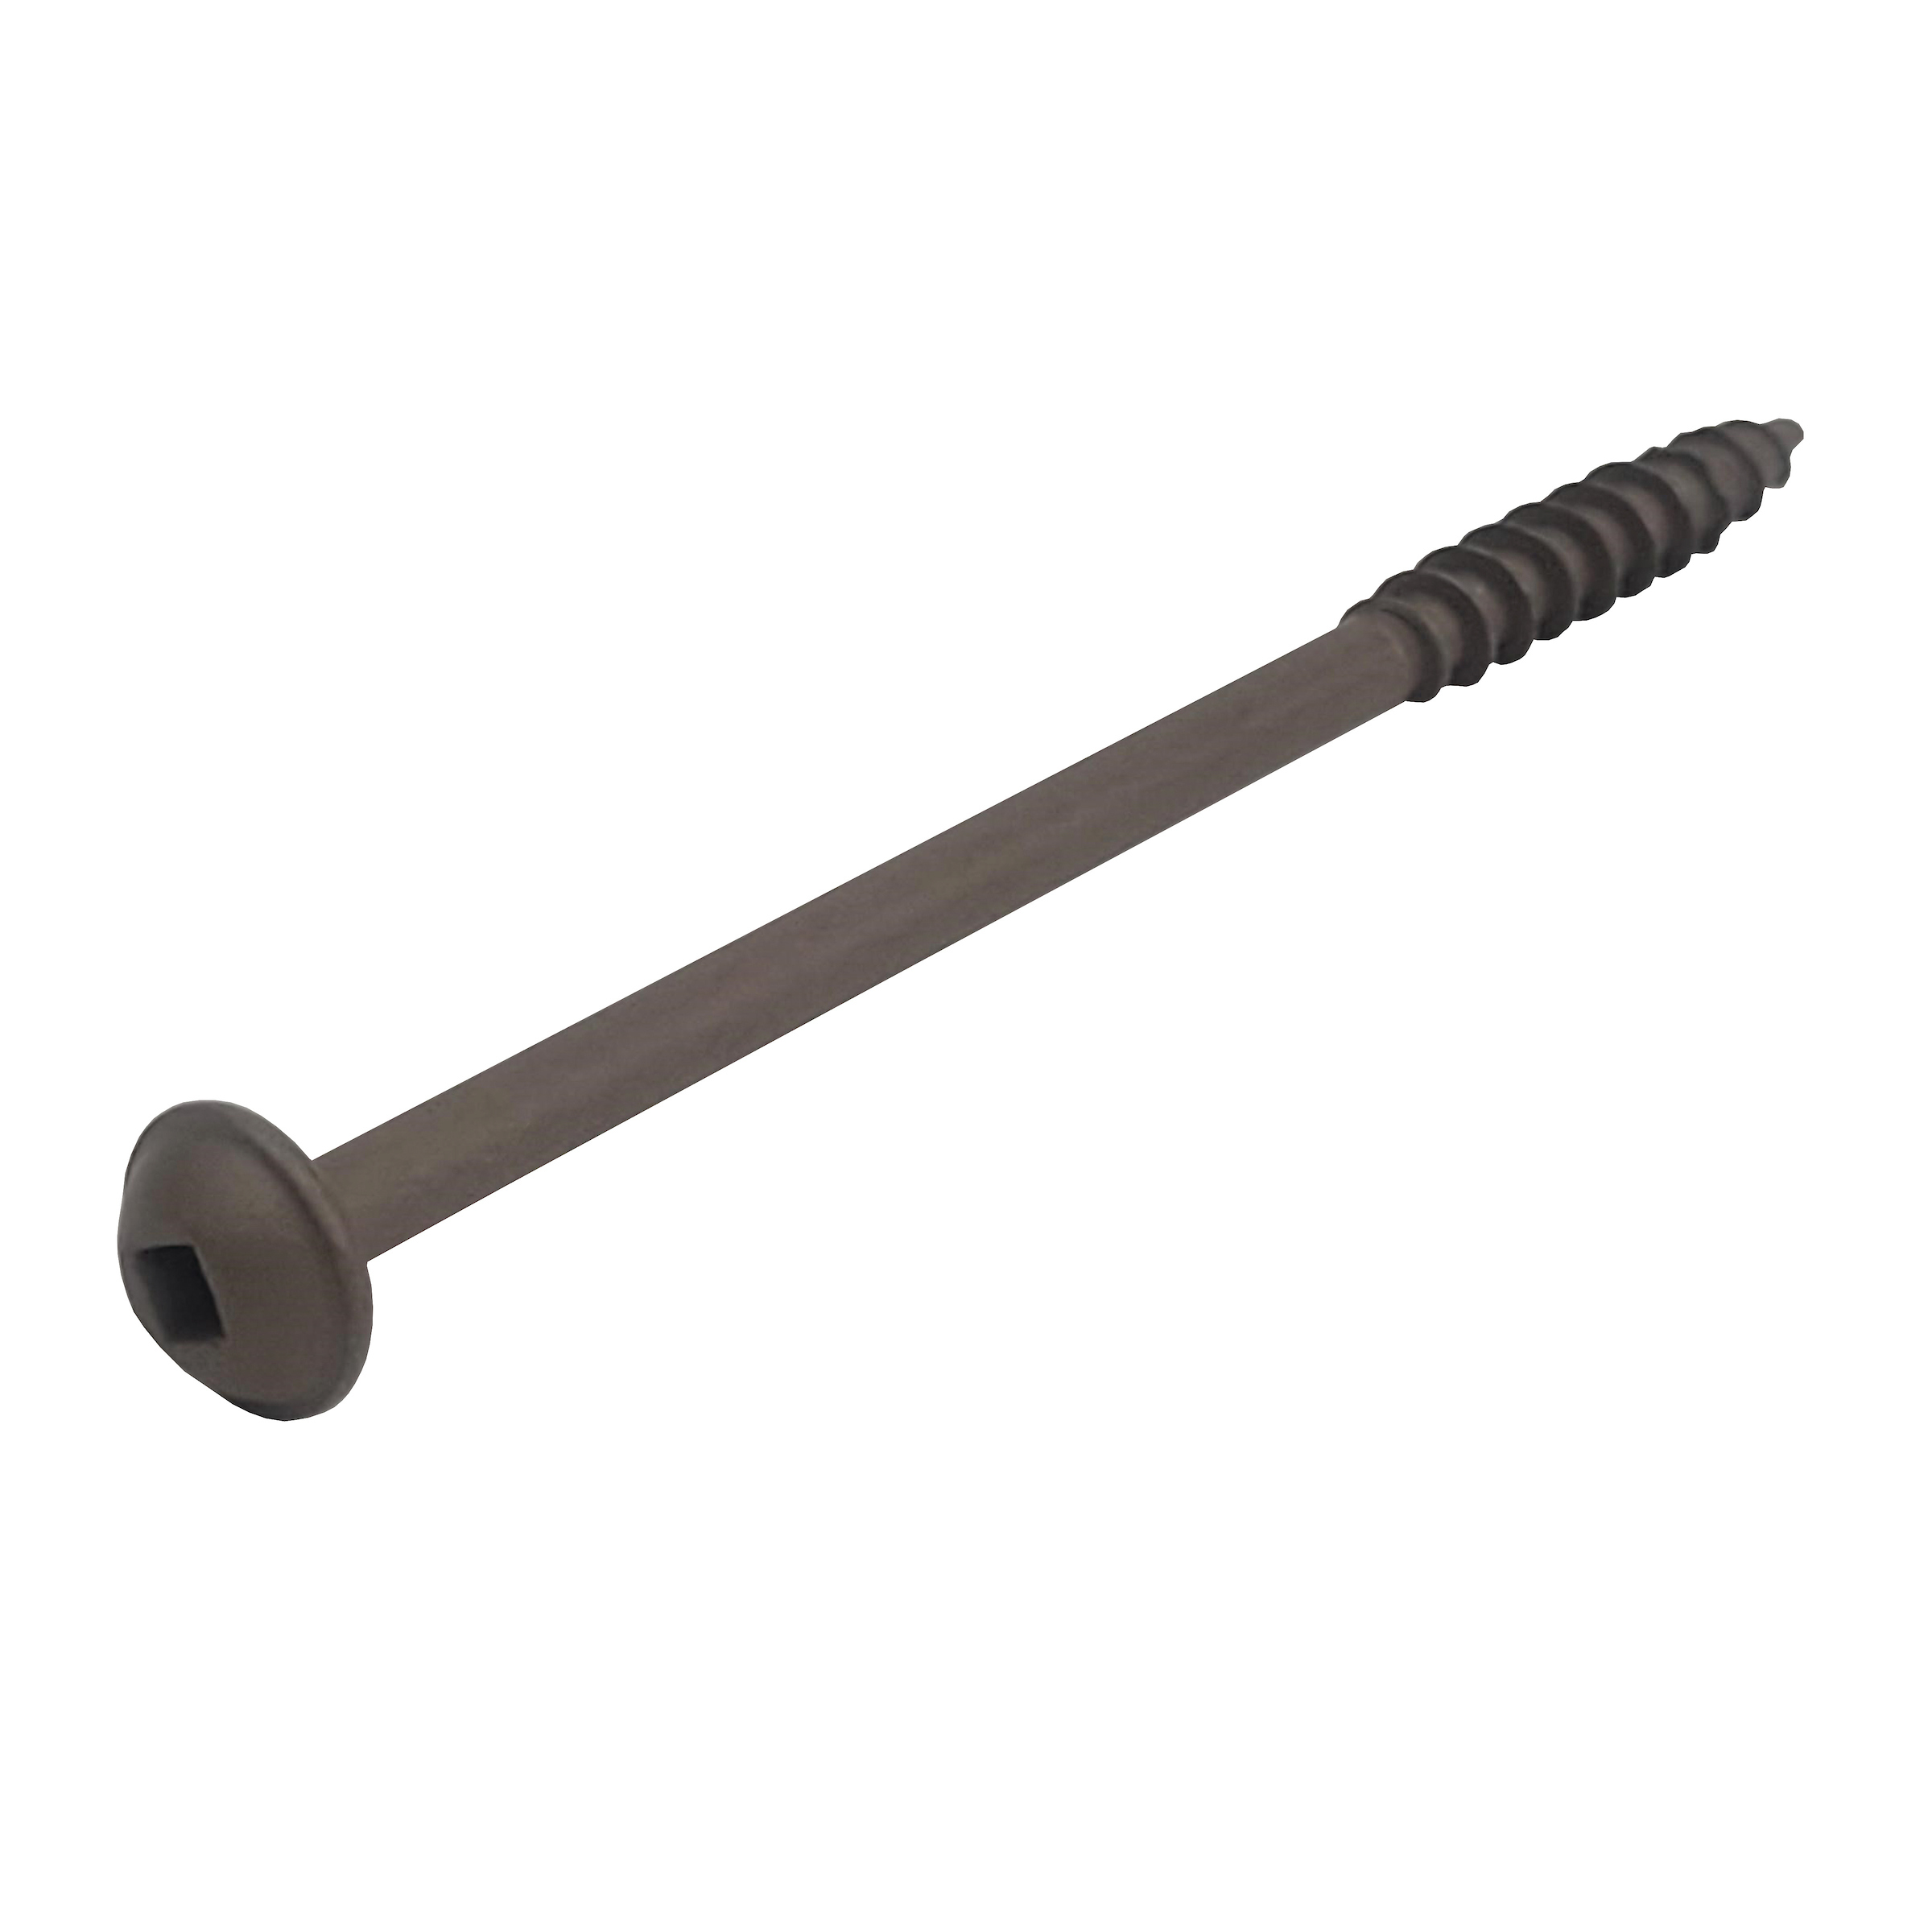
- 1 Box of 4" Kreg XL Screws (see tools list)
- 1 Wood glue
- 1 Wood filler
- 1 Finish of choice
Directions
-
Watch the video!
We recommend watching the corresponding video before beginning this build.
-
Cut 18" off each board
Using the Kreg Portable Crosscut, I cut 18" off the end of each board. Keep these pieces for later as they're for the benches!
-
Drill pocket holes for table top
I drilled 5 holes along one edge of four of the 1x8s using the Kreg Pocket-Hole Jig XL. I then joined them together with Kreg 2 1/2" XL Pocket-Hole Screws (linked in tools list). I also used wood glue before using my pocket screws. I let the glue dry a couple of hours before moving on to the next step.
-
Cut down the edges
Using the Kreg Straight Edge Guide, I cut down the edges of my table top so they were flush.
-
Cut 4x4 stretchers
I cut 3- 4x4s down to 68". I made sure they were 10" shorter than my table top for overhang.
-
Cut 4x4 legs
Cut 4 boards at 4"x4"x28 1/2" and 4 more at 4"x4"x23 1/2" for the legs.
-
Add pocket holes to 4x4s
Adjust your XL jig to the 3 1/2" mark and drill 2 pocket holes where the boards are joining together. You'll only need pocket holes on the stretchers and shorter leg pieces.
-
Put legs together
Connect the four leg pieces together using Kreg 4" XL Pocket-Hole Screws (link in tools list). You'll create two legs with 4 pieces each. I did add some wood glue to each joint as well.
-
Attach the 4x4 stretchers
To keep the table top from dipping or bowing, attach two stretchers to one side of the legs with equal spacing (I placed them just outside the first 4x4 of the leg), and one on the opposite side in the center, for the base of the table. I used the same 4" screws I used in the previous step.
-
Don't forget pocket holes on the top stretchers and legs!
Don't forget to add a few more pocket holes on the top stretchers and legs so you can attach the base to the table top, using 2 1/2" pocket screws.
-
Attach base to table top
There should be a 3 1/2" overhang along each edge of the table, and an 1 1/2" overhang on each end. Attach the table top to the base using 2 1/2" XL pocket screws.
Tip:
I added a few pieces of scrap wood feet "risers" to the corners of the legs, to give a floating look to the table base. Totally not necessary, but I like it.
-
Prep the table for finish
I used some wood filler on any imperfections in the wood, and let that dry before sanding. I then sanded everything up to 220 grit in preparation for the wood finish.
-
Grab those leftover 18" pieces from the beginning of the project!
Grab those 18" pieces that you cut off the 2x8s and add 3 pocket holes to one of the long ends connect two of them together. This will create the outside of each leg.
-
Cut a 4x4 for leg supports
I then cut a 4x4 stretcher that will be the spine for each of the benches. You'll need to cut a couple more 14 1/2" pieces. Then drill pocket holes in all of the 4x4s.
-
Assemble the legs
Attach two of the 2x8 pieces together with pocket holes (attach two of the long sides together). Then add the 14 1/2" piece flush to the ground, but centered between the two 2x8s you joined. (The video shows this well, around the 8 minute mark.) You should have two of these for two legs, and you'll need to repeat this for your second bench. Lay your 4x4 stretcher right on top of of the shorter 4x4 on each leg, and it should sit flush with the 2x8s now! You have the base for your bench. Pocket hole these together to secure them.
-
Attach 2x8s for bench tops
Lay your 2x8 bench tops on your base and screw them in. I pre-drilled some pilot holes using a Kreg bit. I also left a little bit of space between the two bench boards so water wouldn't get trapped in between them. Because of the pilot holes, I was able to plug everything with some wood glue and a 3/8" dowel, cut it down and sand it flush to hide the fasteners.
Tip:
Remember - you'll have to do all of the bench steps twice for two benches, unless you're using chairs or other seating on one or both sides of your table.
-
Sand down your benches and table - prepare for finish
I sanded with 150 and ended with 220 grit sandpaper.
-
Add finish
I added two coats of outdoor water based spar urethane. I chose a satin finish because I thought it would reflect less from the sun, and figured it would weather better over time.