No-Sew Upholstered Coffee Table
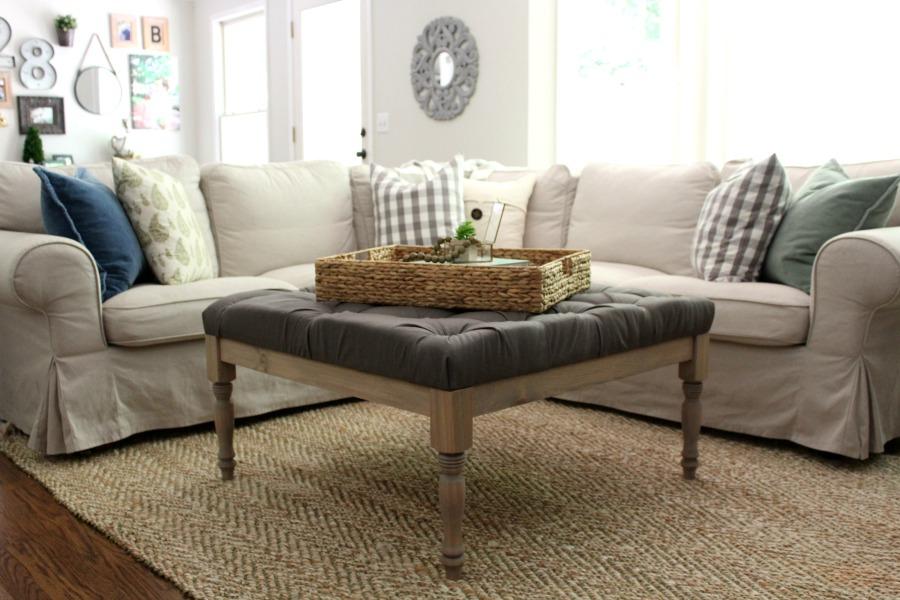
By Sincerely, Marie DesignsThis no-sew, upholstered coffee table makes for a great place to prop up your feet and stay awhile. This is a simple tufted style upholstery that anyone can do!
Directions
-
Making your pocket holes
Make two pocket holes in each end of your 1x3"s using the Kreg Jig at the 3/4" setting. Also make four to five pocket holes all along one side of the 1x3" to later attach the top.
Sand your 1x3" and table legs with a palm sander before assembling.
-
Making your base
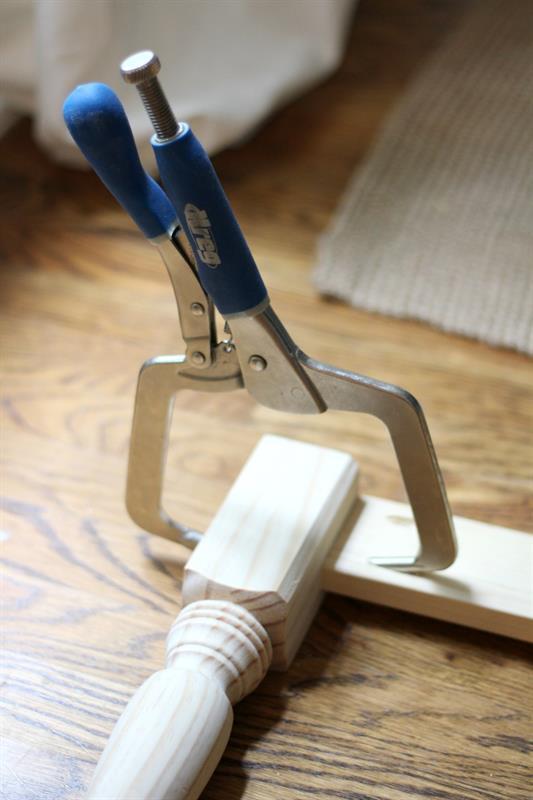
After making two pocket holes in each end of your 1x3", attach them to the table legs using 1 1/2" pocket hole screws. This is where the Kreg clamp comes in handy. Screw them into place a 1/2" from the outside of the leg.
-
Attaching your top
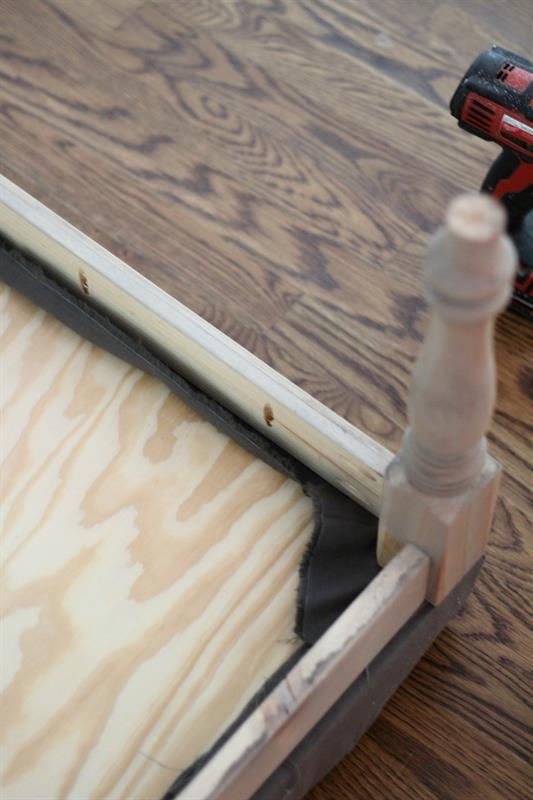
Using 1" pocket hole screws, attach the plywood top to the table base. Make sure to line up each corner so that it is straight one each side.
Flip the table over and enjoy!
-
Adding your foam
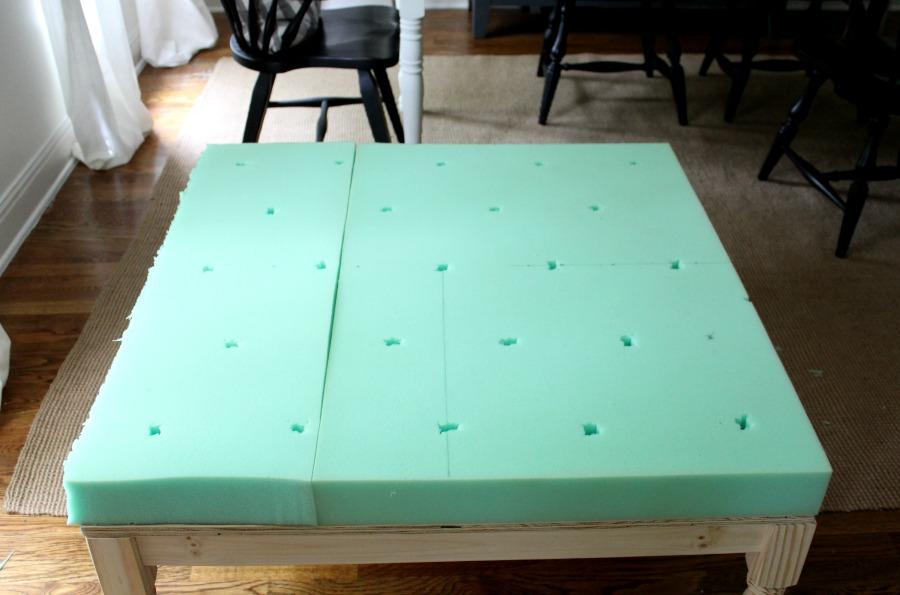
Cut your foam topper to the correct size and use spray adhesive to adhere the foam to the plywood.
-
Making your button holes
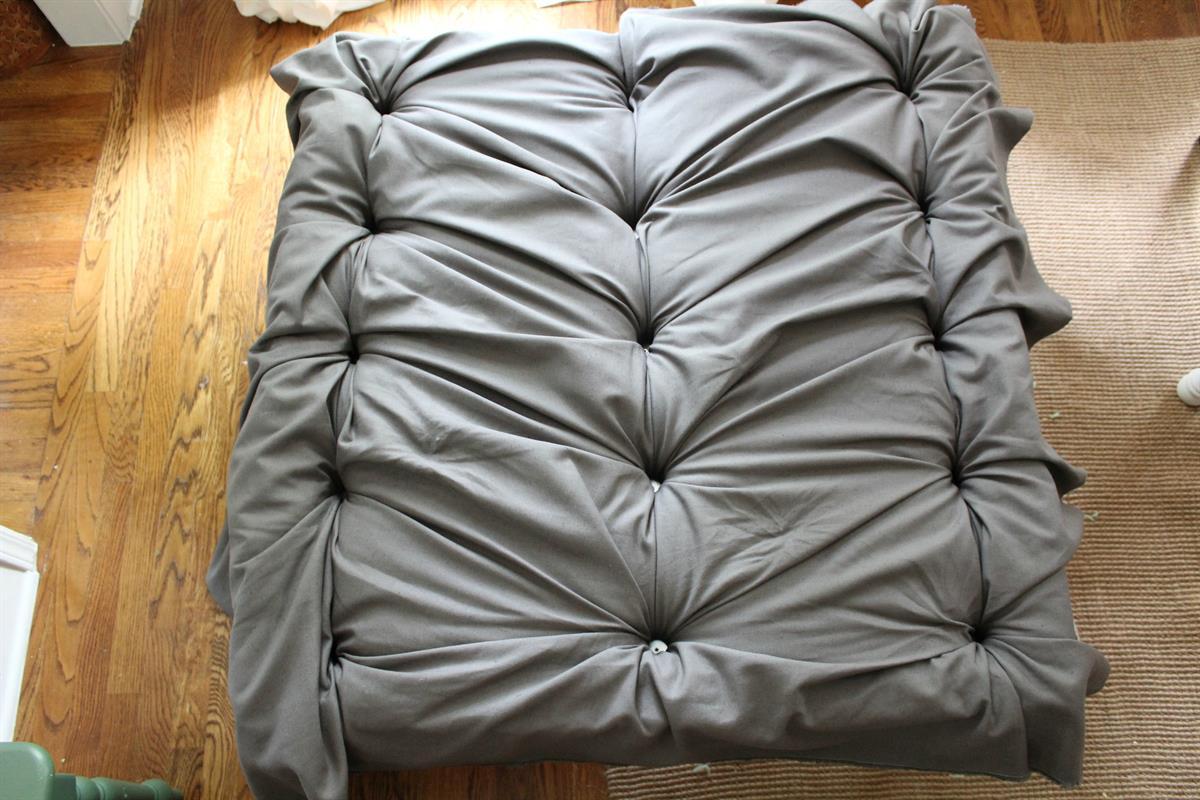
Using a tape measure and marker, make the marks for your button holes. I did a middle row of five buttons, the middle being center and a row of four on either side followed by a row of five on the two outsides. Each button hole is about 6.5" to 7" apart from each other.
Using sharp scissors, cut our small square where your made your marks for the fabric to collect in.
-
Adding your fabric
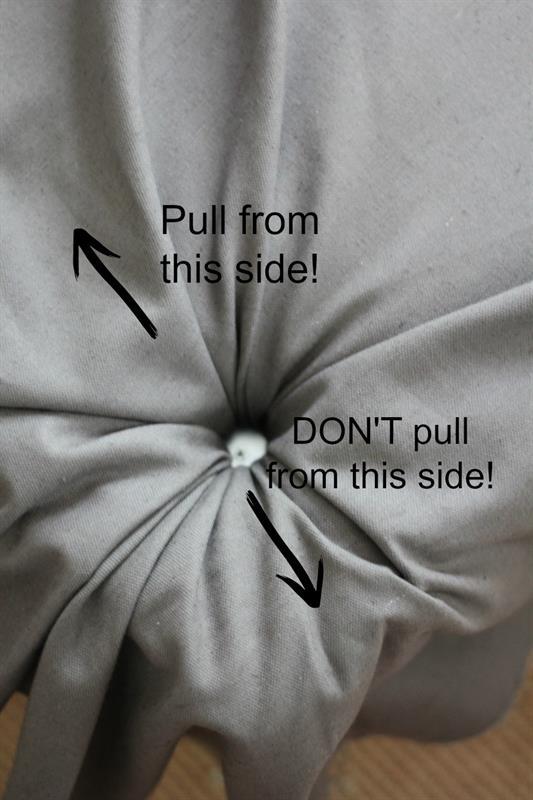
Add your batten over the foam followed by your fabric. Hold the fabric on that corner underneath the coffee table to make sure you have enough to staple on the underside of the table. Start pulling the fabric unto the button hole but make sure to pull from the coffee table side and not from the edge side. Screw your washer in screw through the button hole and into the plywood to hold it.
-
Tufting your fabric
Tuck the fabric into each button hole on that row. Once you have that first row complete, skip the row of four and complete the middle row of five and then skip the next row of four and complete the last row of five. Using the same pulling and tucking method.
The middle rows will seem loose, this will give the slack needed to finish those two rows of four.
-
Finishing the fabric top
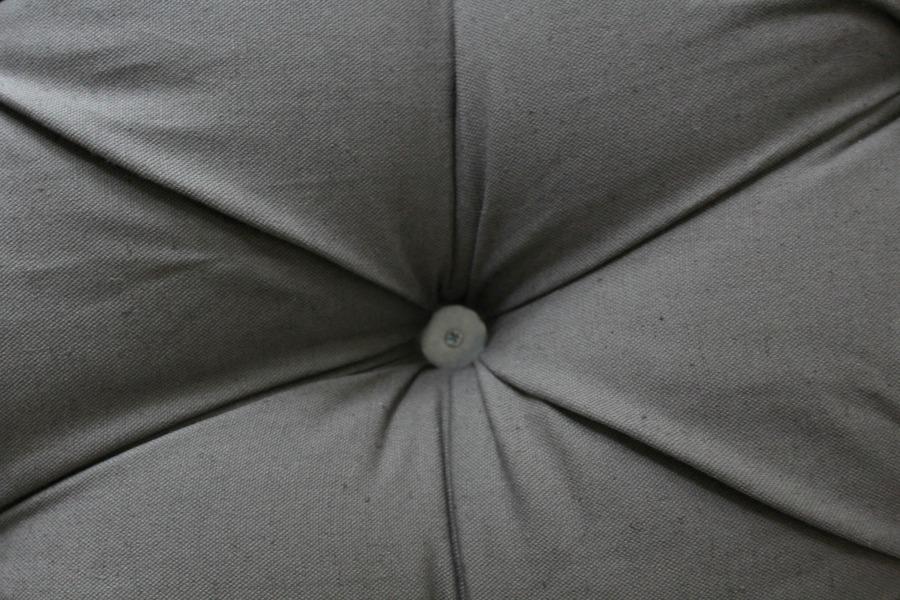
When tucking your fabric for the middle rows, tuck and make folds in the fabric to create a diamond pattern.
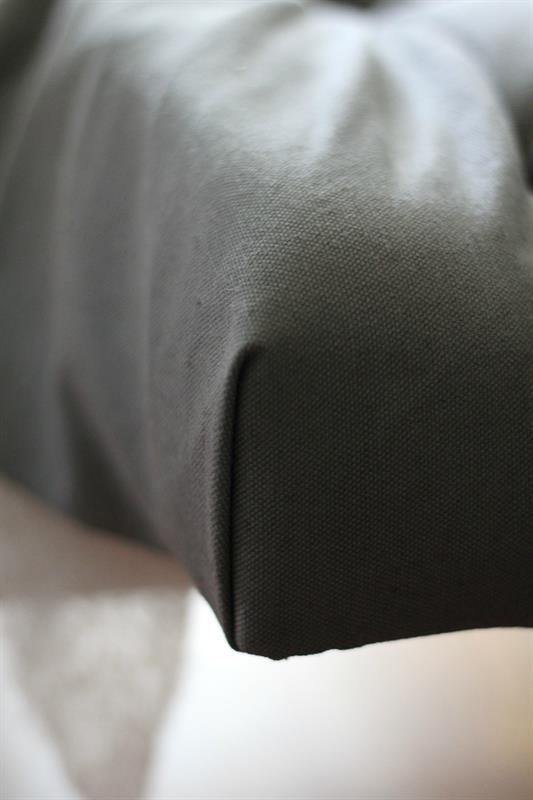
Secure excess fabric by stapling the fabric to the underside of the plywood. Fold the fabric where there is excess to create a clean look on the sides.
Use E6000 metal adhesive to glue your buttons onto the washers. Make your buttons according to manufacturers instructions.
-
Stapling the corners
Fold the corners just as though you're wrapping a presents. Fold one side in and the other side down and staple to secure.
-
Finishing your table base
Once your base is together and it a square, stain or paint to finish. This particular base was stained with Sun-bleached by Rust-Oleum and topped off with a coat of Special Walnut by Minwax.


