

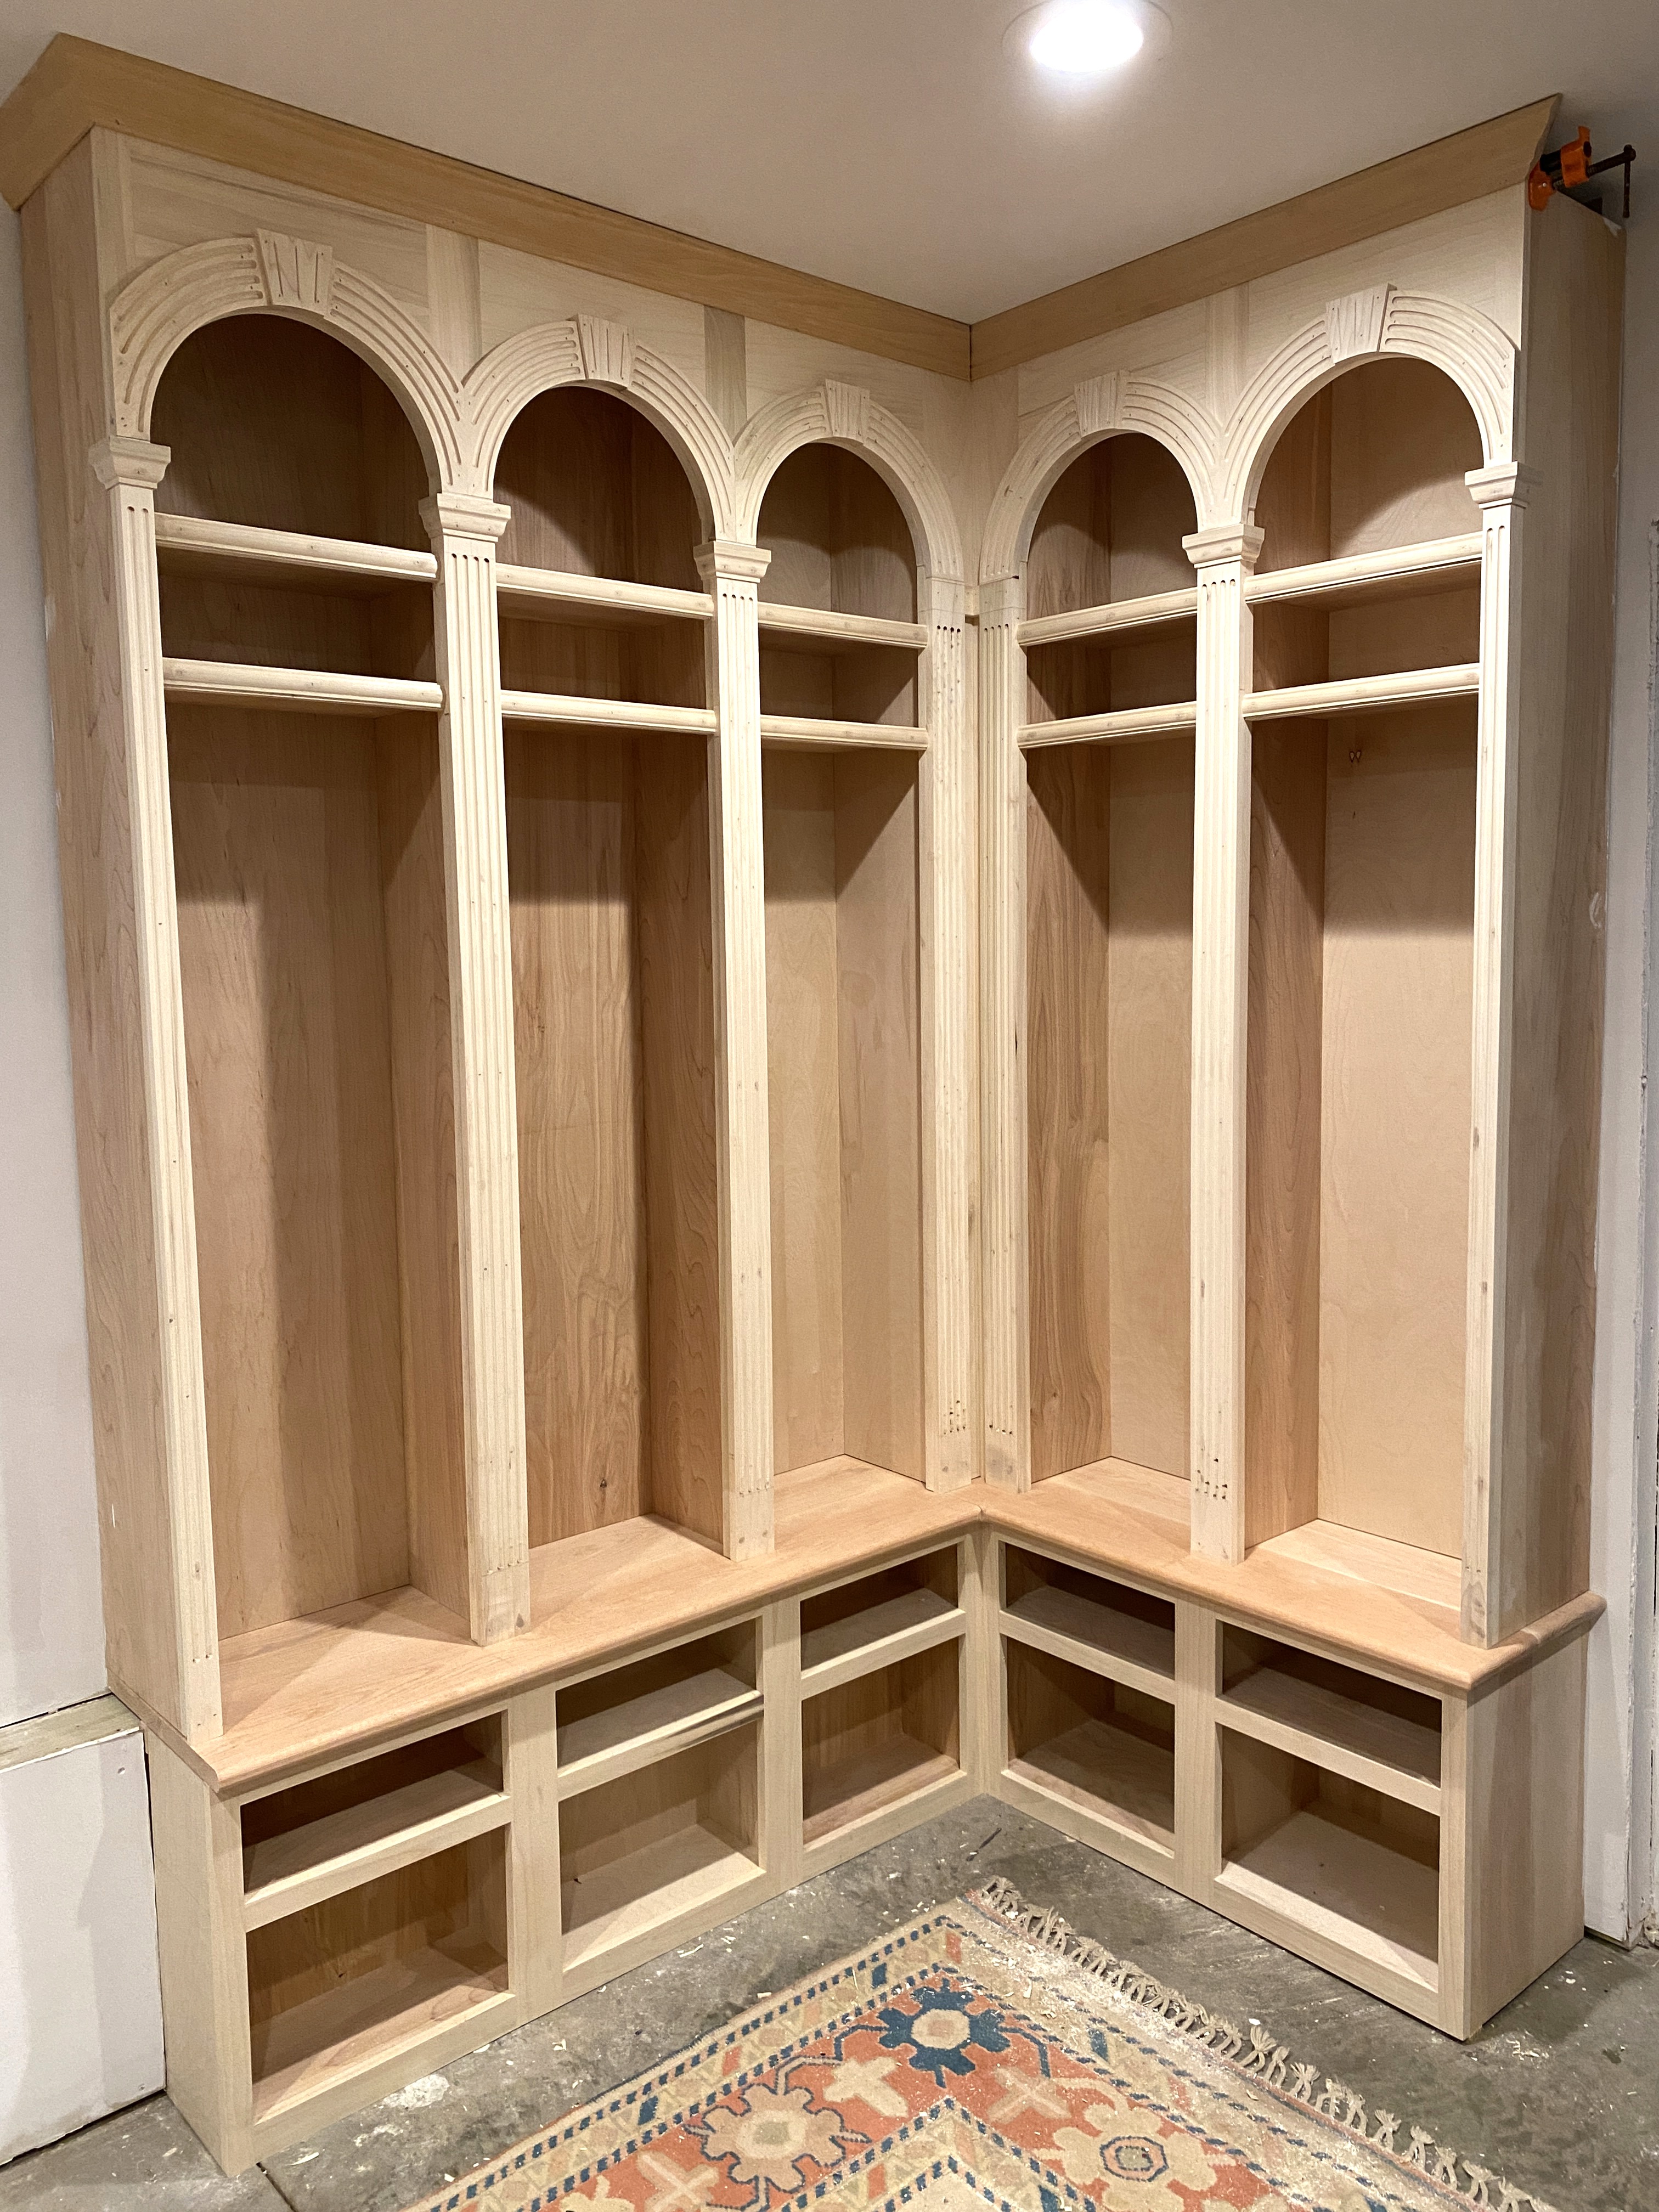


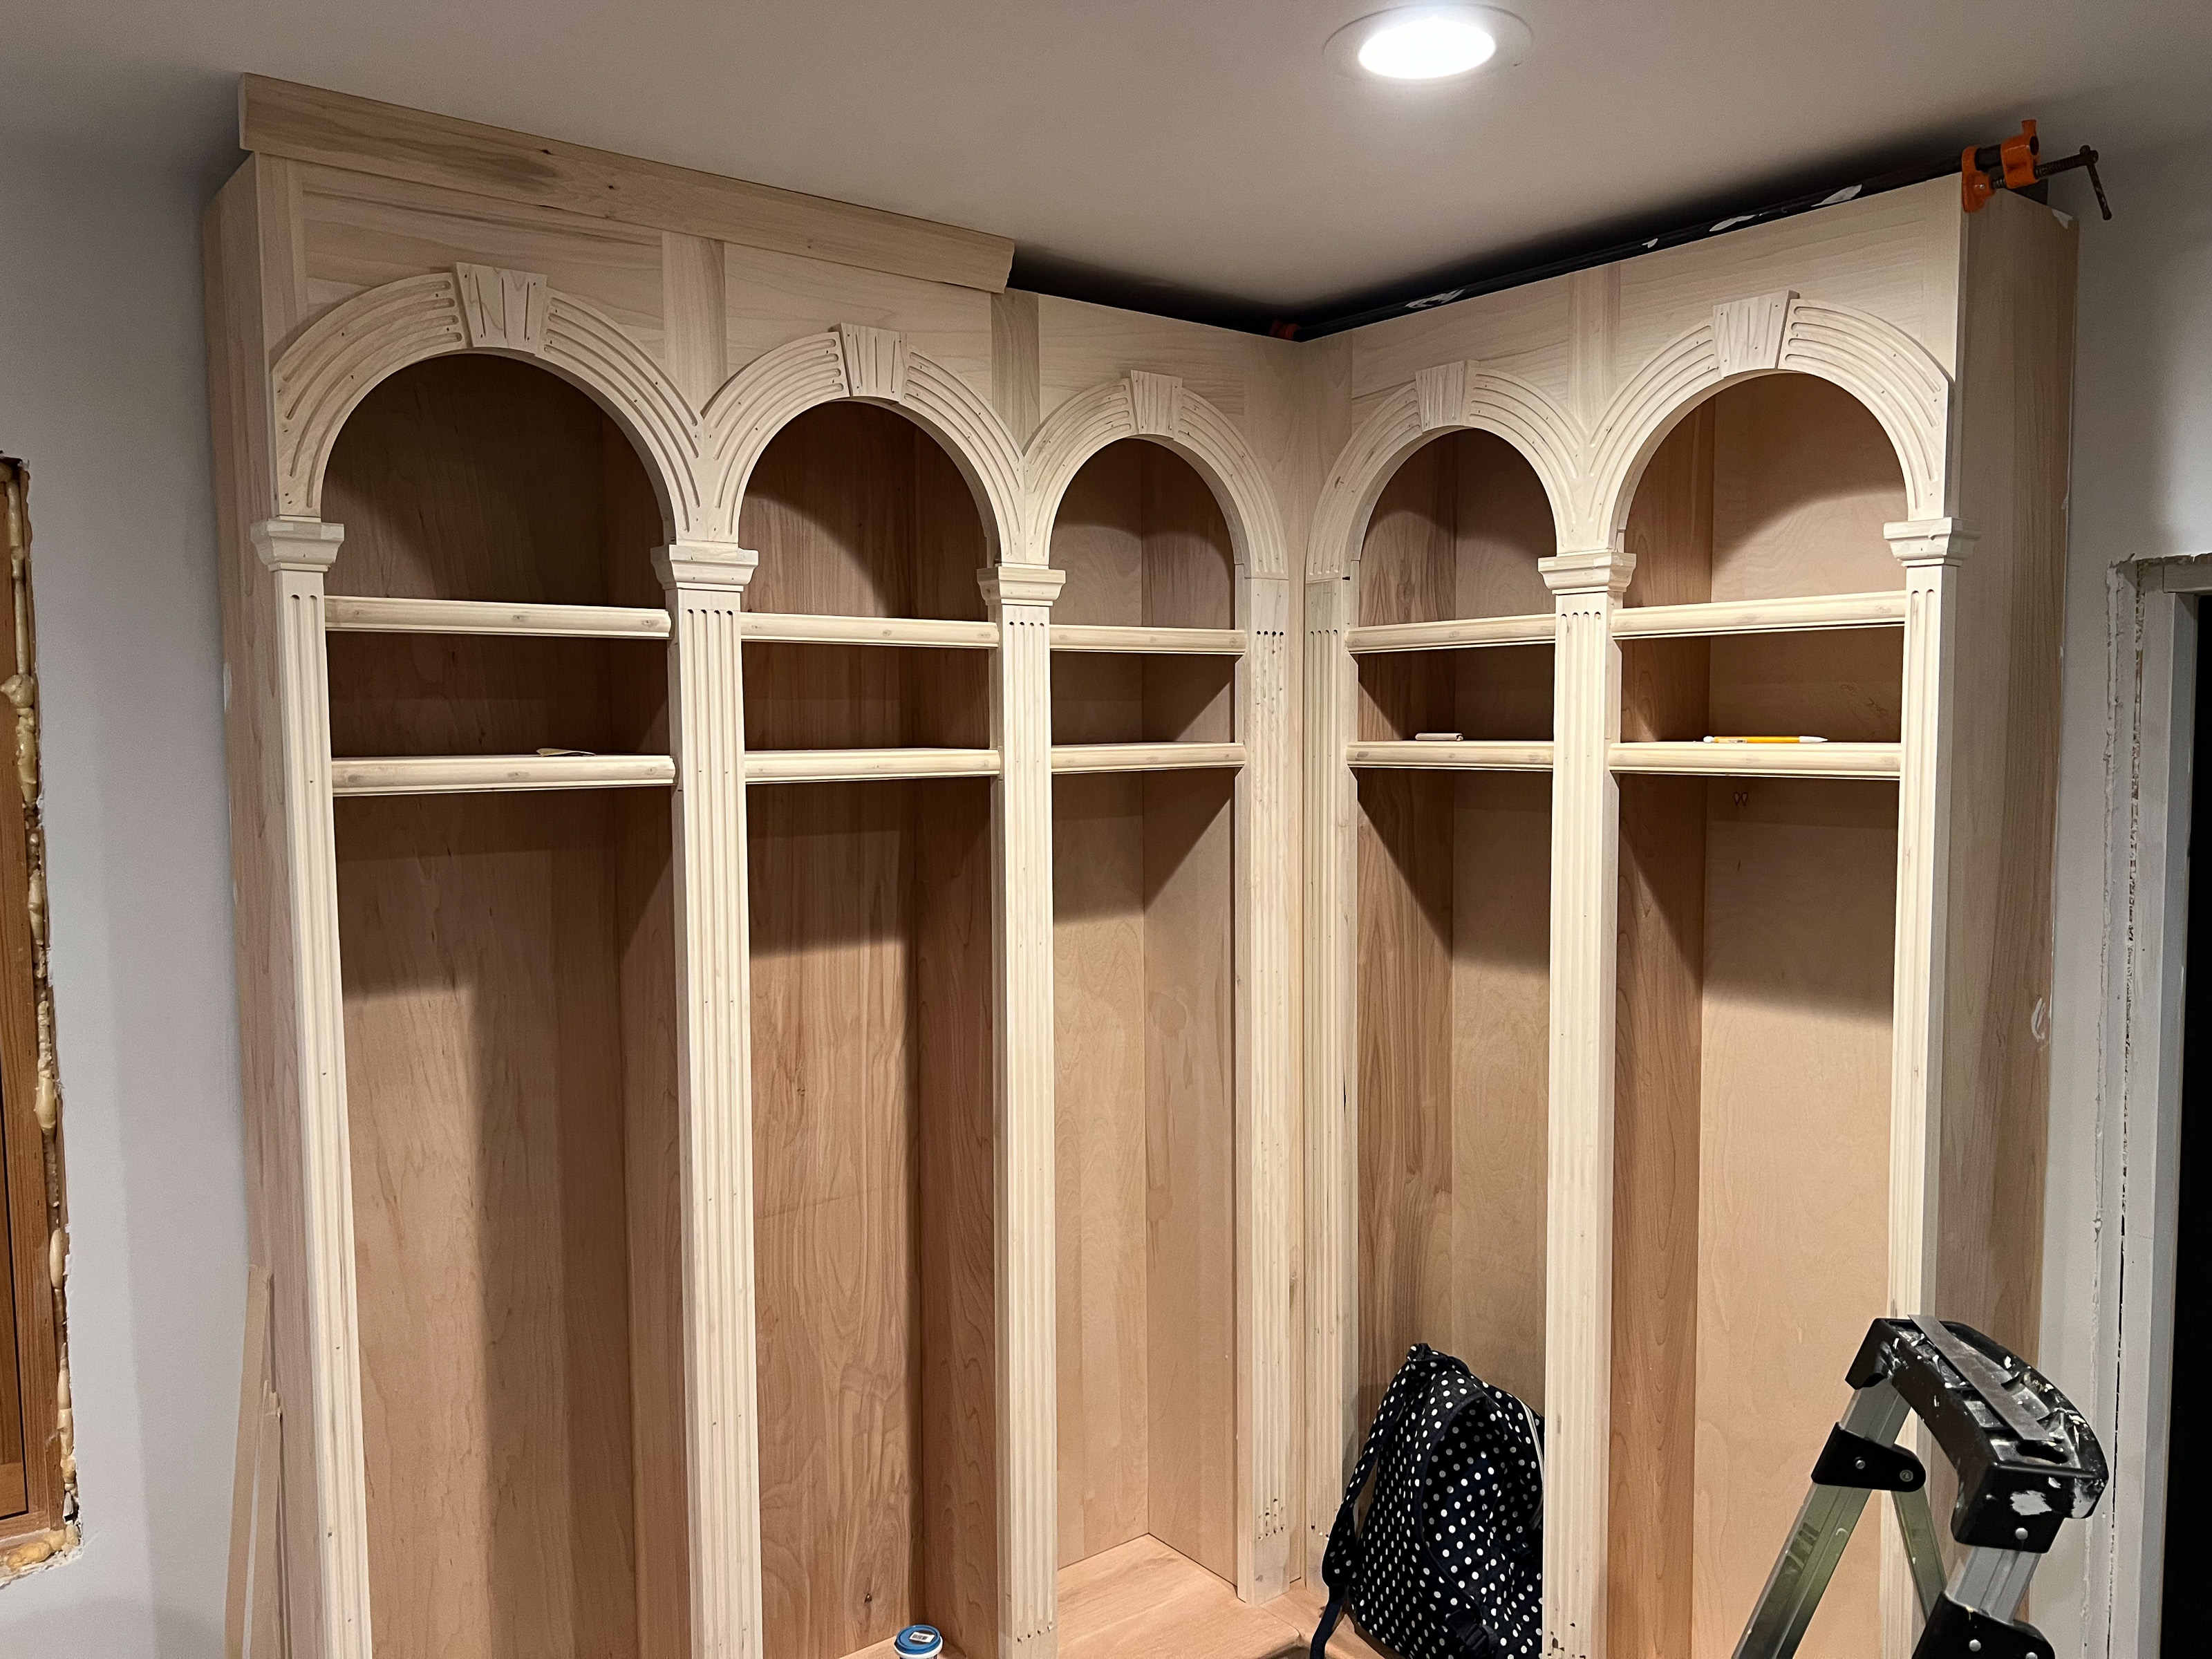
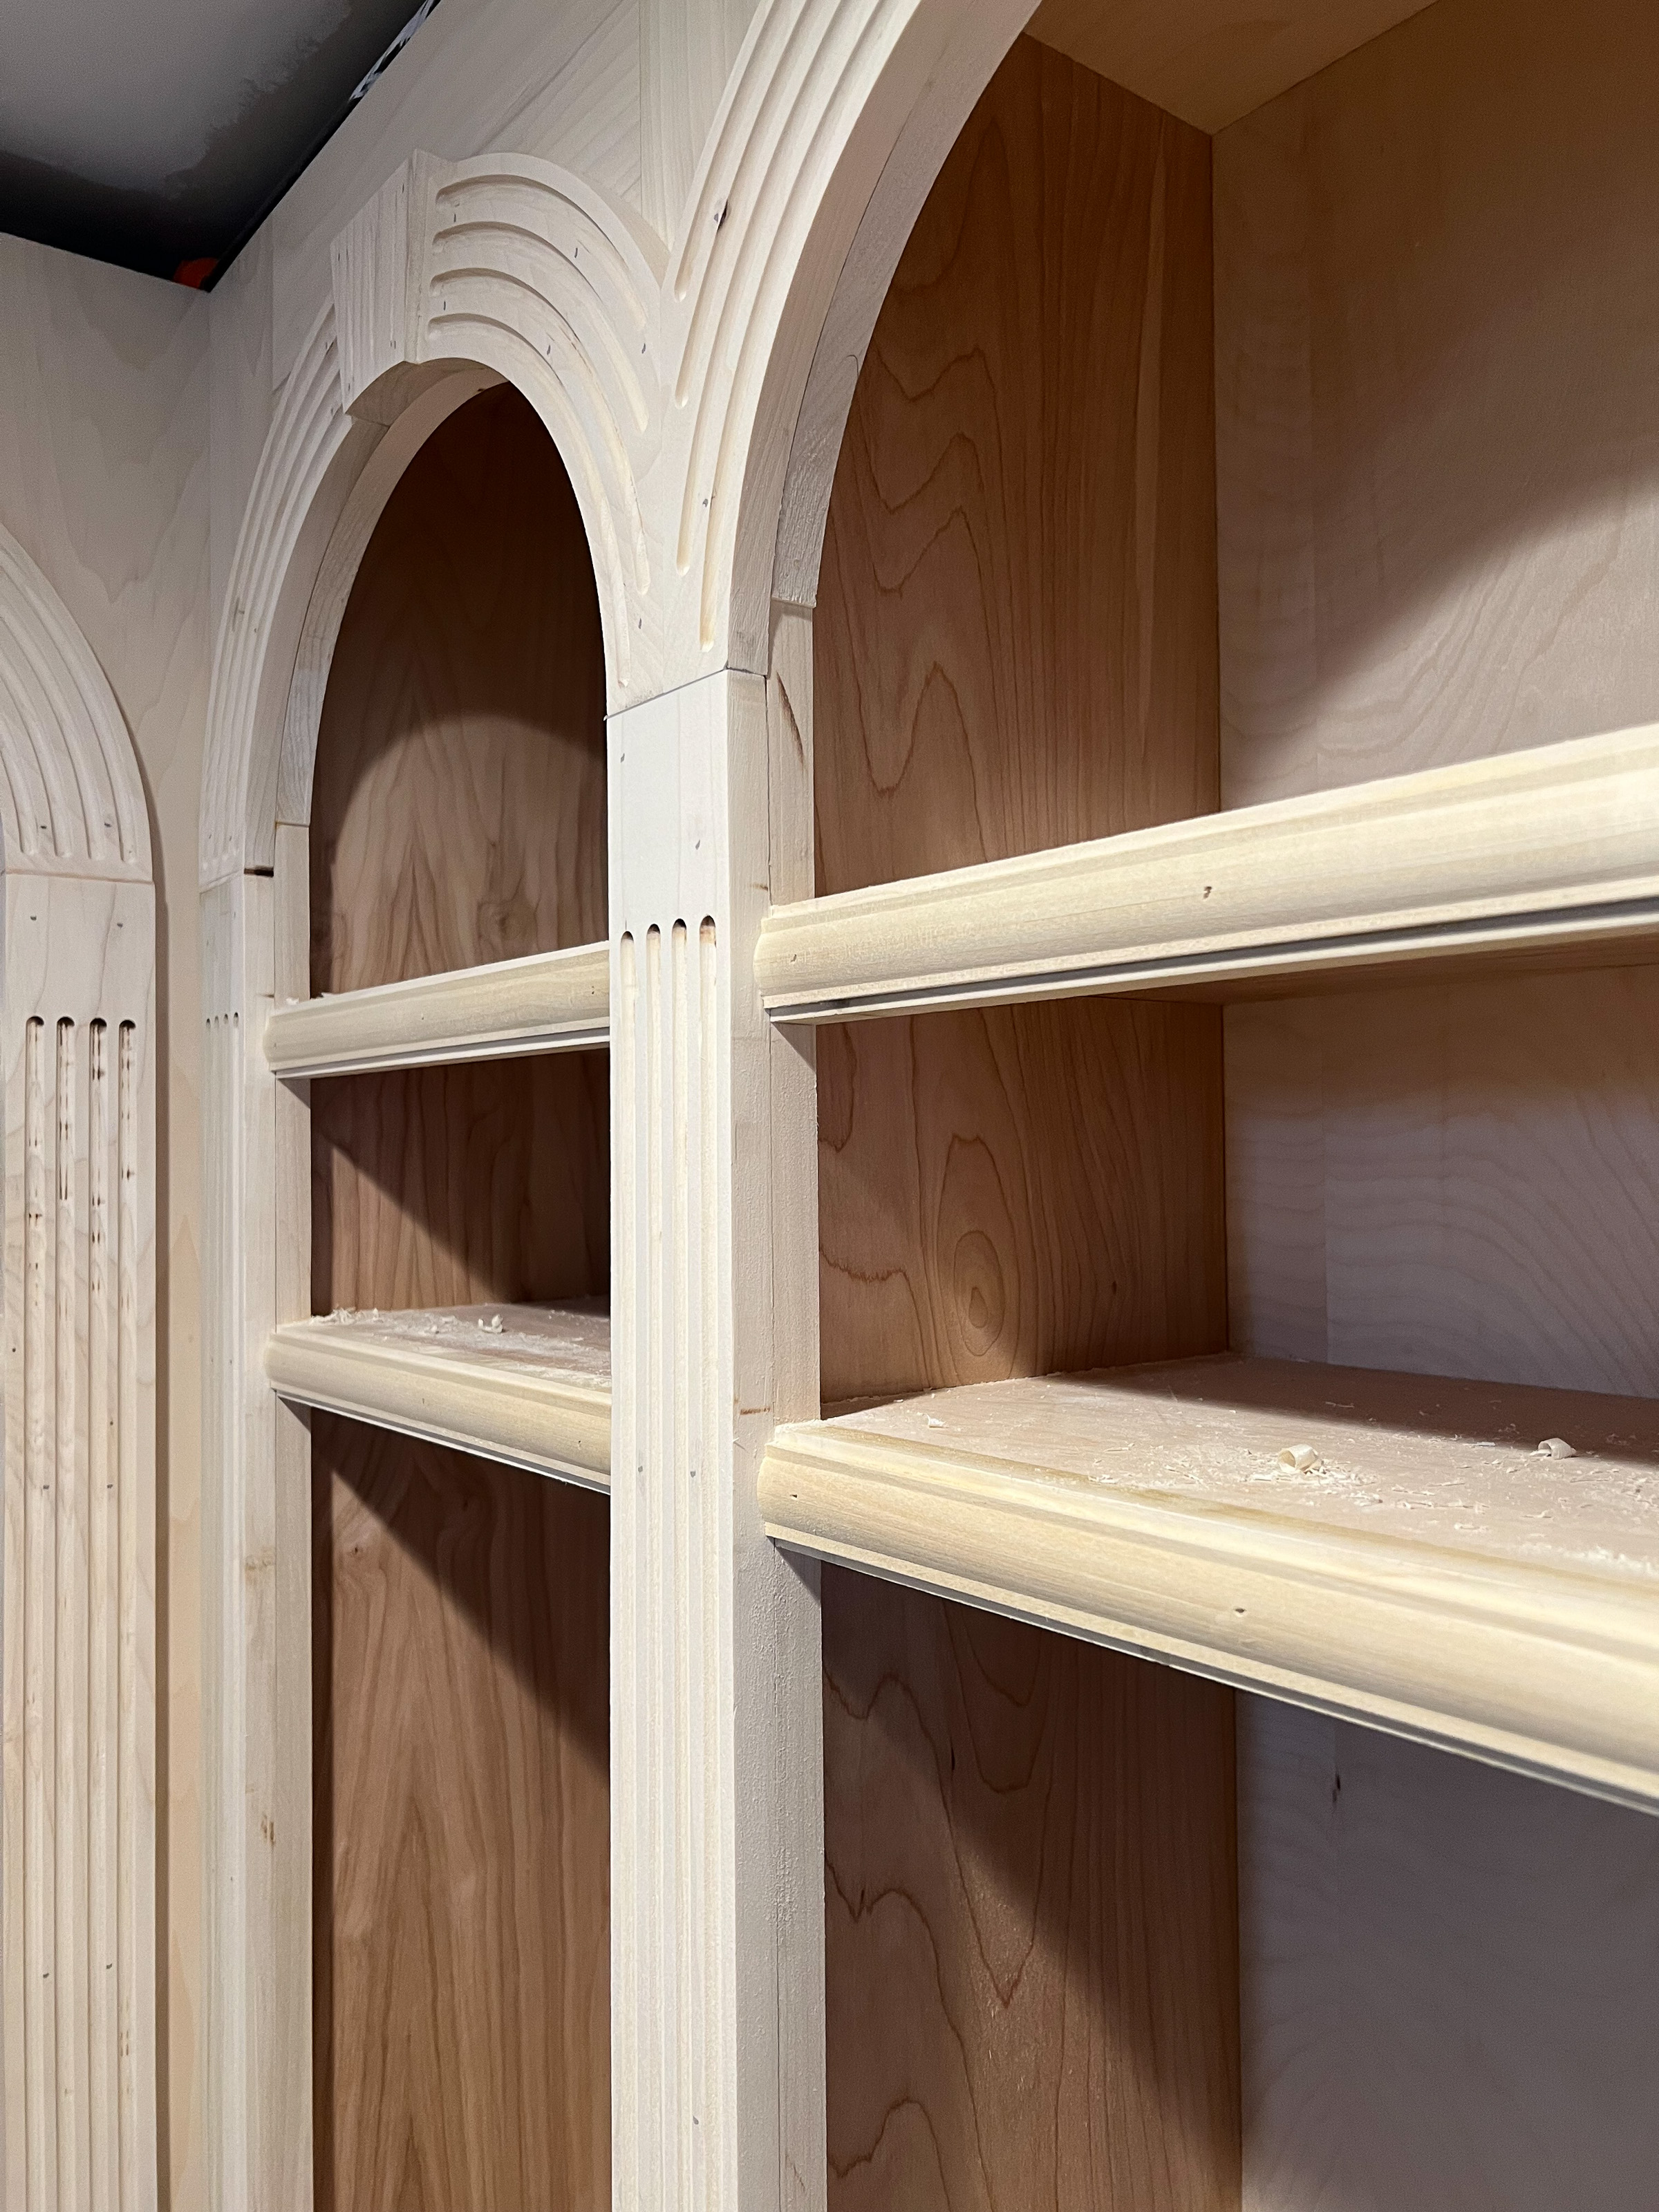
As we restore our historic home, we strive to make every detail look original to the home. So the arches and fluting on these mudroom lockers mirror other features in our home! We love the character it adds, AND the function it will bring to our family!
Tools
Kreg Tools


Other Tools
-
-
-
Planer

-
Biscuit Joiner
-
18ga Brad Nailer
Materials
Wood Products
- 1 Red Oak , 23 Bd ft , 5/4
- 1 Poplar , 80 Bd ft , 4/4
- 4 Birch , 48" X 96" , 1/2 Ply
- 3 Birch , 48" X 96" , 3/4 Ply
- 2 Poplar, Crown Moulding , 11/16" X 3 1/4" X 96" , 11/16"
Hardware & Supplies
- 50 1 1/4 Fine Thread Screw (SML-F125S5-100)
- 50 1 1/4 Coarse Thread Screw (SML-C125S5-100)
Directions
-
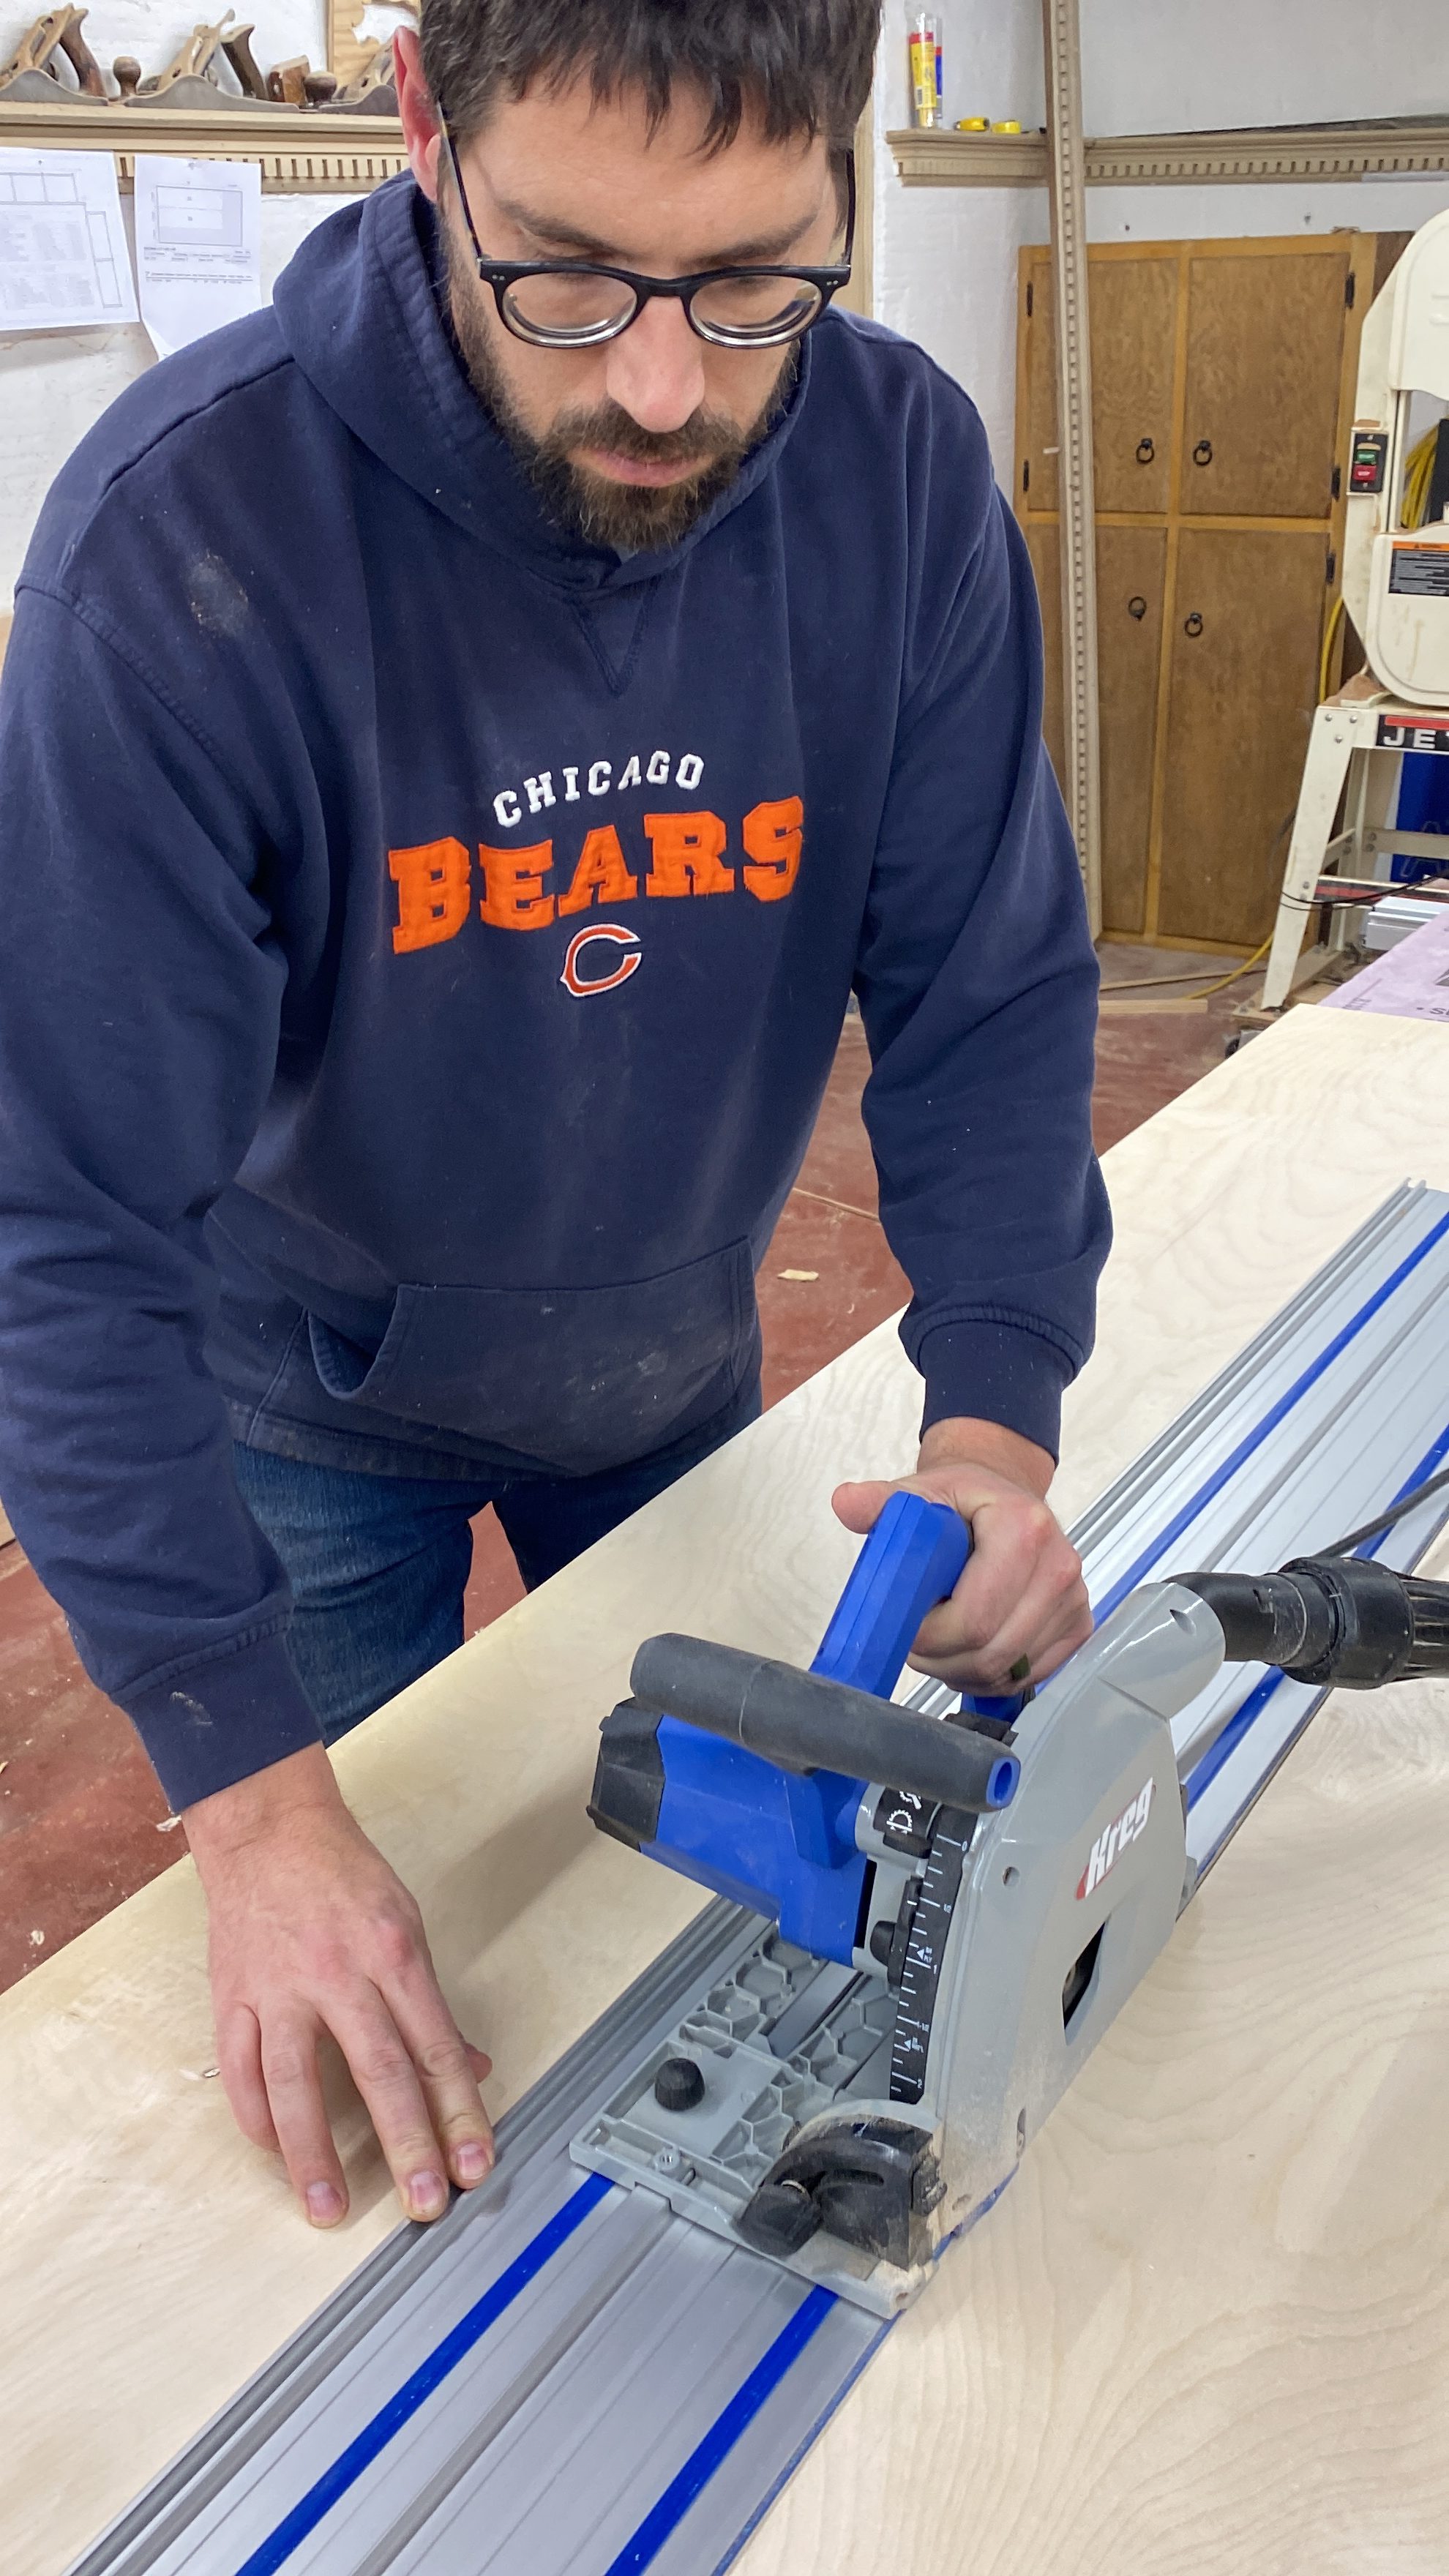
Break down sheet goods
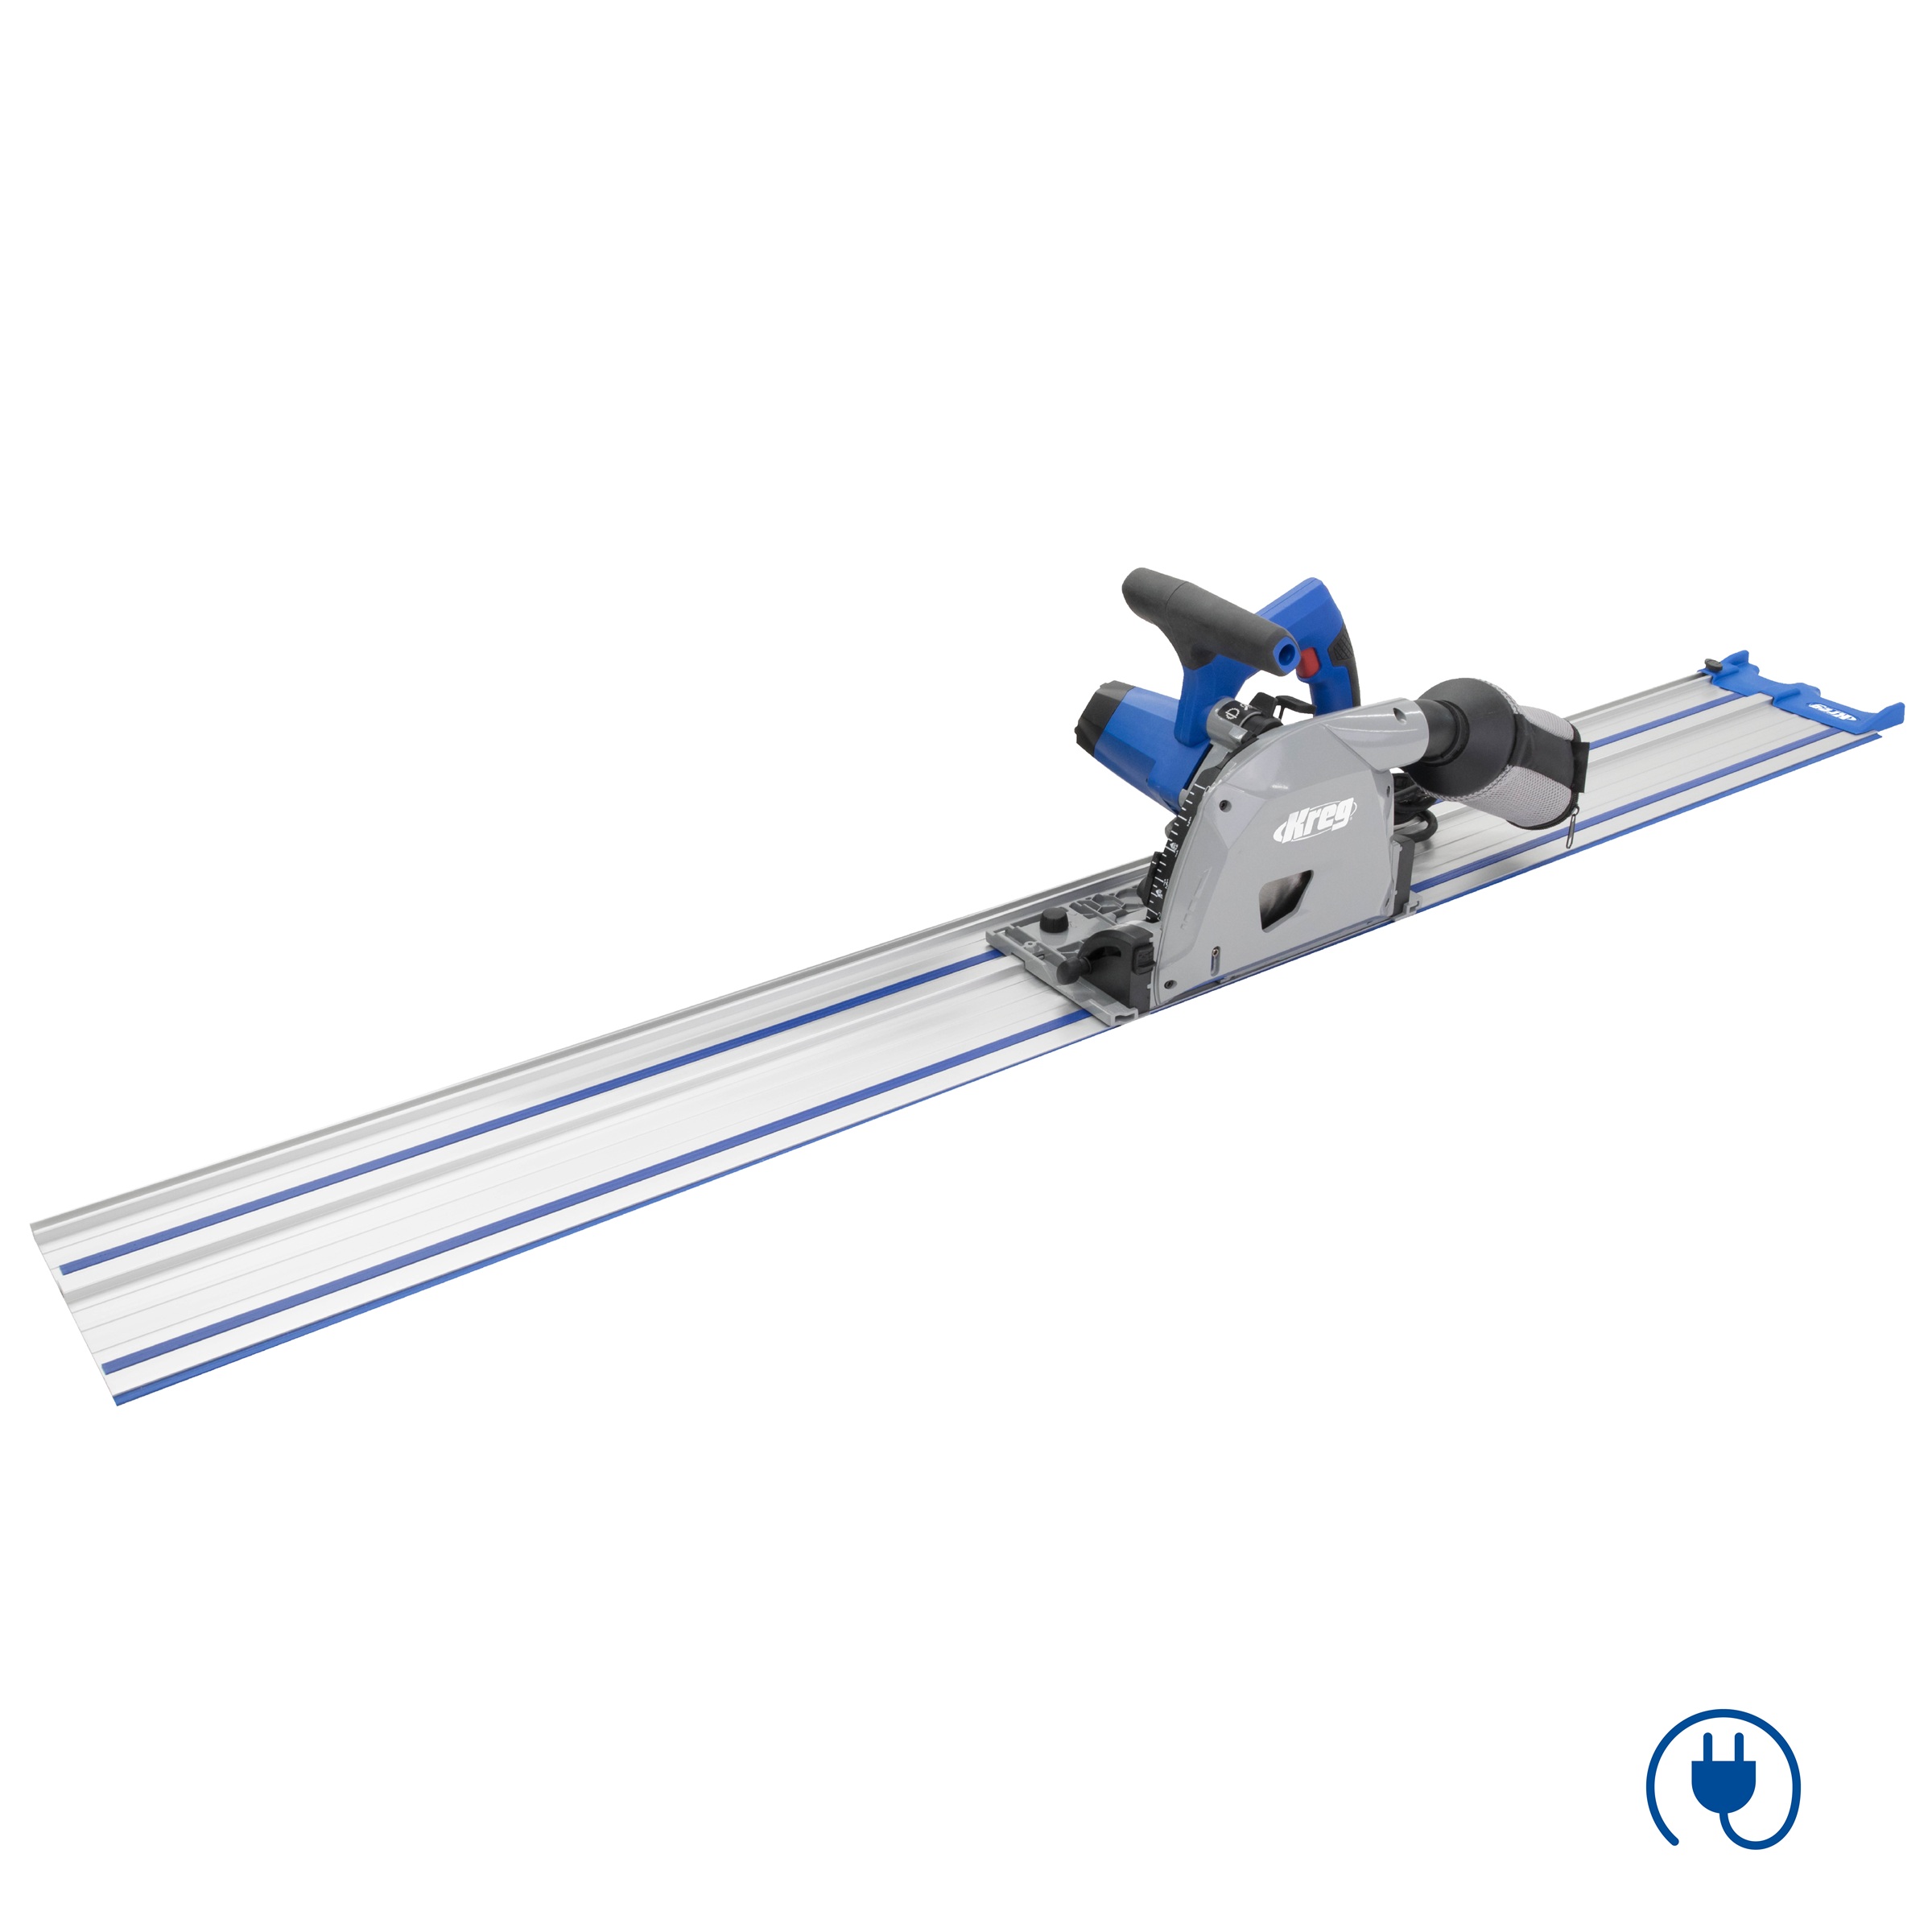
Using a Track saw, cut down all the sheet goods.
-
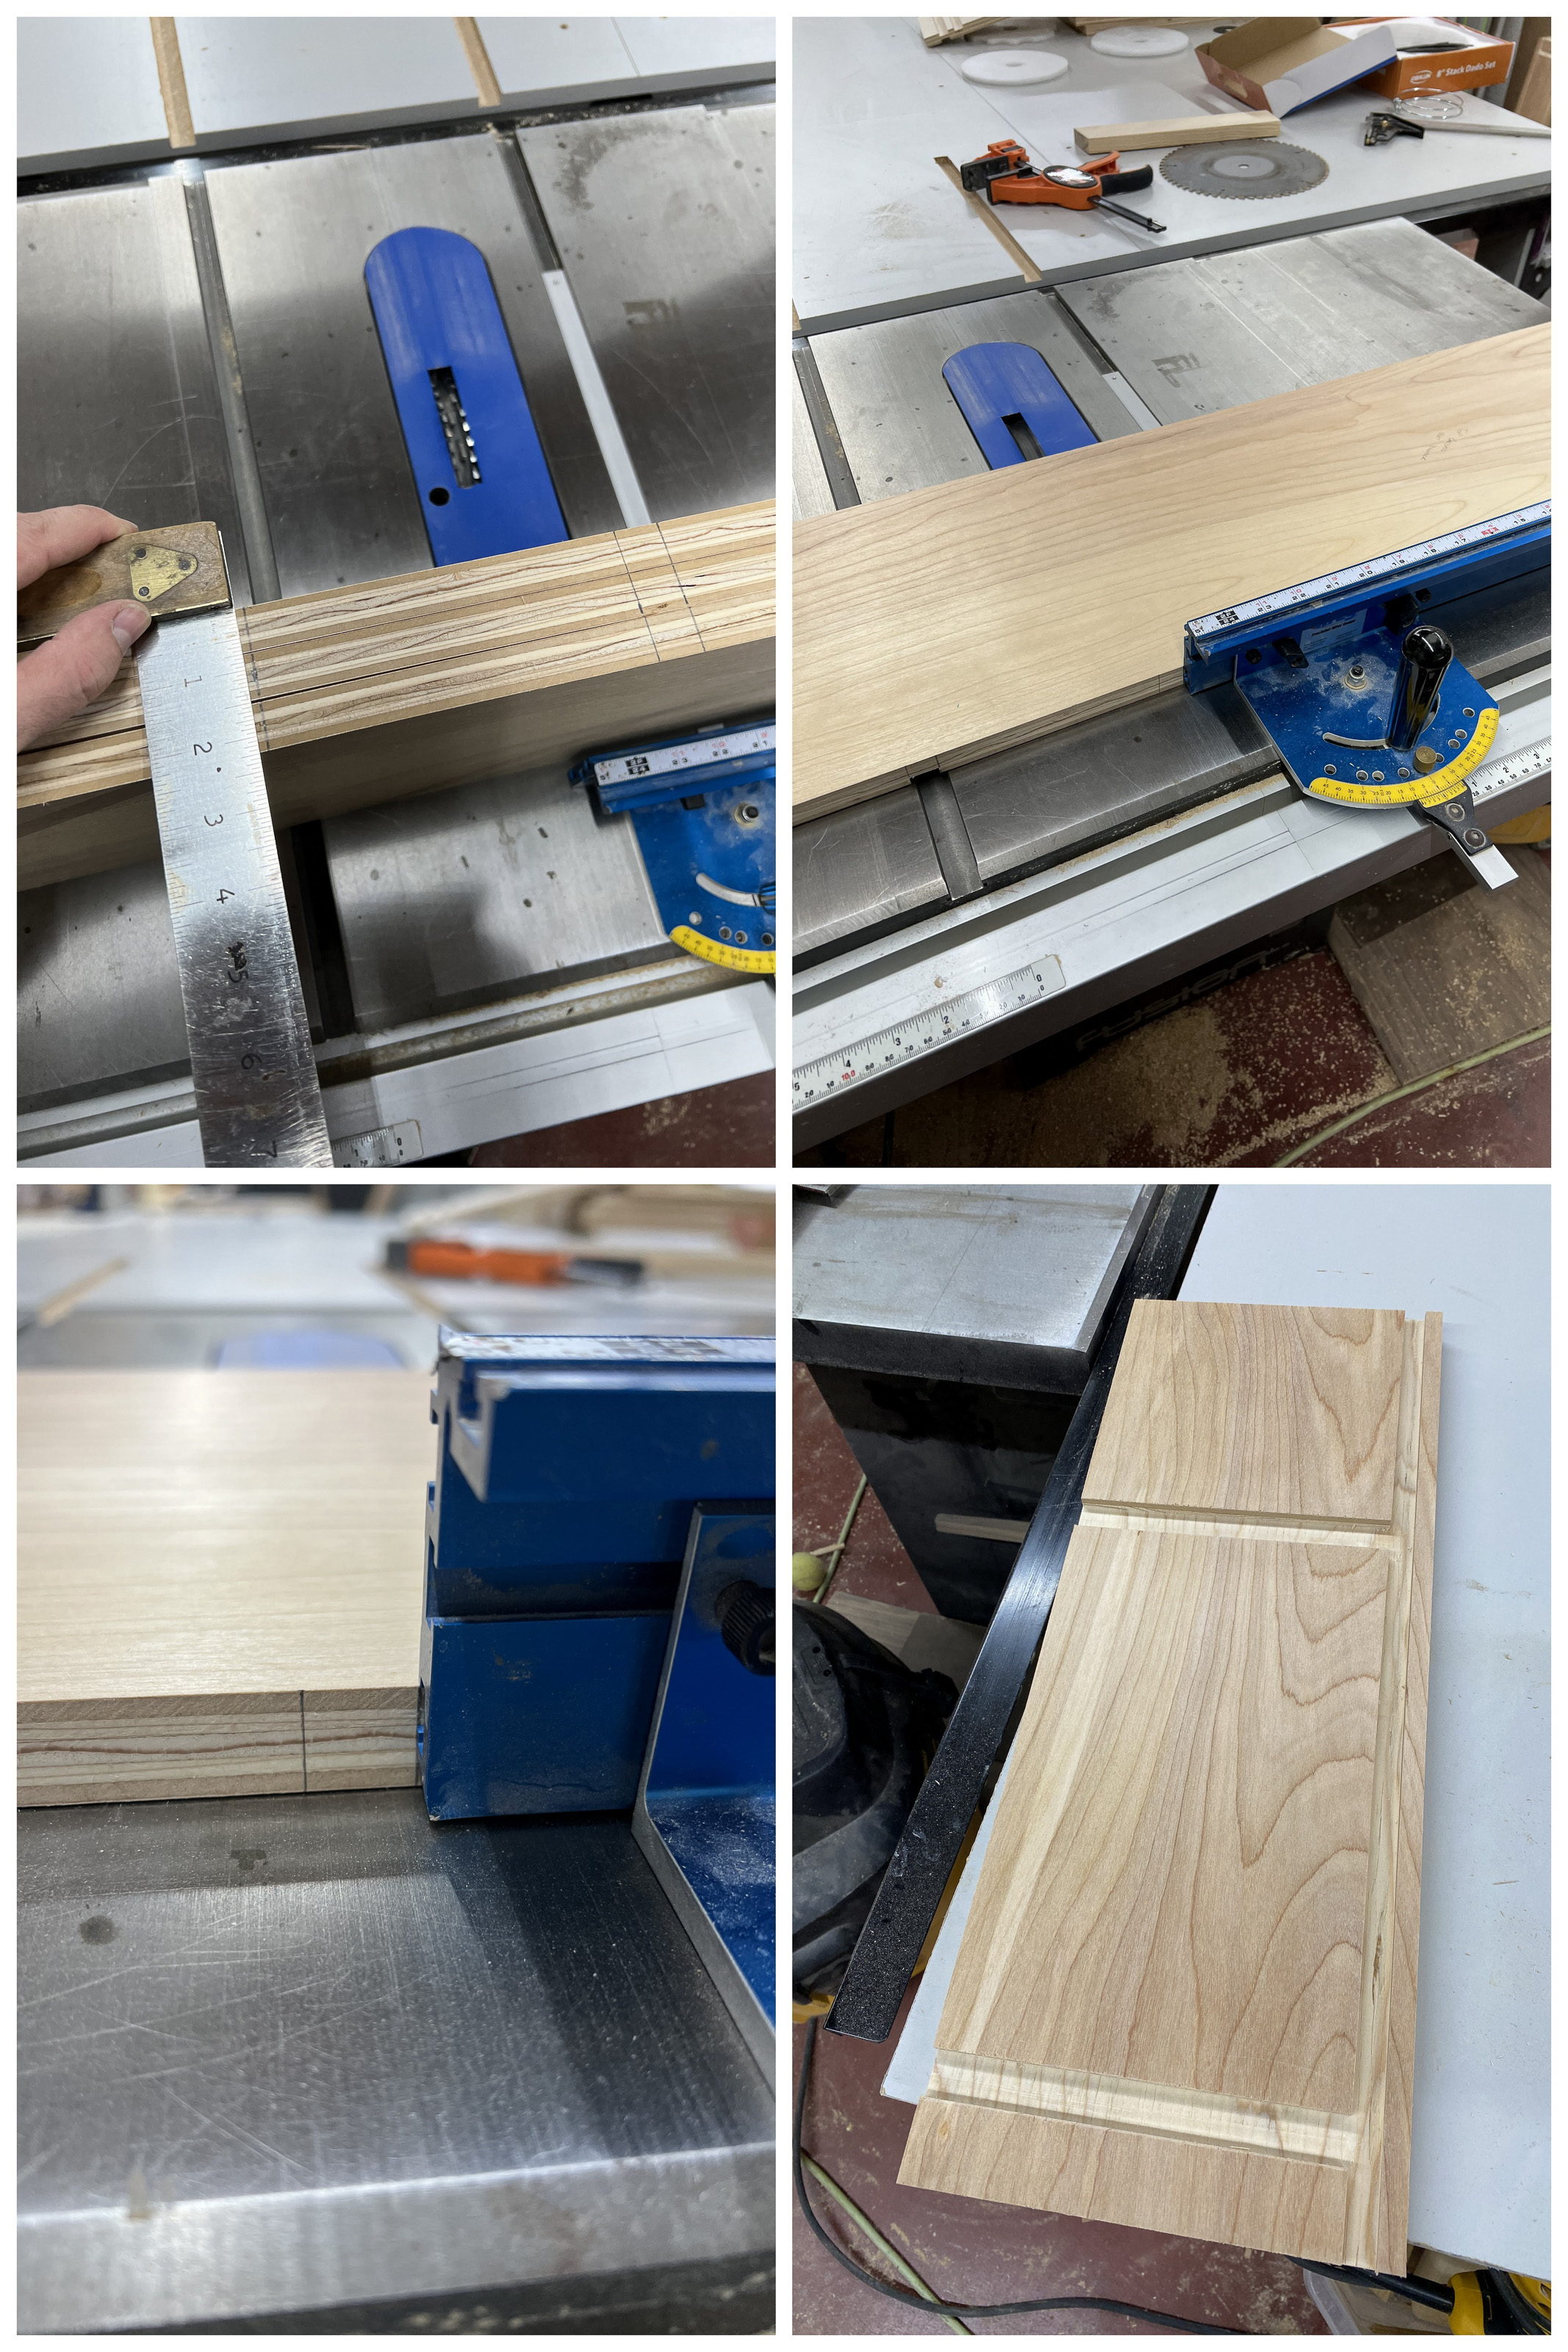
layout the dado's and grooves
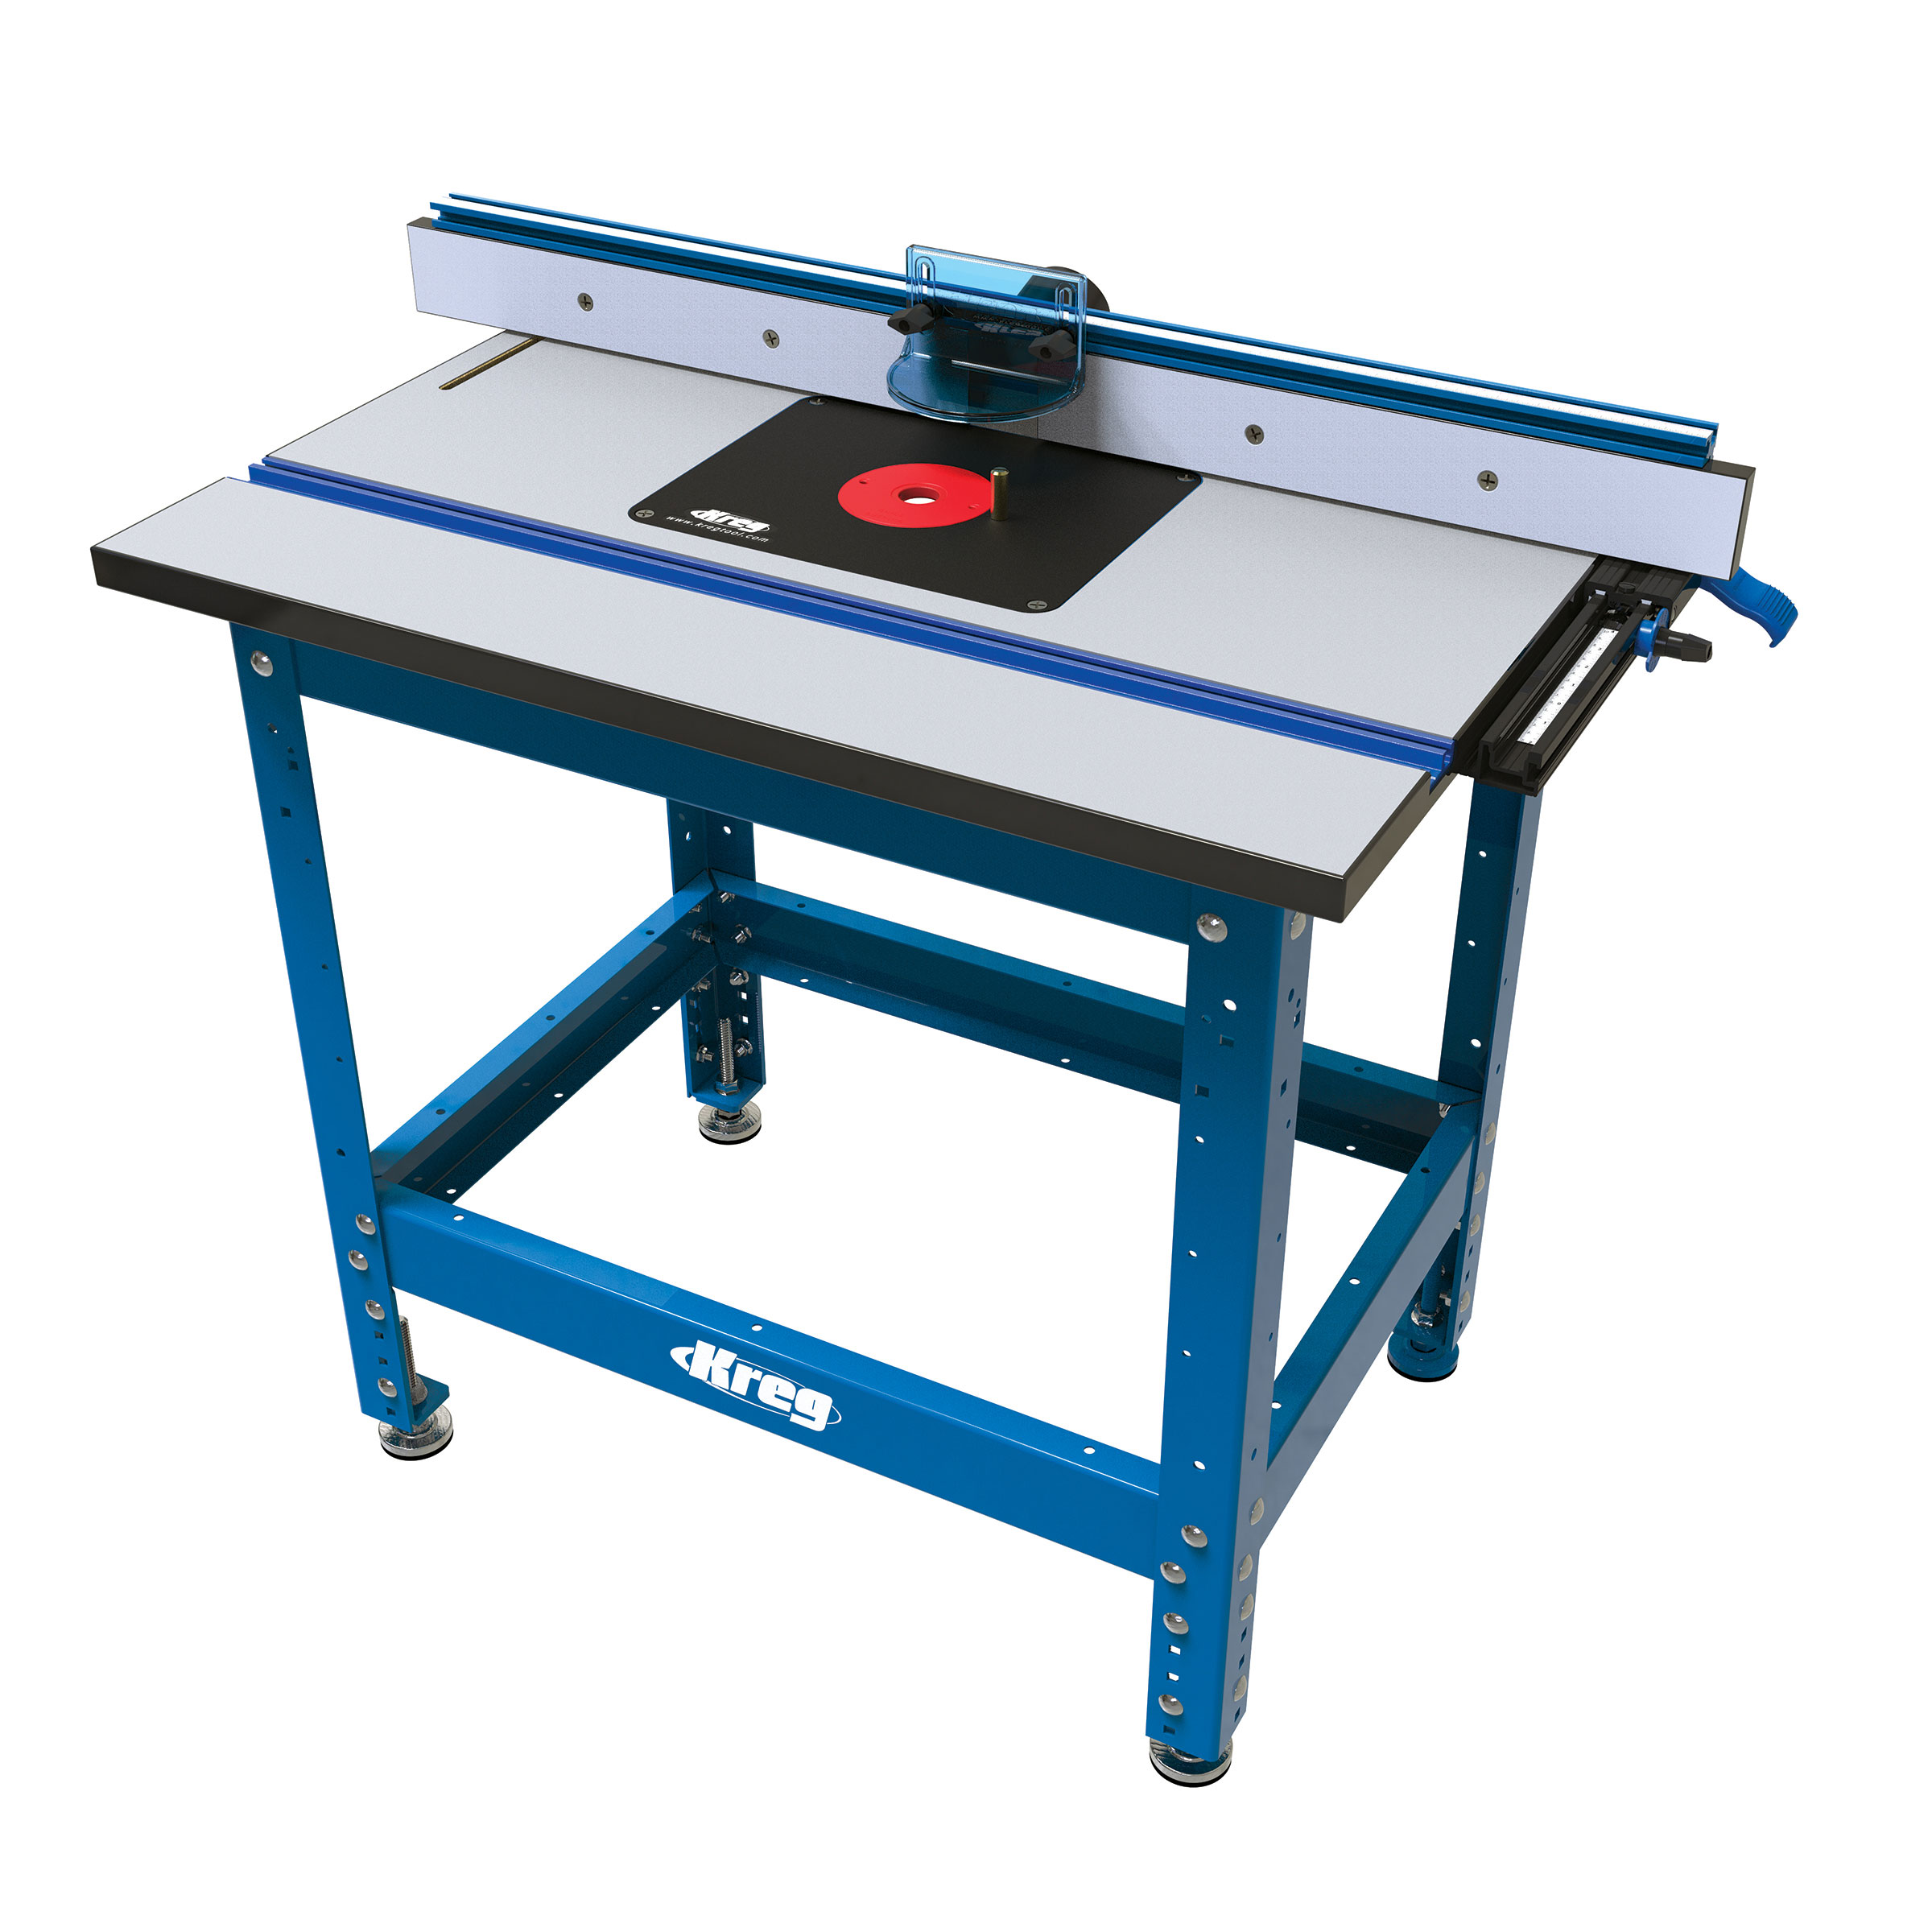
Layout and cut the dado's and grooves. we use a dado stack on the upper carcasses and a router on the bench carcasses.
-
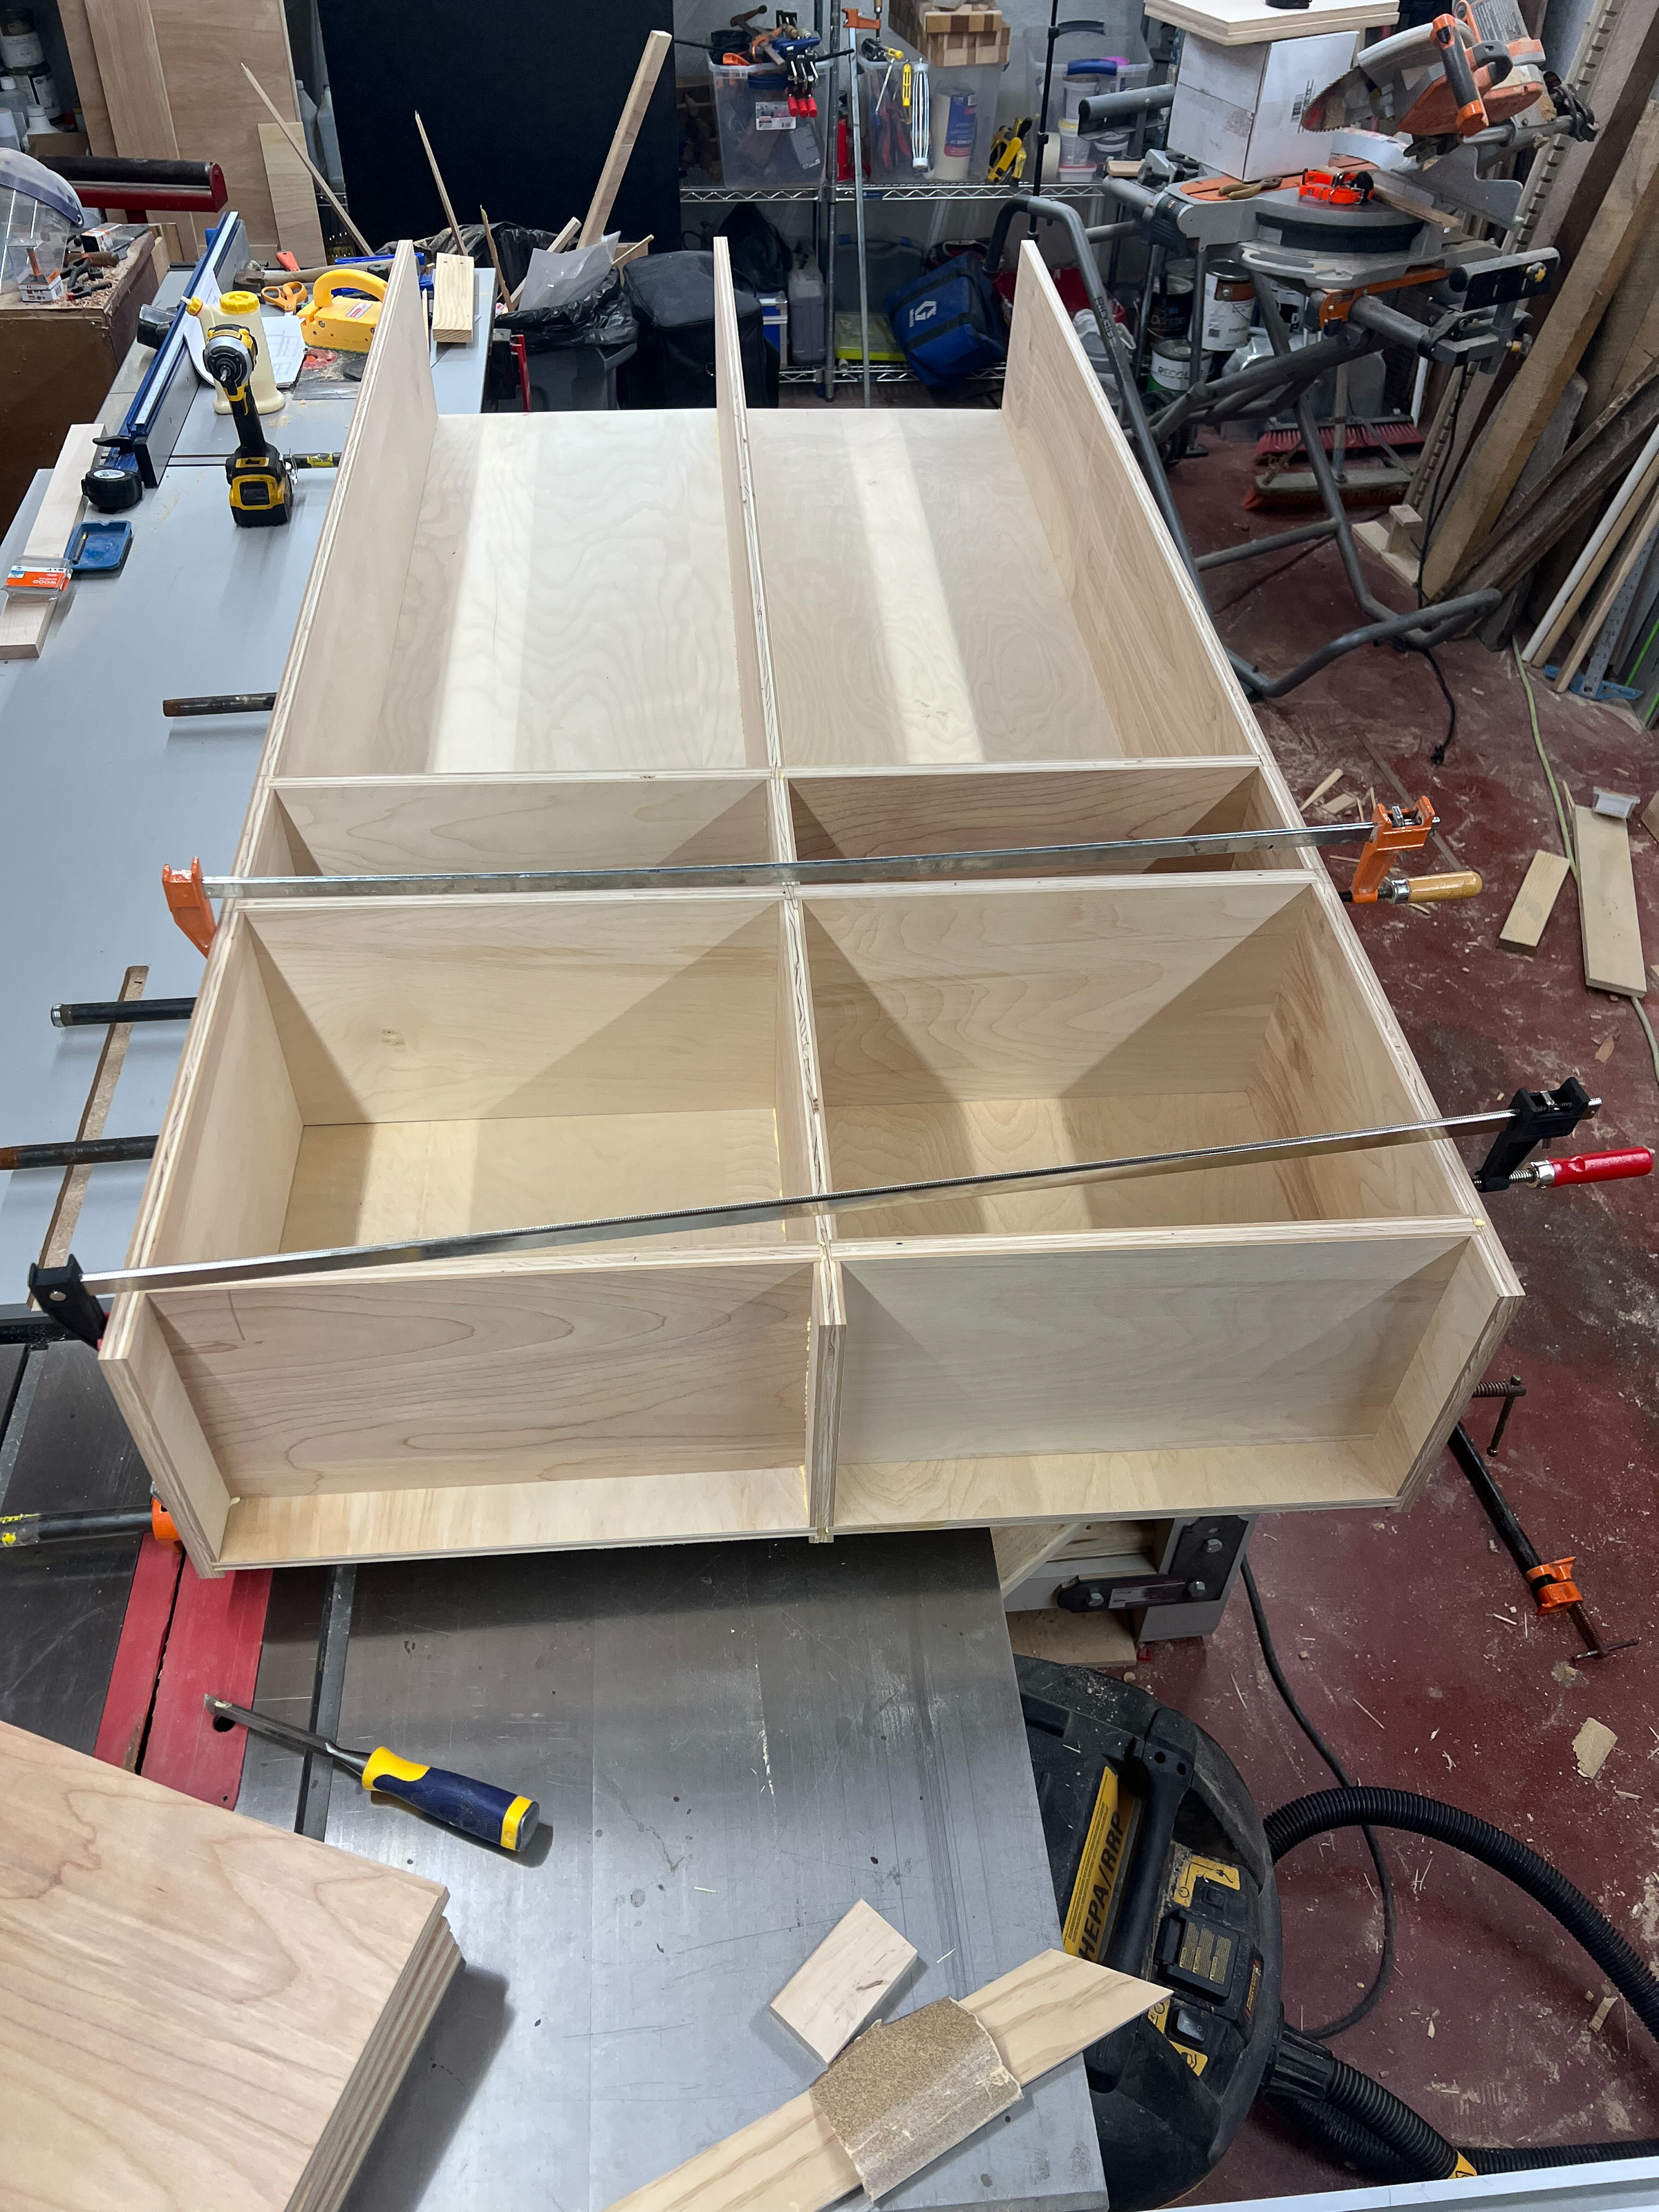
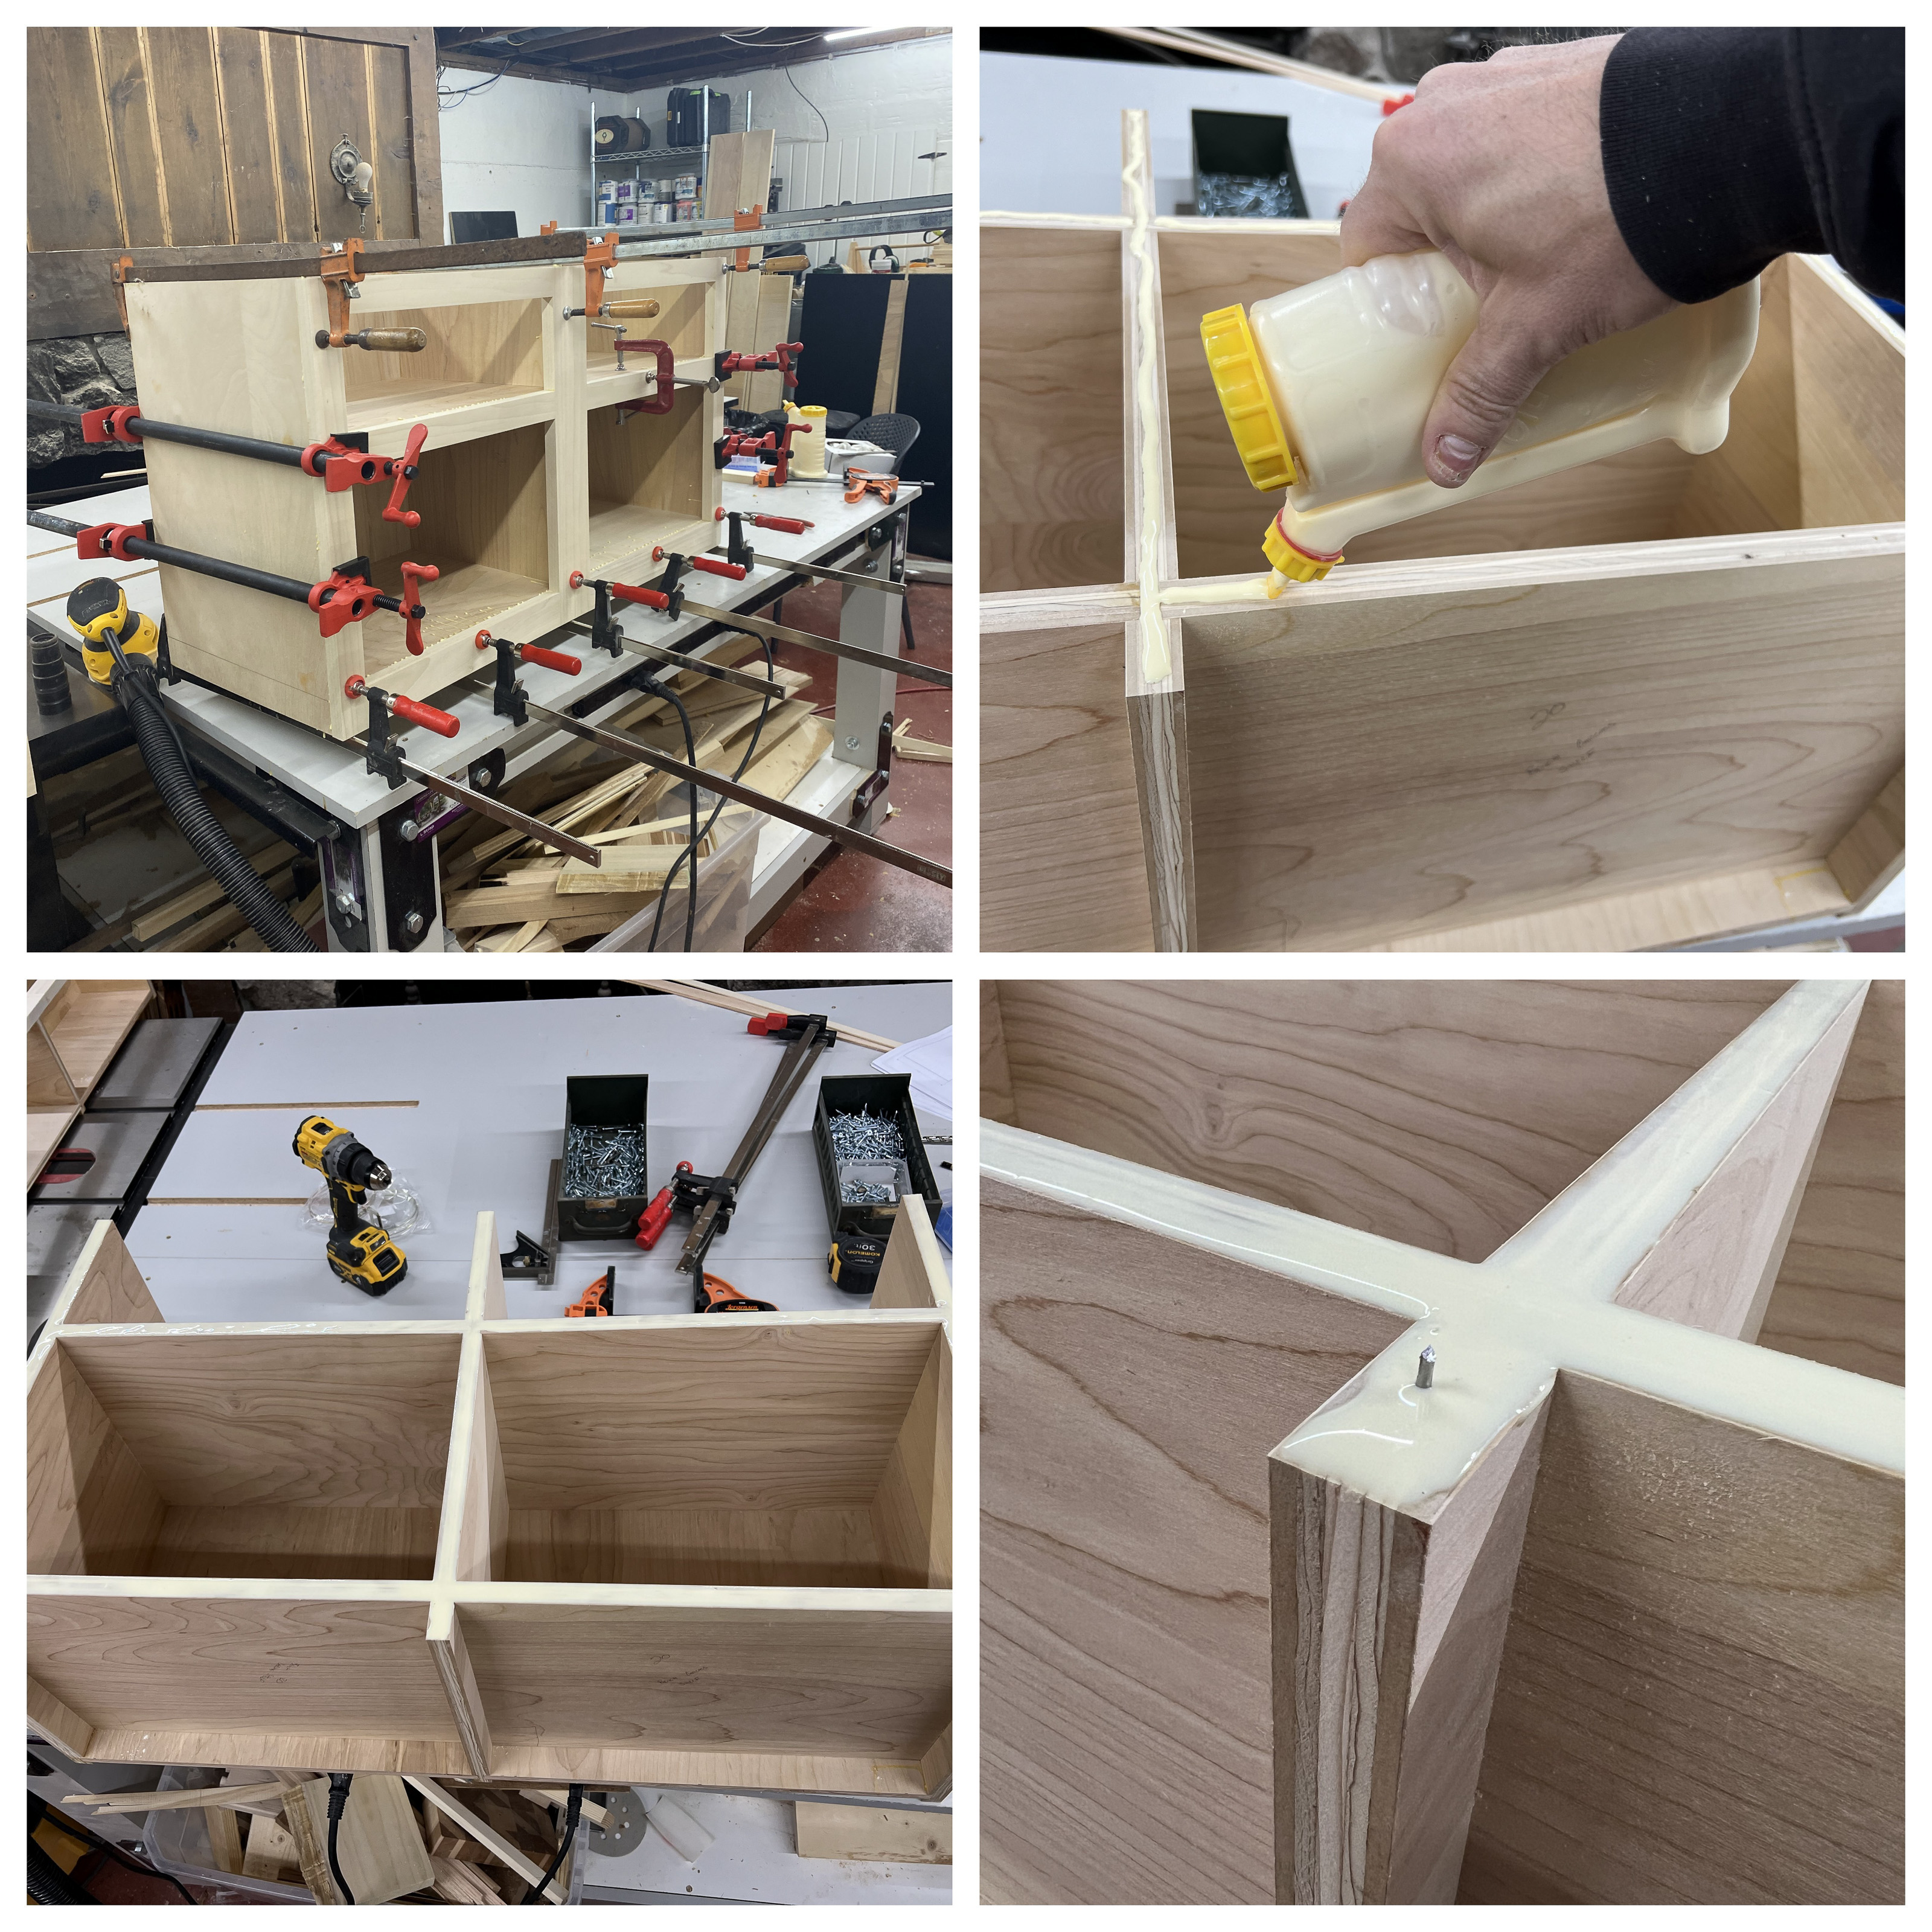
Assembly carcasses
Glue and assembly the carcasses.
Checking for square
You will want to assembly the carcasses on a flat surface. It helps to assemble it on a square surface, regardless you should check for square any adjustments can be made by clamping at an angle pulling one side into square.
-
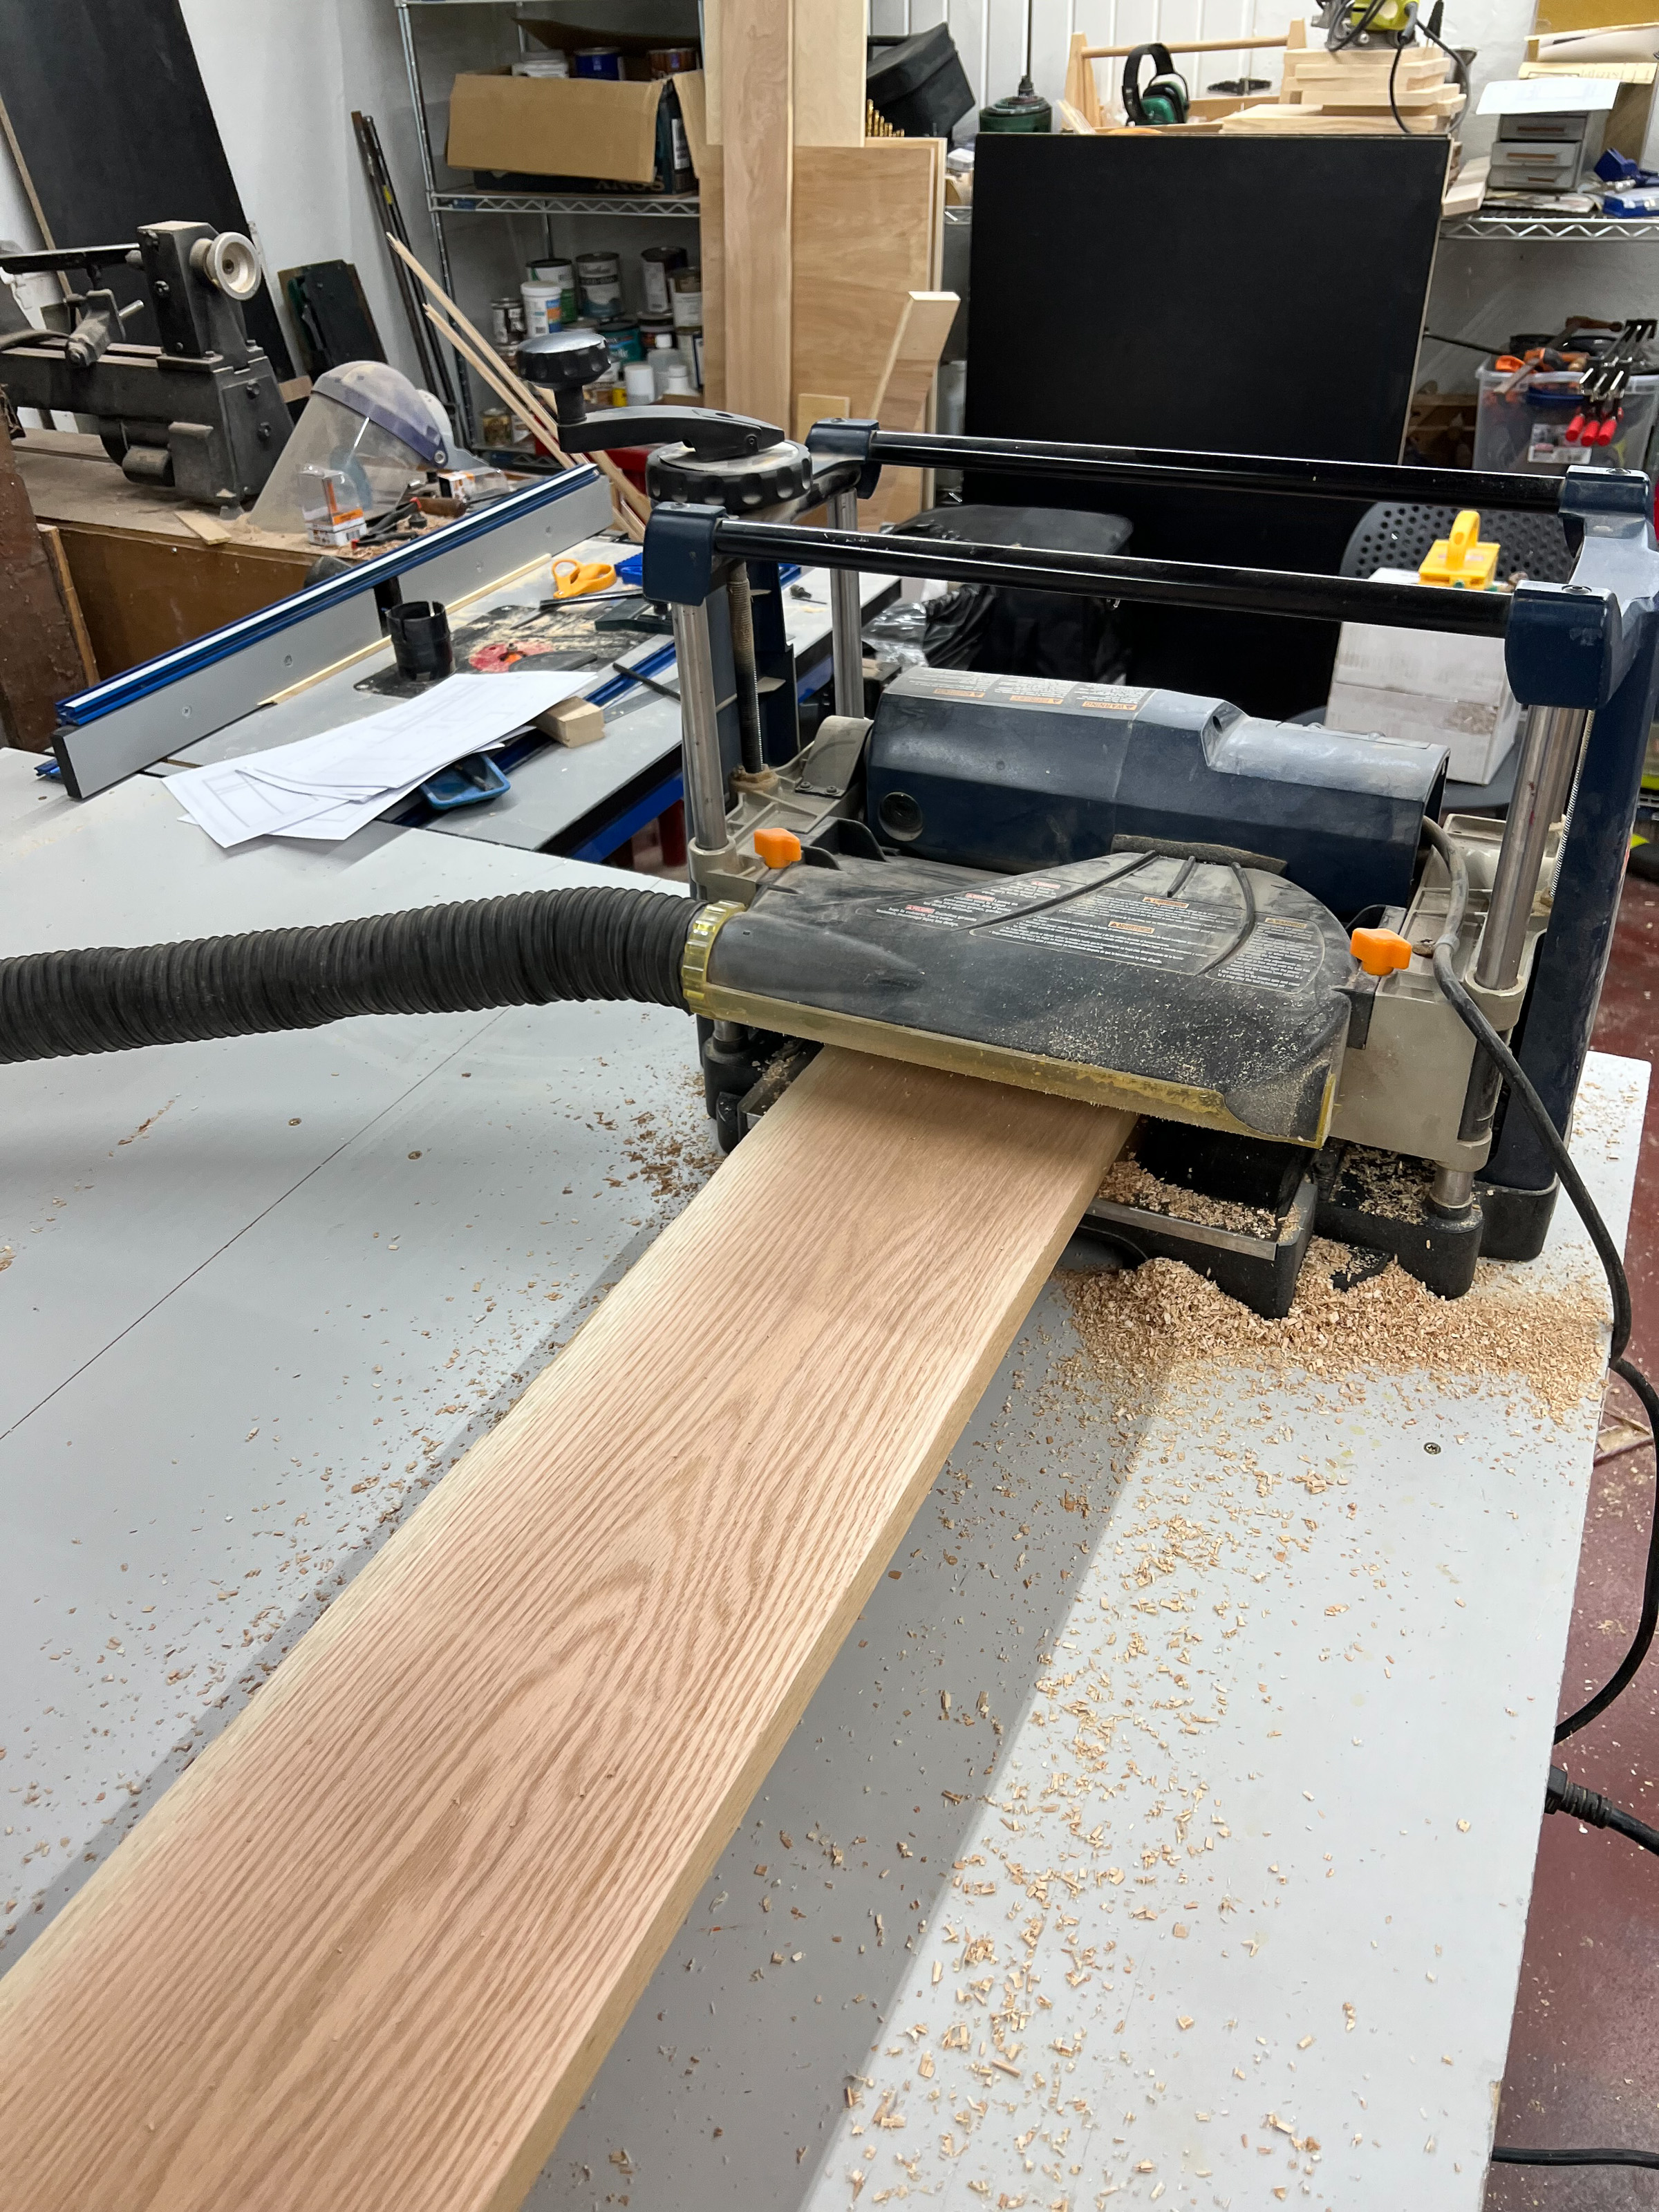
Prep Rough stock
Plane the rough lumber to desired thickness. This is really an ongoing process only planning the boards needed at the time.
-
Glue up bench seats
We prepped the edges for the bench seat and then, biscuit, glued and clamped the bench seats.
-
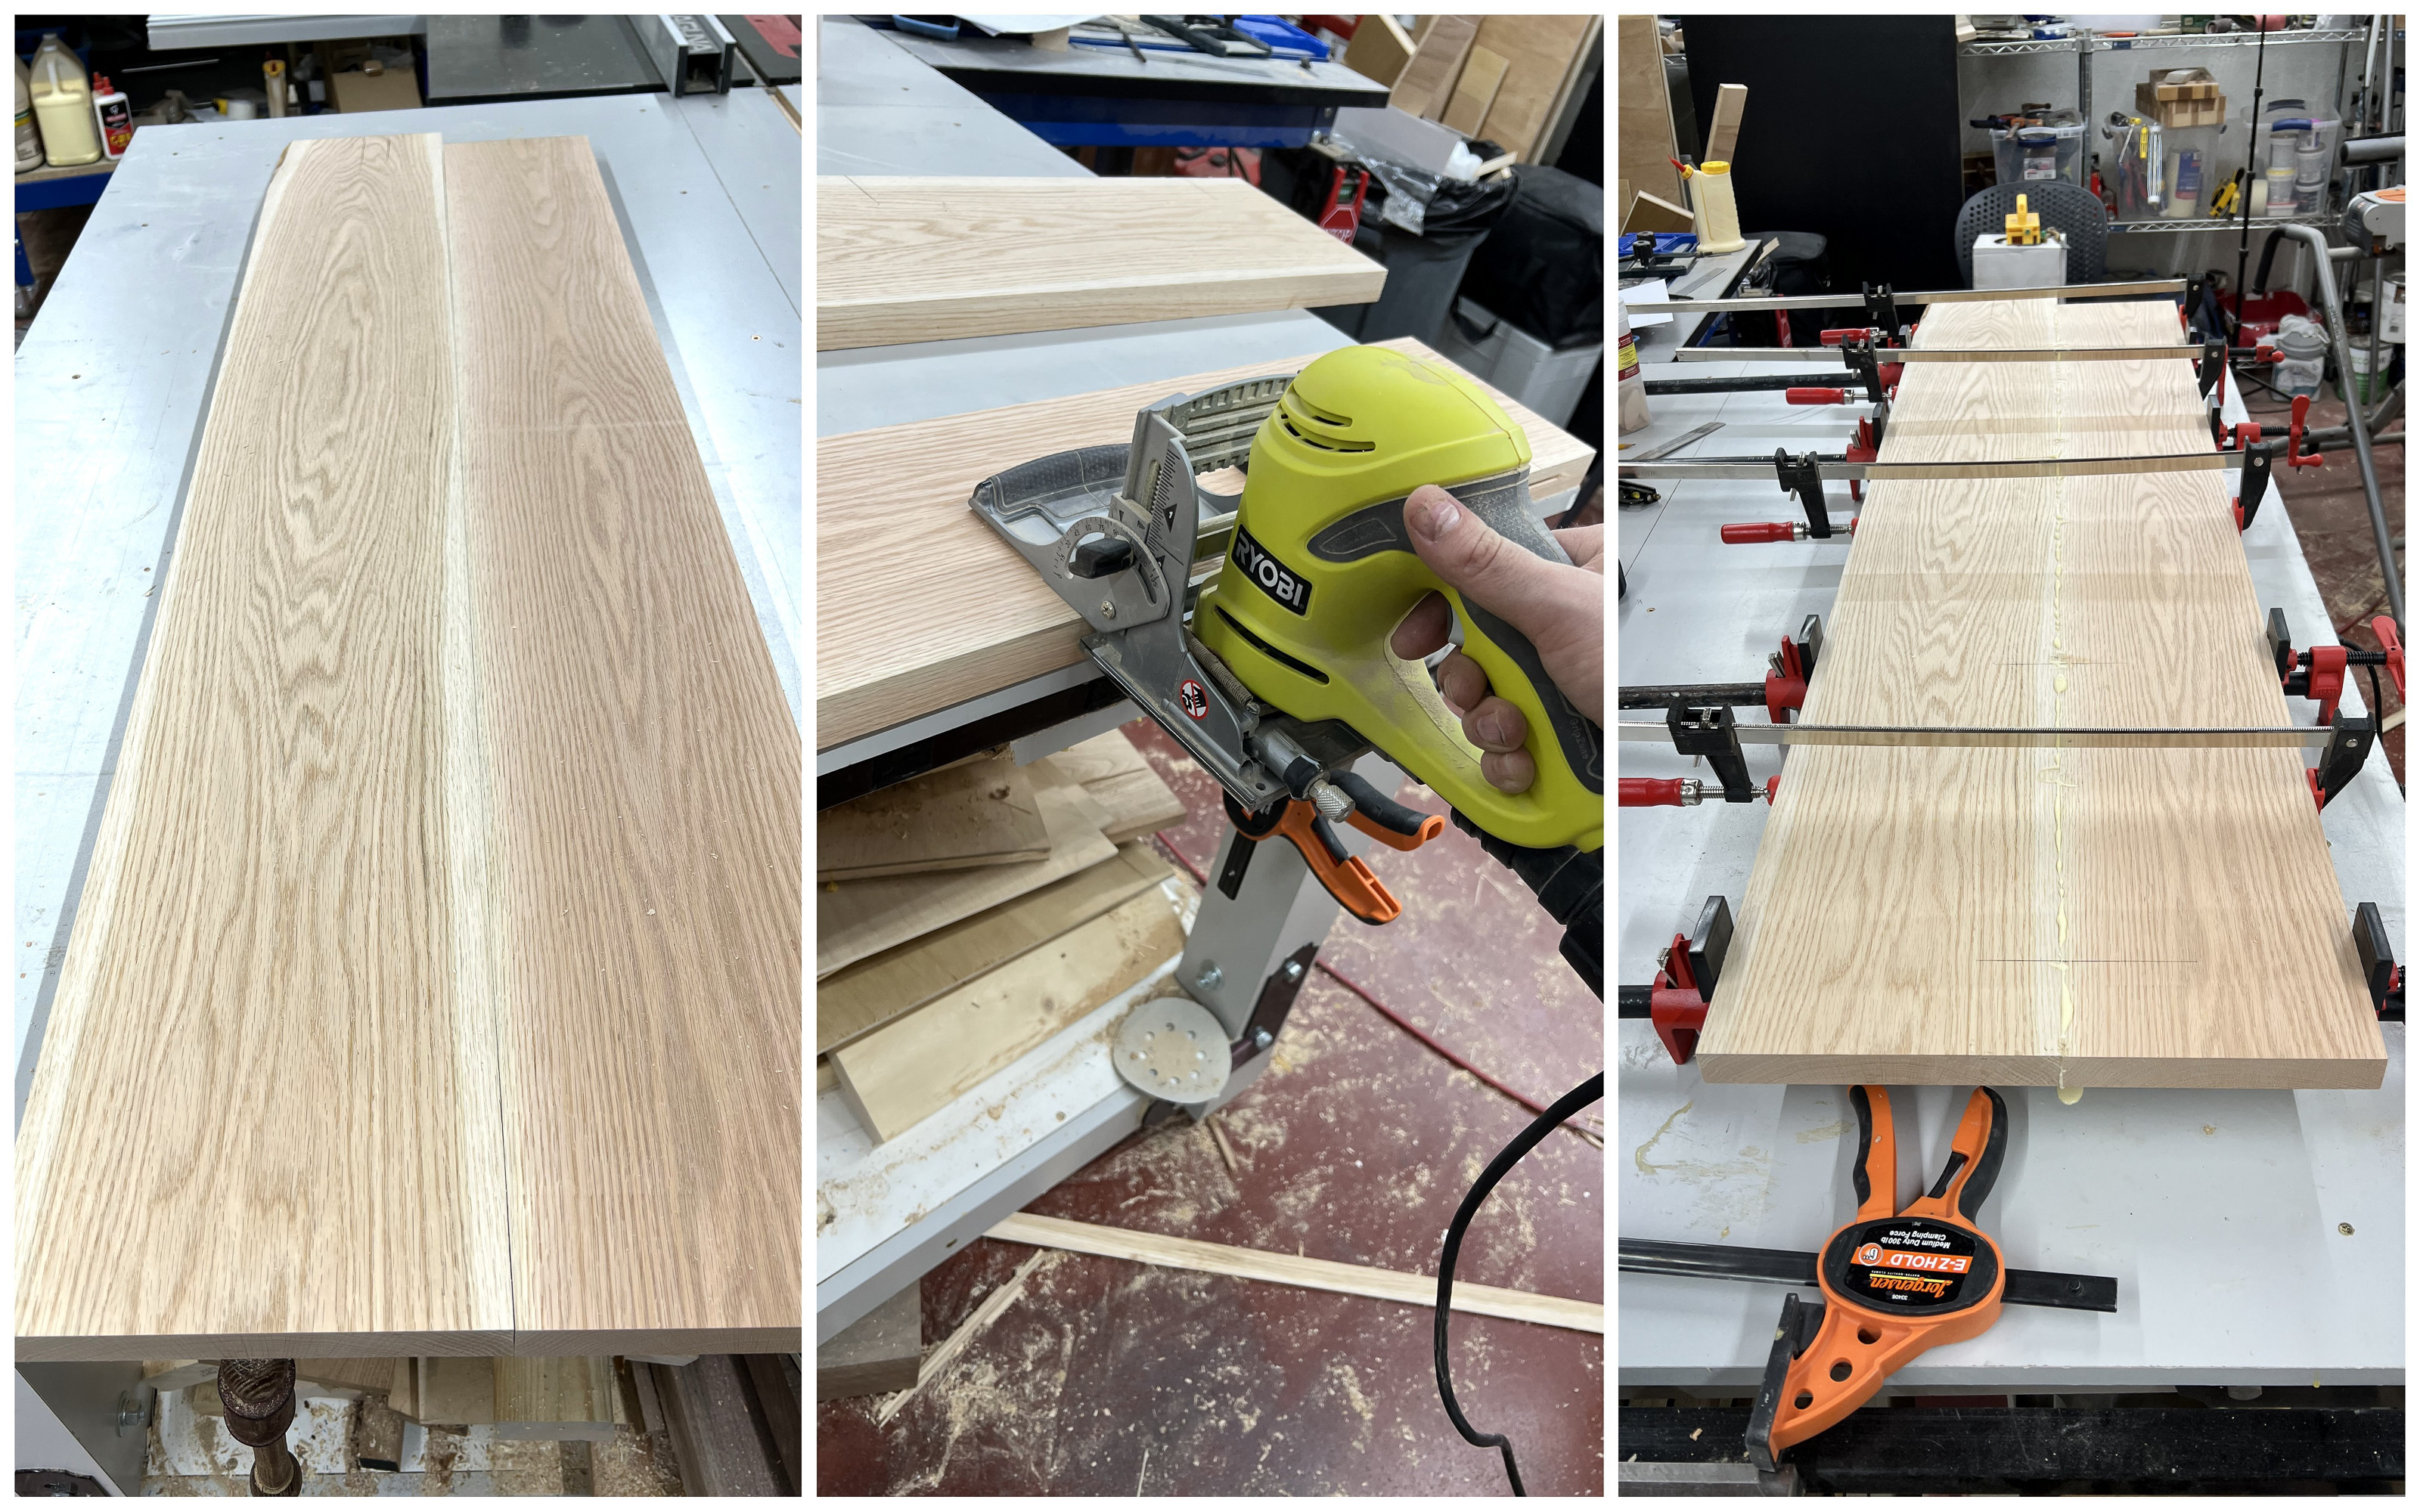
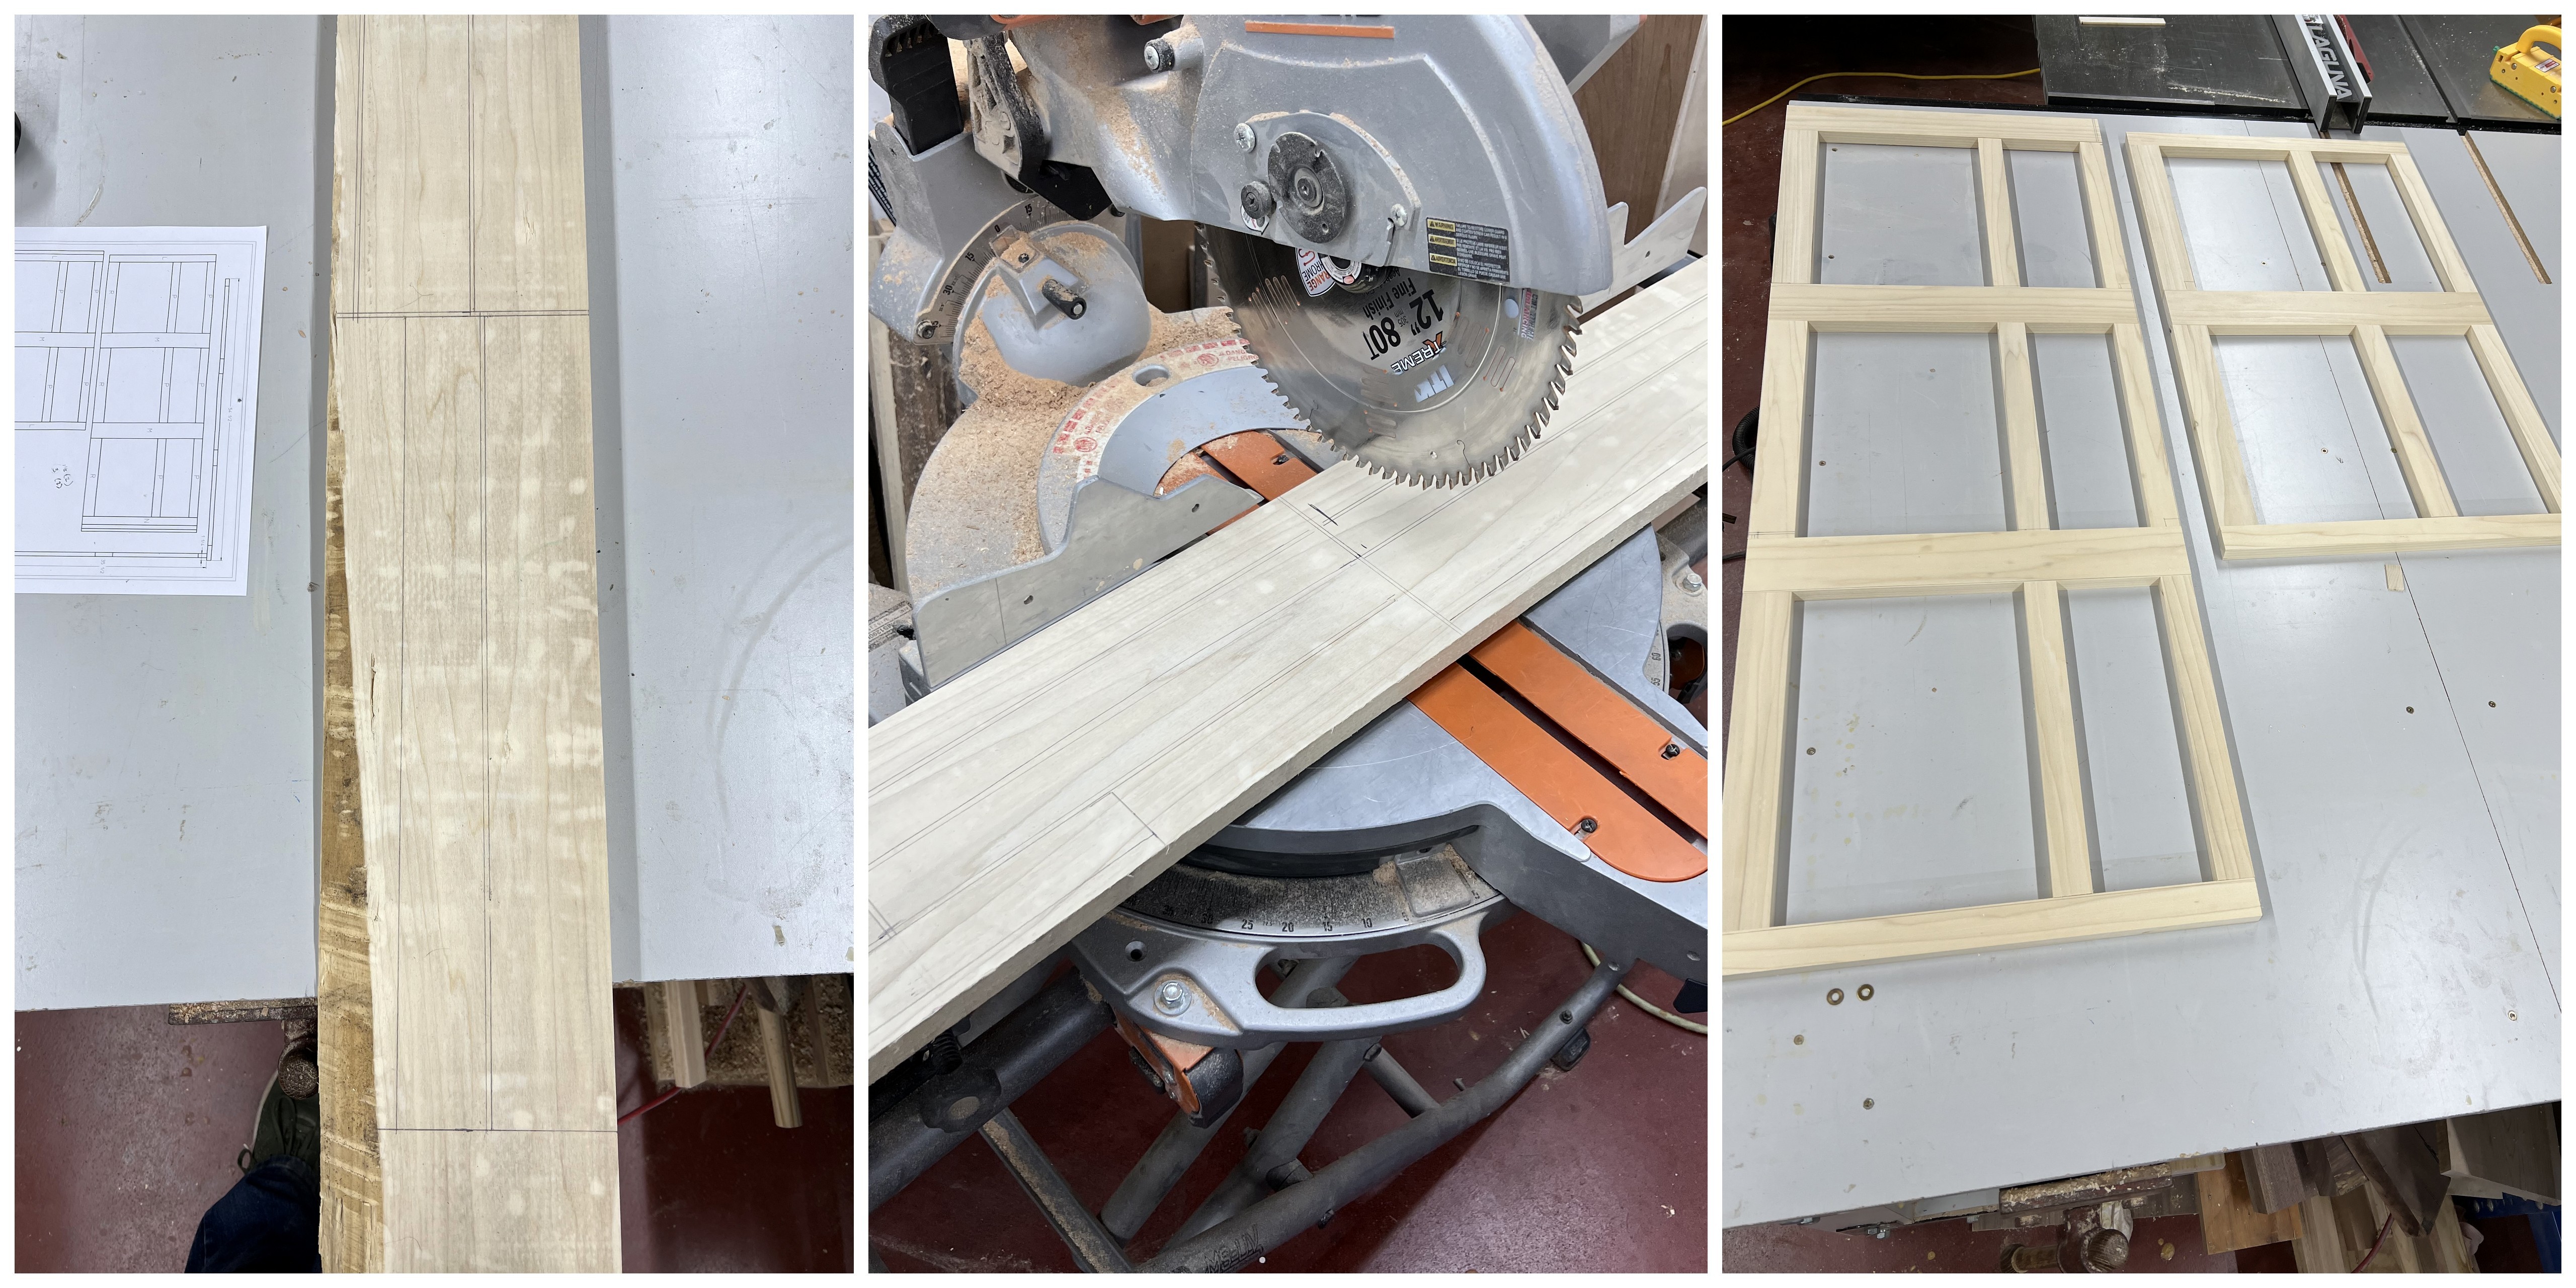
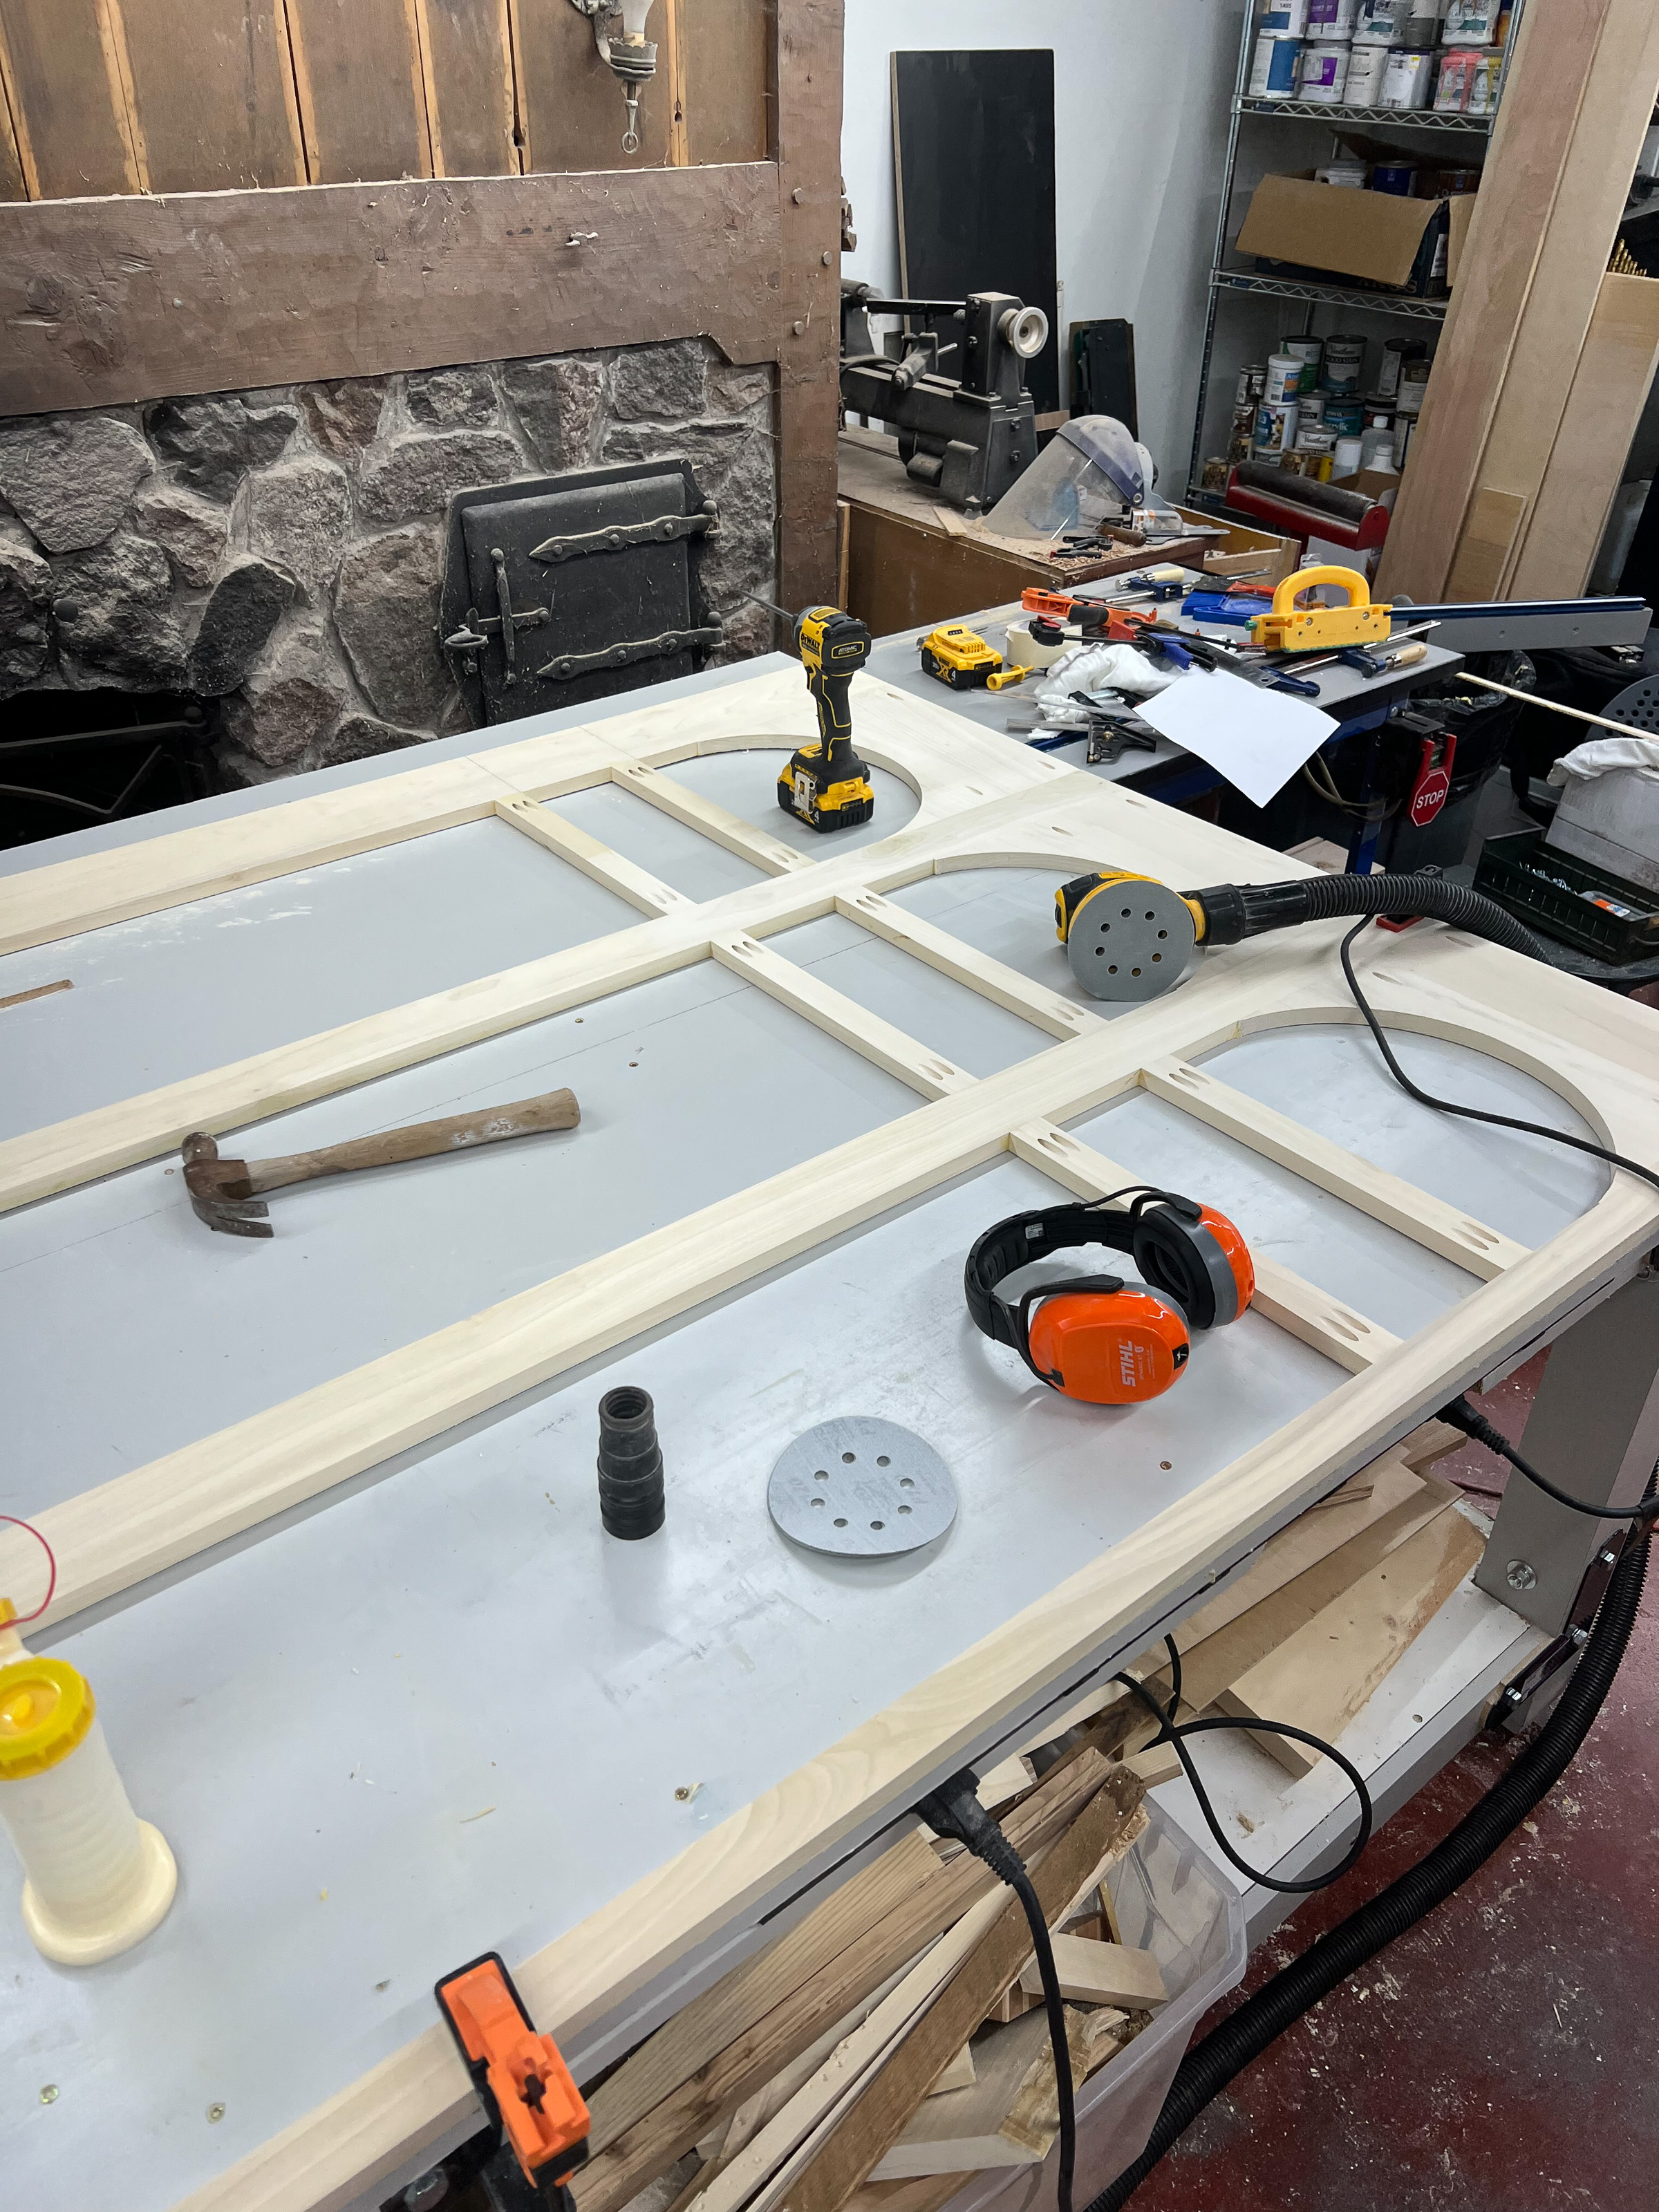
Layout and cut face frames
After planing the boards down to desired thickness, We laid out all the individual components on the board, cut them the width and length and then placed them where they per their assembly.
-
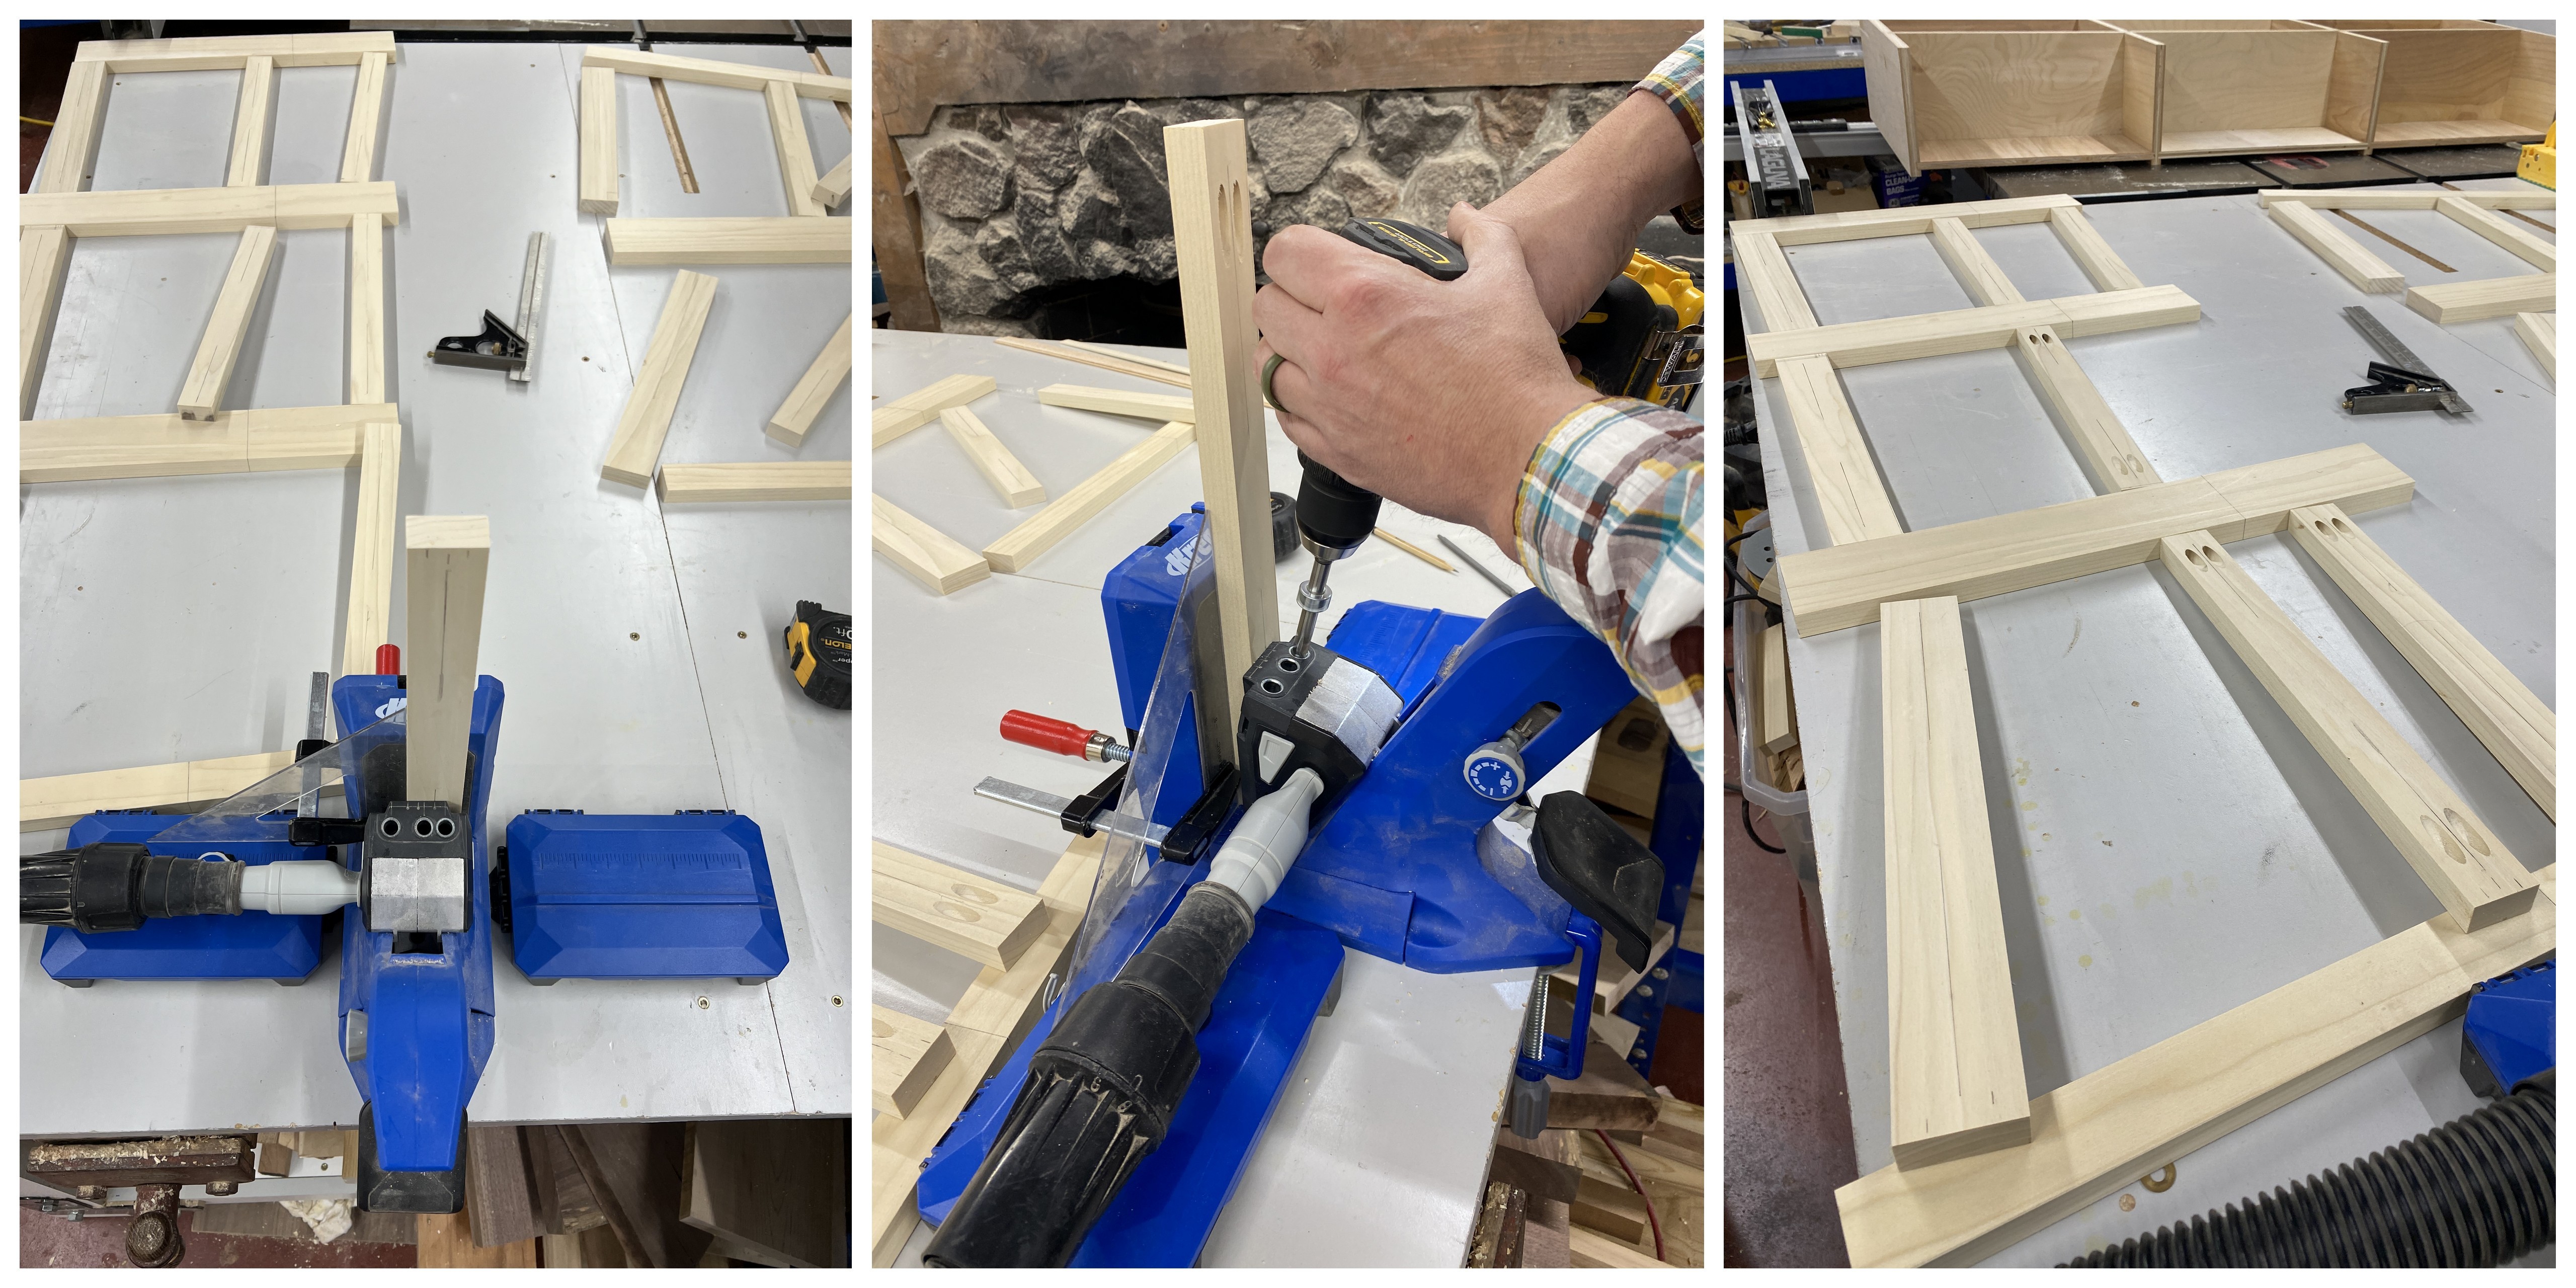
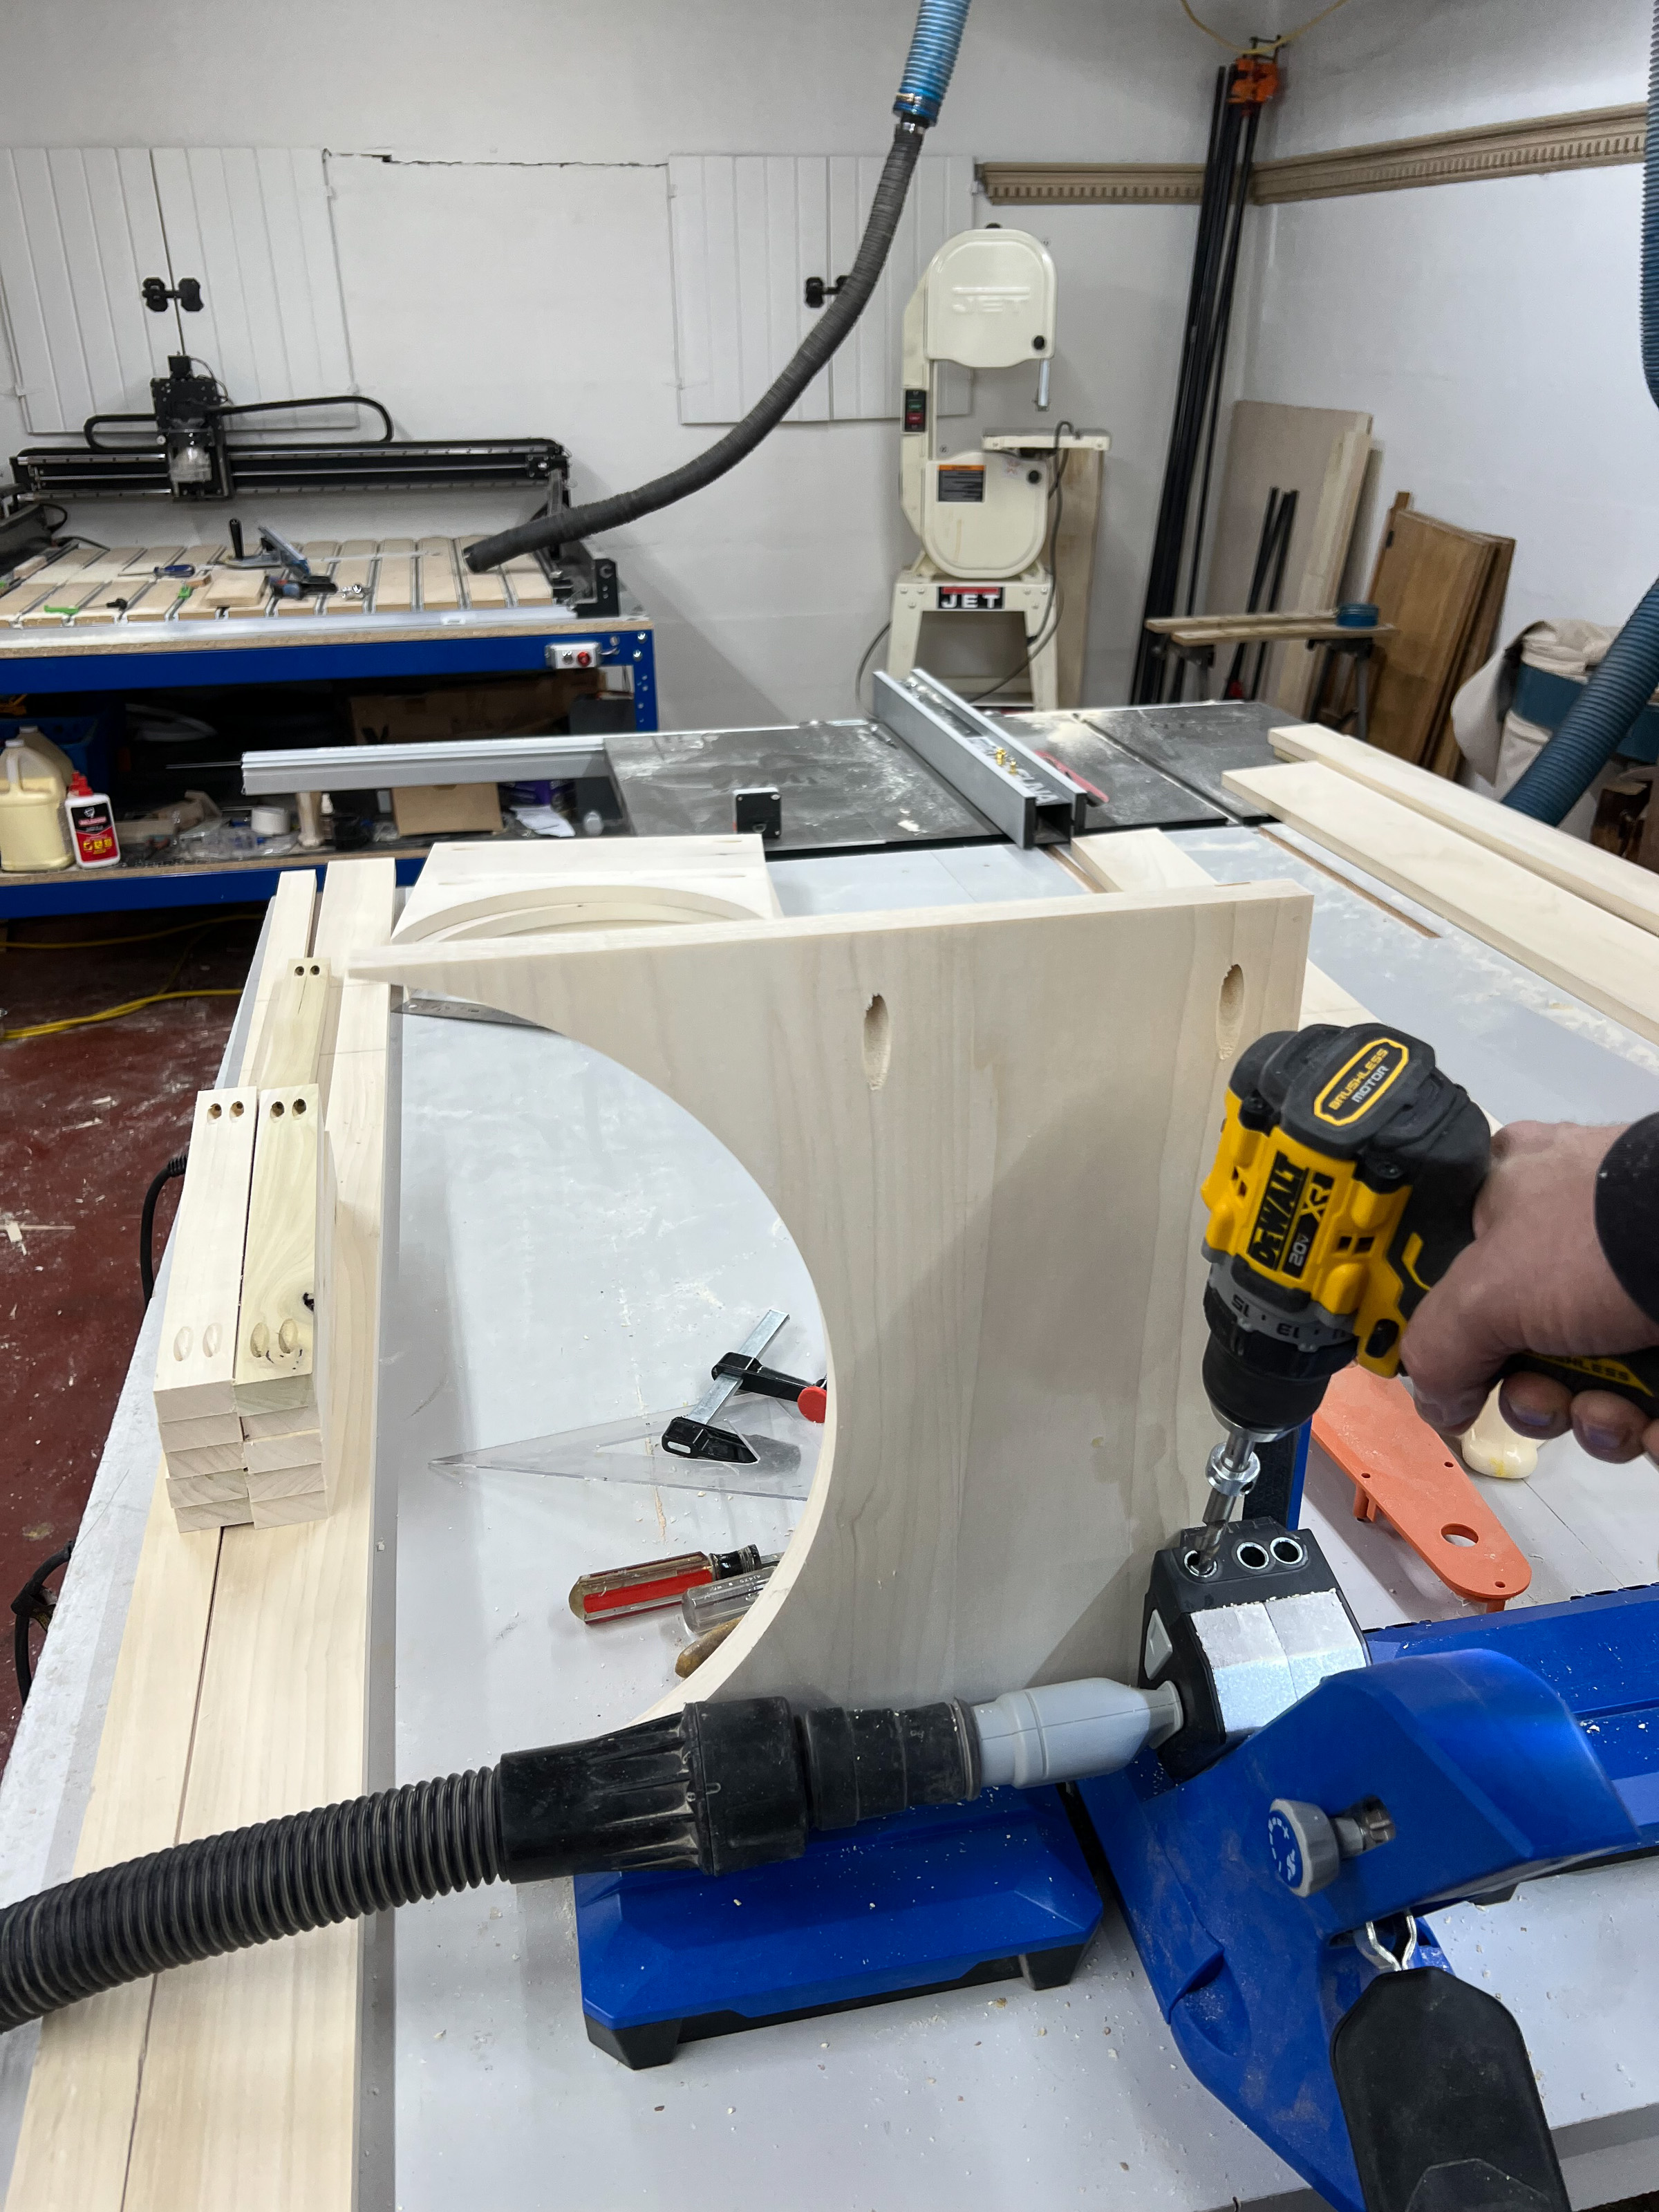
Pocket holes
Drill pocket holes in the rails of the face frames.
-
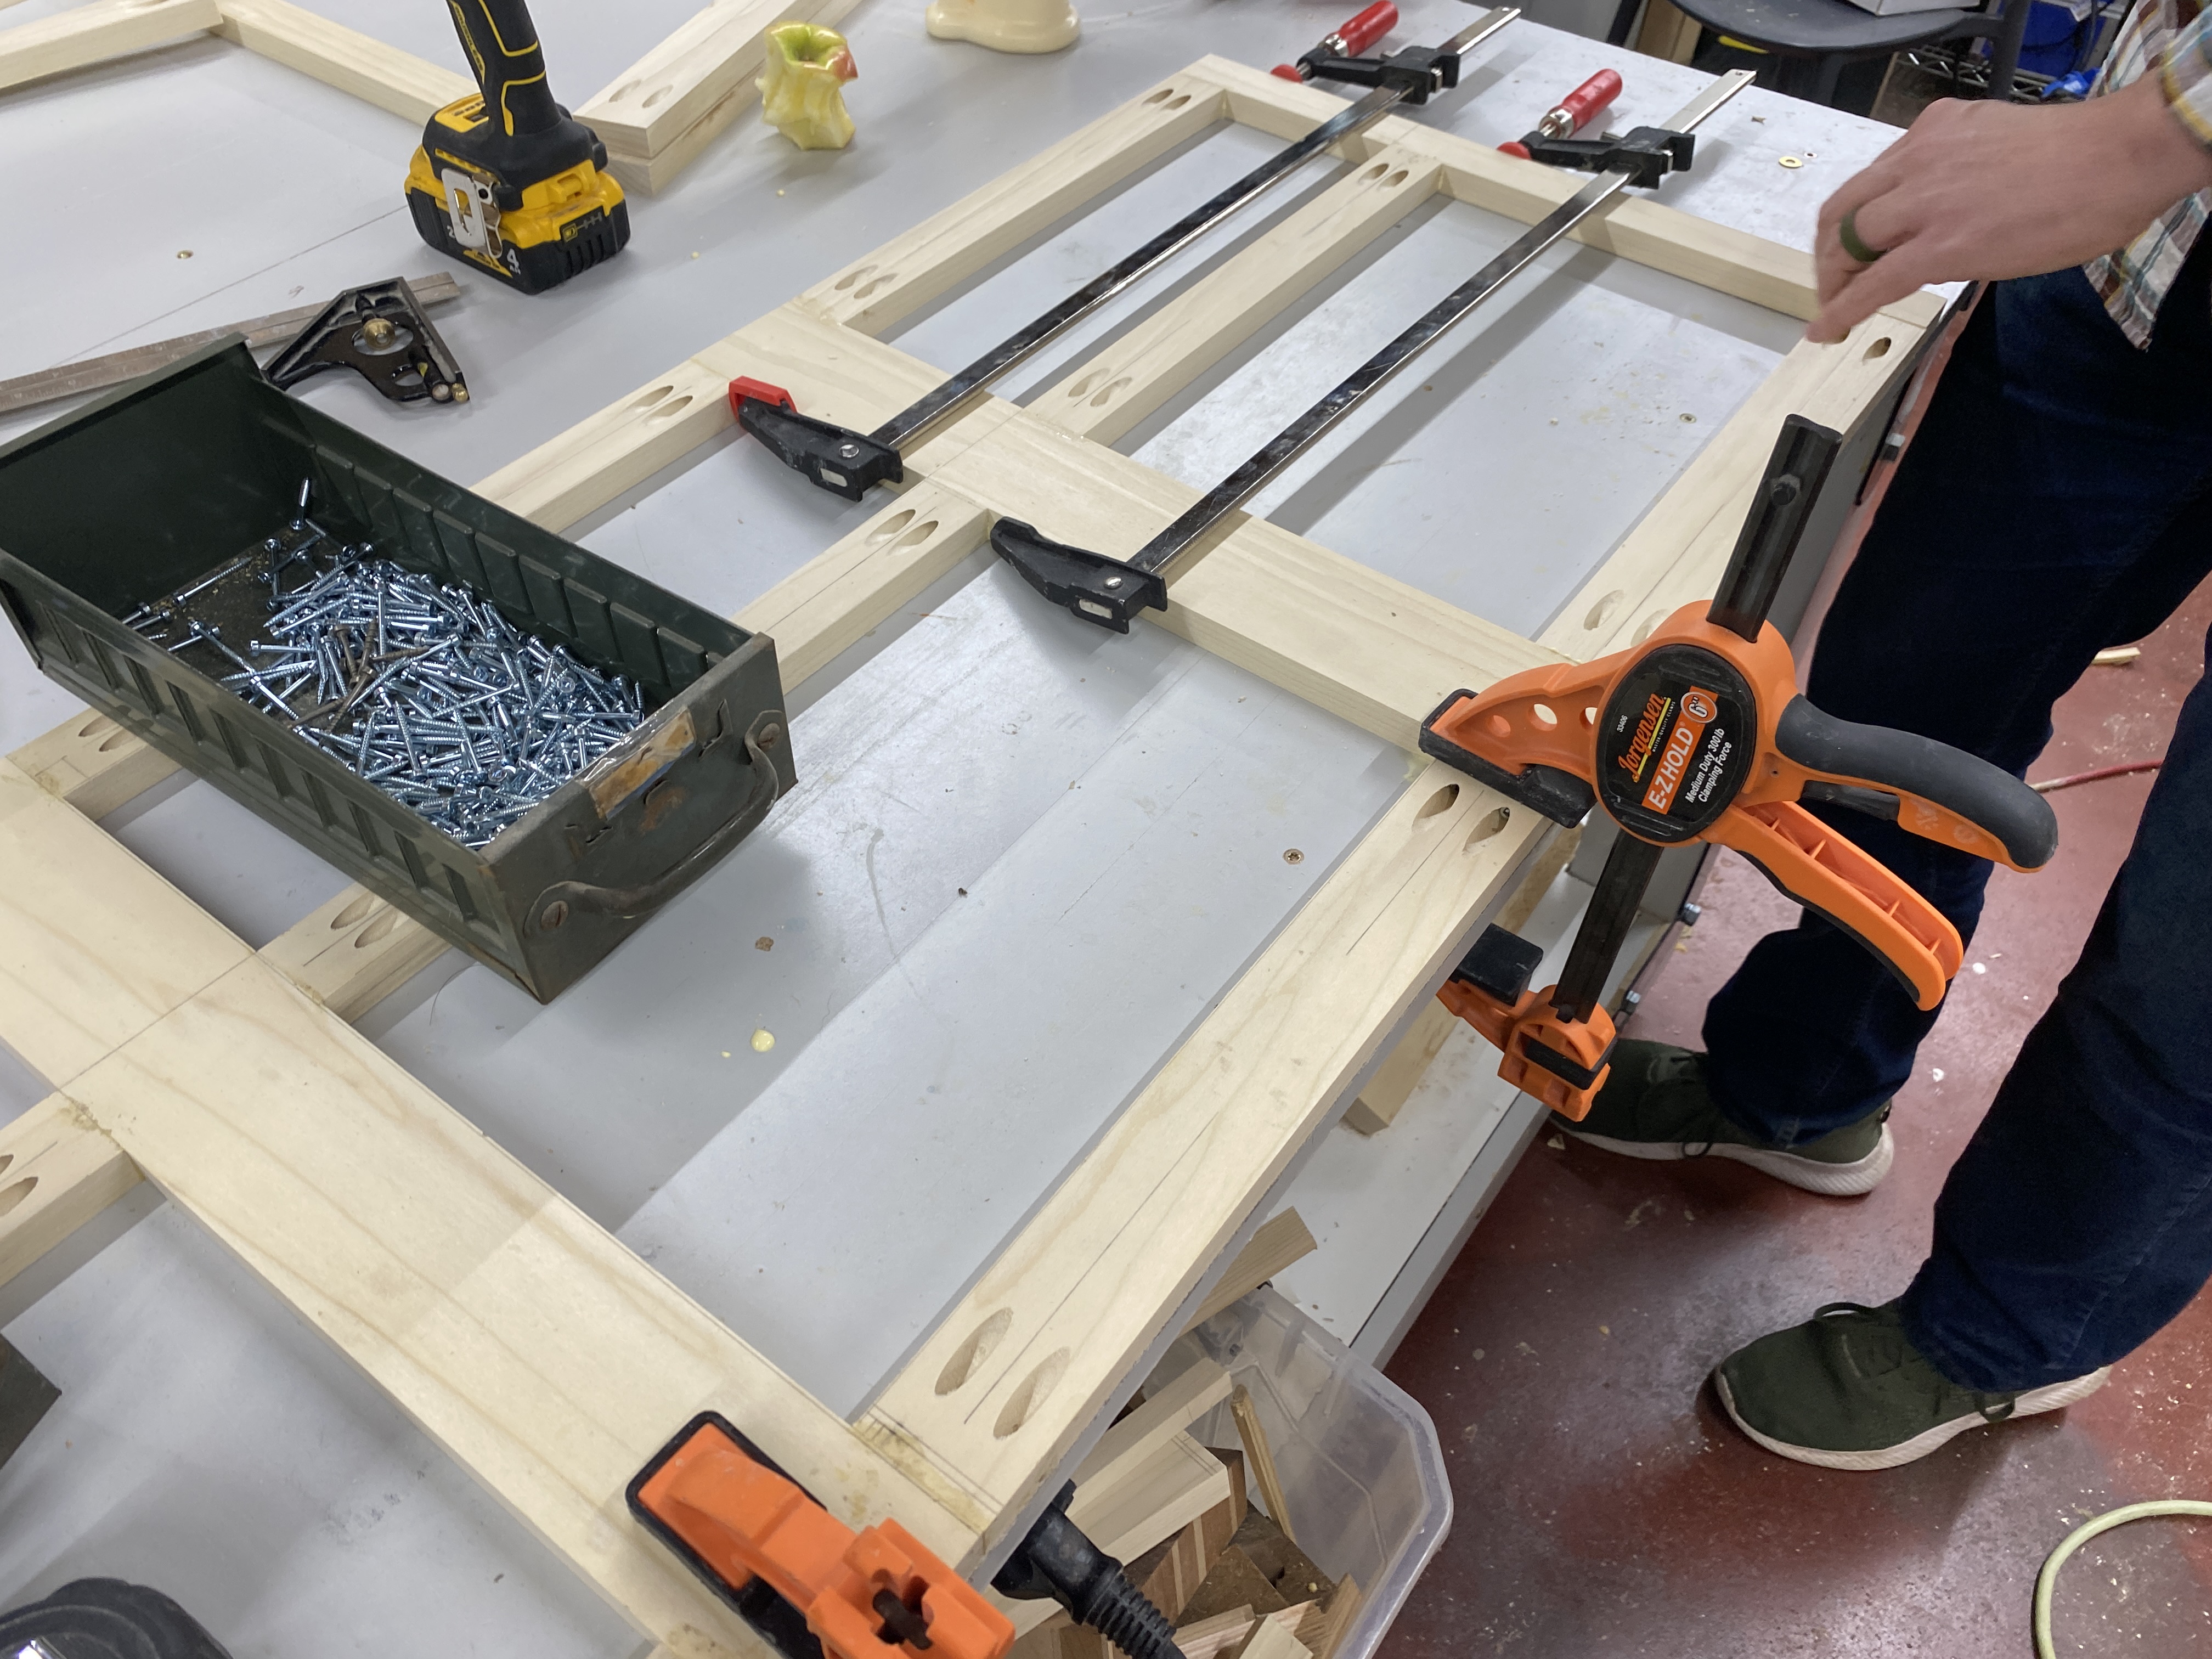
Assemble face frames
Glue, clamp and screw together face frame.
-
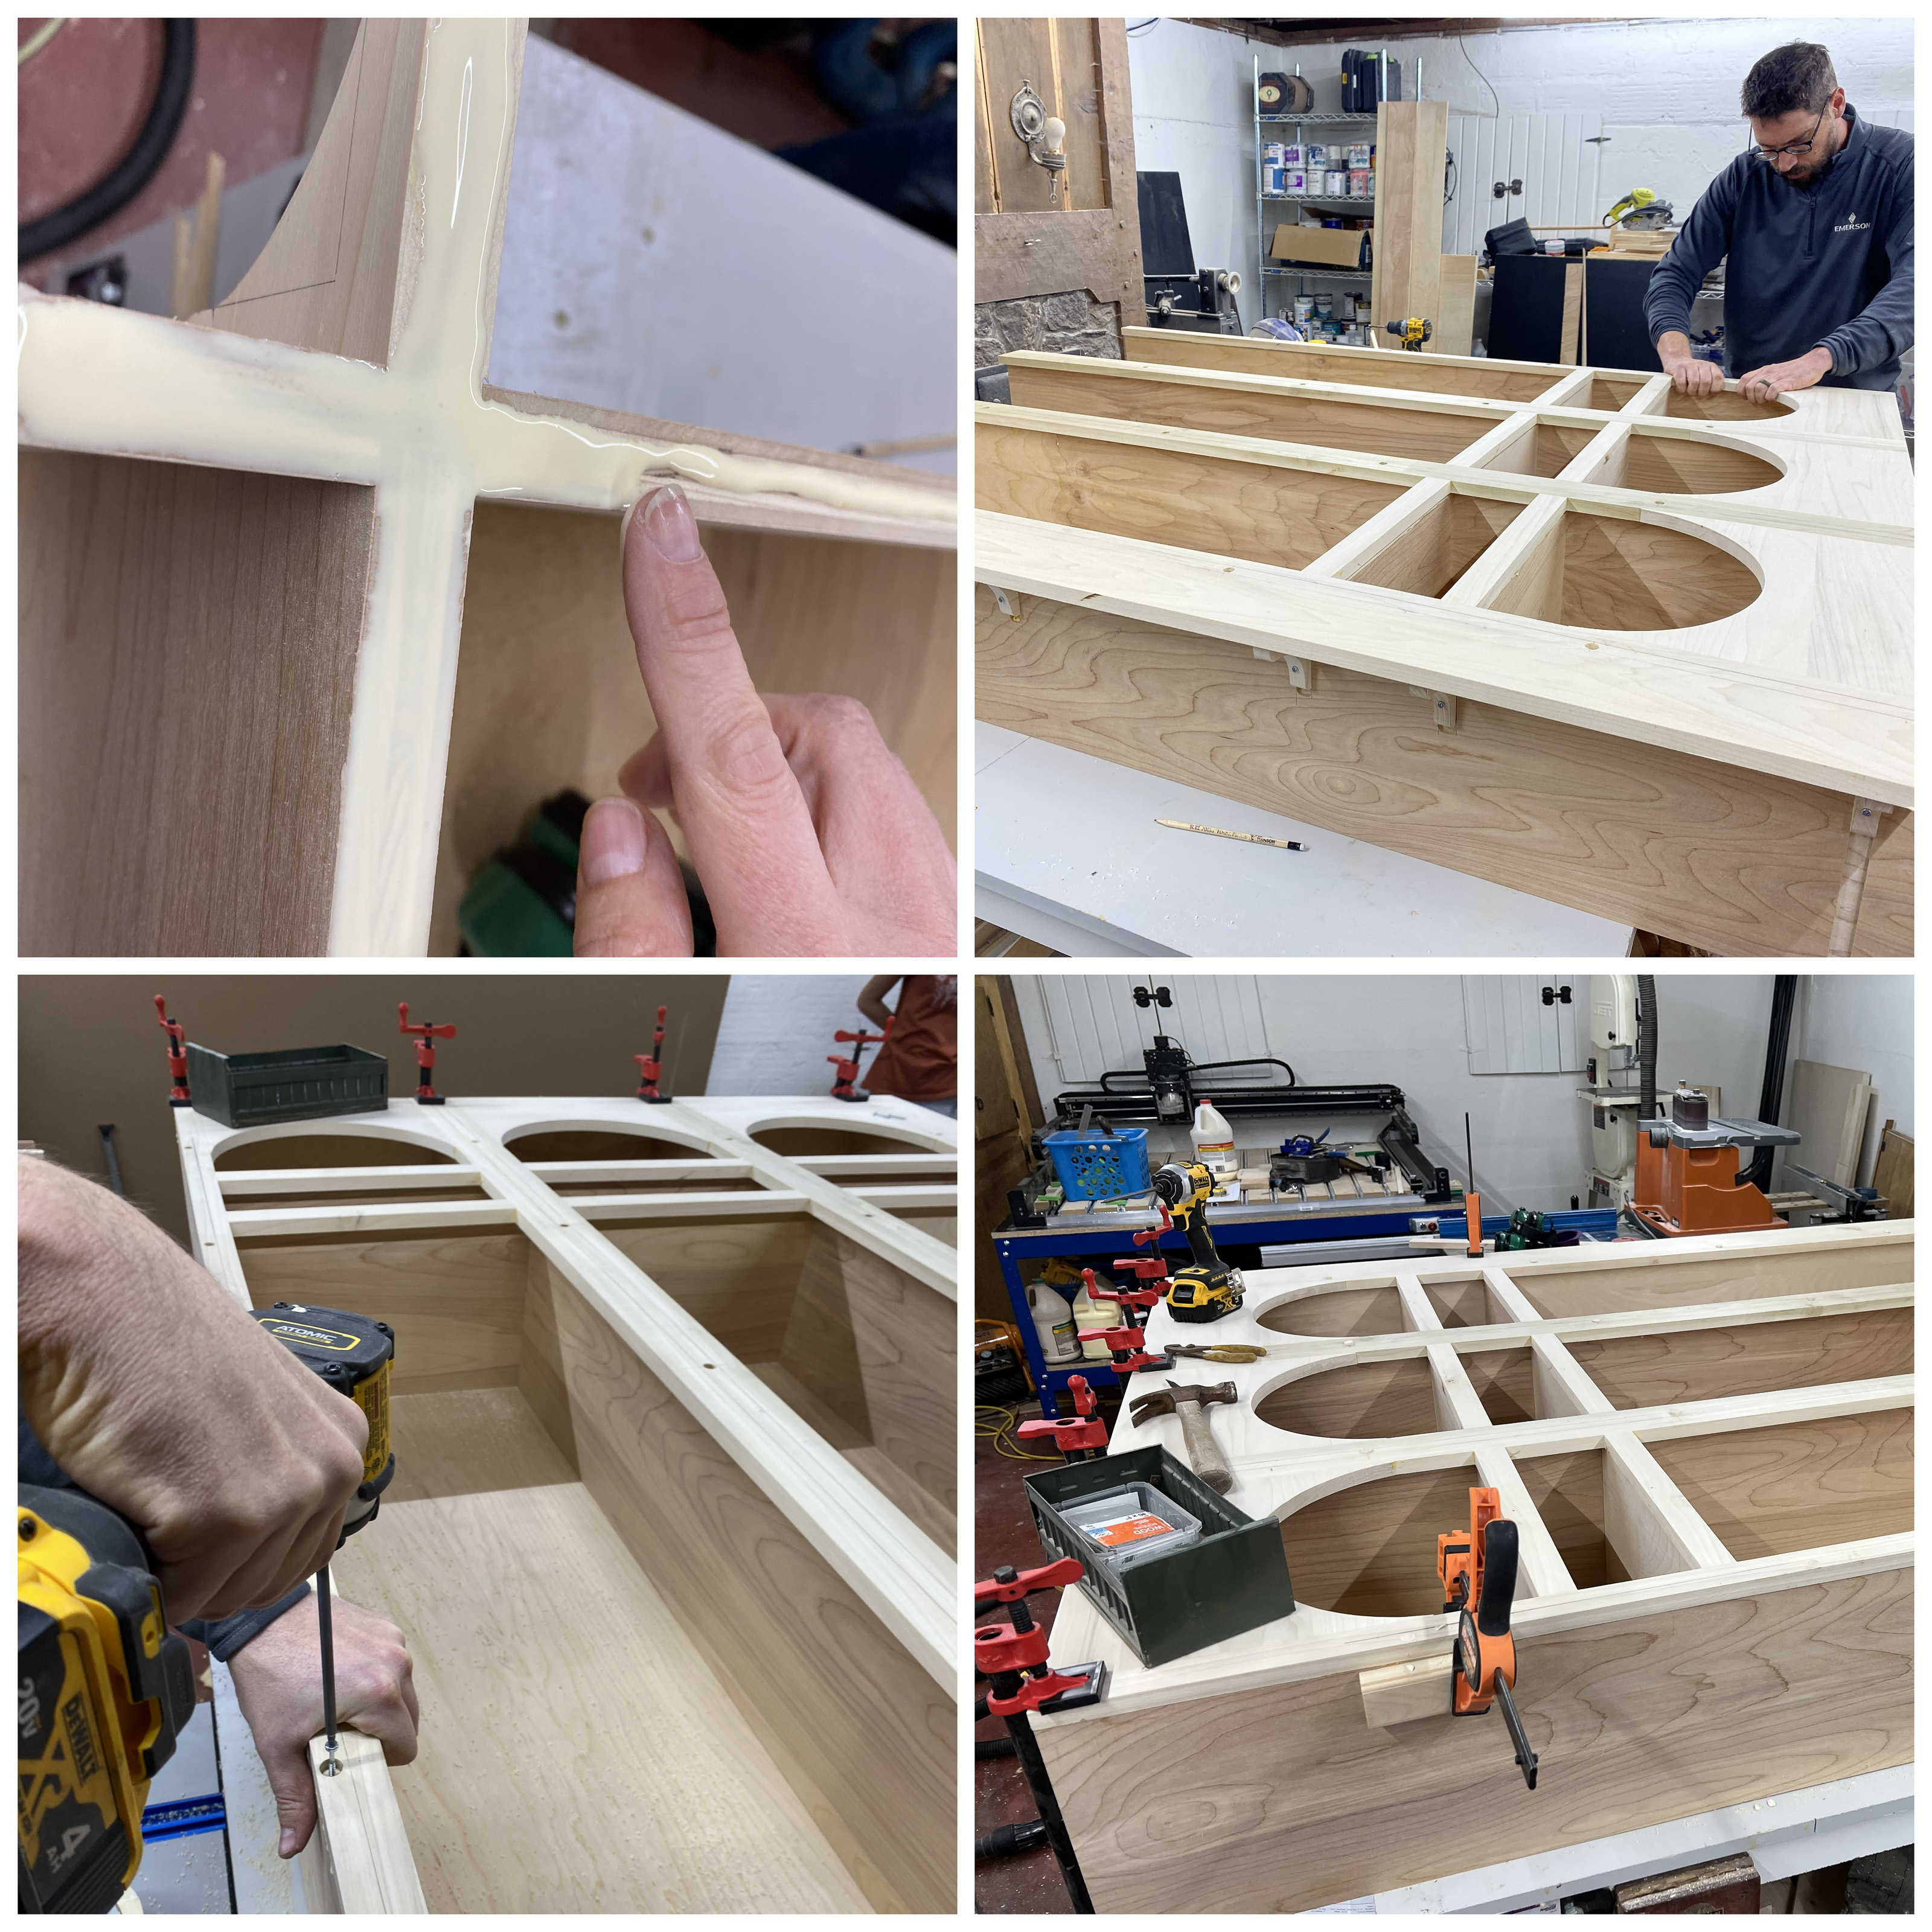
Glue the Face frame to the carcass
Glue the face of the carcass position and clamp the face frame to the carcass.
Keeping the face frame in place
Use a hammer a few brad nails into the carcass and cut the heads off, prior to adding the face frame, this will keep it elevated so you can position it where you want. It will also keep it from sliding around while you clamp it.
-
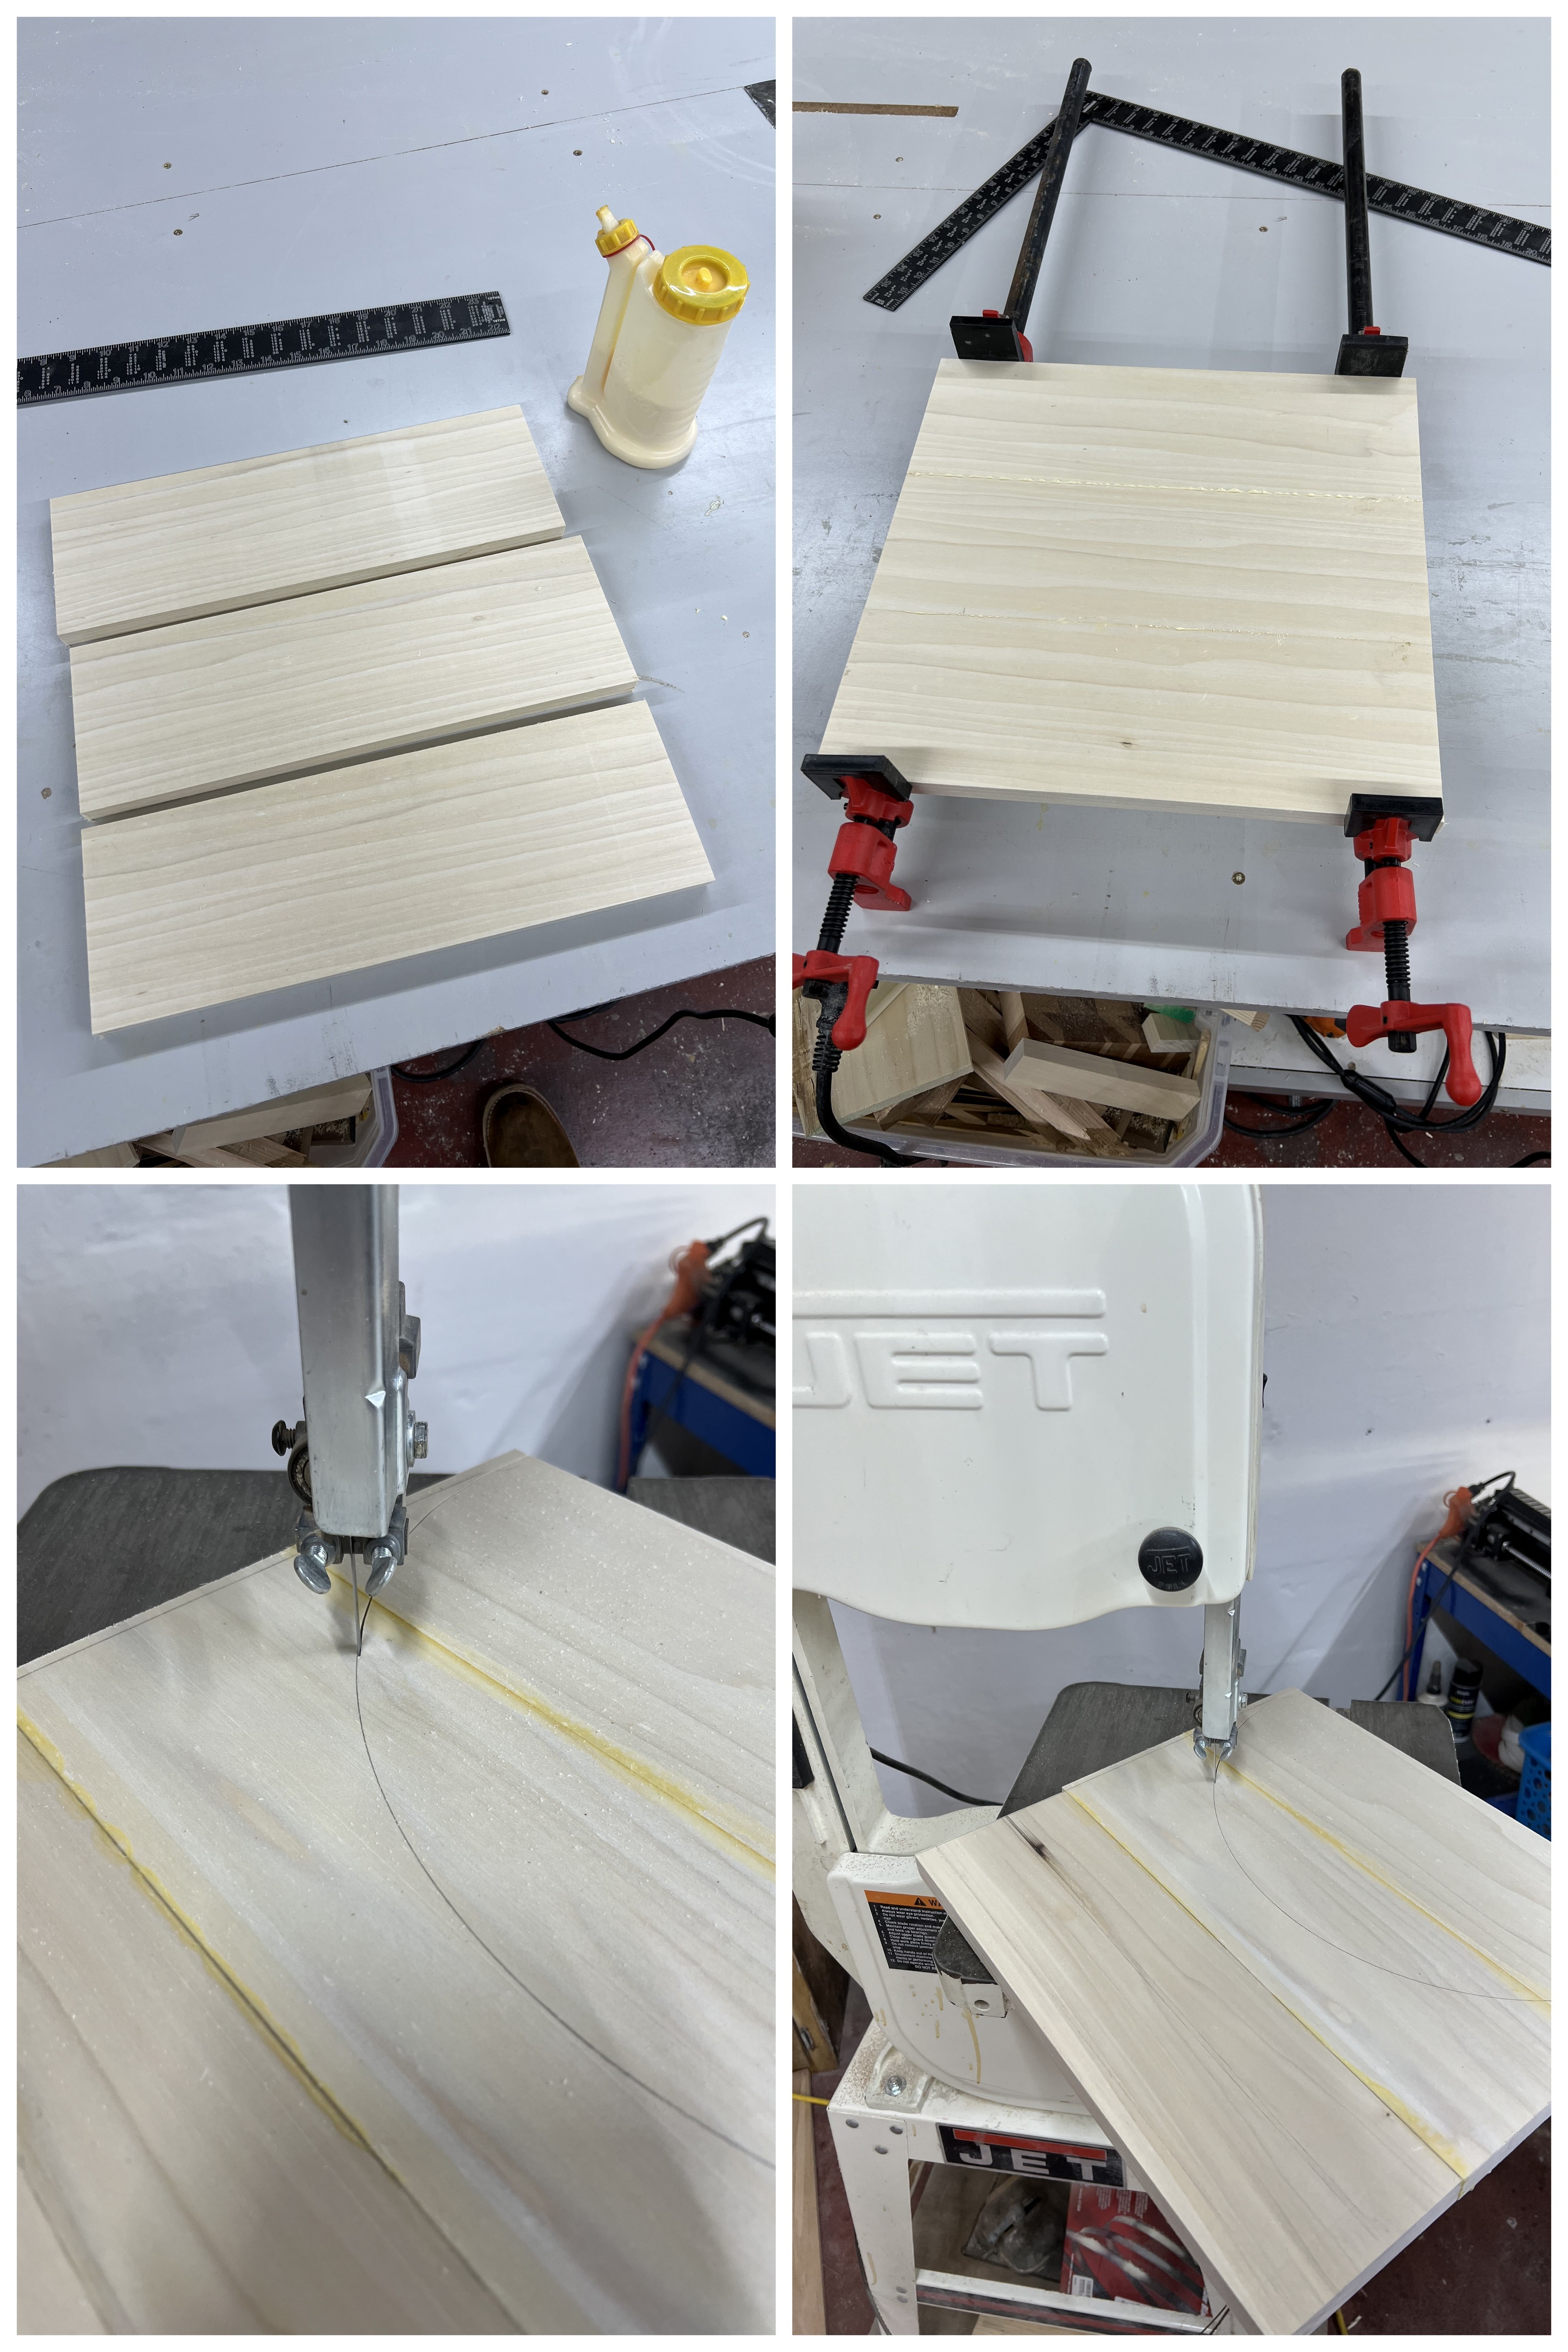
Glue up boards for the arches
Glue up boards for the arches, cut to final dimension on a track saw or tablesaw. Then cut on a band saw and sand or use a template with a router/pattern bit to have consistent arches.
-
Pocket hole the arches and rails
Pocket hole arches and rails for upper lockers.
-
Assemble face frame
Join the face frames together.
-
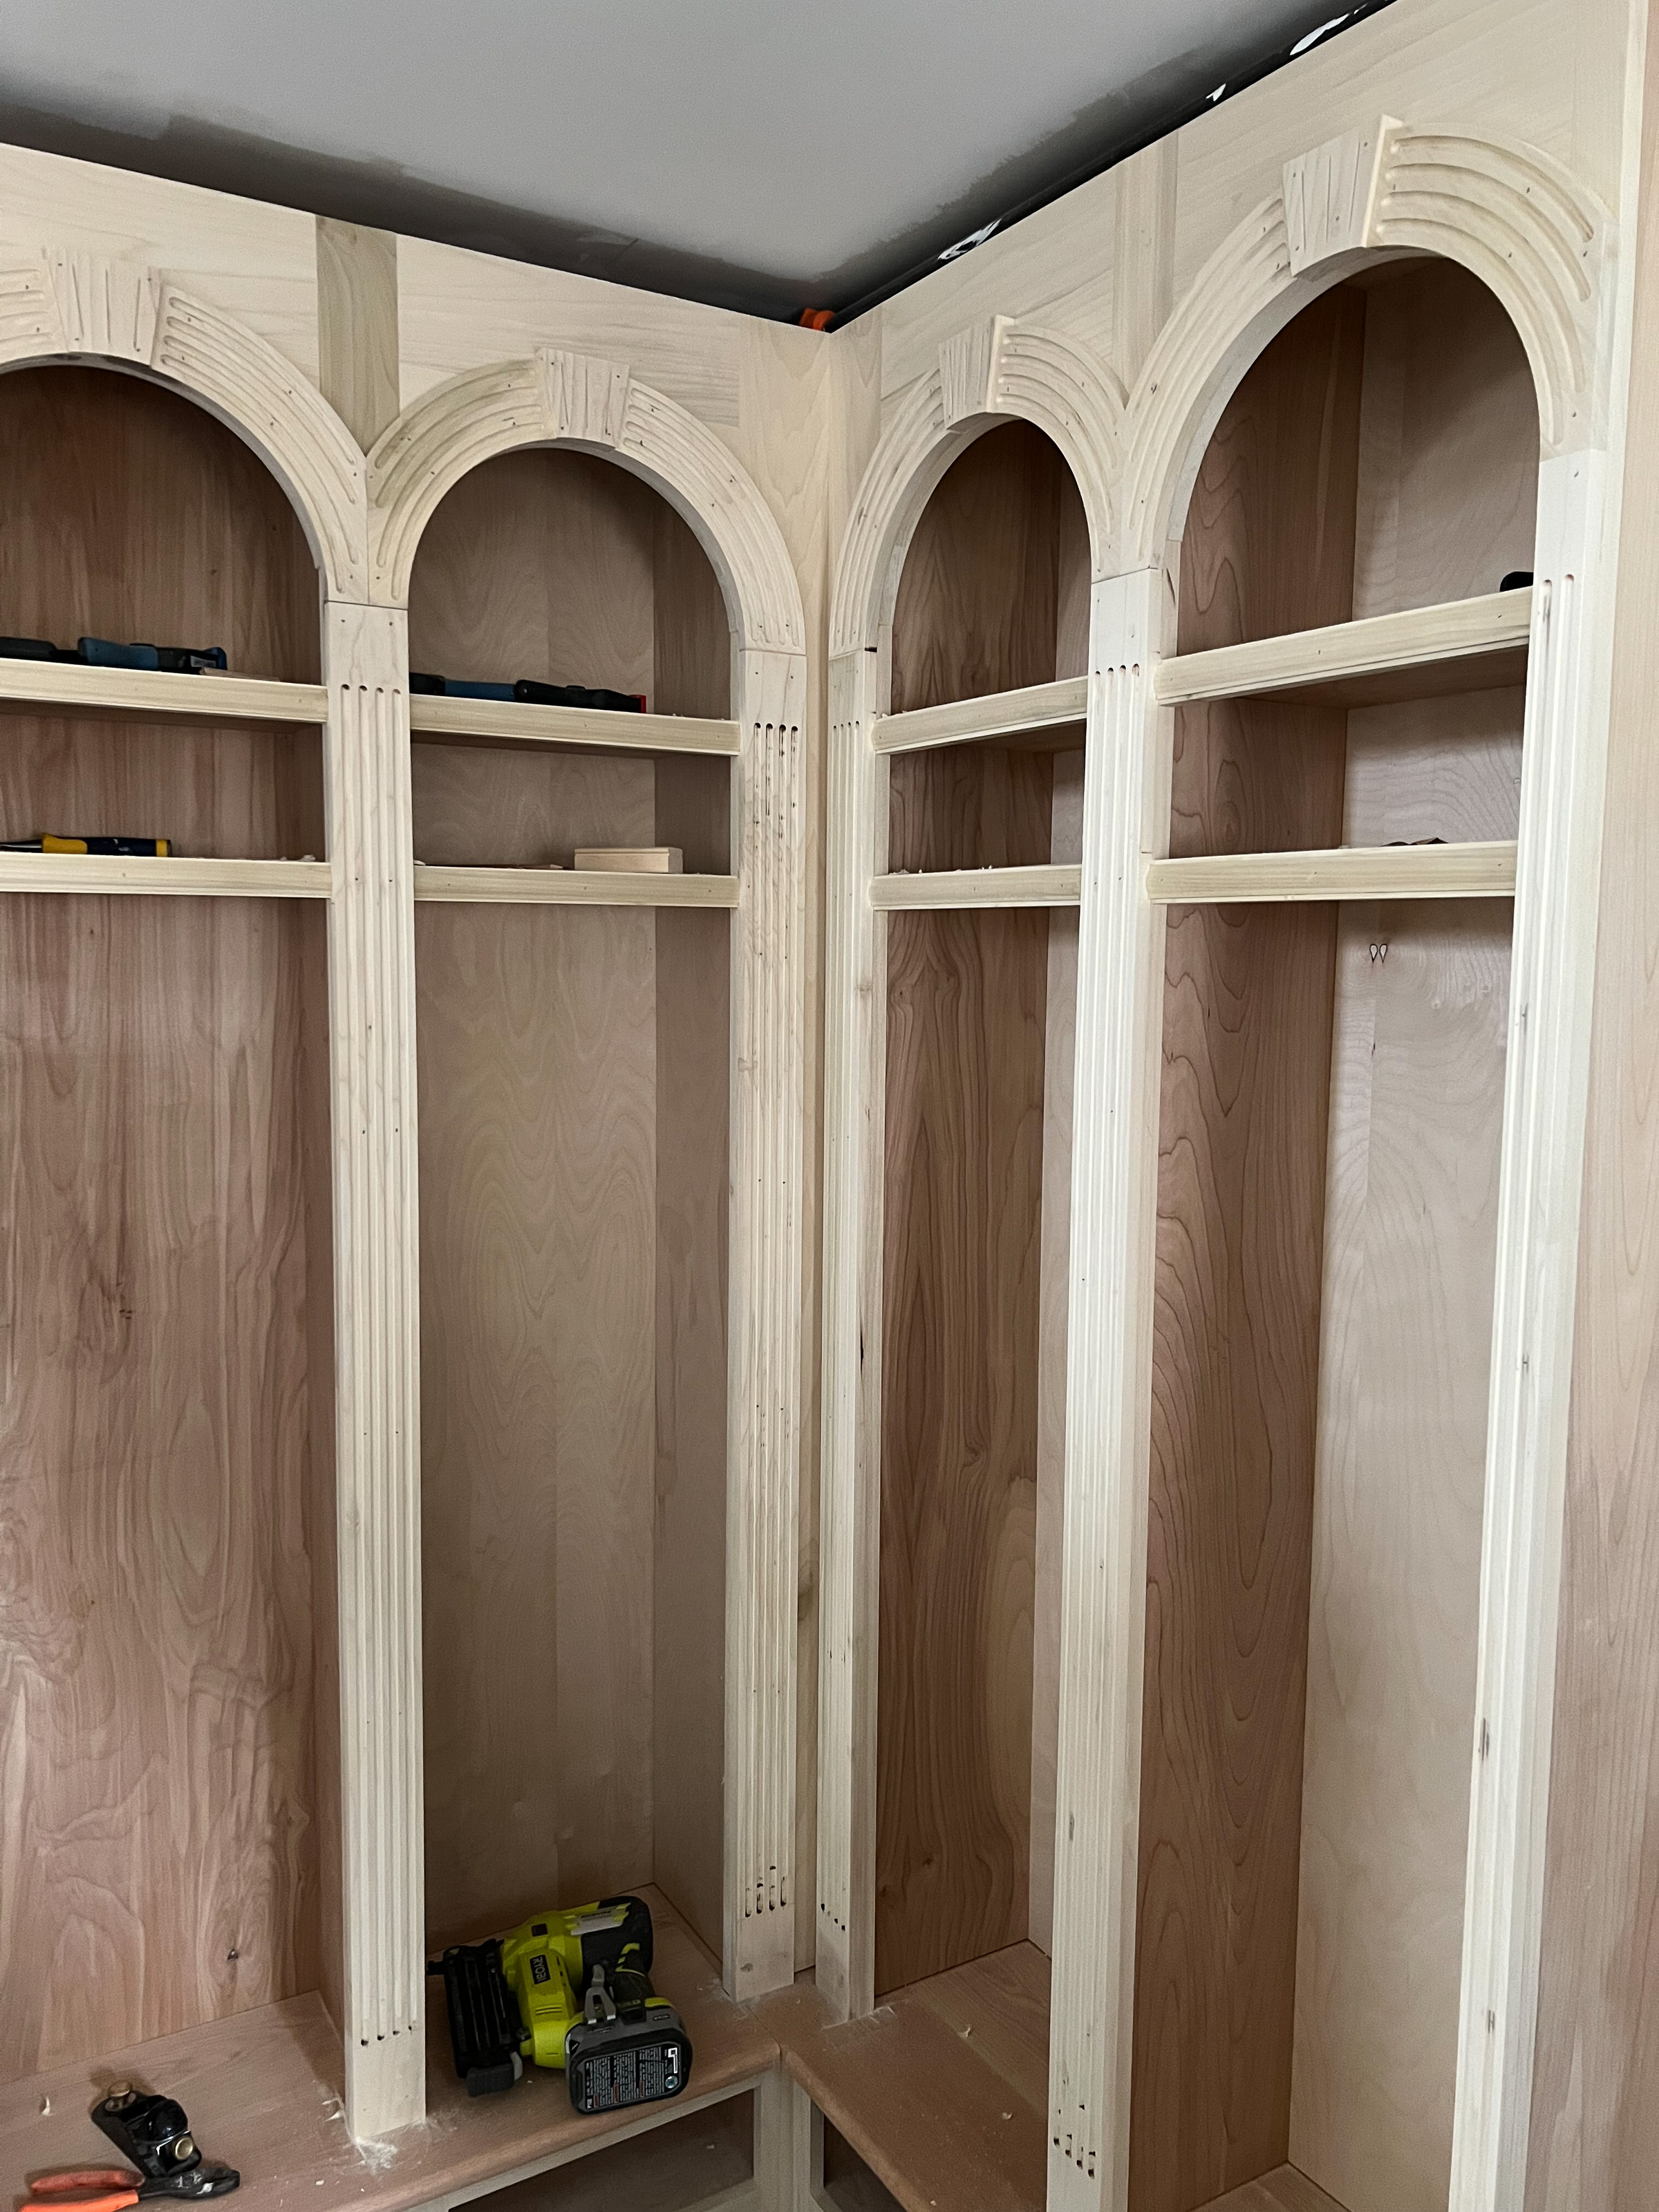
Glue face frames to upper lockers
Glue face frames to upper lockers, it seemed impossible to clamp the long stiles, so we drilled counterbores and screwed them to the carcass.
Bracing wide Stile
I created square brackets for the adjoining stiles, the board are so wide and had a slight twist, so we the brackets gave them a little extra clamping surface. You can see them peaking in the upper right hand photo.
-
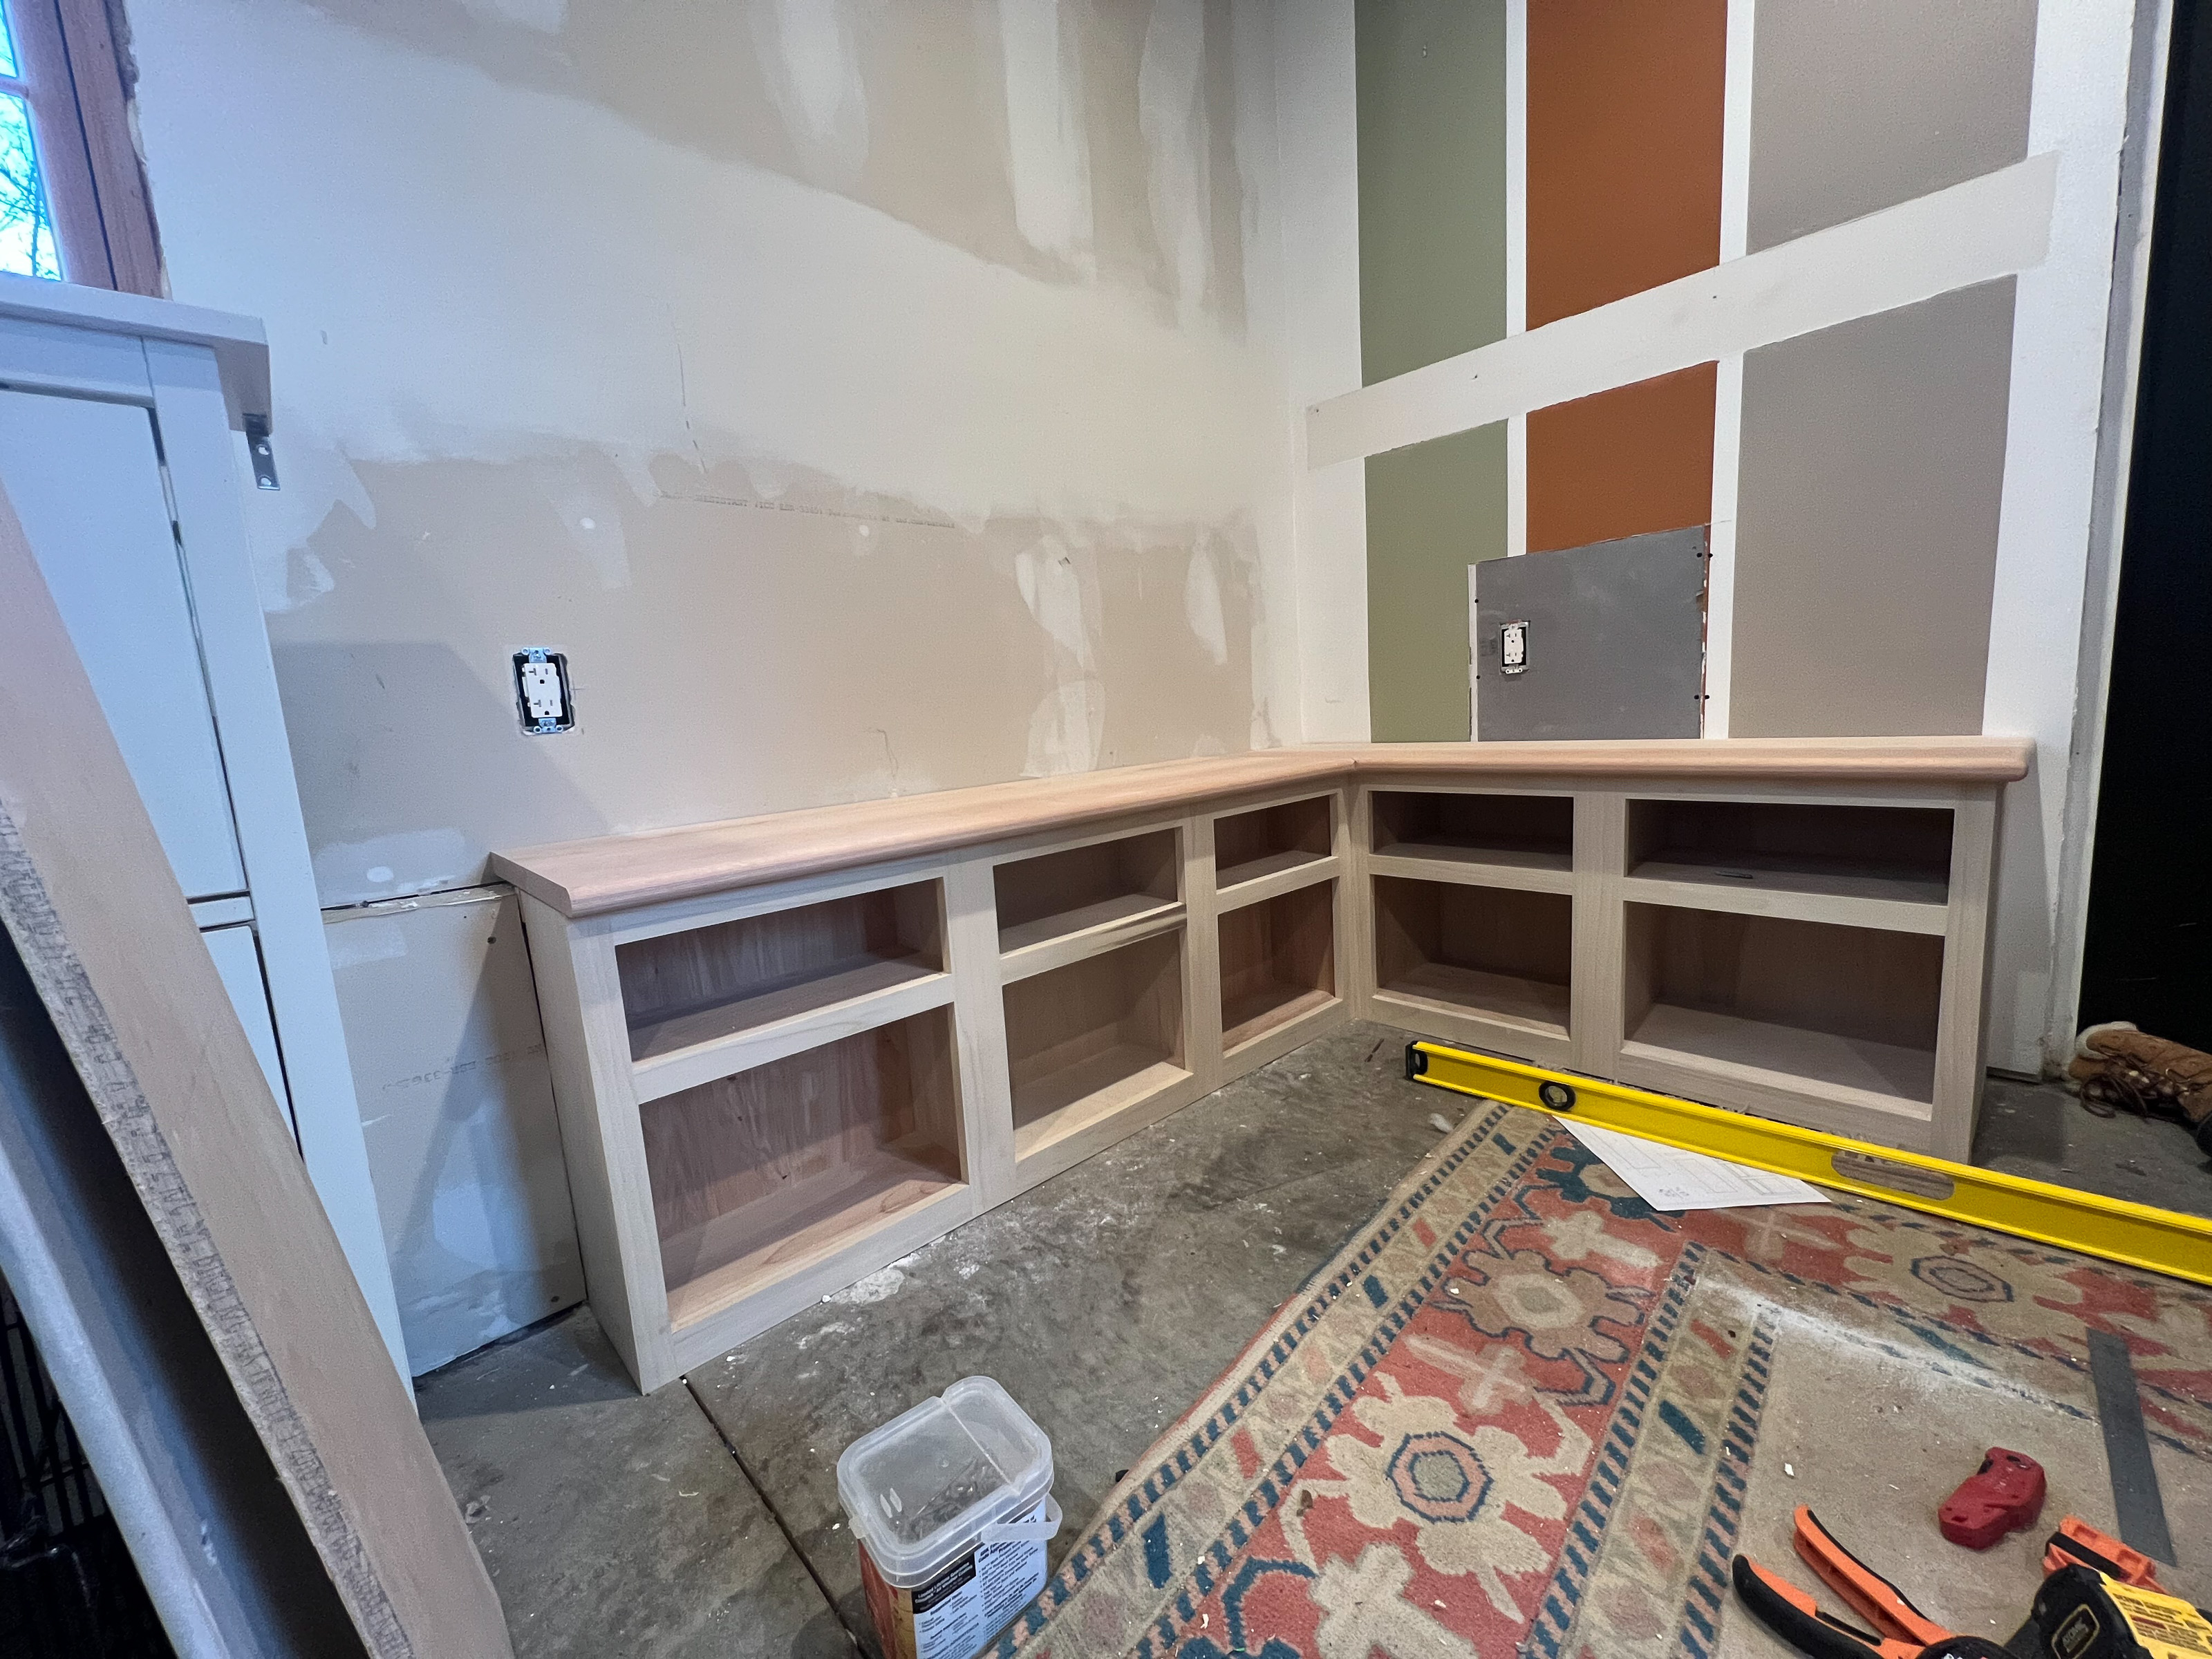
Installing the lowers
This is very similar to installing cabinets. Making sure the are level vertically and horizontally, shim and screw using cabinet screws.
-
Install the uppers and trim out.
We provided 1:1 prints if printed on a Size C Sheet, you can use these as a template to cut out the upper arches, or you can draw them out and then use that as a template.
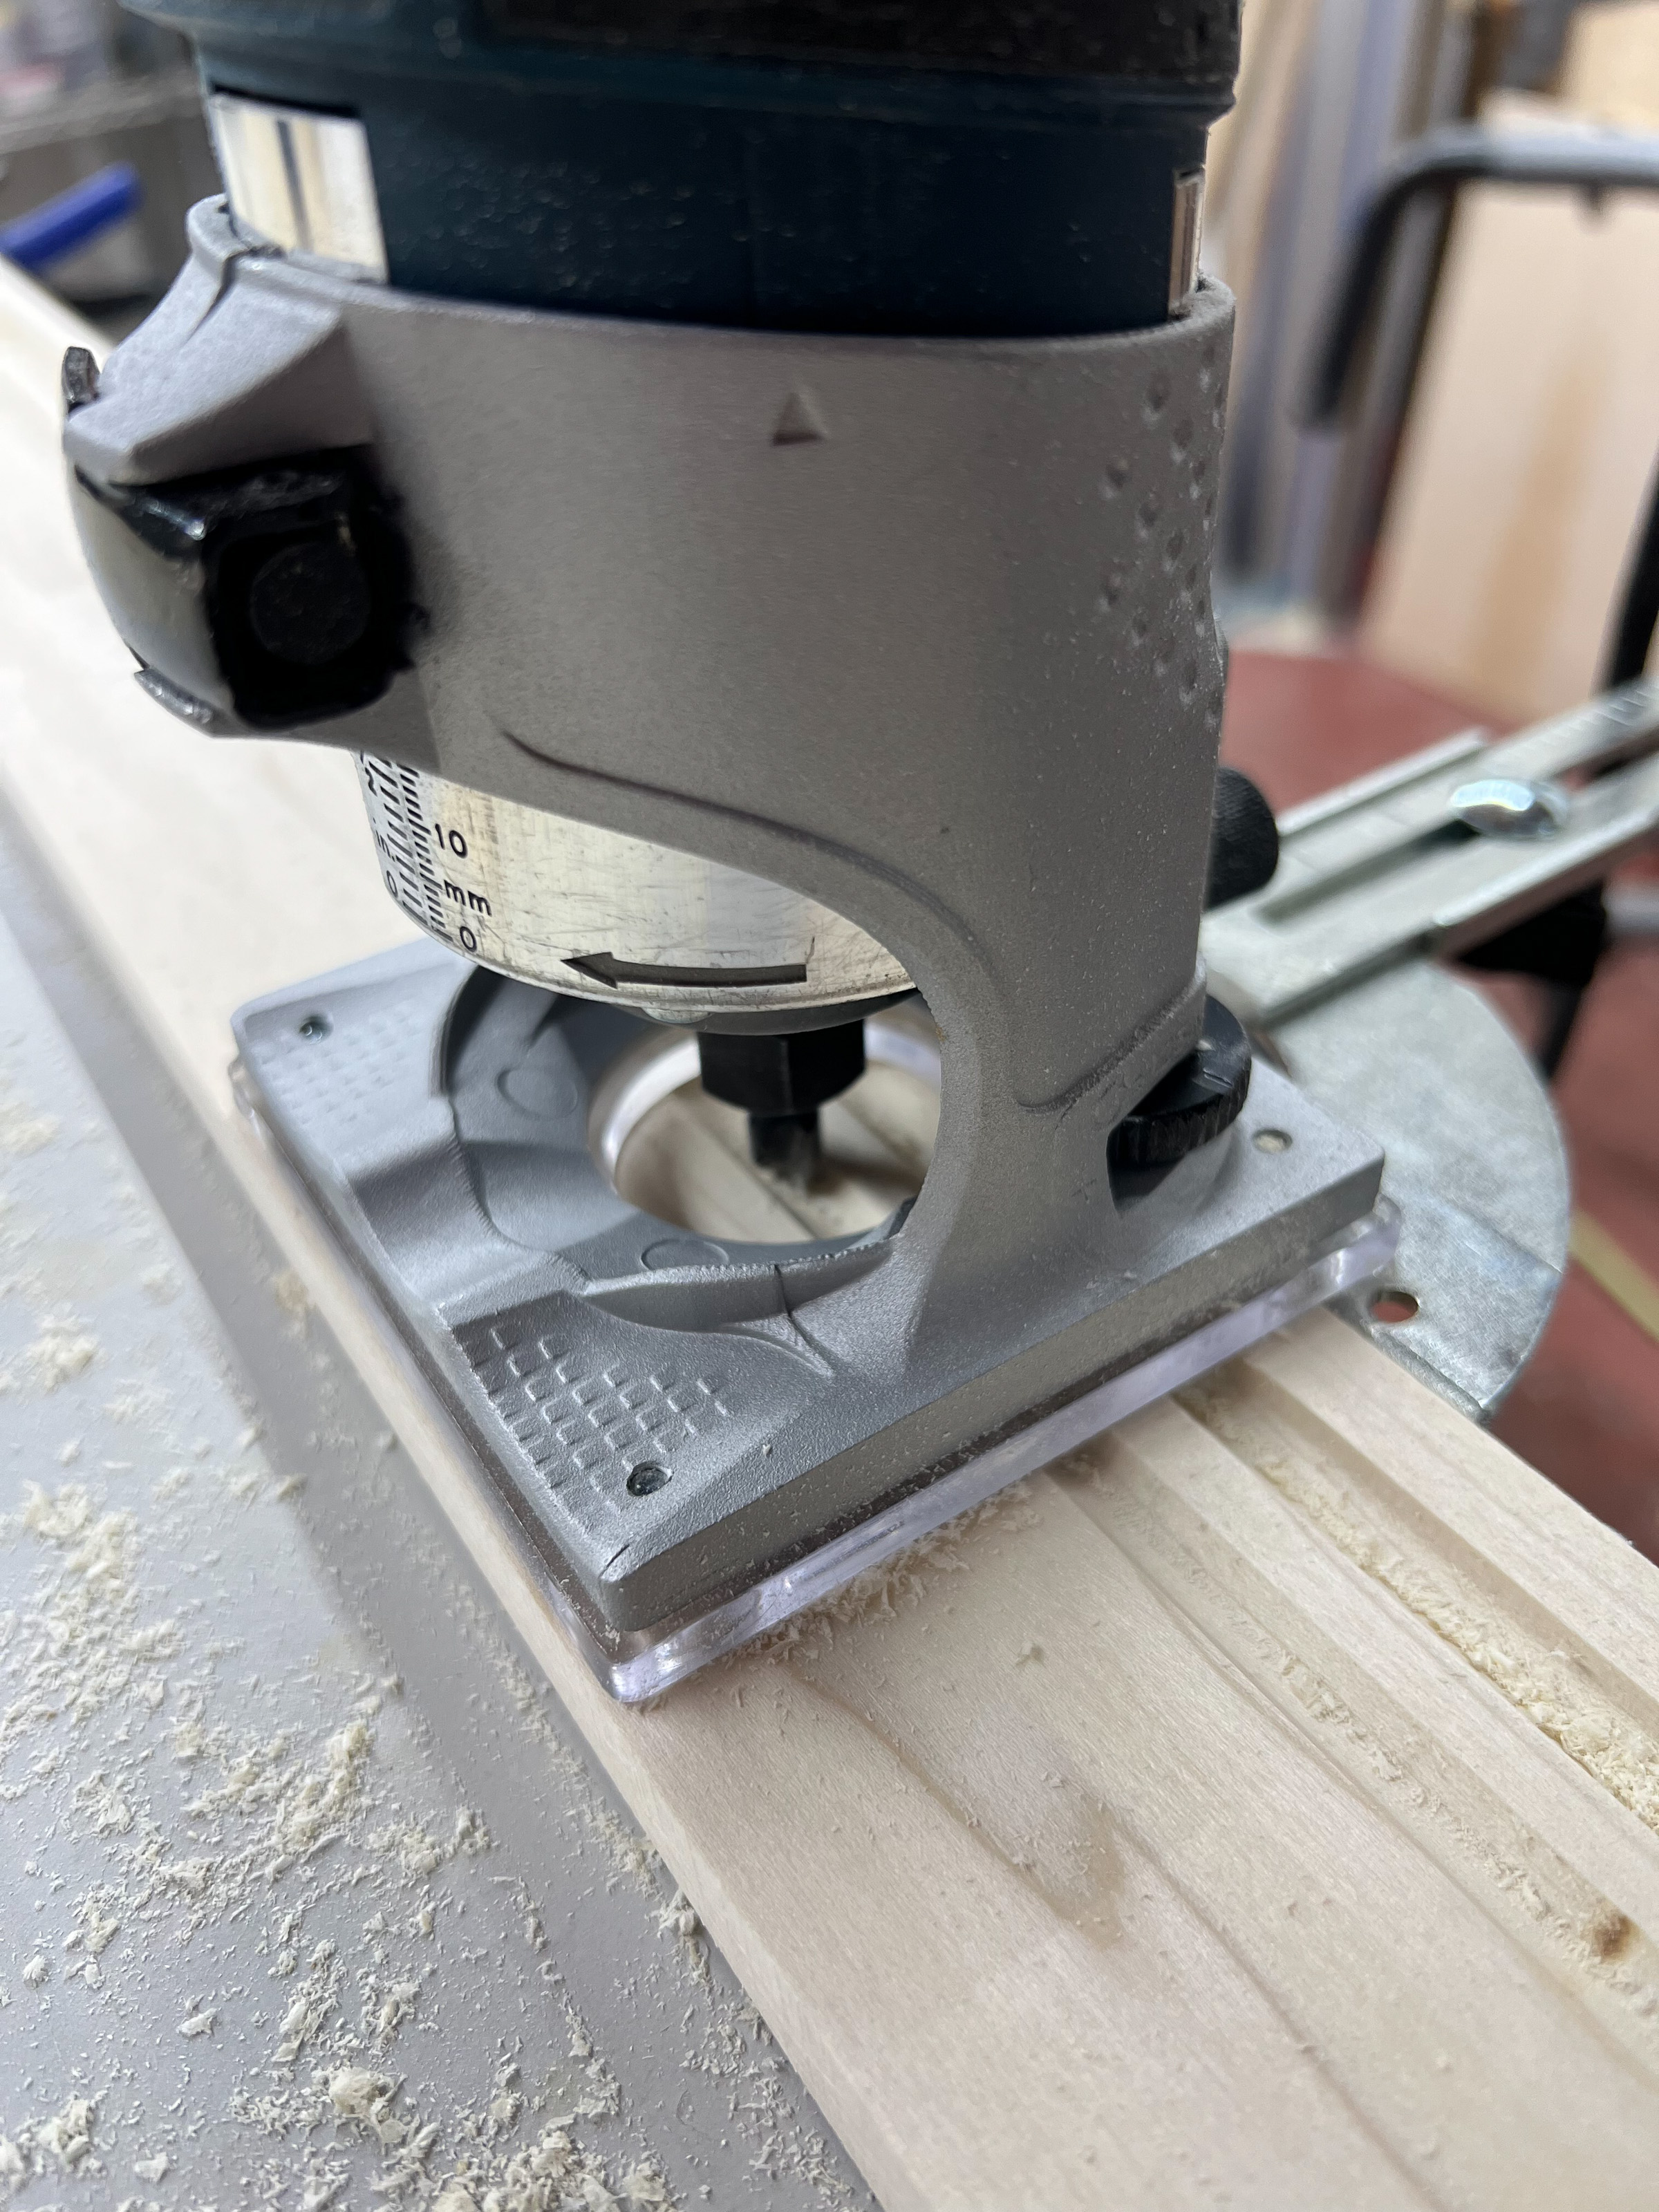
Fluting
you can route the fluting using a radius template for a router or leave them plain, we opted to have the extra detail.

-
Creating fluting with a palm router
Using a palm router and a edge guide we routed the fluting into the tall columns.
-
Trim out
We glues and nailed the trim to the face frames.
-
Add crown moulding
We created the column crown moulding with the router and then glued and nailed them to the columns.
-
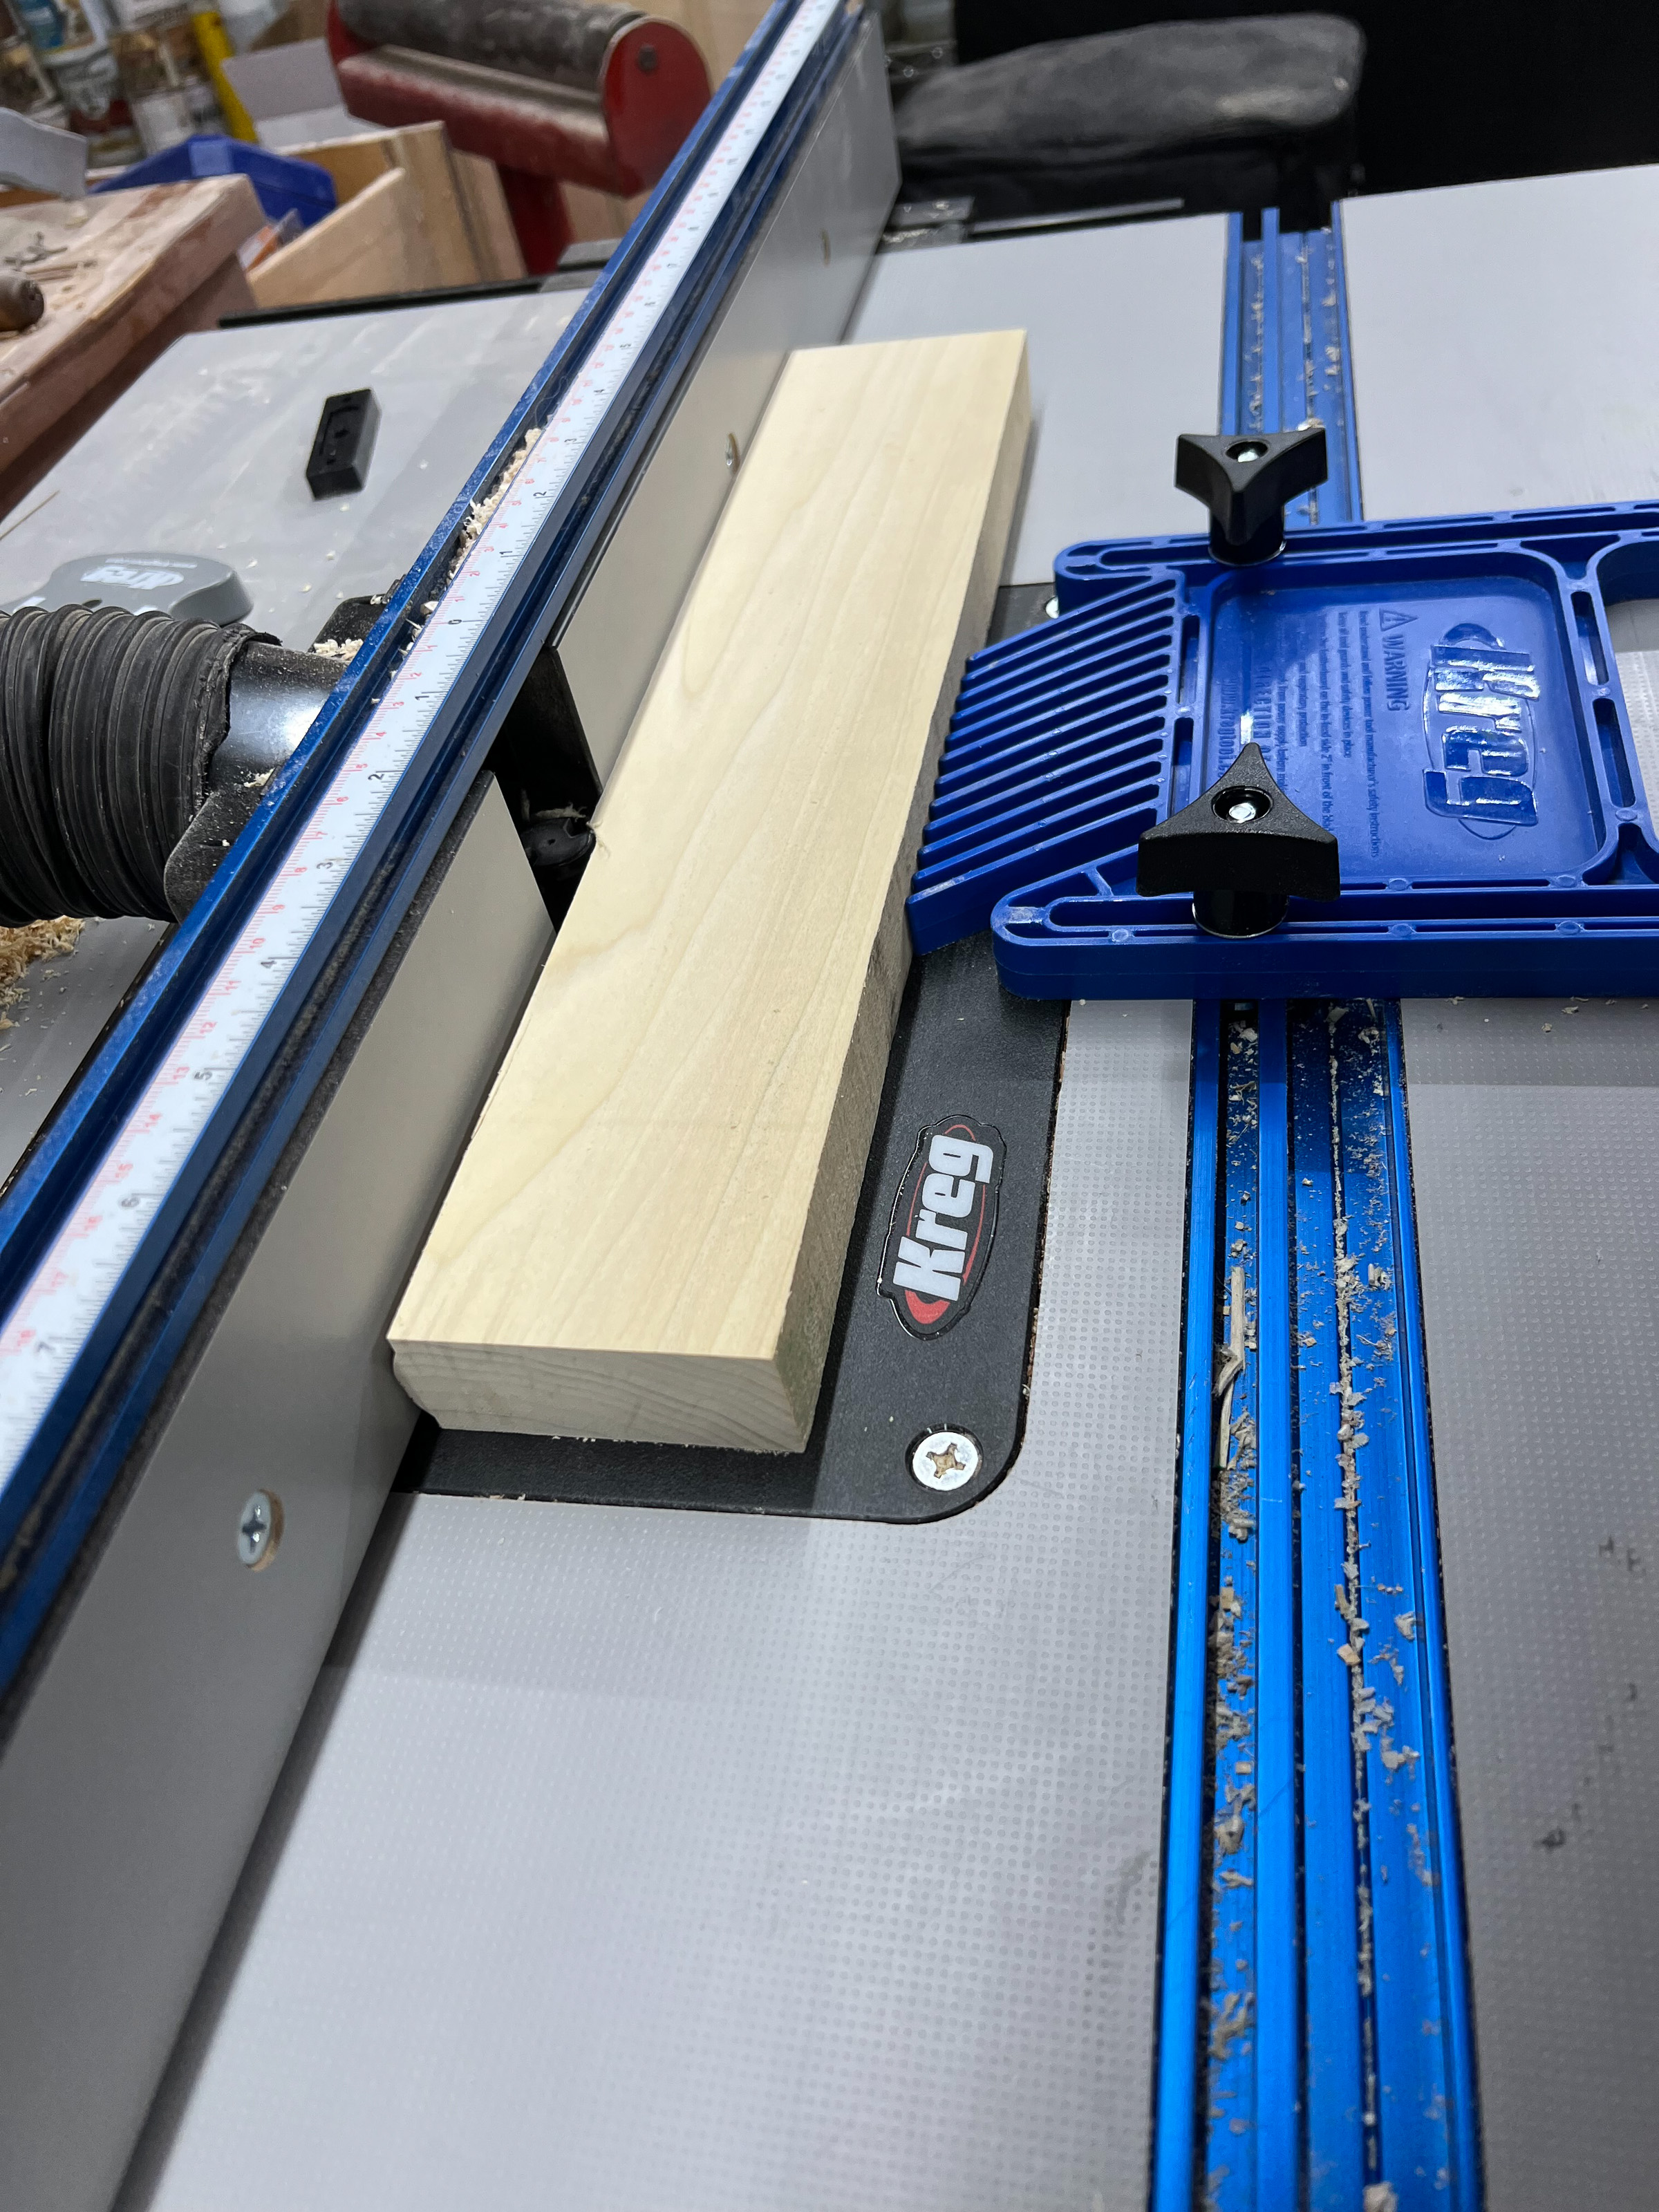
Route the bullnose
Using a Bullnose router bit we routed the face of a 7/8" board, then cut the pieces on the table saw.
-
Shelf face details
Glue and nail the shelf face details.
-
All done!
You're ready for prime an paint!