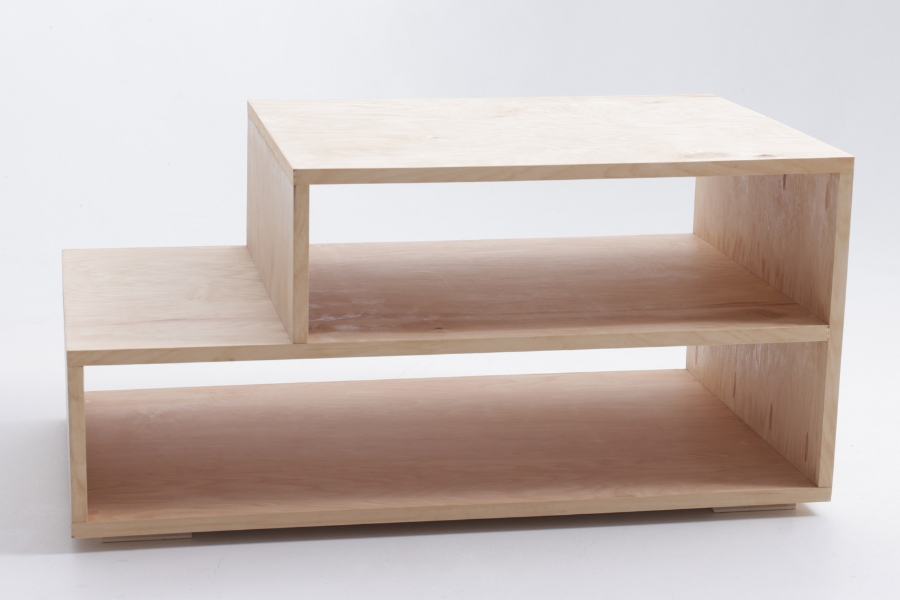


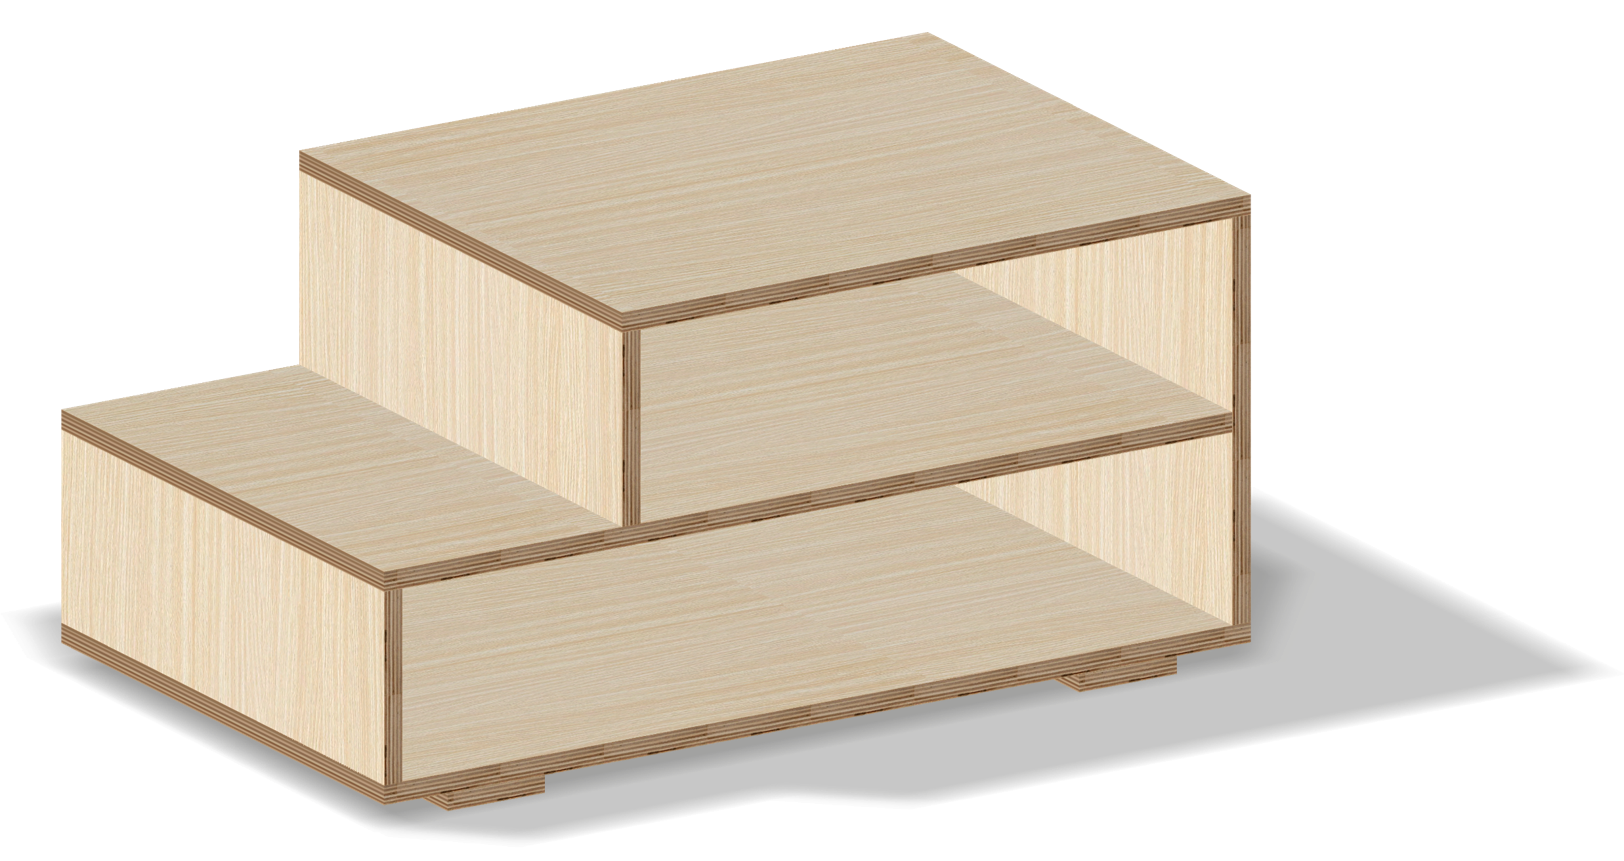
Craft a striking centerpiece with our DIY coffee table plan, seamlessly blending architectural flair with practicality. With its distinctive shape and three shelves, it offers ample open storage for showcasing your belongings. Easy to assemble and quick to build, this sleek design instantly adds a contemporary touch to your living space.
Tools
Kreg Tools


Other Tools
-
Tape Measure

-
Flush-Cut Pull Saw
Materials
Wood Products
- 1 Sheet of 3/4" Plywood , 4'x8'
Hardware & Supplies
- 28 1-1/4" Coarse Pocket Hole Screws
- 1 Pack of iron-on edge banding to match plywood (optional)
- 1 Quart sized can of Arm-R-Seal By General Finishes
- 1 Quart sized can of Stain (optional)
- 1 Wood Glue
- 16 1-1/4" 18G Brad Nails (optional)
Cut List & Parts
- 1 Top Panel , 25-3/4” x 21-5/8” x 3/4"
- 2 Shelf Risers , 7-1/8” x 21-5/8” x 3/4"
- 1 Tall Side Panel , 15” x 21-5/8” x 3/4"
- 1 Base Shelf , 35-1/2” x 21-5/8”
- 1 Middle Shelf , 34-3/4” x 21-5/8”
- 4 Feet , 4" x 4" x 3/4"

Directions
-
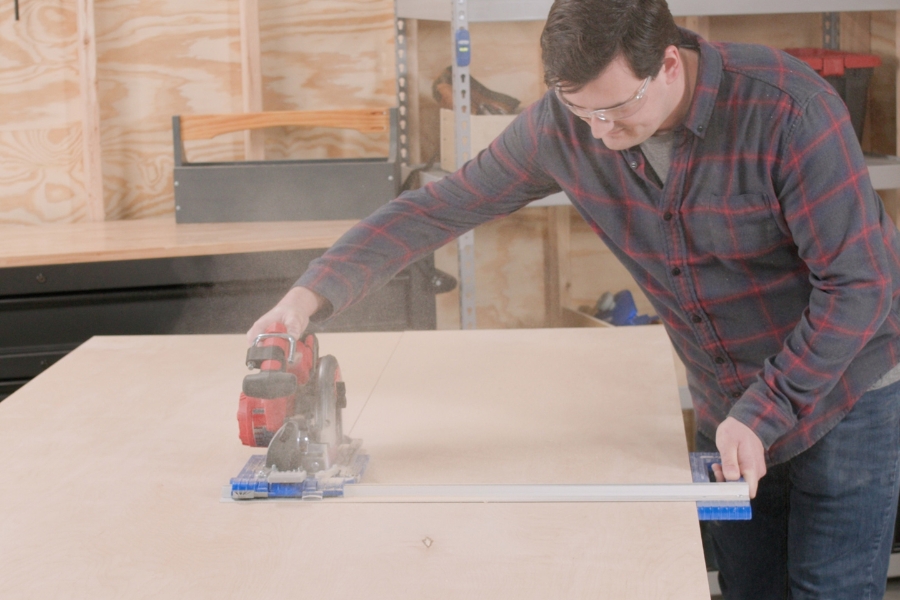
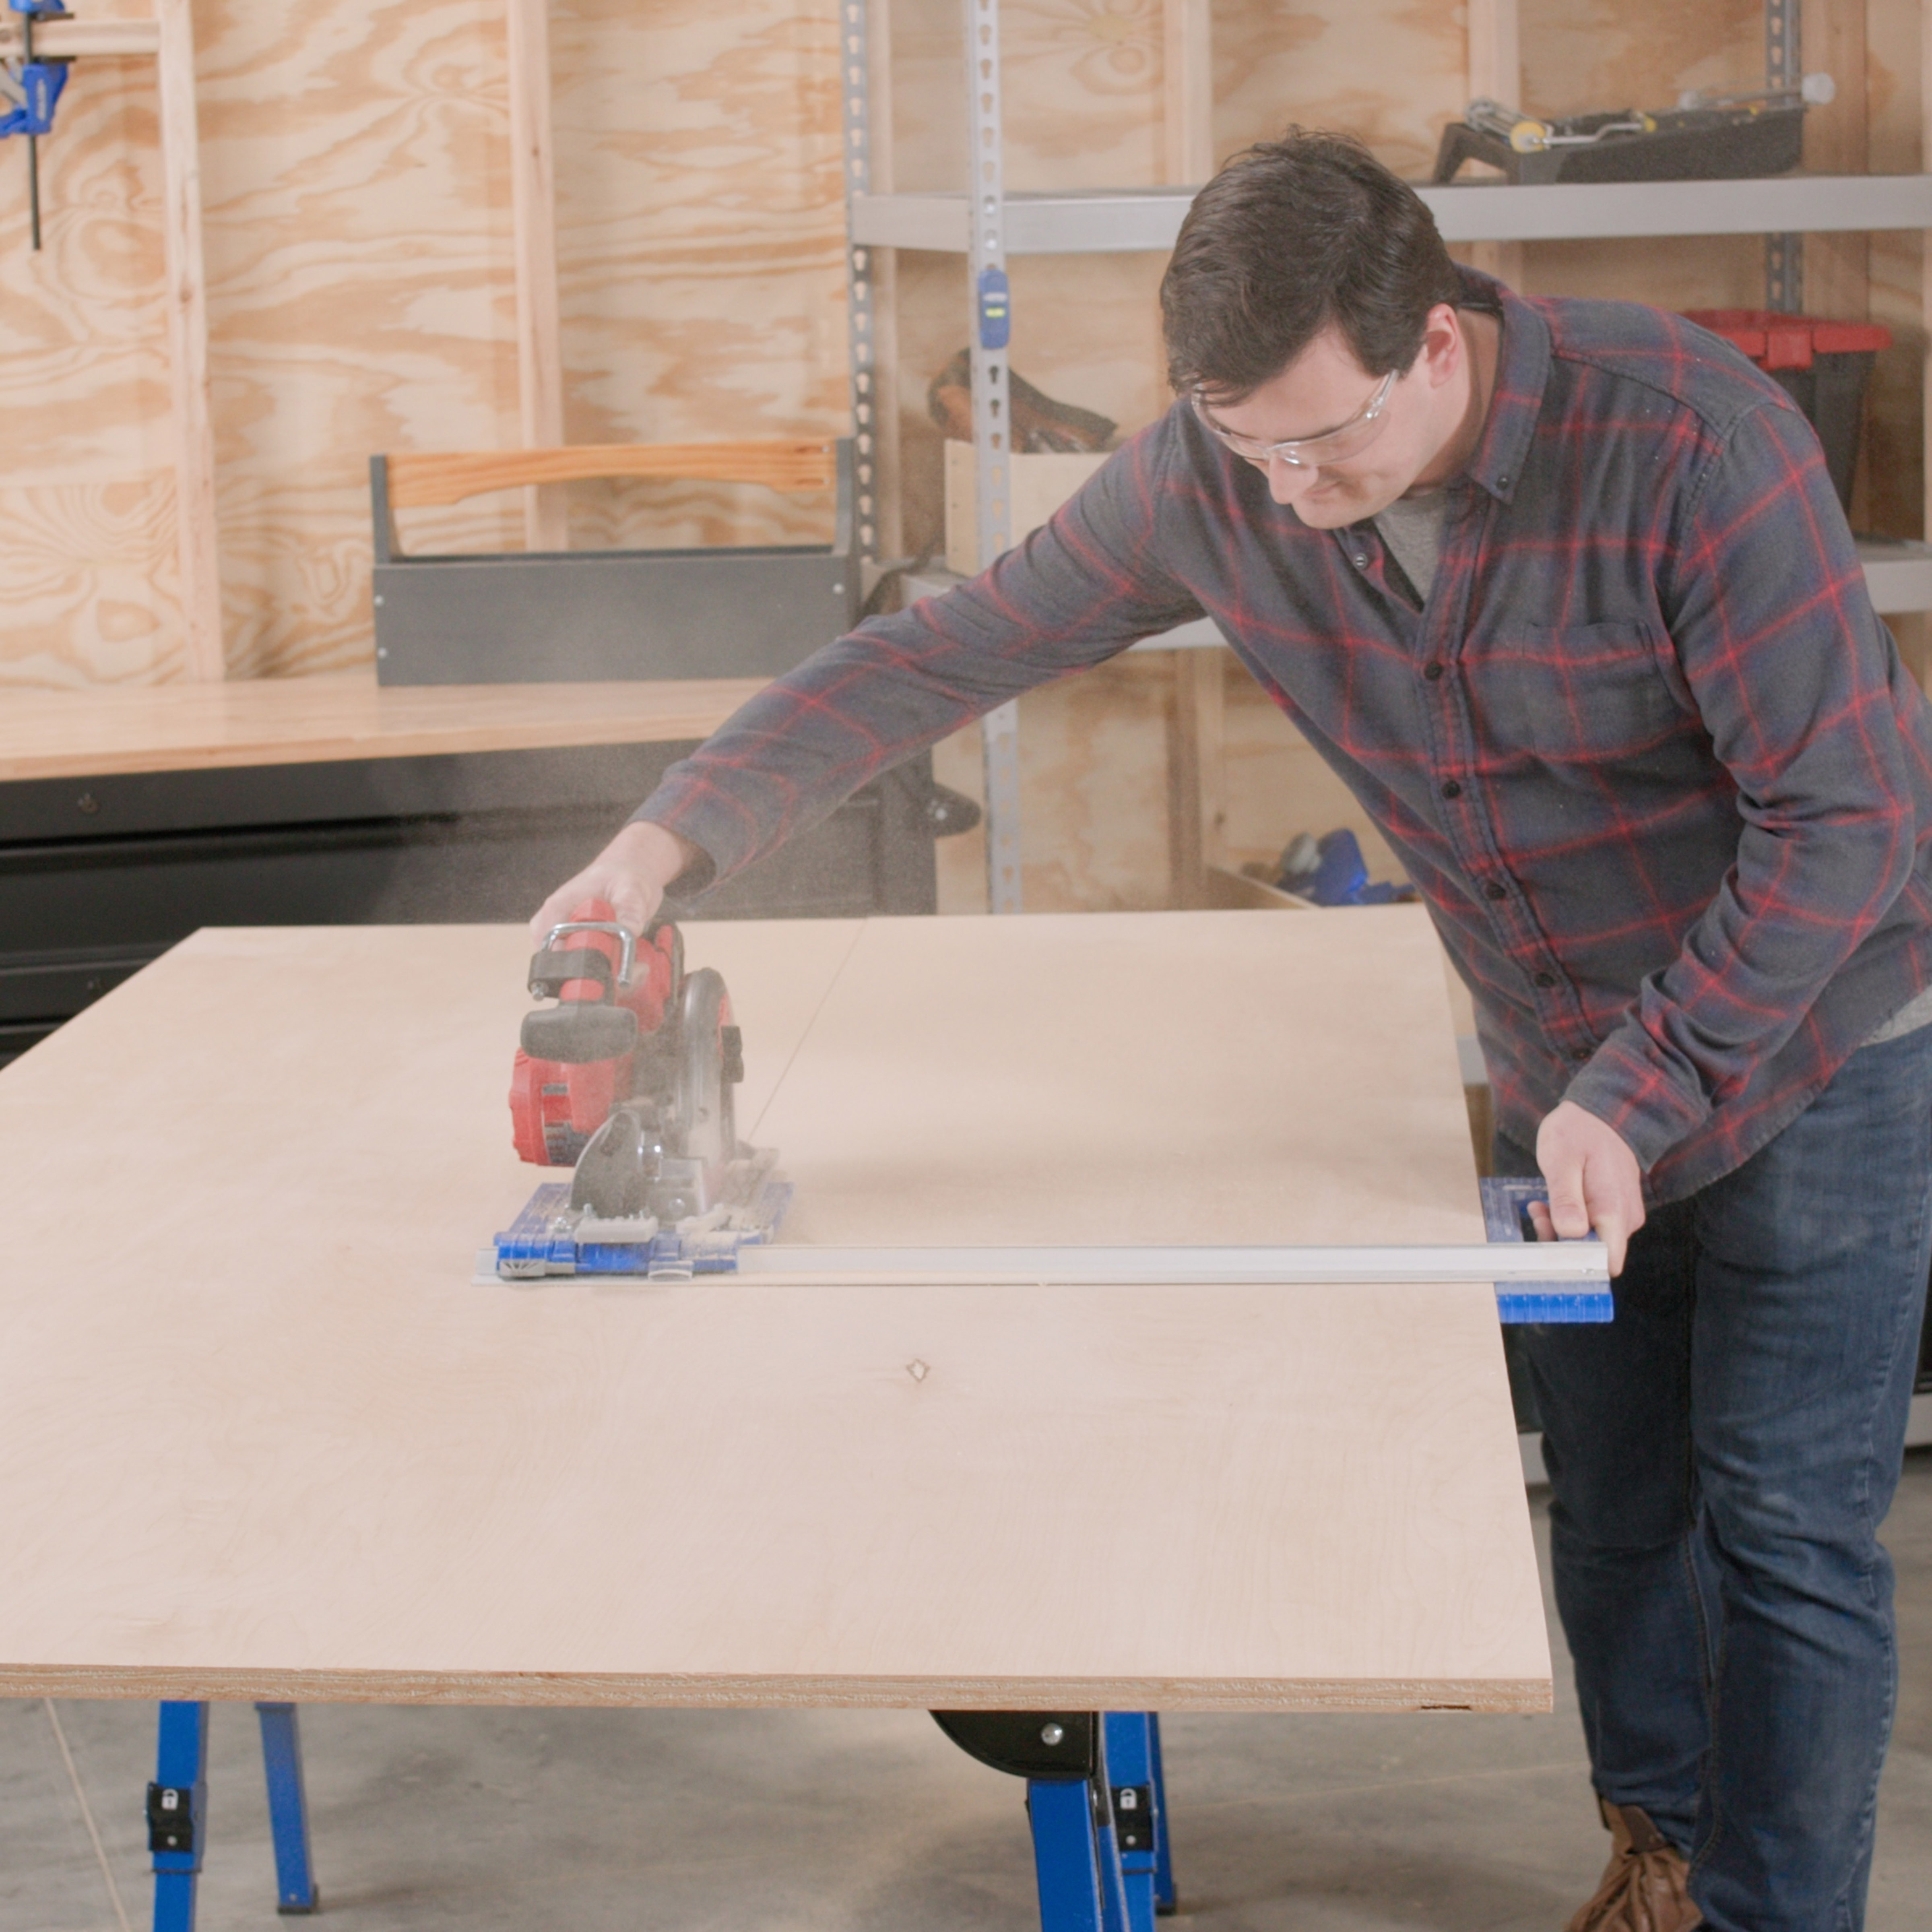
Cut Material
Cut material according to the cut list provided.
Start by ripping the plywood sheet into two 21-5/8" panels using the Kreg Rip-Cut, Accu-Cut, Track Saw or a table saw. Then cut those panels down to their appropriate final sizes.
-
Apply Edge Banding (optional)
Apply edge banding to the edges that will be exposed once the table is assembled (use the photo for reference).
Once the edge banding has been applied, trim the excess off as needed.
-
Drill Pocket Holes
Drill pocket holes in top and bottom of long sides of riser pieces and the Tall End Panel as well as one end of the middle shelf.

-
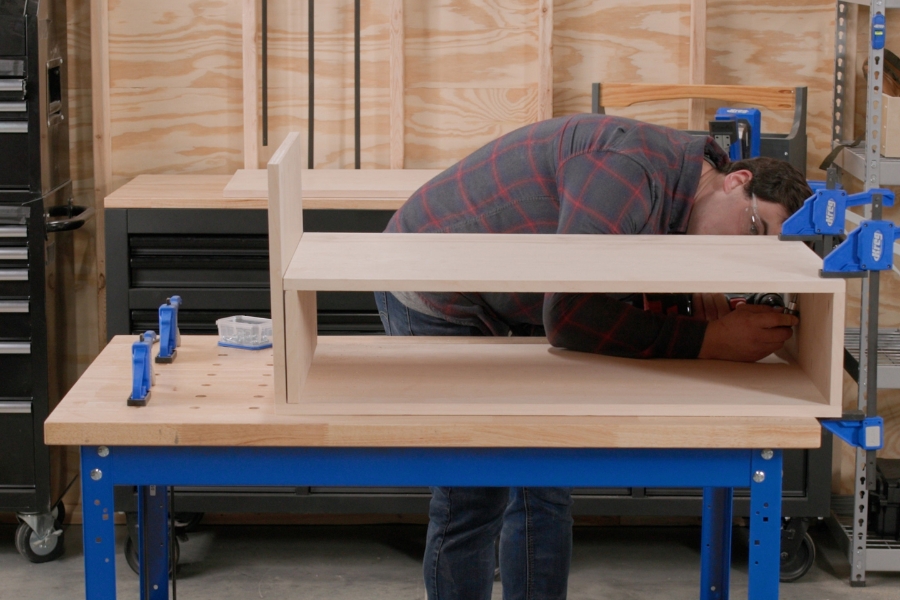
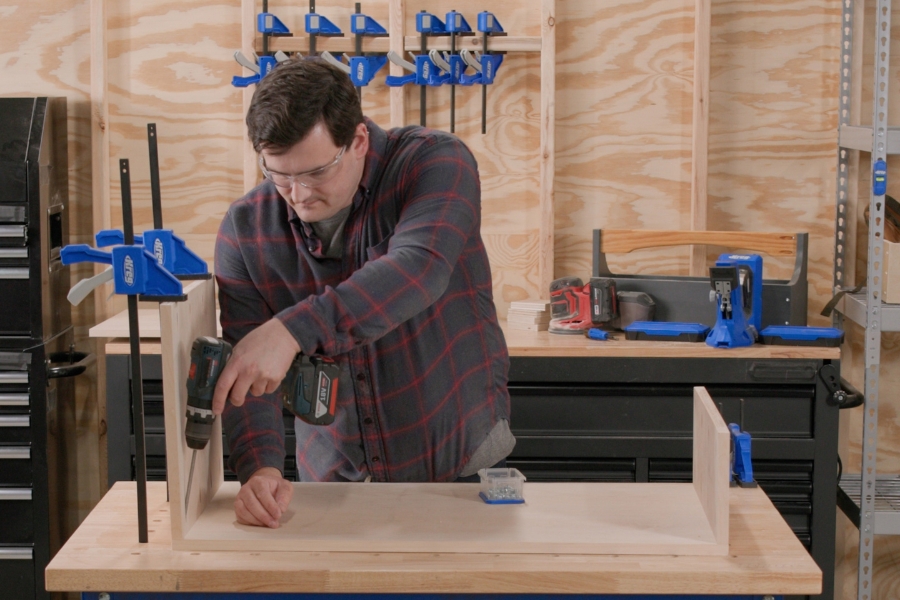
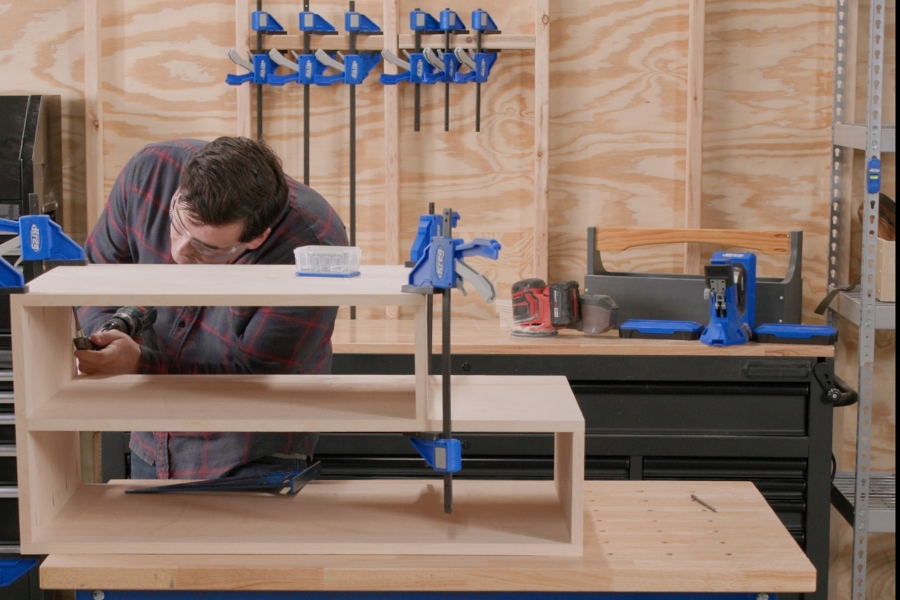
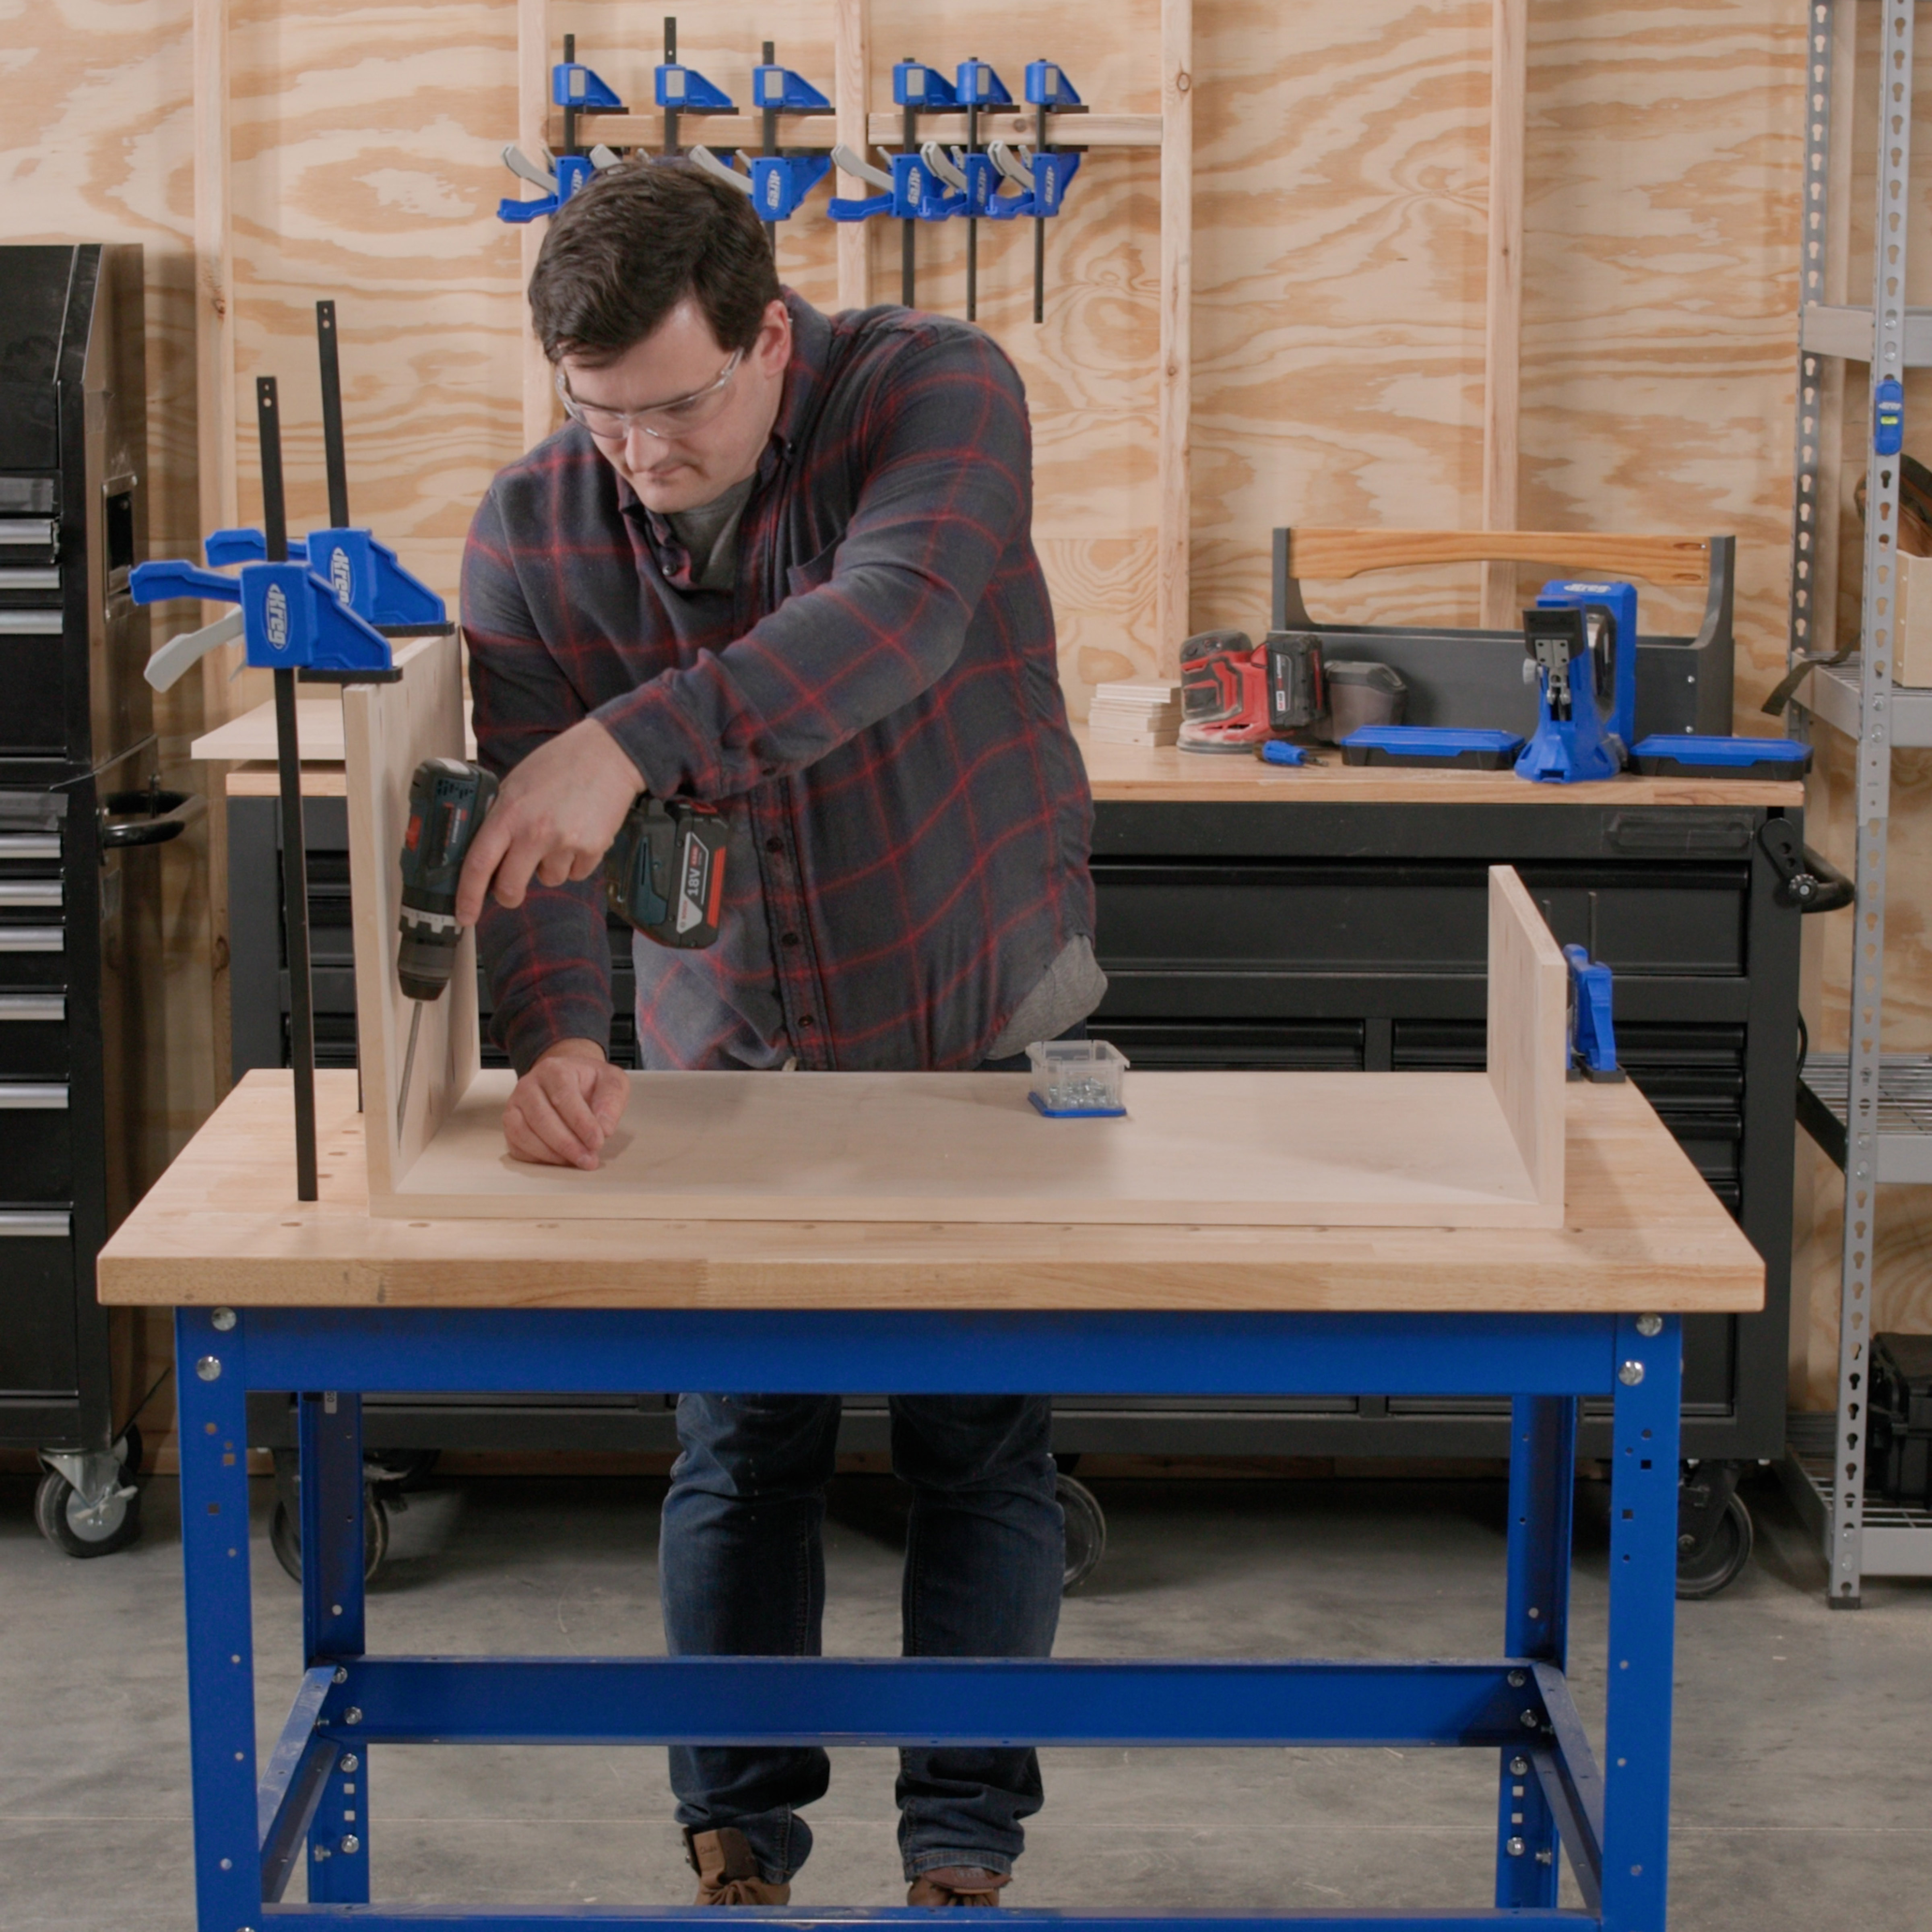
Assemble the table using pocket hole screws
Assemble the coffee table using 1-1/4" pocket hole screws. Start with the bottom and side panels. Add the middle shelf and finally the top.
-
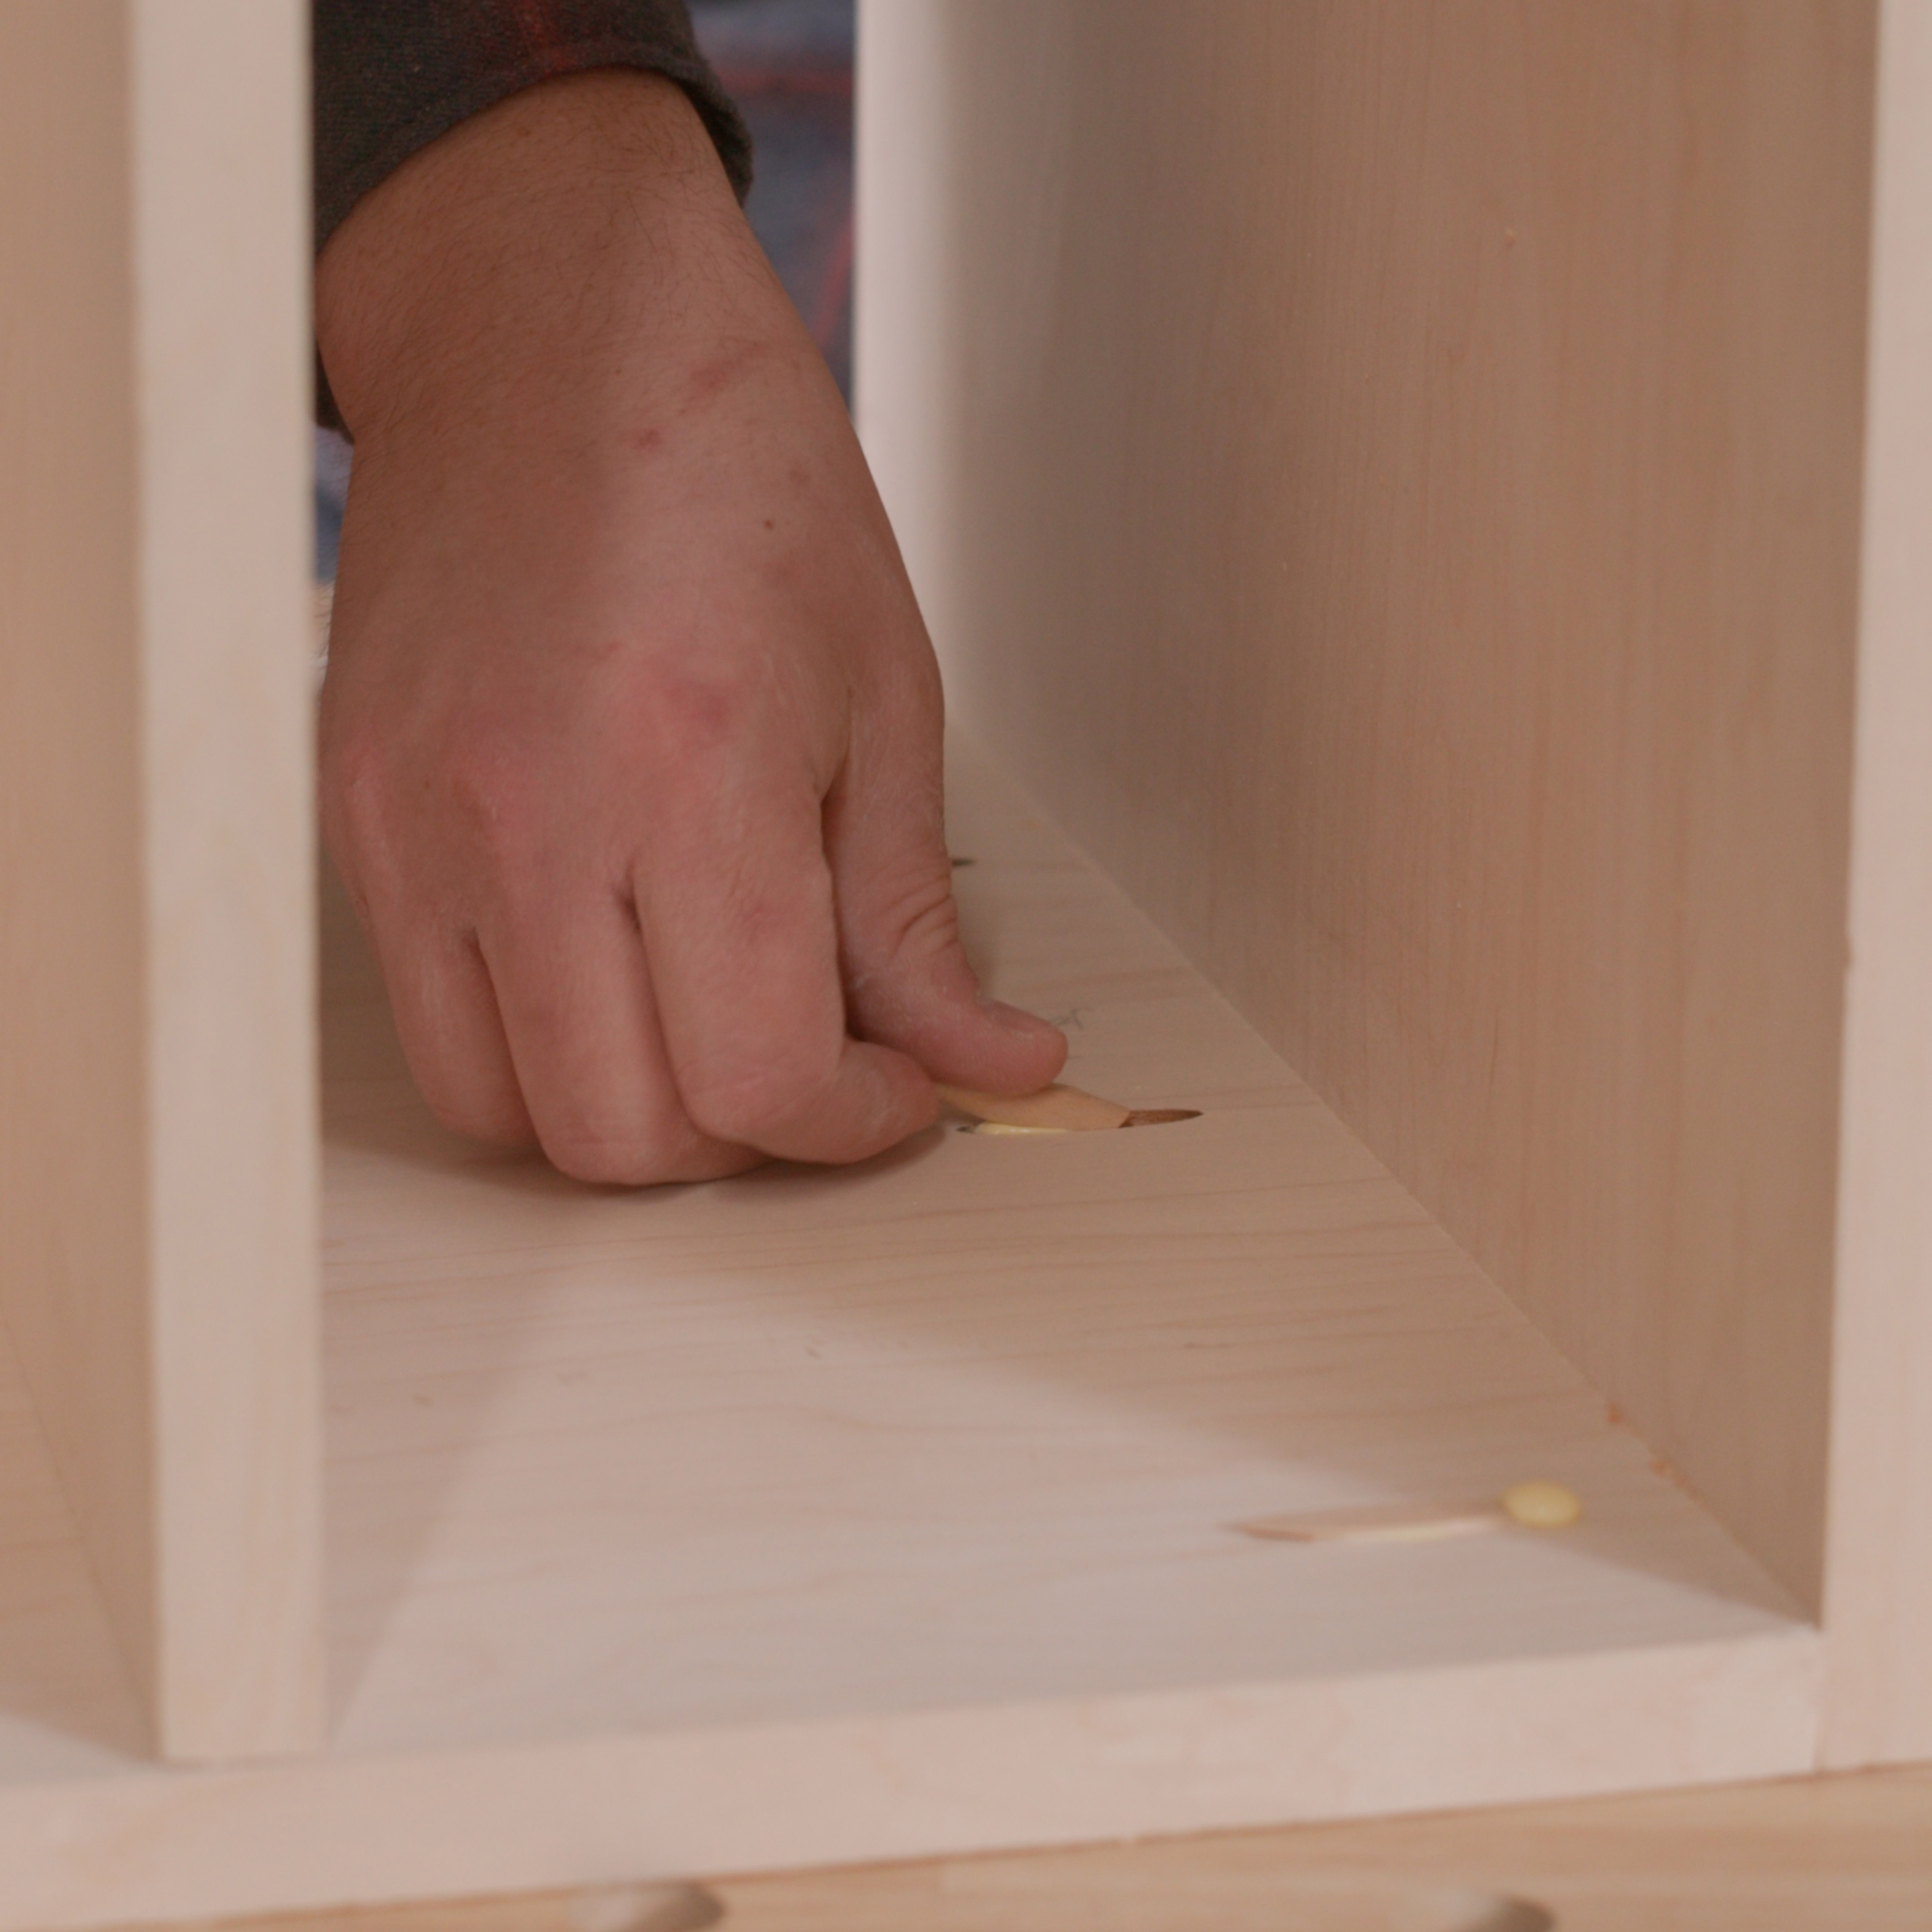
Plug Pocket Holes
Plug pocket holes using plugs that match your plywood veneers.
Be sure to trim and sand down the plugs for a smooth finished look.
-
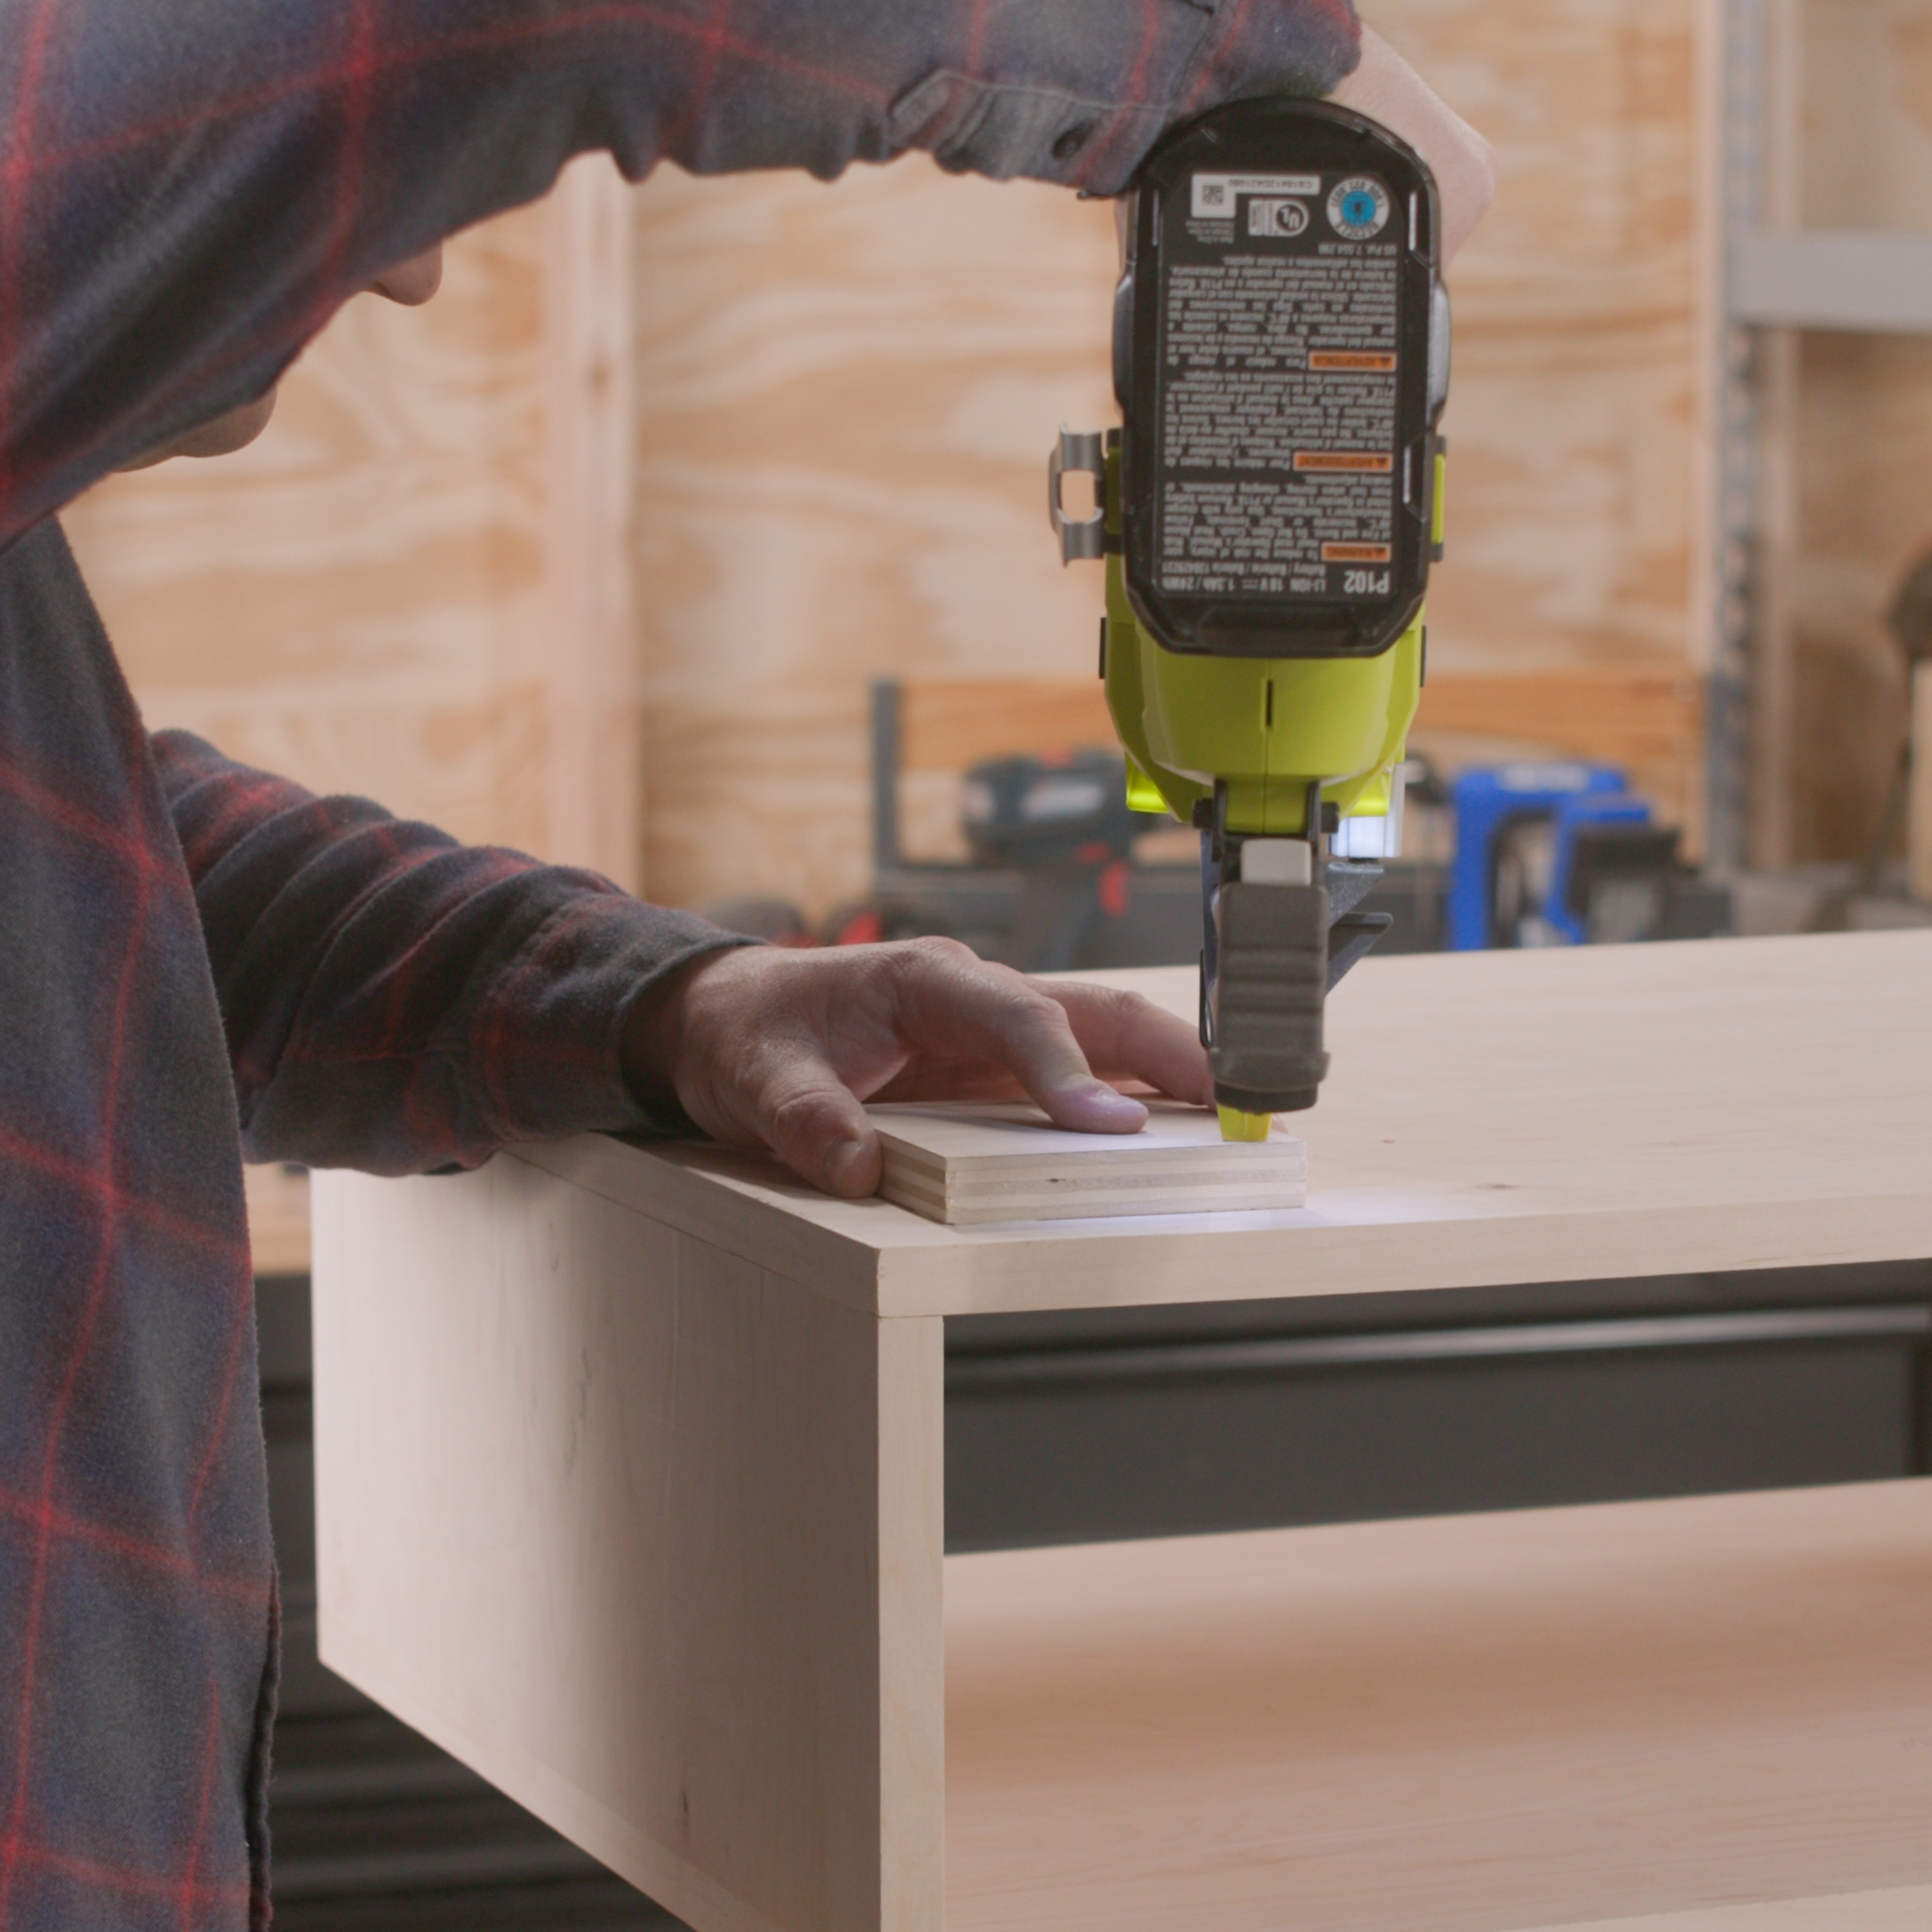
Attach 4"x4" feet
Attach the 4"x4" feet using 1-1/4" brand nails and glue.
Inset the feet about 1-1/4” from the outside edges of the bottom panel. To ensure consistency, use the Kreg Multi-Mark to lay out placement before attaching with brad nails and glue.
-
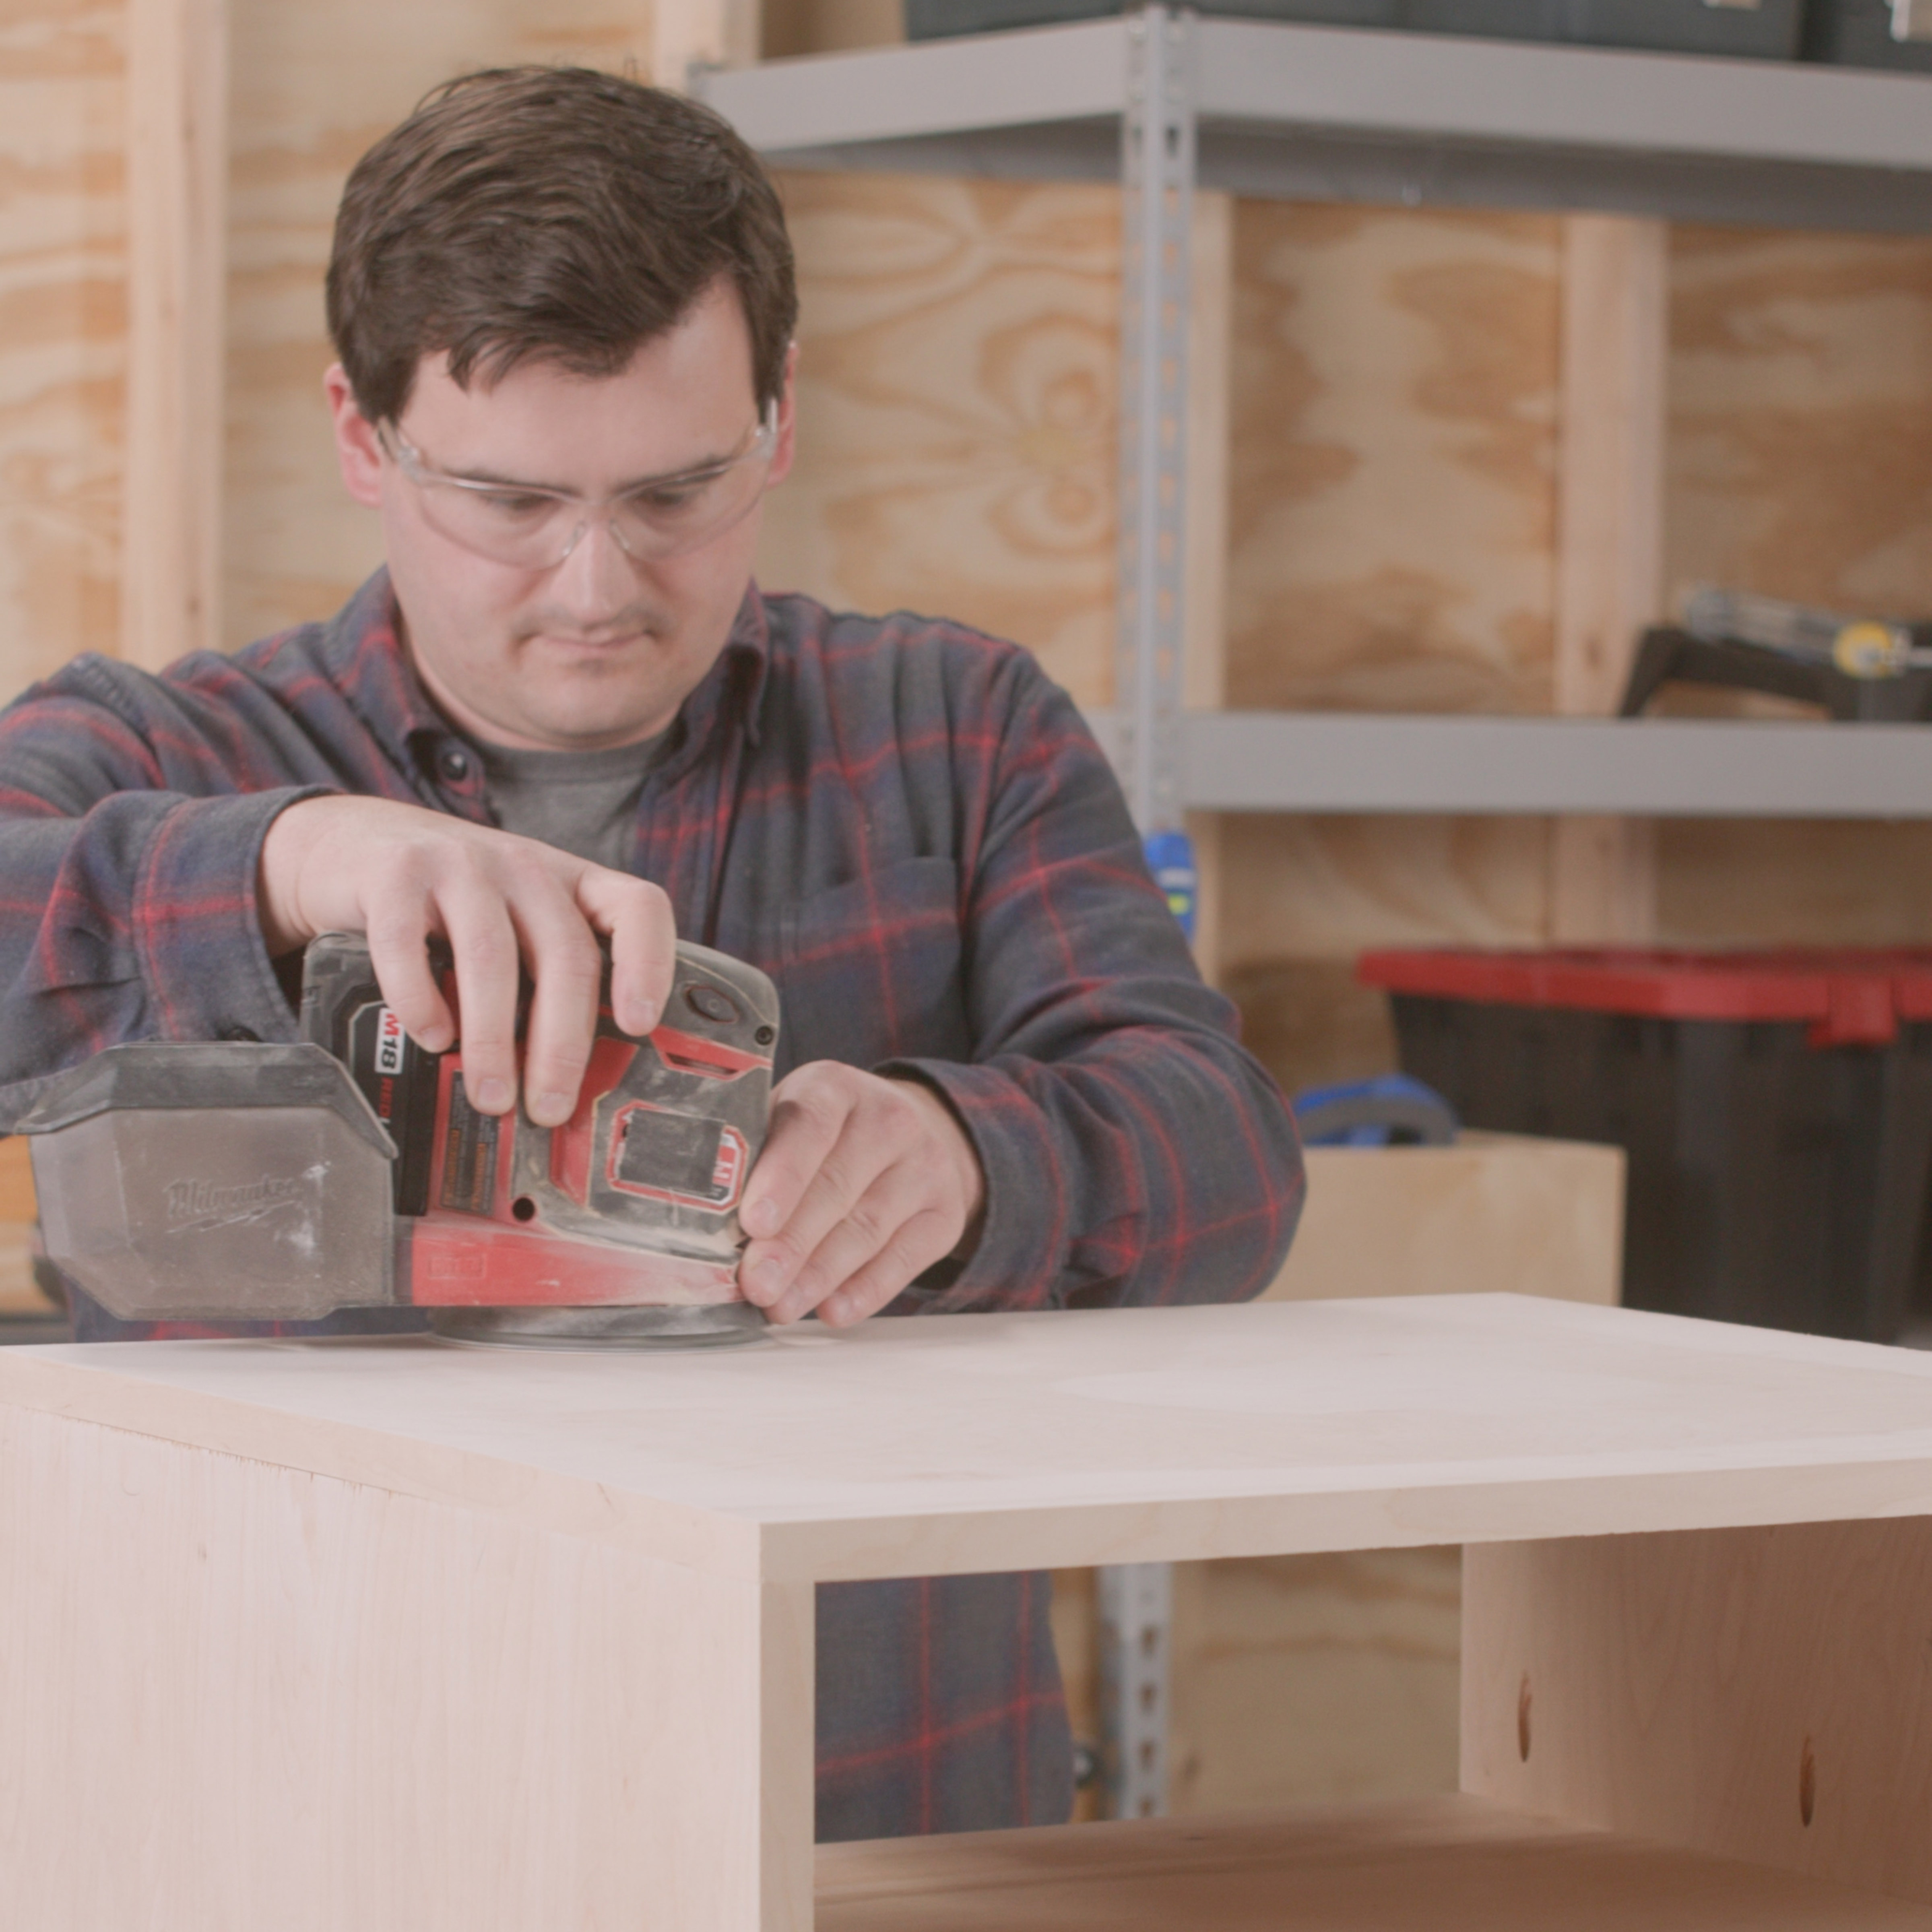
Prep for finish
Sand the table up to 220 grit to prep for finish. Be extremely careful not to sand through the plywood veneers or edge banding.
-
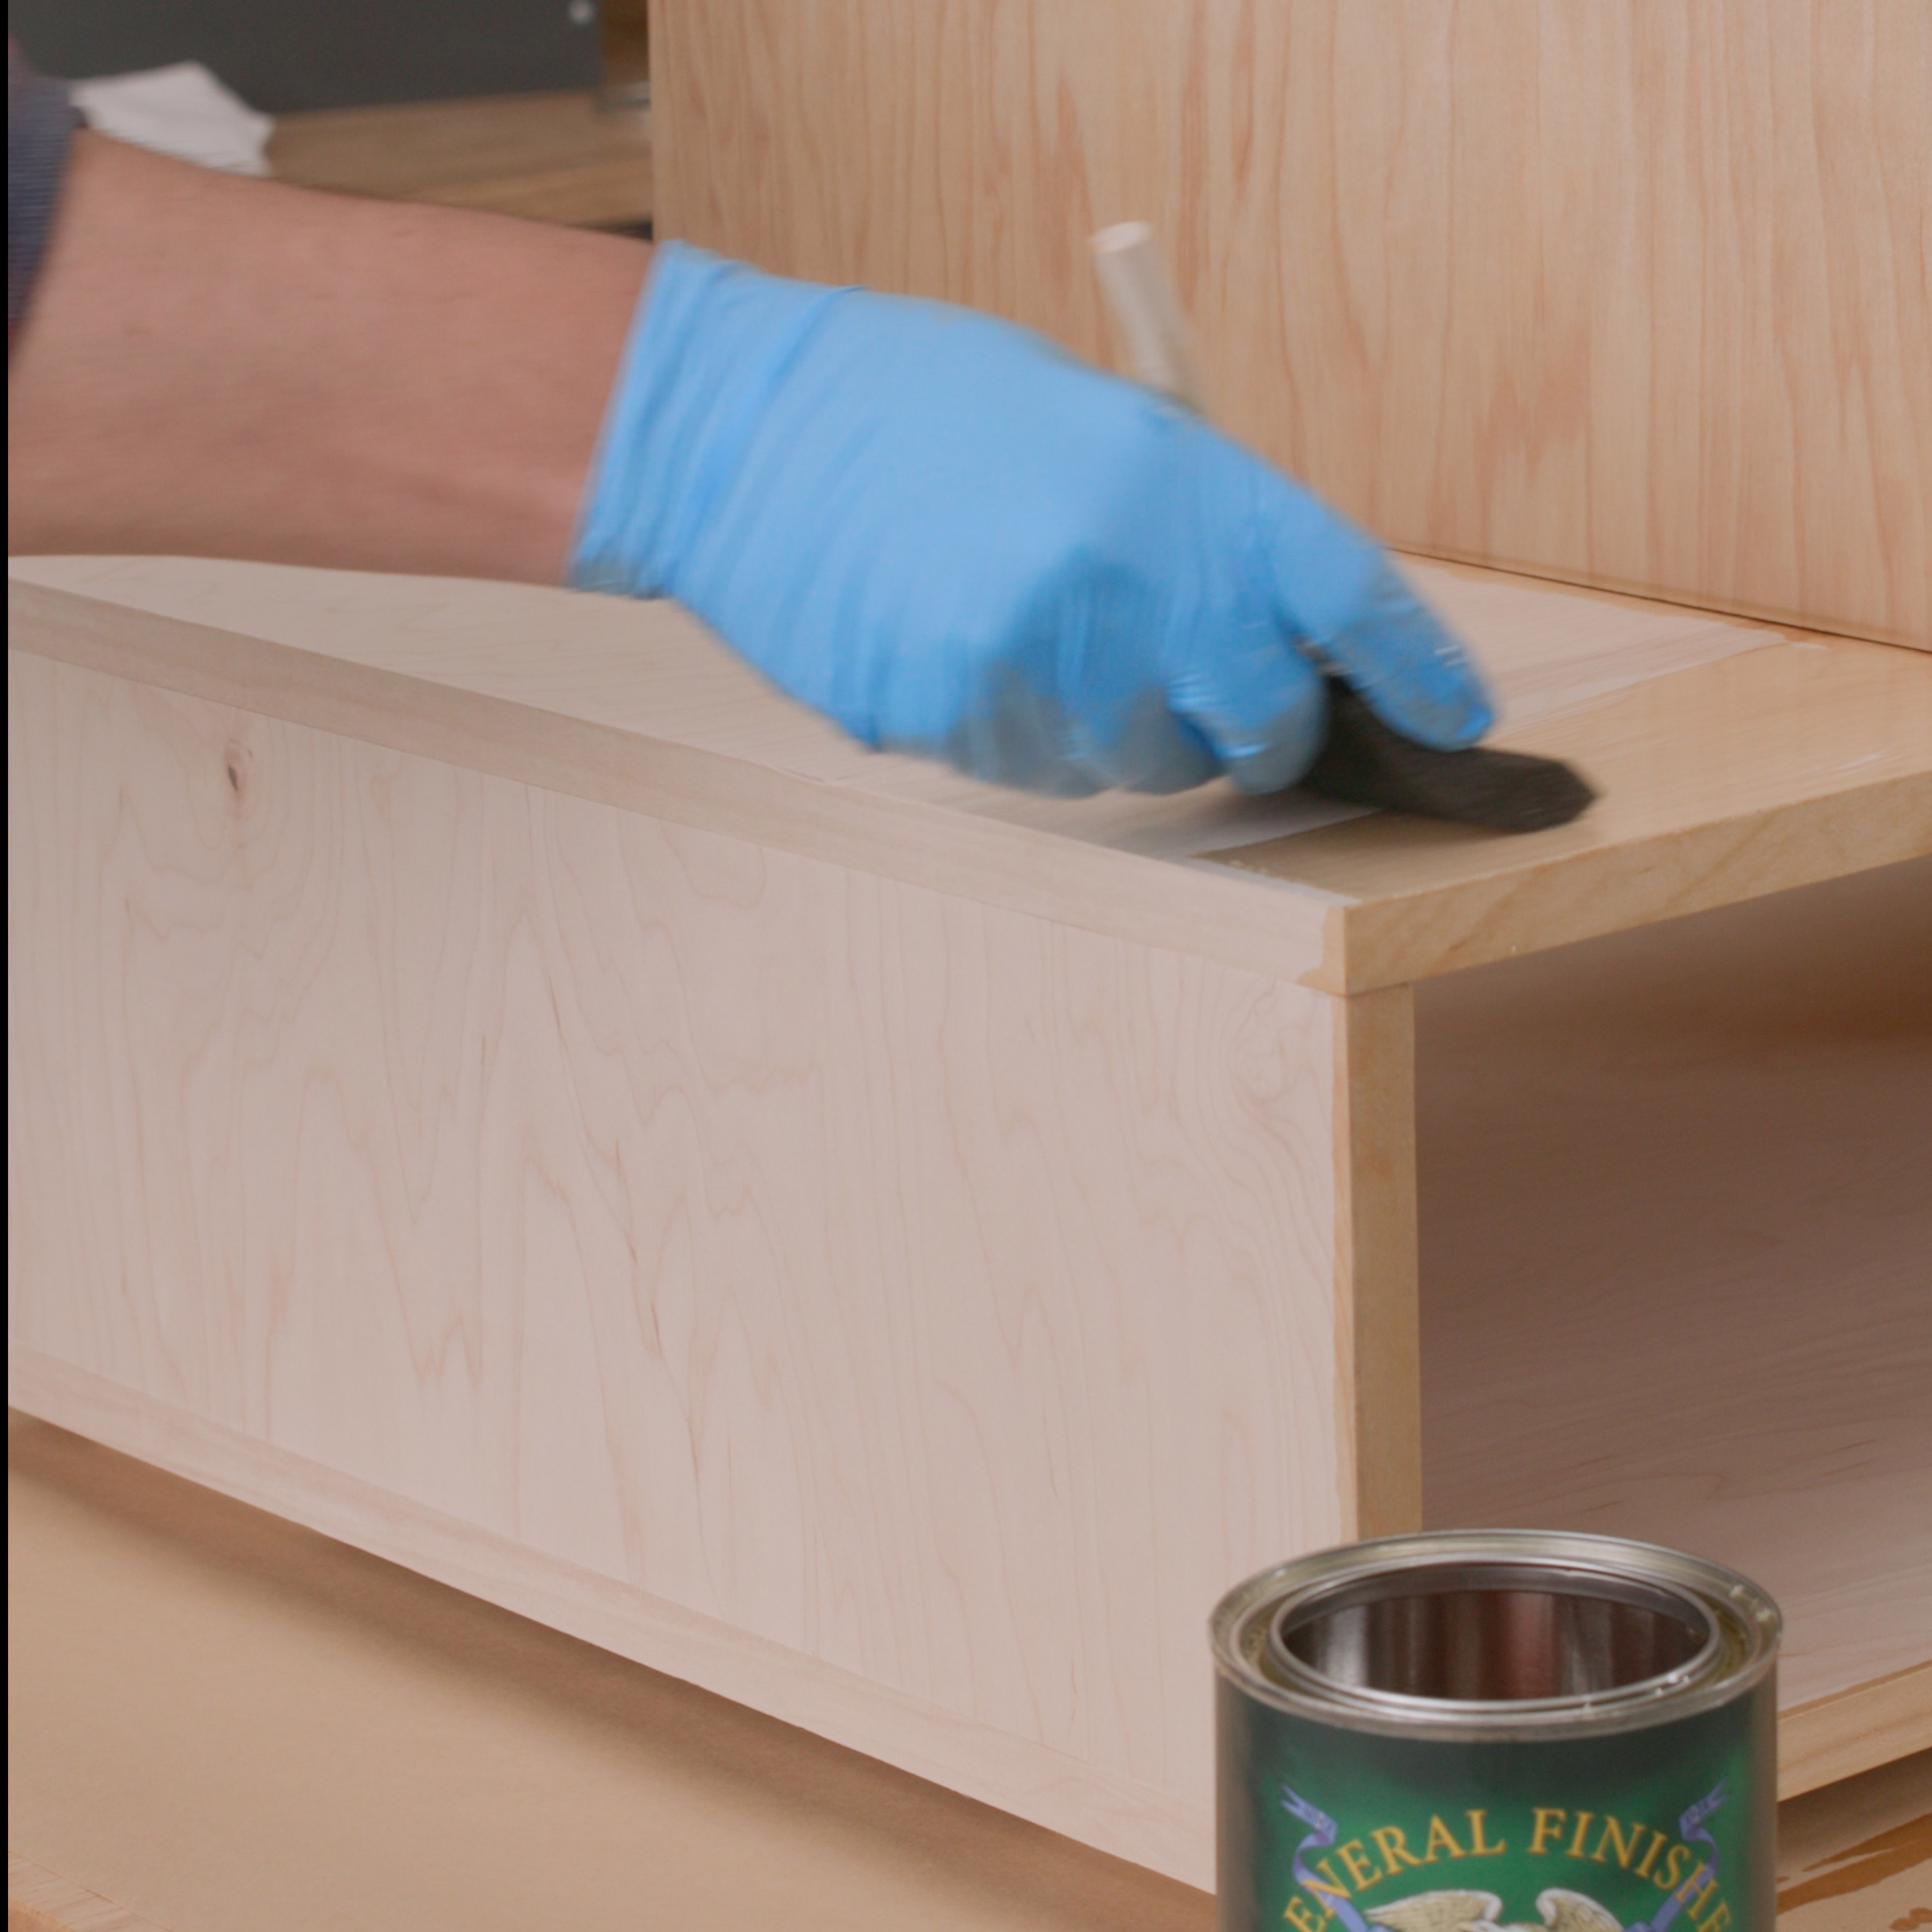
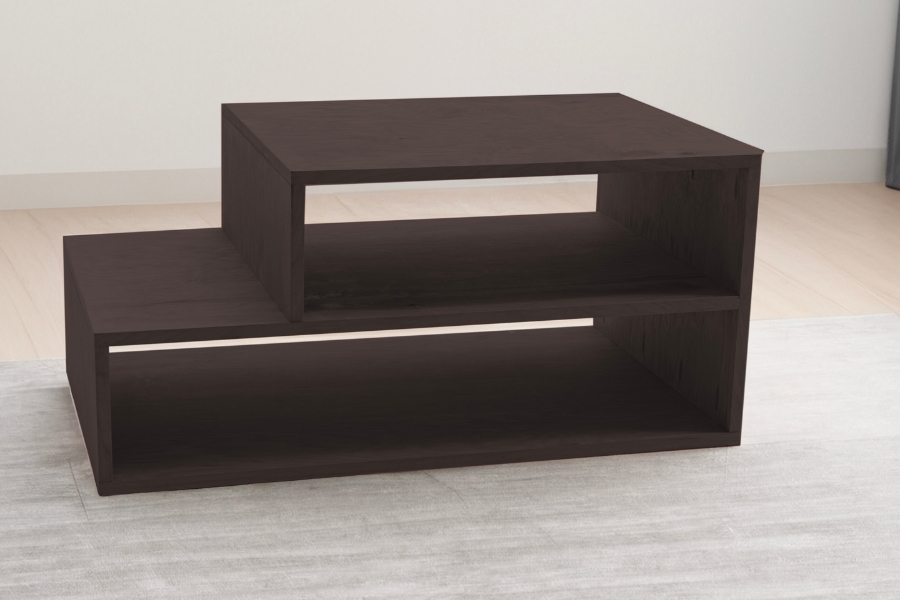
Add Finish
Paint or stain the coffee table to match your space. We recommend General Finishes Arm-A-Seal product as this will be a high-use item in our space and this finish holds up great. This finish also has a slight ambering effect, so we opted to skip stain.
Always follow the manufacturer's safety and application instructions when applying finish.