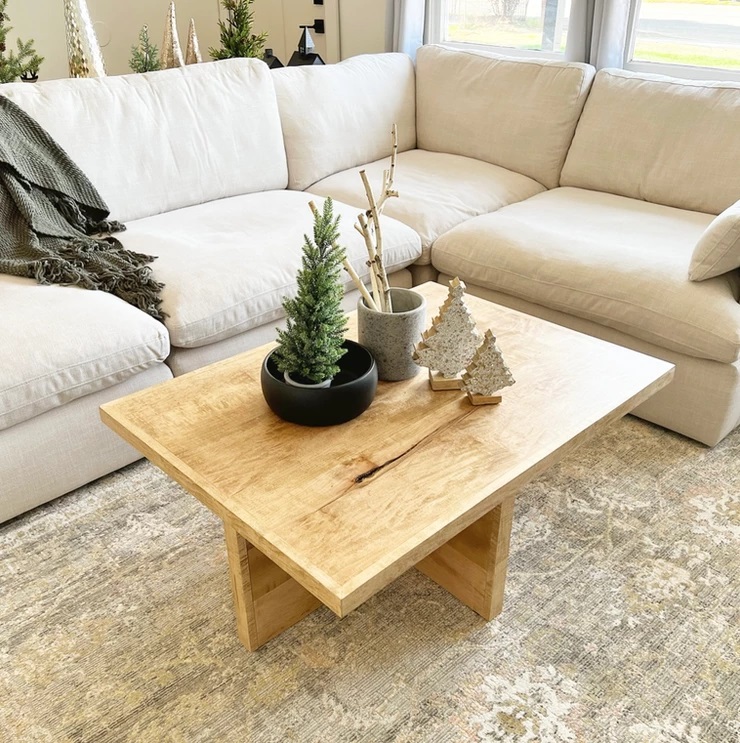
What do you do when you have a bunch of leftover maple from past client builds? Make yourself a modern-farmhouse coffee table, of course! This build was the PERFECT use of my scrap wood. Now I'm going to show you how to make one just like it! Let's go!
Tools
Kreg Tools


Other Tools
-
Table saw

-
Miter saw
-
120 & 220 grit sanding discs
-
Nail gun
-
at least 48" long clamps
Materials
Wood Products
- 3 Boards , 1 3/4" thick cut @ 5" x36"
- 6 Boards , 1 3/4" thick cut @ 5" x 11 1/8"
- 3 Boards , 1 1/4" thick cut @ 40" x 10"
- 1 Board , 3/4" thick cut @ 4" x 24"
- 2 Boards , 3/4" thick cut @ 4" x 16"
- 1 Board , 12' long, 3/4" thick
Hardware & Supplies
- 1 Wood glue
- 1 Stainable wood filler
- 1 Stain
- 1 Pair of gloves
- 1 Staining rag/sponge
- 1 Box 1 1/4" brad nails
Directions
-
Getting started
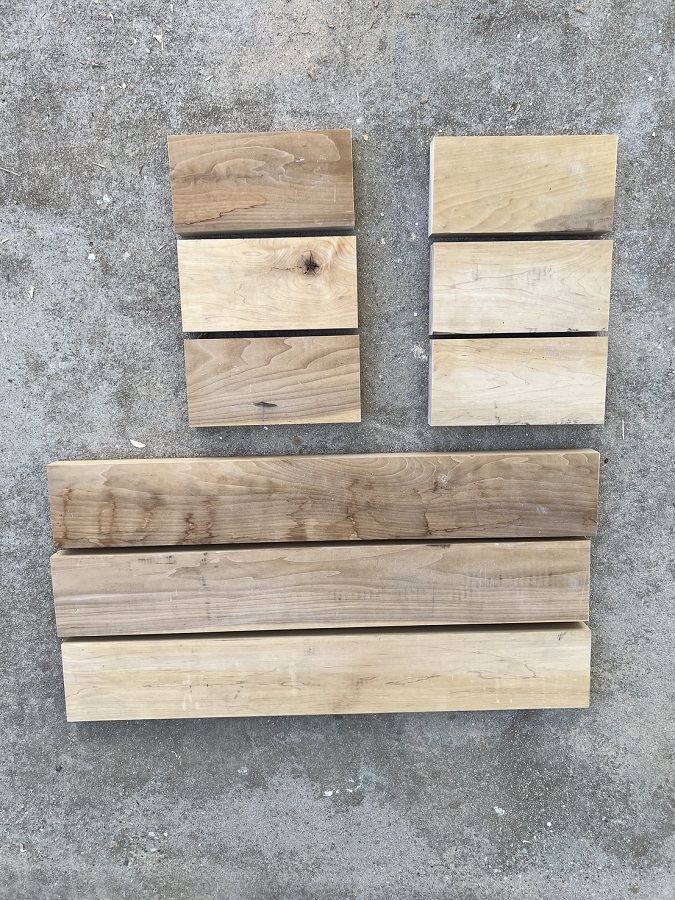
These are your starting pieces to create your coffee table base.
The cut list is listed above, under the materials (lumber) section.
These are your 3 boards @ 5" x 36" and 6 boards @ 5" x 11 1/8"
-
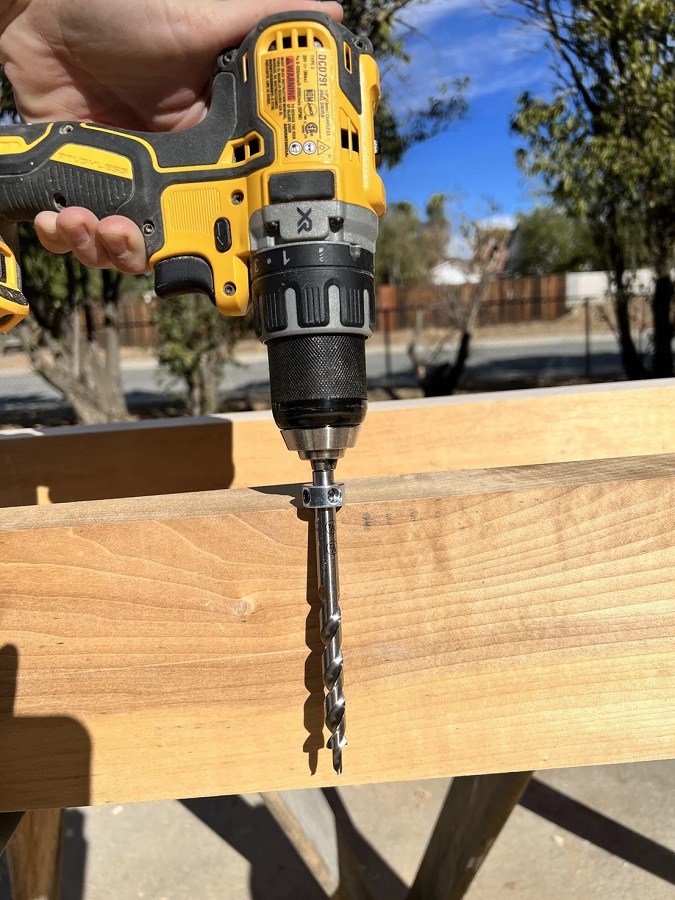
Drill base boards
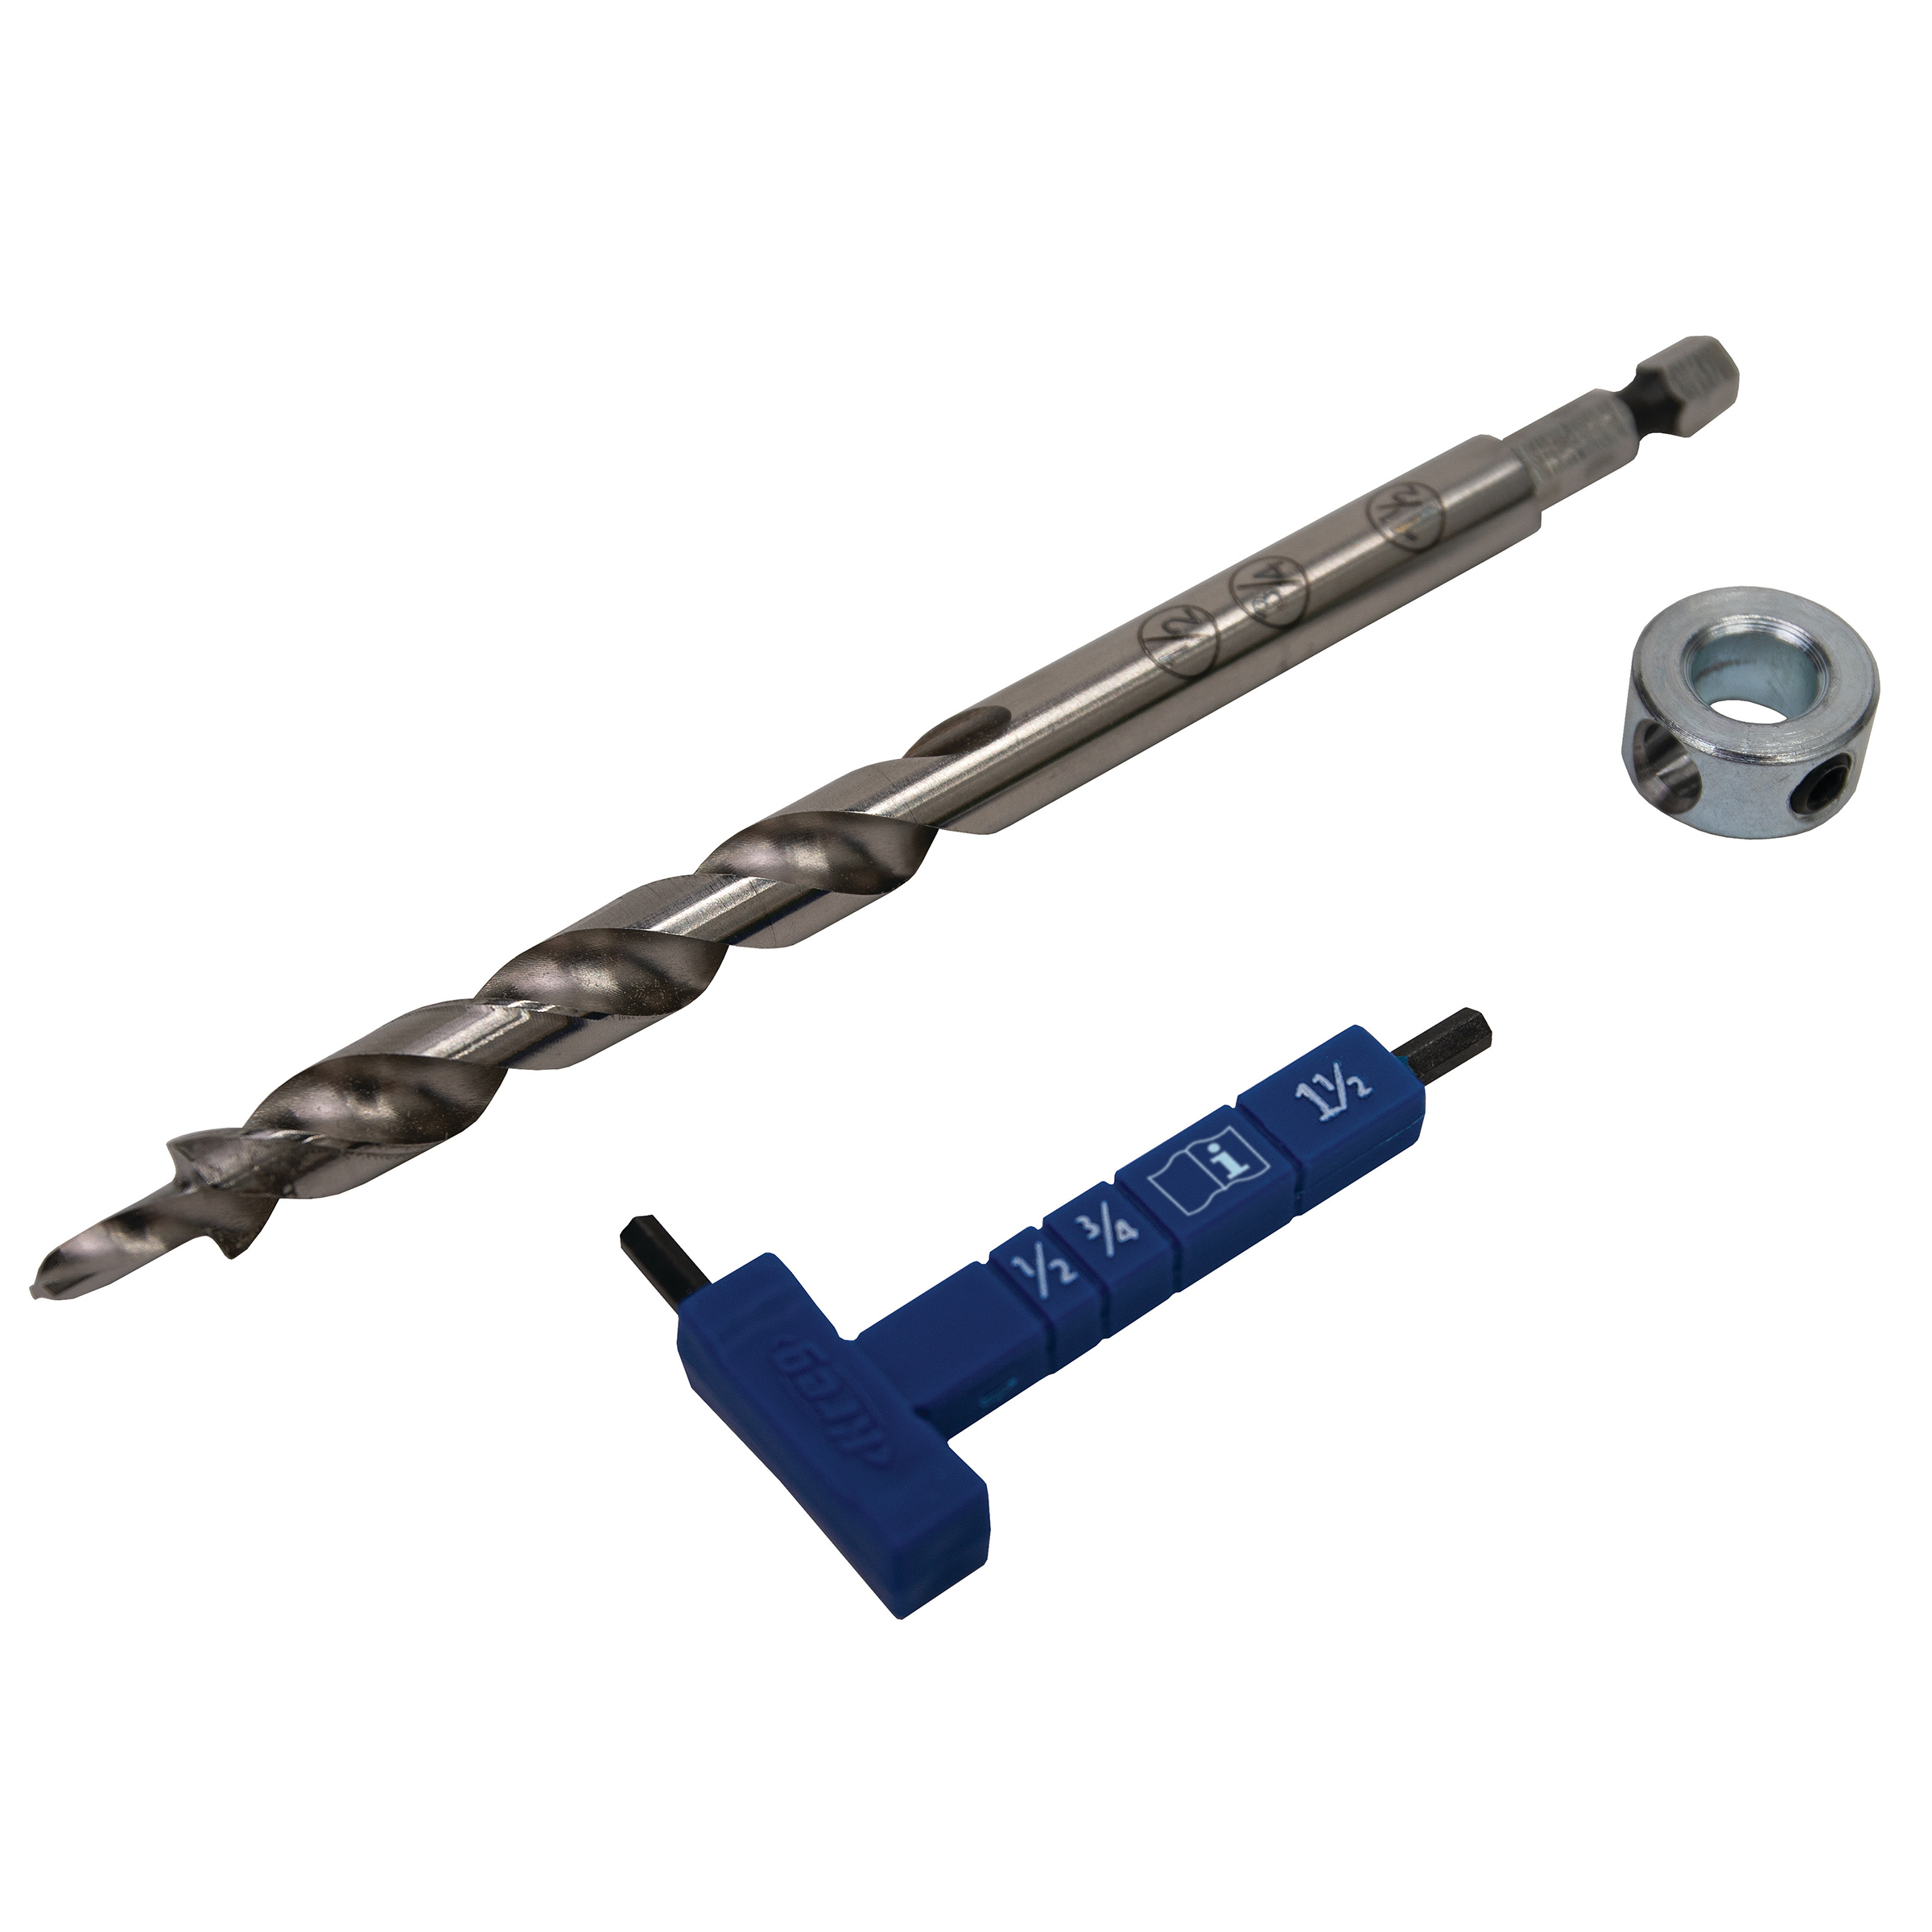
You're going to grab your Kreg 3/8" pocket-hole drill bit and set the collar so that your bit depth is 4 1/2" from the tip of the bit to the bottom of the collar. (photo below for reference)
Now we are ready to connect these pieces together to create that 15" high t-shaped coffee table base.
-
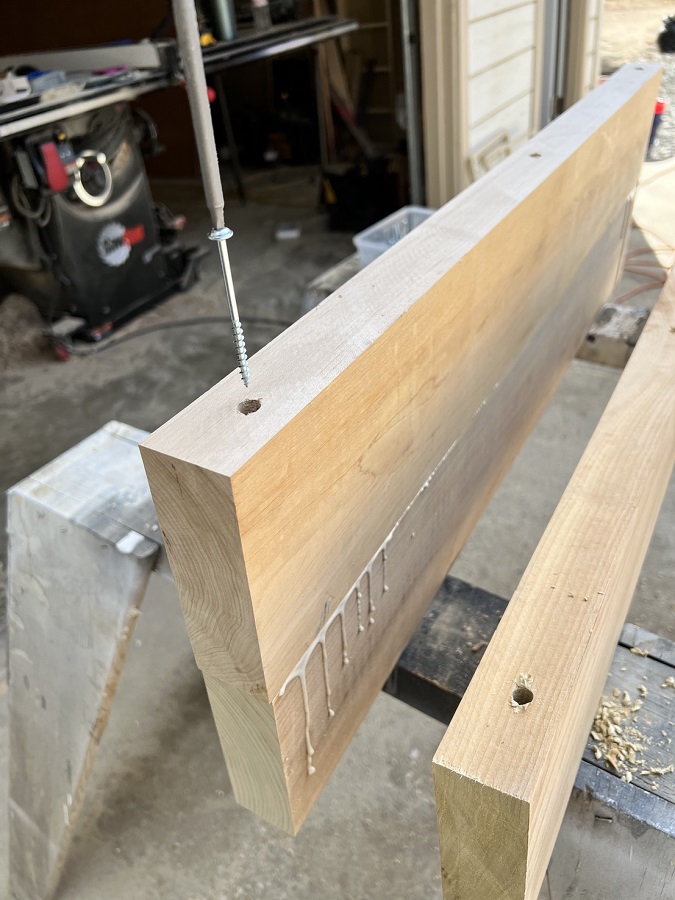
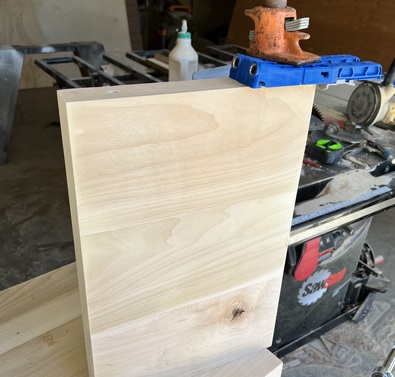
Glue and clamp boards
Drill three holes evenly spaced apart on two of the 36" long boards and four of the 11 1/8" long boards.
We are going to use these boards to sandwich on either side of the board with no holes to give us those 15"h pieces.
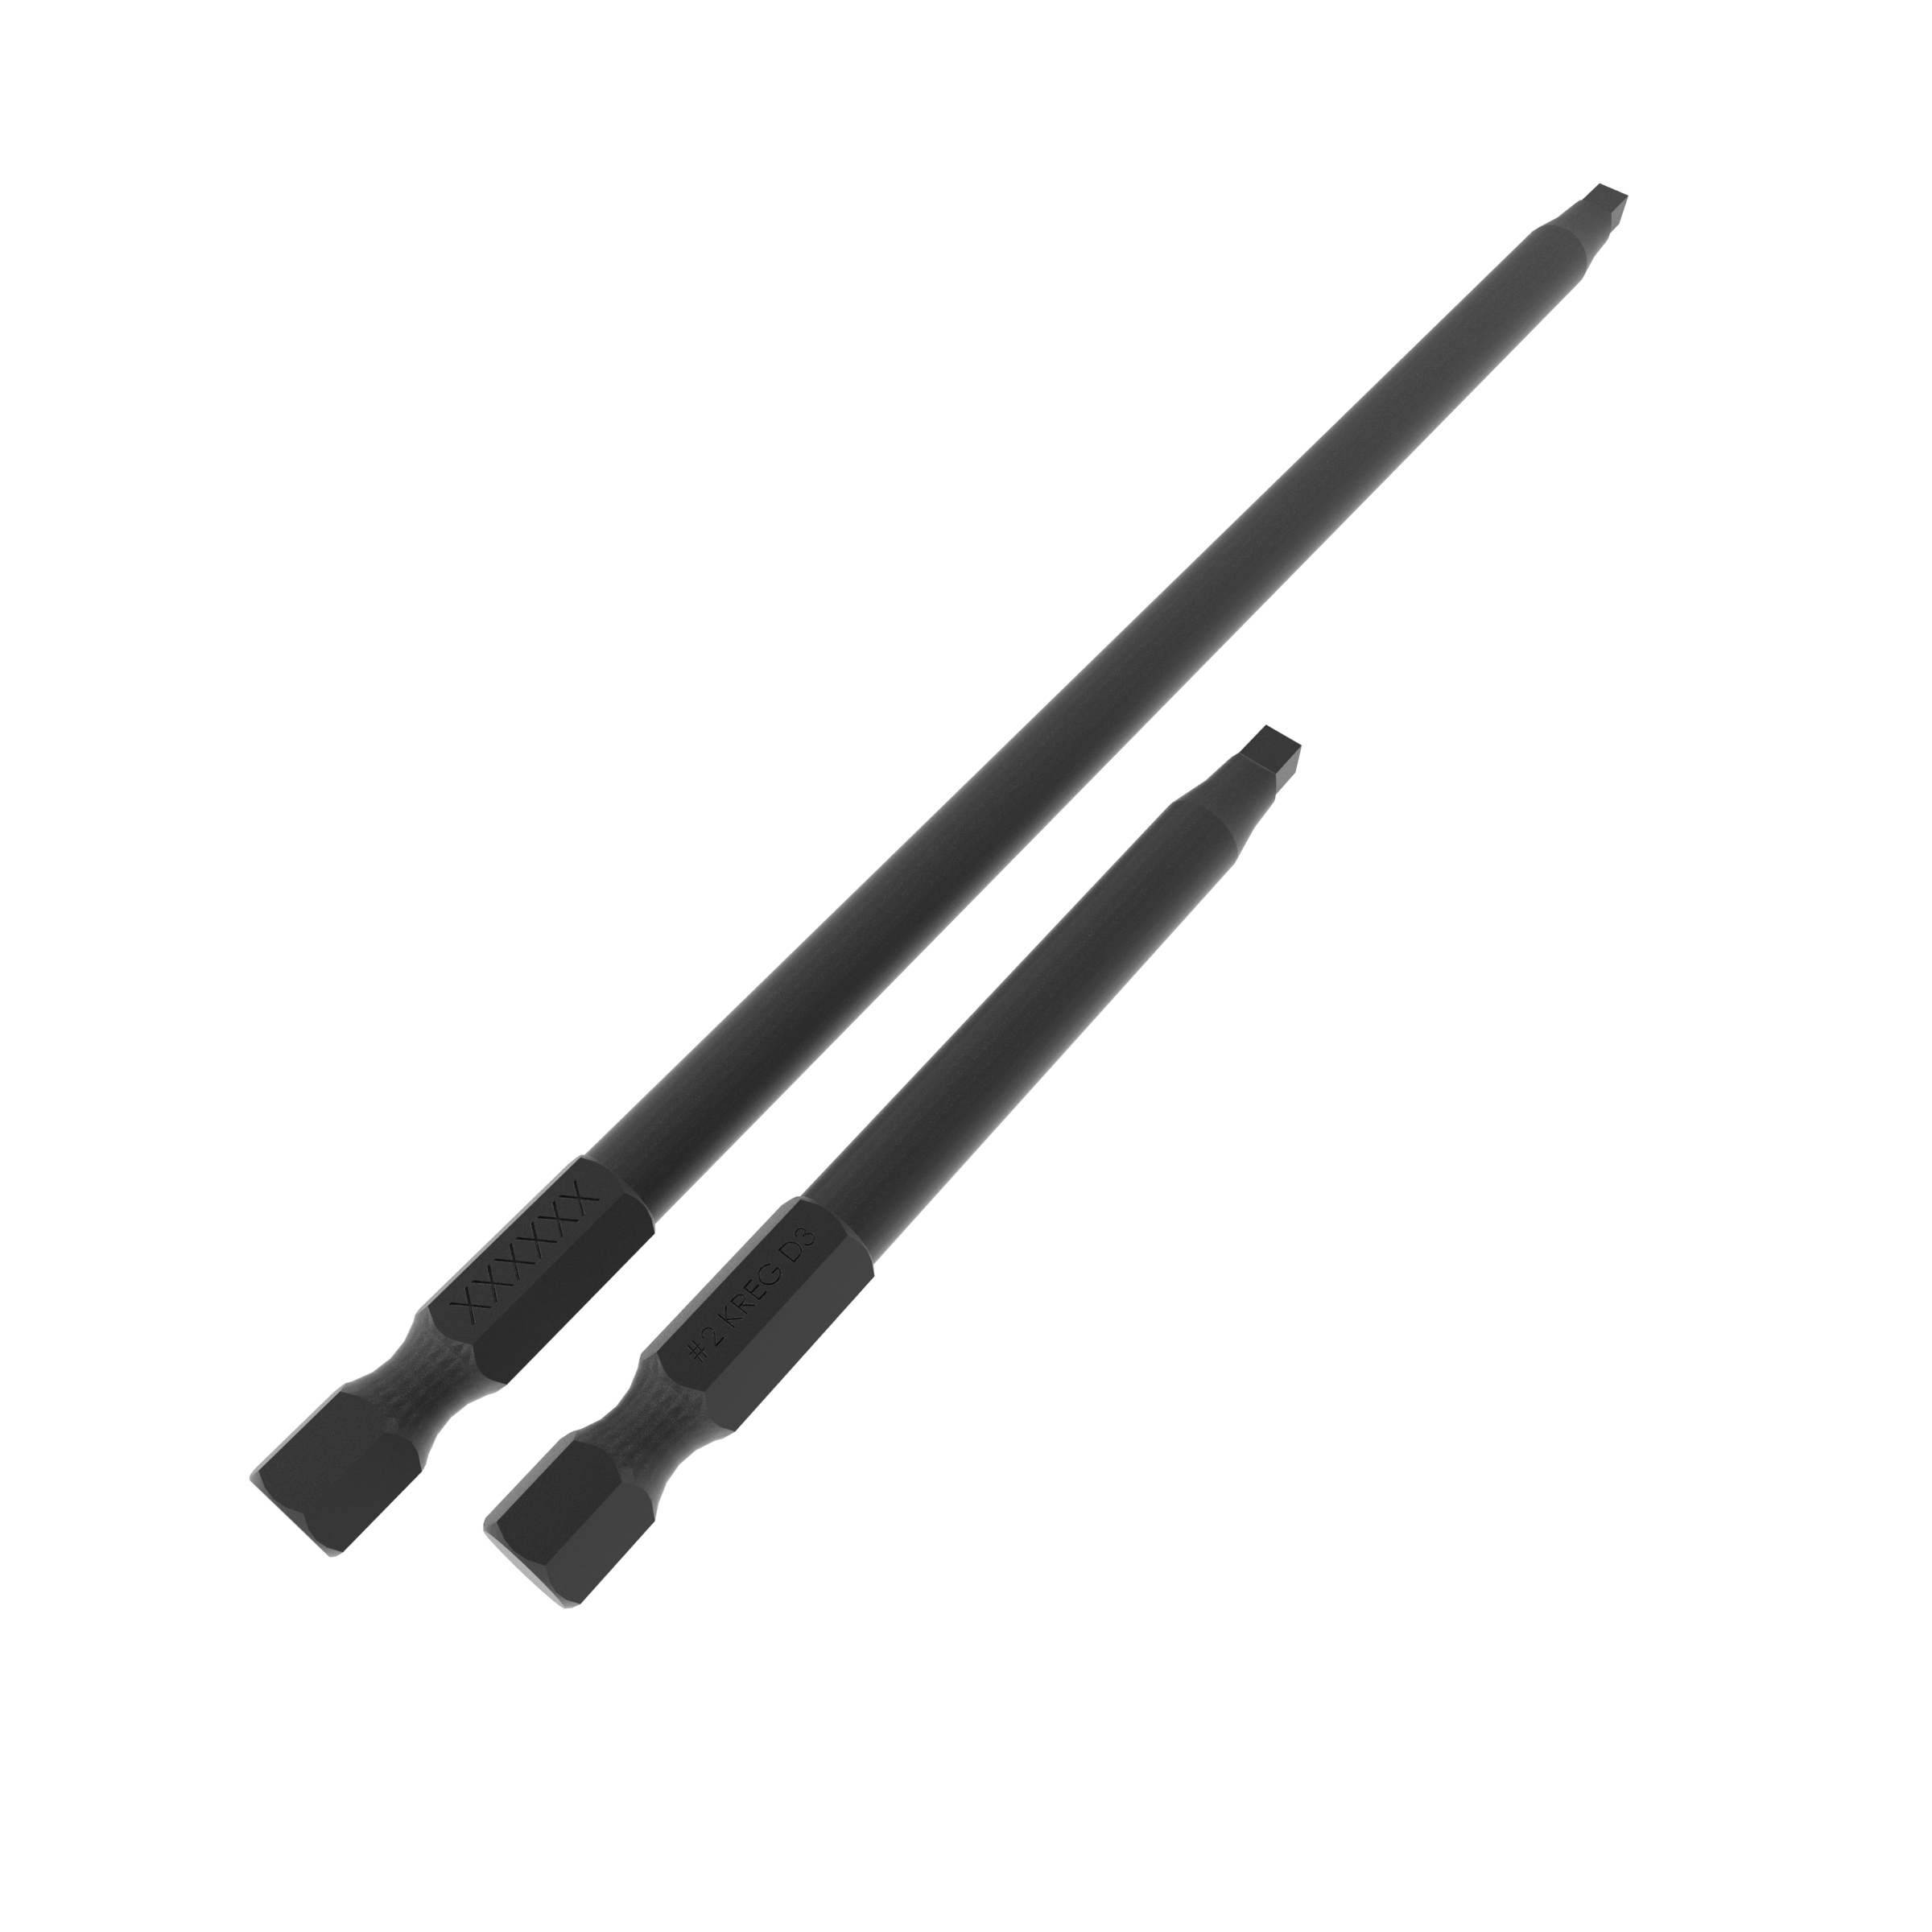
Make sure to glue and clamp before screwing the boards together using your 6" Kreg #2 bit and 2 1/2 " pocket-hole screws.
-
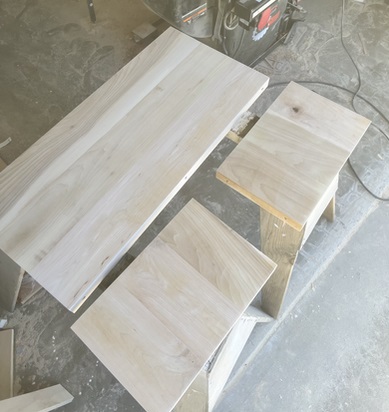
Sand the panels
Once you have screwed all of those together you'll end up with 3 panels like this:
Allow the glue to dry. The time will vary depending on your climate. I'm in Southern California, we're always pretty warm so my glue dries in about 30-45 mins.
Now its time to sand the panels using your sander and 120 grit discs. Be sure to sand until smooth and all of the glue residue is gone.
Tip:
Note: wood glue shows up horribly after stain if you do not get it all off beforehand.
-
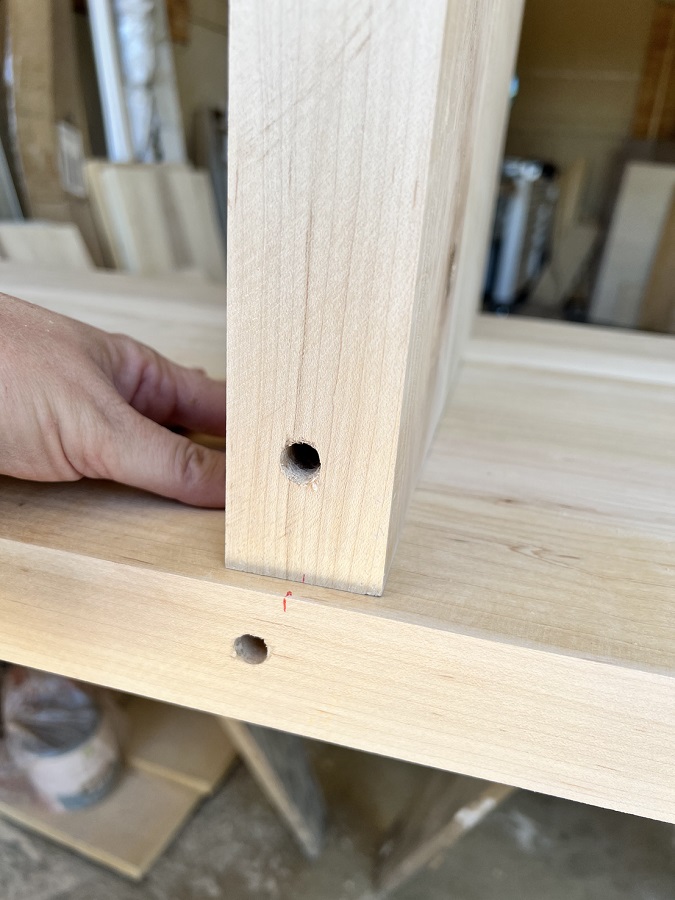
Mark center of each board
Next, let's mark the center point of each board. This makes it easy when we go to line them up and attach.
-
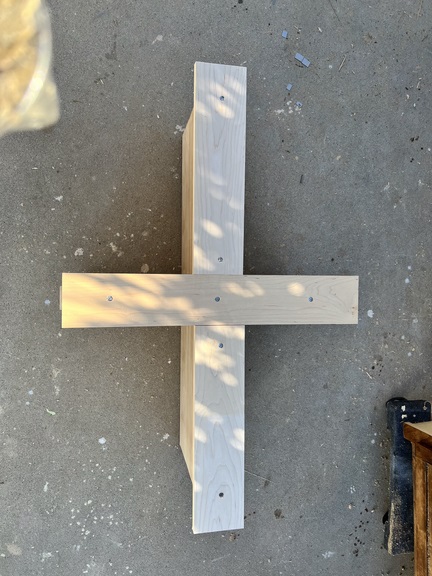
Attach two panels using pocket holes
We're going to attach the two, 11 1/8" x 15" panels to the one 36" x 15" panel using the Kreg 320 jig by pocket-holing the inner most, top and bottom points of the 11 1/8" boards.
Once you have your pocket-holes, go ahead and put a line of glue down the center point on the 36" long panel and attach the 11 1/8" panel to it using 1 1/4" Kreg pocket-hole screws. Repeat on the other side & now you have your t-shaped coffee table base.
-
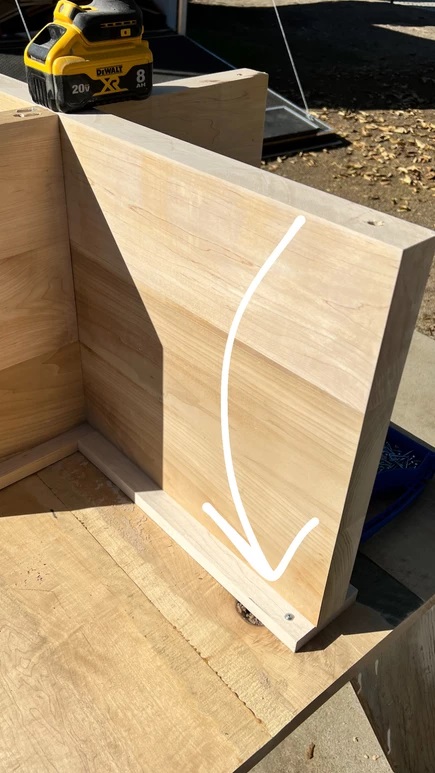
Attach boards for top assembly
We're going to use the 3/4" boards to glue and screw to the top of the coffee table base. This is going to give us a way to attach the table top to the table base.
Simply center the 4" boards so that you have equal amount of overhang on either side. Pre-drill a small hole, just deep enough for the head of the screw to go into. Glue and screw down the boards using the 2 1/2" screws.
-
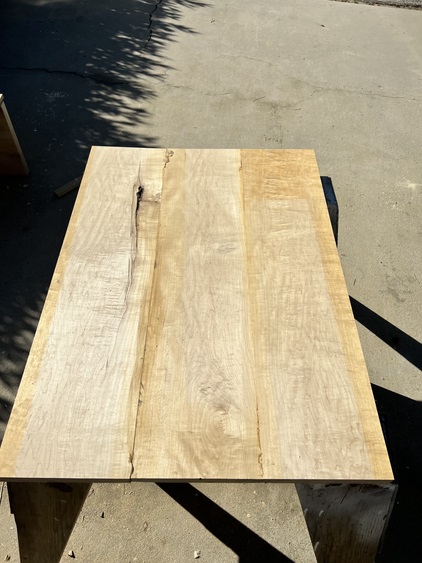
Make the table top
Time to make the table top!
This is probably the easiest step of all. We're just going to glue and clamp together the three, 10" x 40" x 1 1/4" boards. Leave them clamped together until dry, when dry sand with 120 grit until smooth.
-
Attach table top to base
Let's attach the table top to the table base!
Start by flipping the table top upside down on saw horses, then flip the table base upside down into the table top.
Those 4" boards we attached to the base earlier are now going to come in handy as we screw the base to the top using 1 1/4" screws.
Be sure to put two screws on each side, all the way around the table.
Give the whole base a quick sand using 220 grit this time while its still upside down.
Then, flip over and sand the table top with 220 grit.
-
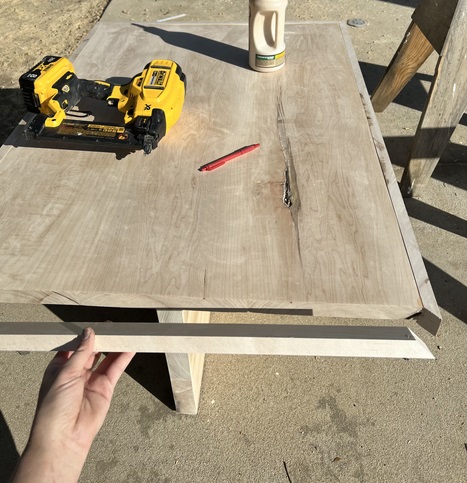
Wrap table top with mitered cuts
This step is totally optional but it takes the table from rustic-farmhouse to modern-farmhouse.
We're going to wrap the table top using the 1 1/2" x 3/4" board and mitered cuts, creating a seamless look.
The easiest way to measure for these cuts is to simply hold the board in place, mark them, cut and test fit before you glue and shoot them on using 1 1/4" brad nails.
-
Sand and finish
FINAL STEP!! Give the table top one last sand using 220 grit. Wipe off the excess sawdust. Apply your stain color, allow to dry & apply your top coat. Allow to dry and TA-DA! You made your own modern-farmhouse coffee table!