DIY Coffee Table – How To Build a Modern Coffee Table
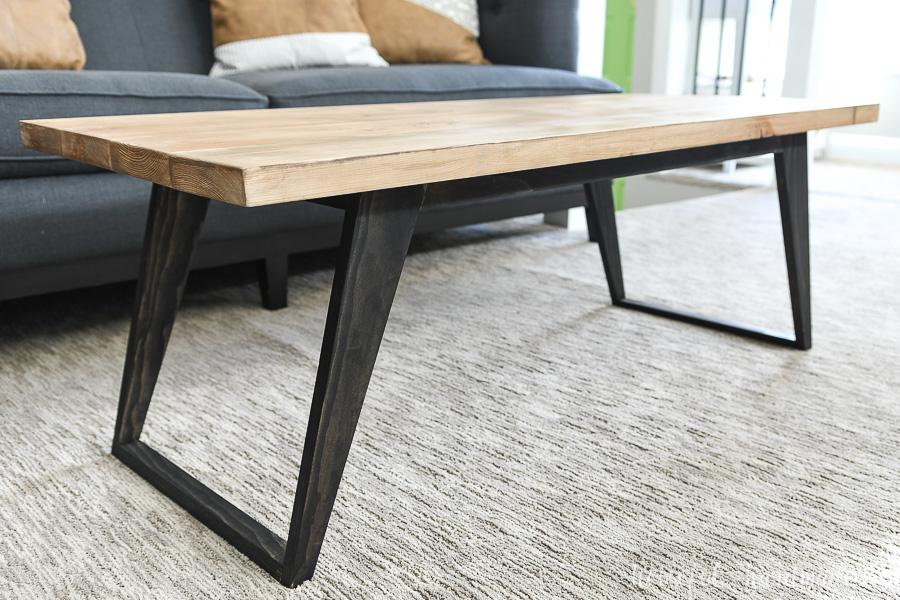
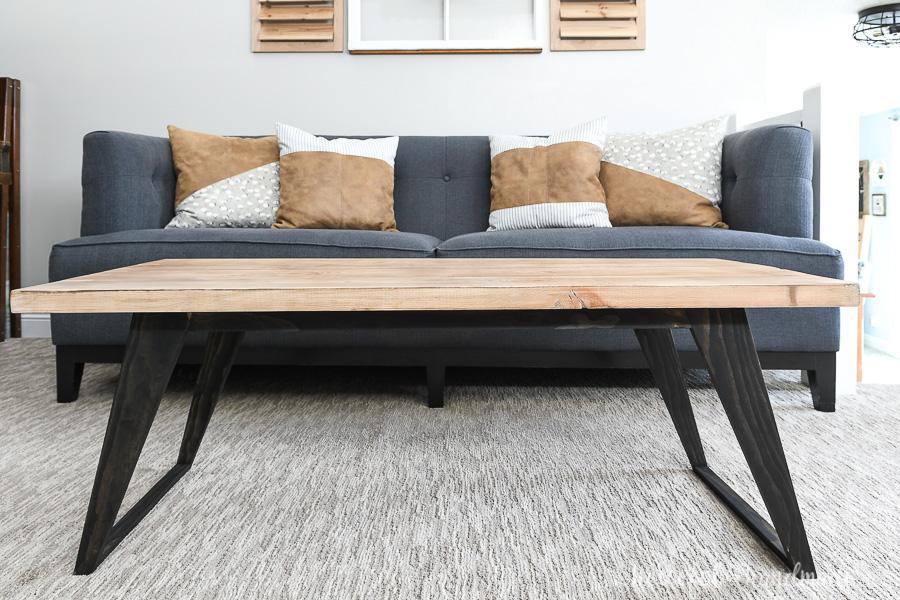
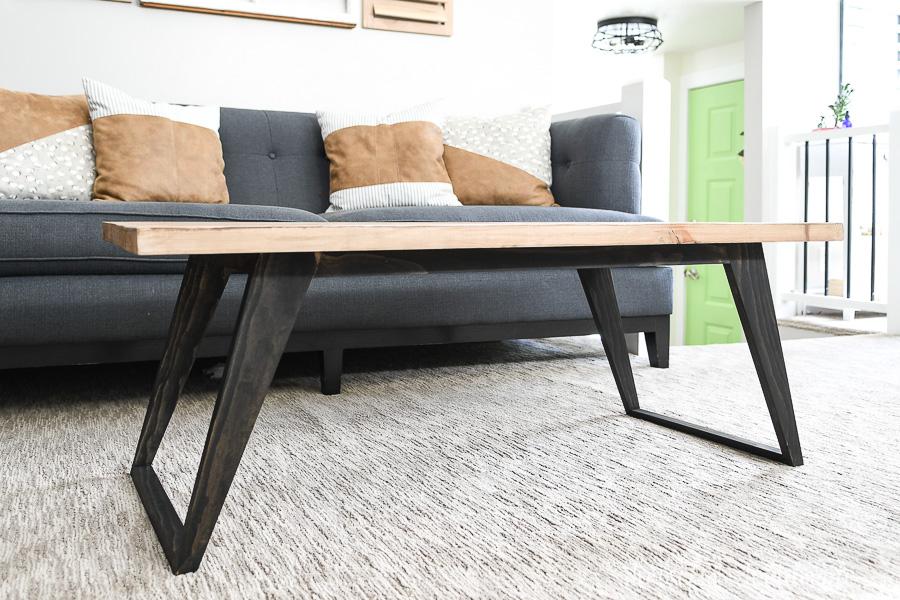
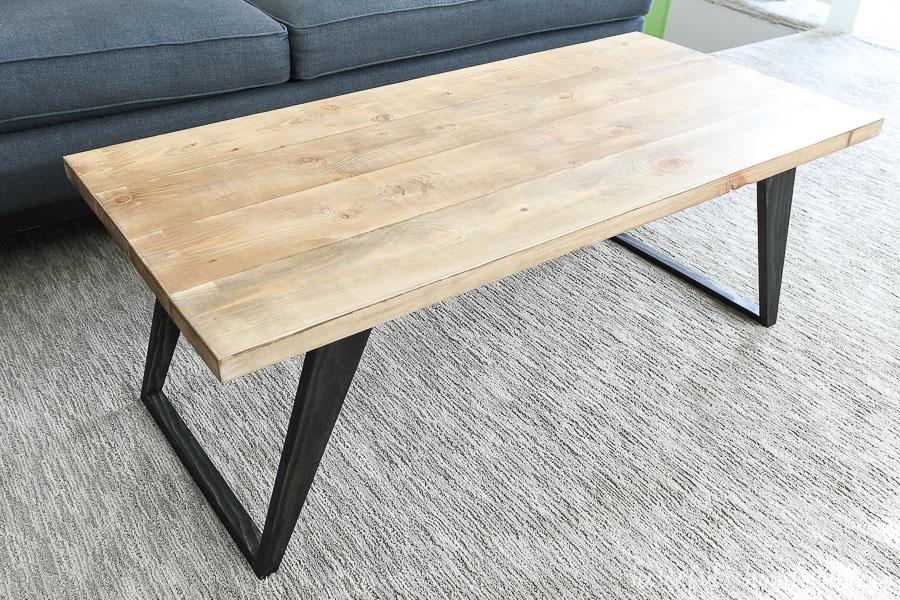
By Houseful of HandmadeBuild this beautiful modern coffee table with just a few pieces of lumber. The simple angled legs give your room a clean, open feel. And bonus, the open legs make it easier to vacuum under the coffee table without having to move it.
Directions
-
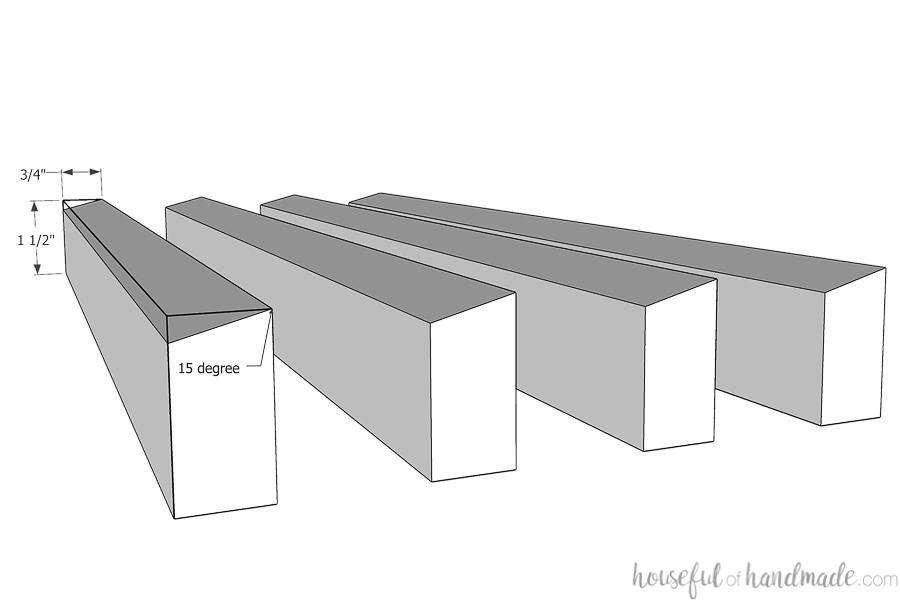
Rip leg sides
Set your table saw to cut at a 15 degree angle. Rip the edge off one edge of all 4 leg side boards.
-
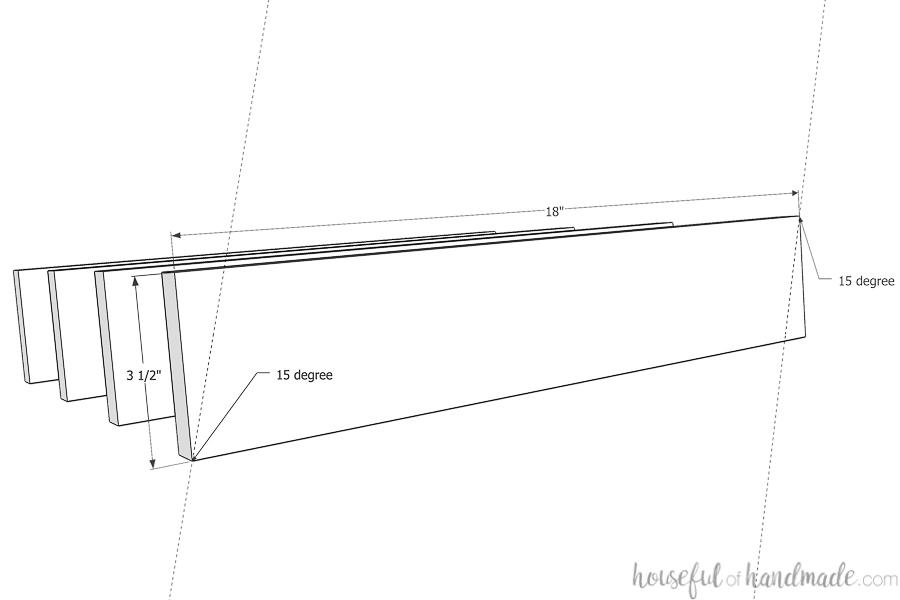
Cut leg boards
Cut each end off all 4 of the leg boards at a 15 degree angle. The angled ends should be parallel.
-
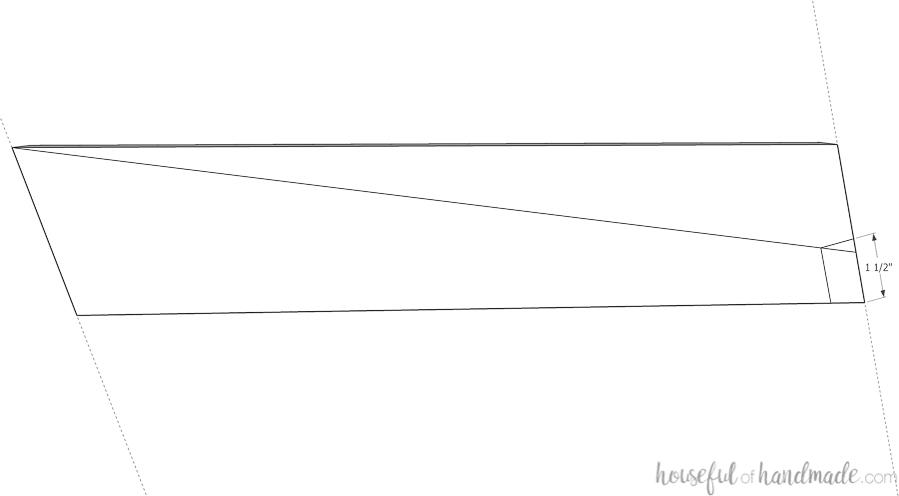
Cut taper on leg boards
Lay one of the 1x2 leg side pieces on the bottom of the angled leg piece so the bottom and front are flush. Mark the top corner. Draw a straight line from the top inside corner of the leg to the bottom, going through the corner mark. Cut the legs off along this line to create a taper.
-
Rip bottom leg sides
Transfer the angle to the non-ripped side of 2 of the leg side boards (these will be the bottoms of the legs). Check the angle, it will be approximately 22.5 degrees. Set the table saw to the new angle and rip off the other side of the 2 leg side boards.
-
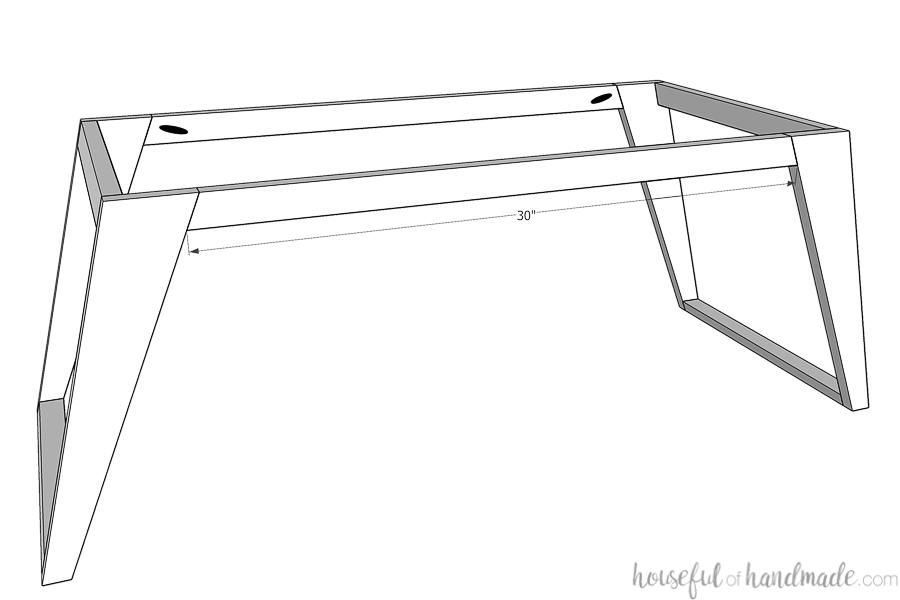
Assemble legs
Set your pocket hole jig for 3/4" thick material. Drill 1 pocket hole in the bottom of each of the bottom leg side pieces. Also, drill 2 pocket holes in the back of the other 2 leg side boards. Double check your angles to make sure the boards line up correct when assembled and the two legs are mirrored. Attach the leg side boards to the leg boards with 1 1/4" pocket hole screws and wood glue.
-
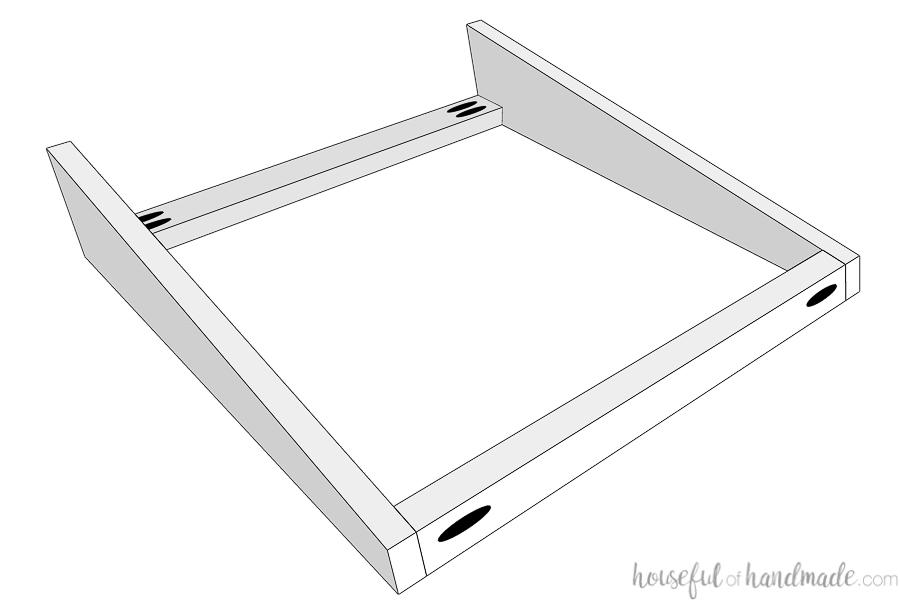
Attach leg apron
Cut the ends of the leg apron boards so they are the same angle as the second cut on the bottom leg sides (approximately 22.5 degrees). The angled cuts will be opposite so they angle towards each other. Drill 1 pocket hole in each end of the apron board. Be careful that the entire pocket hole is hidden inside the 1x2 apron board. Attach the apron between the two legs with a 1 1/4" pocket hole screw and wood glue.
-
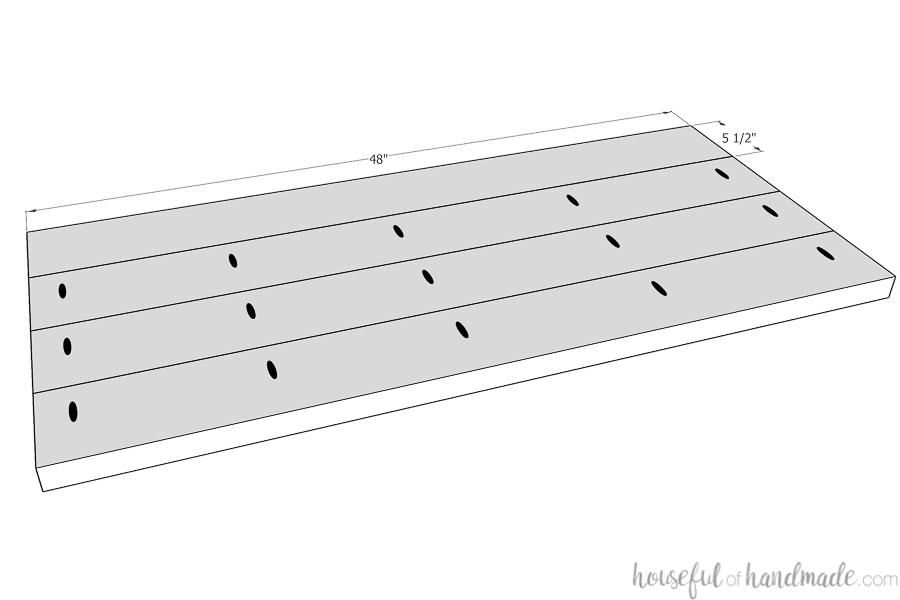
Build table top
Set your pocket hole jig for 1 1/2" thick material. Drill pocket holes along the side of 3 of the top slat boards. Drill pocket holes so they are 5-6 inches apart. Assemble the table top by applying hot glue to the edges of the boards, clamps them tight, and secure with 2 1/2" pocket hole screws.
-
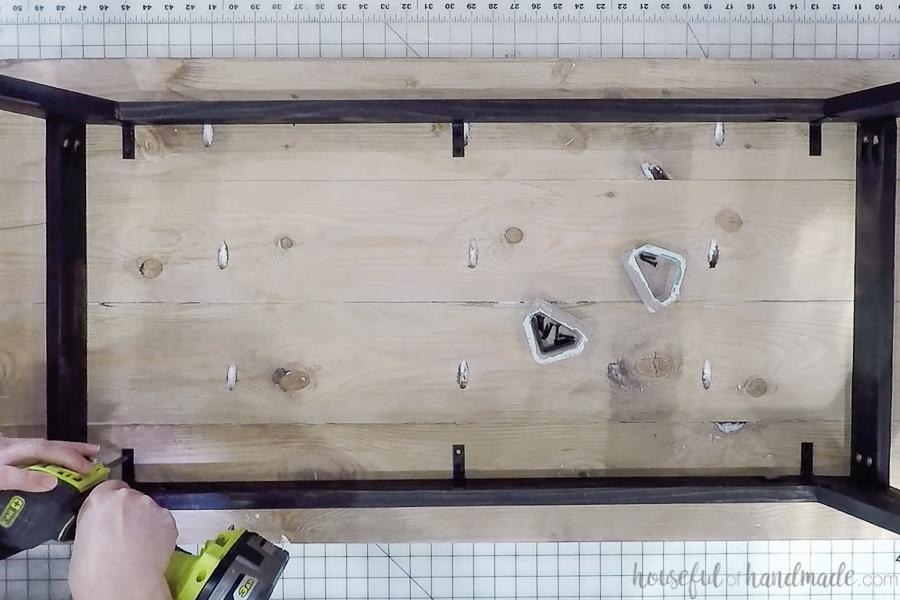
Finish the coffee table
Sand stain/paint and seal your coffee table legs and top. To attach the table top, secure the L clips to the top inside of the legs. Then lay the legs, upside down, on top of the table top. Center the legs and attach the other end of the L brackets to the top.
-
Enjoy!
Flip your table over and enjoy the great modern, open look. For more details on how I finished my coffee table and more fun things to build, make sure to come say hi at Housefulofhandmade.com.
Check out our top project plans for DIY coffee tables:


