

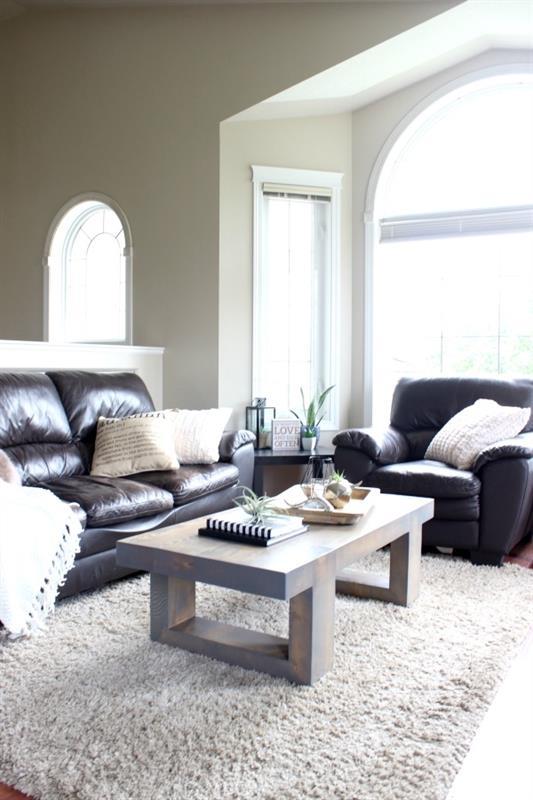
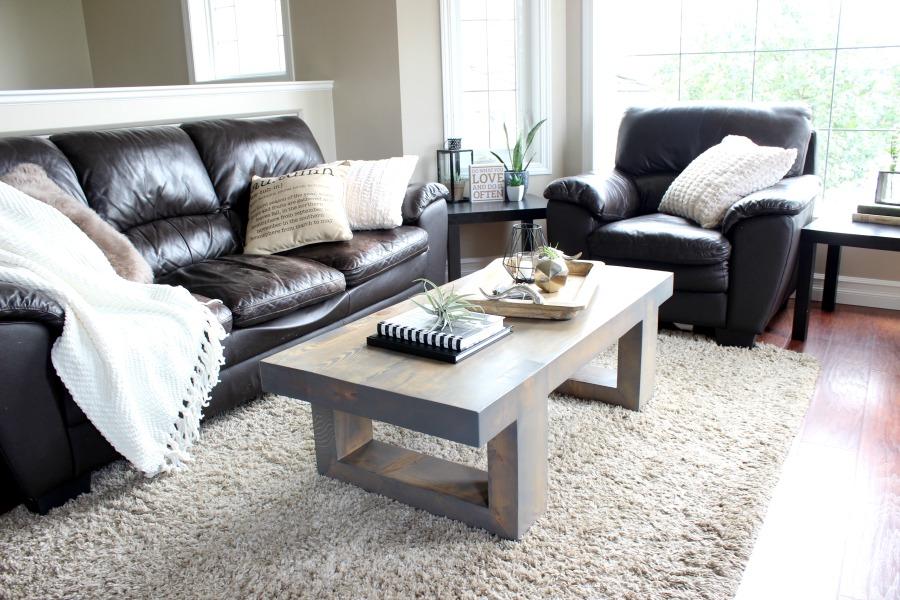


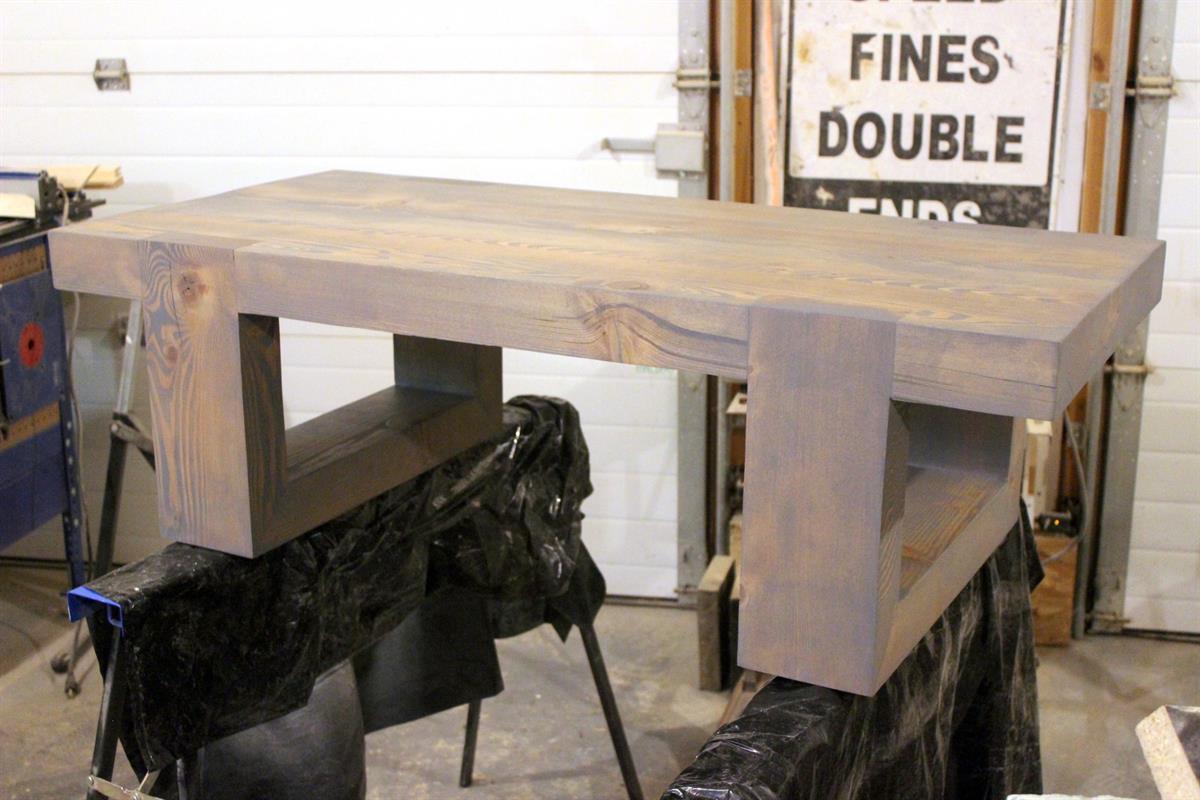
Modern Coffee Table design with clean lines and rough cut lumber.
Tools
Kreg Tools


Other Tools
-
Miter Saw

-
Square
-
Table Saw
-
Tape Measure
-
Thickness Planer
-
Clamps
-
Hammer
-
Air Compressor
-
Sawhorse
Materials
Wood Products
- 4 Board , 4" x 6" rough cut , 96"
Hardware & Supplies
- 4 #10 - 3 1/2" wood screws
- 1 Set of 9451 Shepherd Hardware Adjustable Feet
- 44 #10 biscuits
- 12 1 1/2" pocket screws
- 12 Wooden pocket screw plugs
- 1 Wood Glue
Directions
-
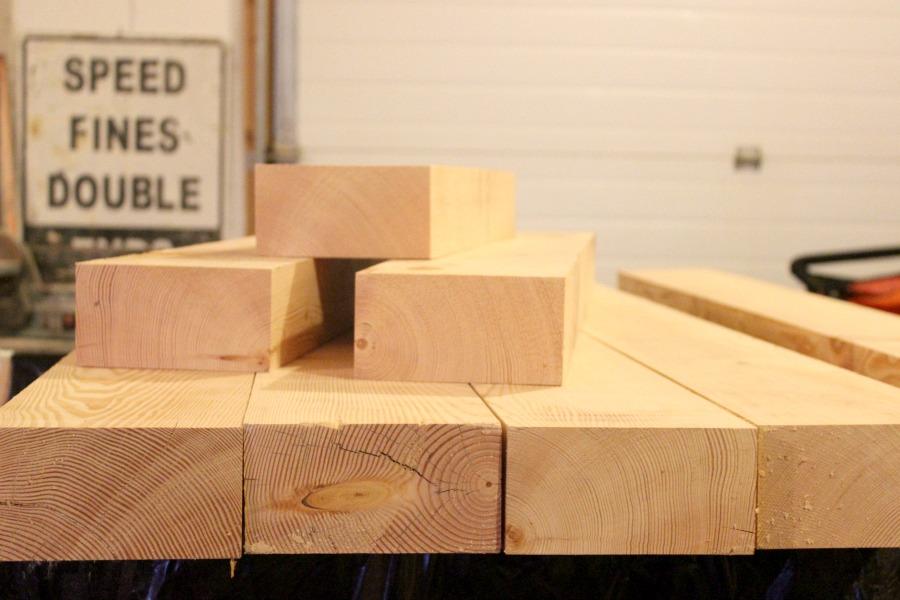
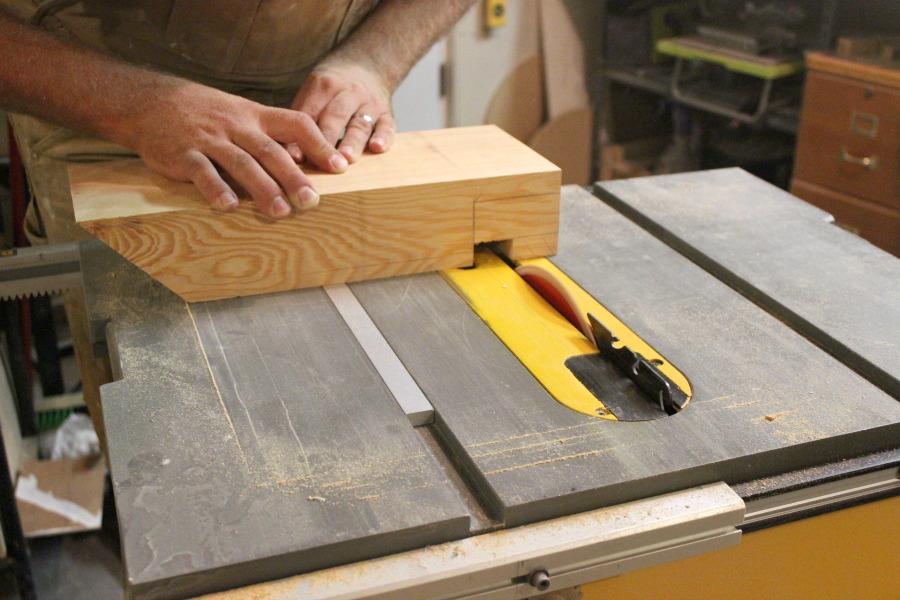
Cut Lumber
Cut/square 4x6's down to 3" x 6". Cut pieces to length as per material list. We added 1/2" to the length of each piece to allow us to square the legs and table top (and cut access after).
Build Plans can be found in the "Extras" tab.
-
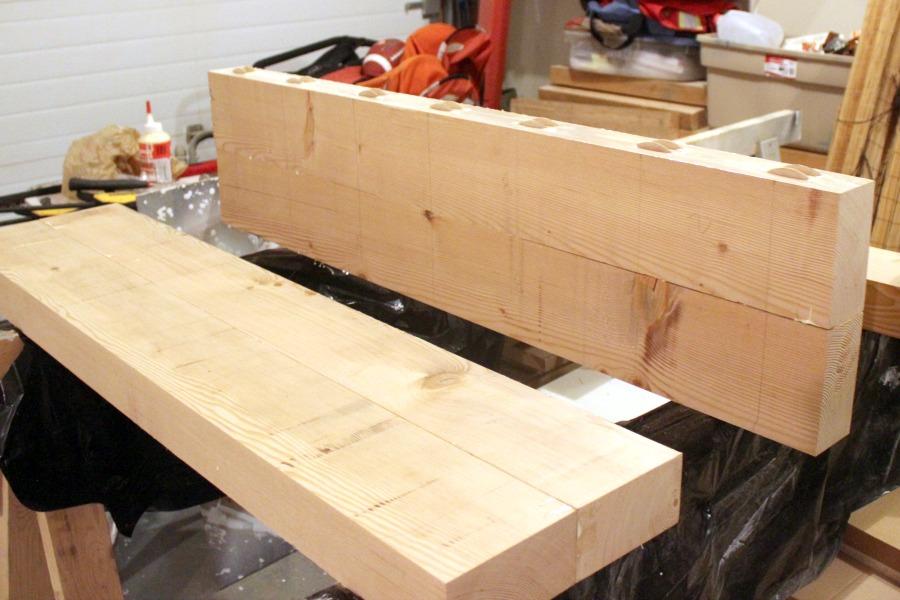
Cut Biscuit Joints for Tabletop
Use a biscuit joiner to cut seven sets of biscuit joints - all two rows tall - 1" from top and bottom edge of tabletop lumber. They don't have to be evenly spaced, but they do need to line up perfectly with the adjacent wood piece. Do this for all inside edges of the tabletop.
-
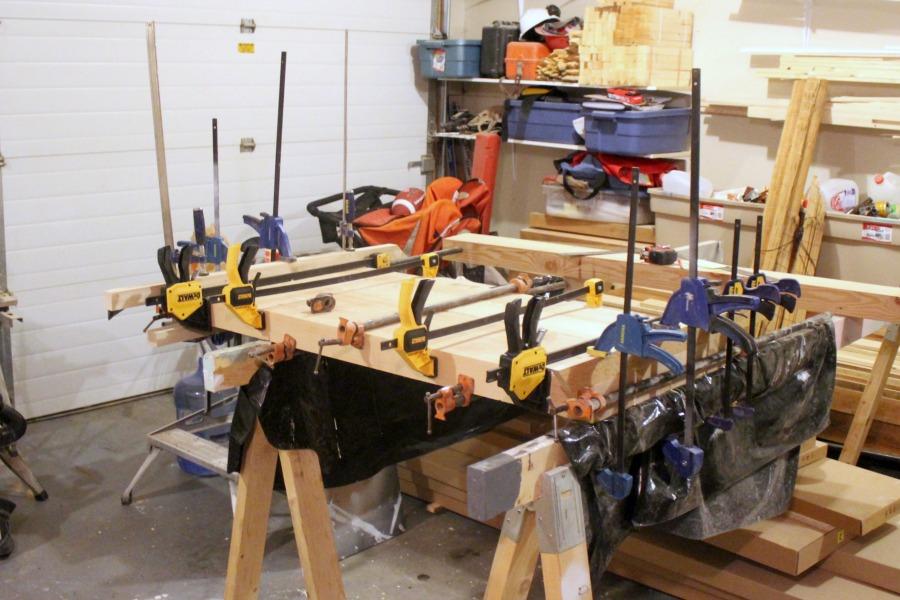
Insert Biscuits and Glue Tabletop
Glue biscuits into the joints you made in the previous step. Spread wood glue evenly on the inside edges of tabletop (Piece #1 in drawings). Clamp tightly and let sit for 24 hours.
-
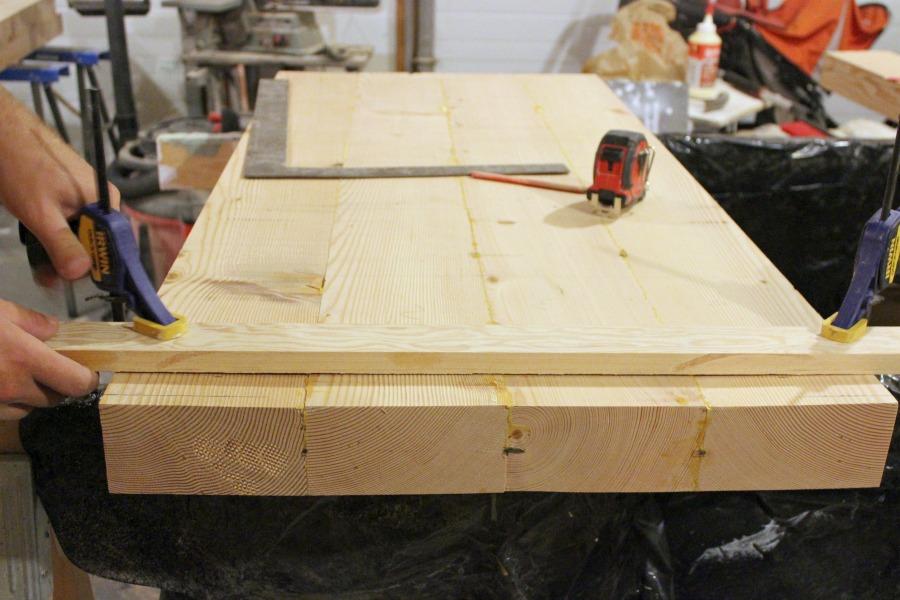
Square Tabletop
Once the glue is set, you can square the ends of the tabletop. Use a straight edge as a guide for your circular saw. The table should measure 48" in length when you are done.
-
Cut Legs
Cut legs according to the lengths in Part 2 of the attached build plans.
-
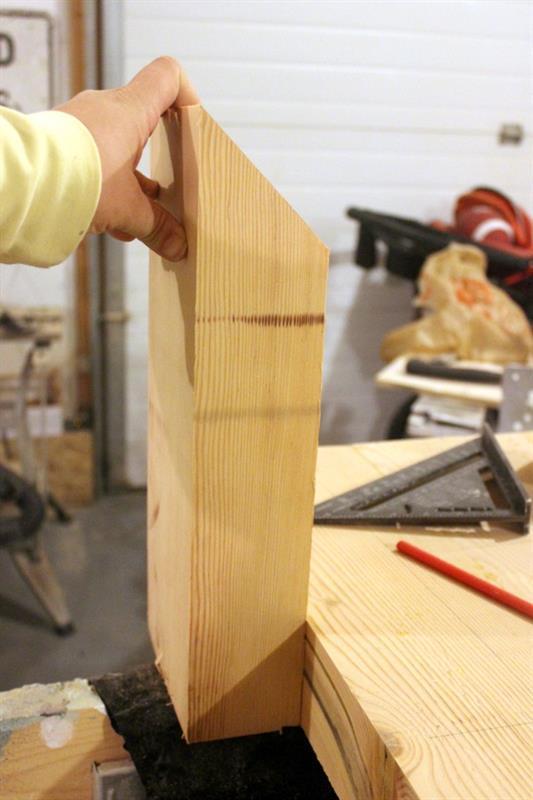
Cut Groove within Legs
Cut 1" deep groove for the legs of the table. You can double check what depth you should cut by lining up your legs with your tabletop (should be about 3").
-
Cut Leg Bottom
Cut leg bottom according to Part 3 in build plans. Drill holes for adjustable feet.
We used item number 9451 from Shepherd Hardware:
1-1/4" (32mm) Threaded Stem Glide Metal Base w/Rubber Cushion 1/4" x 20 Thread 1/2" (6mm x 20 x 13mm) Long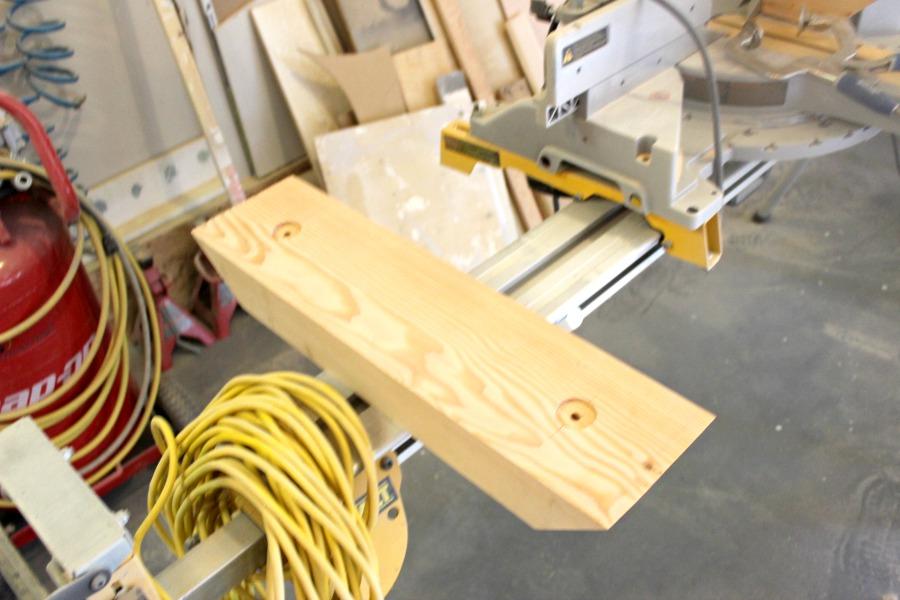
-
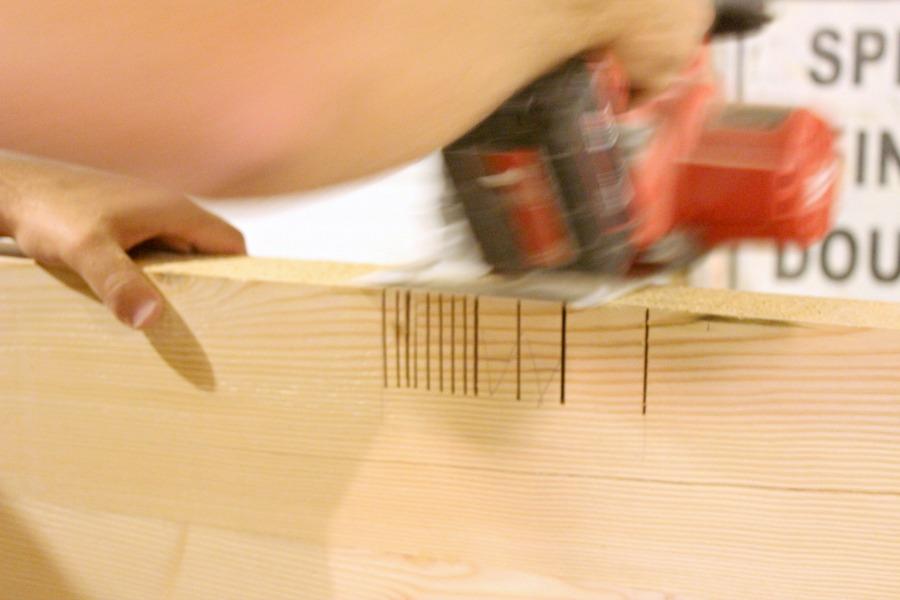
Cut Notches for Legs
Measure and mark spots for legs on tabletop according to build plans. Use your circular saw to cut out notches for the legs in the tabletop and hammer out the wood. Clean face with a chisel and sander. Do a dry fit and make adjustments as required. It's always safer to cut small and widen cuts after.
-
Cut Biscuit Joints for Legs
Match mark leg to table (draw straight line in centre of pieces). Cut biscuit joint in table and leg - set depth at 1.5" from tabletop.
-
Cut Biscuit Joints for Leg Assembly
Set biscuit joiner at 45 degrees and 1.5" deep (or we did two at 1" from each edge). Make cuts to assemble legs.

-
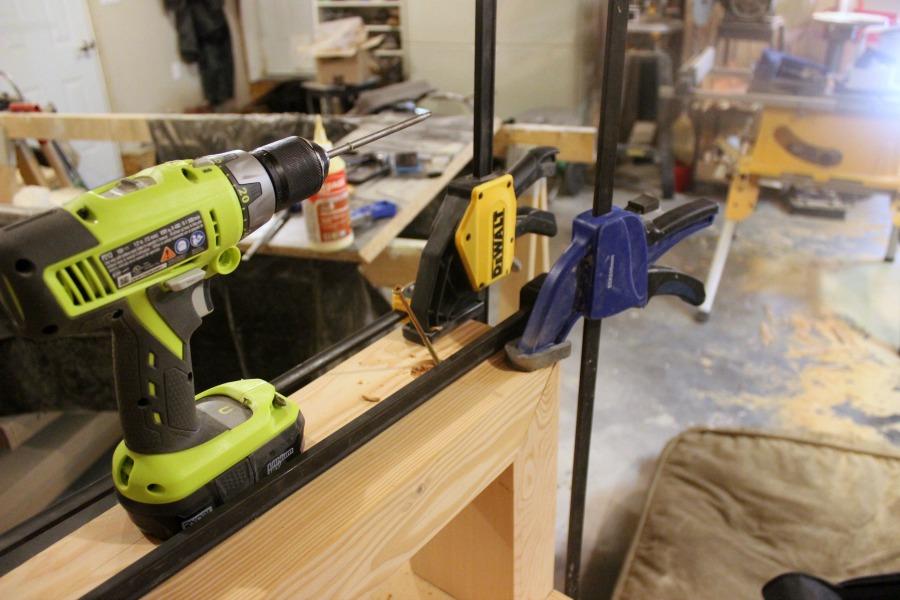
Make Pocket Holes for Legs
Use Kreg pocket jig to make pocket joints on the underside of the tabletop for attaching the legs. Do this with all 4 leg notches. Set jig and drill to 1.5" depth.
-
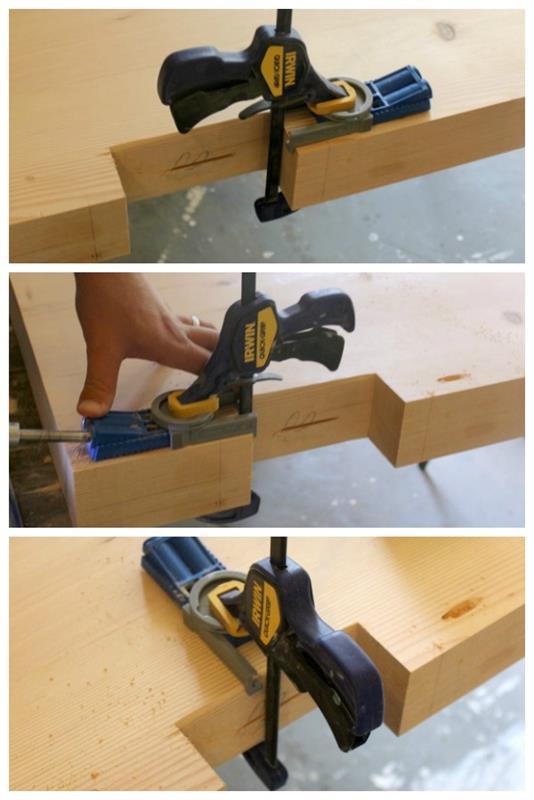
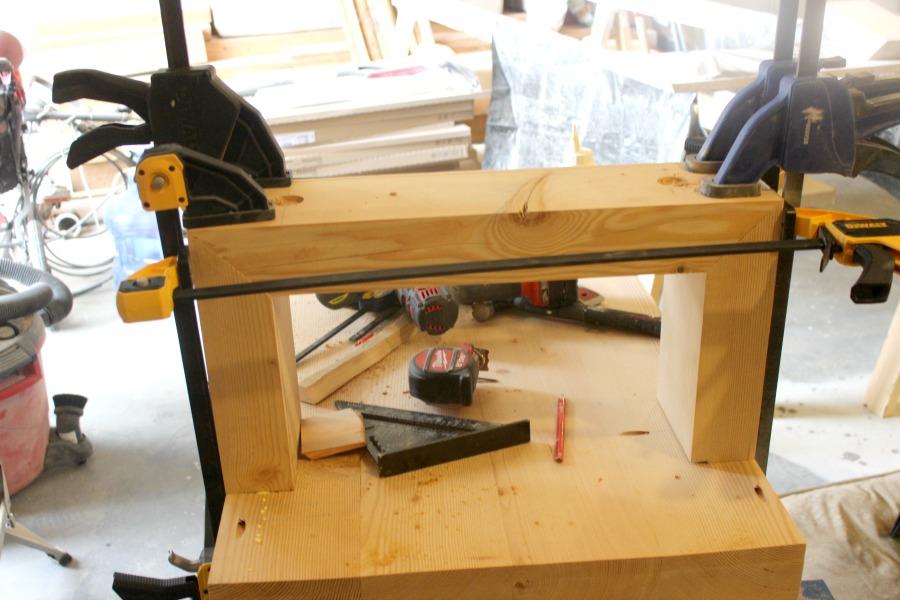
Attach and Assemble Legs
Glue biscuit joints in place. Spread glue evenly to attach legs and leg bottoms. When everything is aligned, screw into legs through pocket holes. Glue plugs in pocket holes and clamp legs. Let glue sit for 24 hours.
-
Screw Leg Bottoms to Legs
Use a 3 1/2" long #10 screw to screw bottom into leg. Make sure to pre-drill hole.
-
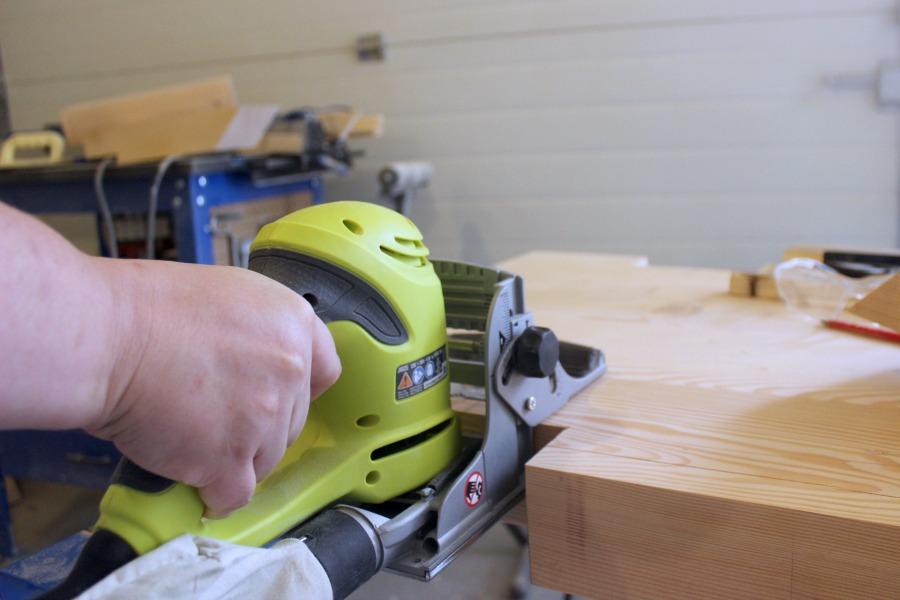
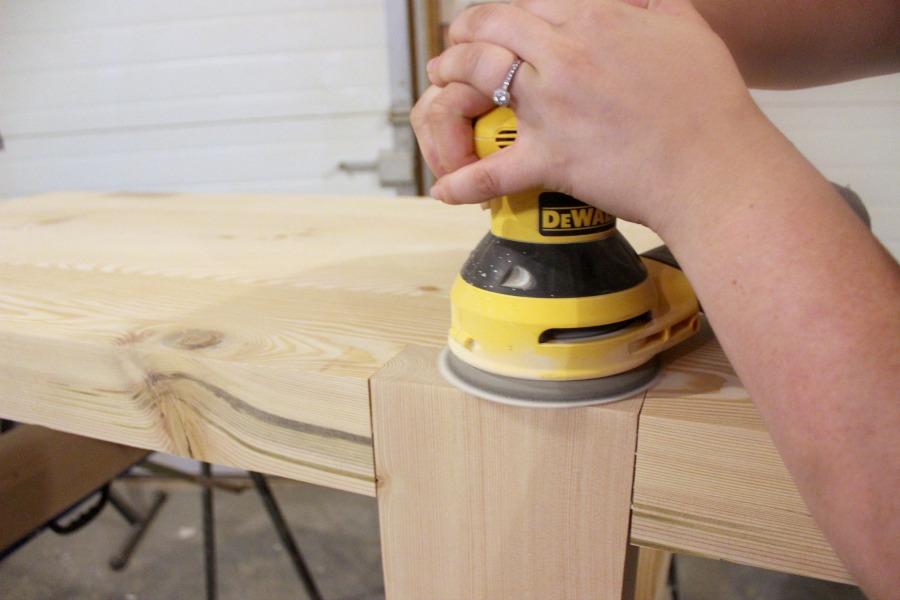
Sand
Sand all faces and ensure any excess glue is removed.
-
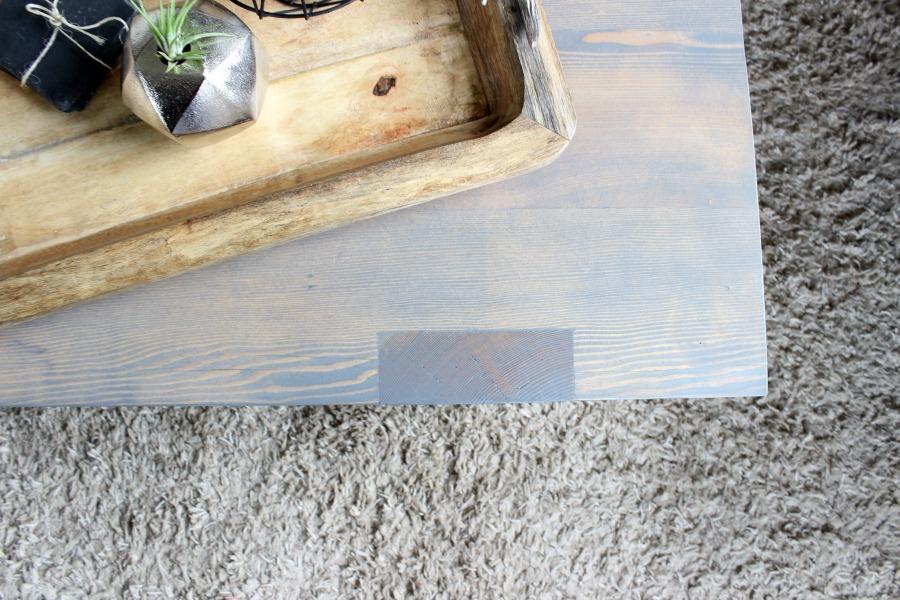
Stain and Varnish
Wipe down or blow off entire table. Stain your desired colour. We used weathered grey gel stain by Varathane. Let the table sit as per product instructions. Protect with varnish. We used Varathane Professional Grade Matte Varnish.
-
Enjoy!
Enjoy your new coffee table and be careful carrying it - it's heavy! Ours was almost 100 lbs!
