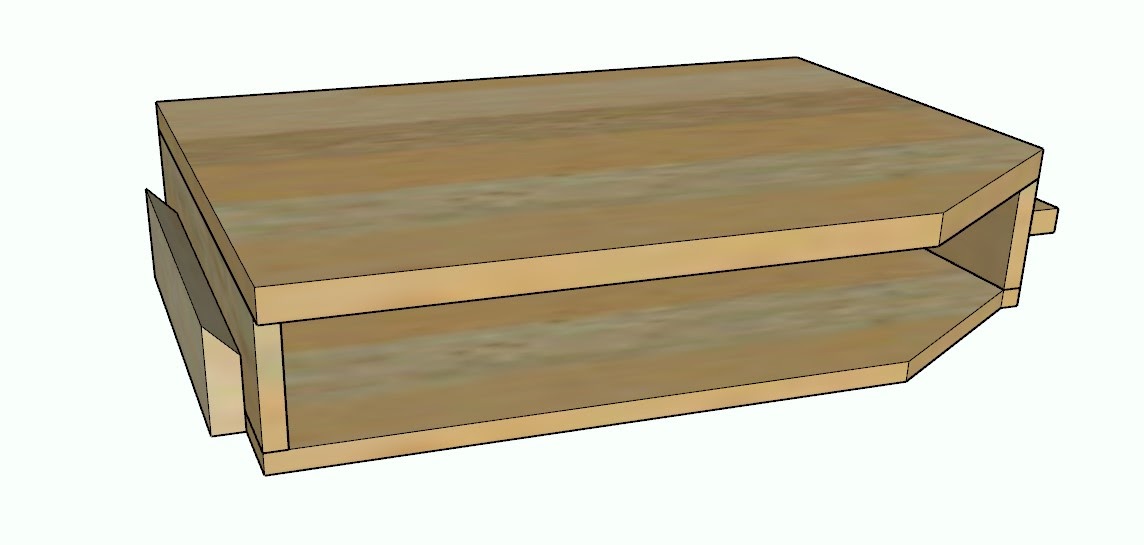
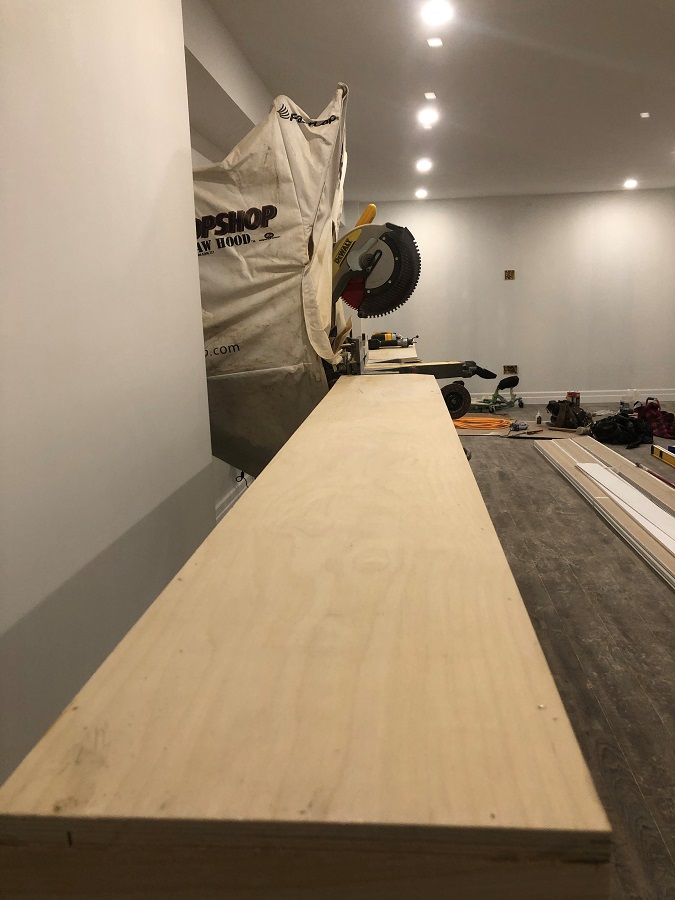
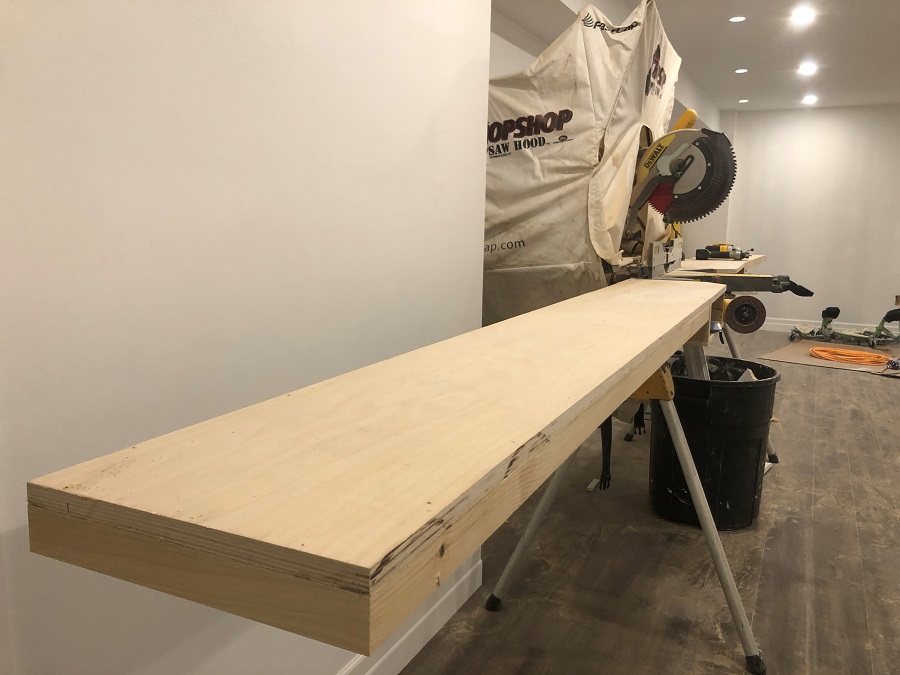
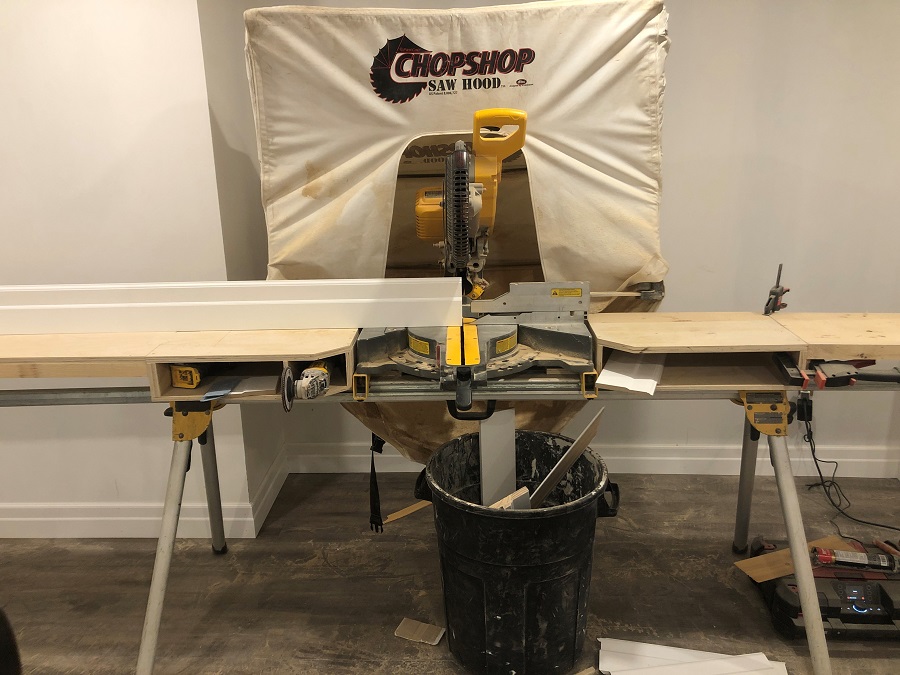
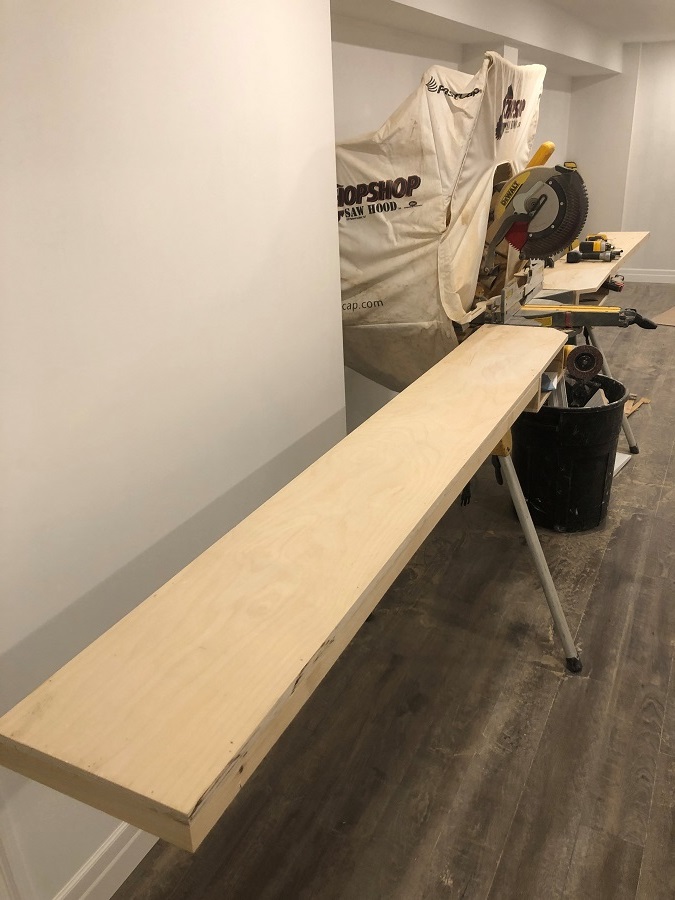


These wings are designed to make cutting longer material a breeze while giving you an additional work surface. If you are on a jobsite, or working in a small shop, the Portable Miter Saw Wings can collapse for transporting and easily stored away when not in use.
Tools
Kreg Tools


Other Tools
-
18g brad nailer

-
Table saw
-
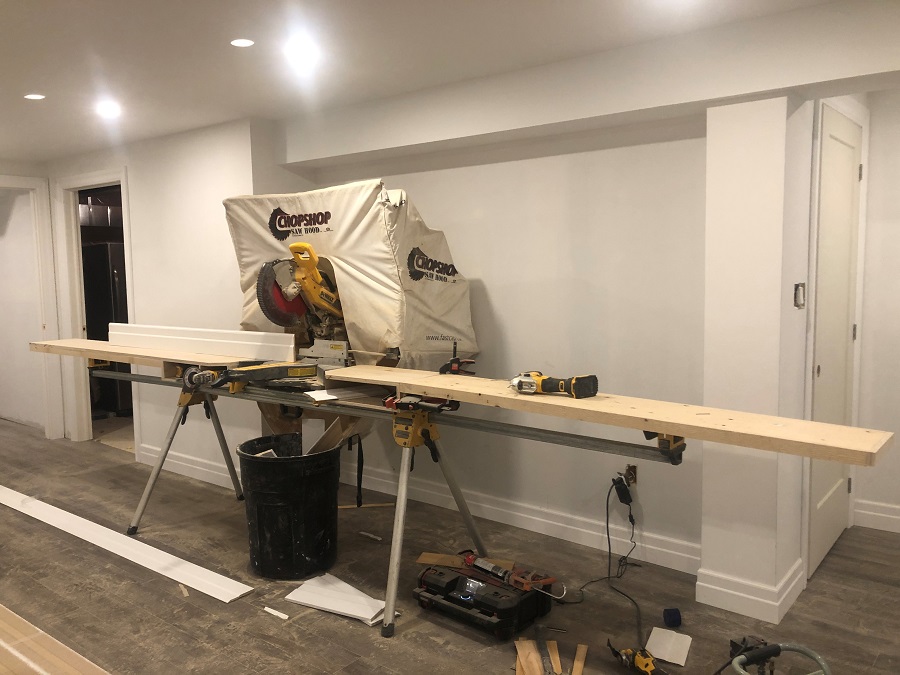
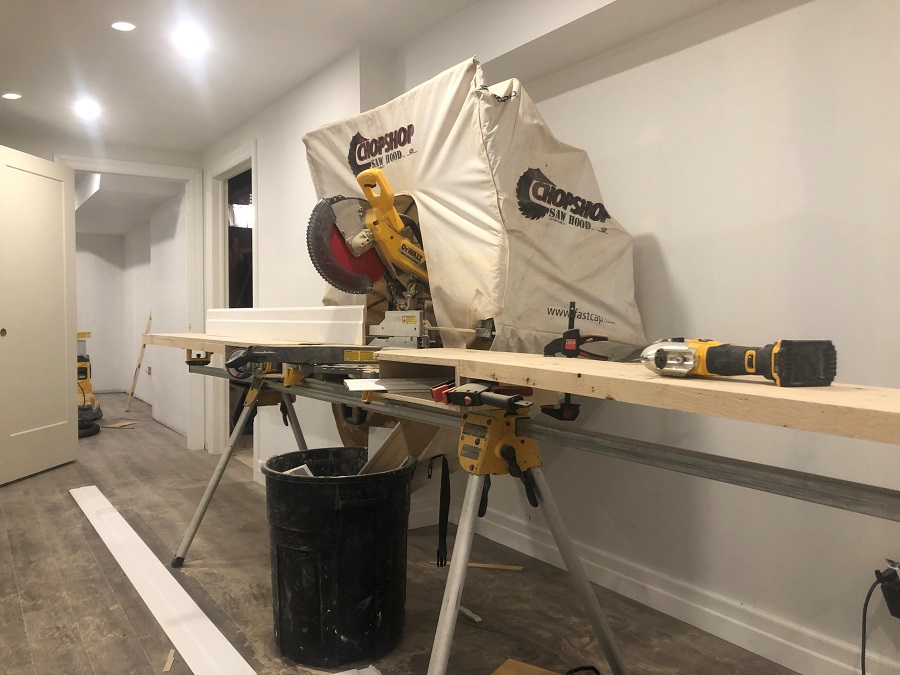
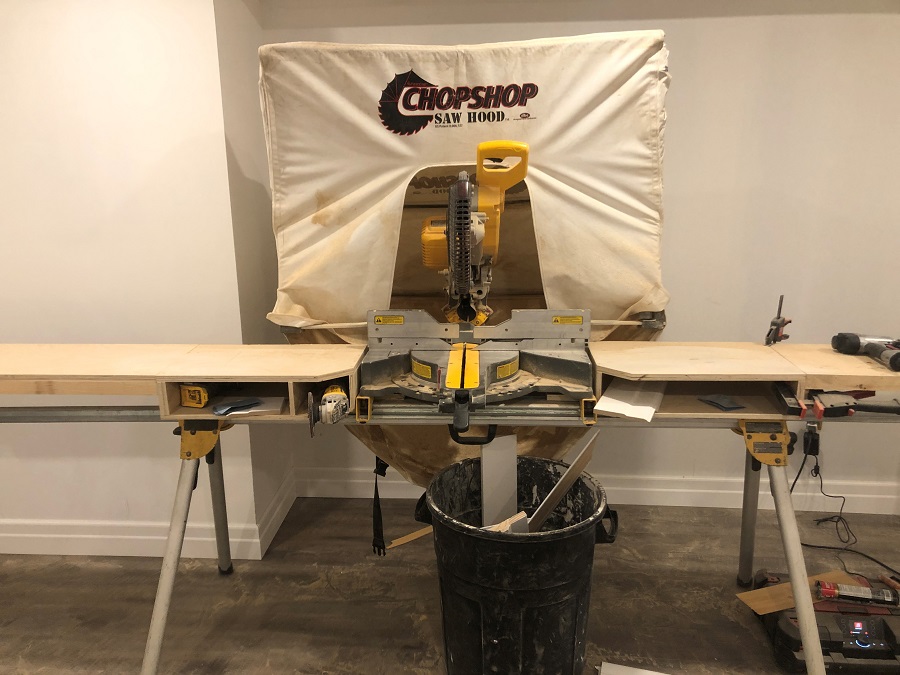
Miter saw
-
Tape measure
Materials
Wood Products
- 1 Sheet of plywood , 1/2" x 4' x 8'
- 1 Sheet of plywood , 3/4" x 4' x 8'
Hardware & Supplies
- 1 Box of 1 ½” 18g Brad Nails
- 1 Box of 1” Coarse-Thread Pocket-Hole Screws (see tool list)
- 1 Wood glue
Directions
-
Build sides
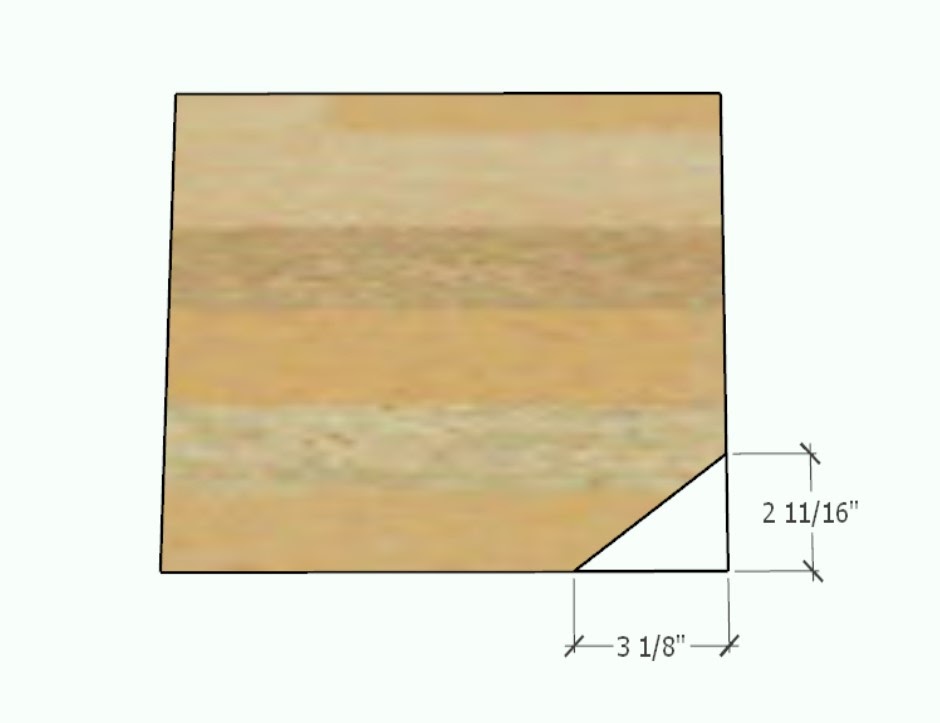
Stack a Surface top on a Box Bottom so that all the edges are flush. Along the long edge, measure 3 ⅛” from the right front corner. Along the short edge of the right side, measure 2 11/16” from the front corner. Connect the two lines. This will give you the angle that you need to cut off. Repeat this for the opposite side as well.
-
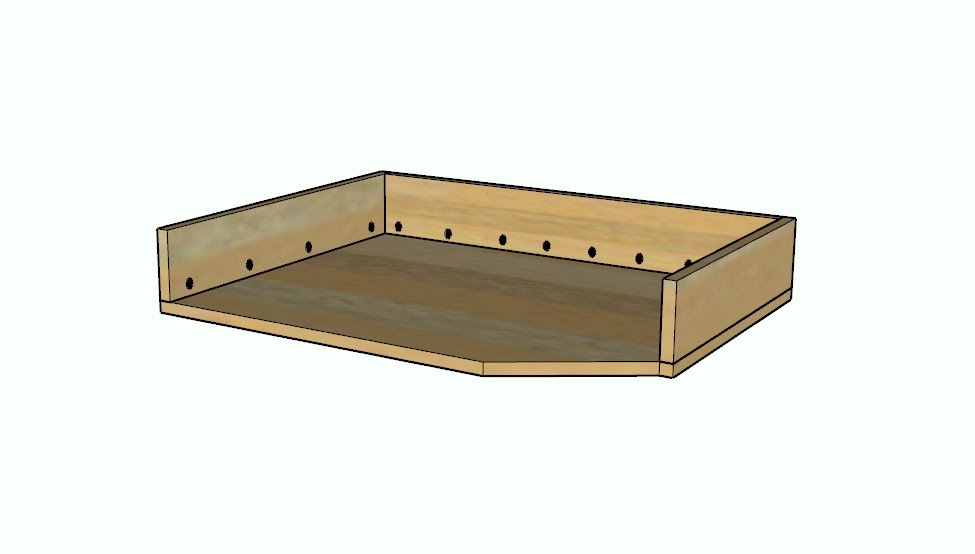
Attach sides to back
Glue and Screw the Box Sides to the Box Back and attach them to the bottoms with glue and screws. When attaching the tops, do not glue them - this way you can replace the tops over time without rebuilding a new set.
-
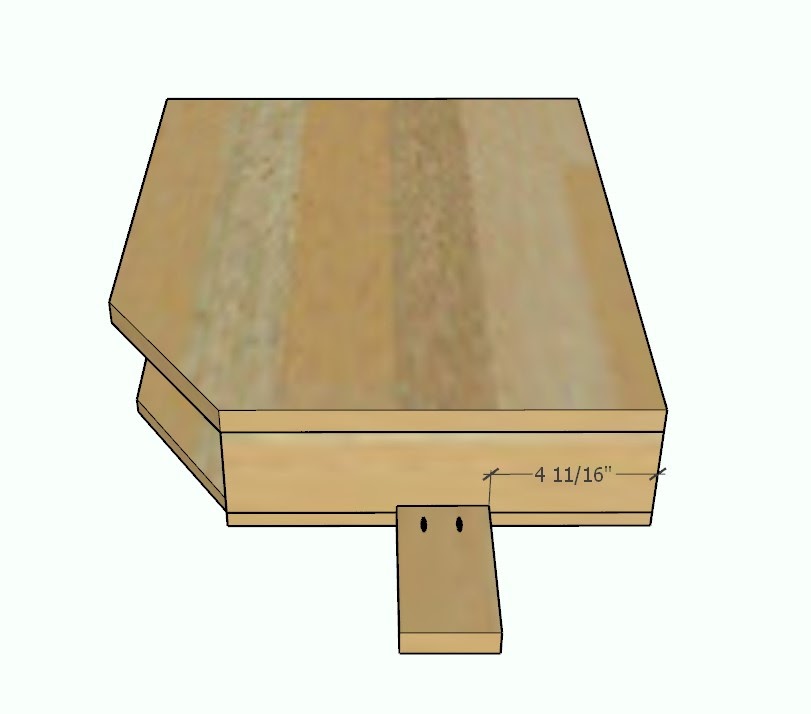
Add box locks
4 11/16” from the back, glue and screw the Box Locks to the inside edges of the Boxes.
-
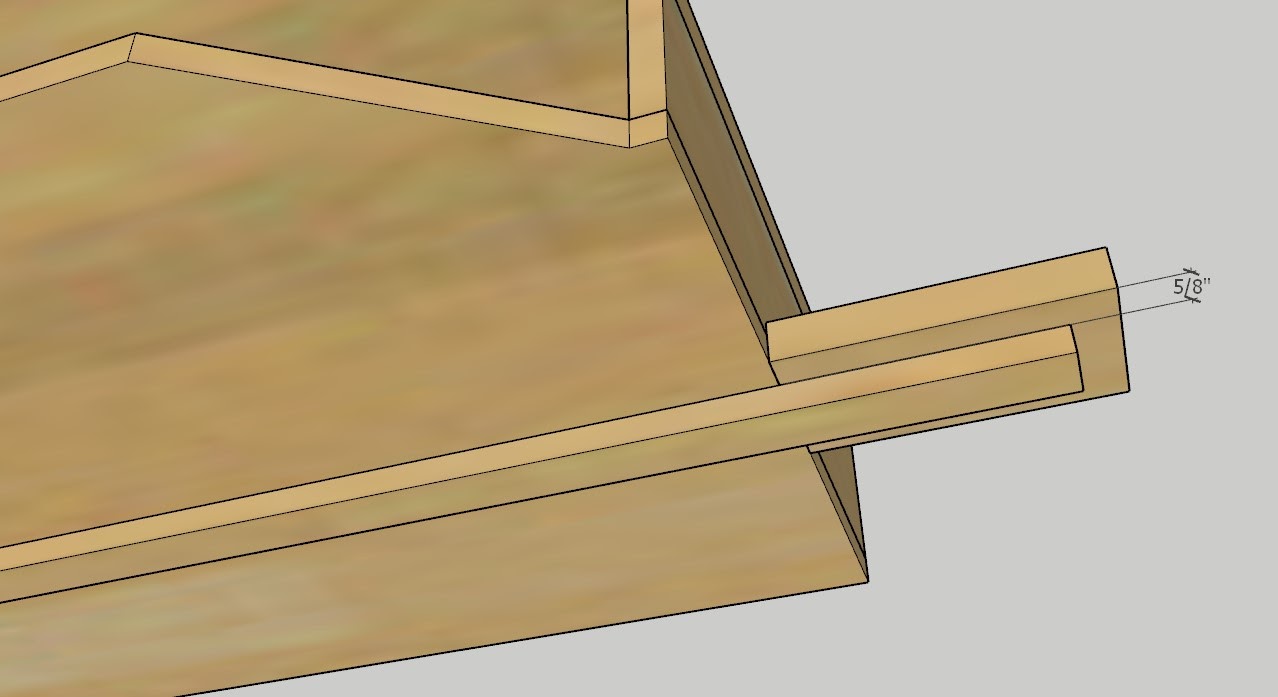
Add box slides
⅝” from the from of the front edge of the Box Locks, glue and brad nail the box slides. Make sure these are aligned with your saw before gluing. You may need to temporarily nail them in place until you're happy. Then draw a line where you would like them. Remove and glue and nail them along your pencil mark.
-
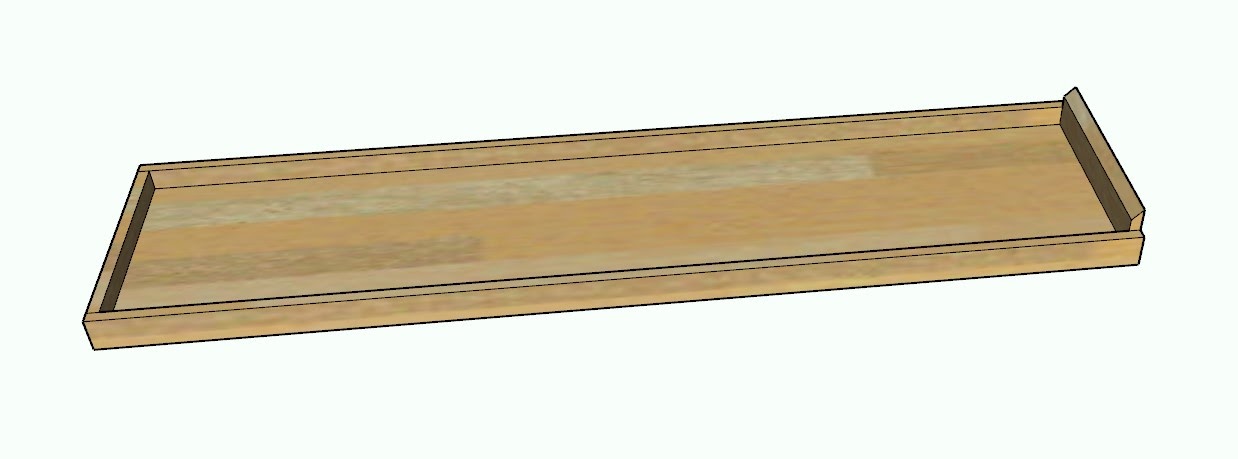
Build wing extension ends
Rip the taller Wing Extension Ends on a 45 degree bevel. Glue and brad nail the Wing extension ends and rails together. Ensure each wing has a beveled end on one side of the wings. The long side of the bevel should be facing outside of the wing. Once the Wing Extension Ends and Wing Extension Rails are attached, Glue and Brad Nail the tops on.
-
Build wing extension holders
Rip the Wing Extension Holders on a 45 degree bevel. Attach the Wing Extension Holder to the outside of the Box Sides with glue and Brad Nails with the heel of the bevel touching the Box Side.