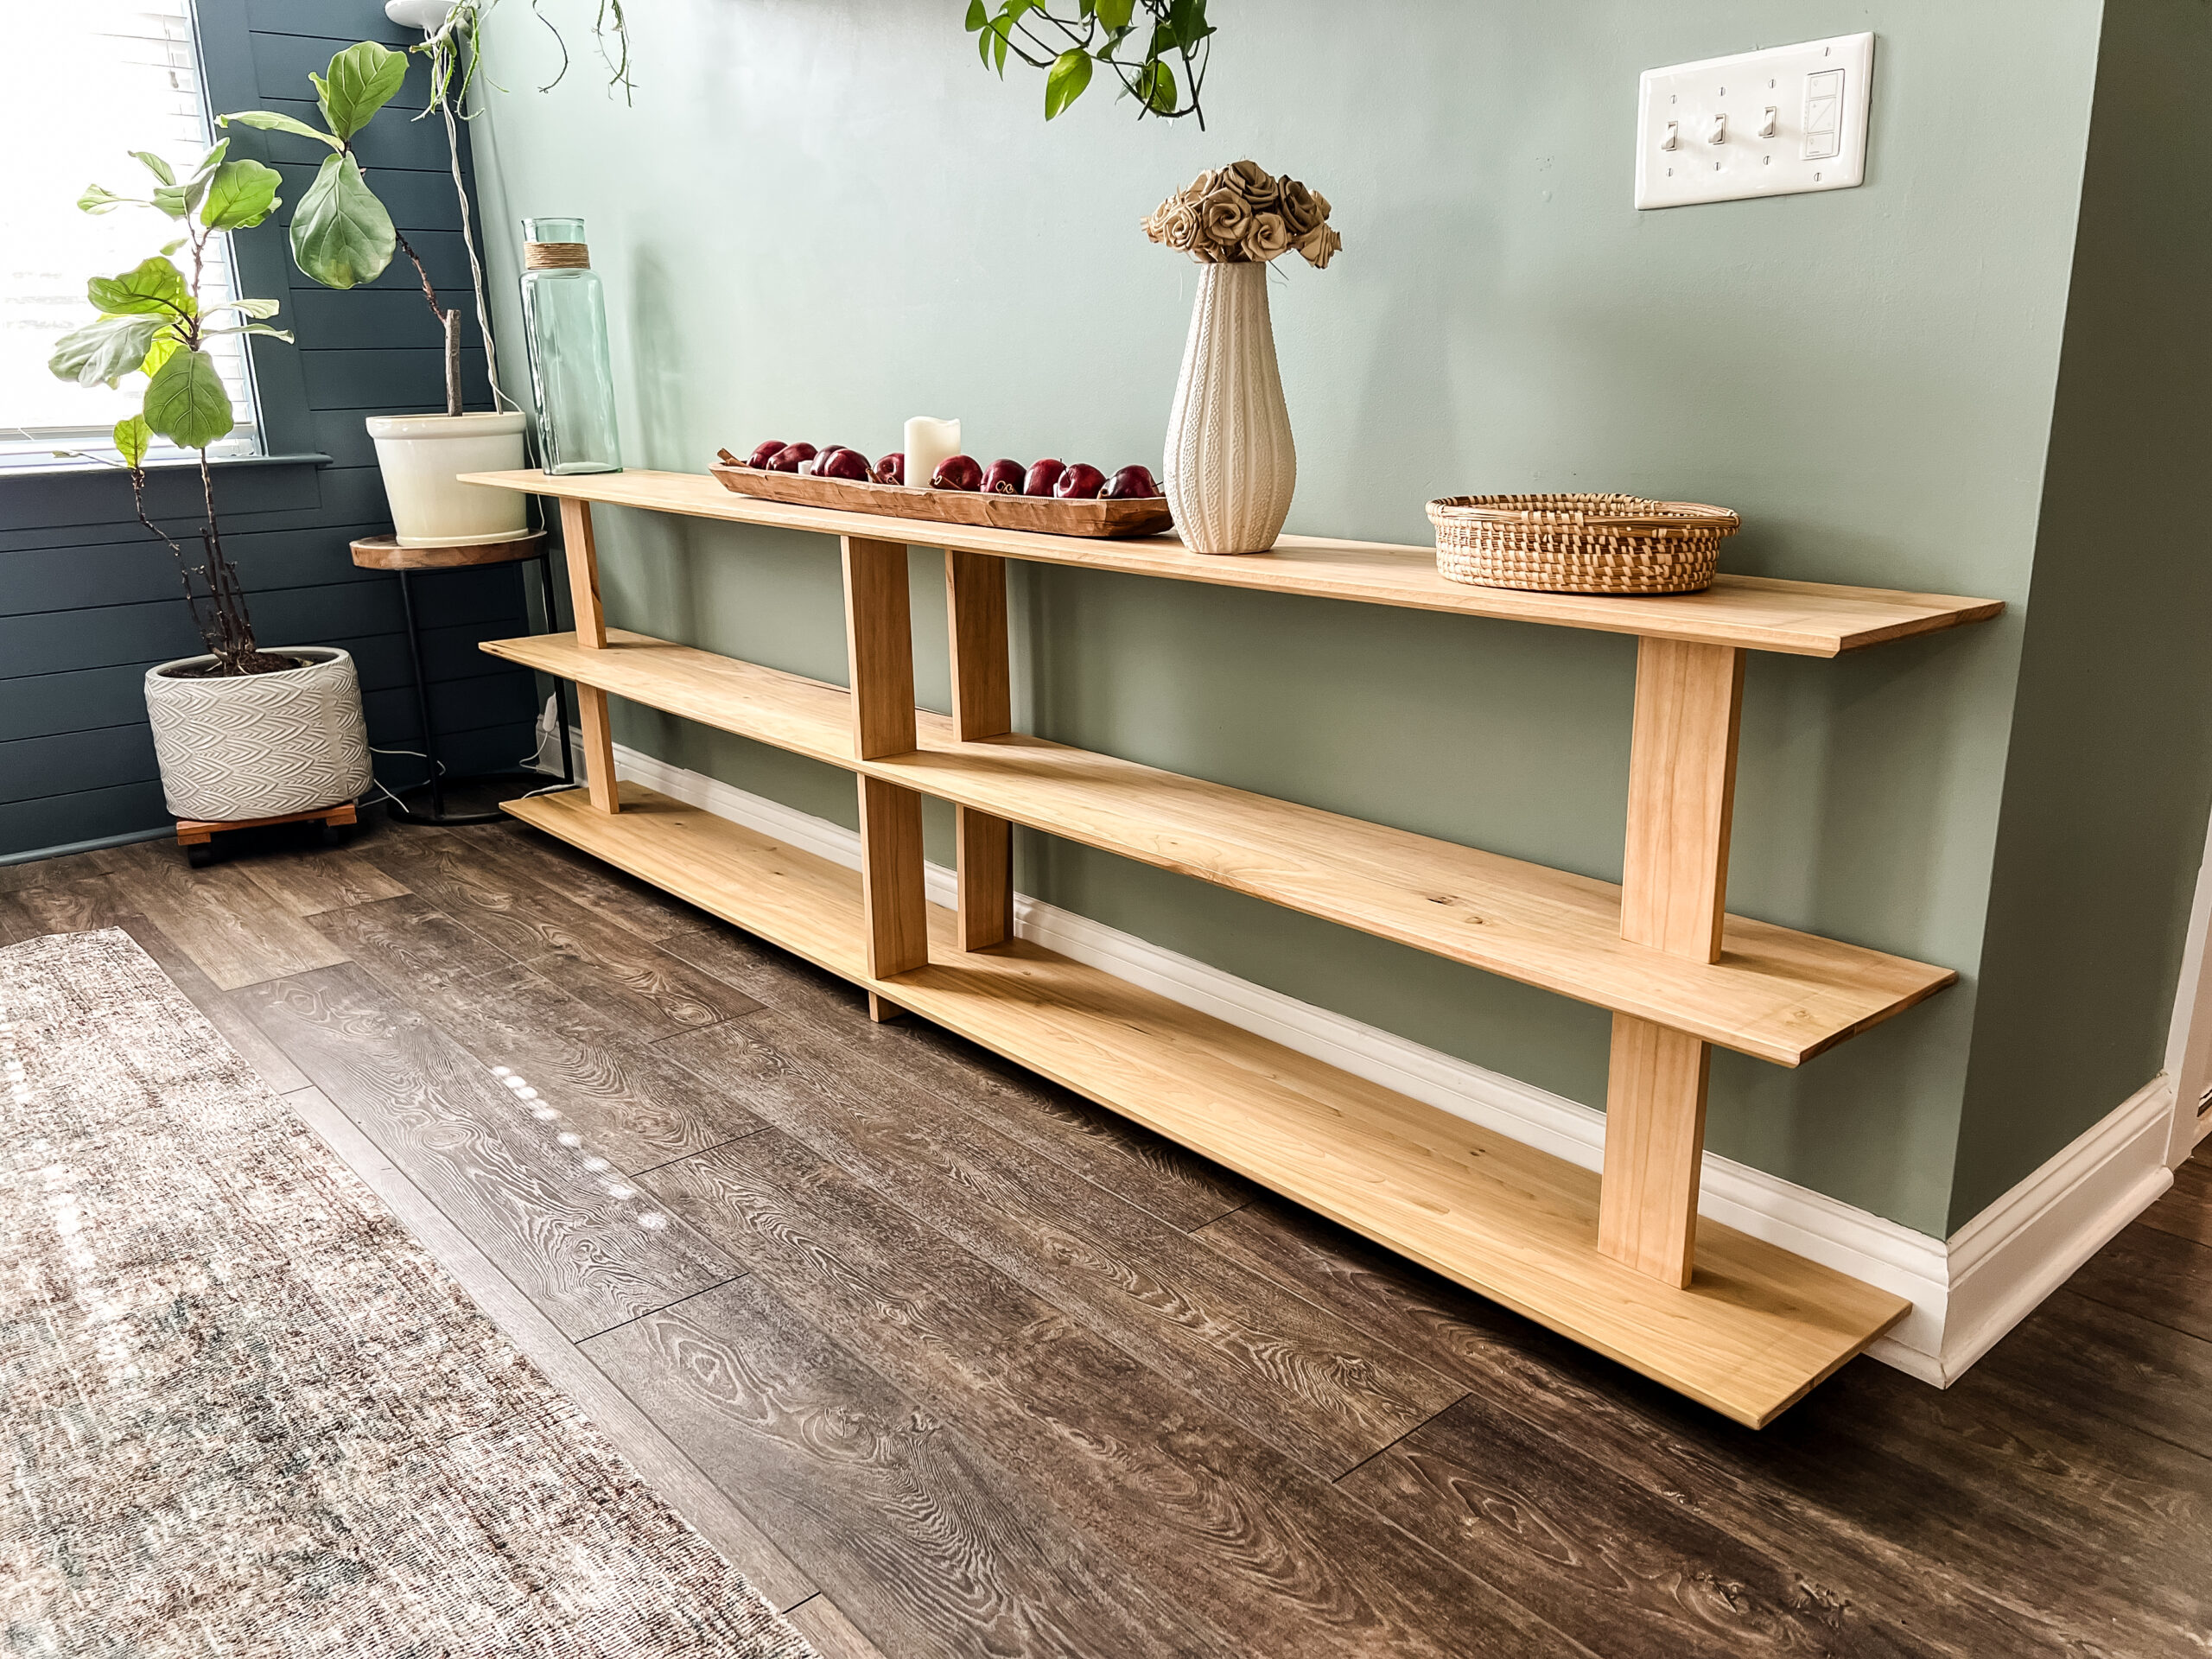
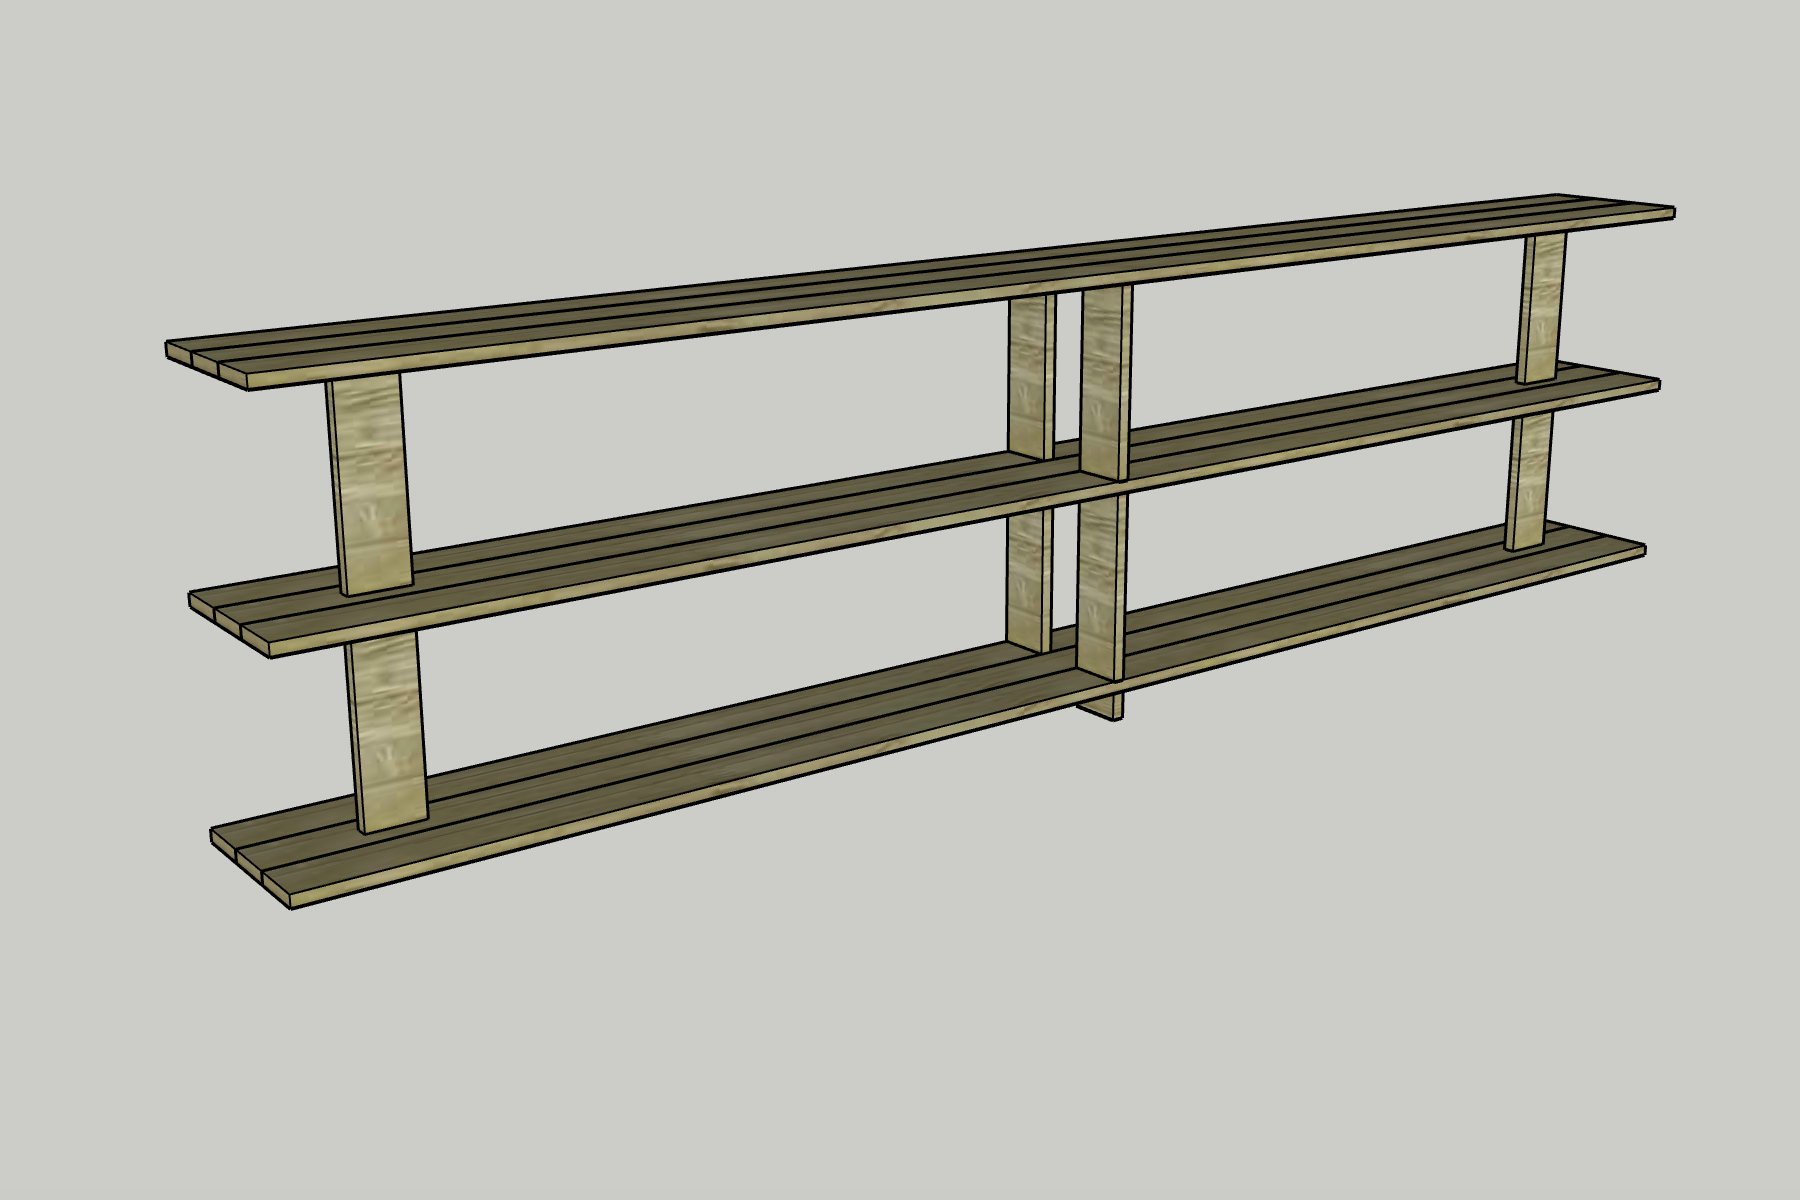
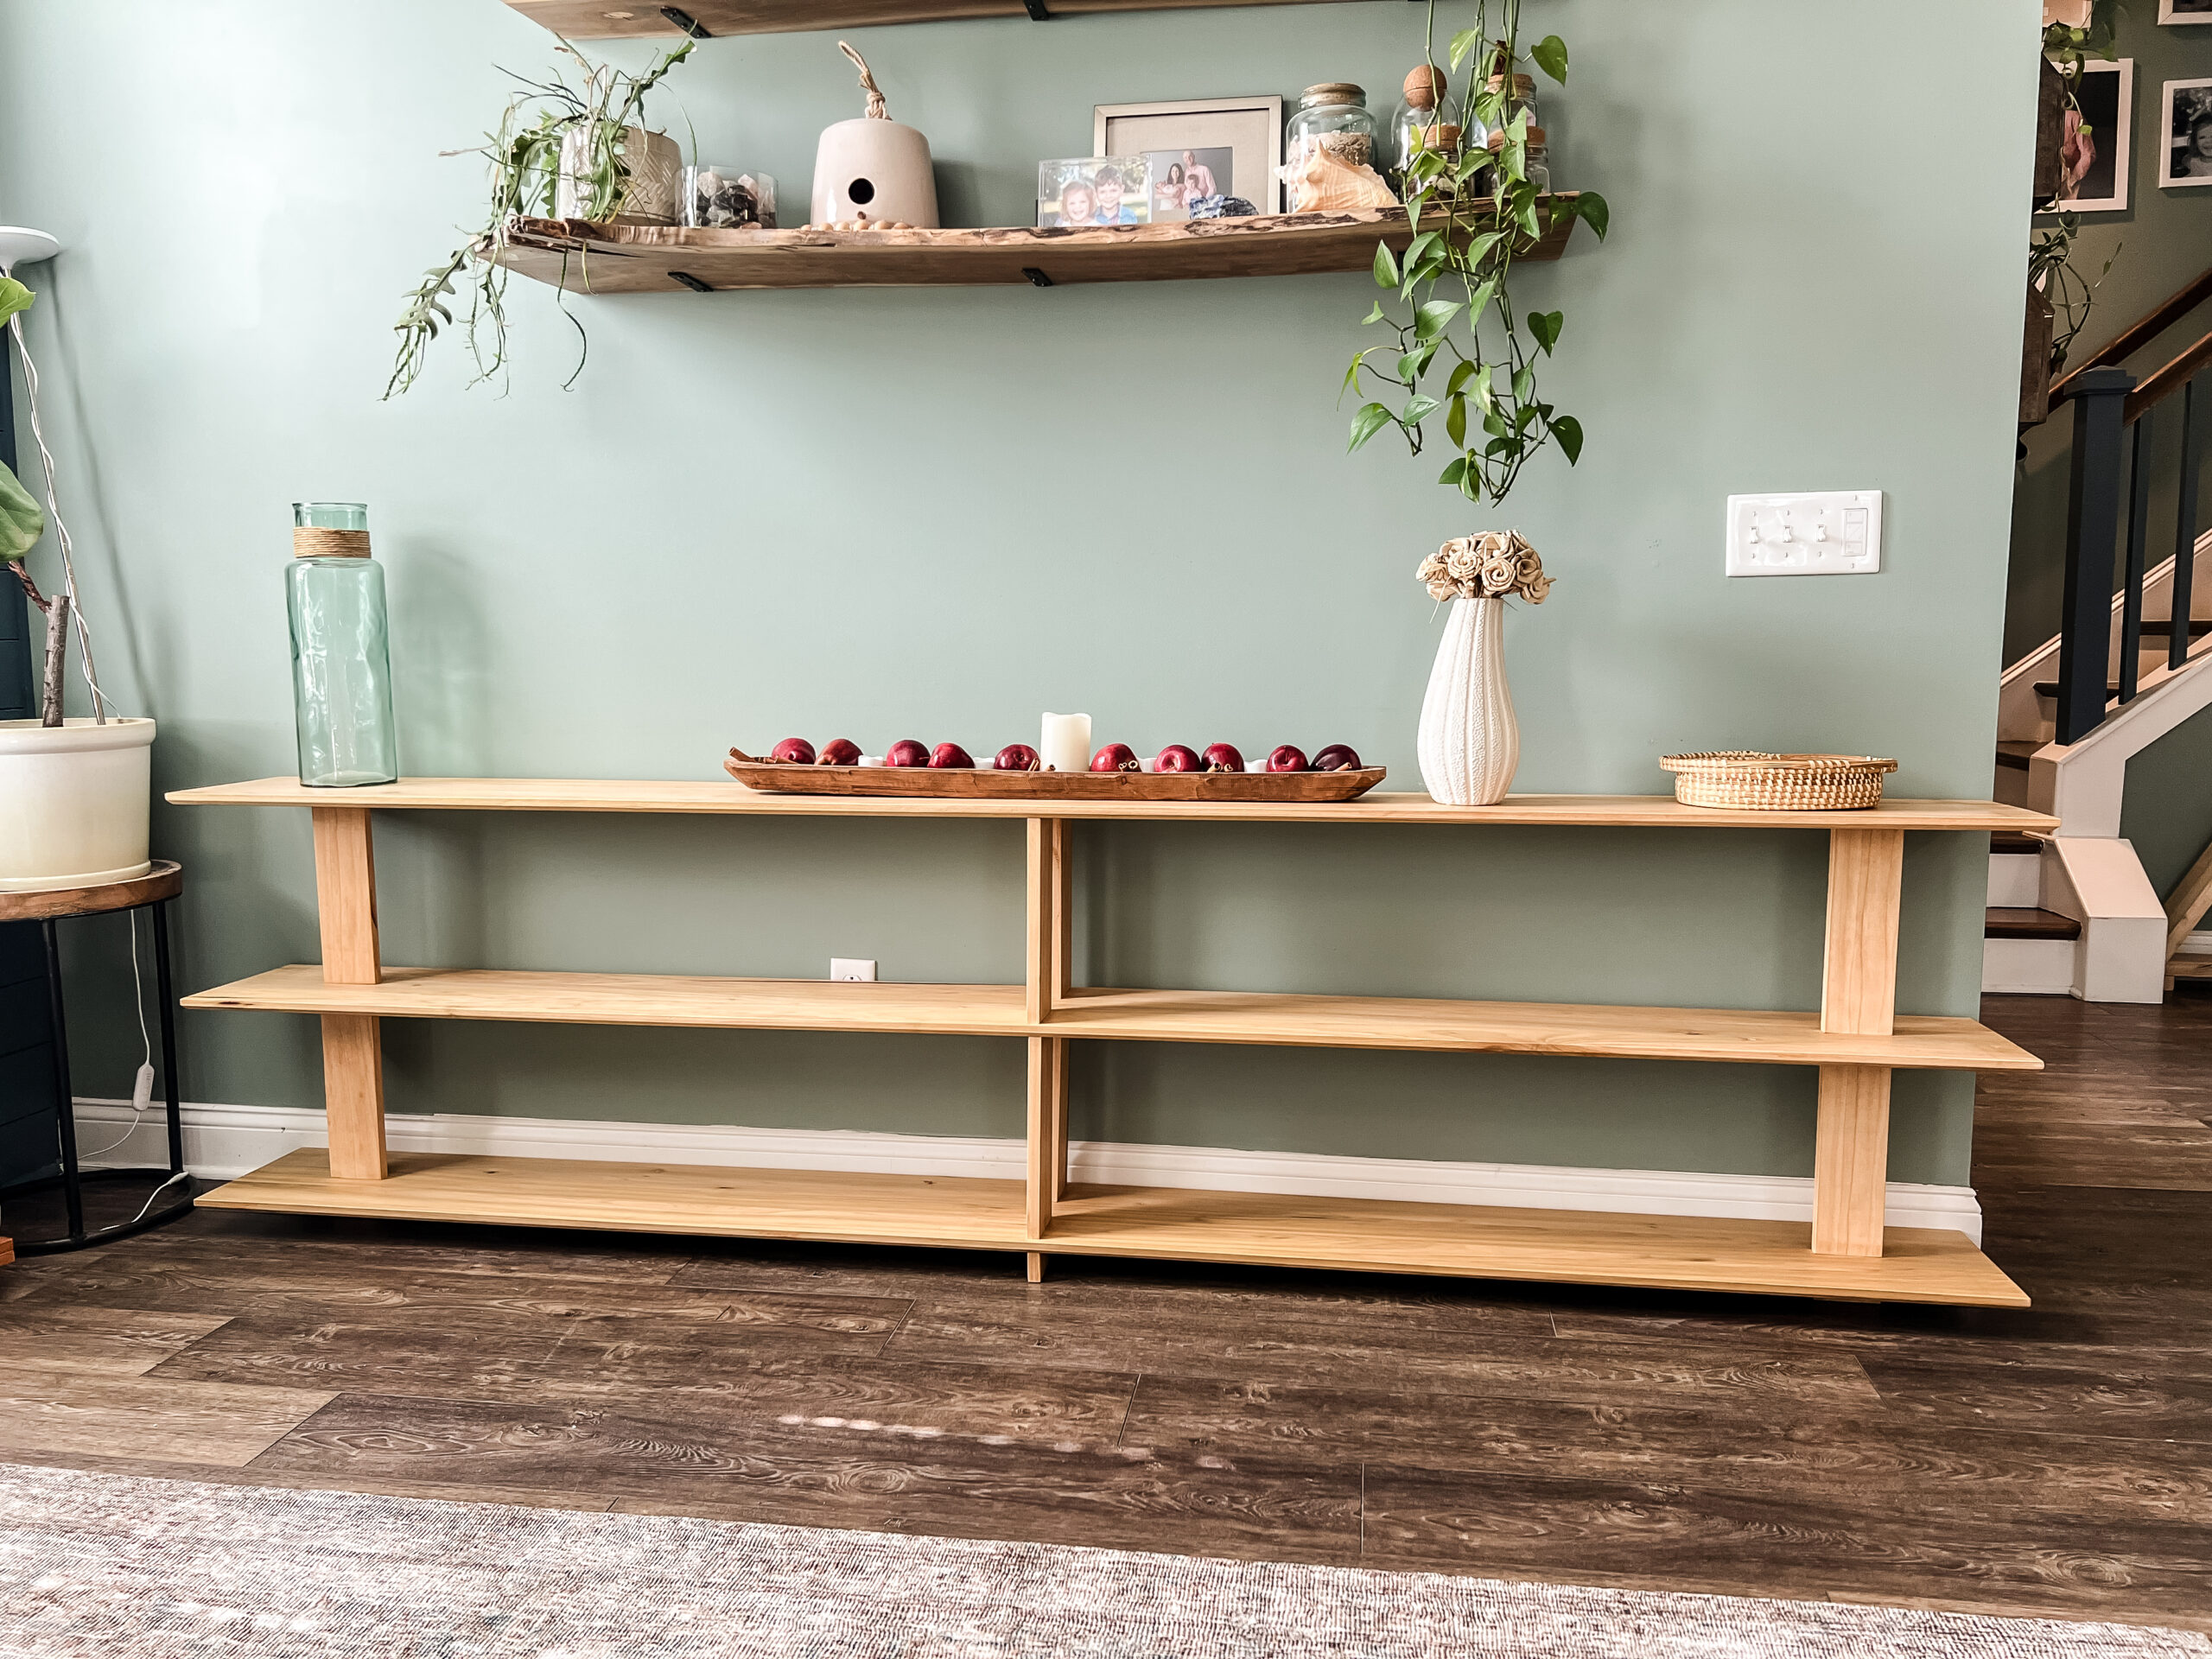


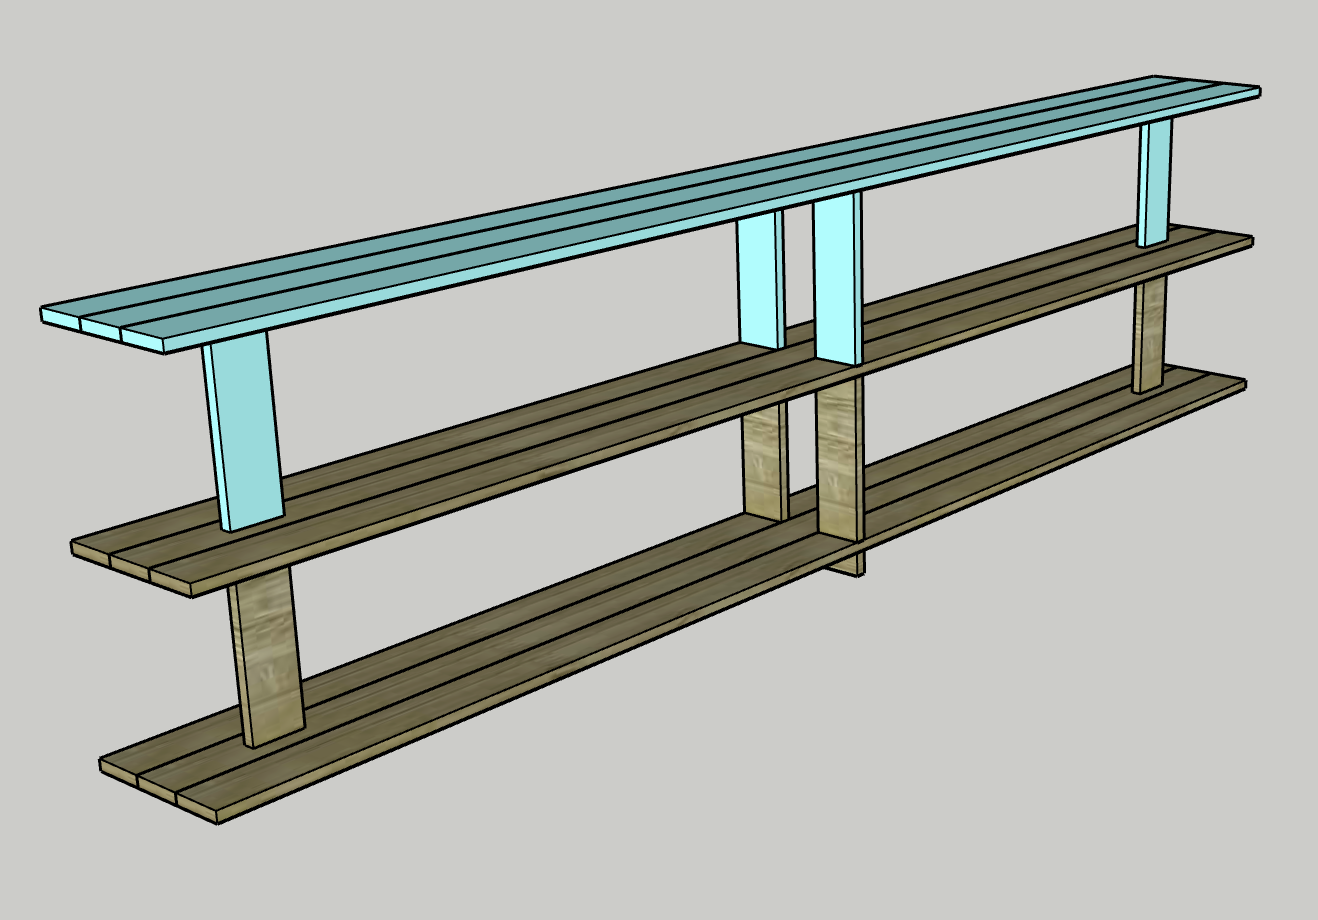
This midcentury modern sofa table is a great addition to any home! Add this behind your couch as a decor piece or to bump your couch off the wall a bit. The shelves offer a ton of storage opportunities or a way to display decor.
Tools
Kreg Tools

Other Tools
-
Miter saw

Materials
Wood Products
- 9 1x4 boards , 3/4" x 3 1/2" x 10'
Hardware & Supplies
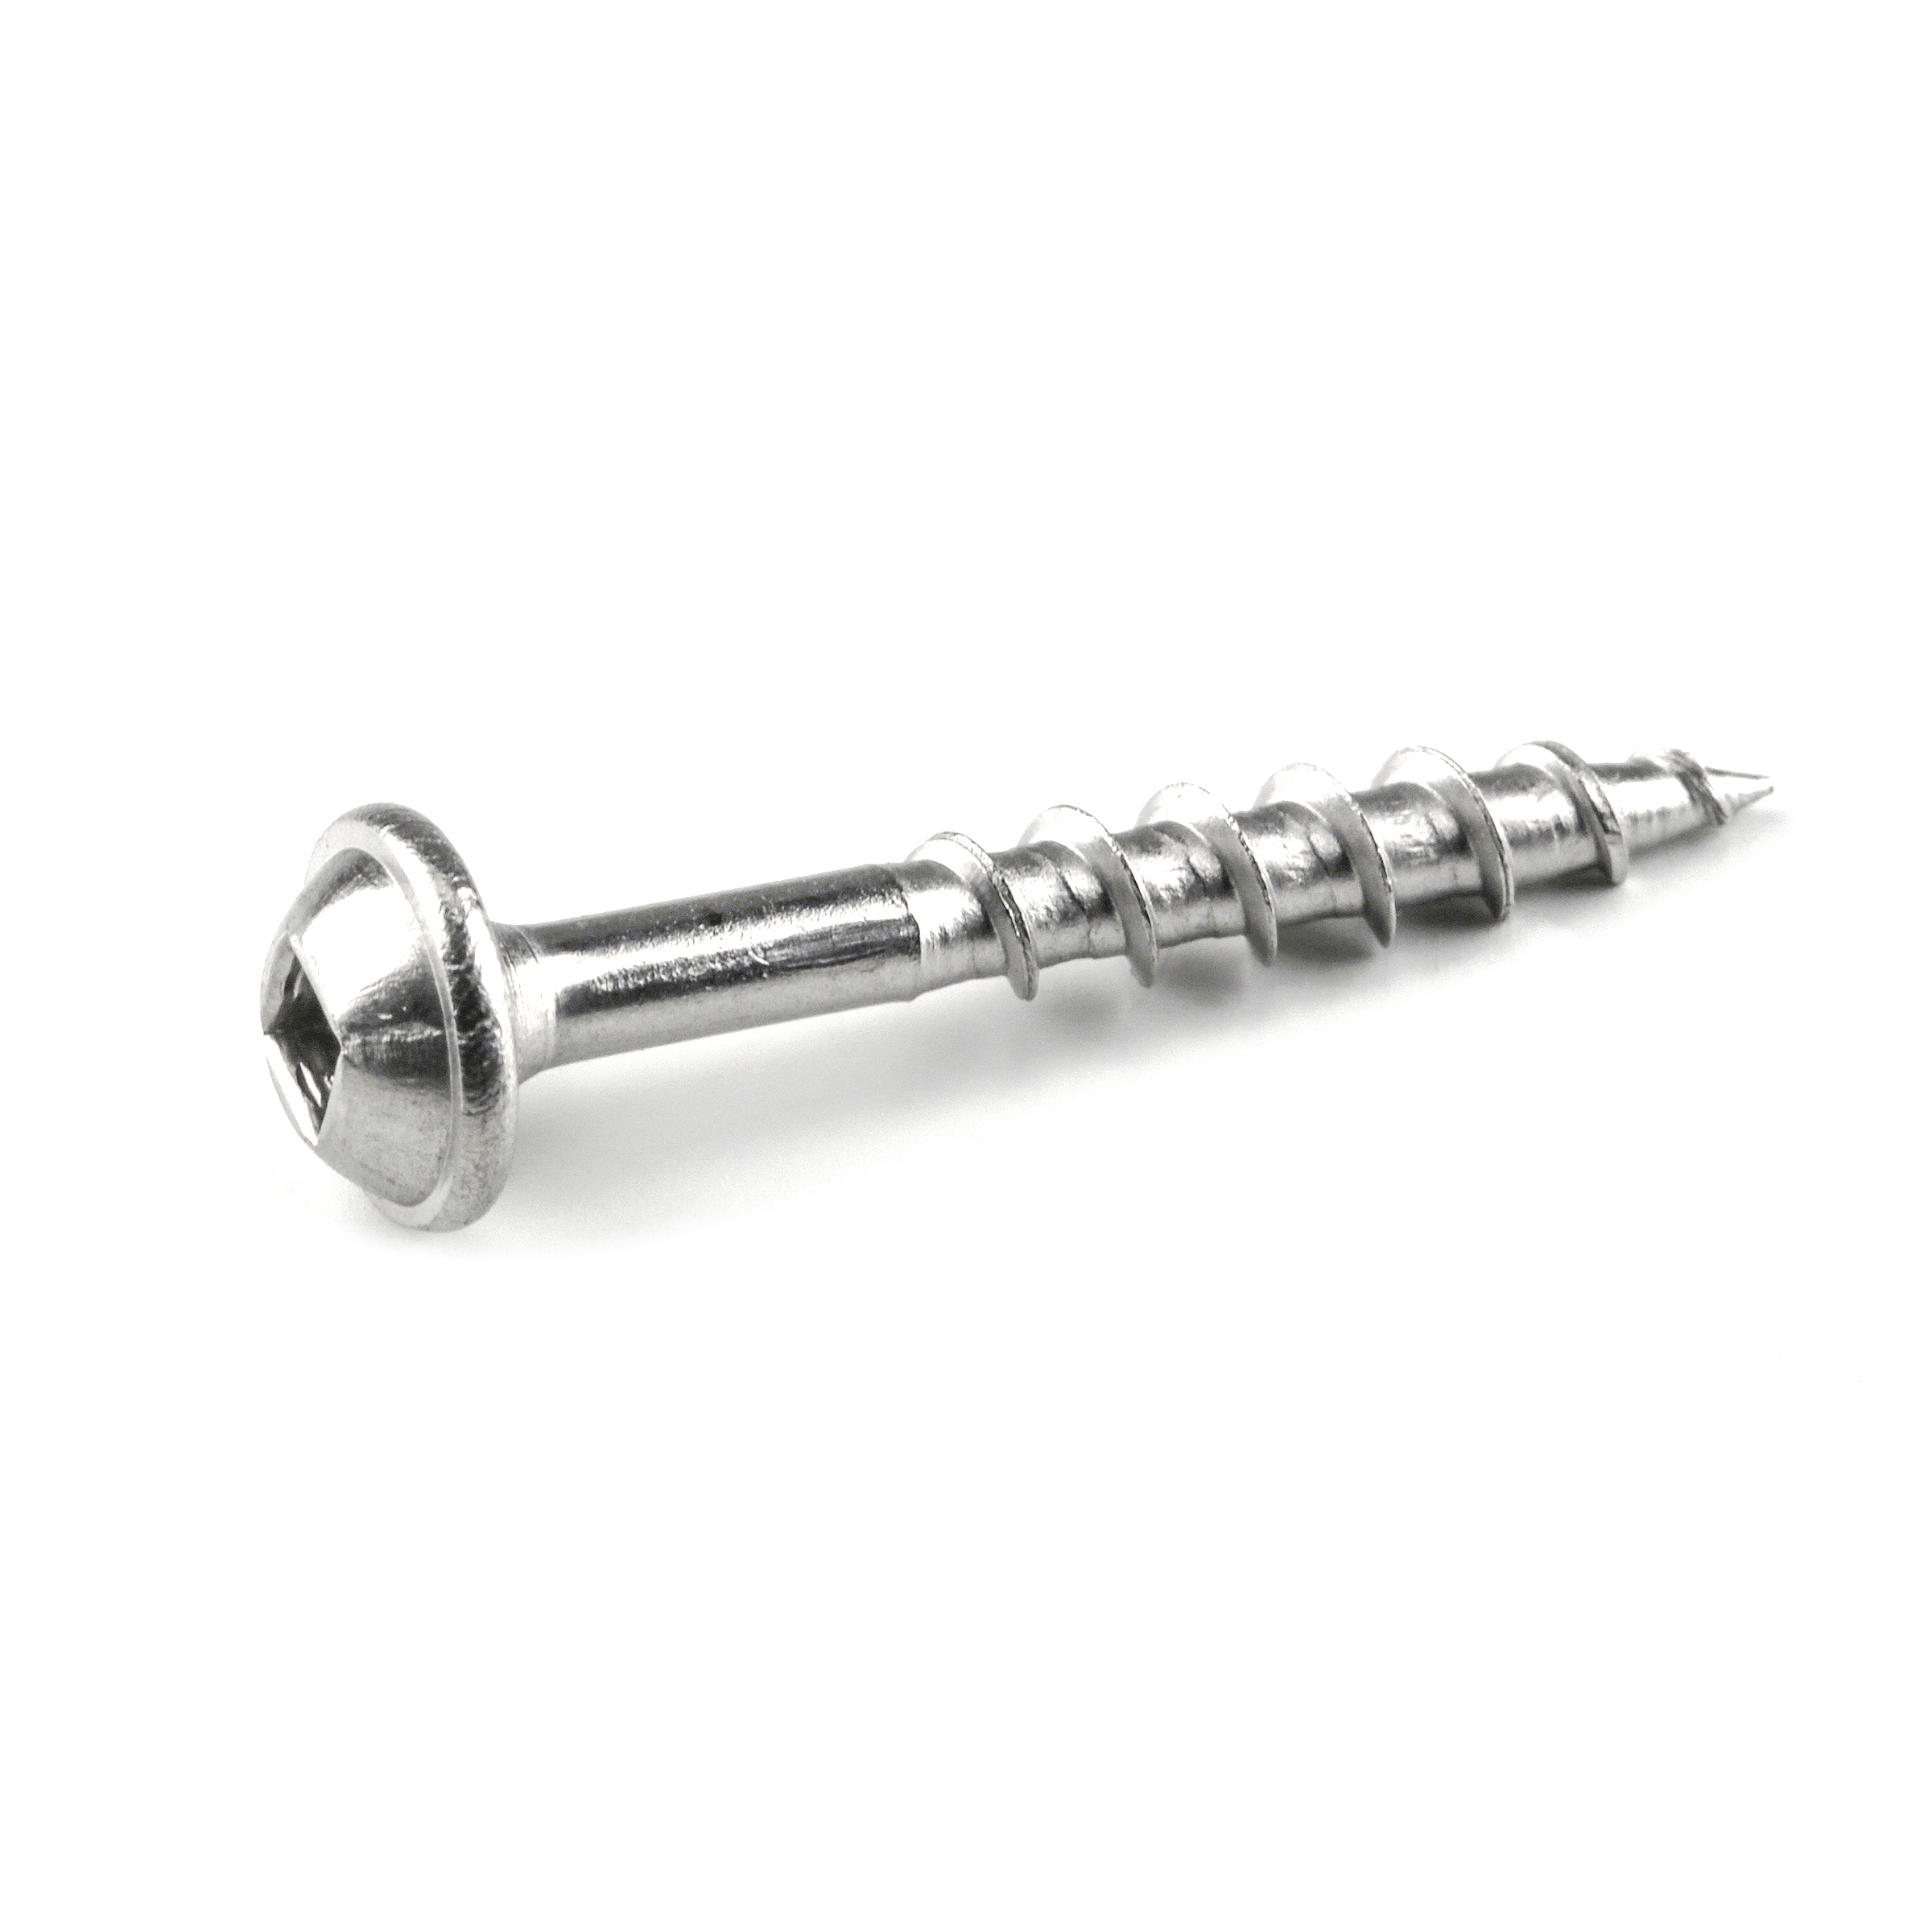
- 100 1 1/4" Kreg Screws
- 1 Wood glue
- 1 Stain
- 1 Polyurethane
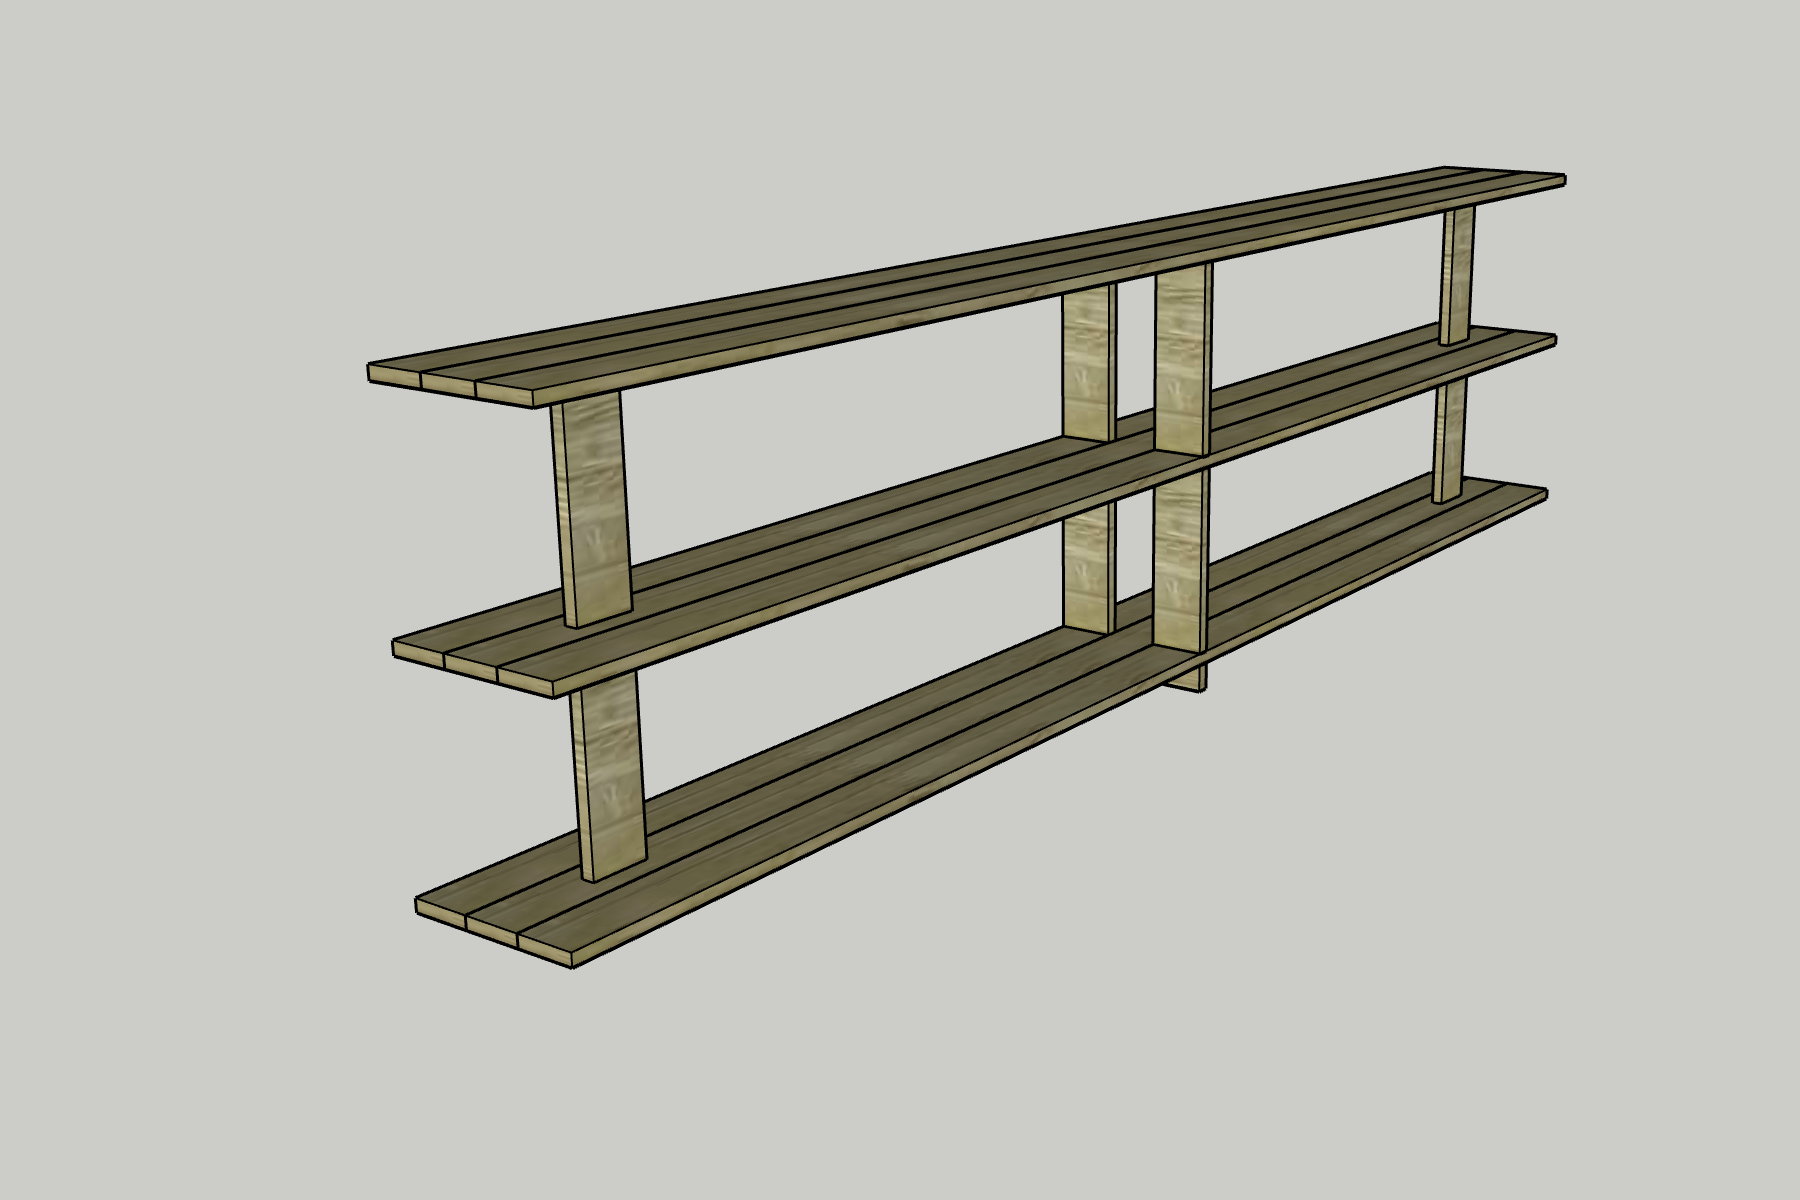
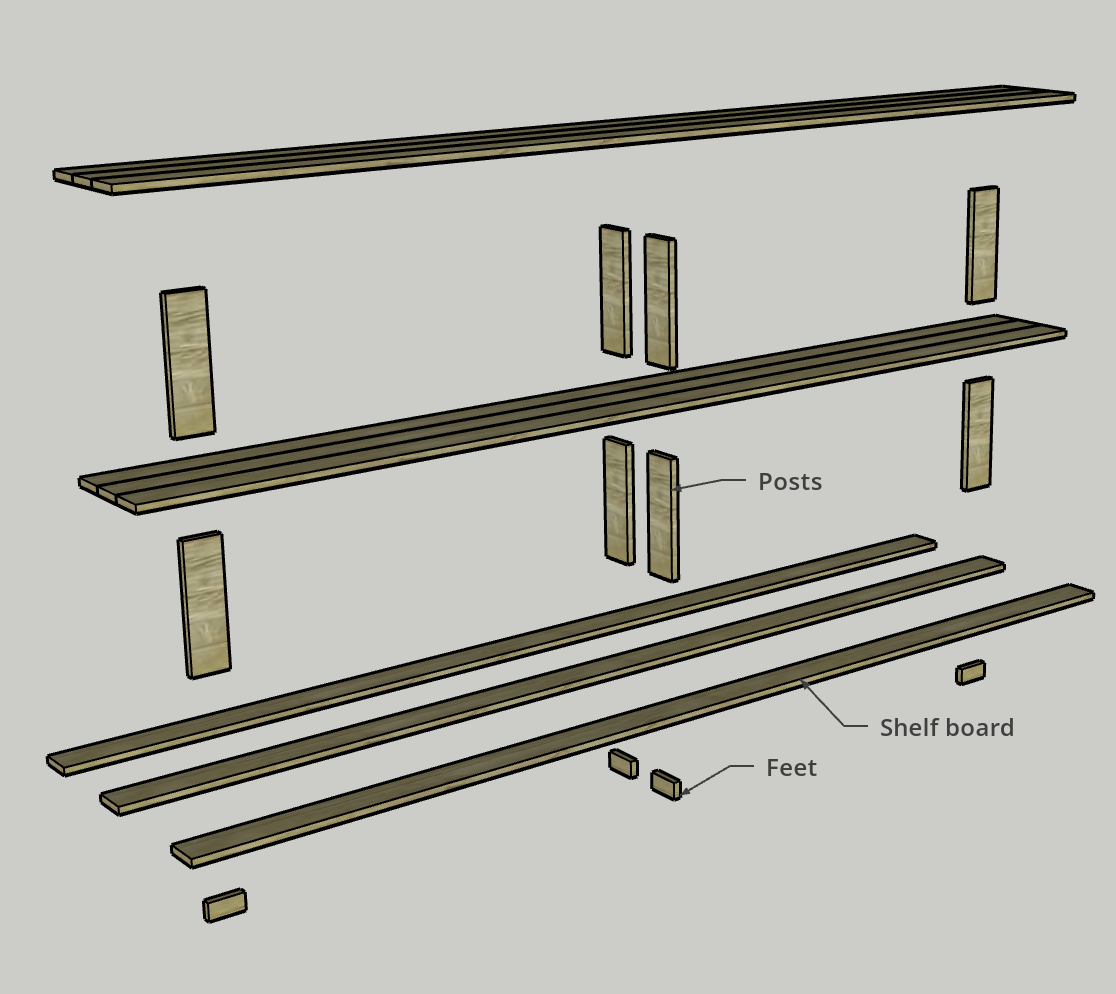
Cut List & Parts
- 9 Shelf Boards , 107"
- 8 Posts , 12"
- 4 Feet , 1 3/4"
Directions
-
Drill pocket holes
Start out by pairing together three sets of three Shelf Boards.
Drilling the following pocket holes:
(6) Shelf Boards- five spread out along one long side
(3) Shelf Boards- 3 on each side, spread out to not be in line with the pocket holes on the first six boards
(8) Posts- two on the each end
(4) Feet- two on one end -
Connect shelf boards
- Line up one set of three Shelf Boards upside down so that the two boards with pocket holes on only one side are facing in to the board with holes on both sides.
- Apply wood glue to the edges of the center Shelf Board.
- Clamp all three boards together so that they line up on each end and are smooth and flush along the seams.
- Using pocket hole screws, connect all three boards together.
- Repeat to create two more shelves.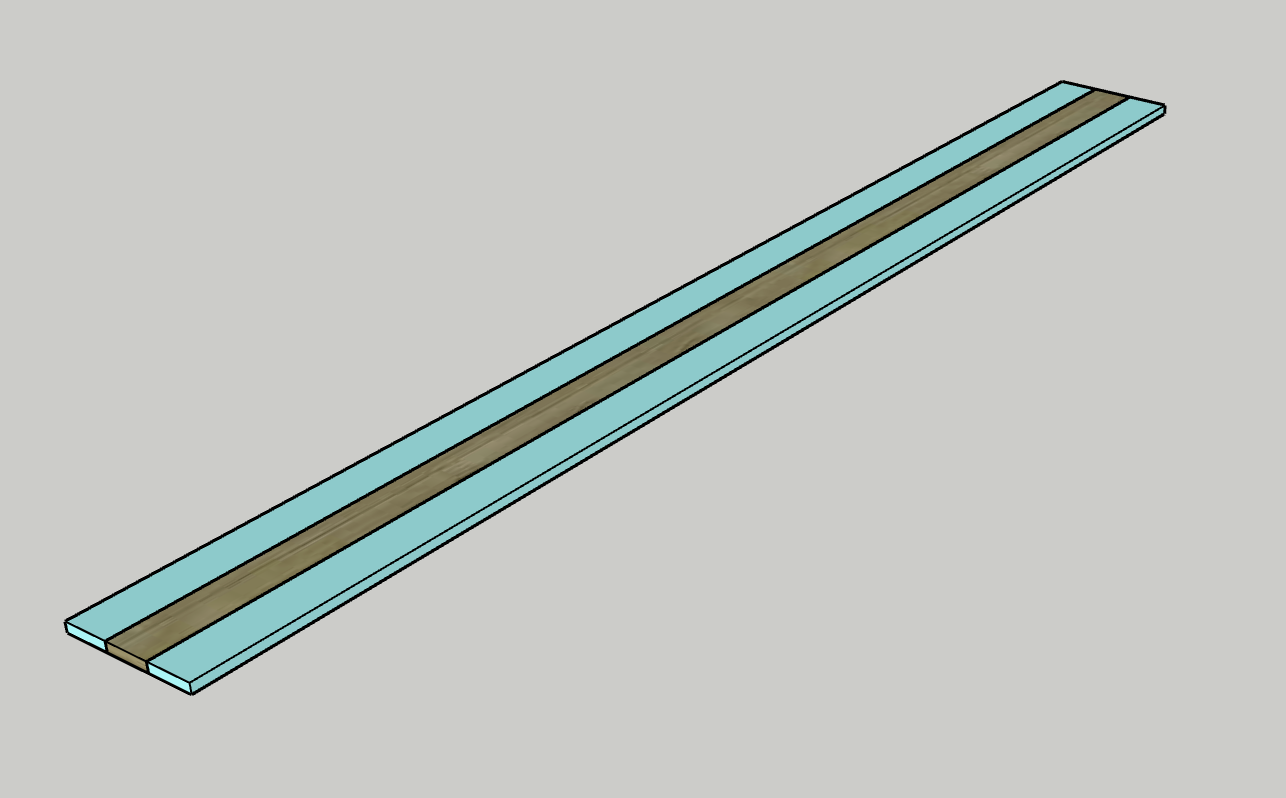
-
Trim shelves
- If you have the tools to do so or if you’d like, run the shelves through a planer to make sure it is perfectly smooth on top.
- Additionally, use a palm router and use a roundover or chamfer bit to trim out the edges. -
Add feet
- Flip over one of the shelves so the pocket holes are facing up.
- Using wood glue and pocket hole screws, attach one of the Feet near the end of the shelf so it is centered on the middle board and 6" away from the end. This one should be in line with the boards of the shelf.
- Repeat on the other end.
- For the remaining two Feet, center them along the long edge of the shelf, but have them perpendicular to the Shelf Boards.
- Use wood glue and pocket hole screws to attach these in place, ensuring you put the pocket holes facing the side that is less likely to be frequently-seen.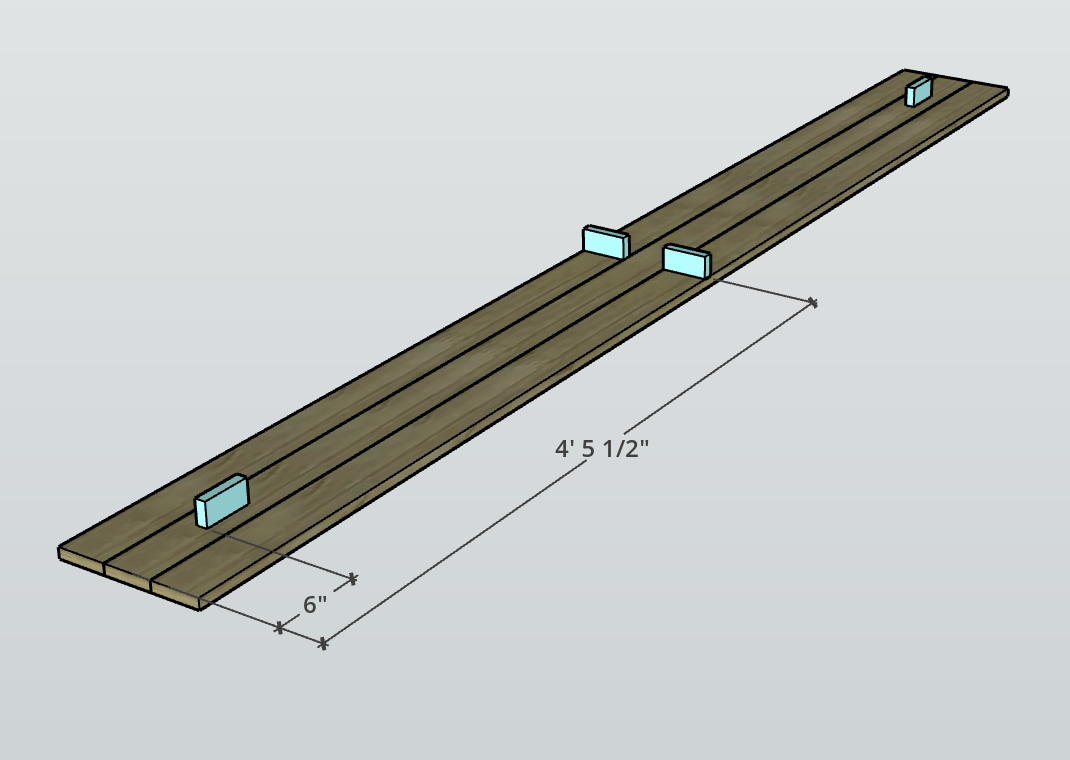
-
Add posts
- Flip over another of the shelves so the pocket holes are facing up.
- In this step, we’ll be aligning the Posts on the shelf in the same place we aligned the Feet on the previous shelf.
- Using wood glue and pocket hole screws, attach one of the Posts near the end of the shelf so it is centered on the middle board and 6" away from the end. This one should be in line with the boards of the shelf.
- Repeat on the other end.
- For the remaining two Posts, center them along the long edge of the shelf, but have them perpendicular to the Shelf Boards.
- Use wood glue and pocket hole screws to attach these in place, ensuring you put the pocket holes facing the side that is less likely to be frequently-seen.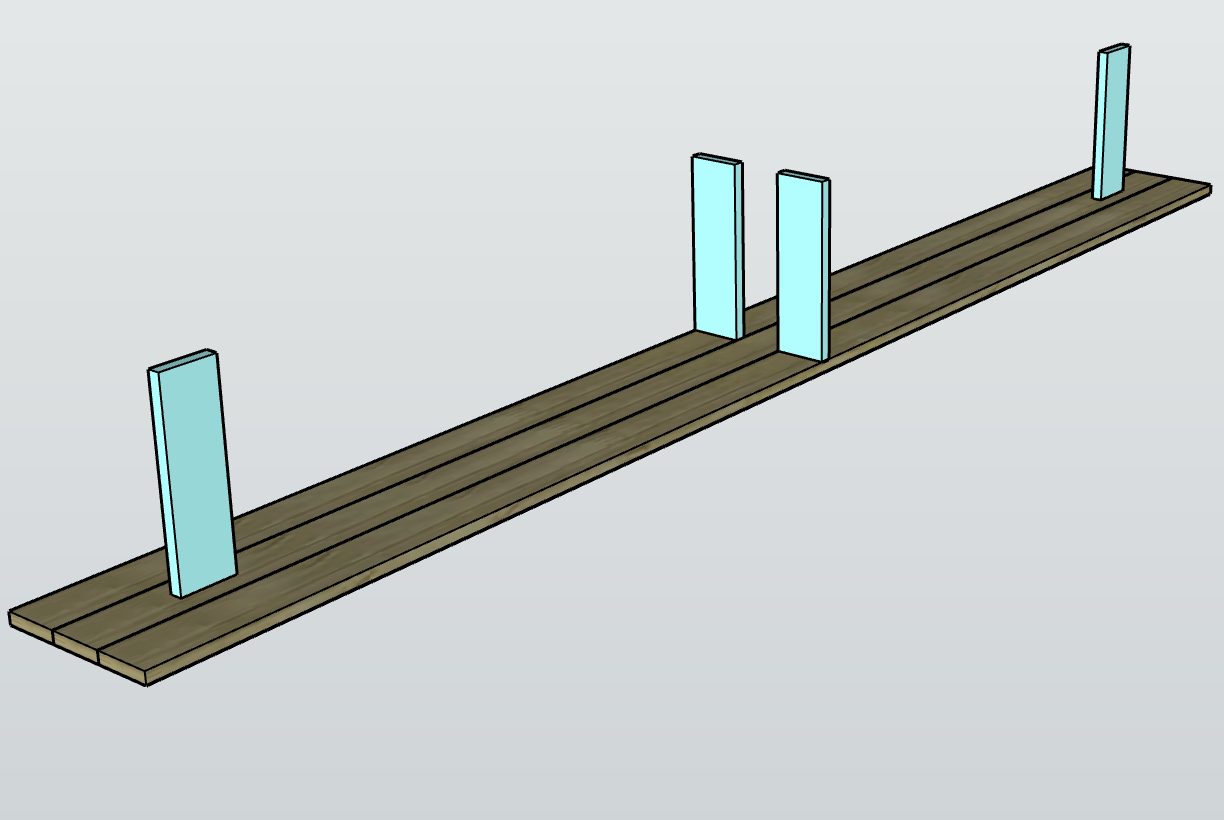
-
Repeat posts
Repeat Step Five for the remaining shelf and posts.
-
Attach middle shelf
- Flip the lower shelf with the Feet onto the ground.
- Apply wood glue to the bottom of the Posts on the middle shelf.
- Flip this shelf onto the bottom shelf aligning it so the middle Posts are on the edges of the lower shelf and the side Posts are 6" away from the edge.
- Use pocket hole screws to attach in place.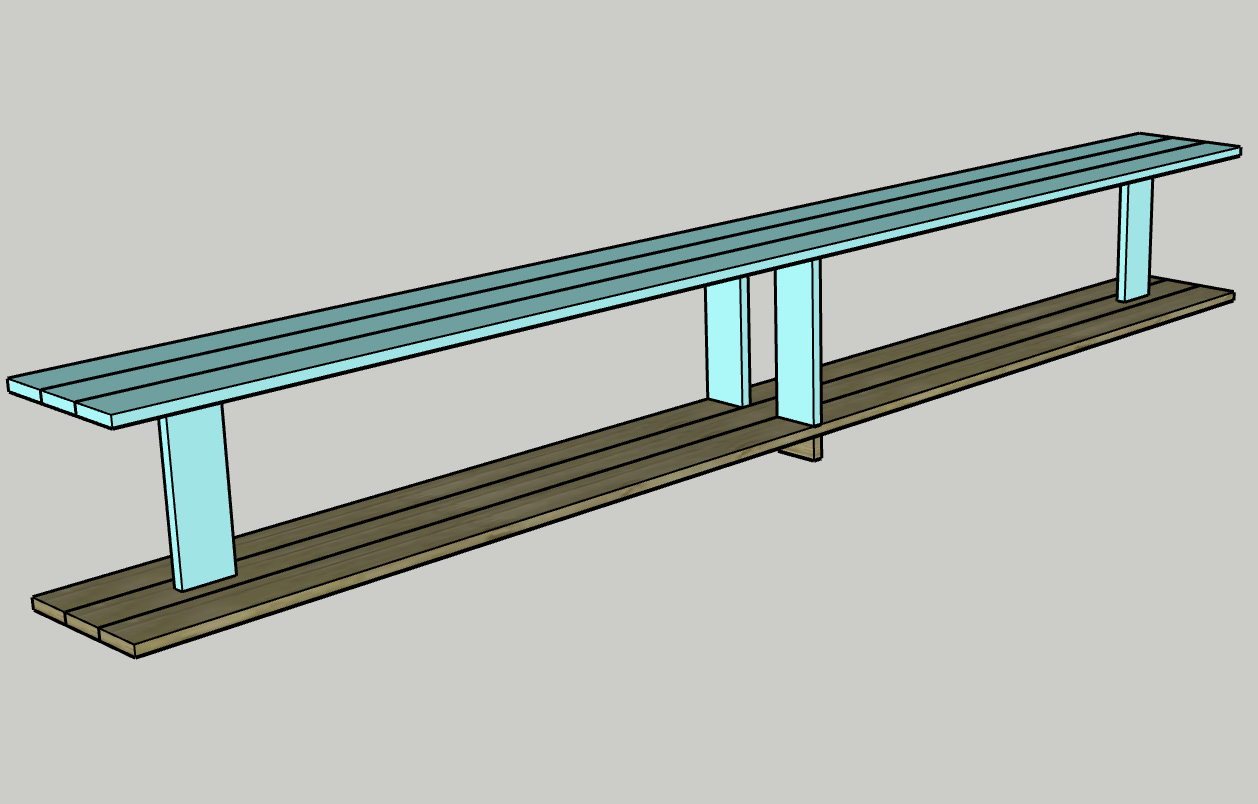
-
Attach top shelf
Repeat Step Seven to attach the top shelf to the middle shelf.
-
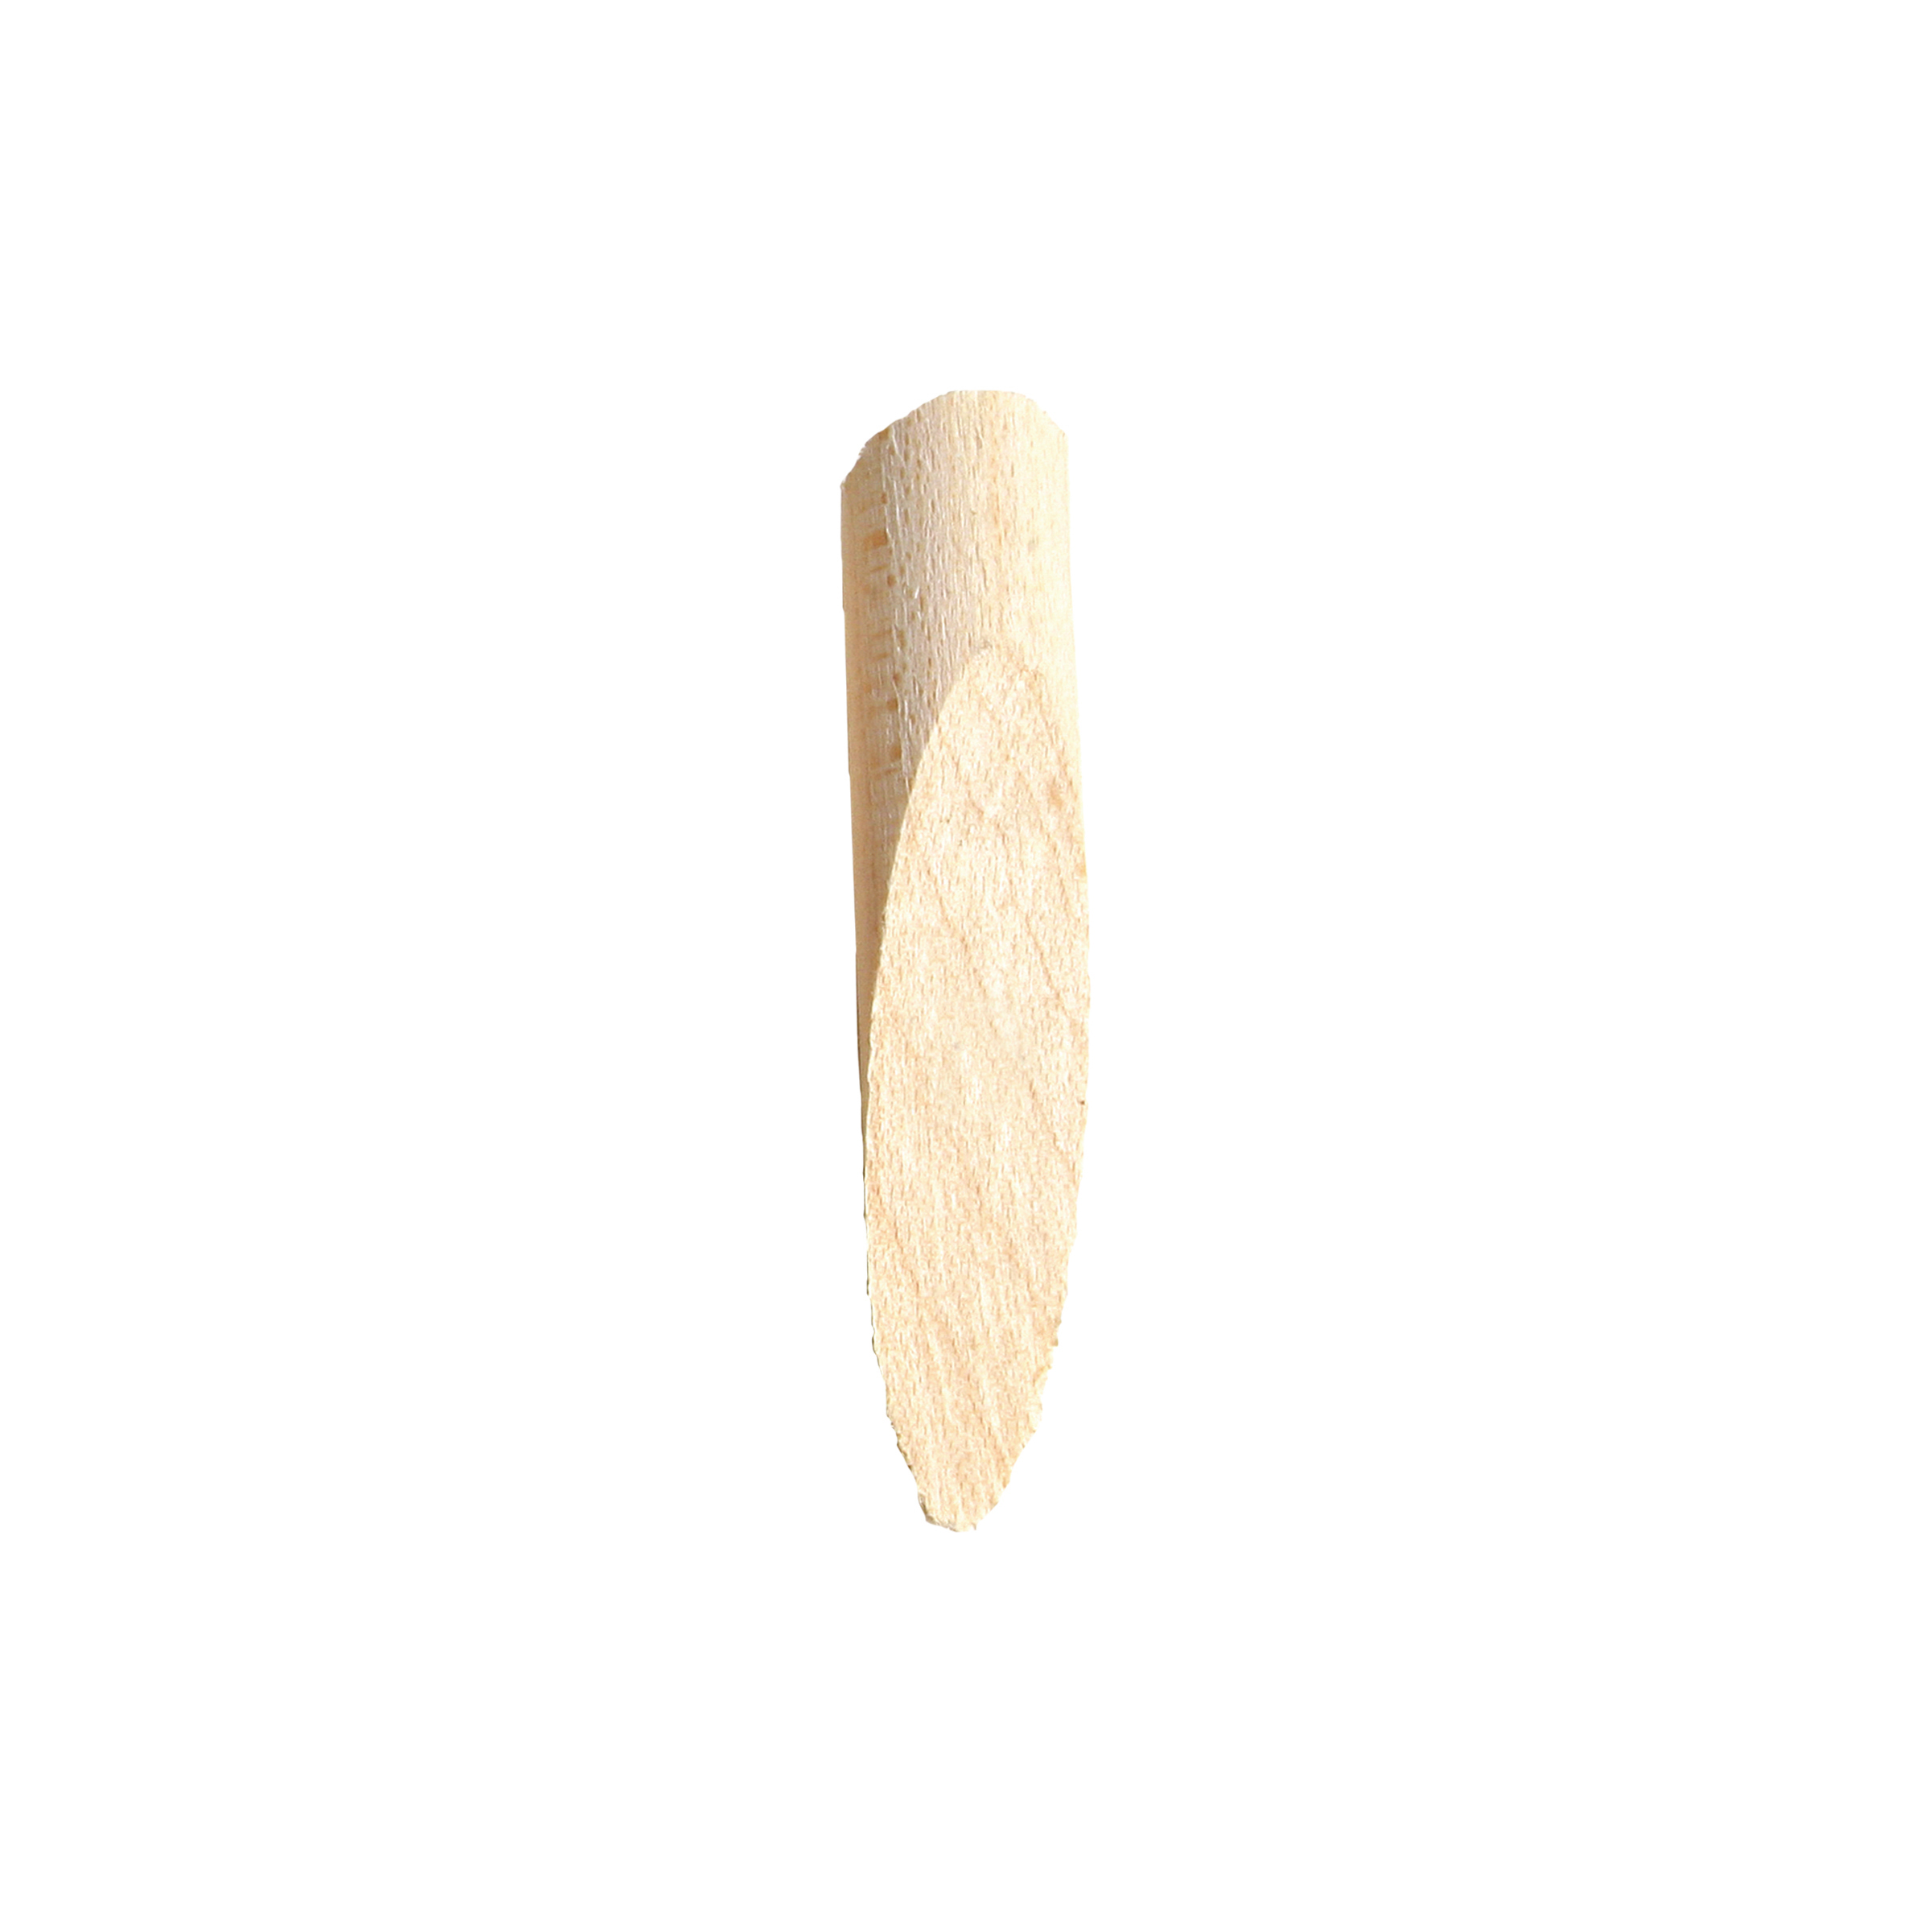
Fill pocket holes
Fill your pocket holes on the sides of the middle Posts using pocket hole plugs, wood glue and a sander.
-
Stain or paint
- Add whatever stain or paint you want for your aesthetic.
- Add a coat of polyurethane to help protect the shelves from wear and tear.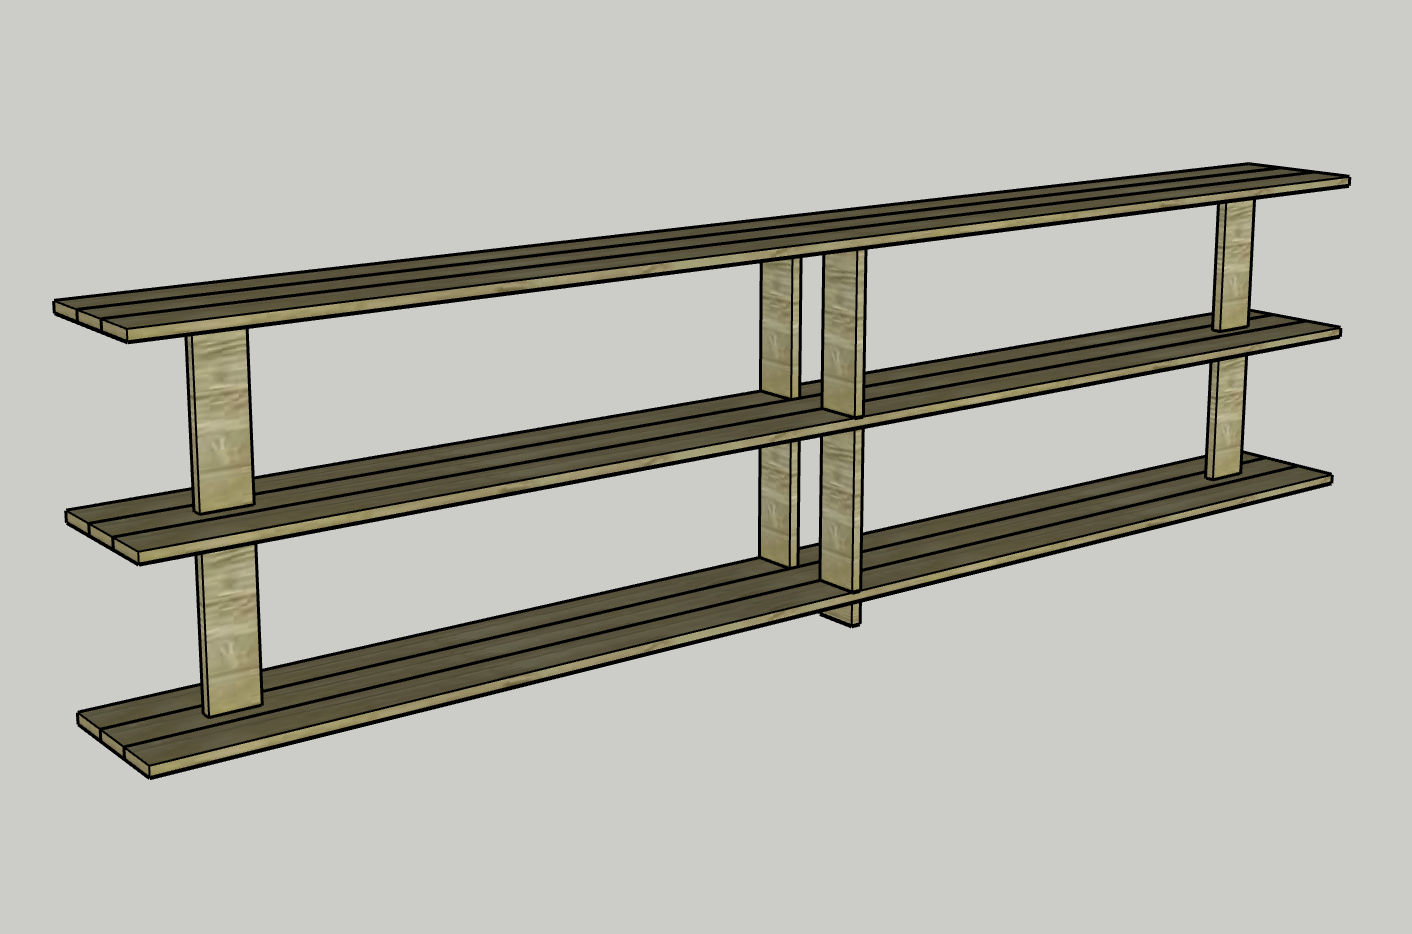
-
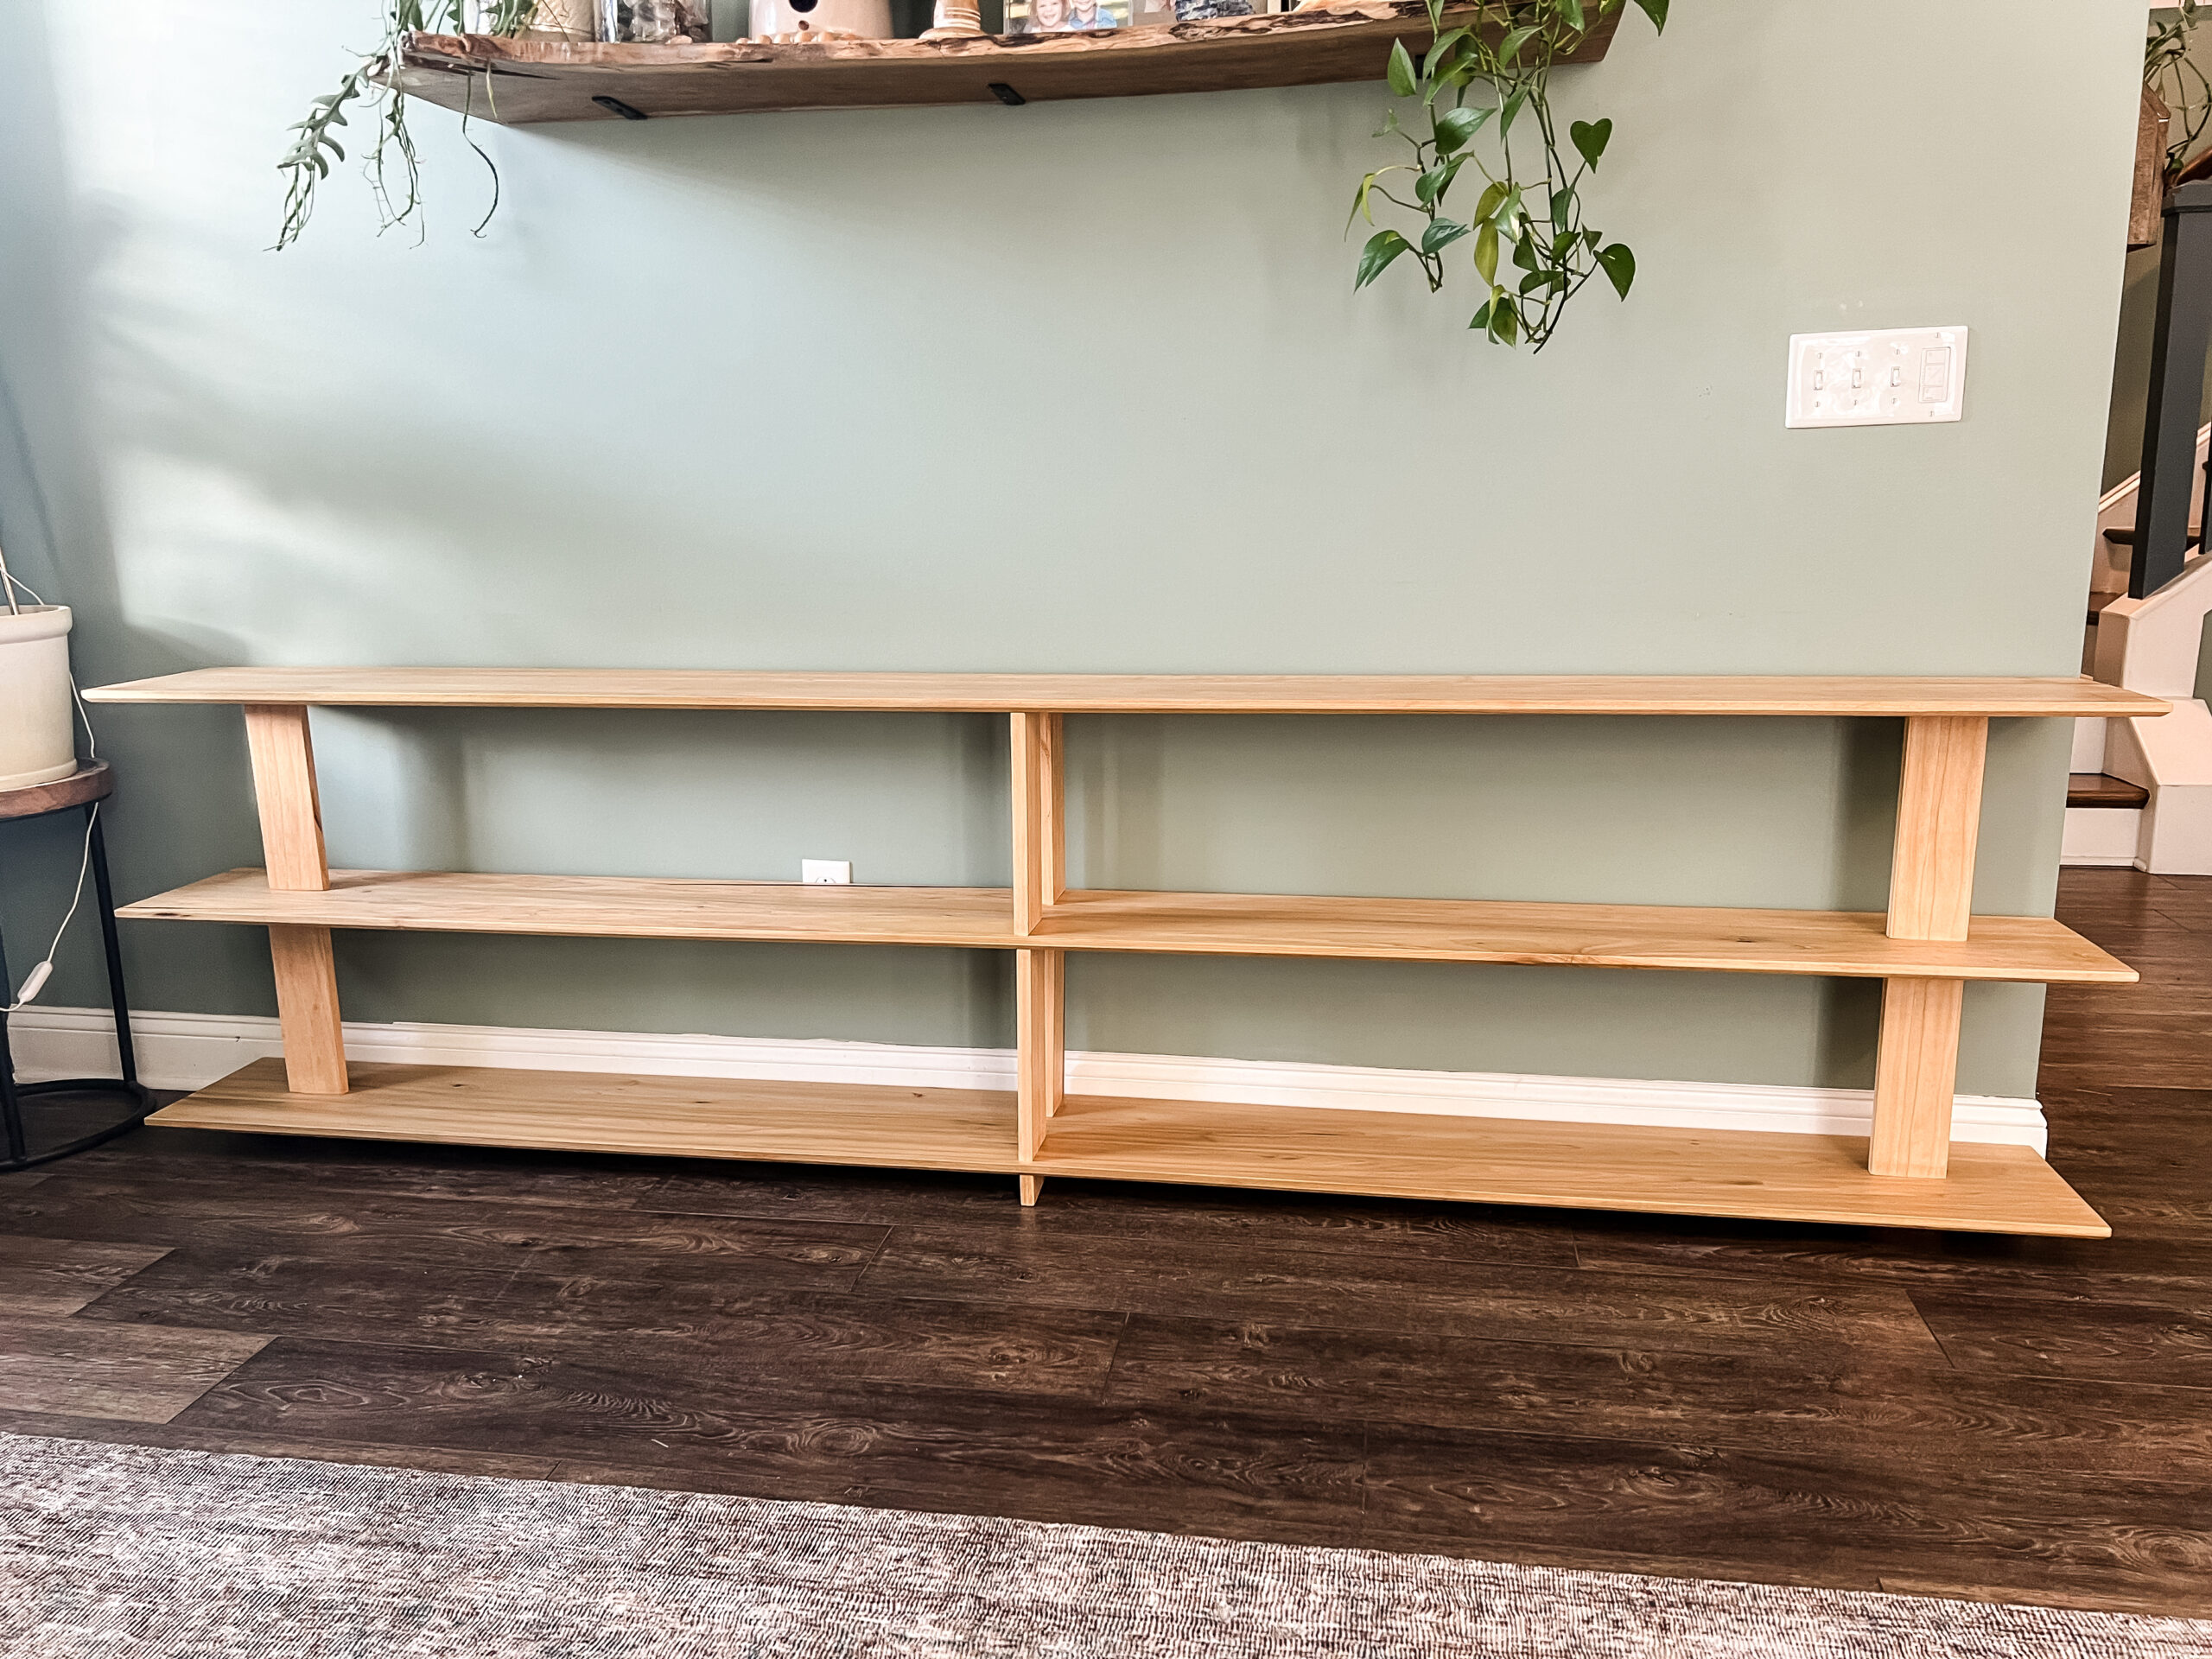
Enjoy!
Enjoy your handiwork and tag @CharlestonCraftedBuilds on Instagram with a picture!