Media console with weight storage and tile top
By Charleston Crafted

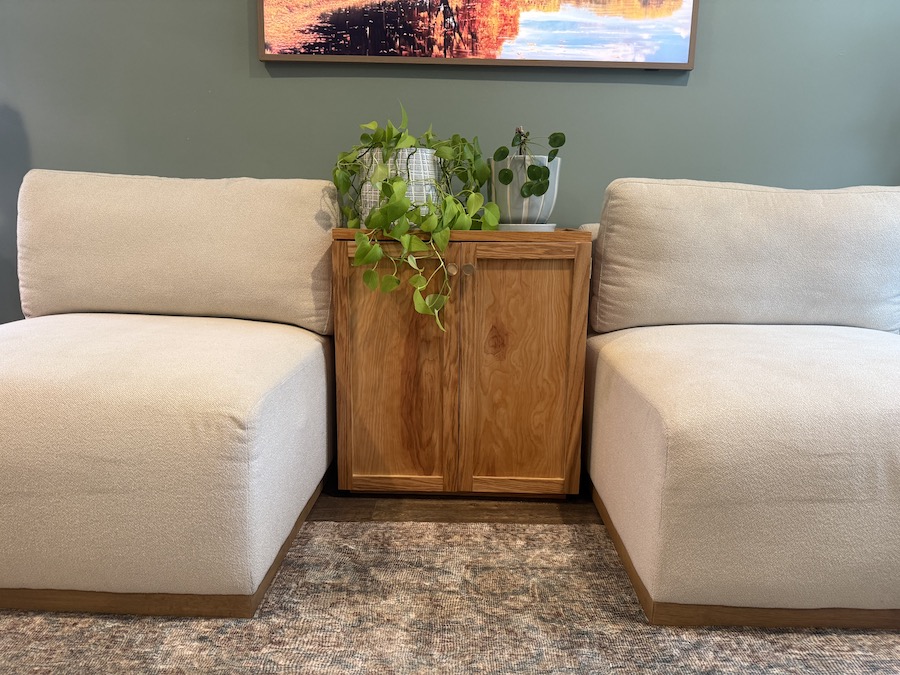
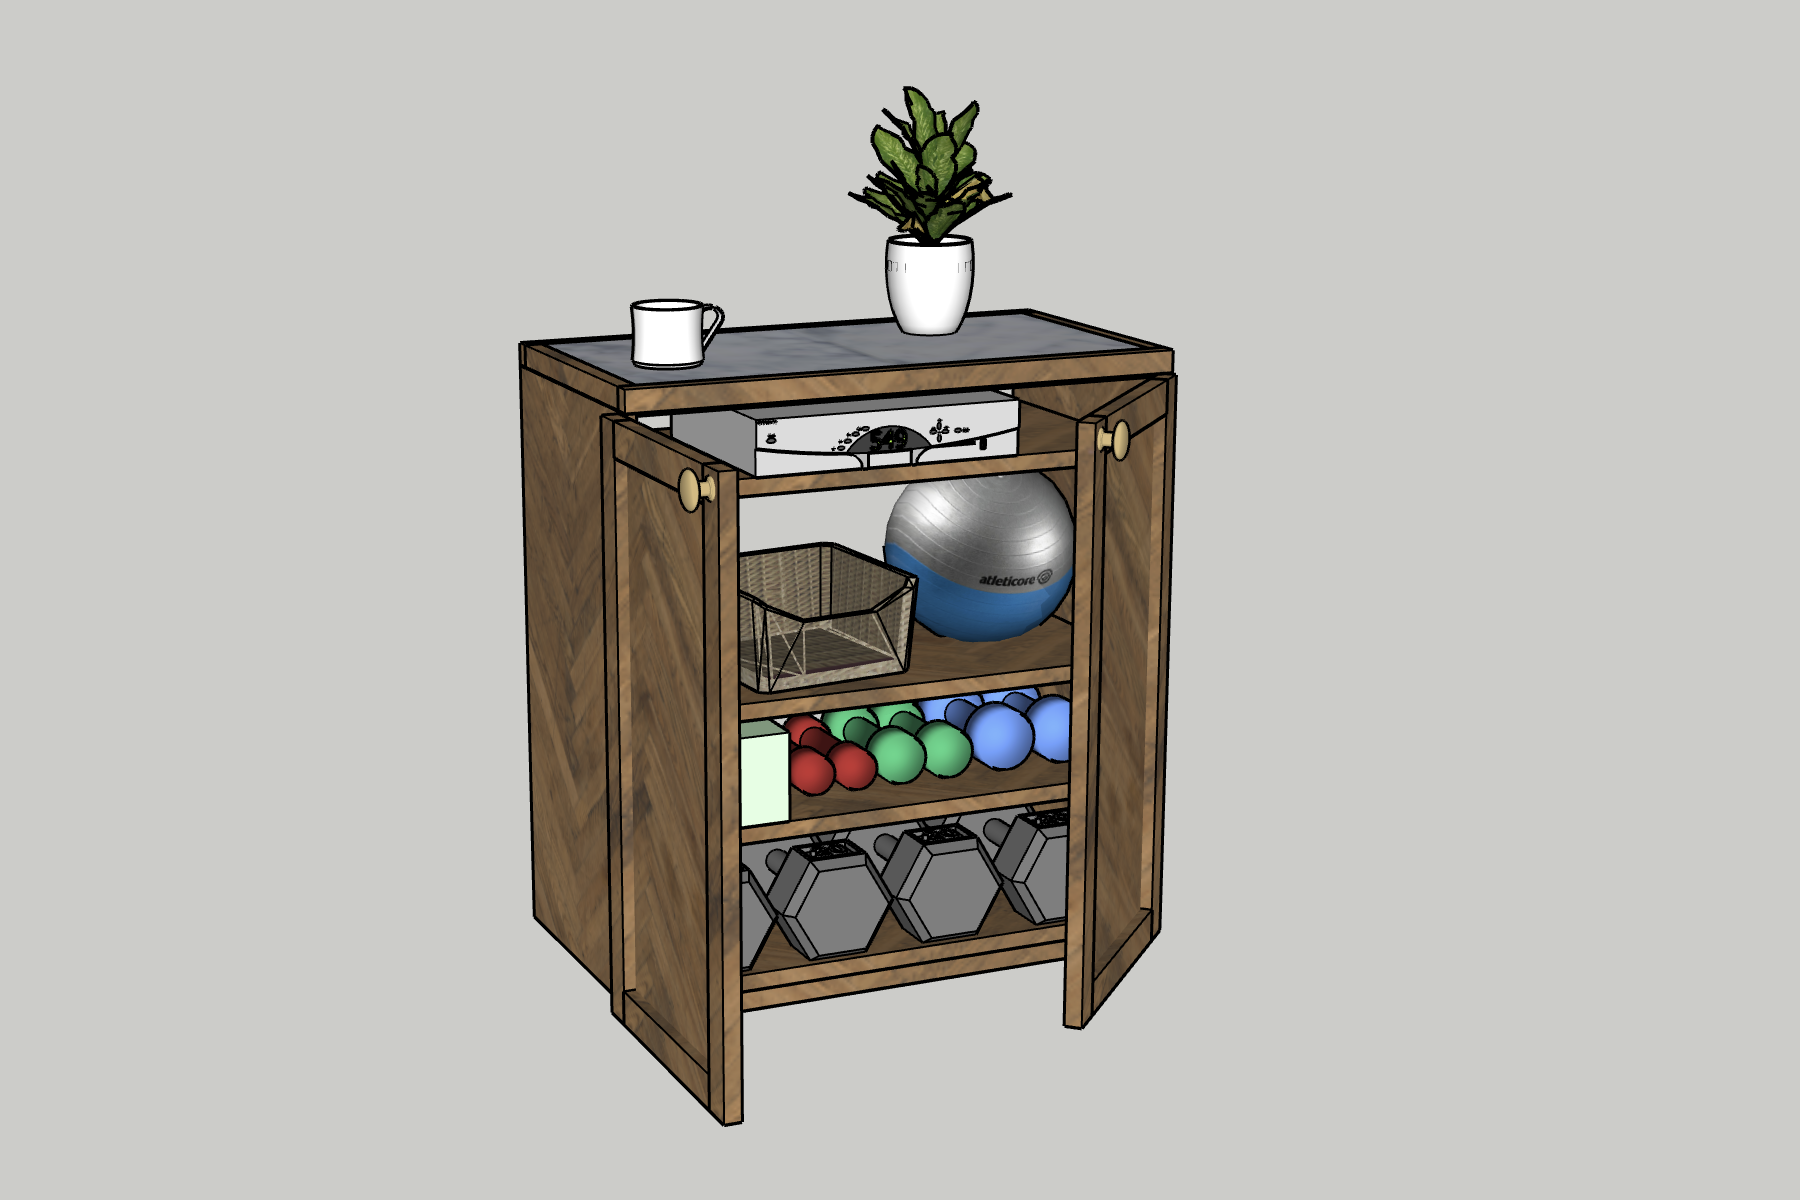
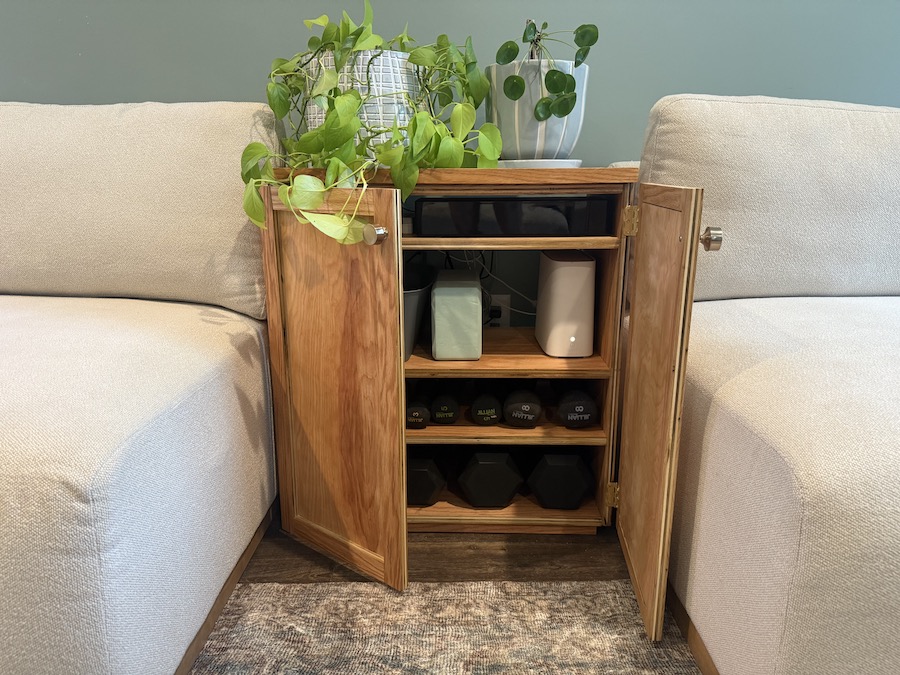
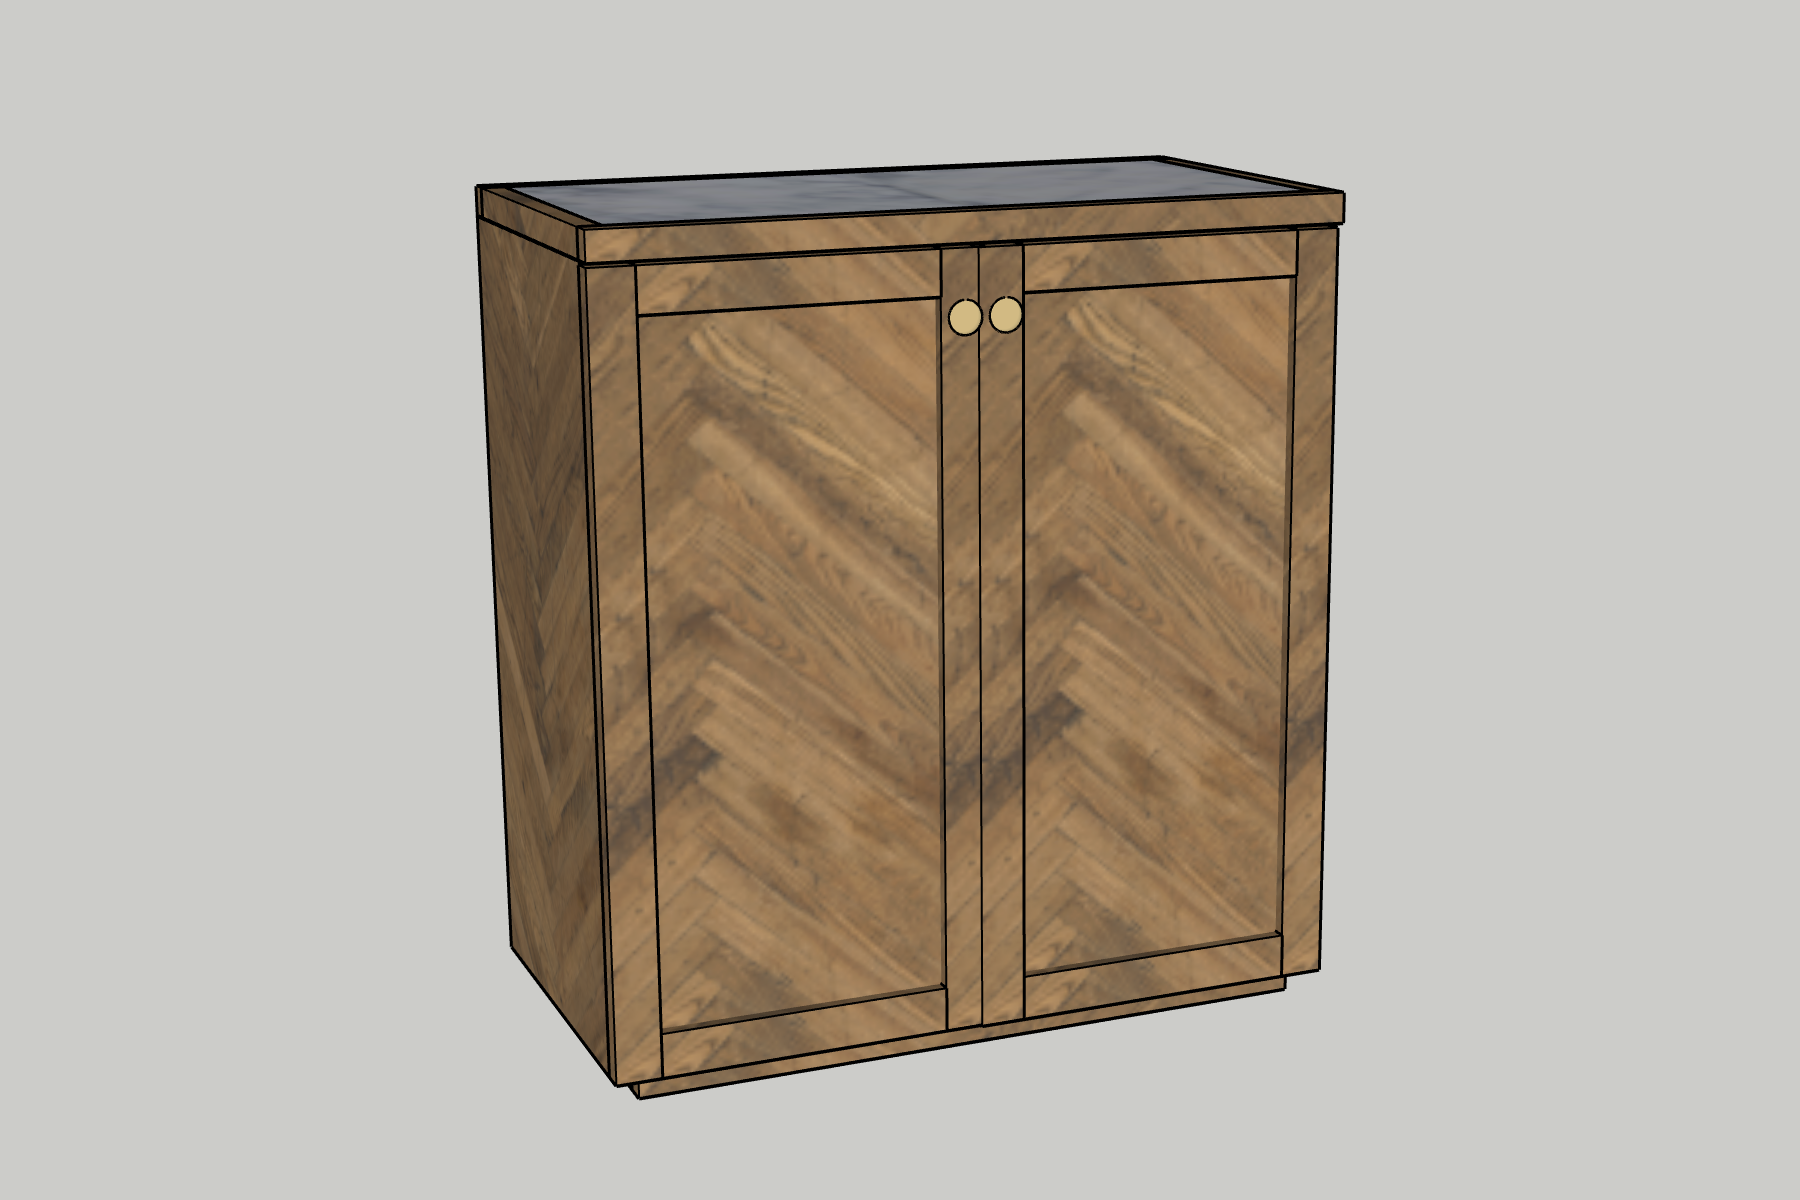
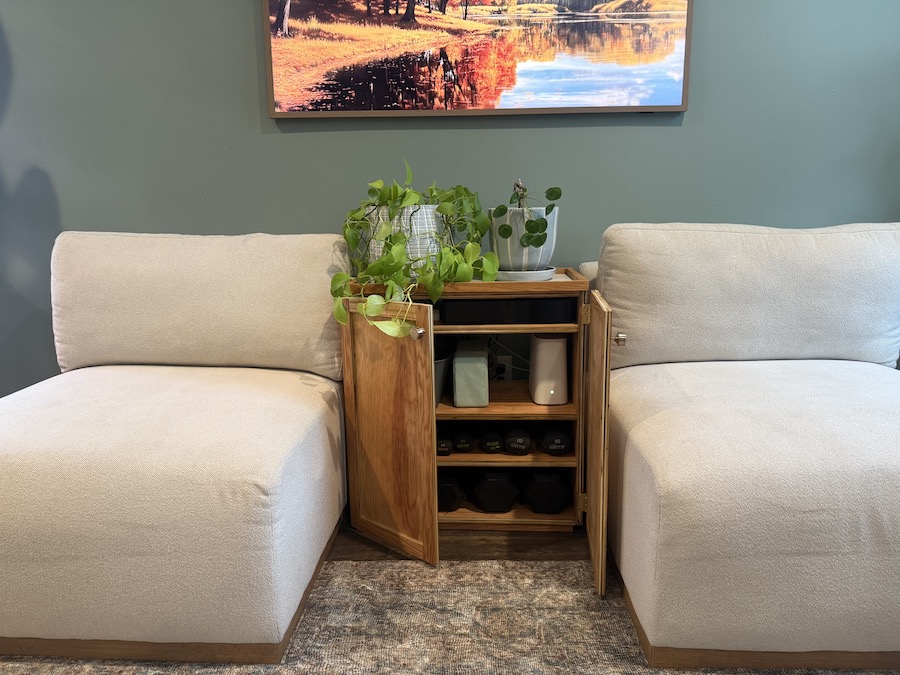
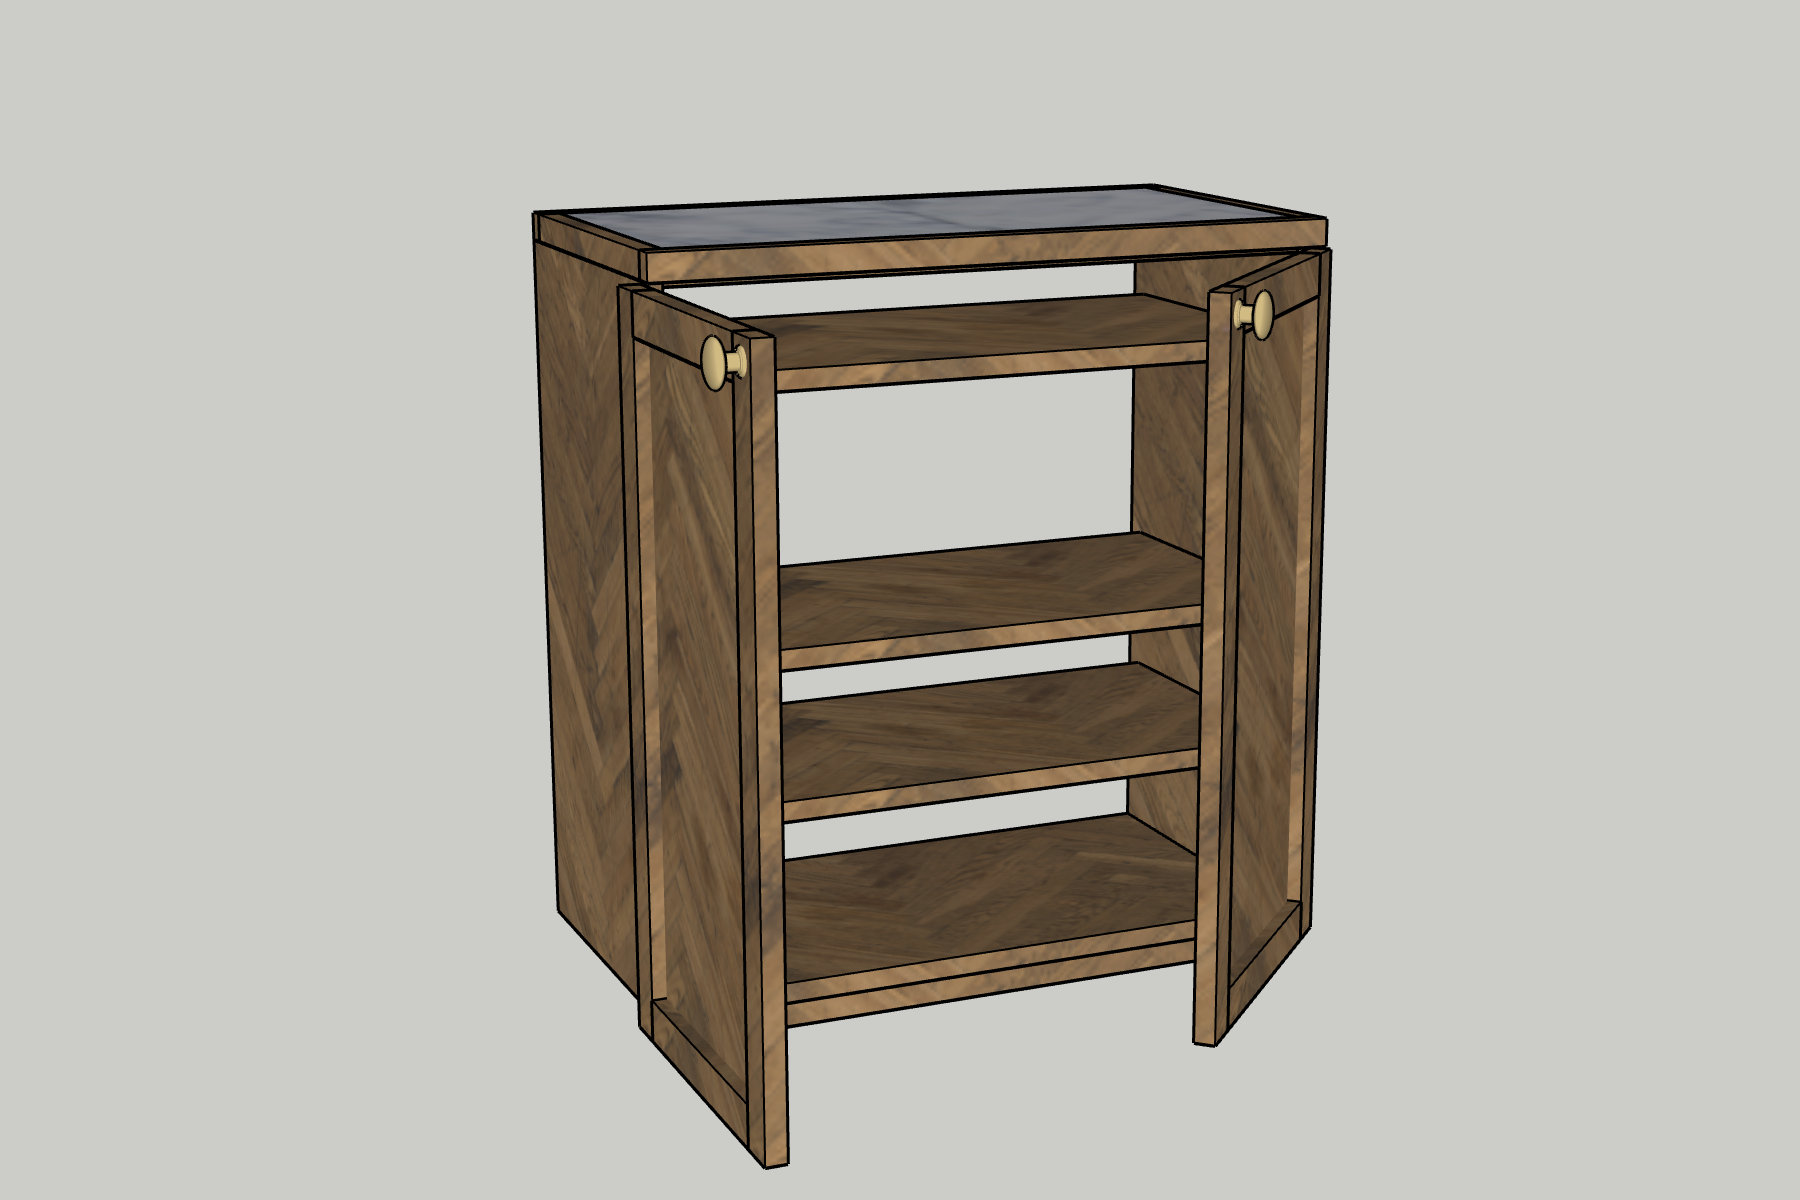


This DIY side table is built from plywood and features a tile top, but also gives you a way to hide your basic gym equipment! You can also use it to store your electronics, like router or TV box or use it as an entryway table and store whatever you need. Here's the how to on building it!
Tools
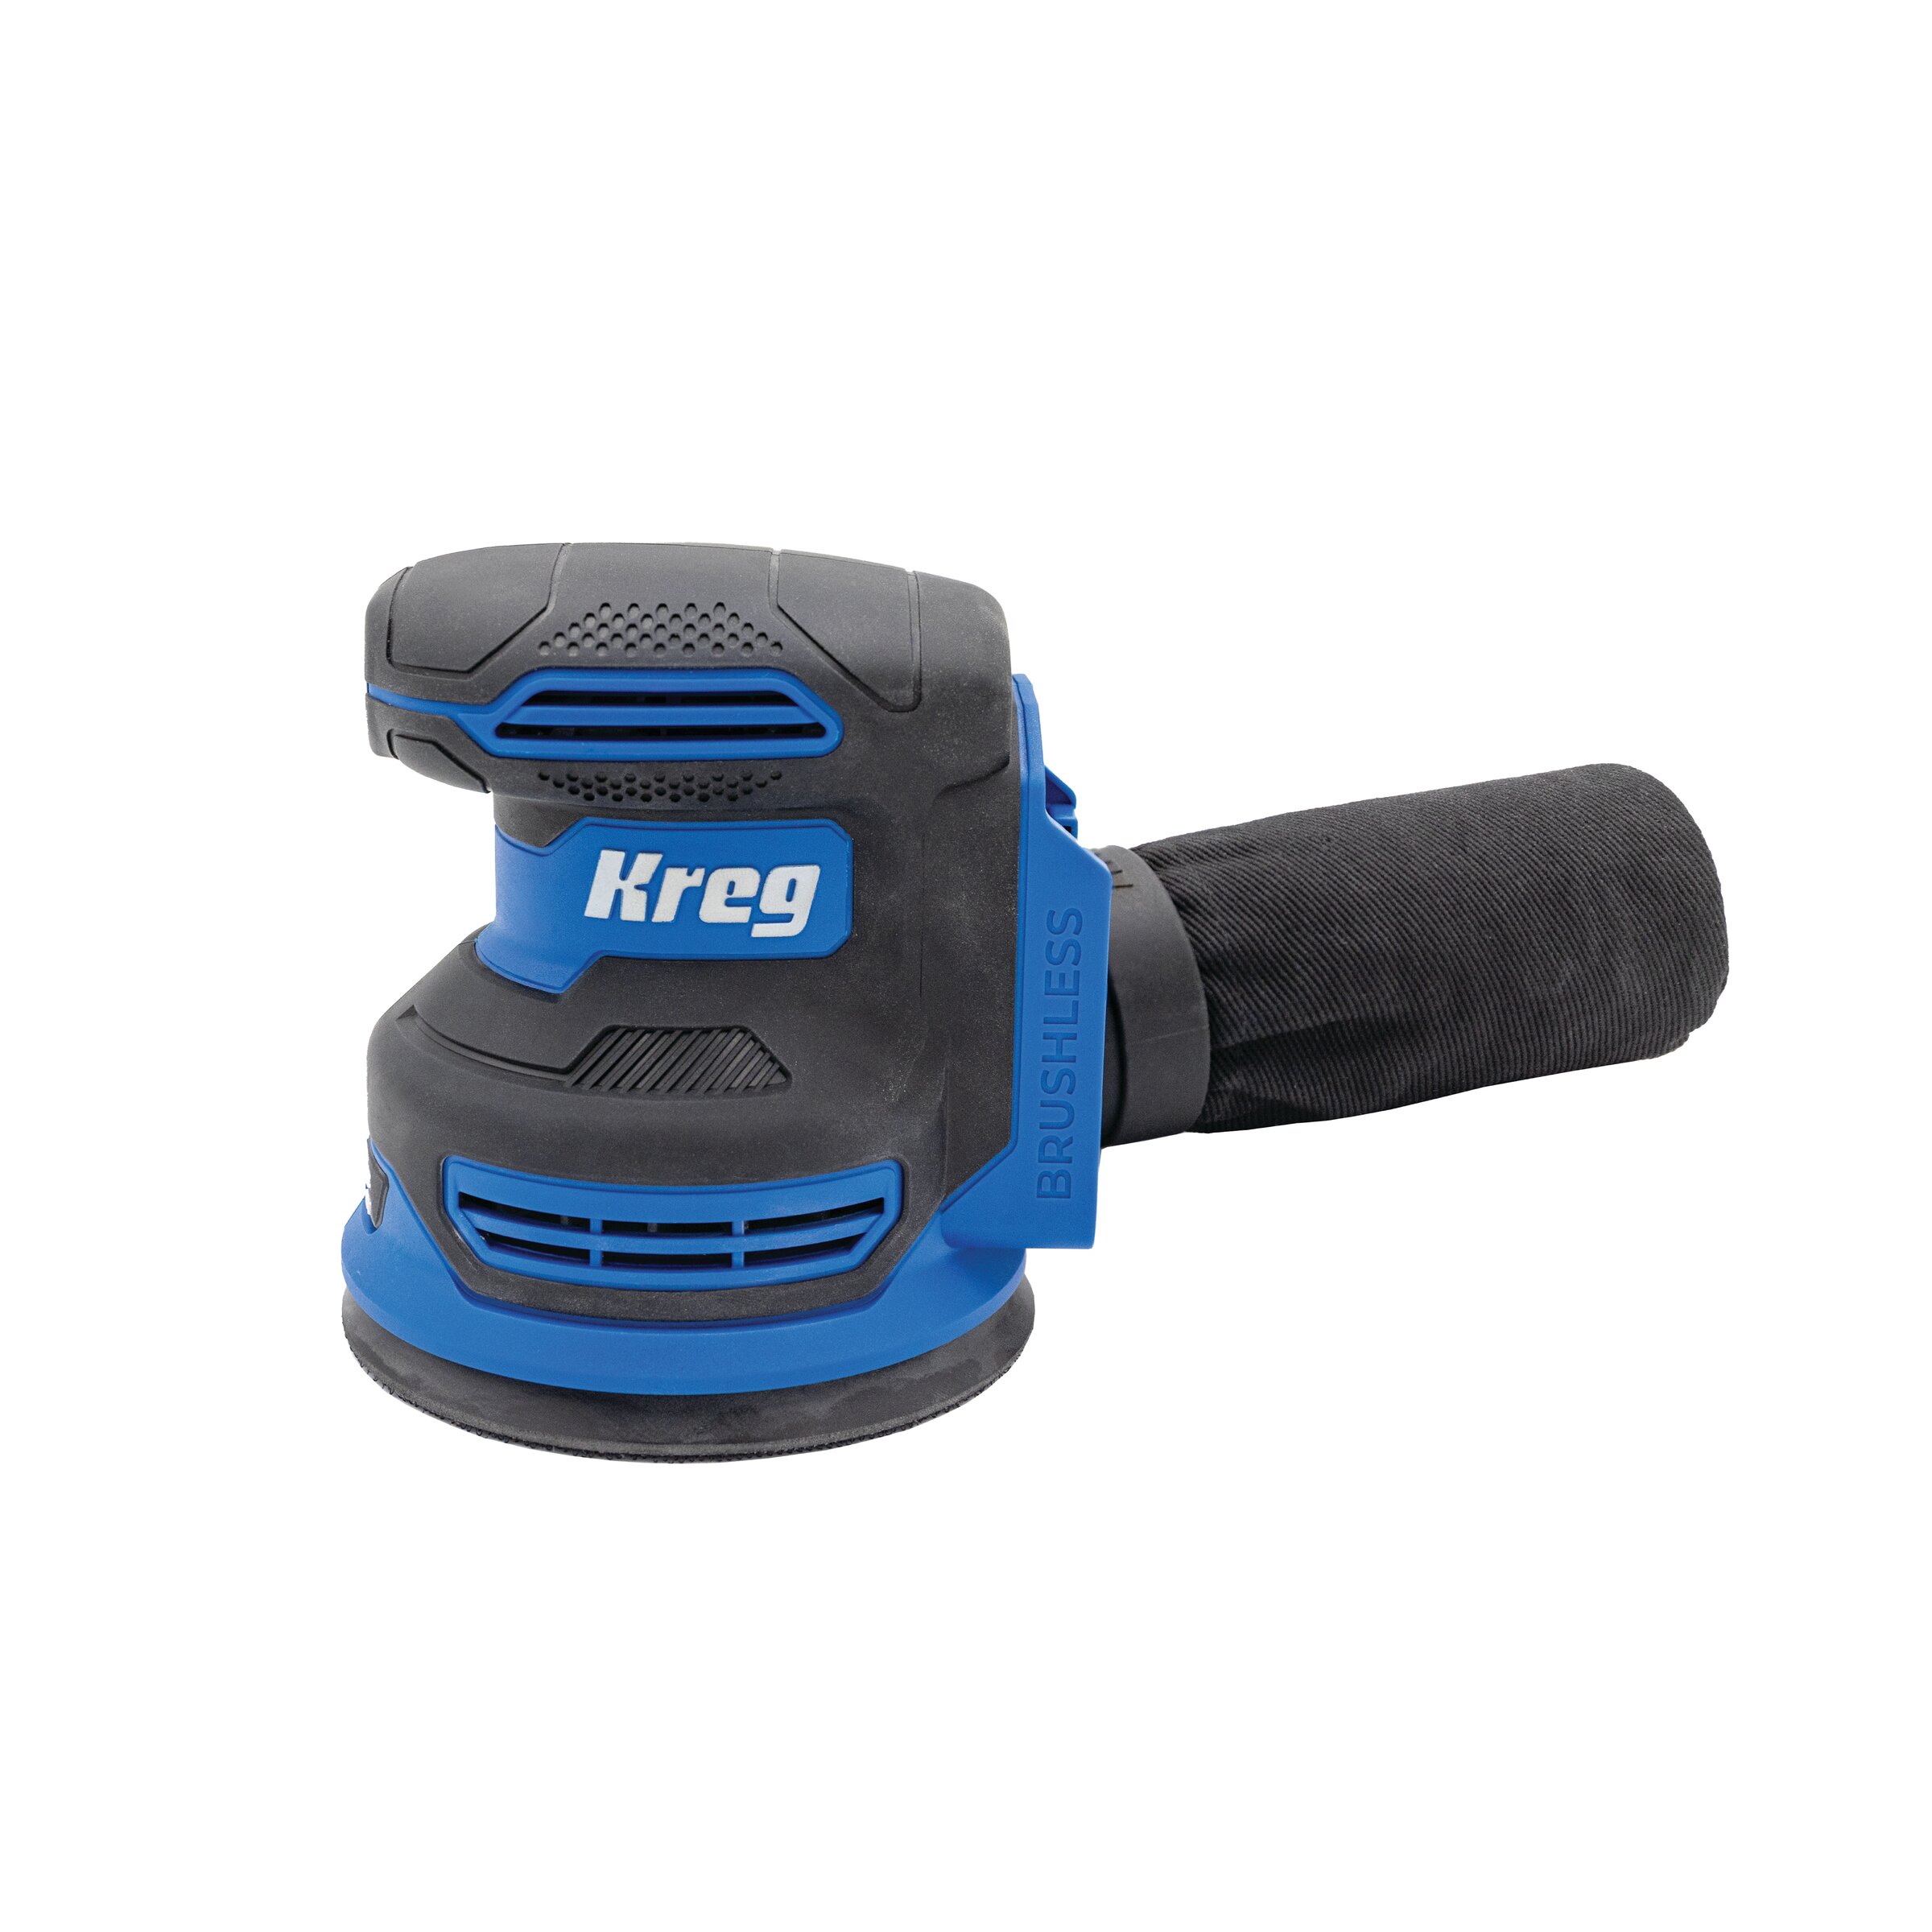
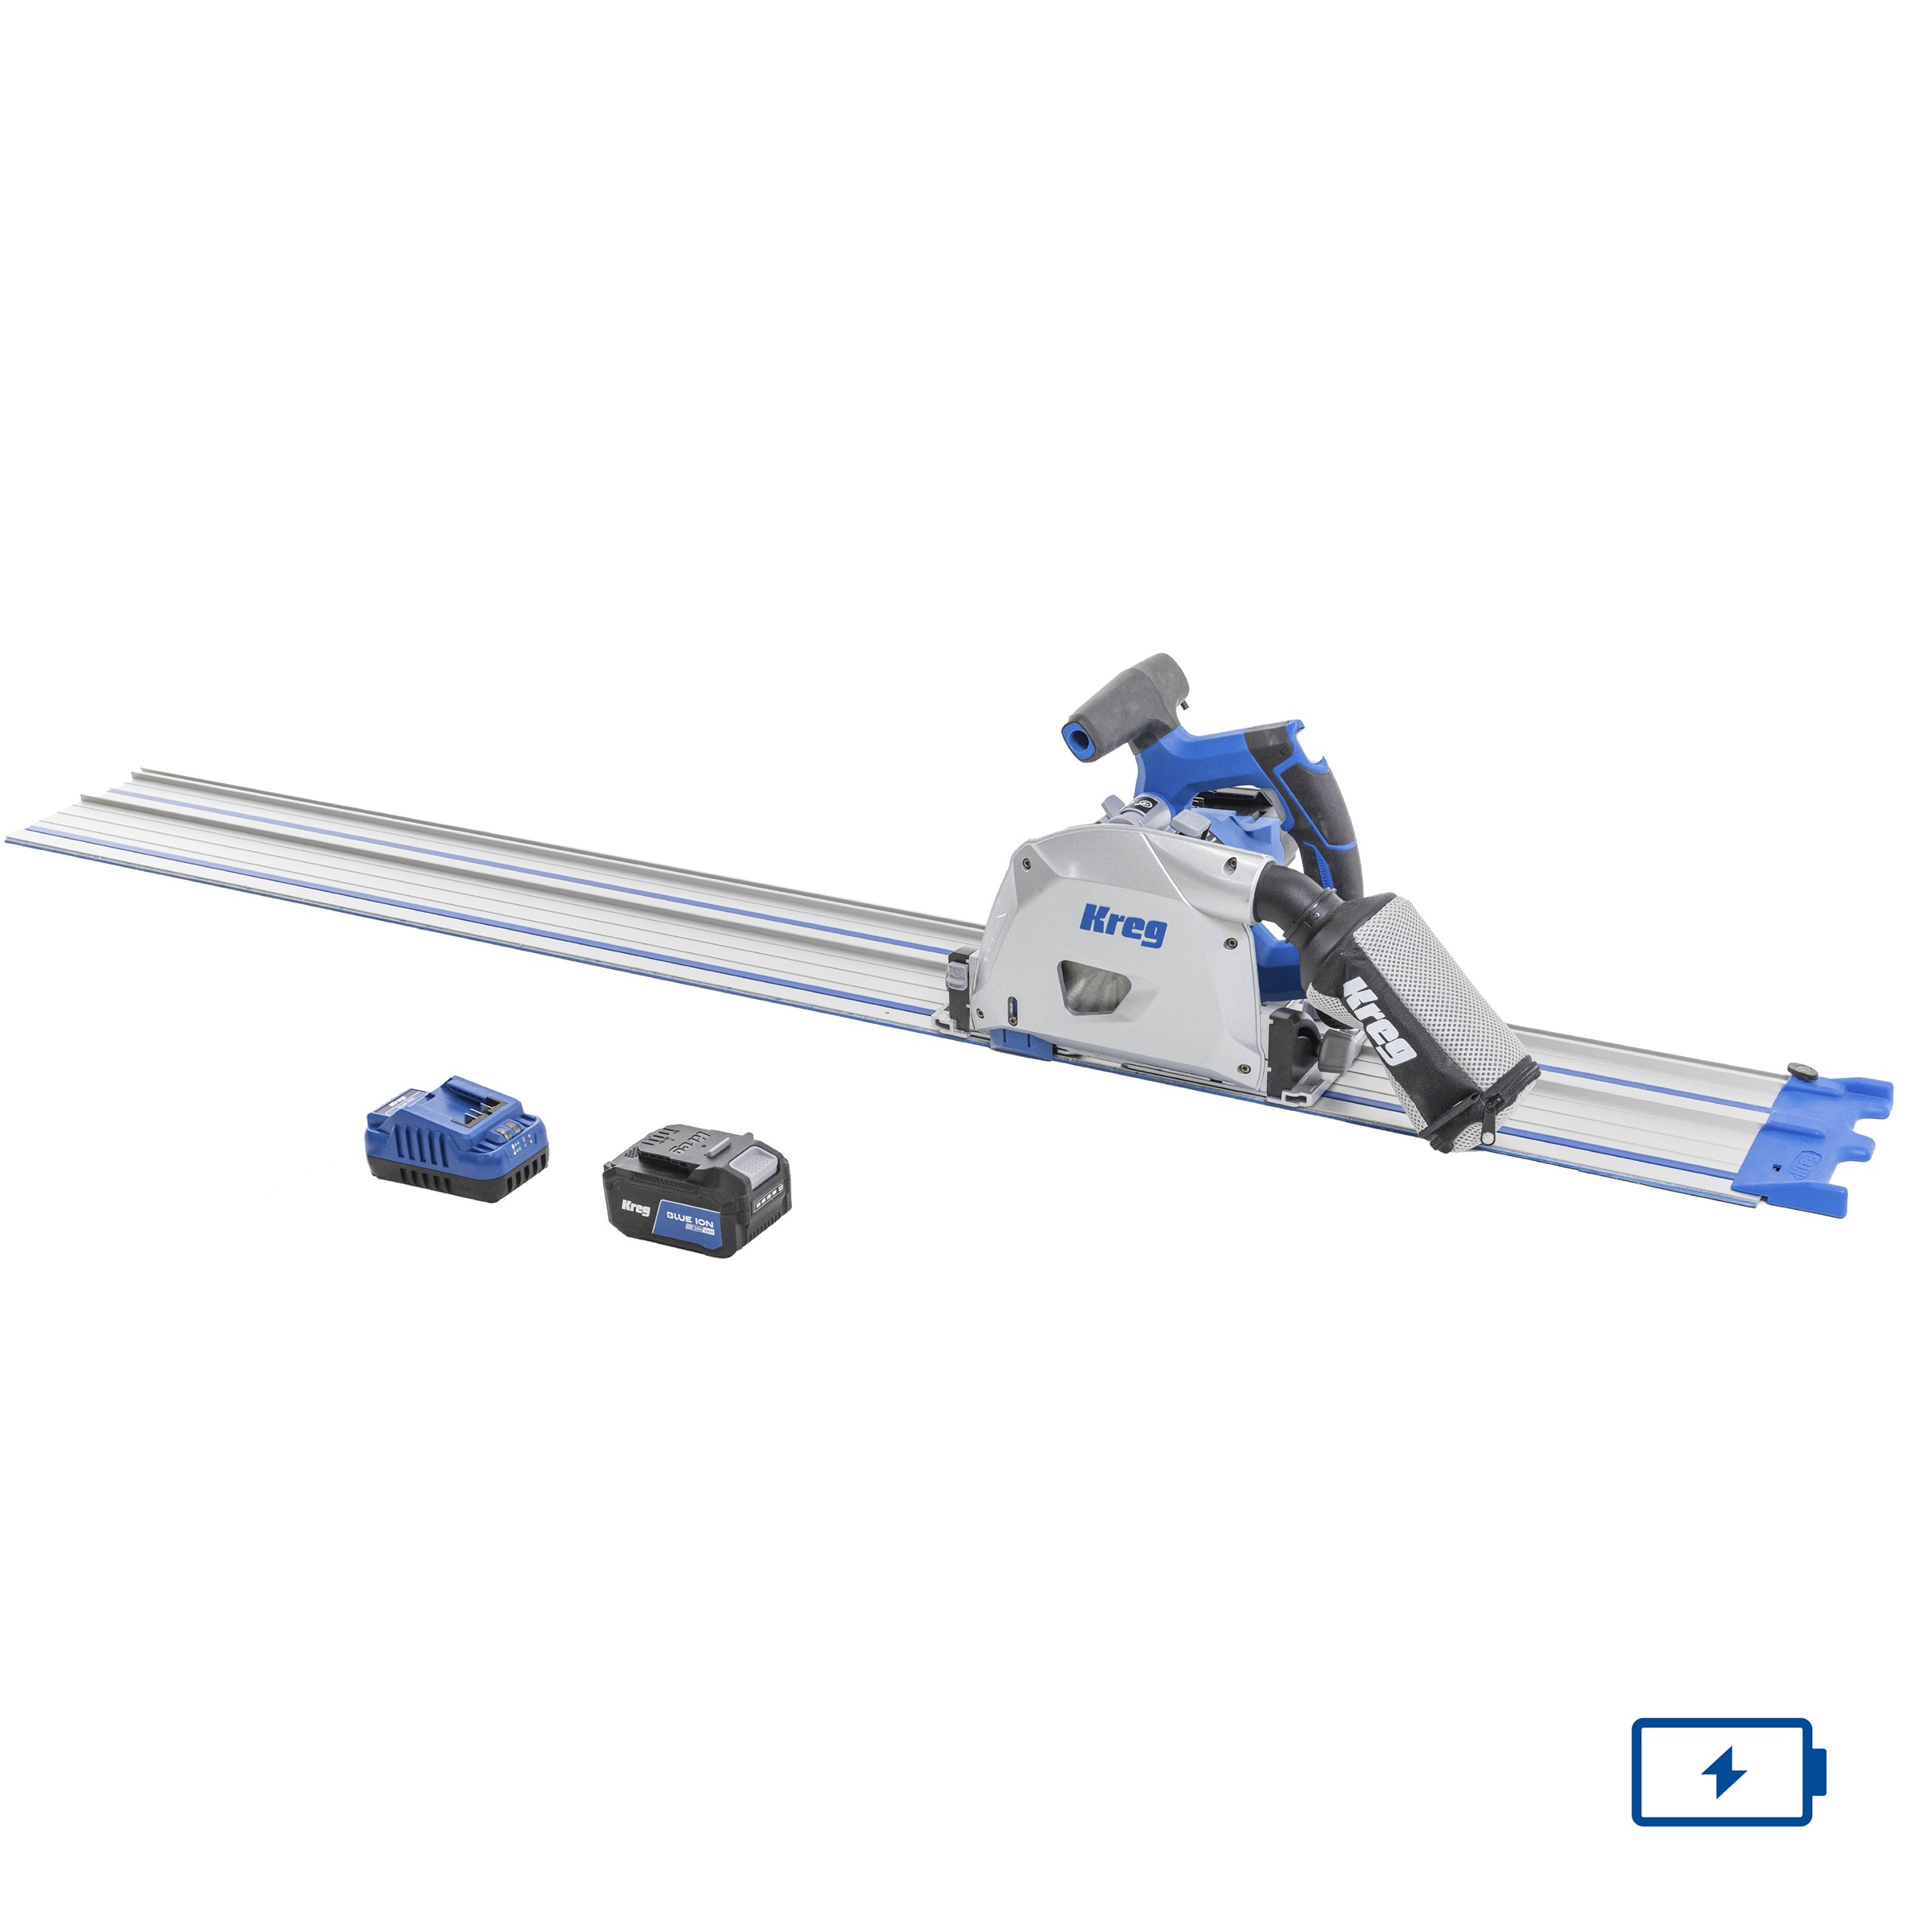
Kreg Tools
Materials
Wood Products
- 1 3/4" x 4' x 8' plywood
- 1 12" x 24" tile
- 1 1/4" x 2' x 4' plywood
Hardware & Supplies
- 50 Loose tenons
- 1 Wood glue
- 1 Oil
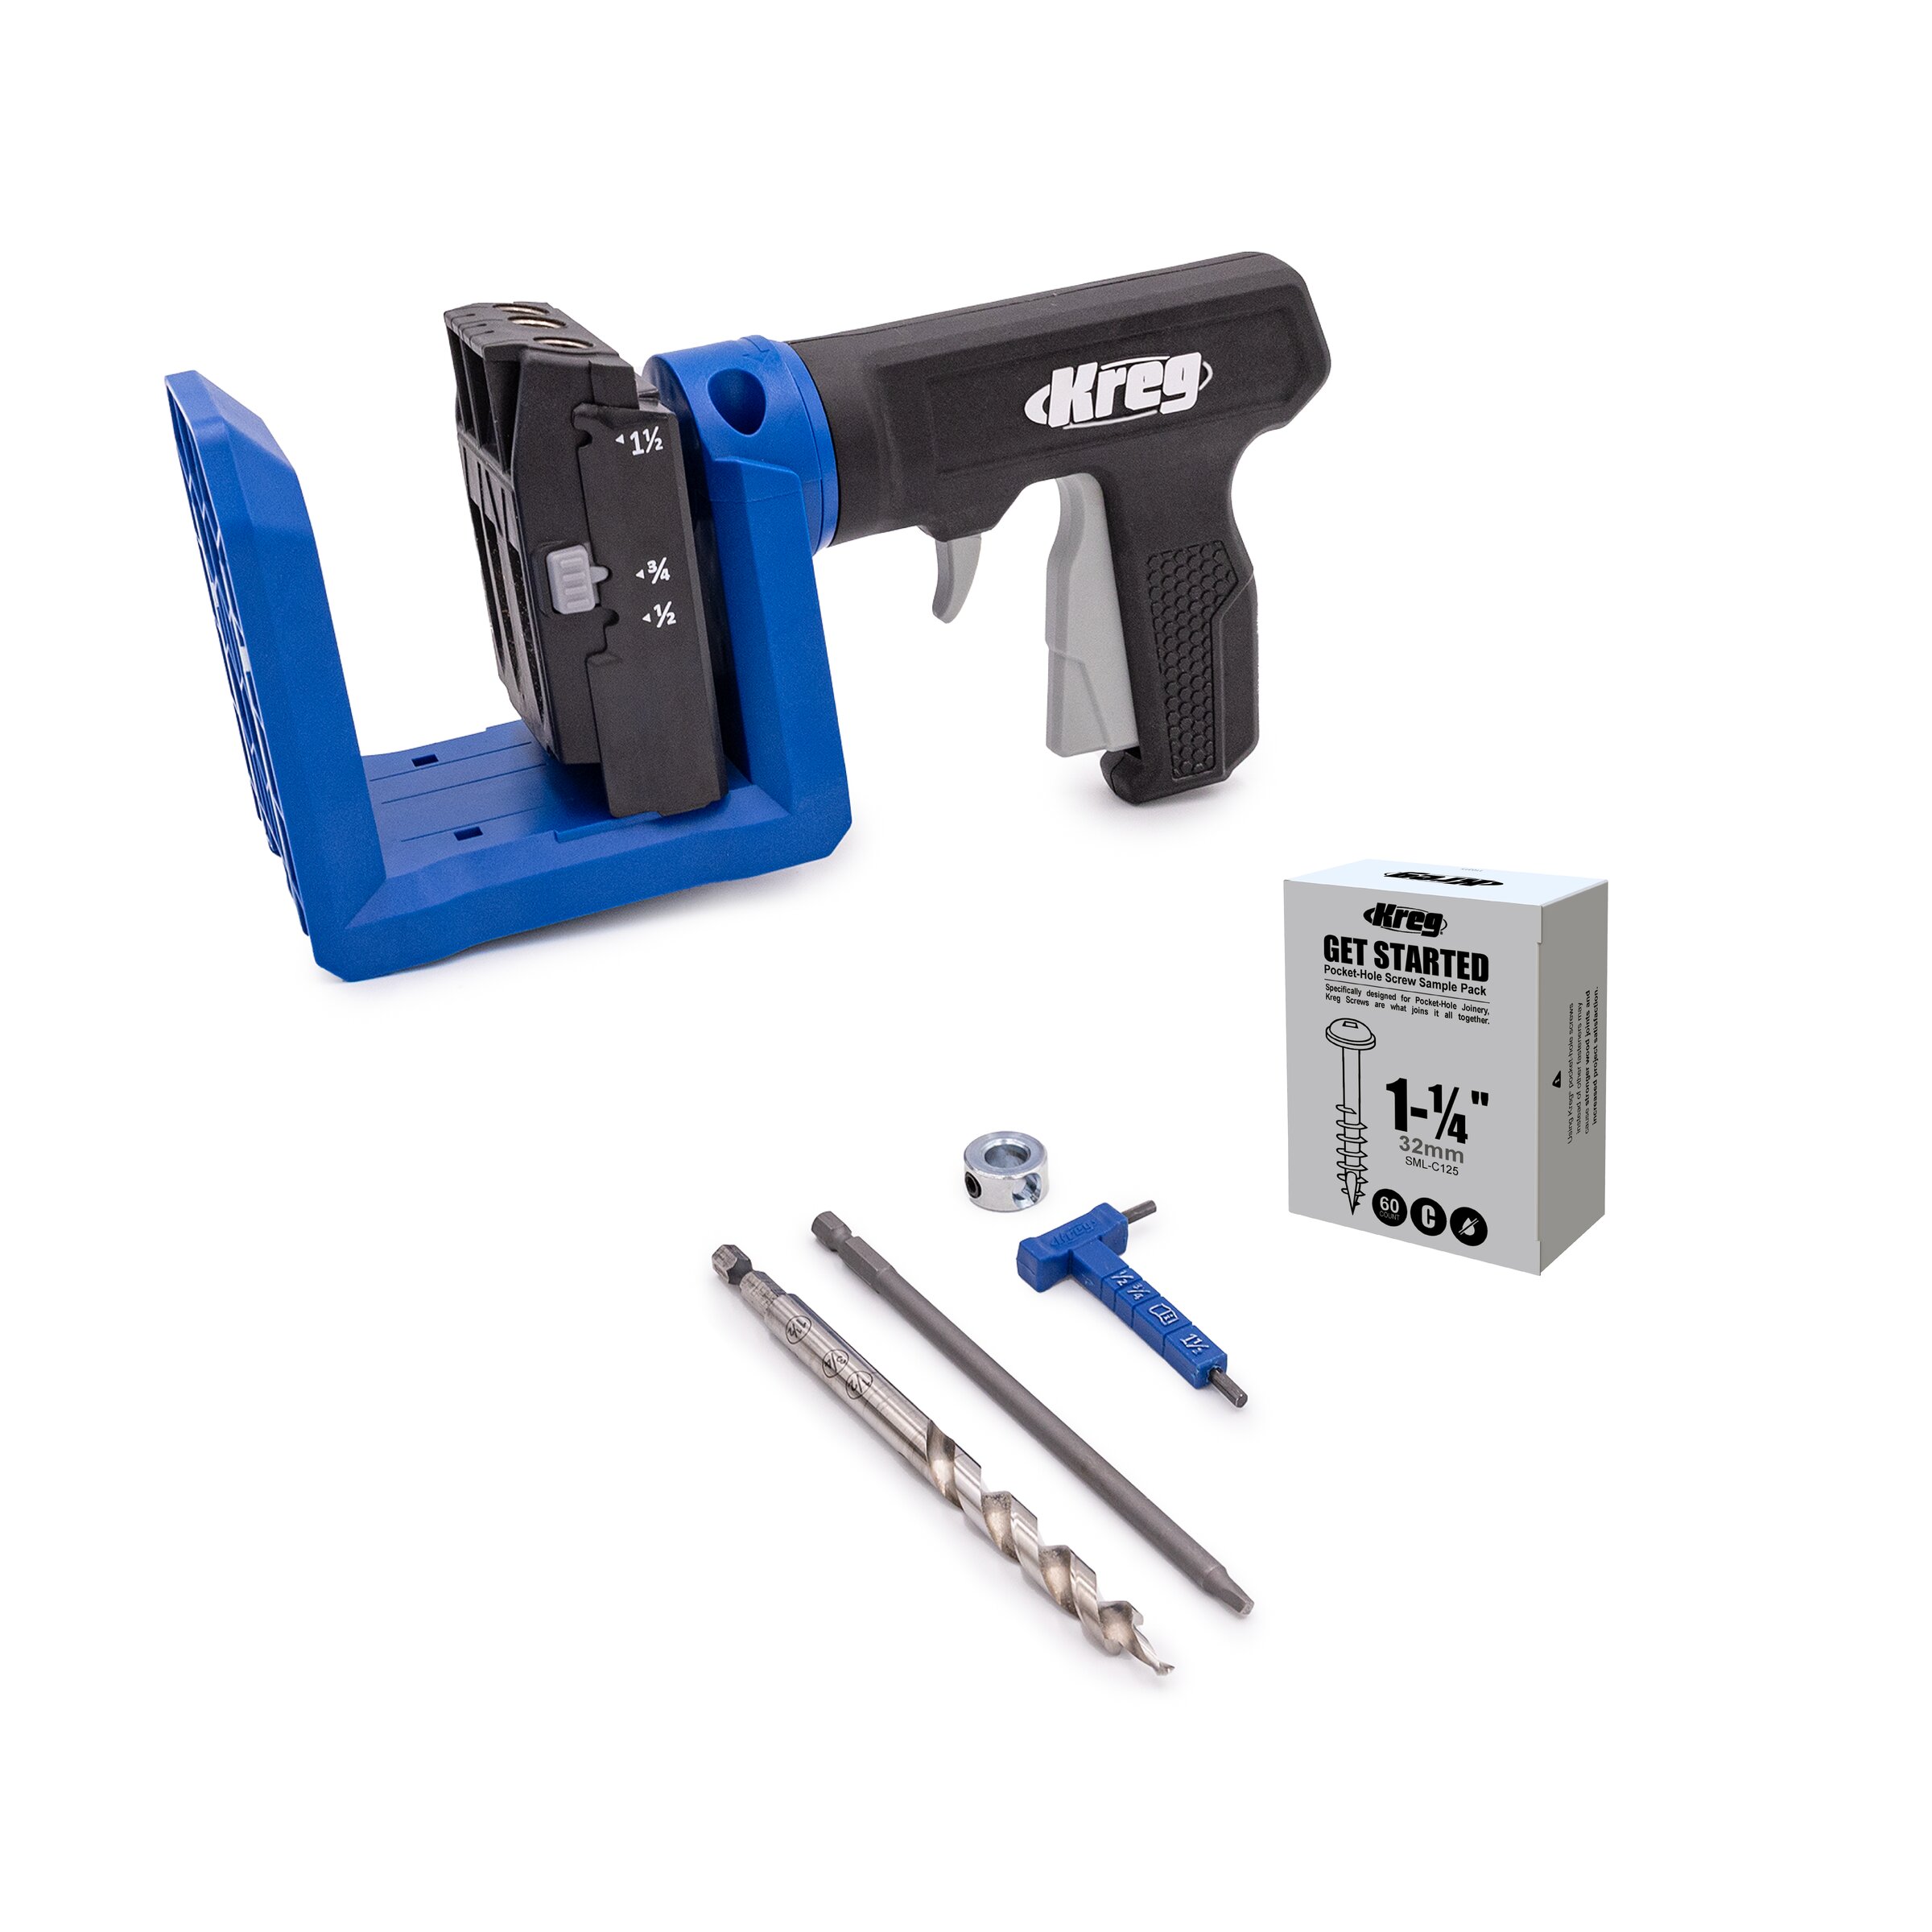
- 50 1 1/4" pocket hole screws
- 10 Clamps
Directions
-
Make cuts/ drill holes
- Make all the cuts in the cut list. The following list of pieces may need to be adjusted based on your exact tile size. If the tile you purchase isn't exactly 12" x 24", you'll need to make adjustments to these pieces by shortening cuts from how far off your piece is from 12" x 24" OR leave a small gap around the tile on your table top.
---- Bottom, Top, Sides, Long Trim, Short Trim, Door Top/Bottom, Door Panel
- Drill all holes for joints now or as you go along. I chose to use mostly loose tenon joinery, but you can easily use pocket holes. -
Build Frame
- Drill three pocket holes in each short end of the Bottom.
- Using pocket screws and wood glue, attach each Side flush with the outside edge of the Bottom.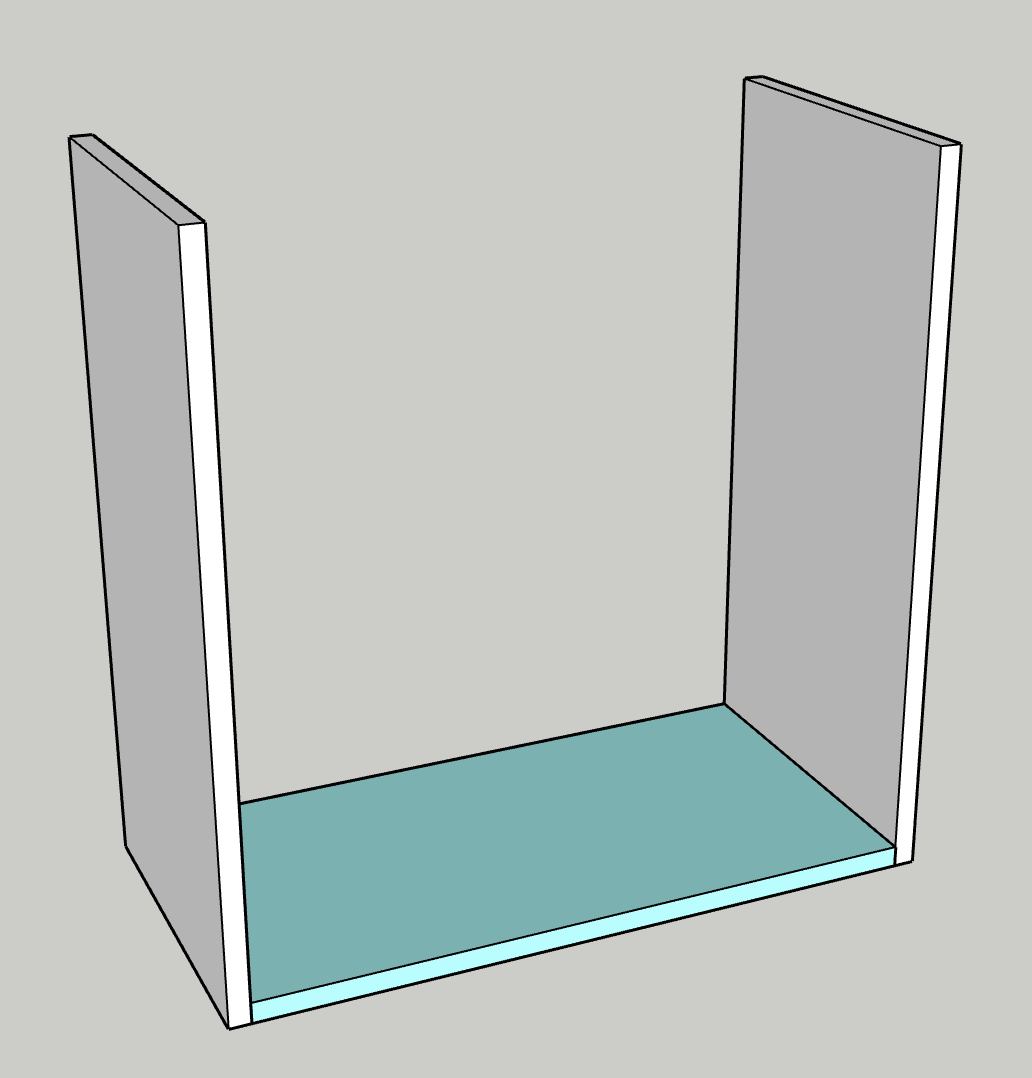
-
Attach Shelves
- Drill three pocket holes into each short edge of the Shelves.
- Using pocket screws and wood glue, attach the Shelves between the Sides at the heights you want for what you’re storing.
- For this example, the Shelves are at 6", 11 1/2" and 21 1/4" from the Bottom to make room for weights and electronics.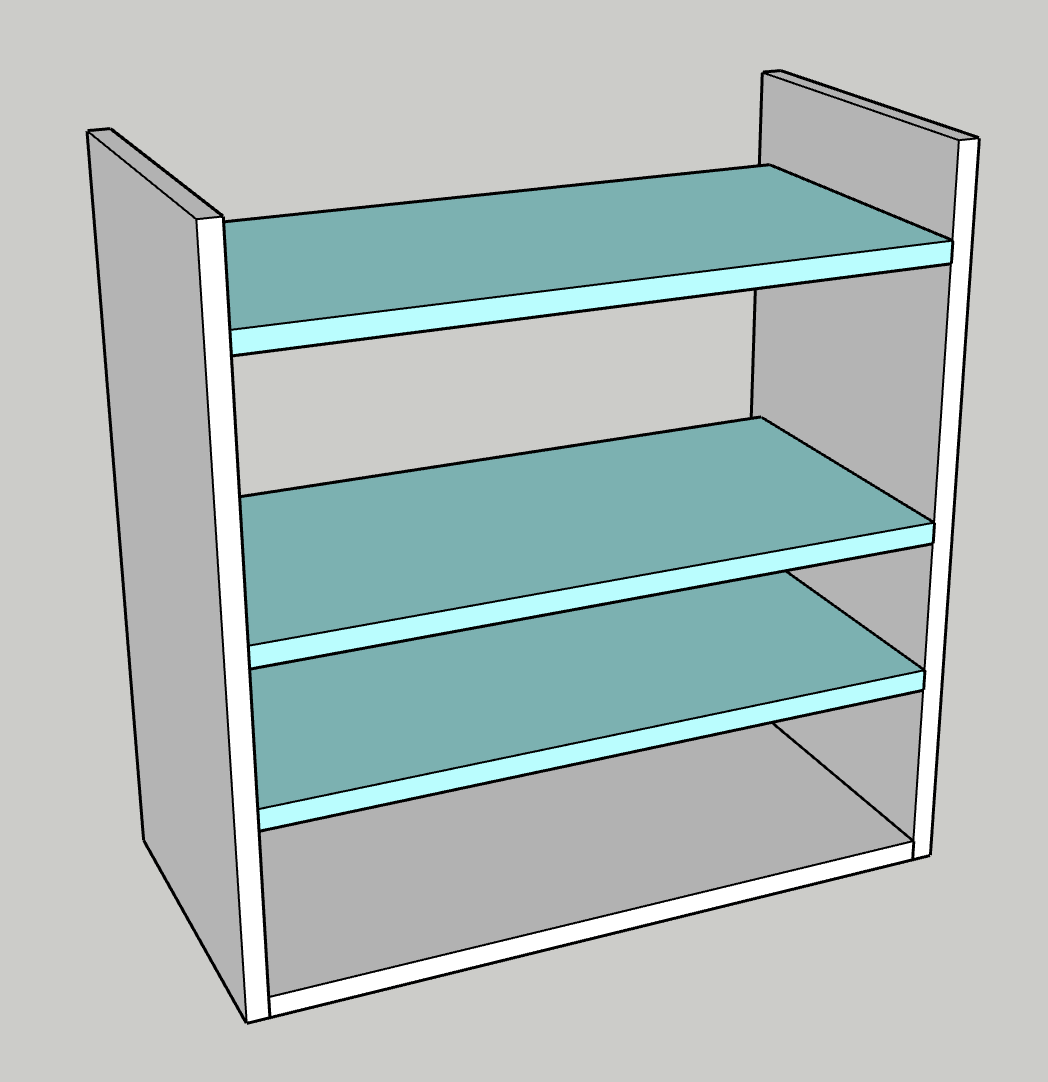
-
Attach Top
- Glue the Side Trim pieces to the inner outside edges of the Long Trim Pieces.
- Drill three pocket holes in each short side of the Top.
- Using wood glue and pocket hole screws, attach the Top between the Sides at the edge.
- Apply glue or adhesive to the top of the Top and set your tile down and clamp in place.
- You can also skip the tile if you just want a wood top.
- Place the glued together Trim pieces around the tile and adhere with glue.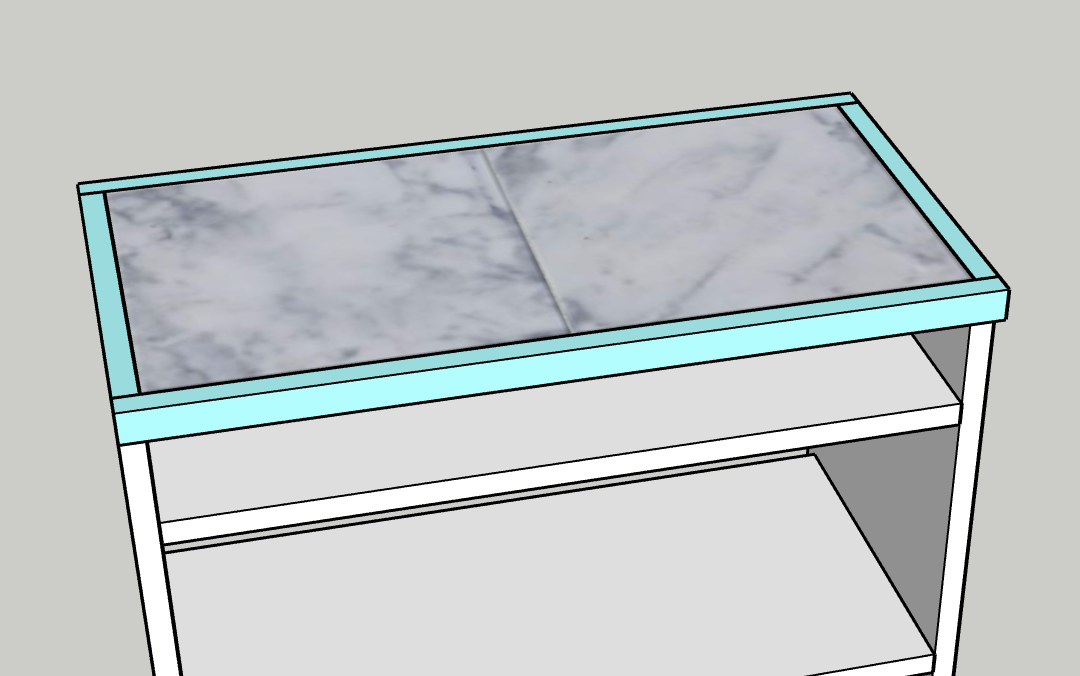
-
Attach Base
- Using wood glue and clamps, place the Base Back 1" in from the back edge of the Bottom.
- Using wood glue and clamps, attach the two Base Sides against the inside edge of the Base Back so that they are 1" from the Side edges as well.
- Finally, use wood glue and clamps to attach the Base Front to the Bottom and the ends of the Base Sides.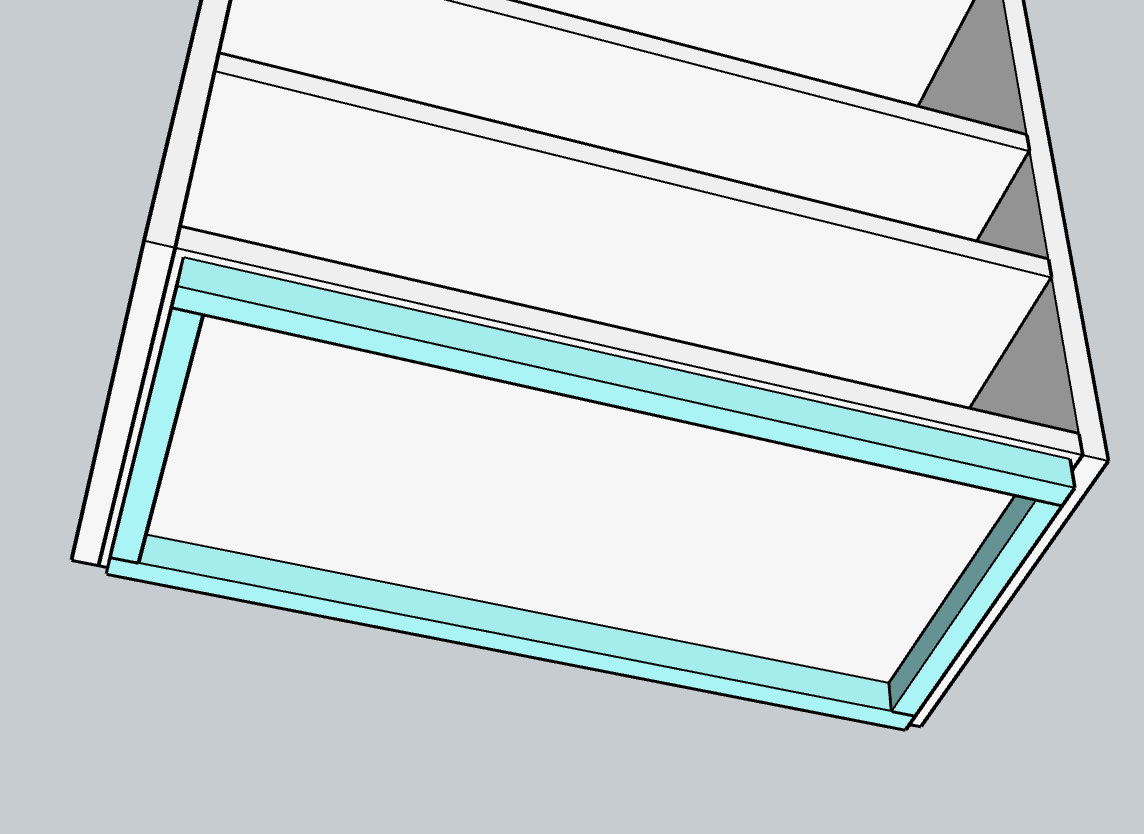
-
Assemble Doors
- Drill pocket holes in the ends of the Door Tops and Bottoms.
- Using wood glue and pocket hole screws, attach the Door Tops and Bottoms between two Door Sides.
- Use a router to create a 1/4" x 1/4" small indent all the way around the inner edge on the backside of the door frame.
- Use wood glue and clamps to attach of the Door Panel into the routed groove.
- Repeat to make a second door.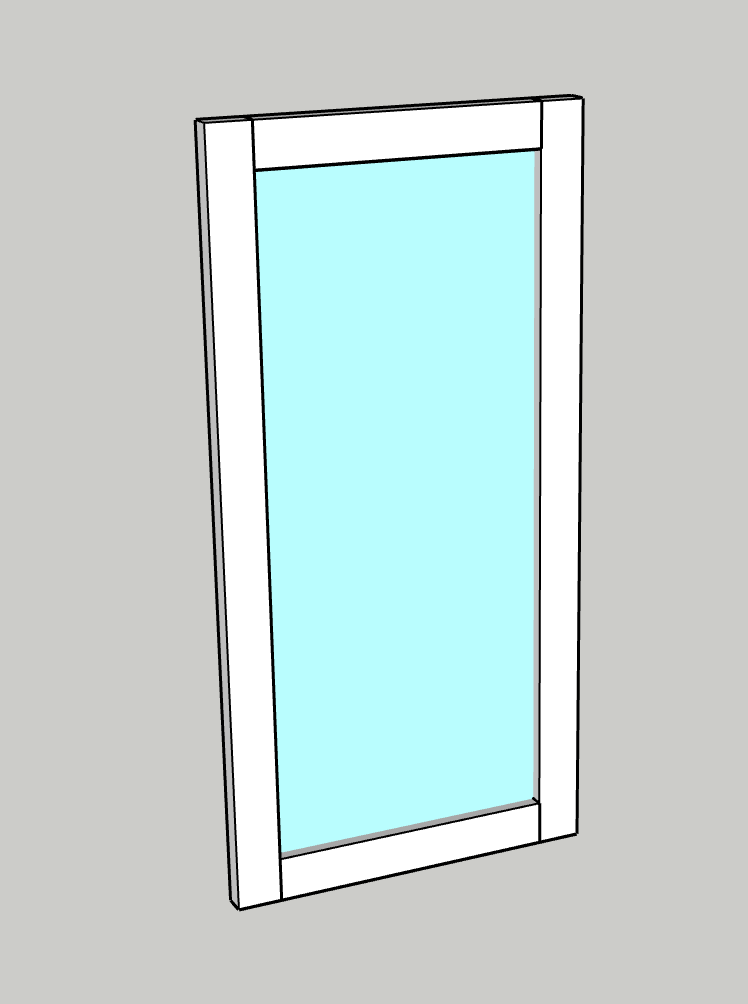
-
Oil or Stain
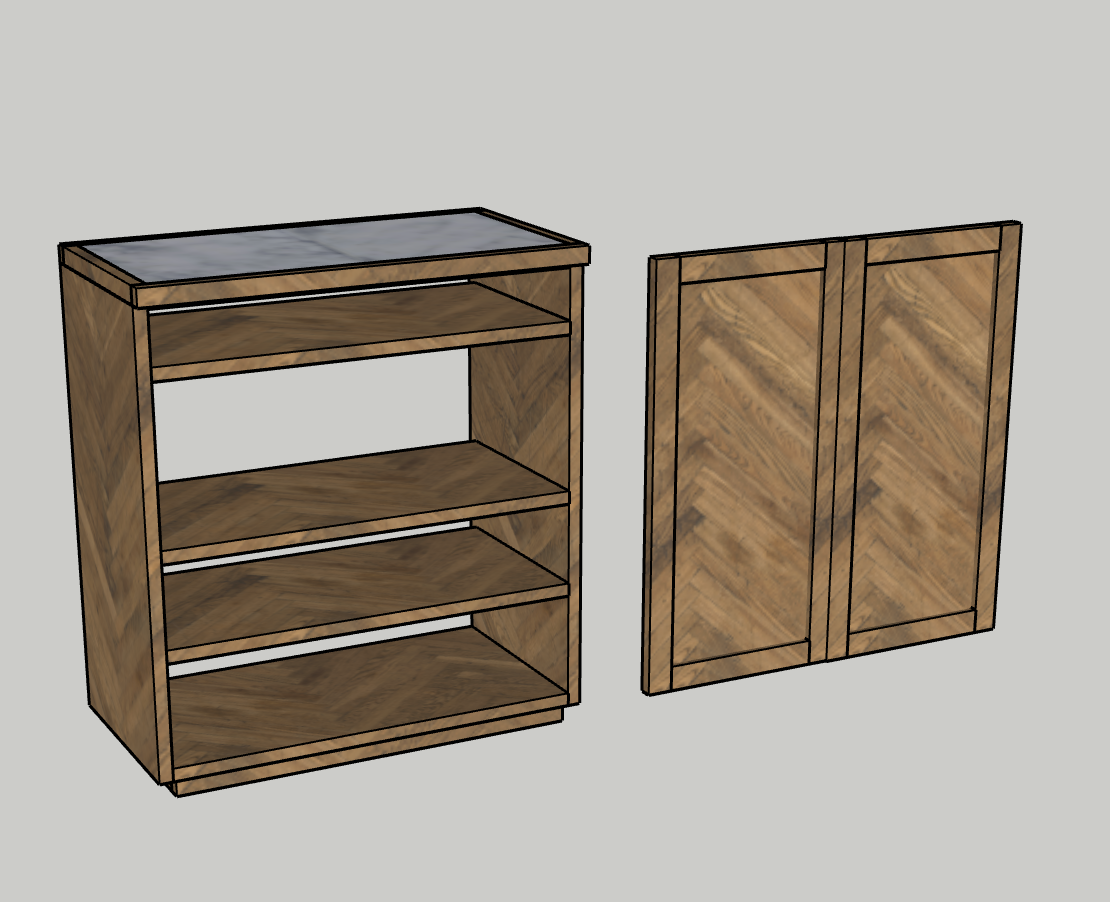
Apply wood oil or stain to the body and doors of the table to match your aesthetic.
-
Add Hardware
- Attach two door hinges to each door and the inside of the body and attach to the face.
- Add a knob or pull to each door.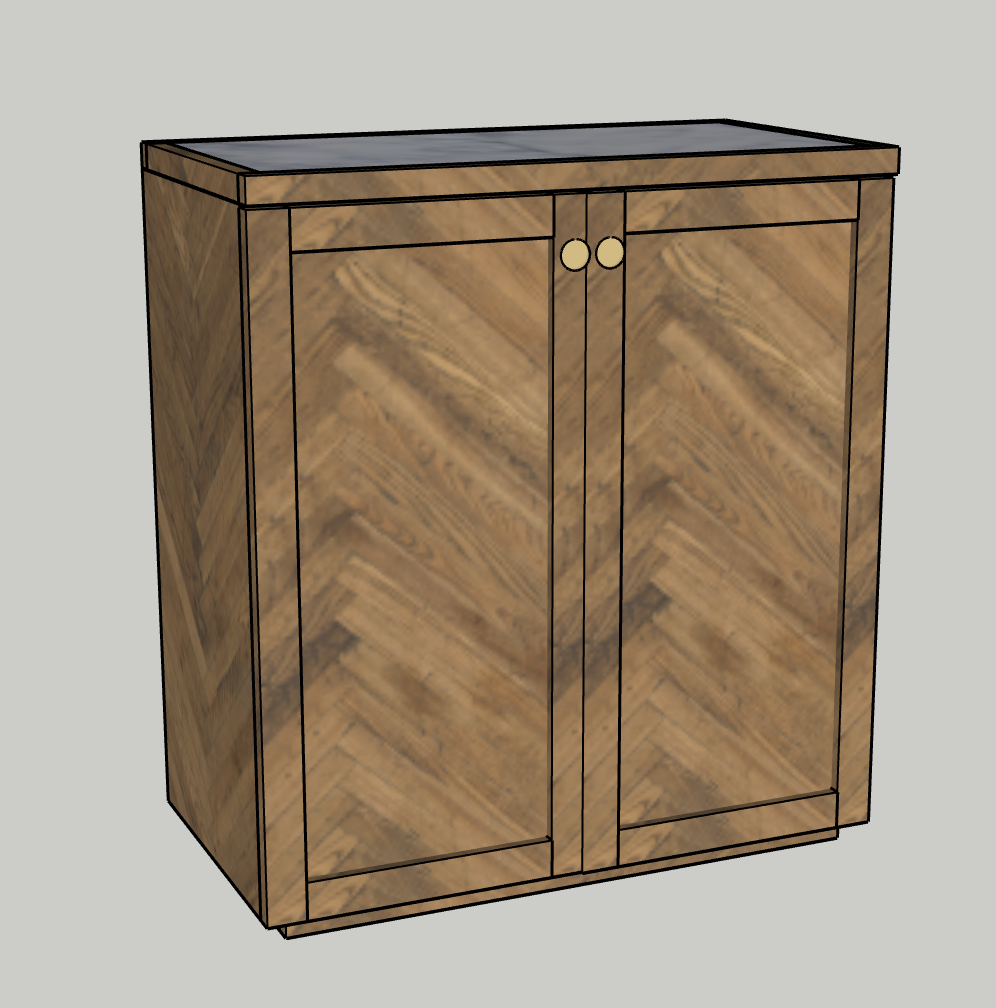
-
Fill with items
- If using as a media table, fill the table with electronics, such as your router, modem, or cable box.
- If using as an exercise equipment table, add your heavier weights to the lower shelves and lighter equipment higher up.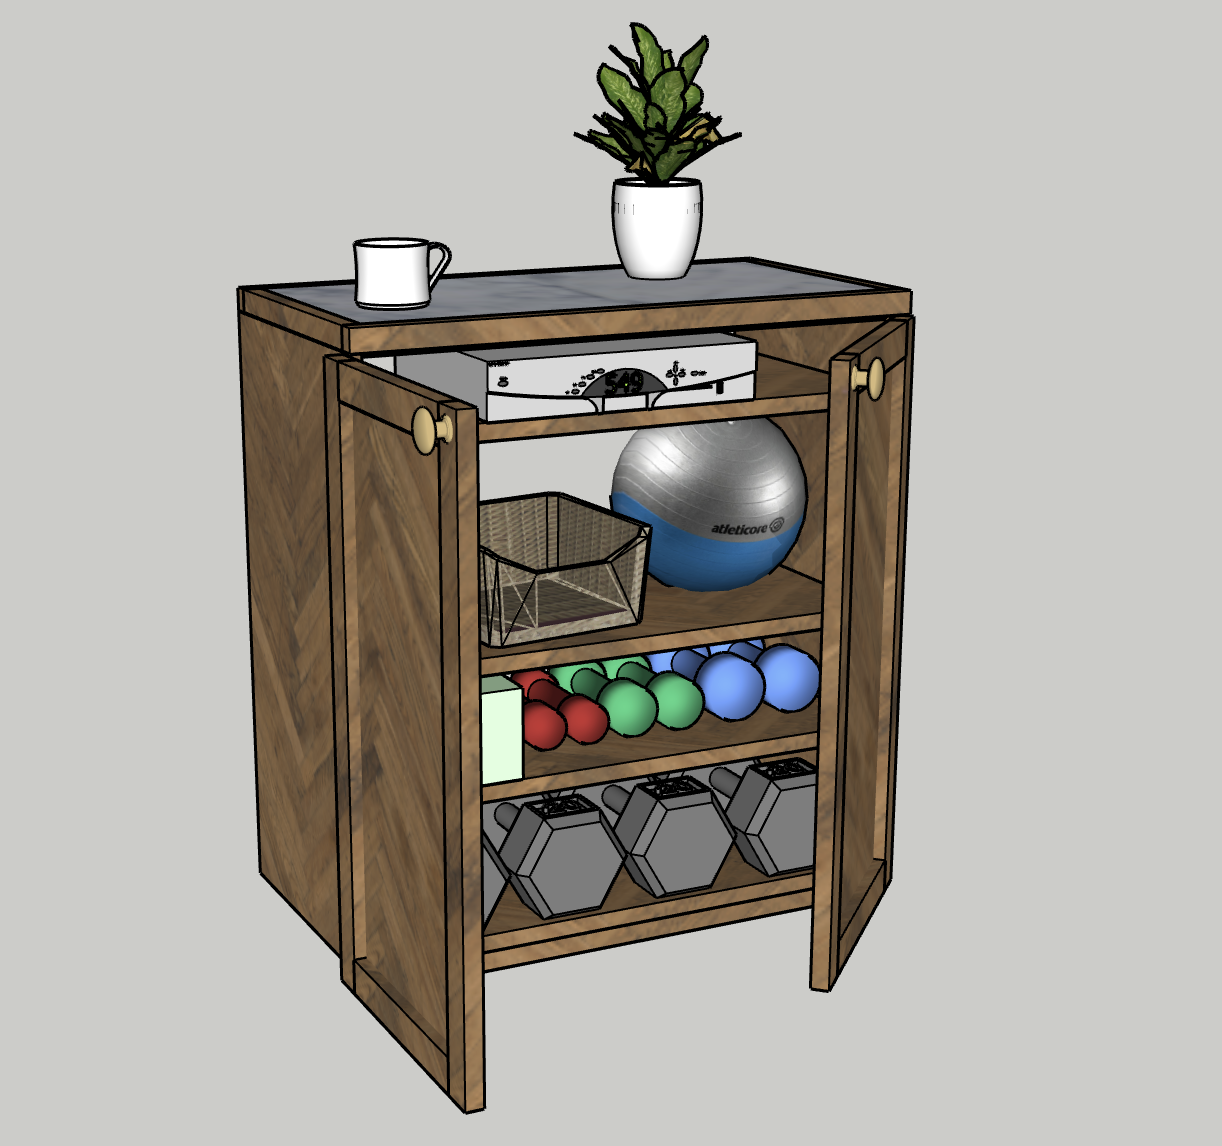
-
Enjoy
Enjoy your handiwork and tag @CharlestonCraftedBuilds on Instagram with a picture!