


Build a little library to provide a free book exchange for your neighborhood!
Tools
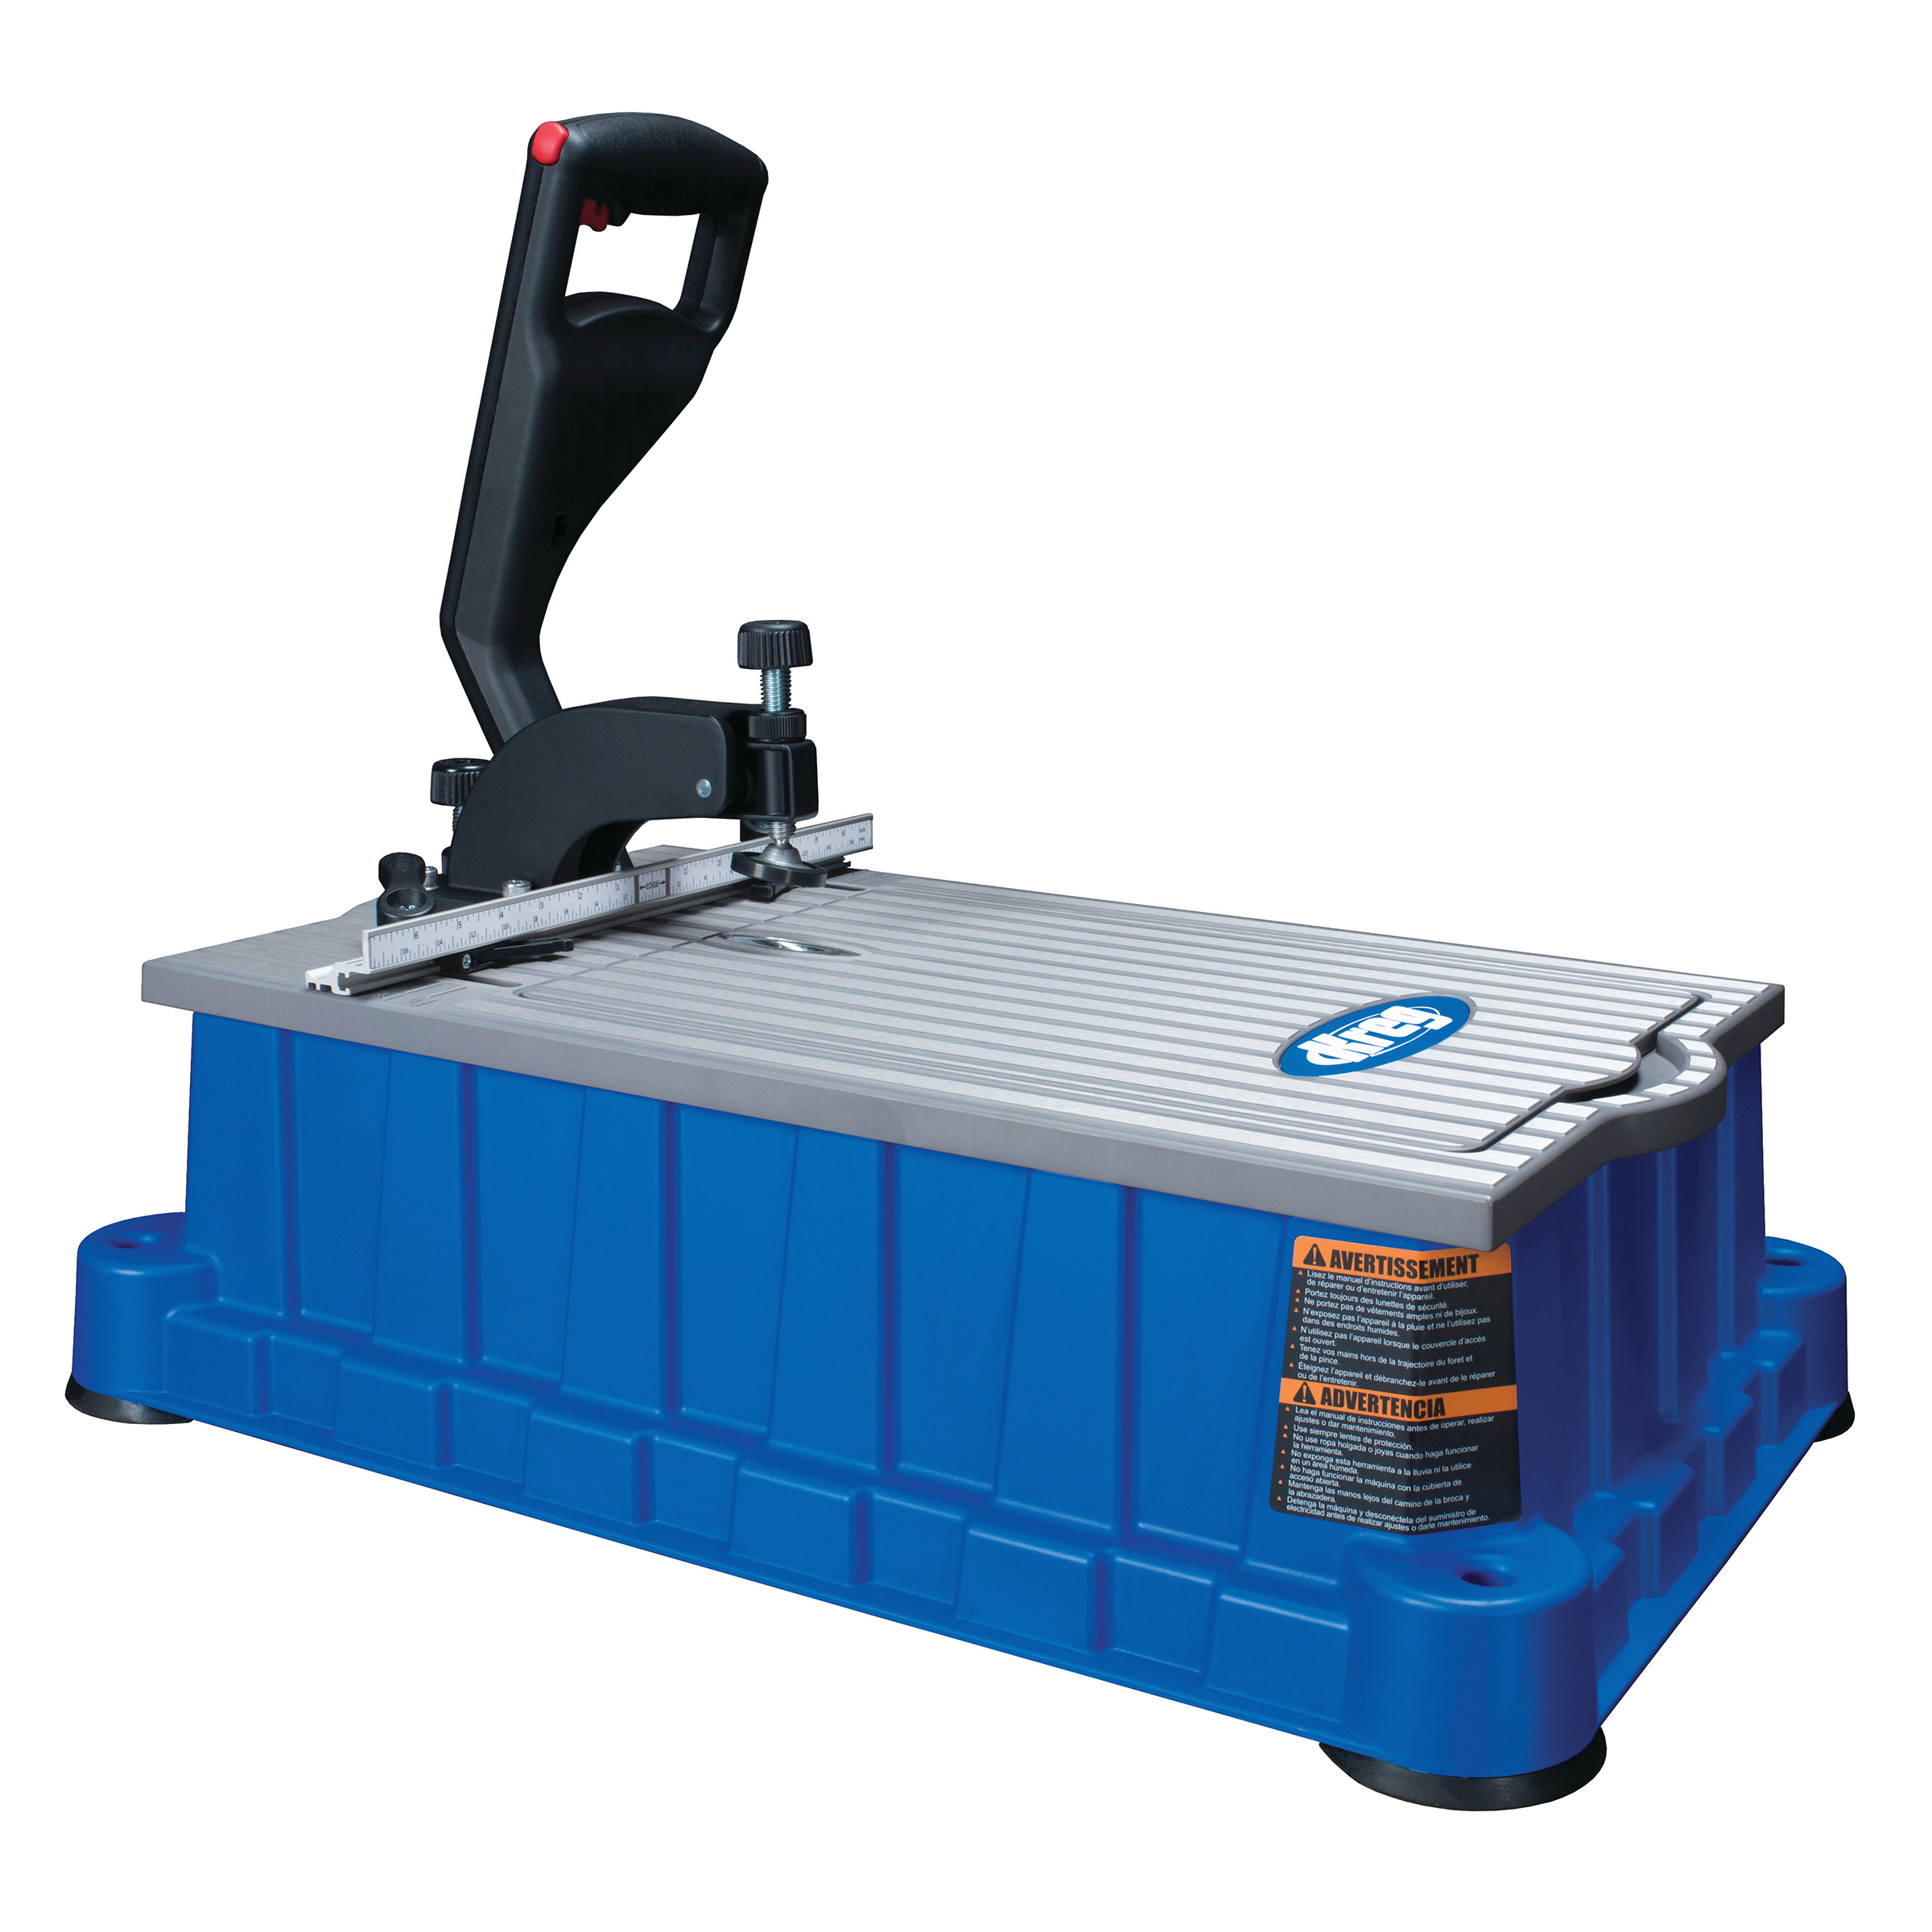
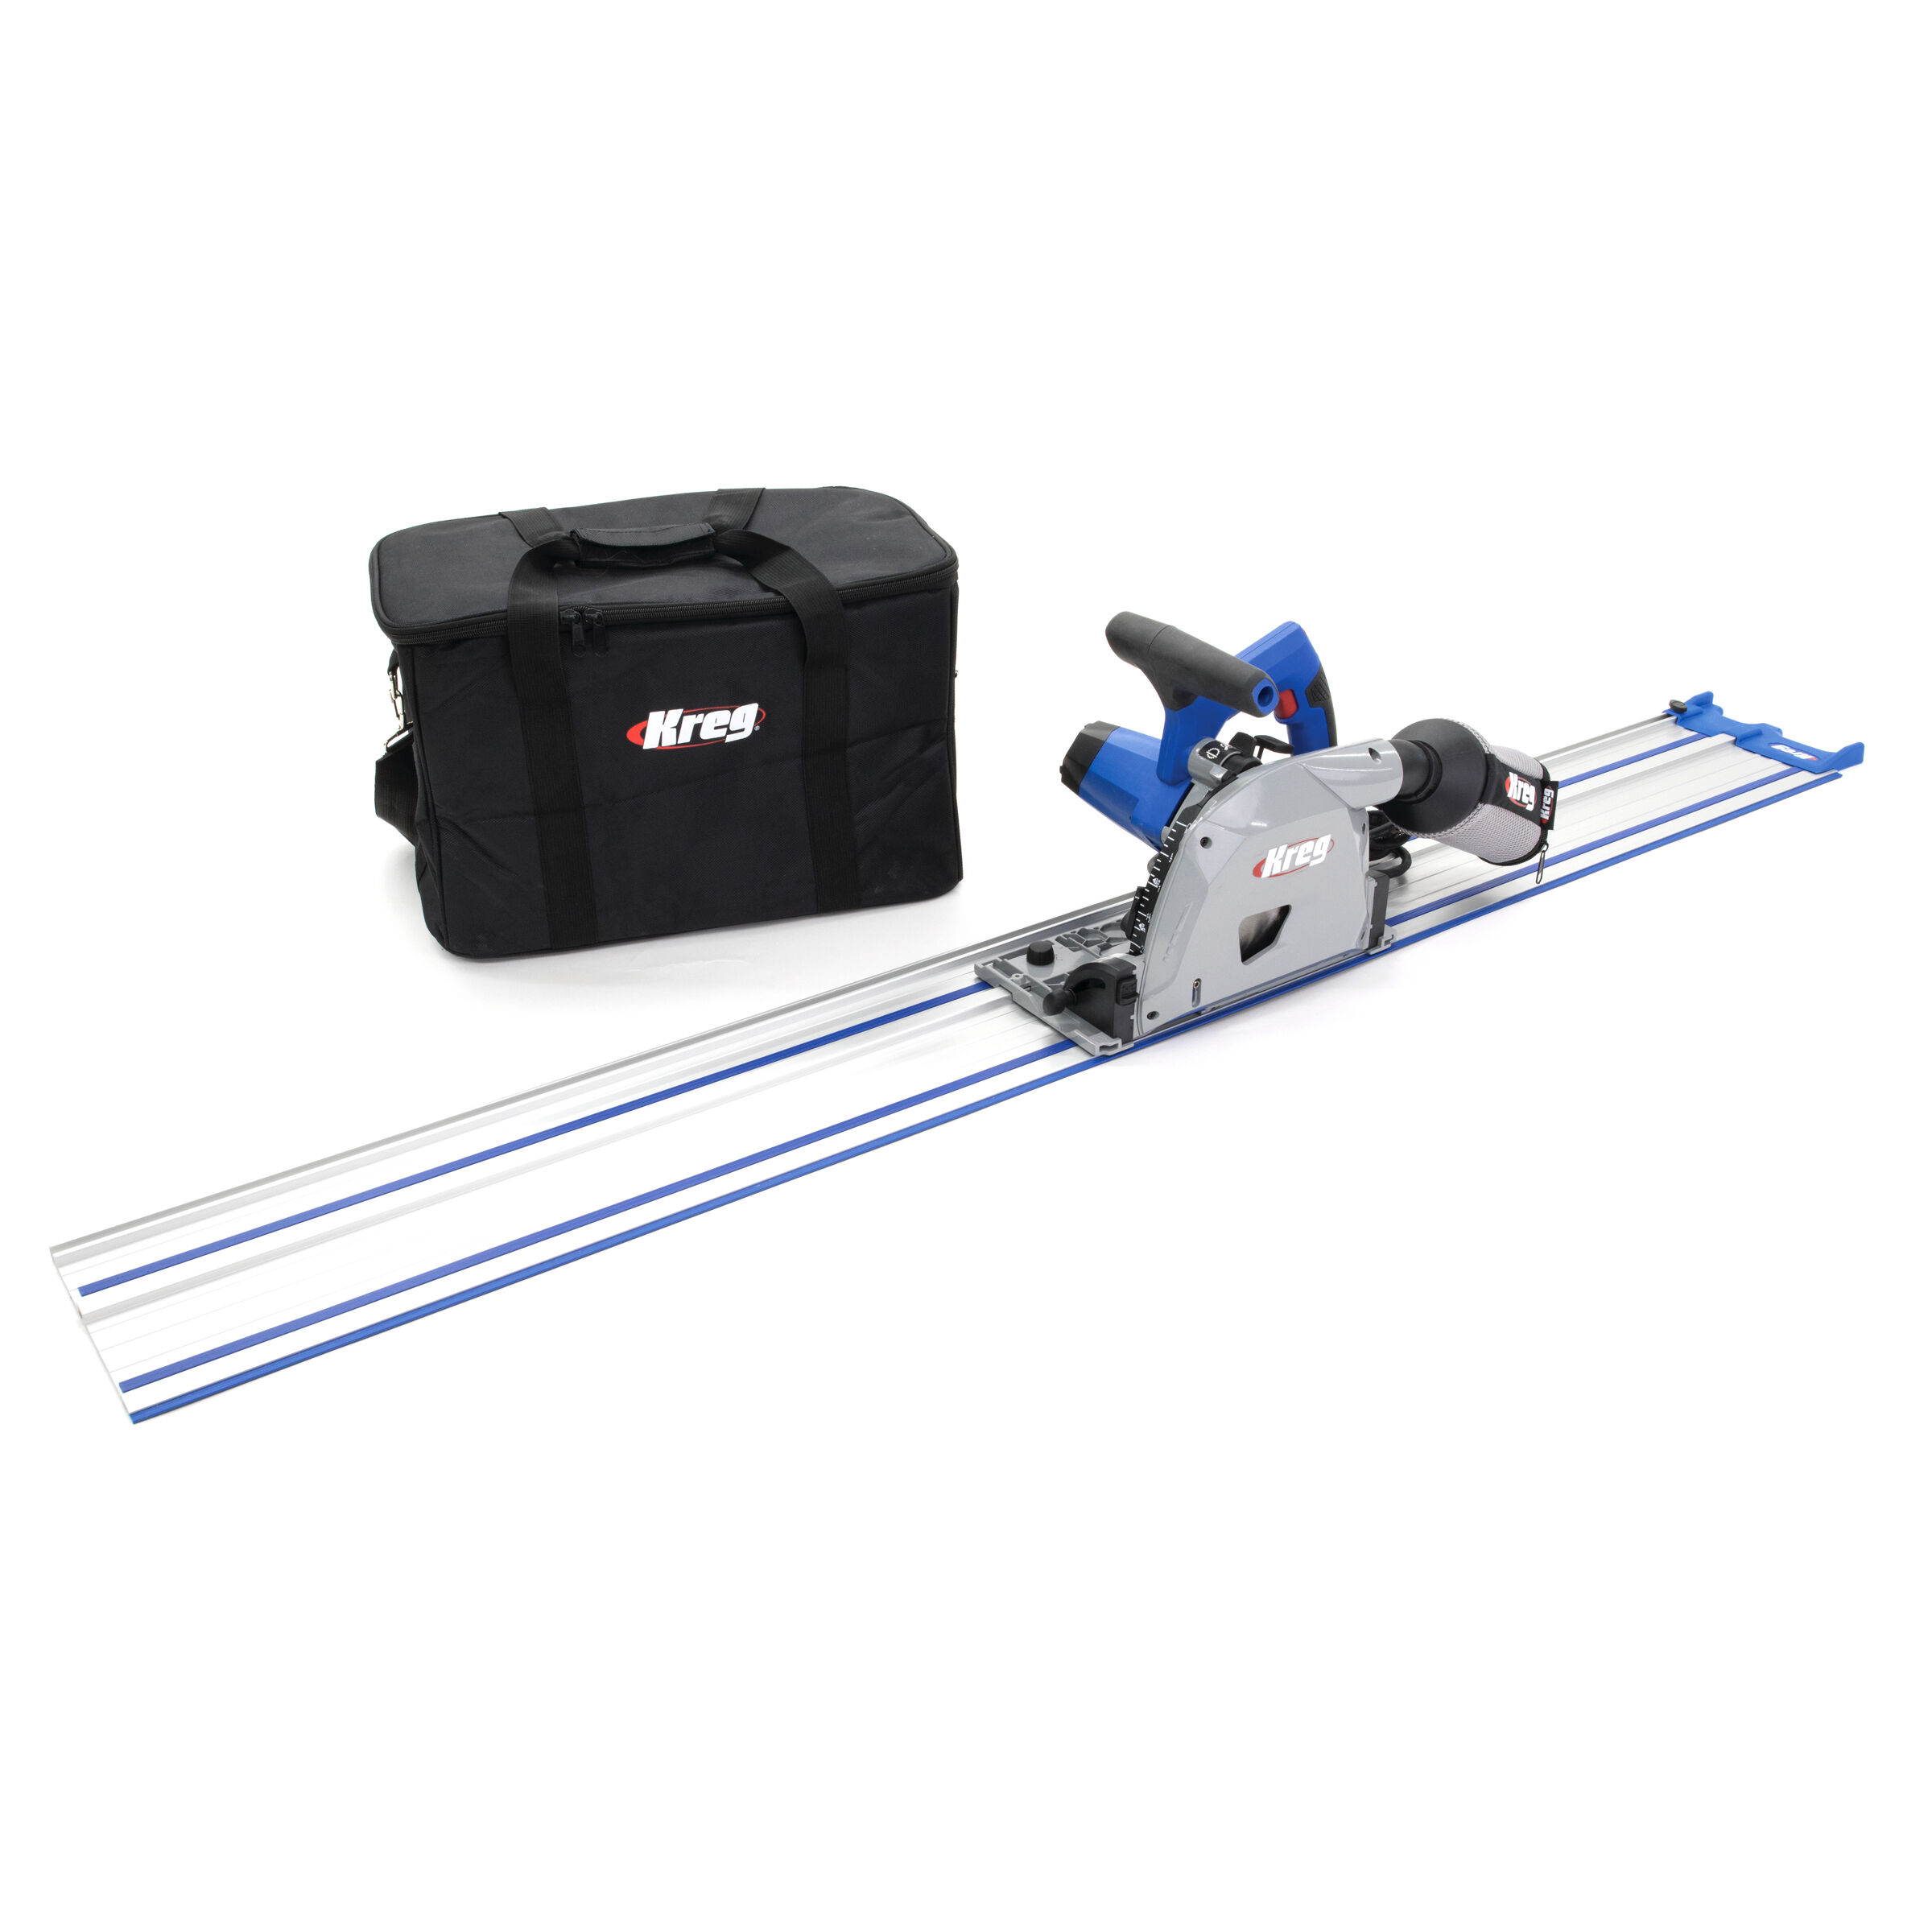
Kreg Tools


Other Tools
-
Caulk Gun

Materials
Wood Products
- -- Shingles
- 1 Sheet of Plywood , 3/4 inch
- 1 Caulk
- 1 Sheet of Plexiglass
- 1 Heavy Duty Adhesive
- -- Exterior Paint
- -- Kreg Exterior Screws , 1 1/4 inch
Hardware & Supplies
- 2 Door Hinges
- 1 Door Latch
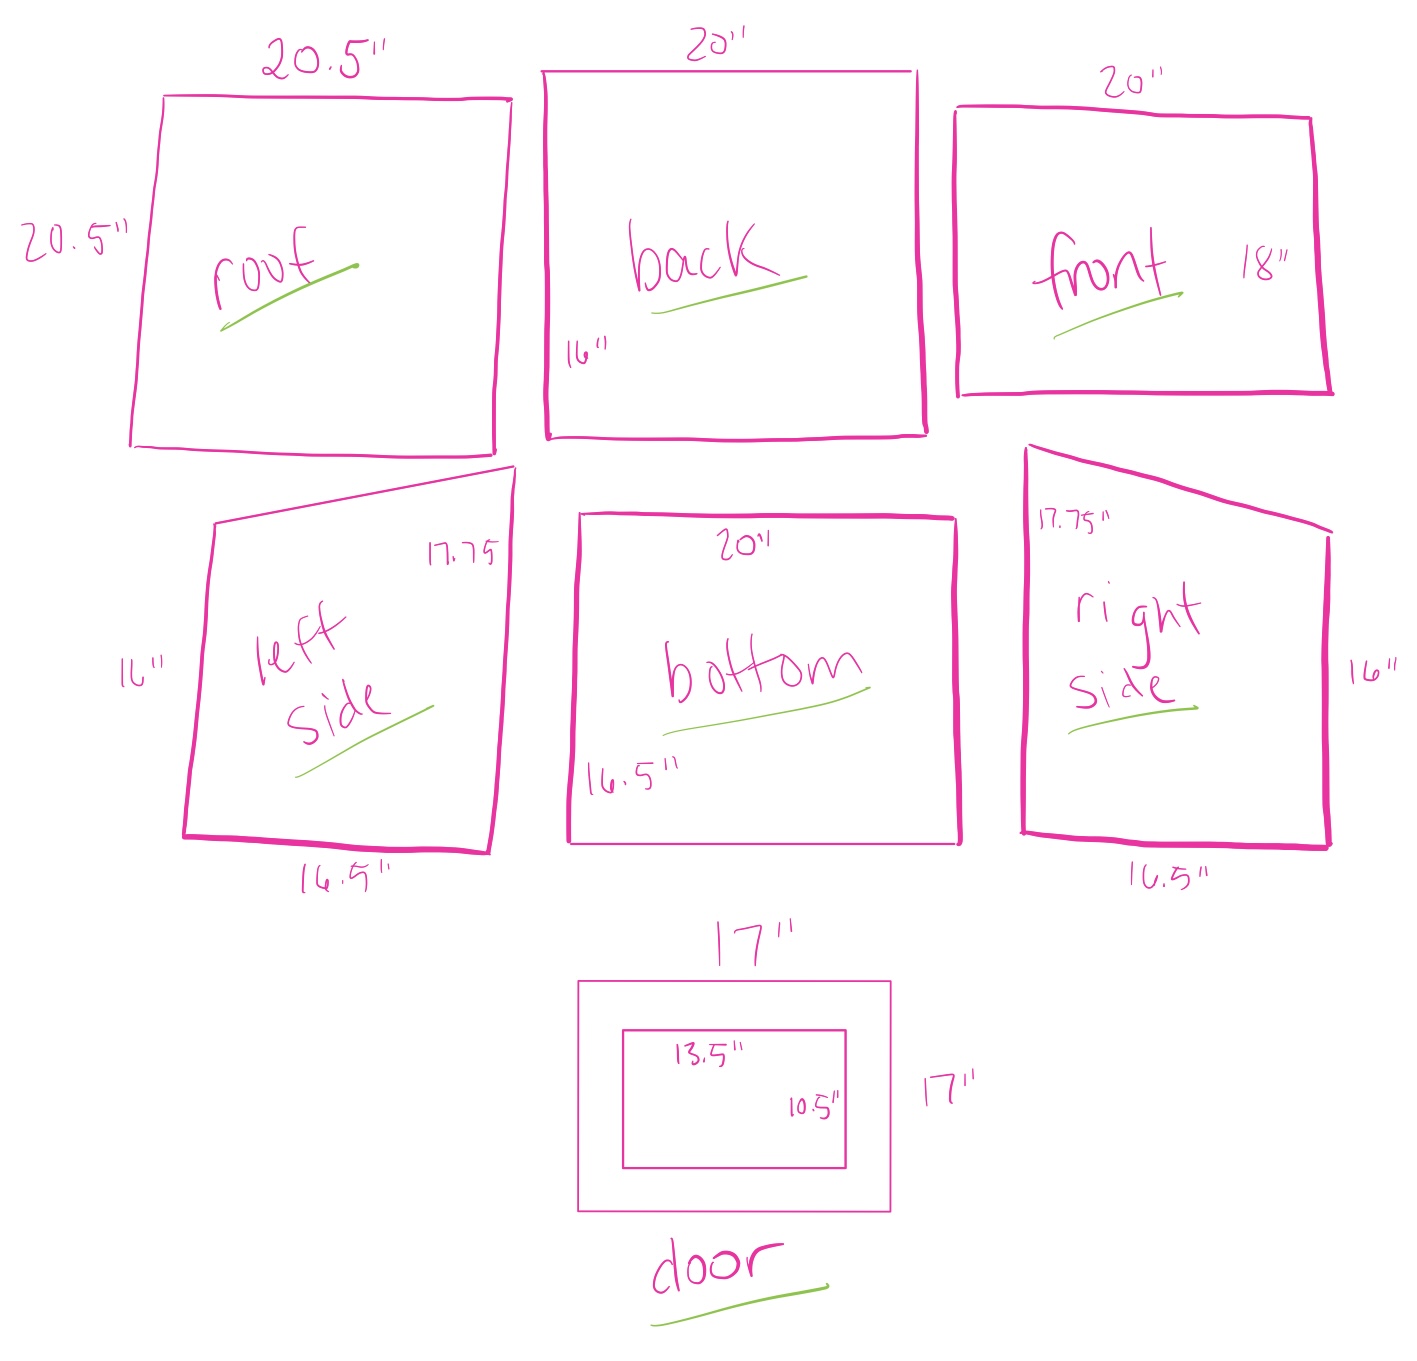
Cut List & Parts
- 1 Roof , 20.5" x 20.5"
- 2 Angled Sides , 16.5" x 16" x 17.75"
- 1 Back , 20" x 16"
- 1 Bottom , 20" x 16.5"
- 1 Front , 20" x 18"
- 1 Door , 17" x 17"
Directions
-
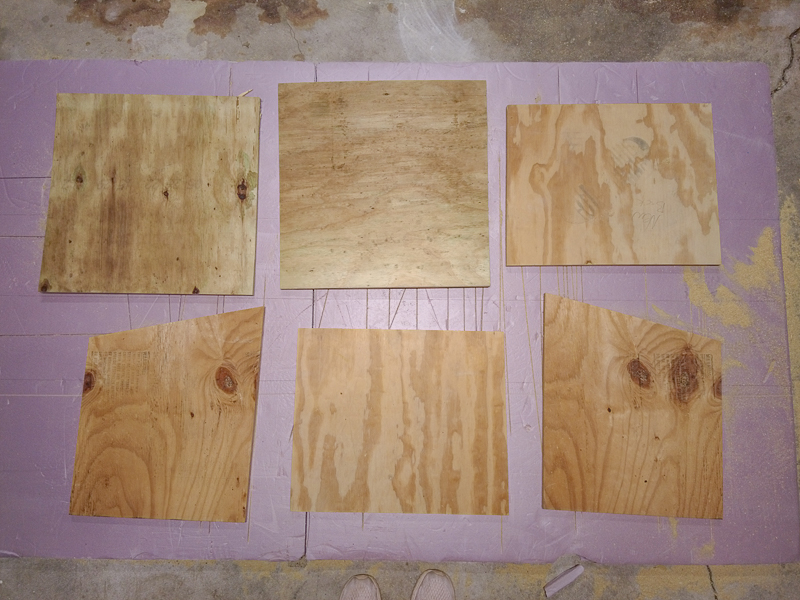
Cut pieces
Using the cut list provided, cut the sides, top, bottom, and door for your little library.
-
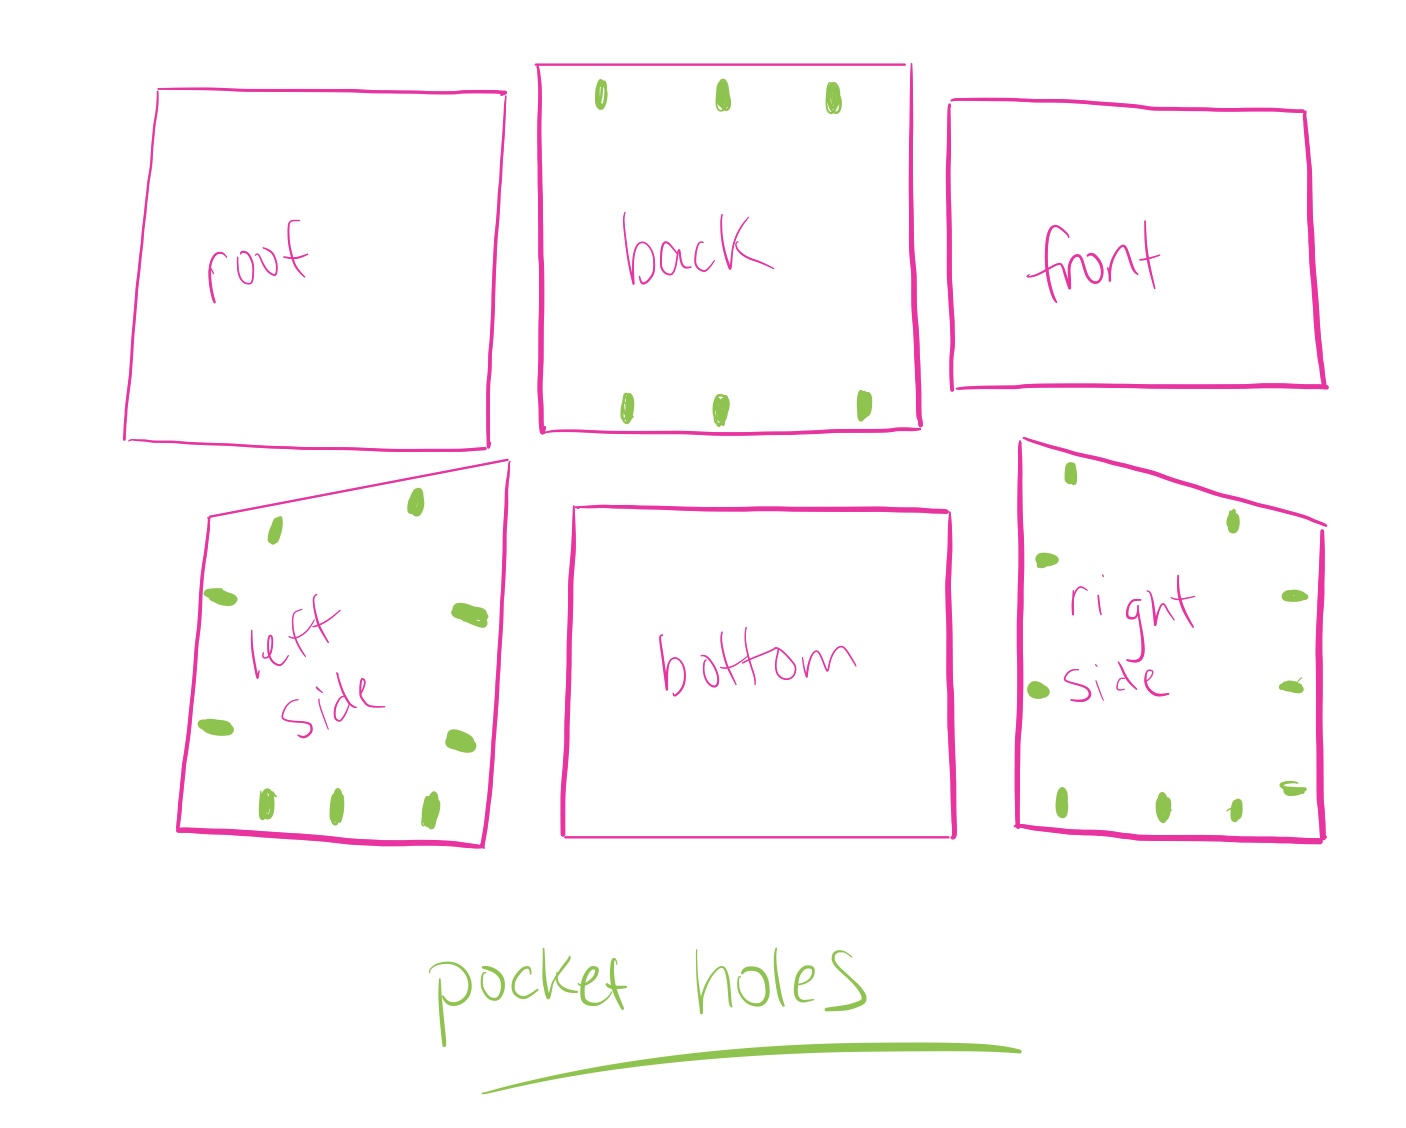
Add pocket holes
Using the foreman, add pocket holes on each of the sides of your little library.

-
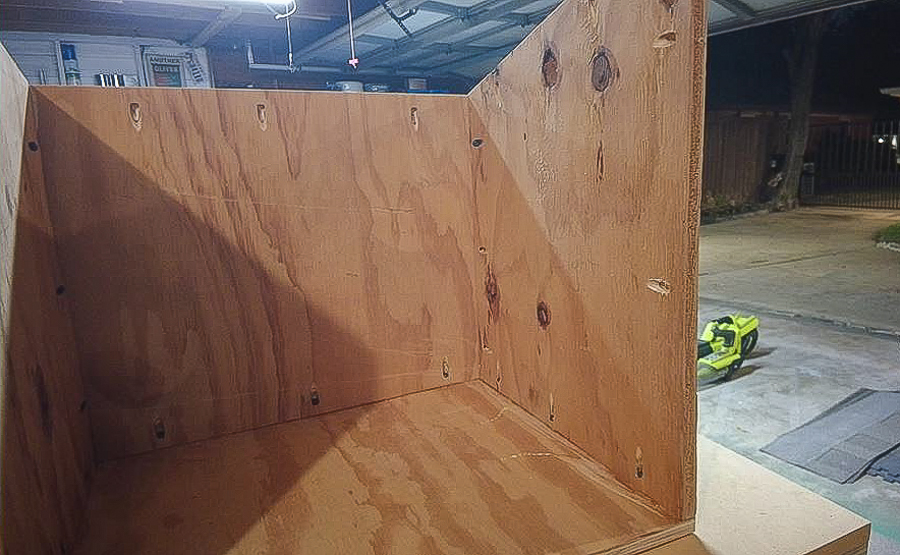
Assemble
Put the sides and back together with the bottom.
-
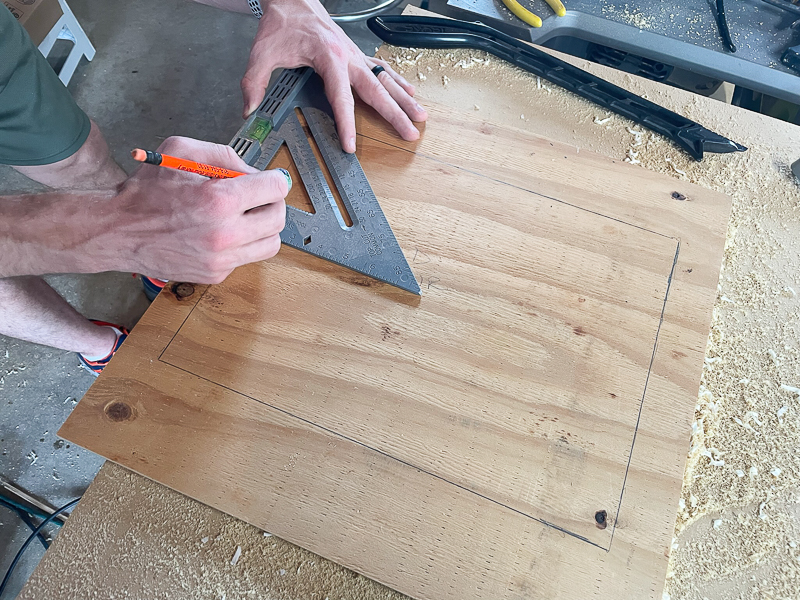
Prepare the front opening
Cut the opening in the front piece and attach it.
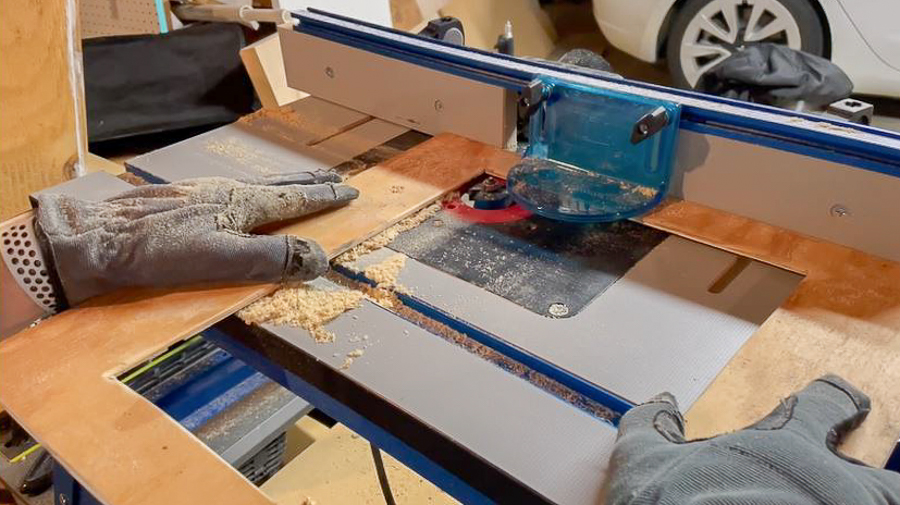
Tip:
This hole should be slightly smaller than your door. You want the opening as large as possible though so it's easy to get books in and out! Measure and mark where the hole will go, then drill holes in each of the corners. From there, use a jigsaw to cut the hole out. You can then use the Router table with a round-over bit to smooth the edges. Sand afterward to make sure it's as smooth as possible. You can now screw the front piece in place.
-
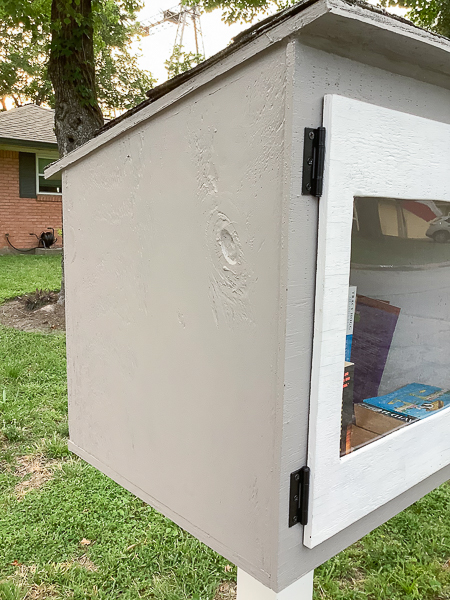
Prepare the door
Cut the opening in the door for the plexiglass then attach it.
Tip:
Once you have the opening cut in your front piece, you can cut the opening in the door for the plexiglass. This makes it easy for people to see what's inside! Measure and mark where the hole will go, then drill holes in each of the corners. From there, use a jigsaw to cut the hole out. You can then use the Router table with a rabbet bit to make a little ledge so the plexiglass will inlay. Attach with heavy-duty adhesive. Now you can install the door with hinges.
Pro tip - use self-closing spring hinges with magnetic catches to ensure the door stays closed!
-
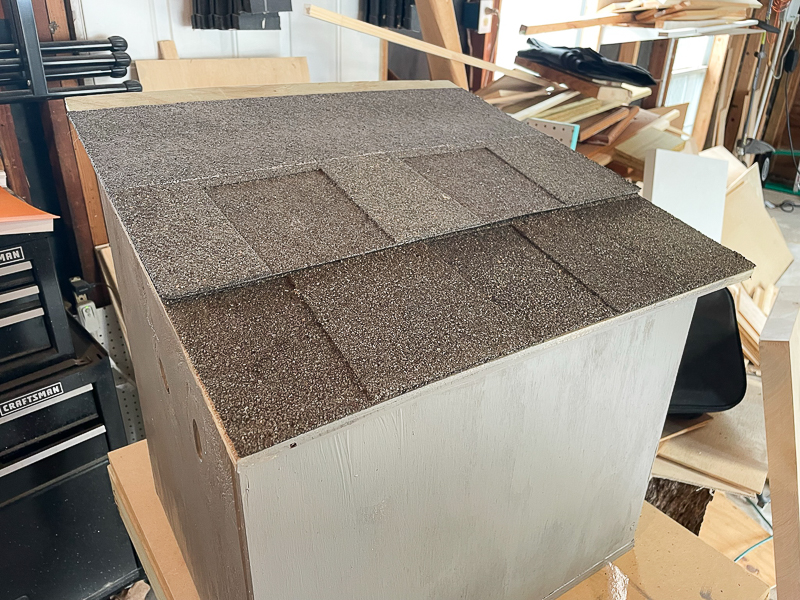
Prepare the roof
Attach the roof and add shingles
Tip:
You can now attach the roof by reaching through the front door opening. Add shingles to help protect from rain.
-
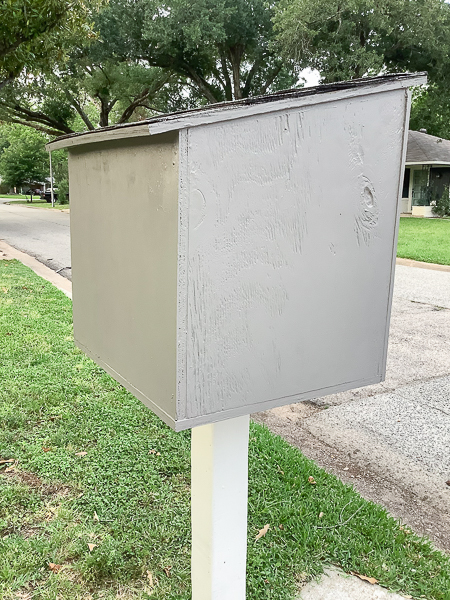
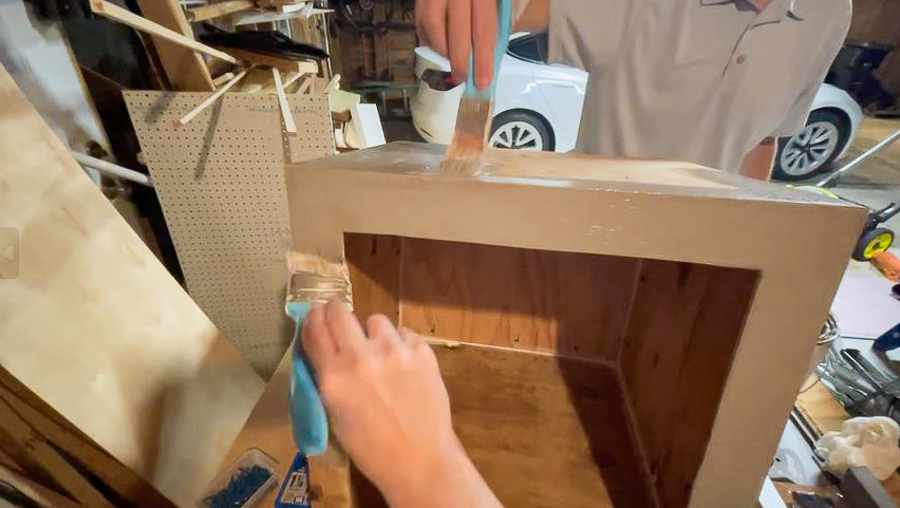
Caulk and Paint
Add caulk and paint to seal your little library.
Tip:
The finishing touches are caulking all the seams and then painting. You want to ensure that the Little Library is waterproof so be sure to caulk every seam you can find. Add a coat of outdoor paint for more weatherproofing!
-
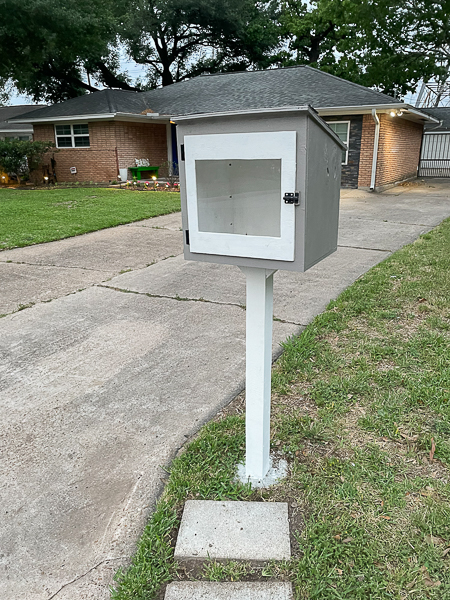
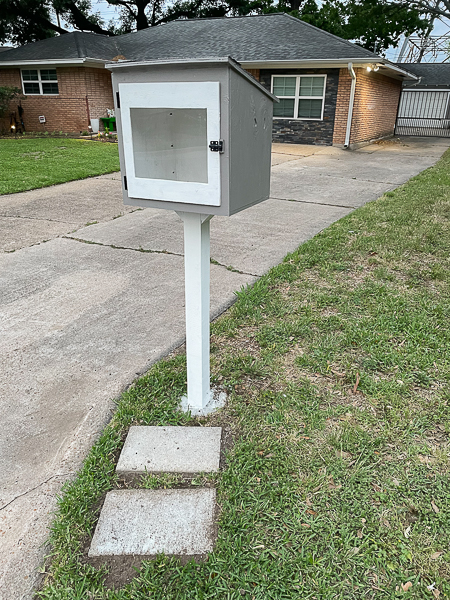
Mount Little Library
Mount to a post
Tip:
You can either mount it to a post set in concrete in the ground or on one in a large pot. In the ground is obviously more permanent but having it in a pot means you could possibly move it if needed!