

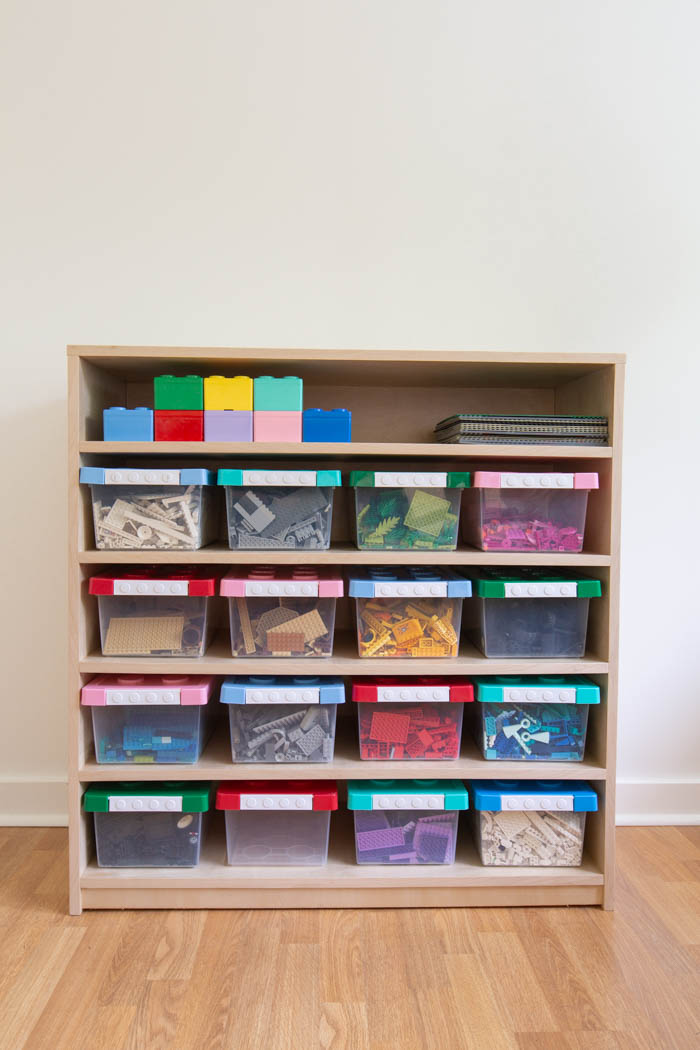
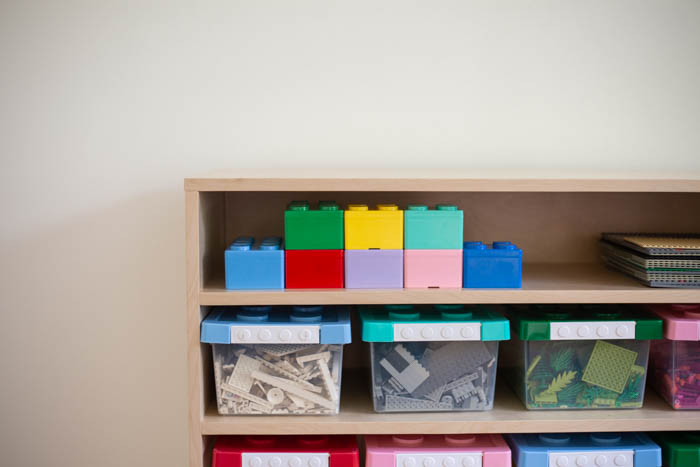
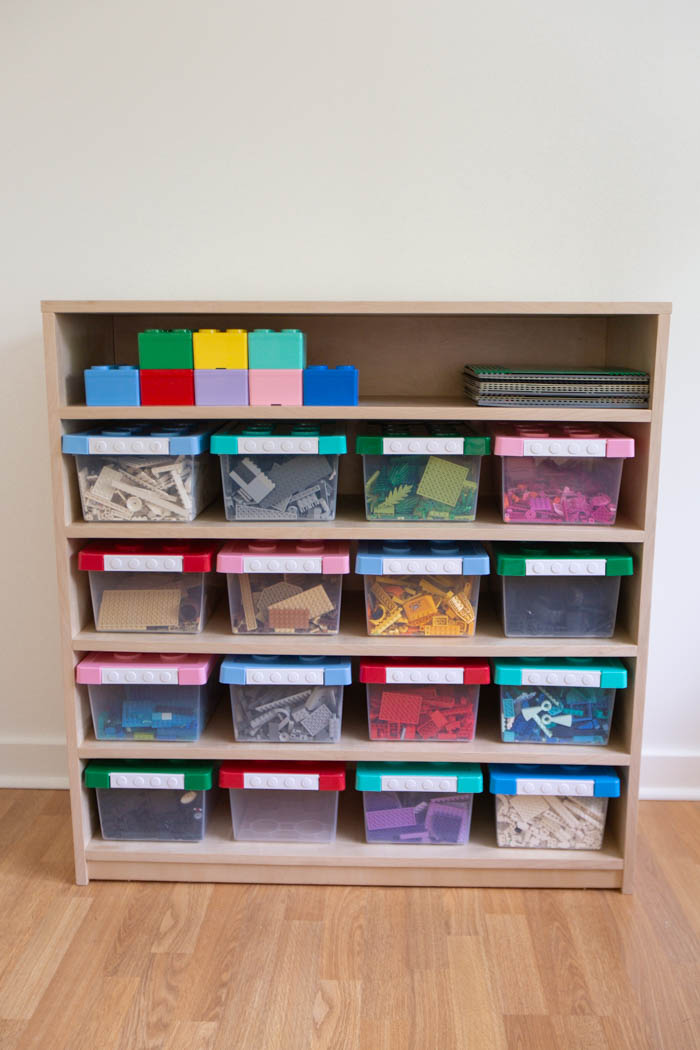
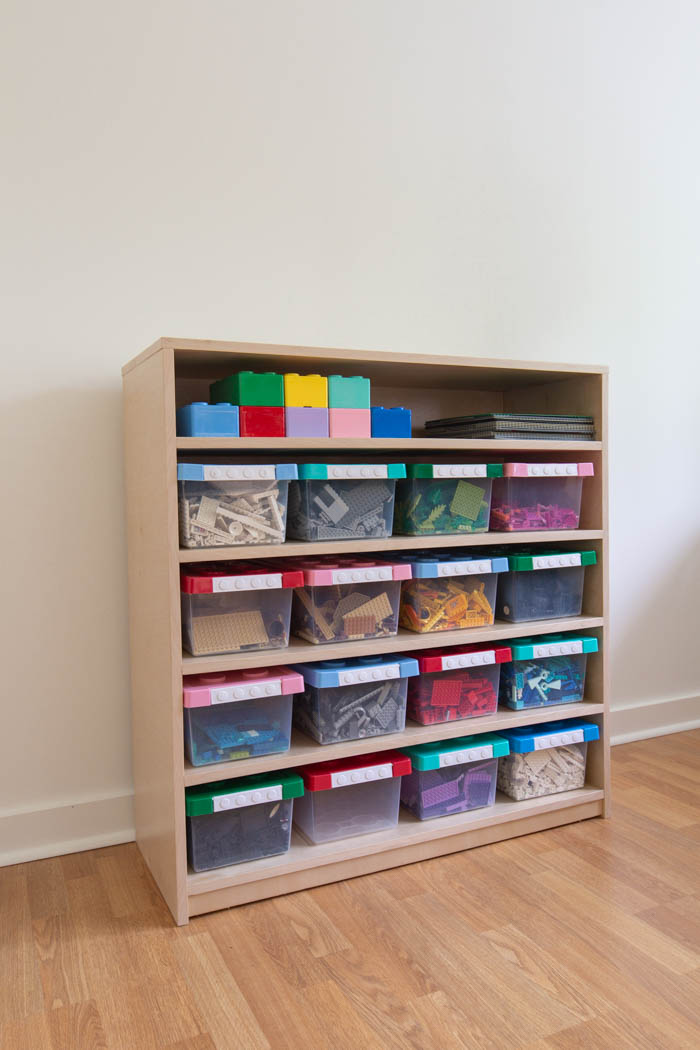


Our kids Lego was getting everywhere, so we wanted to come up with a cool storage solution to keep it all organized. We found some bins at our local dollar store for storage of the Lego and grabbed a couple pieces of plywood to build them a custom shelf to store it all. Be sure to check out our matching Lego table build plans that would go great with this project!
Tools
Kreg Tools


Other Tools
Materials
Wood Products
- 2 Plywood (good two side) , 4x8' , 3/4"
- 1 Edge Banding , 3/4"
Hardware & Supplies
- 1 1 1/4" Screws
- 1 2" wood screws
- 1 Protective Wood Finish
- 1 Solid-Wood Pocket-Hole Plugs
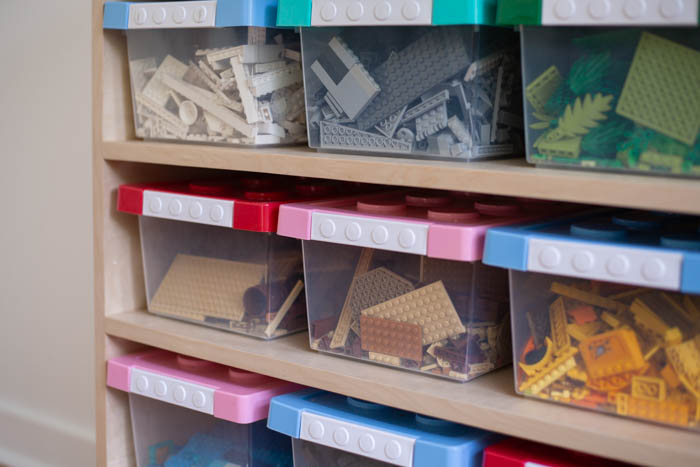
- 16 Lego Bins (https://amzn.to/3sl4V64)
- 1 Wood Glue
- 1 Wood Filler
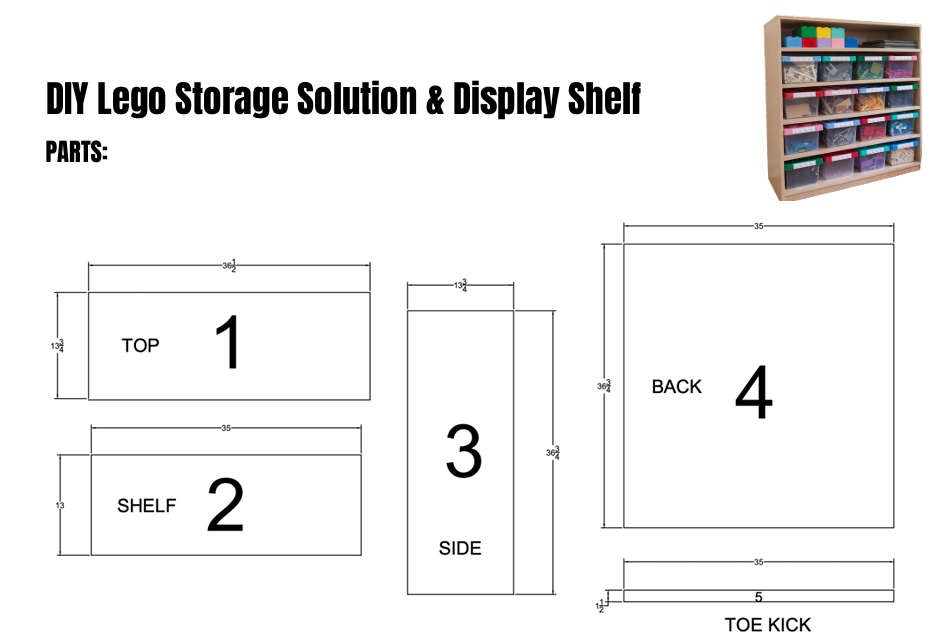
Cut List & Parts
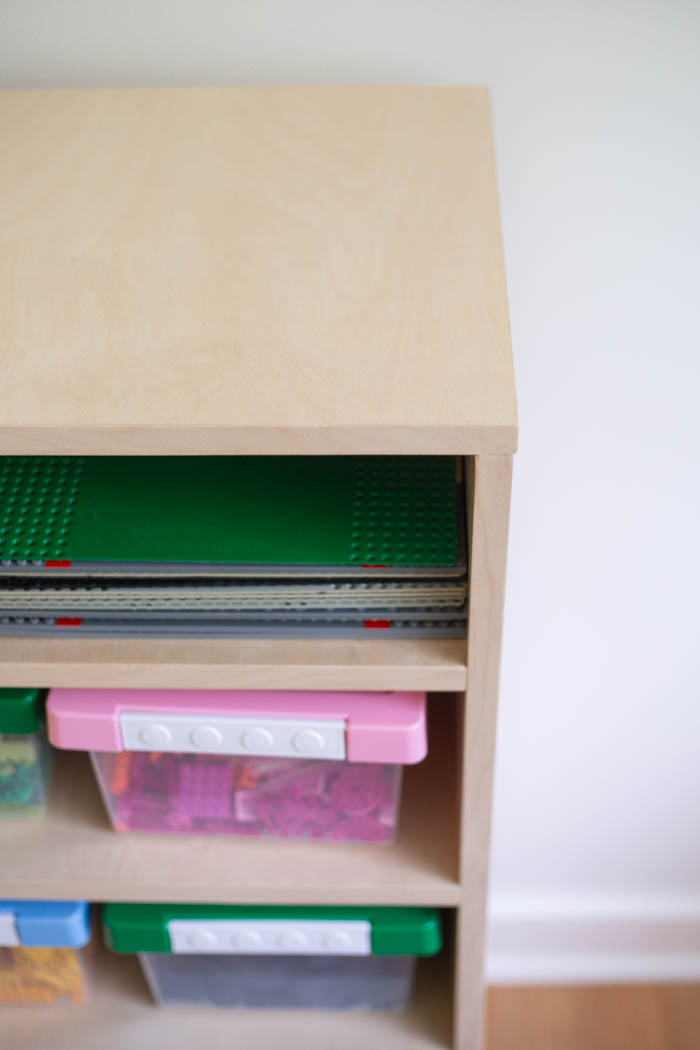
- 1 Top of Cabinet , 36 1/2" x 13 3/4" x 3/4"
- 5 Shelves , 35" x 13" x 3/4"
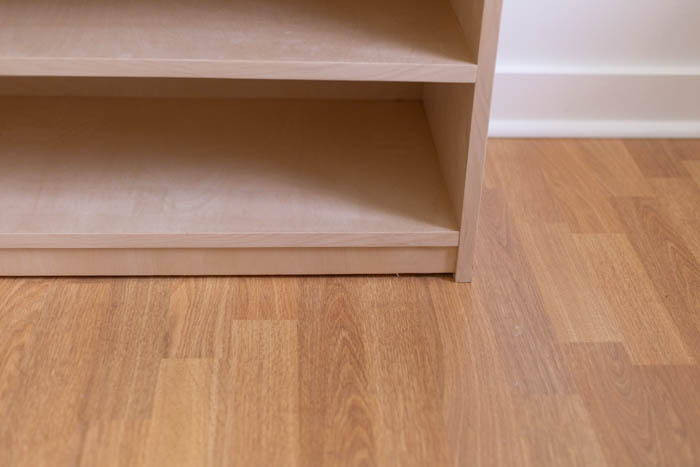
- 2 Sides , 36 3/4" x 13 3/4" x 3/4"
- 1 Back , 35" x 36 3/4" x 3/4"
- 1 Toe Kick , 35" x 1 1/2" x 3/4"
Directions
-
Download plans
Download the plans for this shelf for a few more detailed instructions while you build.
-
Cut Materials
Set out your plywood and mark and cut out the materials as shown on the cut list / build plans.
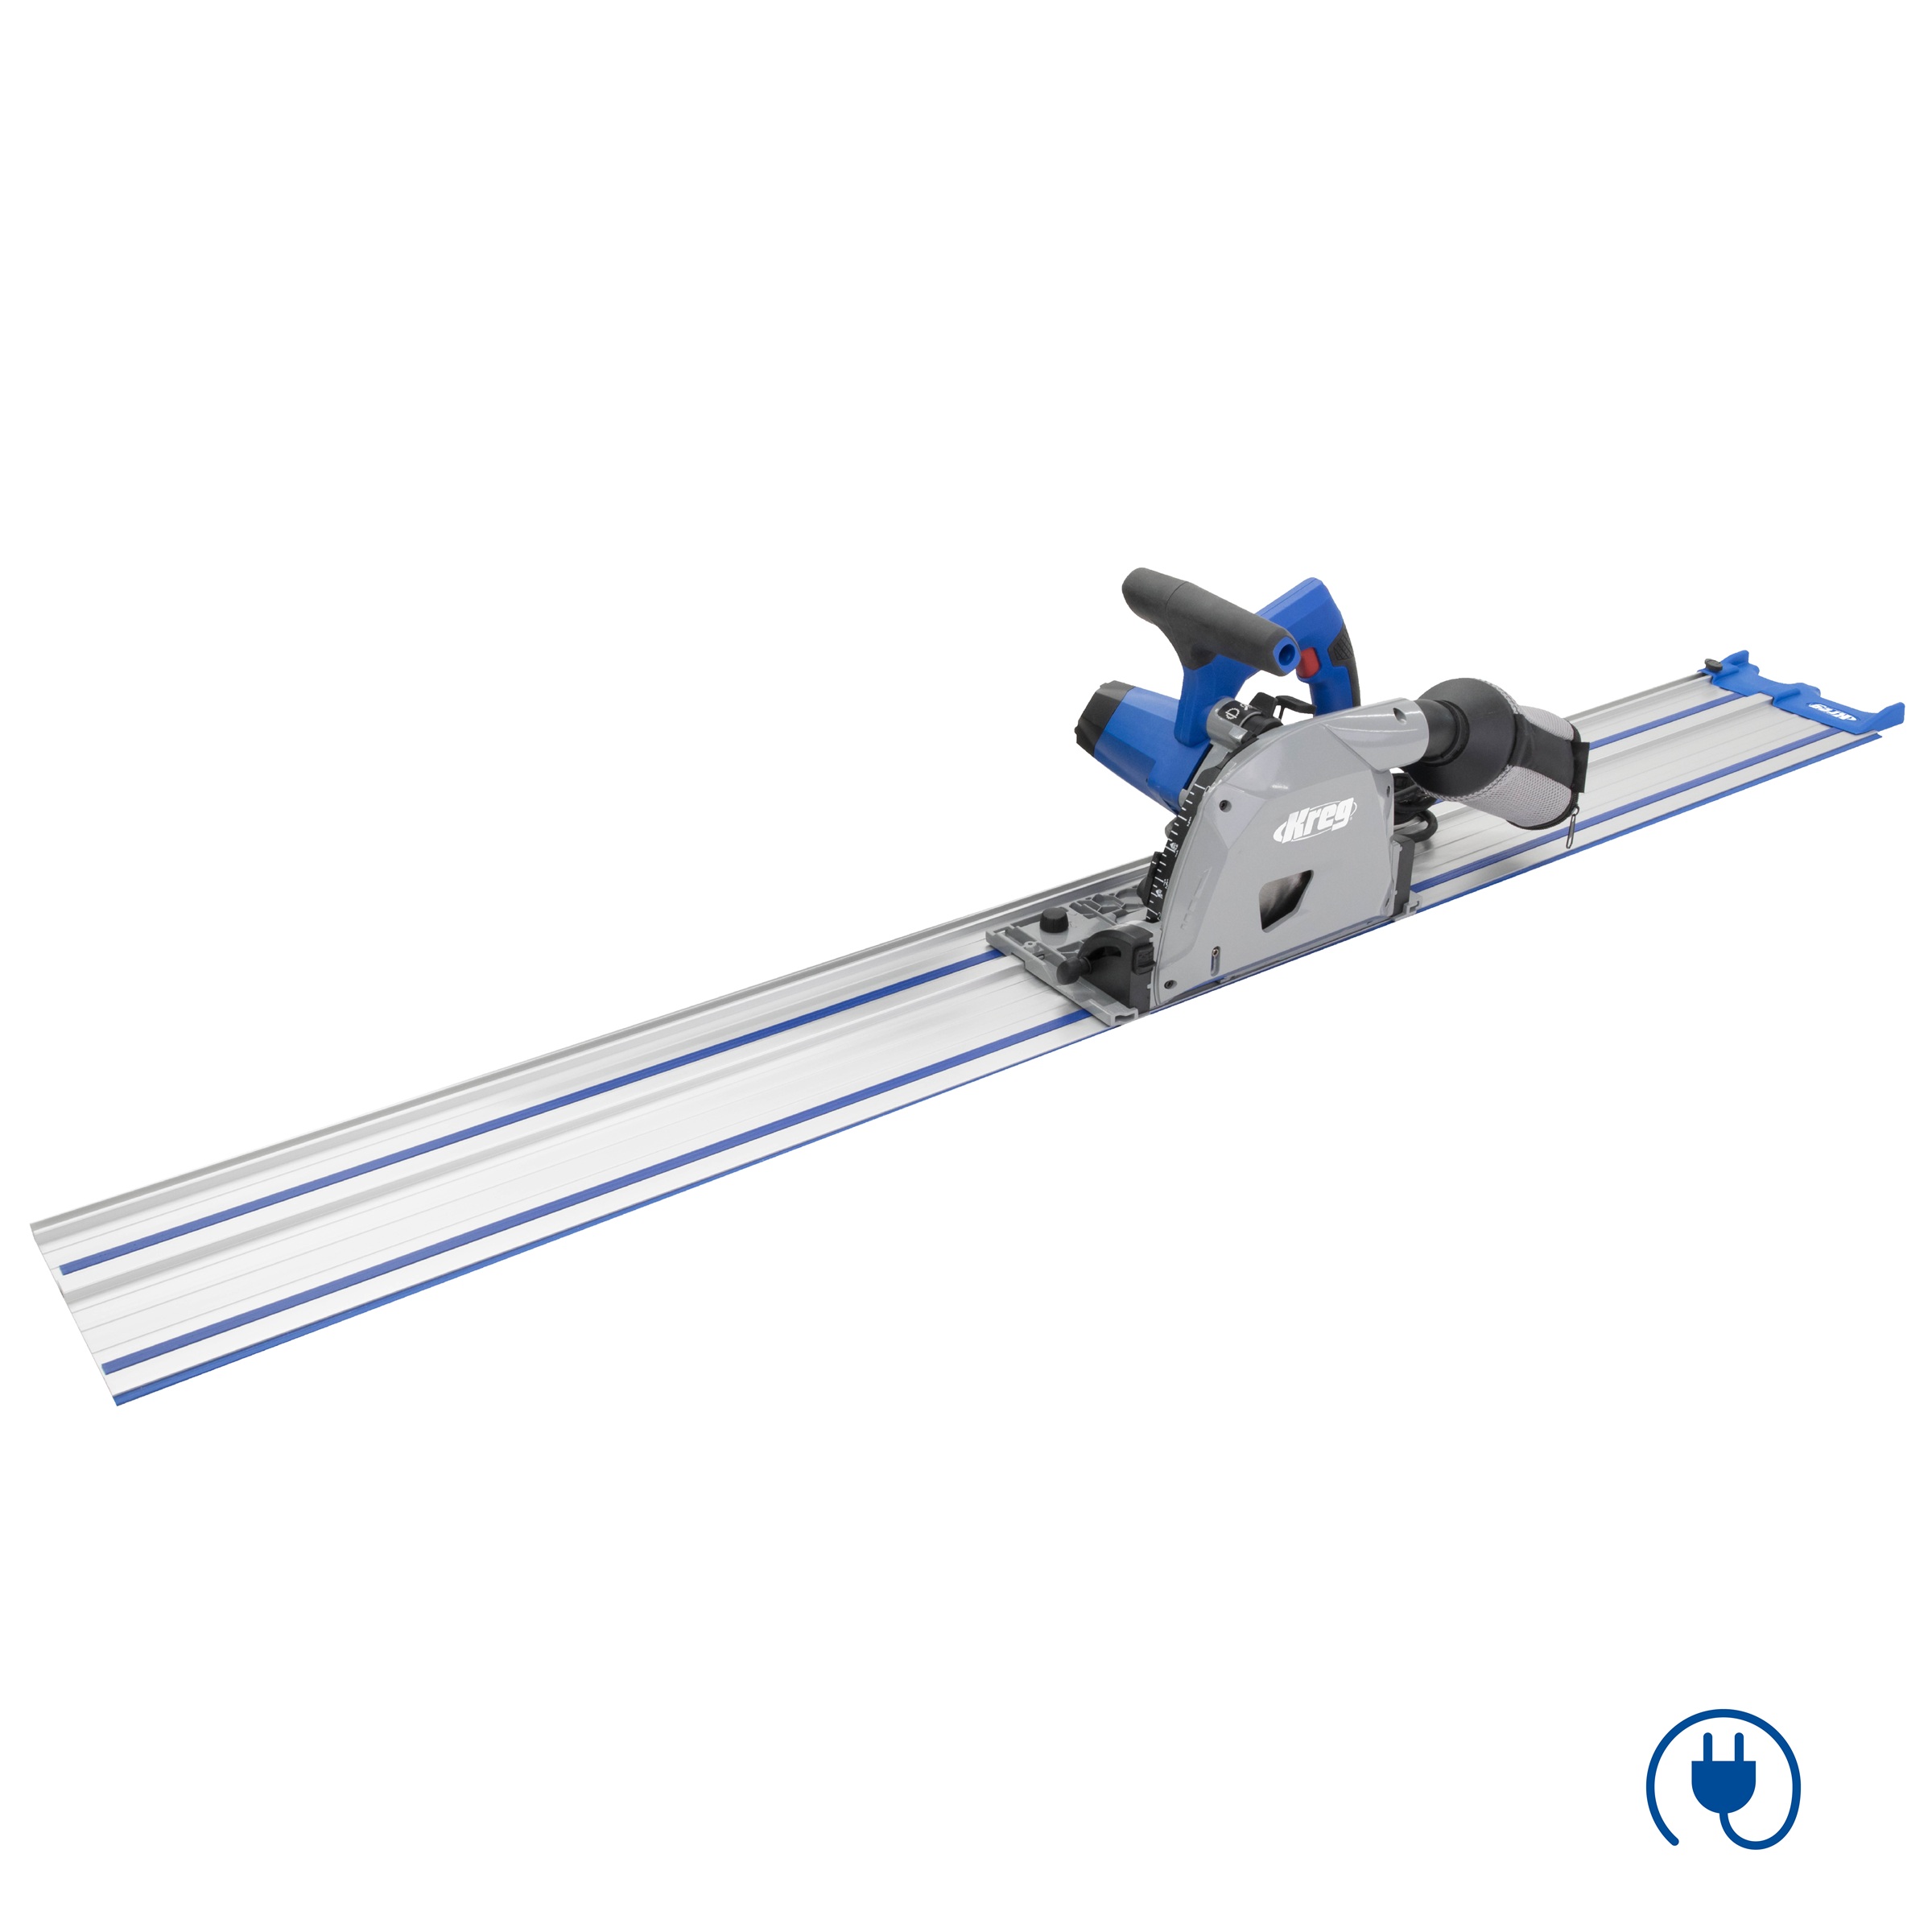
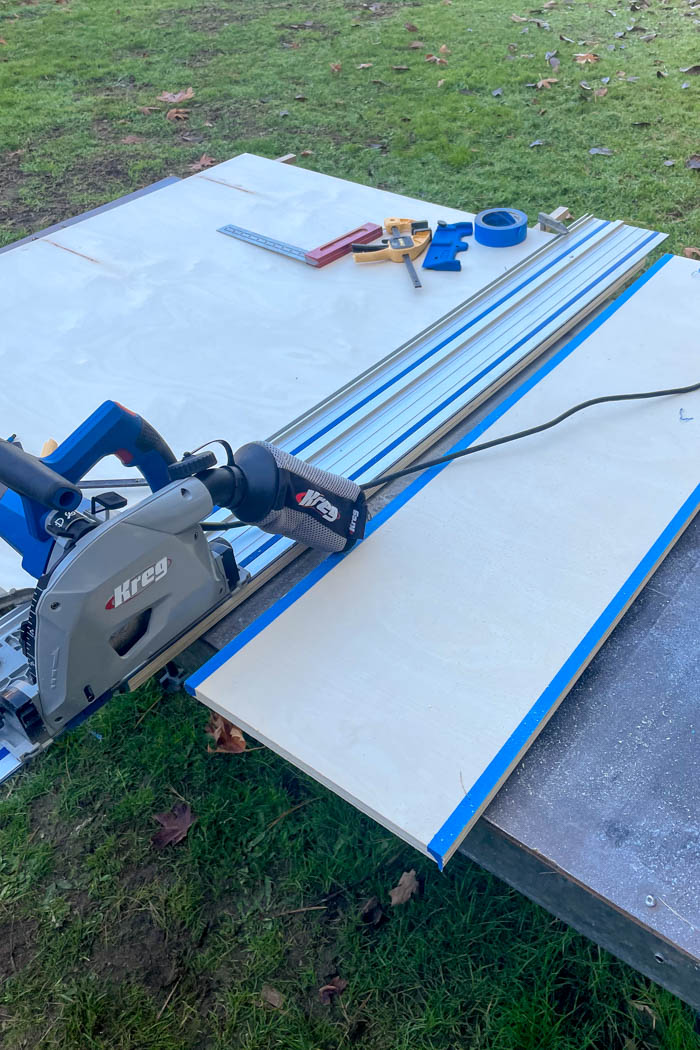
Track Saw
We used our Kreg Adaptive Cutting System Saw to quickly and easily cut up the plywood. This lets you cut the piece in place rather than trying to move a heavy piece of plywood on a table saw.
The Track saw gives a lot more control and can complete a really accurate cut compared to a skill saw with a guide or trying to follow a marked line.
-
Add Pocket Holes
Grab your favourite pocket hole jig, set depths to 3/4" and drill all the pocket holes as shown in the plans.
We also pre-drilled holes in the back for the shelfs at the same time as drilling the pocket holes
Tool Selection
The Kreg 520 Pro is great for larger items as you can drill the pocket hole without moving the piece. Where the Kreg 720 Pro is awesome for smaller pieces with its auto thickness clamp.
Kreg's Multi-Mark tool is a great tool to help with layout and measuring of pocket holes.

-
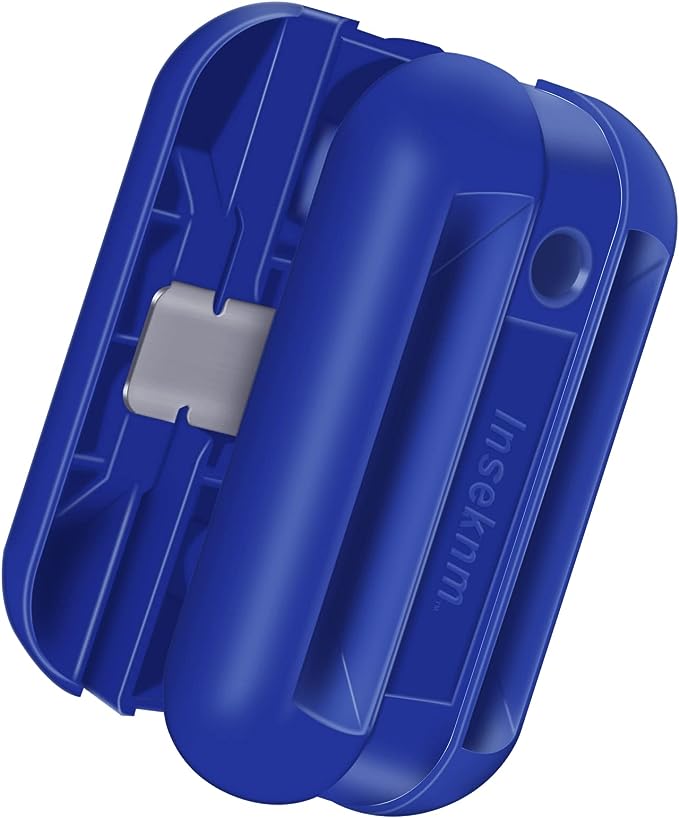
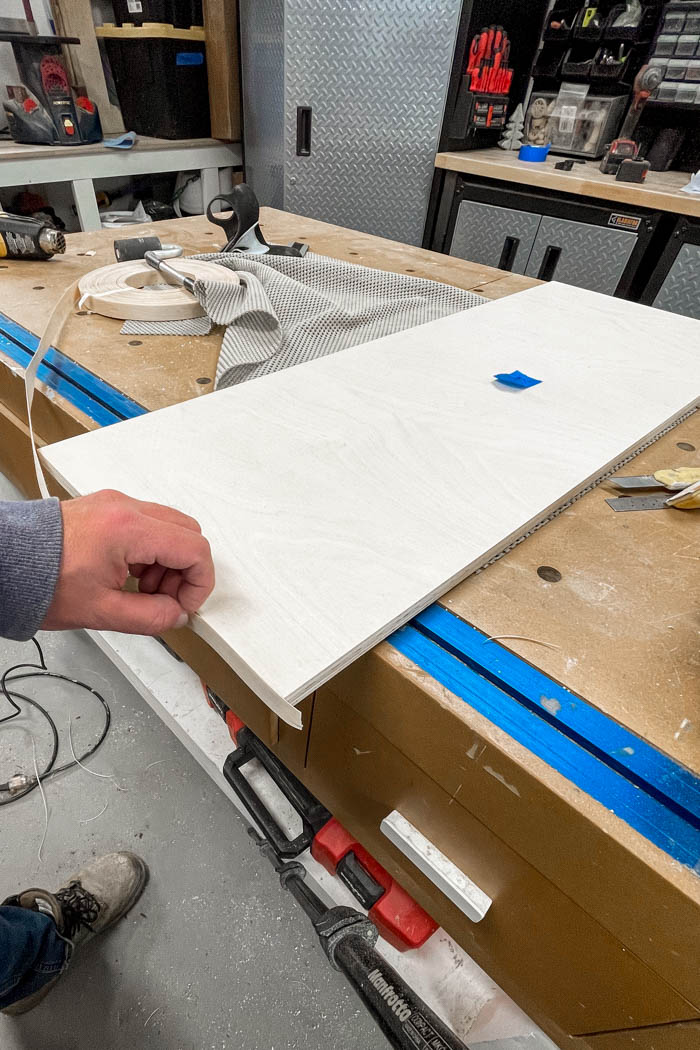
Add Edge Banding
Add edge banding to all the exposed edges on the selves, sides, and top.
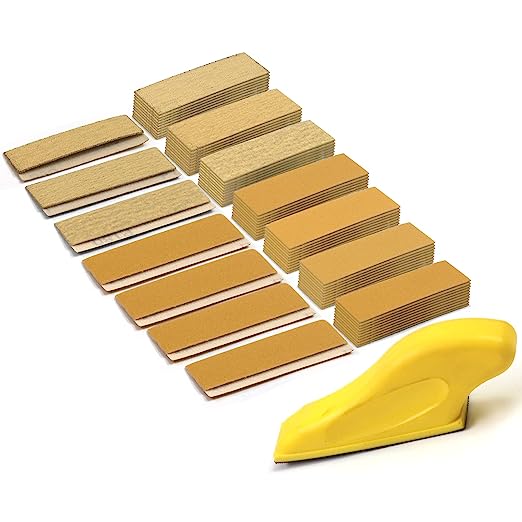
Perfect Finish
Use a edge banding cutter to trim any excess banding. Give a light sand with a small detail sanding block for a perfect finish.
-
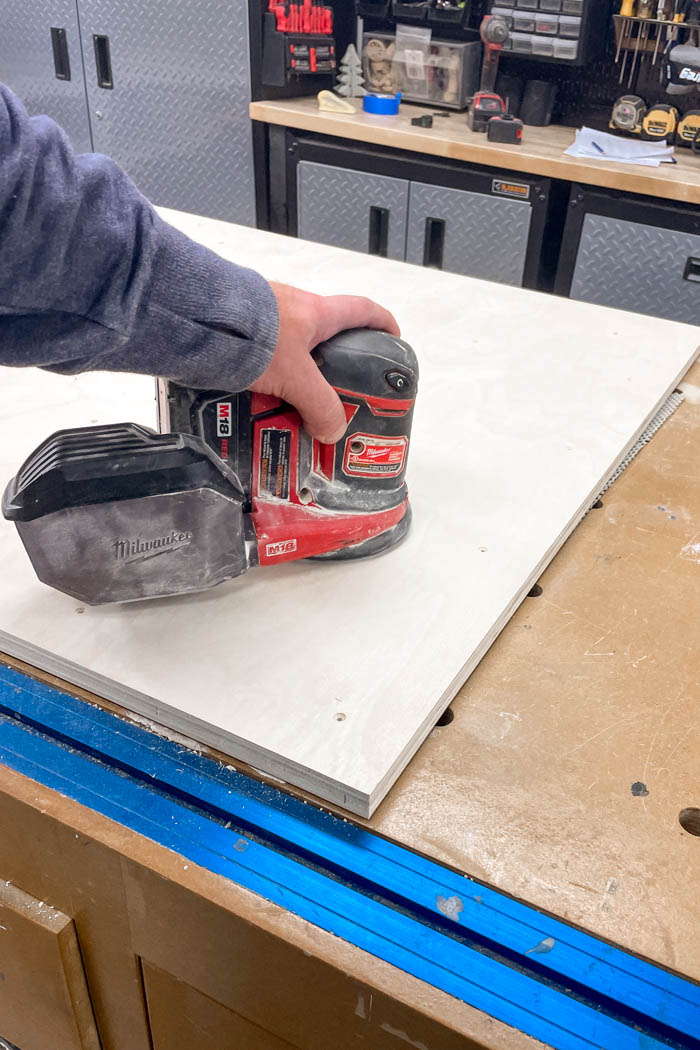
Sanding
Sand your piece to prep for paint/stain/finish. Be careful to not sand through the veneer on the plywood, especially at the edges.
Use Tape
Painter's tape can be a great tool to help with marking to prevent un-nessecary pencil marks on your wood. Once you are done you can remove the tape and won't have any marks to sand out before finishing.
-
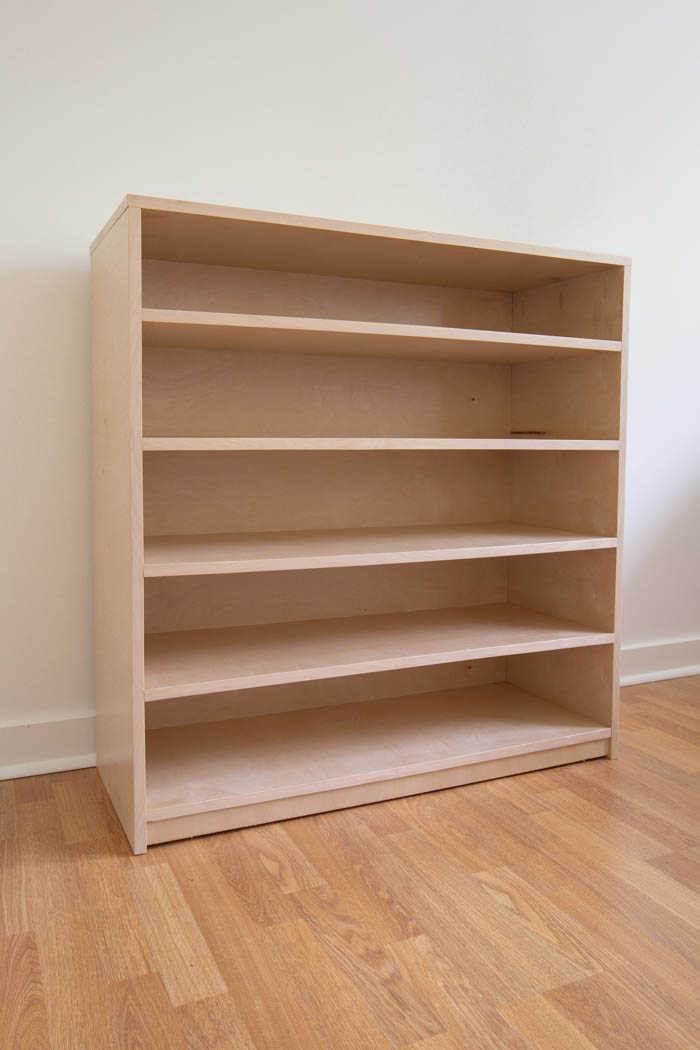
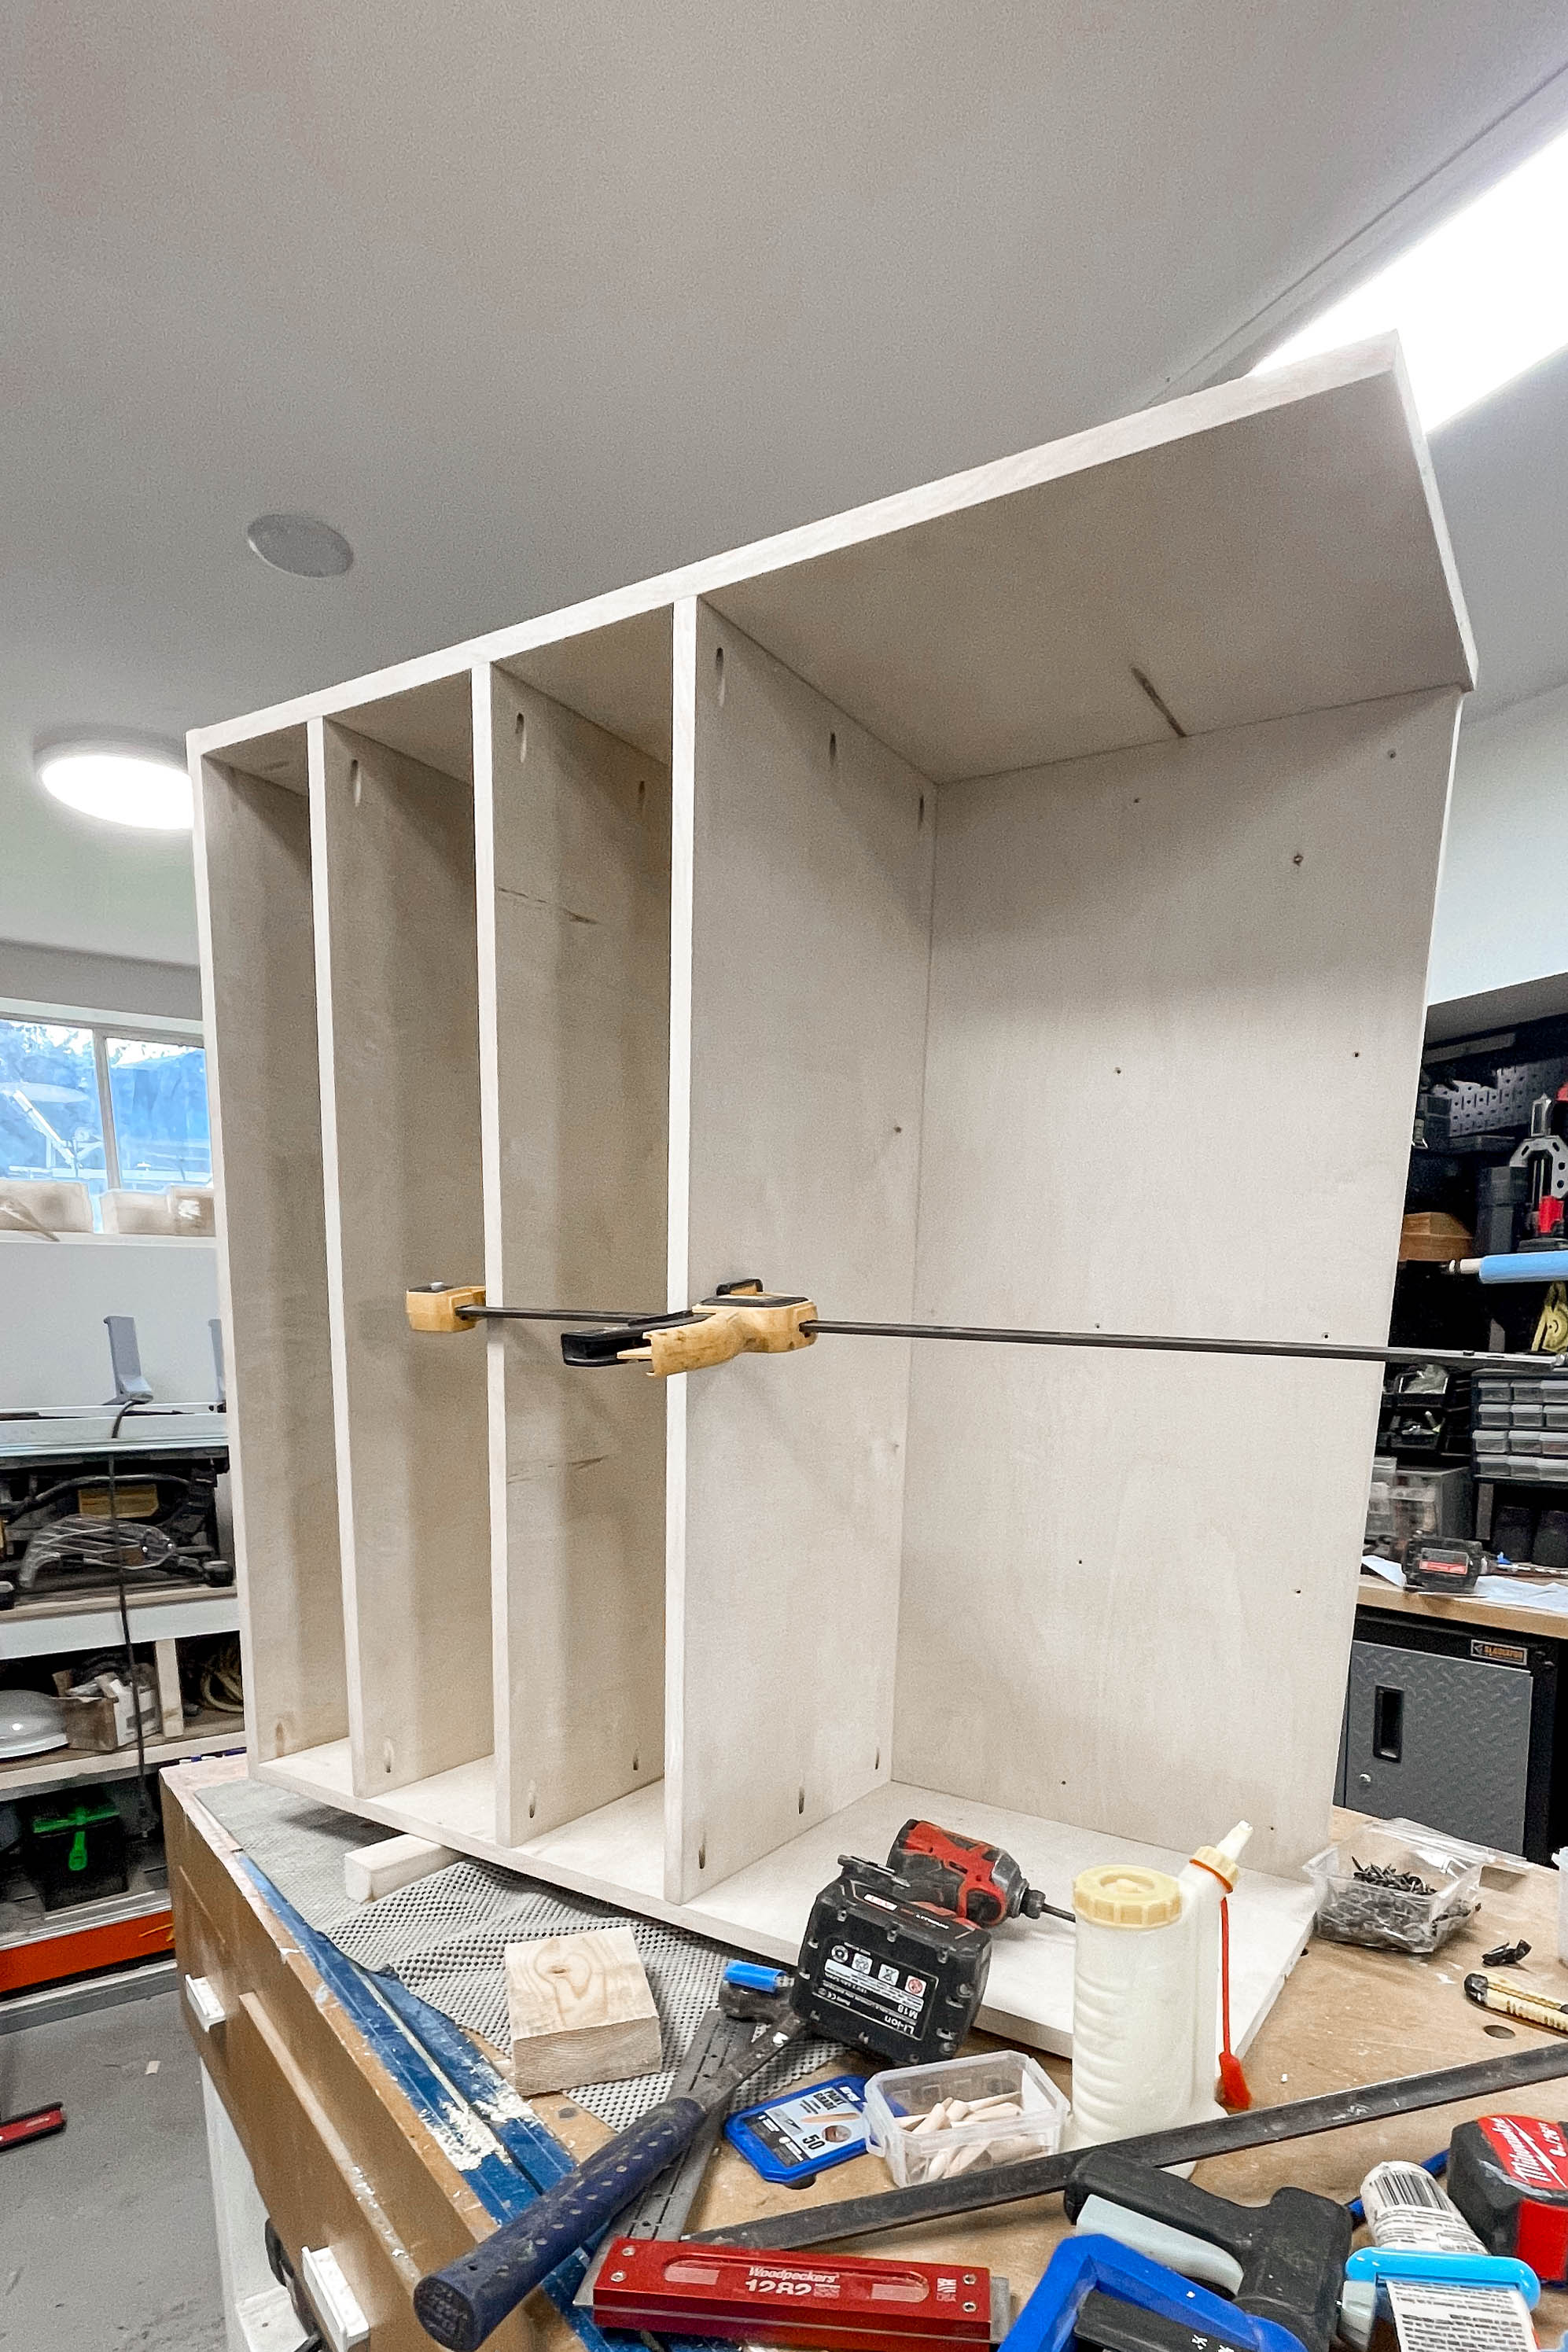
Assembly
Starting with the Back and Top pieces, start assembling the shelf together.
Than add Sides, and than the Shelfs, working from the top to the bottom.
Finally install the Toe Kick.
All pieces were glued and screwed together.
Clean up Excess Glue
Before the glue dries wipe any excess glue away with a damp rag/cloth. This will prevent any spots when applying stain or visible glue build up.
-
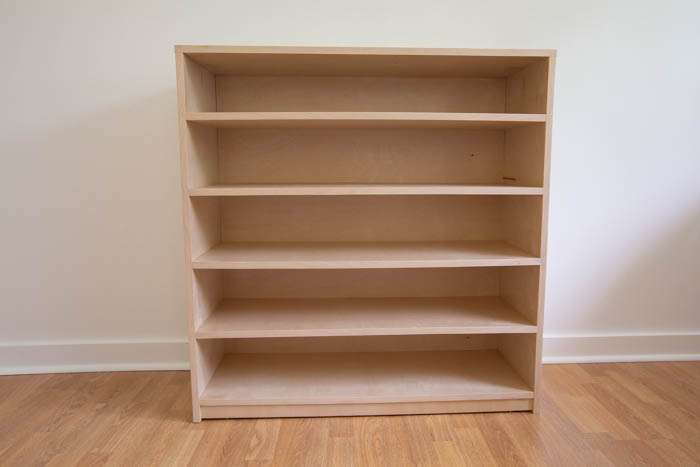
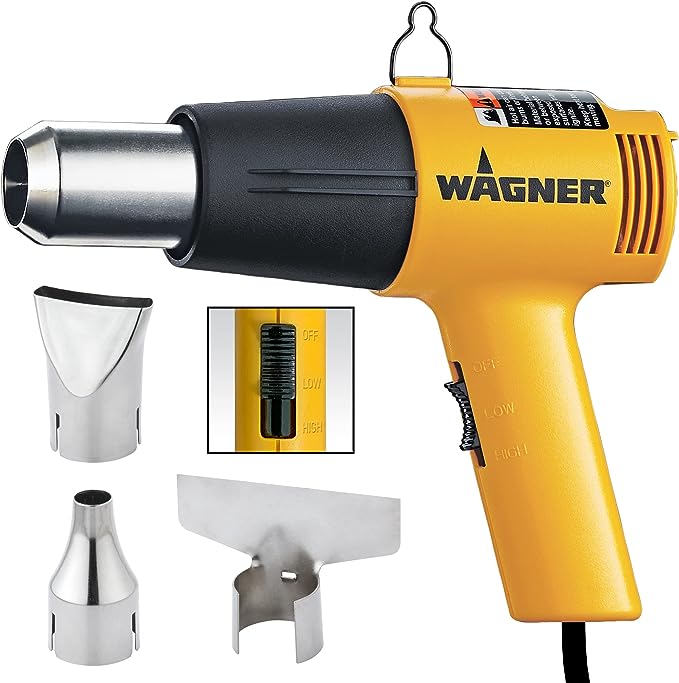
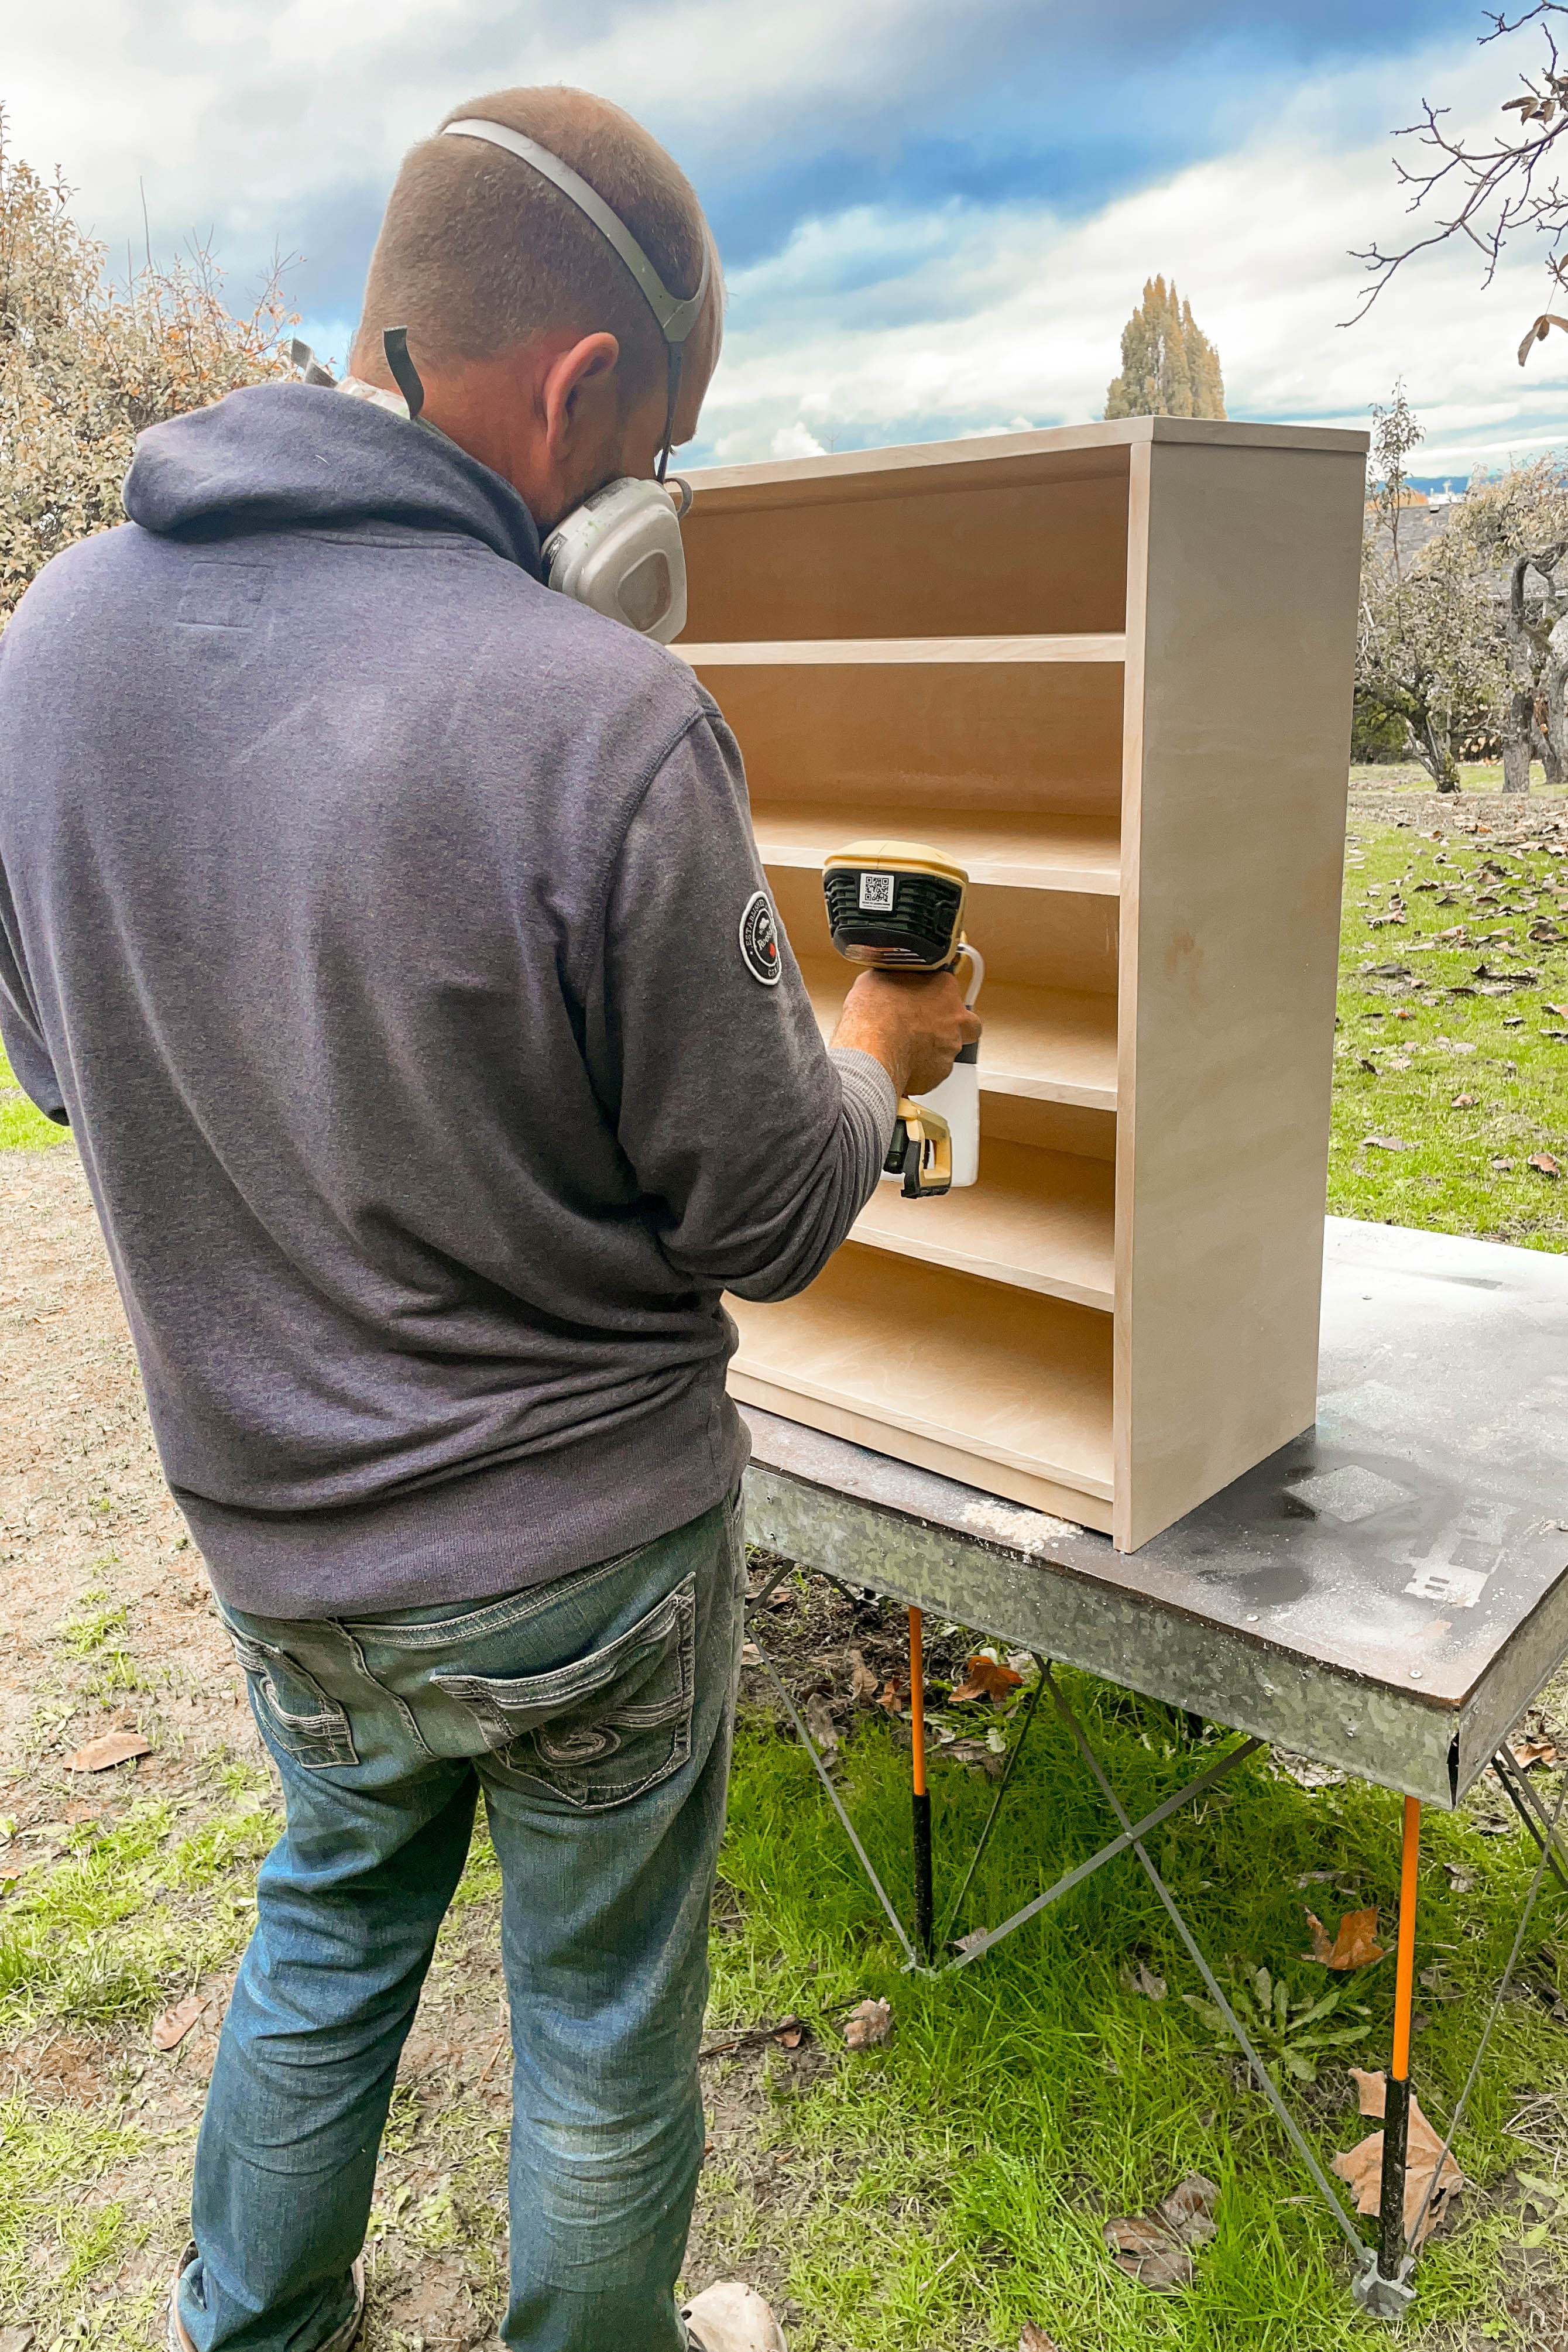
Add Finish
We used Minwax's Polycrylic Protective Wood Finish in Clear Matte to finish the shelf. However you can paint or stain to your desired finish. We sprayed on two coats and let cure for 24 hours before using the shelf.
Use a Paint sprayer on larger projects
We find that a paint/stain sprayer is great for larger or intricate projects. It applies the finish evenly and is a lot quicker than using a brush or roller.
Our Blog: Lindi & Russ
Check out our DIY Lego Storage Solution & Display Shelf – Free Build Plans Post for more pictures and info on the Lego Shelf build.