

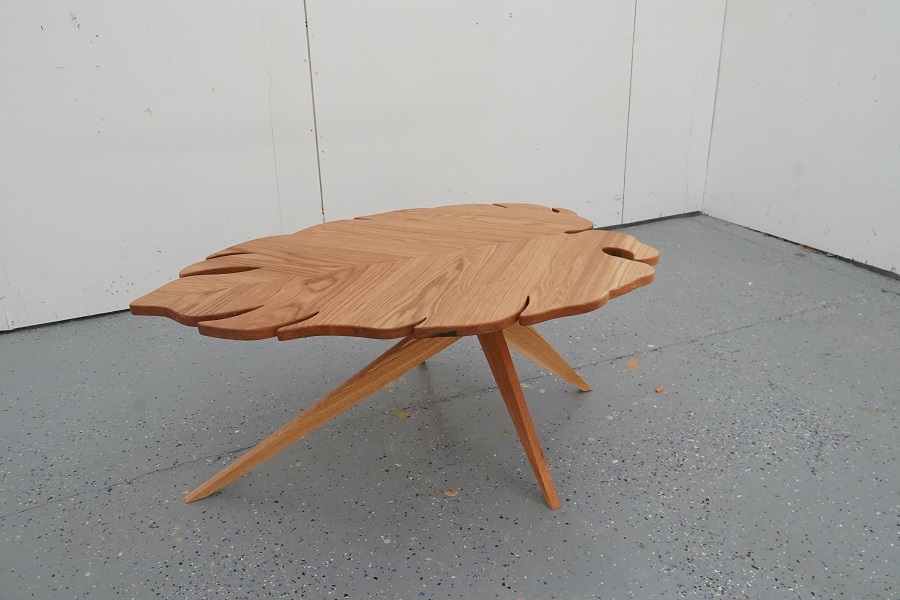
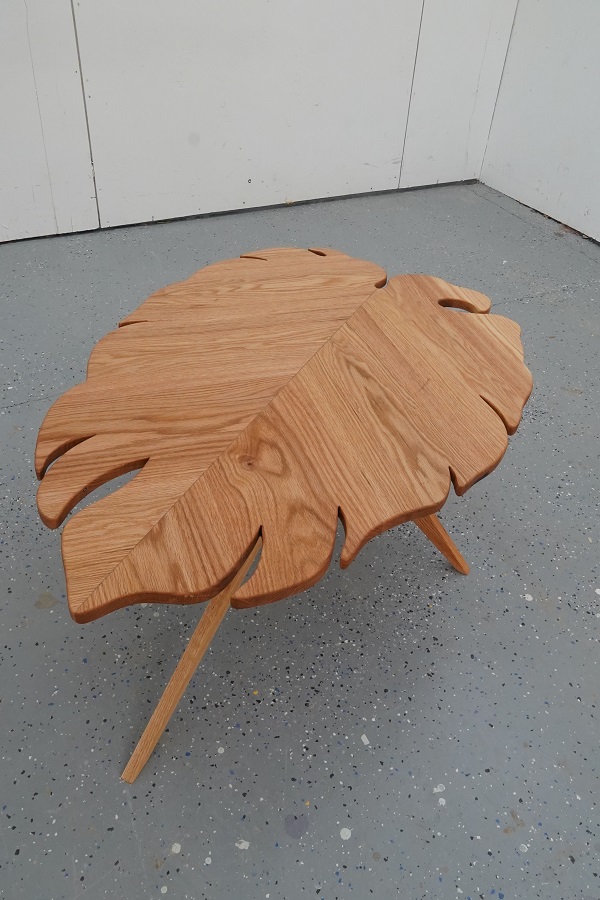


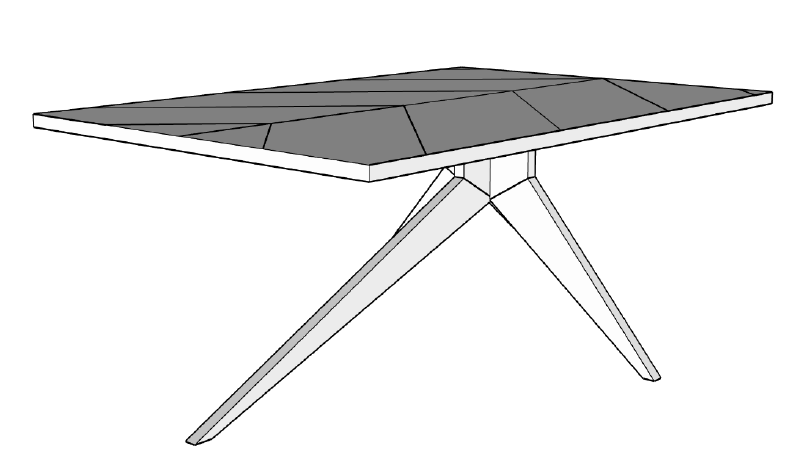
Build this leaf-shaped coffee table with a mid-century modern-inspired base.
Tools
Kreg Tools


Other Tools
-
Angle Guide

-
Flush-trim hand saw
-
Flat File
-
Half Round File
Materials
Wood Products
- 1 Solid oak board , 1"x4"x8'
- 2 Solid oak boards , 1"x8"x8'
Hardware & Supplies
- 1 Print out of leaf image for top (Mike recommends getting this printed at a print shop)
- 1 Wood glue
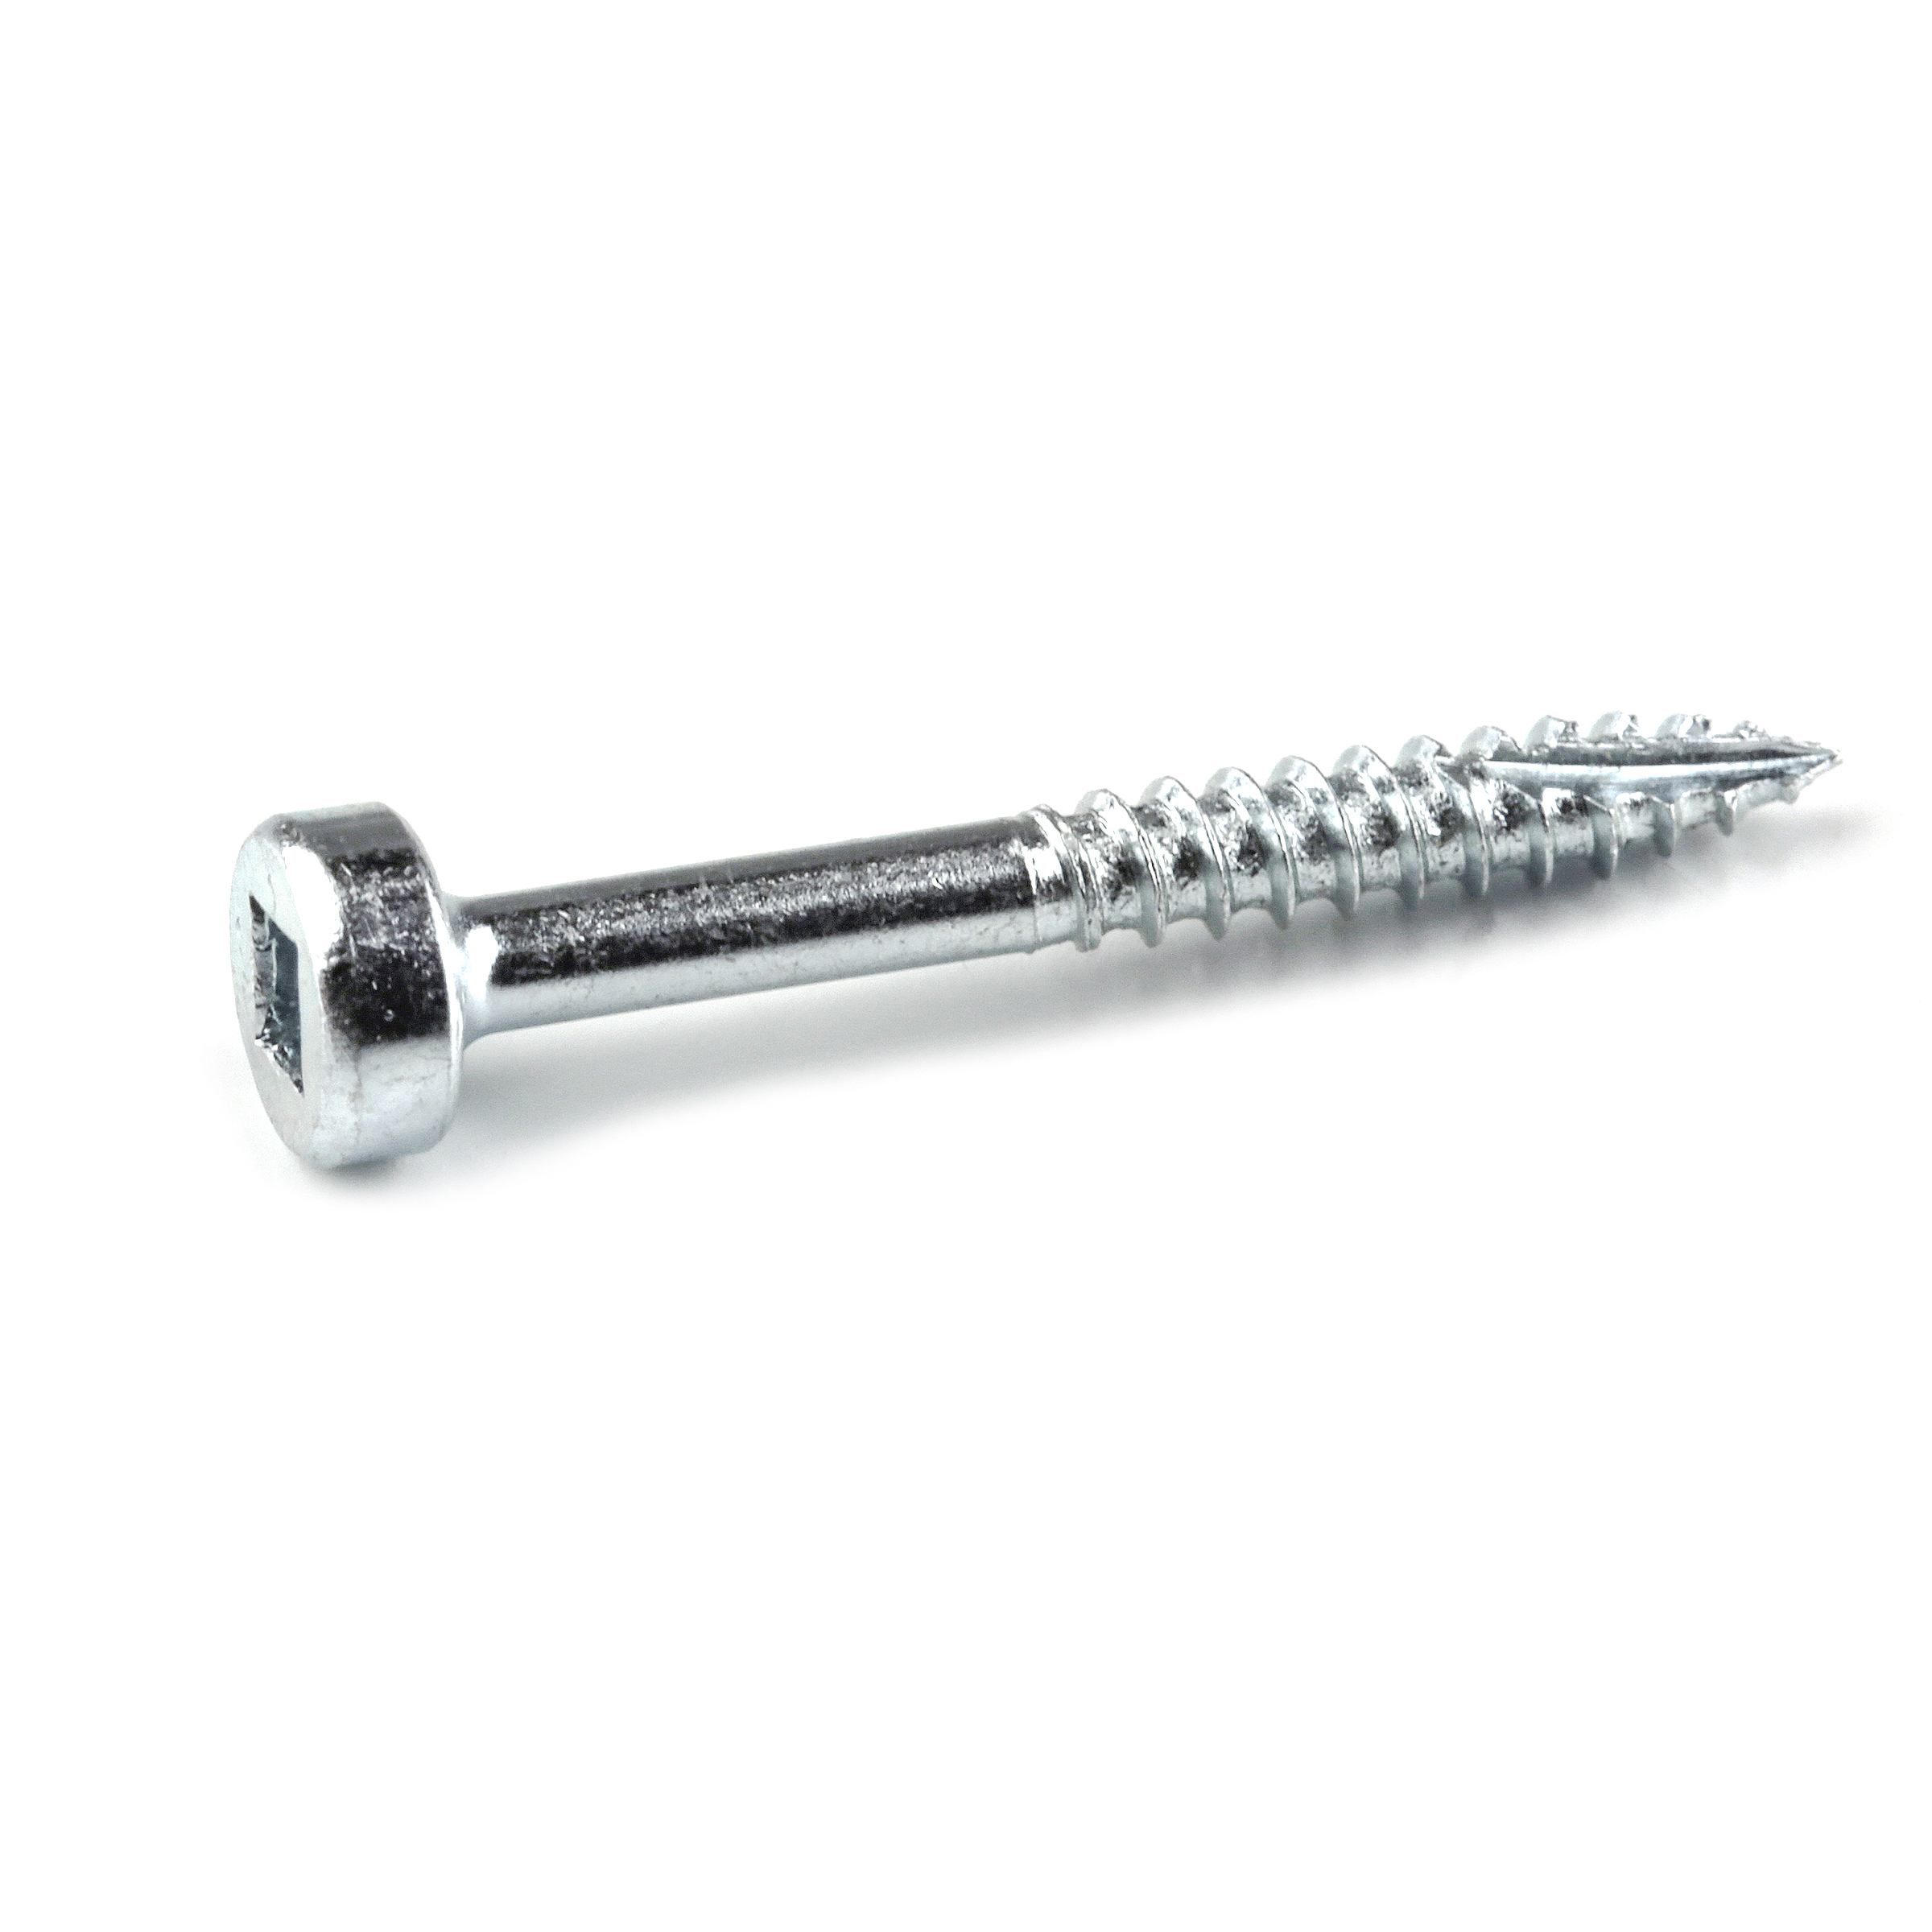
- 1 Box of 1 1/4" pocket-hole screws (see tools lists)
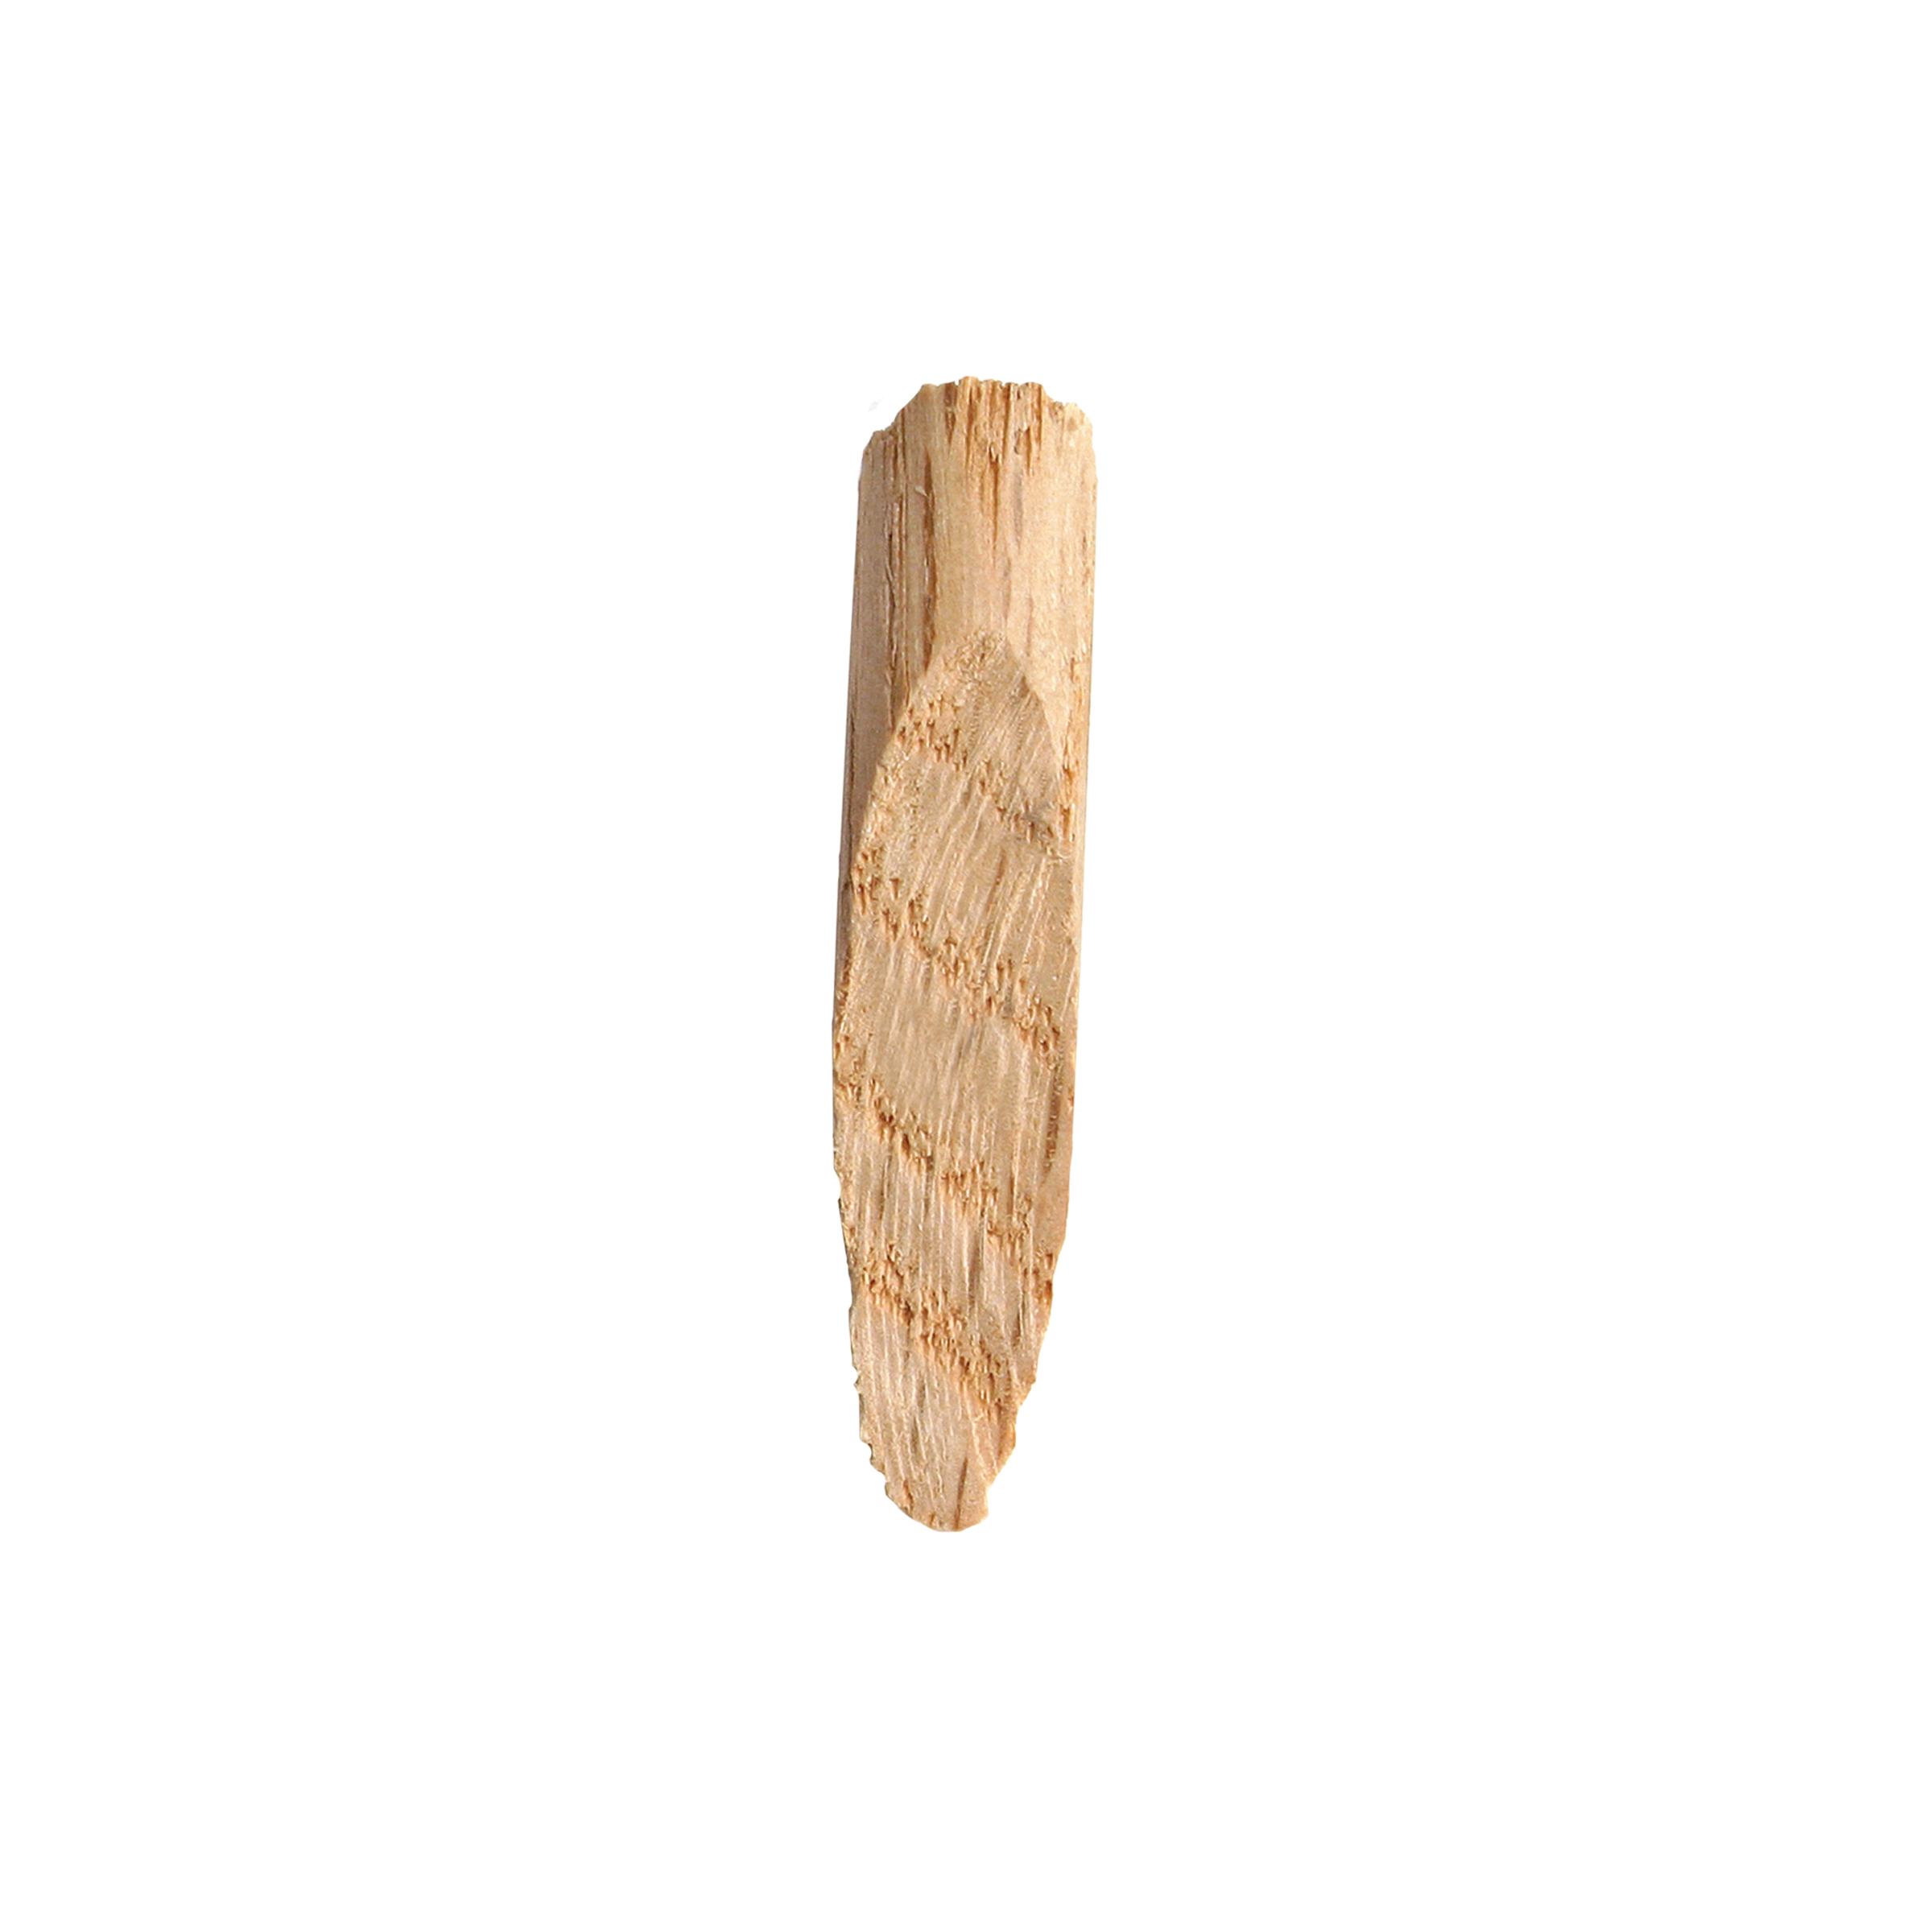
- 1 Box of oak plugs (see tools list)
- 1 Various sandpapers, from 80 grit to 220 grit
- 1 Finish of choice (I used Maker Brand Simple Finish)
Cut List & Parts
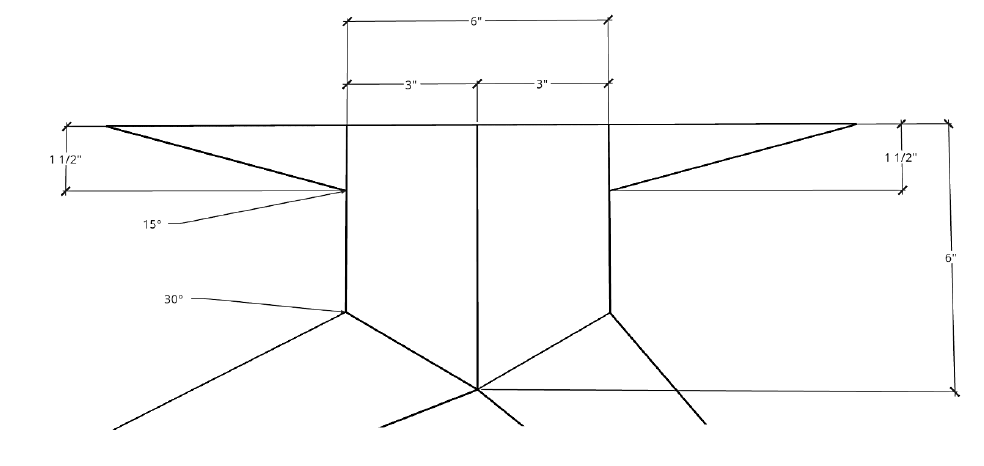
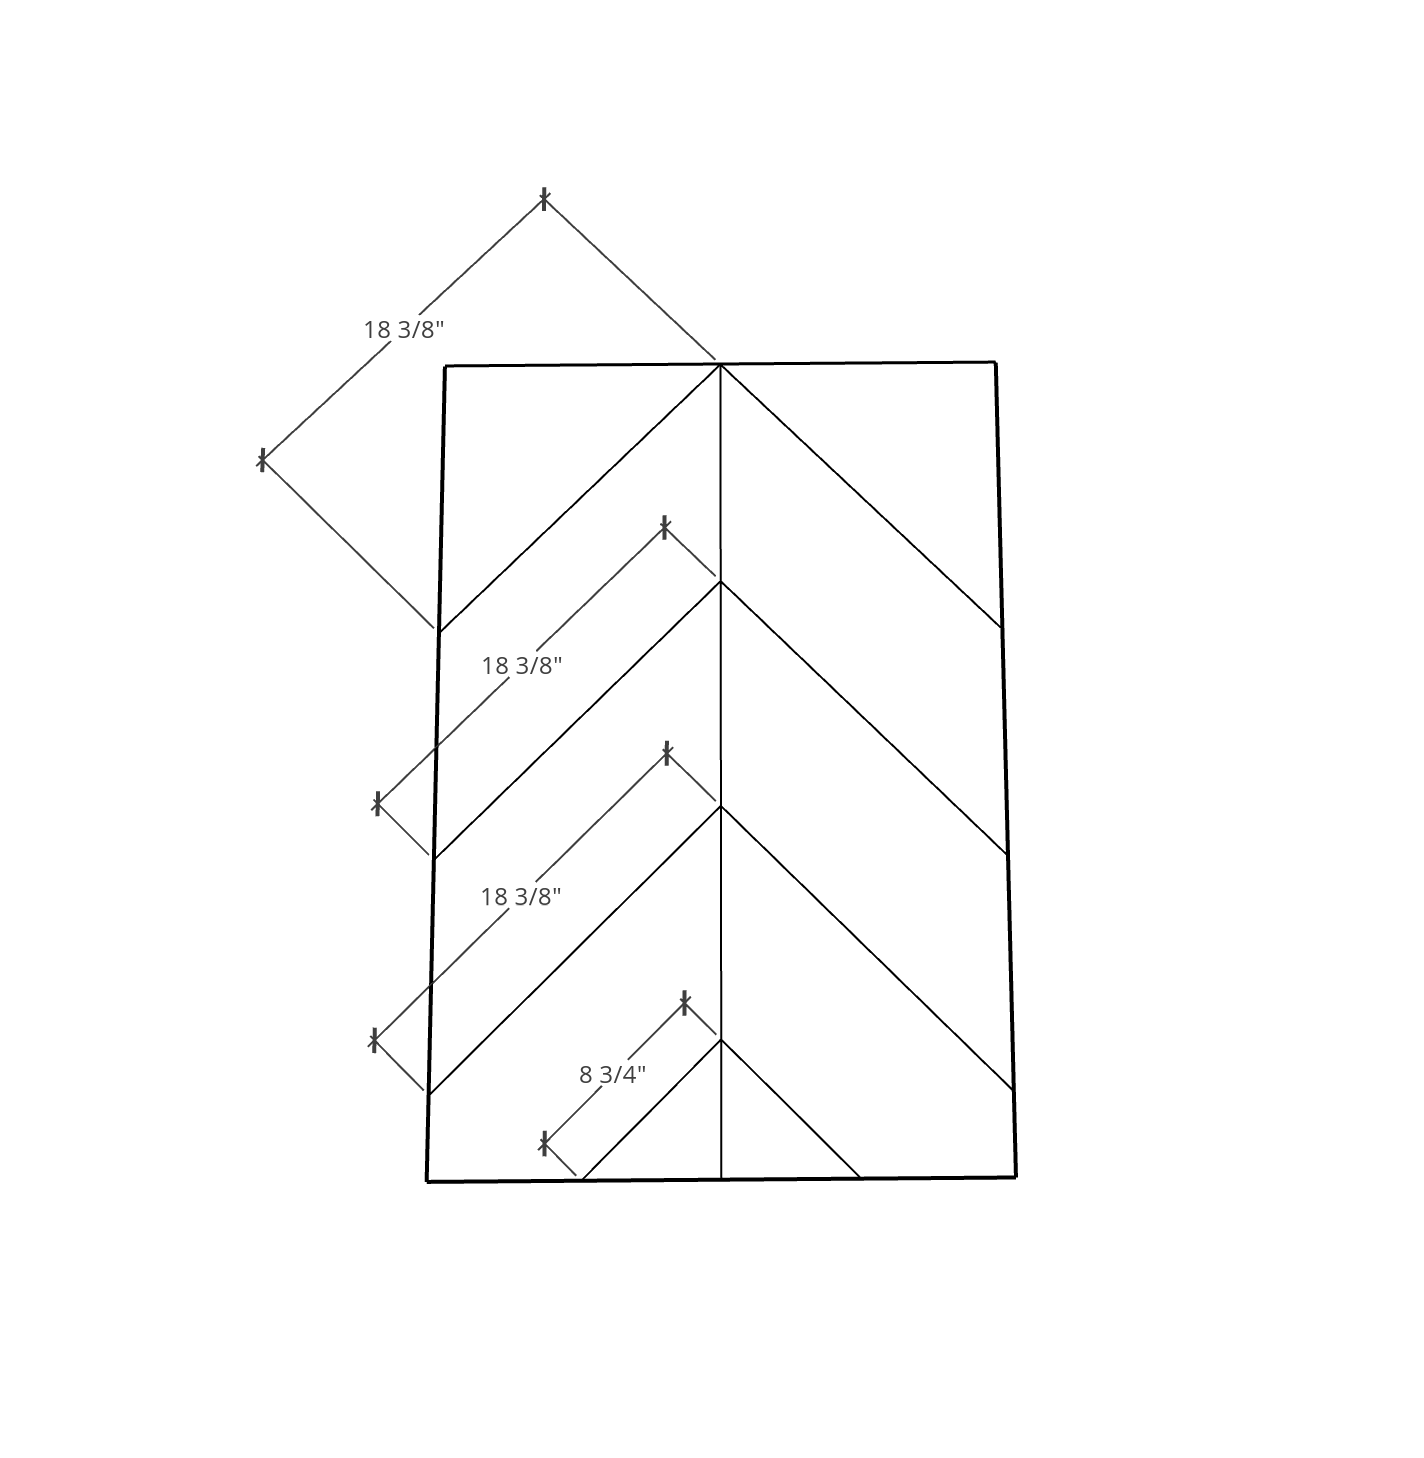
- 12 Top pieces , From 1x8 boards, cut mitered angles at 45 degrees to attach into a 26"x48" top (should be chevron-ish and mimic the grain of a leaf) - cut list image 1
- 1 Center hub , See download for image - cut list image 2
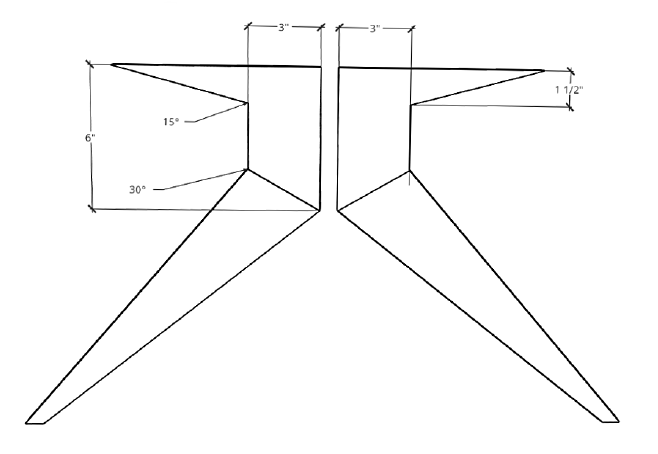
- 2 Side center hub pieces , See download for image - cut list image 3
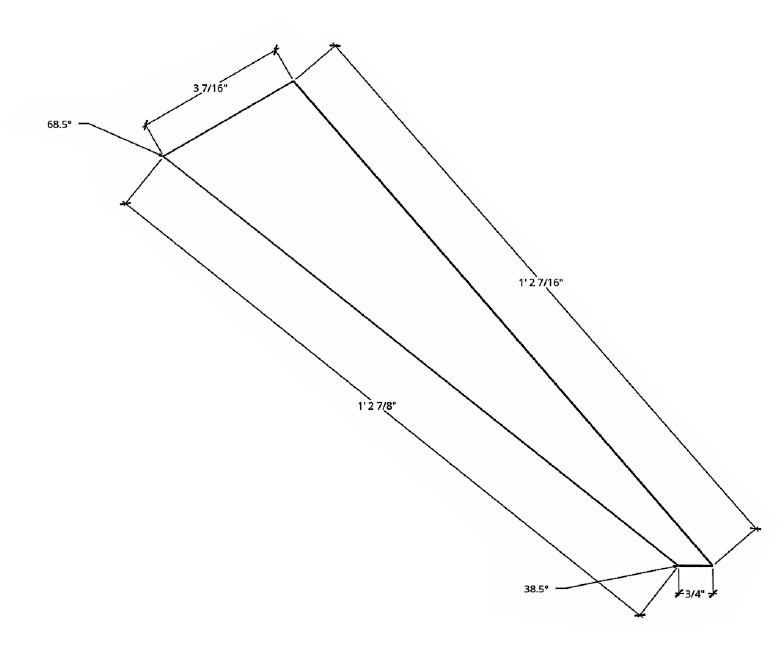
- 3 Short legs for base , 3 7/16" x 14 7/16" x 3/4" with angled cut opposite the longest side (see download for details) - cut list image 4
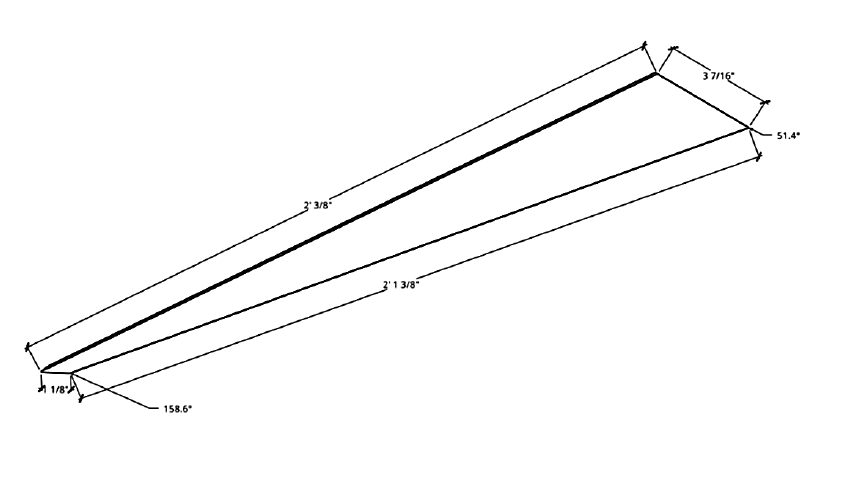
- 1 Long leg for base , 3 7/16" x 24 3/8" x 1 1/8" with angled cut opposite the longest side (see download for details) - cut list image 5
Directions
-
Watch the video!
We recommend watching the corresponding video before beginning this build. Link in Extras!
-
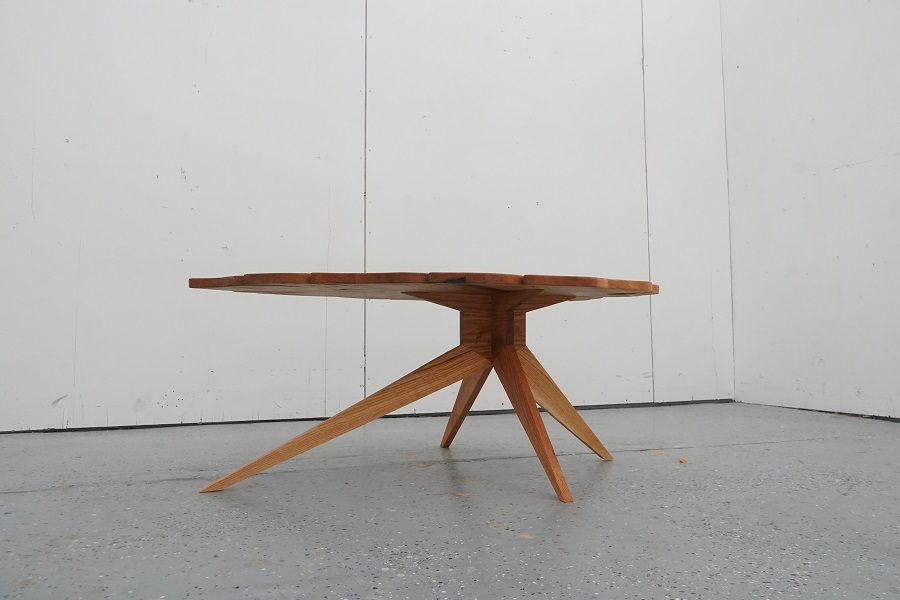
Cut 3 short legs
Cut the 3 short legs with the angles mentioned here in the image.
-
Cut 1 long leg
Cut the 1 long leg with the angles mentioned here in the image. The angles here are important as they will determine if the table is flush.
-
Cut center "hub"
The center "hub" connects to the long center leg and one short back leg. The most important measurement is the 30 degree cut where the legs connect. See image here for angle details. You'll attach the long leg and one short leg to the base of the hub with pocket-holes and wood glue.
-
Cut side "hub" pieces
The "hub" pieces that connect left and right legs are the same as the center hub, but you'll cut it in half. You'll also join the remaining two short legs with pocket-holes, as shown in the diagram here.
-
Plug pocket holes
Using Kreg's pocket-hole plugs, plug each of the pocket holes with wood glue. Once they're dry, use a hand saw and a flat file to get the plug flush with the rest of the project.
-
Attach first side hub to main hub
Attach the first side hub you had cut in half previously to the main center hub using the same 1 1/4" fine pocket-hole screws.
-
Attach second hub with pocket holes
Attach the second hub with pocket holes on the opposite side of the main hub. Don't forget to plug these pocket holes when you're done!
-
Cut the pieces for your table top
I cut the pieces at 45 degrees on each end to mimic the grain of a leaf. I recommend making the table top a little oversized before trimming the outline.
-
Lay out boards for tracing the leaf pattern, and pocket hole boards together
Arrange the boards you just cut in a chevron pattern to mimic the grain of a leaf. Don't connect them quite yet!
Cut out your leaf pattern and lay it on top of the boards. Trace the outline of the leaf.
Mark responsible locations for your pocket holes, based on where the outline of the leaf lies. You'll want to make sure you avoid cutting through any screws when cutting out the outline. Drill pocket holes on one side of the table top, and connect them with wood glue and screws. Repeat on the other side, and wait for both sides to fully dry before connecting them together to form one full table top. I tried to make sure that I was using two screws to hold each 1x8 together.
-
Trace leaf pattern onto table top, and cut
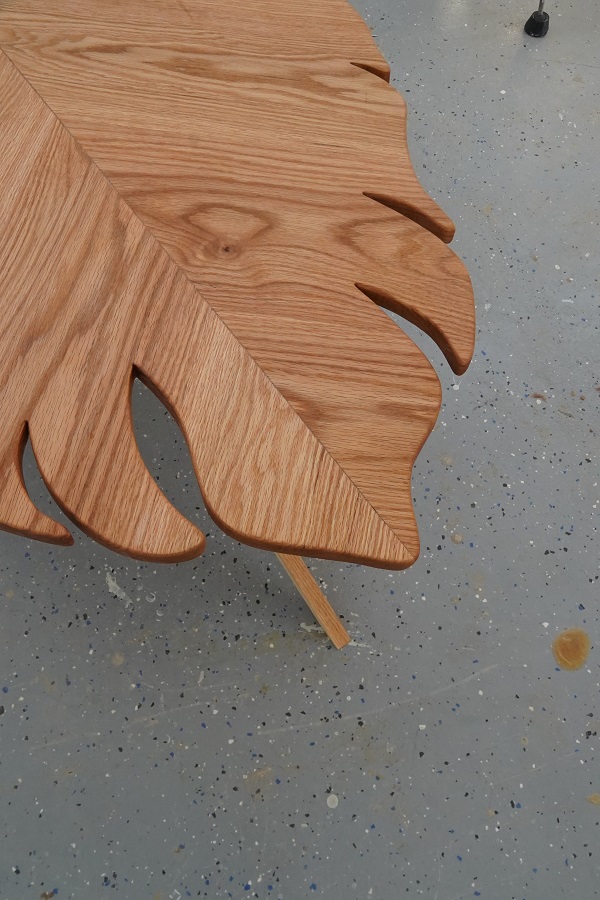
Trace the leaf pattern onto your table top, and I used a clean jig saw blade to cut the outline for the best possible cut. Then I sanded the edges with 120 grit sandpaper, and worked my way up to 220 grit. You'll have to hand sand all of the cutouts. A half round file is really convenient in this application.
-
Plug pocket holes on table top
Plug all the pocket holes on your table top with wood glue, and cut and sand them flush like you did in the table base.
-
Sand the table top
I started with 80 grit to get everything flat and smooth, and worked my way up to 220 grit.
-
Attach the base to the table top
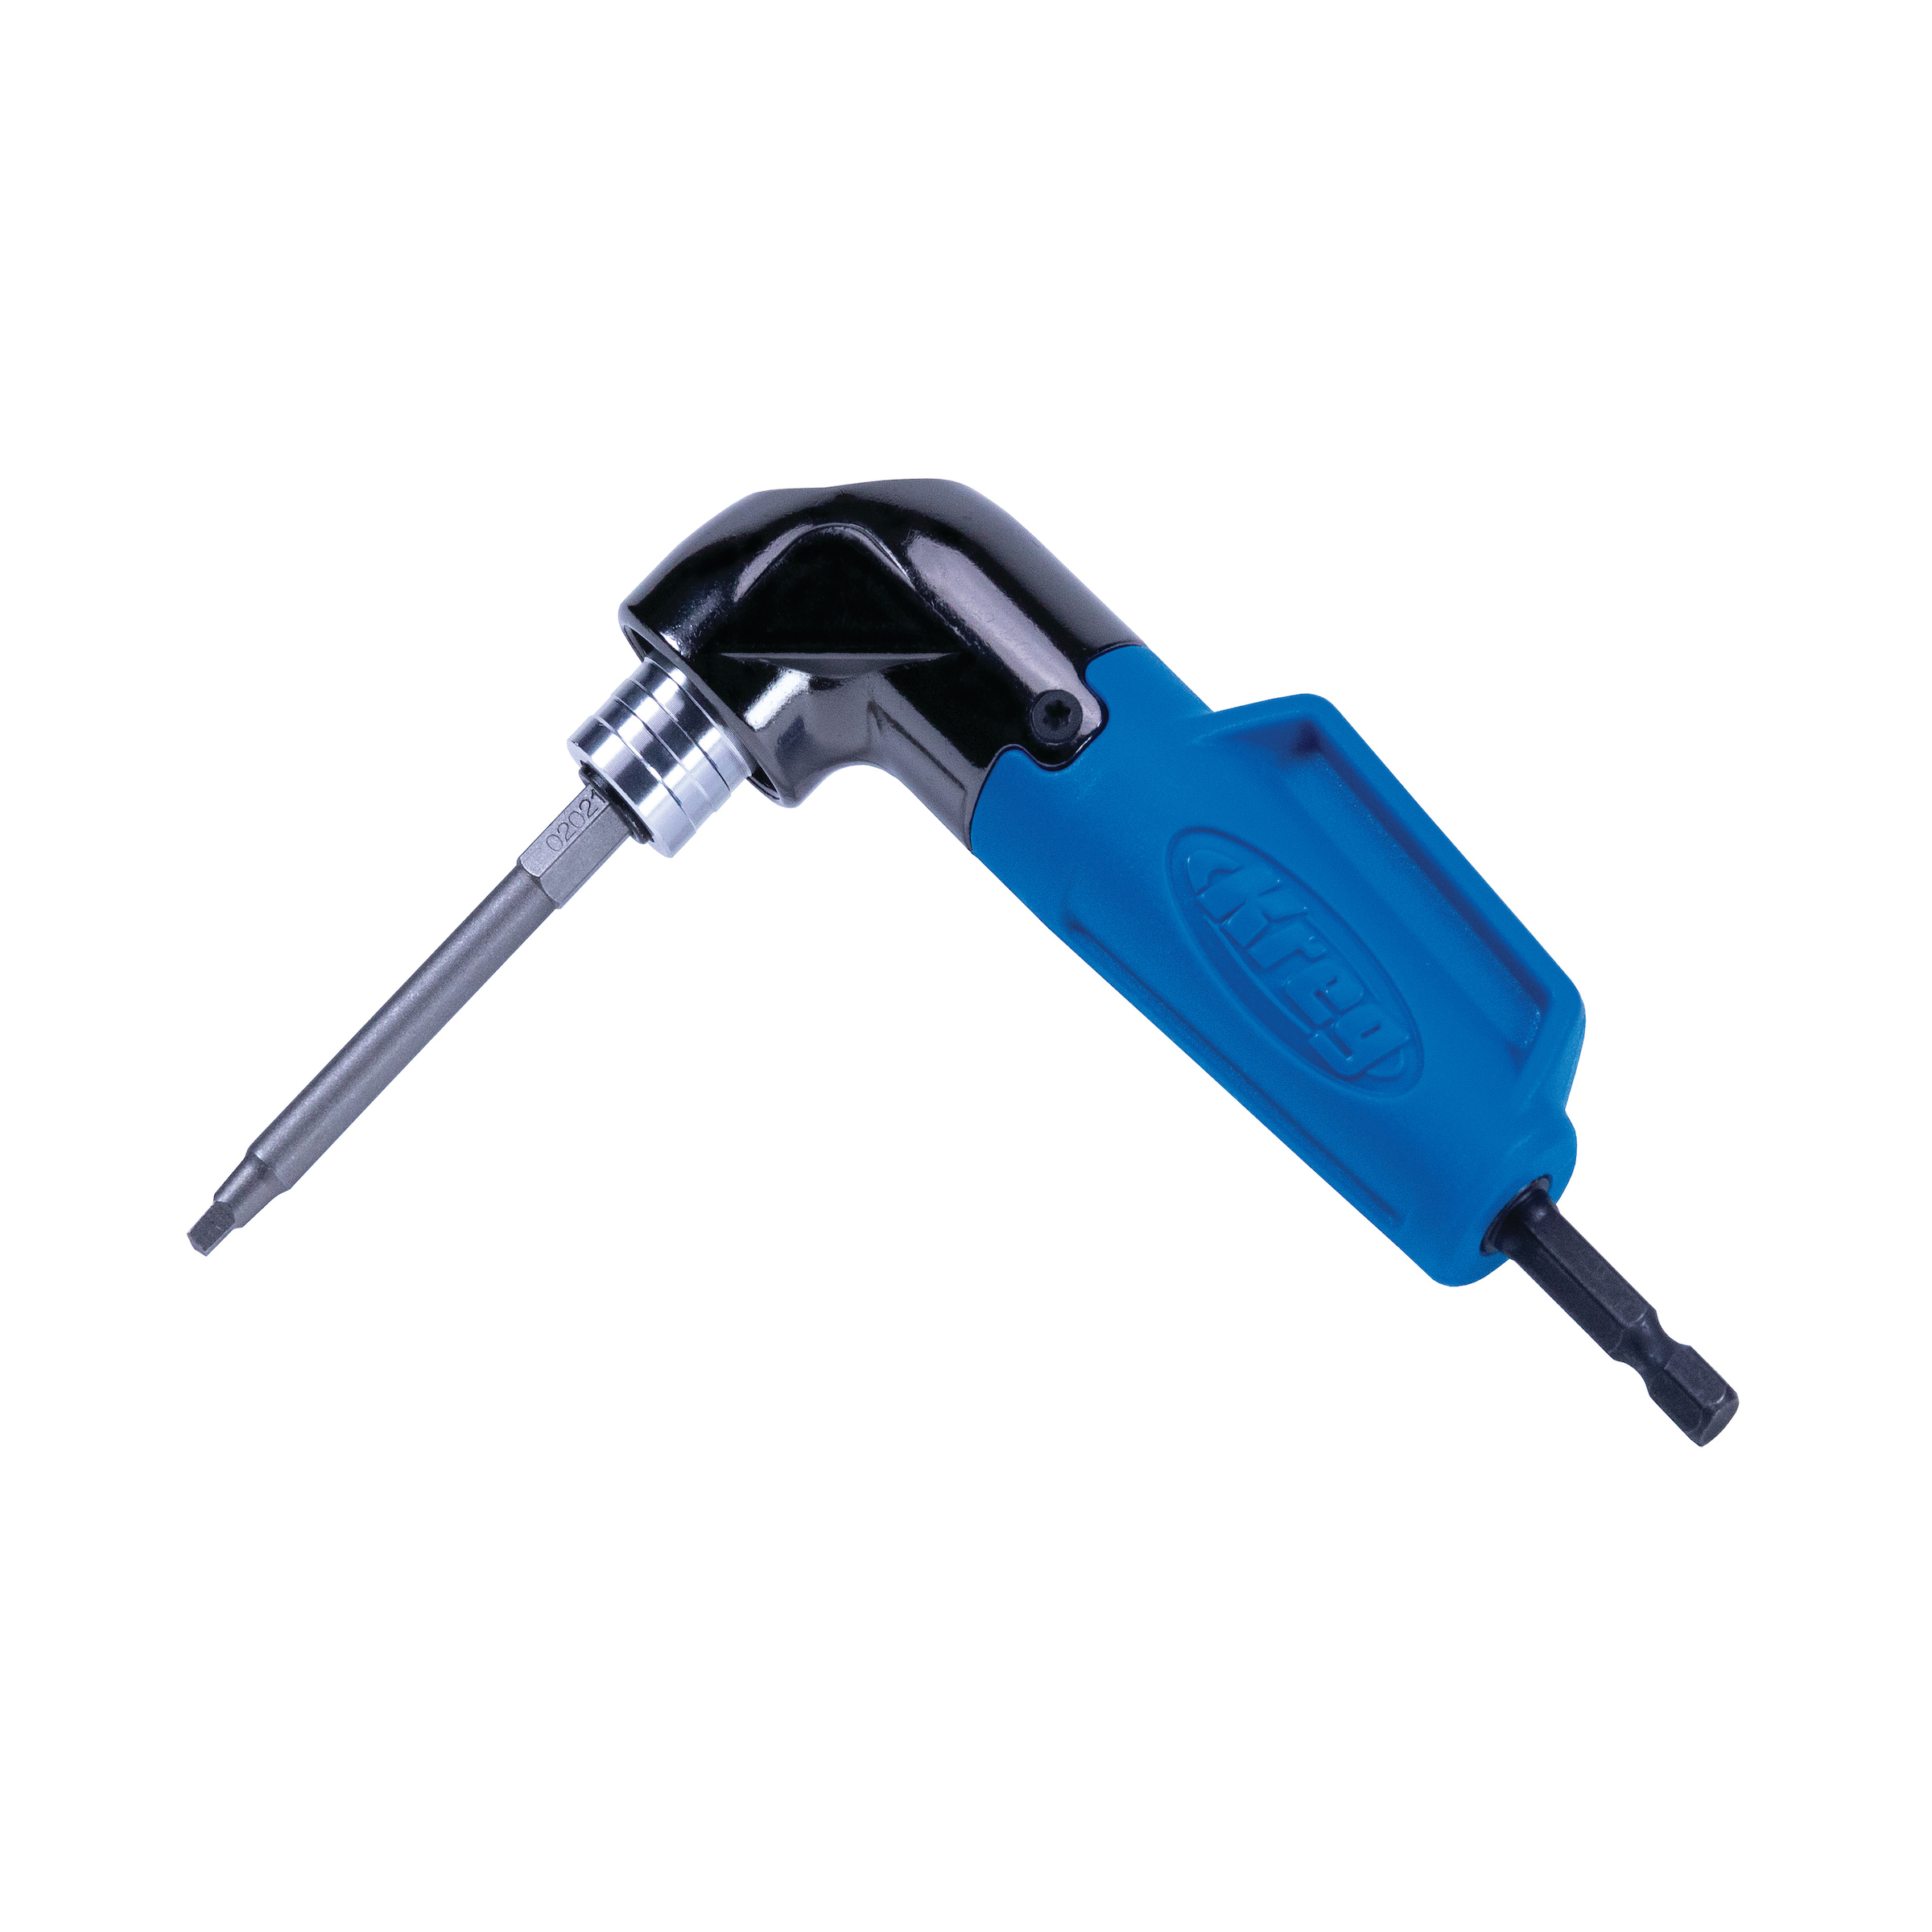
I added wood glue and a couple of screws to attach the table top to the base. Kreg's 90 Degree Driver really helped with the screws here as the angles of the tables made it difficult to reach the screw locations.
-
Apply finish
Apply finish to your entire table. I used Maker Brand Simple Finish. Danish oil, polyurethane, or wipe-on poly oil would also be a great solution.