Laundry Sink Cabinet & Folding Counter
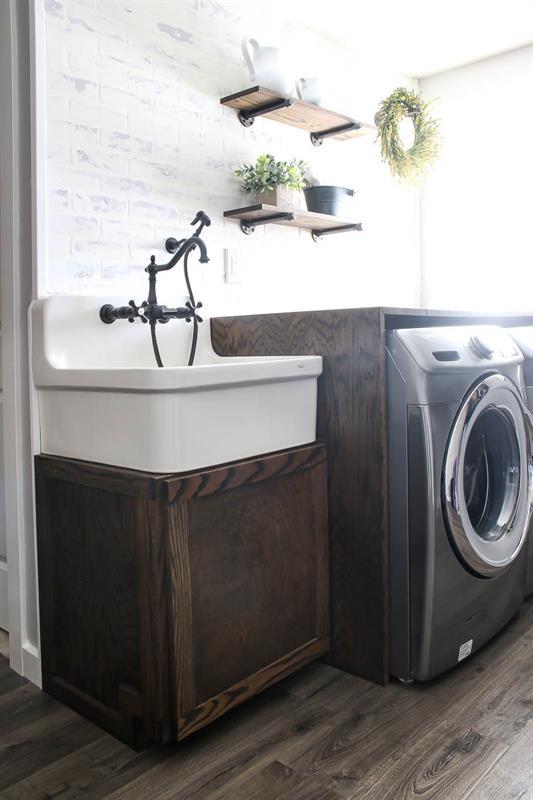
By Making ManzanitaThis laundry sink cabinet & folding counter adds the perfect amount of functionality and style to our laundry room. We incorporated the pocket hole joinery throughout the build. We love the new addition of having a place to fold laundry and a farmhouse utility sink for pre-rinsing stains!
Directions
-
Cut Wood
Refer to cut list for all measurements. Plywood sheets should be cut using table saw & trim pieces using a miter saw.
Note: this cabinet is custom built to fit our exact sink and laundry room area. You may need to make several adjustments to fit your washer/dryer, sink and laundry room space. We were VERY tight on space and therefore had to make adjustments to the built to fit (like making the right panel of the cabinet also the same piece of wood that goes up for the folding cabinet. In a perfect world where we had more space the sink cabinet would be one build and the folding counter would be a separate build that were installed next to each other.
-
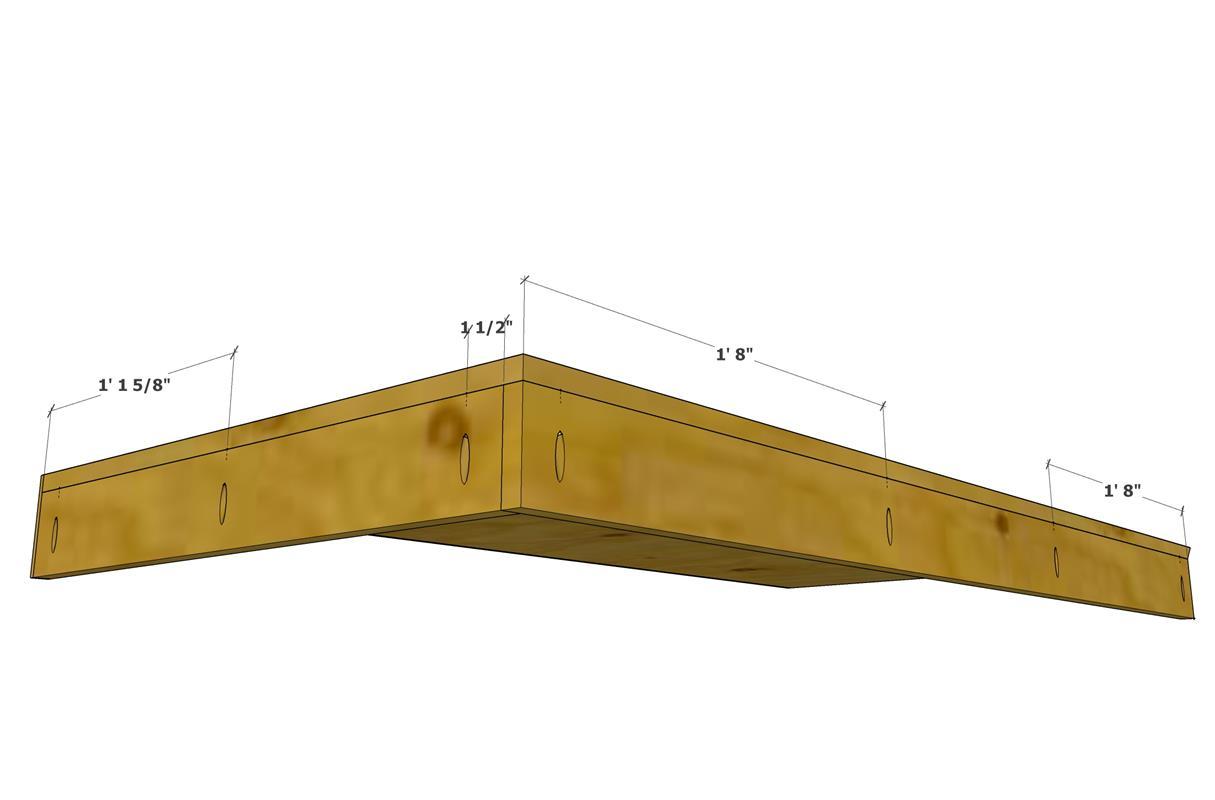
Drill pocket holes
Using Kreg's pocket hole system, drill pocket holes where needed.
We incorporated pocket hole joinery:
- on the cabinet back panel
- on the folding table back & side ledger
- on the face frame
- on the cabinet interior side support panel -
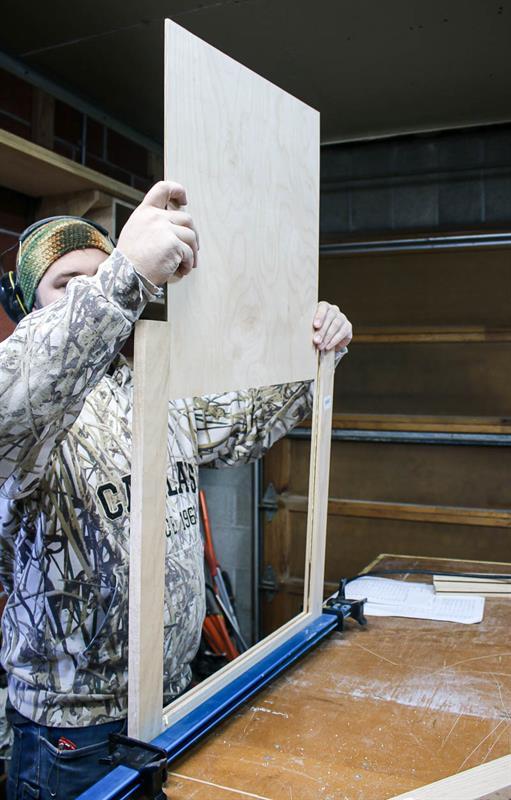
Assemble face frame
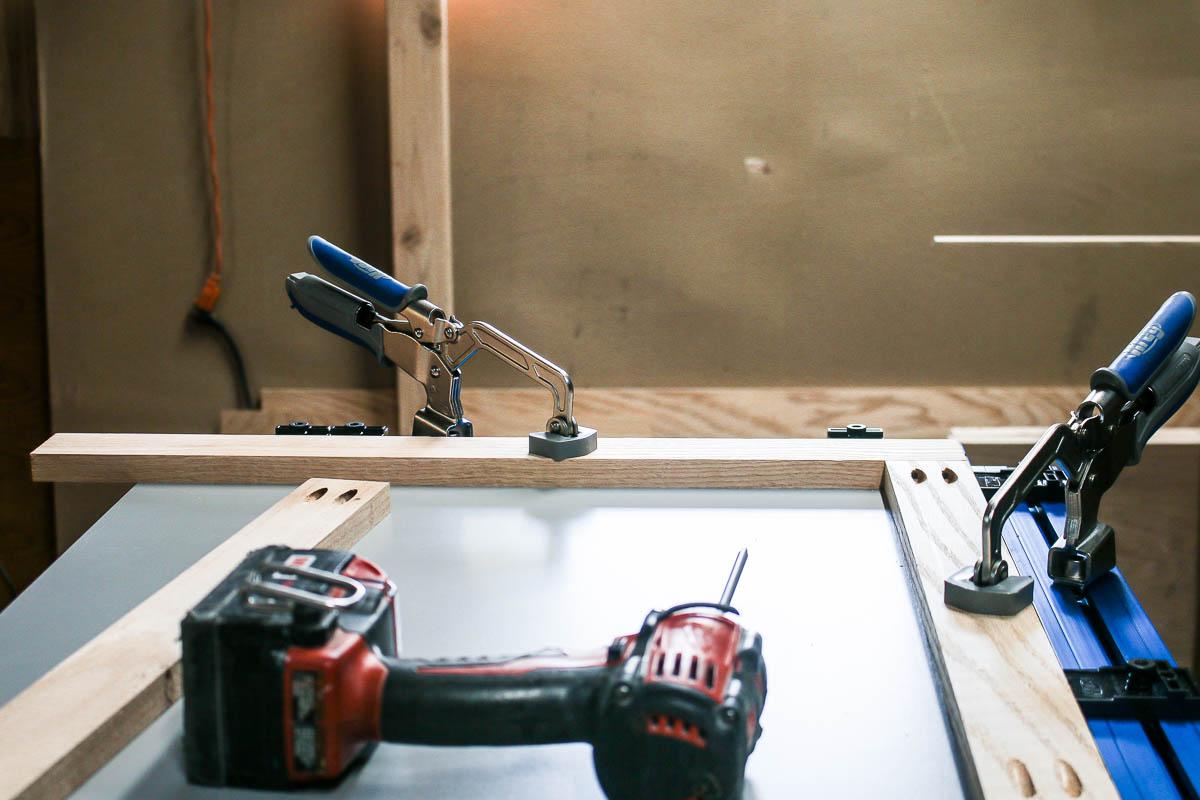
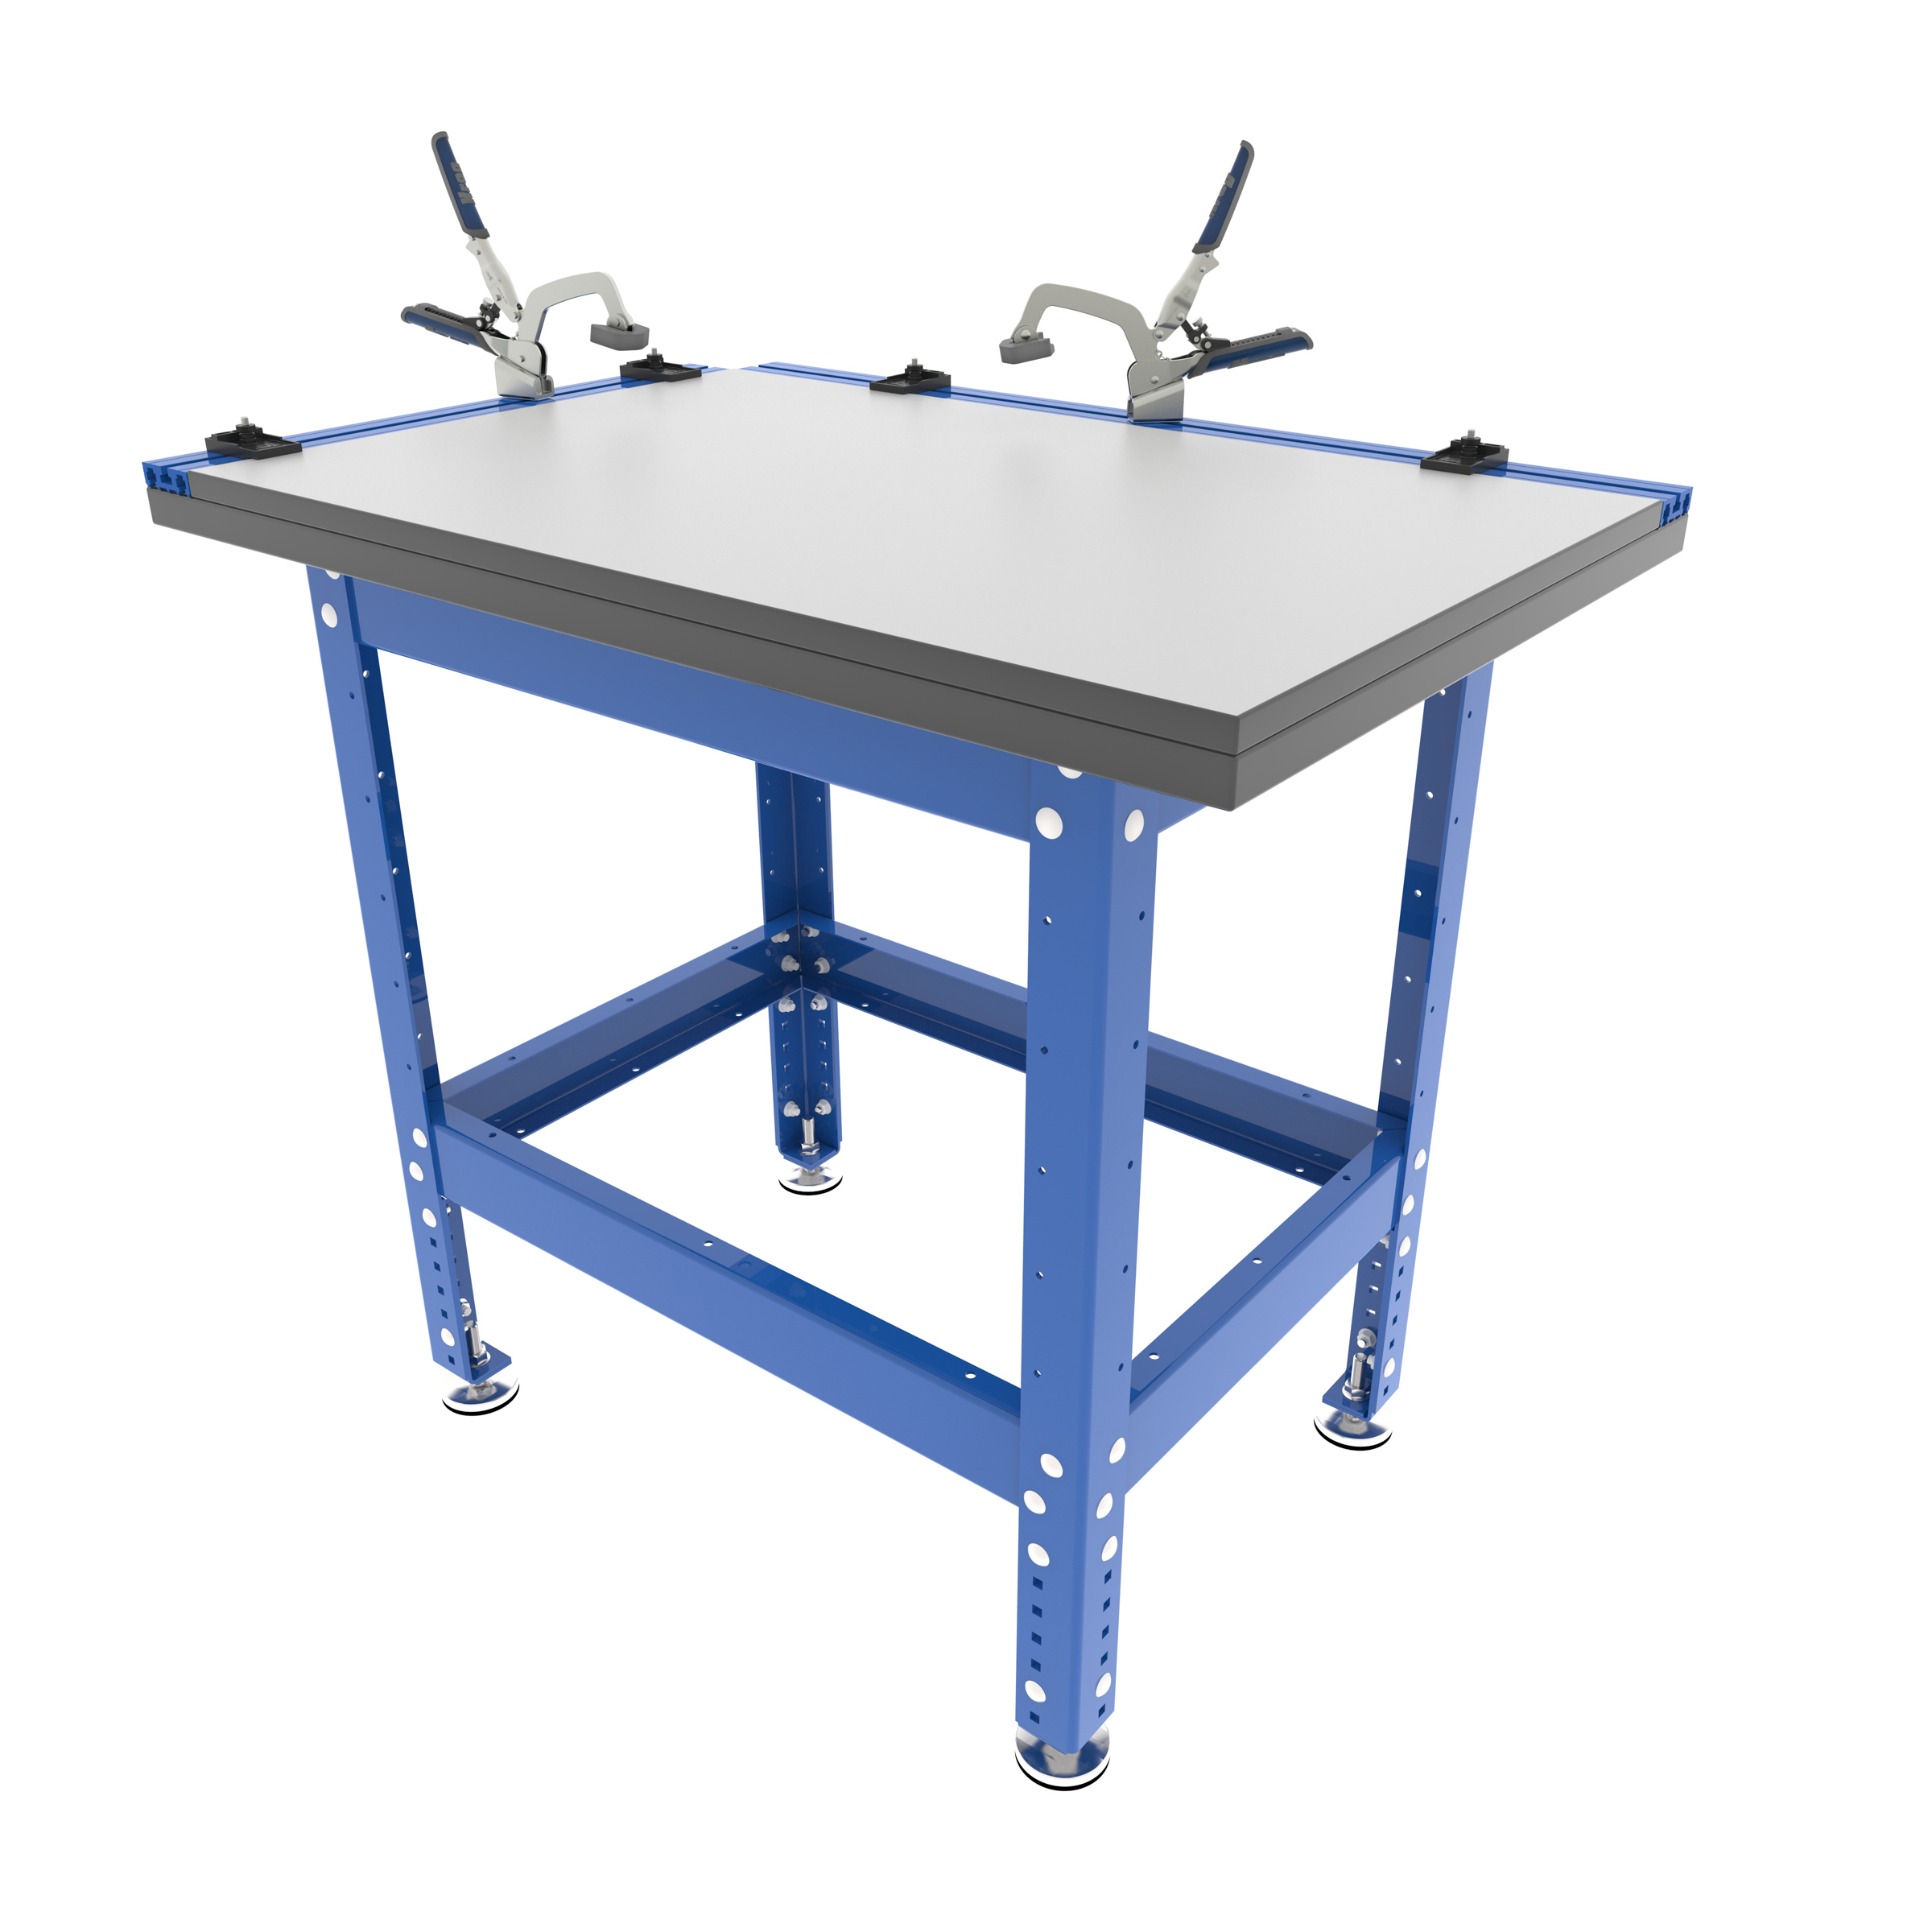
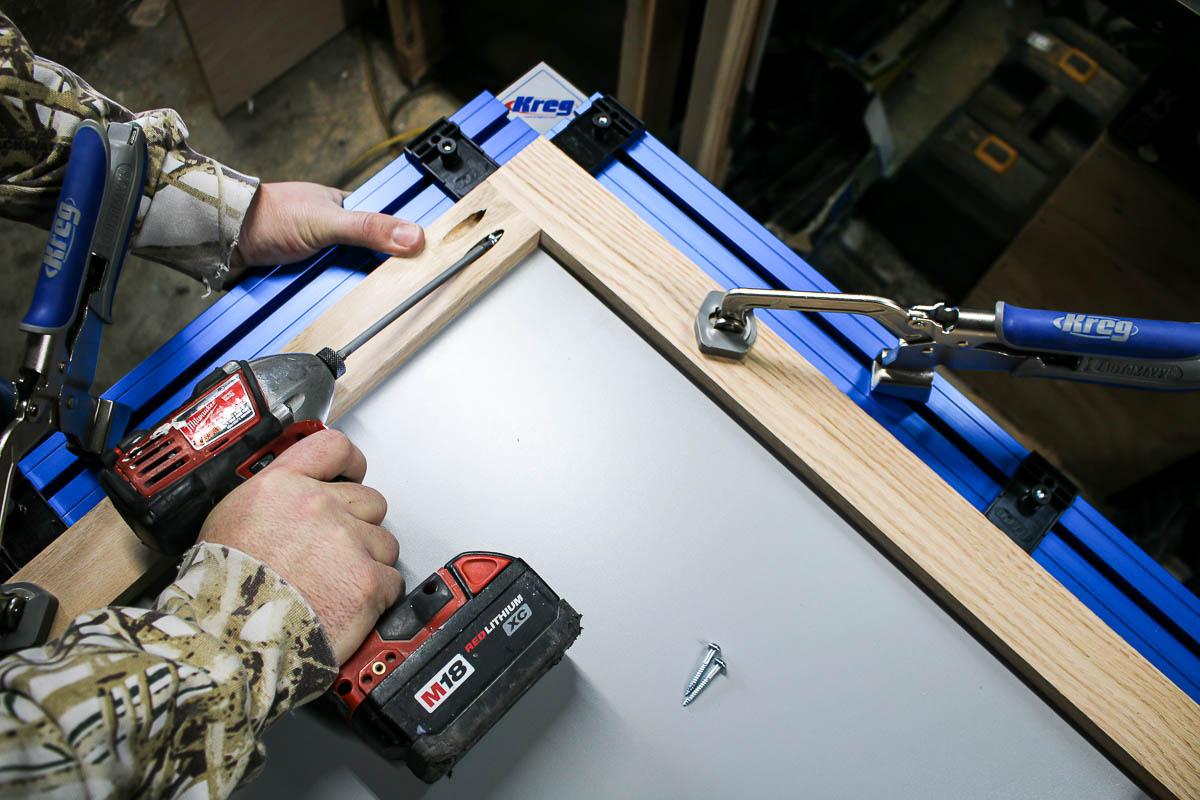
We used the Clamp Table to make the assembly of the face frame a breeze. It holds the frame down and square while you screw in the pocket holes in each corner.
-
Sand
Sand all pieces of wood with 80 grit sandpaper followed by 150 grit using an orbital sander.
Follow up with 220 grit sandpaper on the oak hard board ends. This helps it not absorb too much stain on the ends.
-
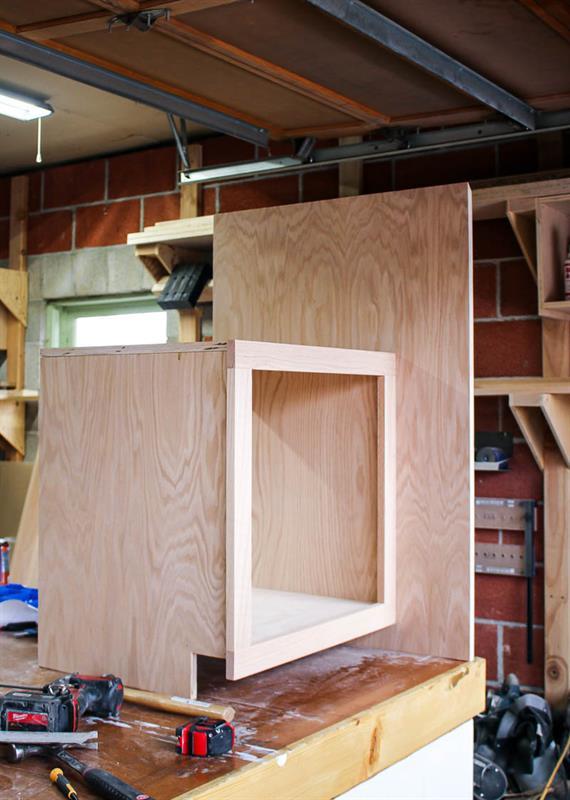
Assemble base cabinet
Assemble base cabinet as shown in the woodworking plans.
- Start with the side panels, top and bottom
- Next add back panel and interior side support panel
- Then add face frame with finish nails
- Add toe kick nailer
- Lastly add side trim pieces with finish nails*Note: toe kick piece is installed after you put into your laundry room
-
Assemble folding counter
Assemble folding table as shown in woodworking plans. We incorporated pocket hole joinery on the ledger boards on the side that face the wall.
-
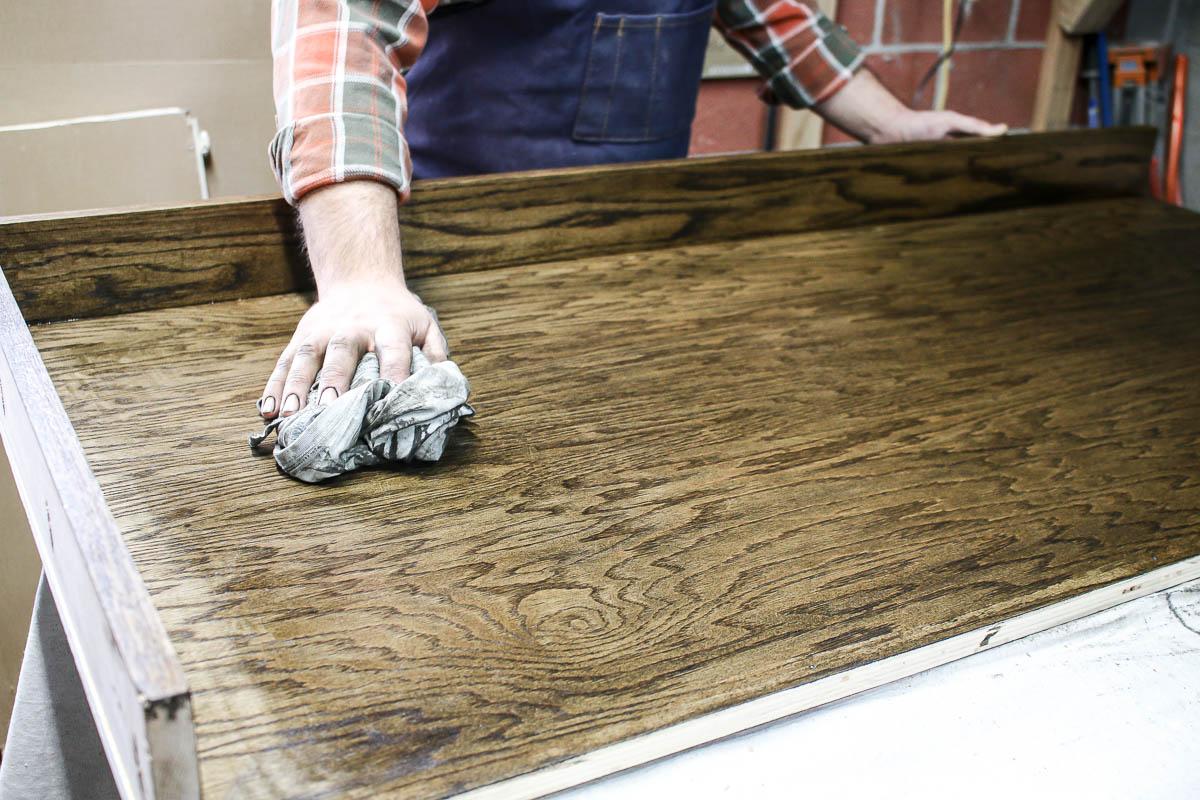
Stain & seal
Before staining, sand areas where there was wood glue applied. Wipe sanding dust off thoroughly. Apply two coats of stain followed by two to three coats of polyurethane to seal.
-
Assemble door
Assemble door as shown in woodworking plans.
We cut mortise and tenon joints & grooves using the table saw, but you can also use a router if you have the right bit.
When assembling the door, apply wood glue at joints and clamp together the bottom and side pieces. Then add wood glue into grooves & slide in the the panel. Lastly add top door panel and clamp. Let dry.
** Note: Wipe off any glue that seeps out as soon as possible with a slightly damp shop cloth.
-
Attach folding table
Dry fit base cabinet into laundry space and drill holes on back panel for plumbing.
Attach angle brackets on the cabinet right side panel where the 45 degree angle is cut.
Bring in folding table and rest on angle brackets. Hold folding counter level and mark wall. Attach a temporary ledger board to wall made with scrap wood to support the folding counter during install.
First attach angle brackets to the folding table top panel. Then locate studs and predrill holes for lag bolts on the folding table side ledger and folding table back ledger. We used 4 on the back ledger and 3 on the side ledger. Attach lag bolts and remove temporary ledger board.
* Note: ensure table remains level throughout installation.
-
Install sink
To install your sink, you'll need to cut the holes necessary for drain and plumbing in the cabinet top panel.
Attach drain assembly to sink & attach faucet and any water line extensions as necessary.
To attach the farmhouse sink, put 4 quarter-sized dots of silicone in each corner where sink will go and press into place.
-
Add plywood edge trim
Add 1/4" thick oak trim to front edge of folding table, cabinet right side panel & folding table side ledger to hide plywood edge. Secure with brad nails & wood glue.
-
Hang door
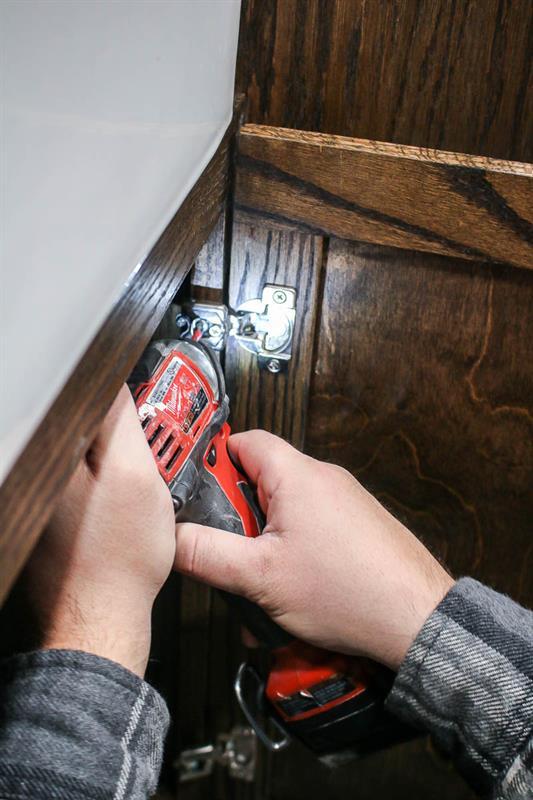
Using 3/4" overlay soft close hinges, hang door on front of cabinet. You will have to drill a hole to inlay the hinge into the cabinet door.
-
Fill nail holes
Using wood putty that matches your stain color, fill all nail holes and gaps.
-
Attach cabinet to wall
Start by adding wood shims under cabinet if necessary.
Attach cabinet to wall with wood screws into studs.


