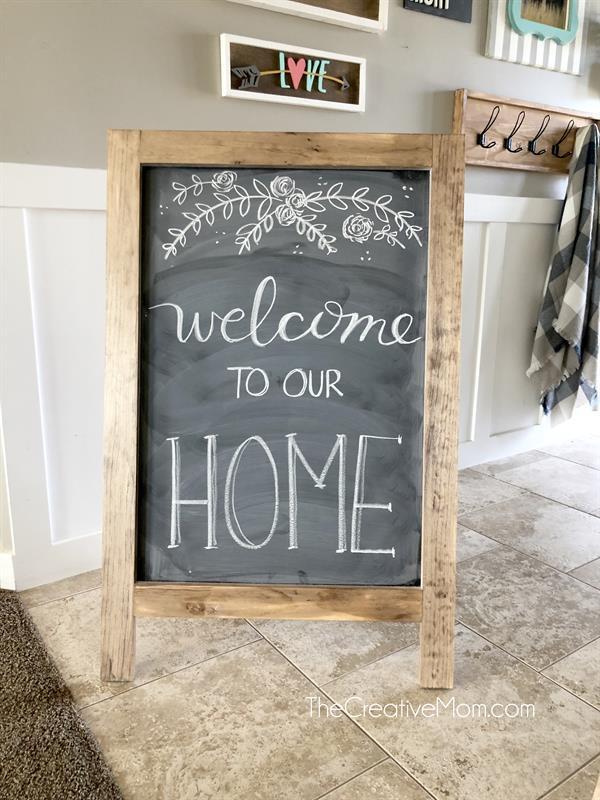
Large Easel Chalkboard
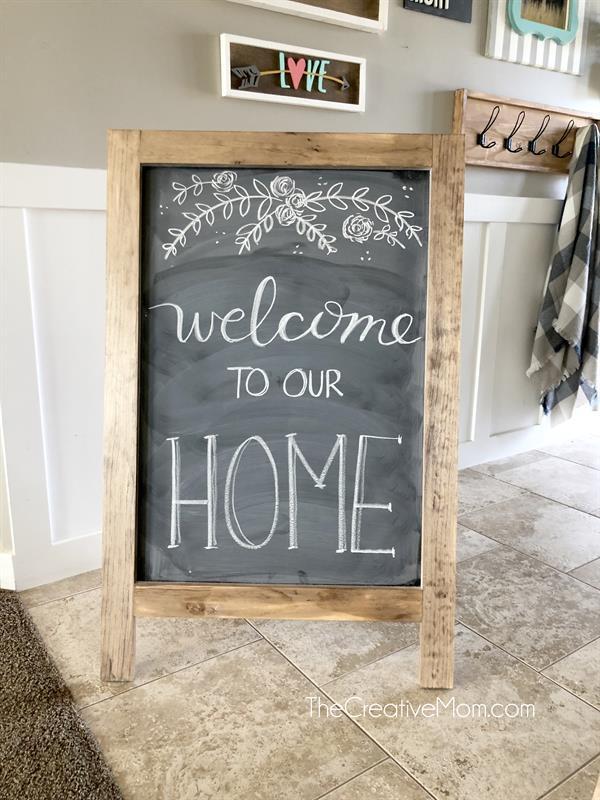
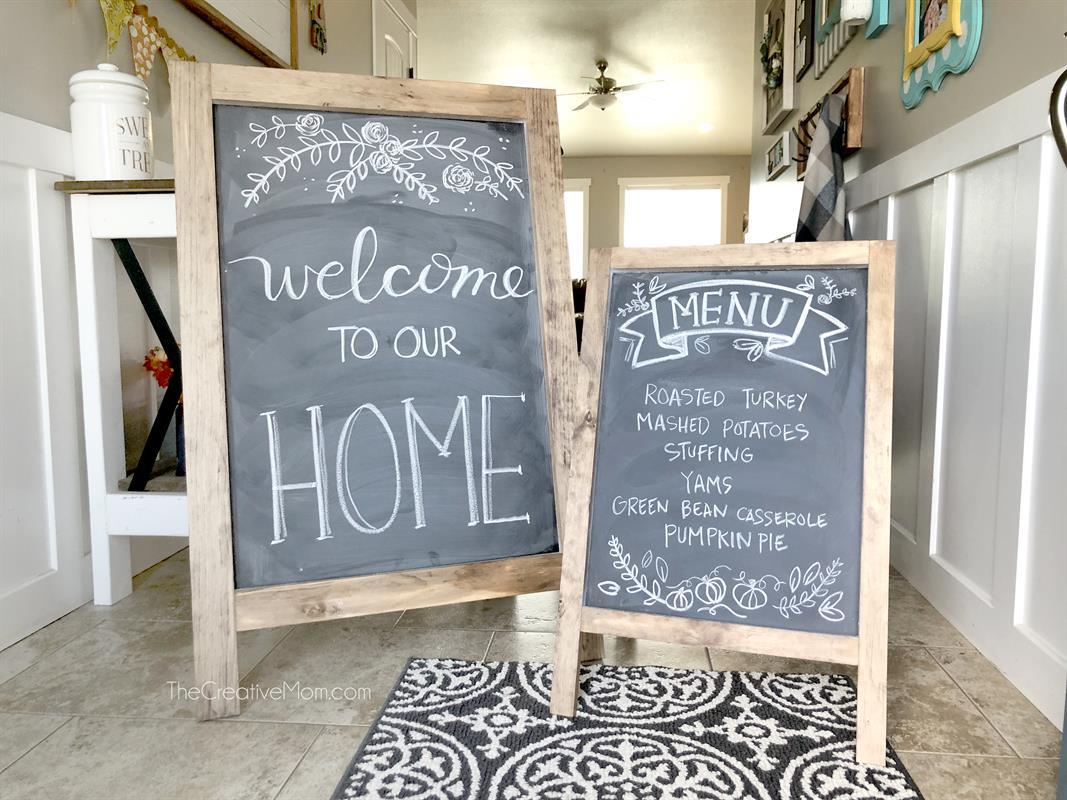
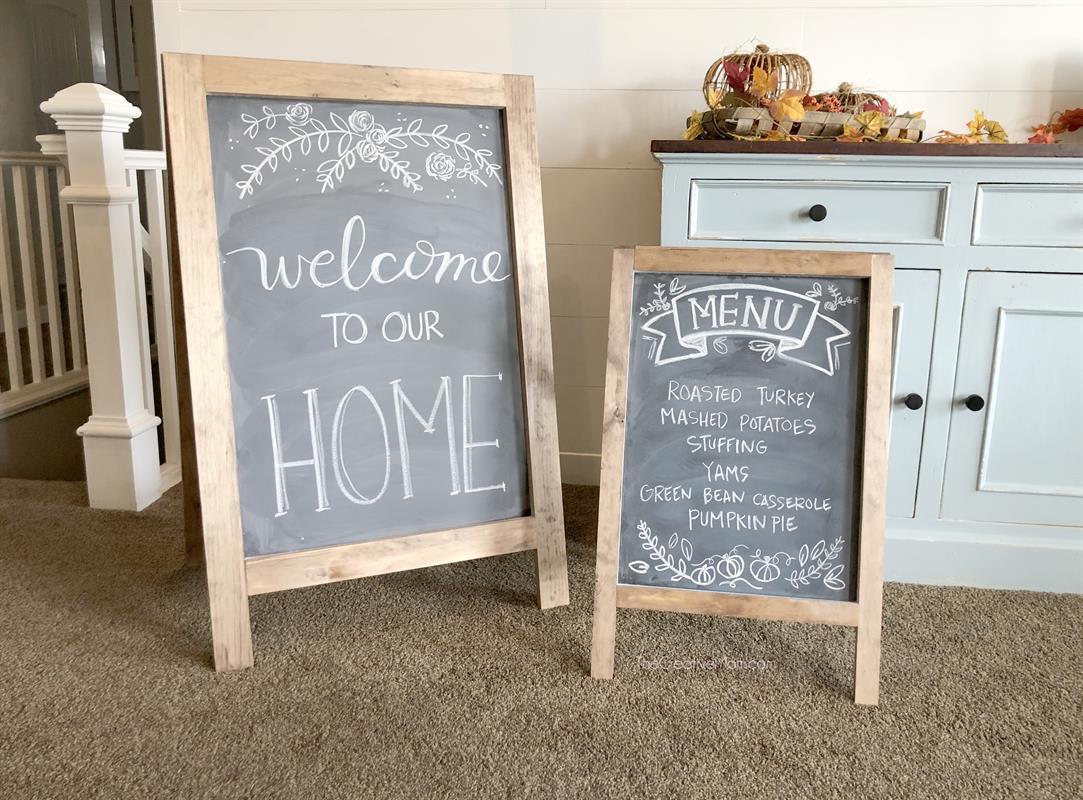
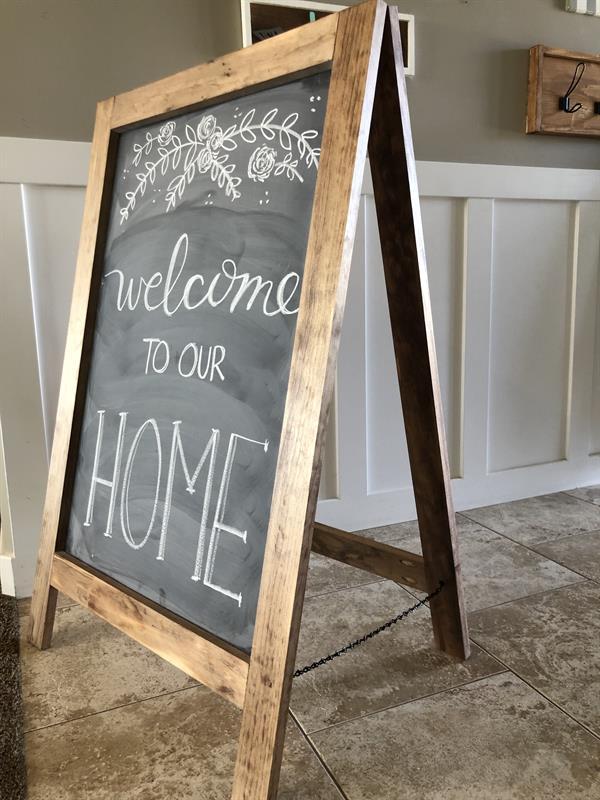
By The Creative MomThis is a large Easel Chalkboard. It is perfect for entertaining, holidays, or just for every day inspirational quotes or for fun. It is a very simple build, using basic tools and knowledge. This would be a great build for a beginner.
Directions
-
Cut lumber, drill pocket holes
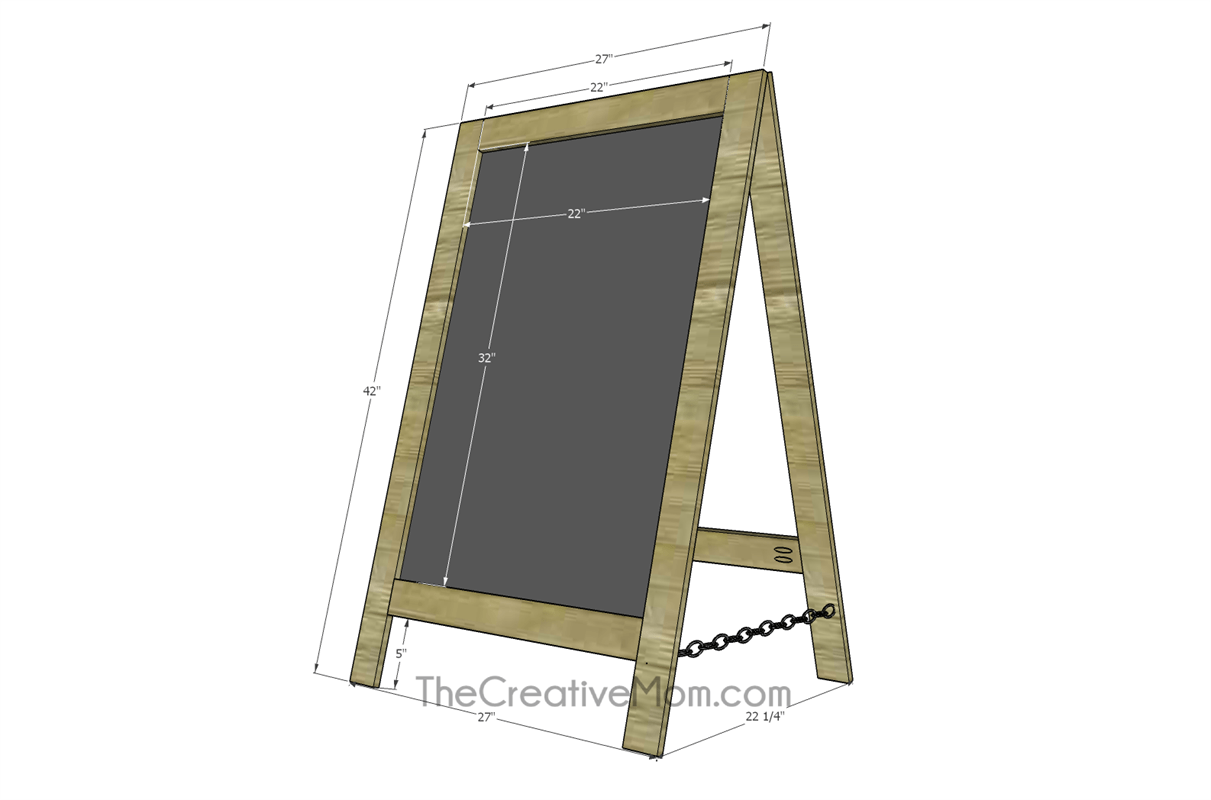
Using the cut list provided, cut the lumber.
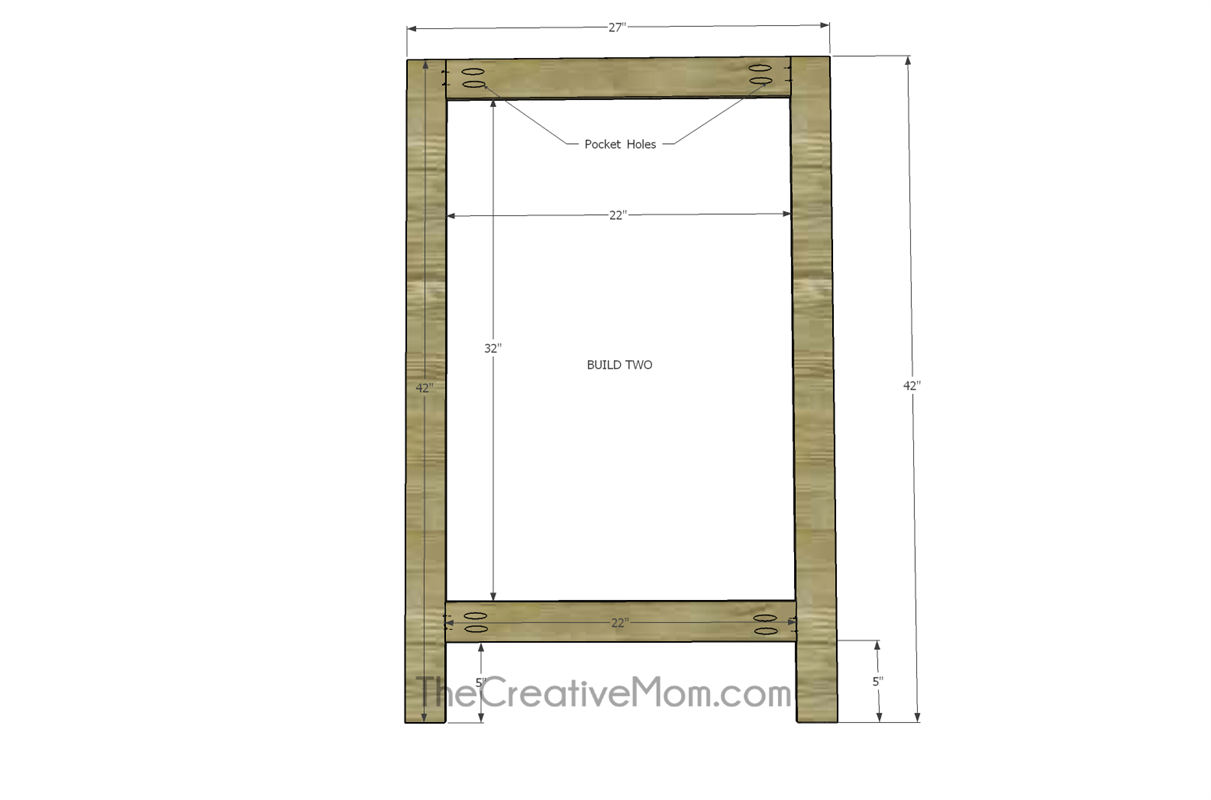
Drill pocket holes in each end of the 4 smaller (22") boards. -
Build easel frames
Using wood glue and 1 1/4" pocket hole screws, attach the smaller (22") boards to the larger (42") boards to create a frame.
One board will be flush with the ends of the legs, and the other will be 5" from the ends.
Build TWO of these. -
Attach Chalkboard
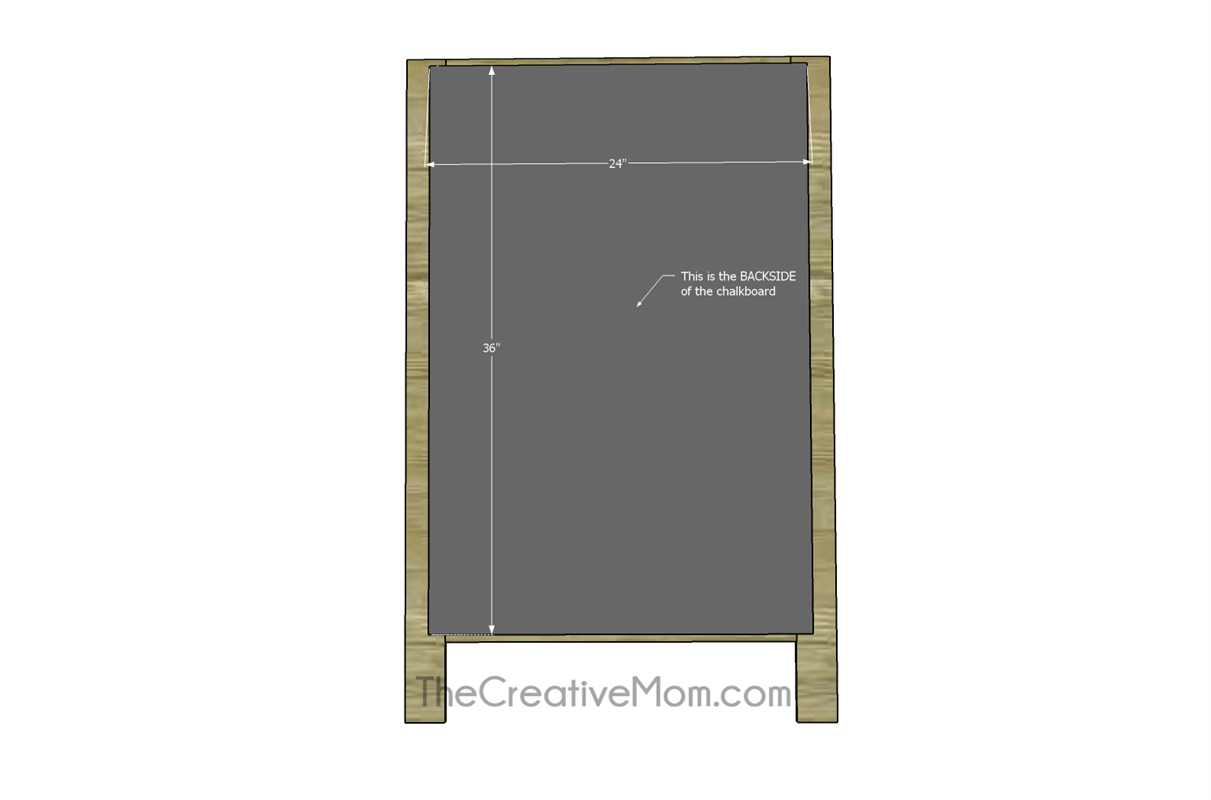
Before this step, you should have prepared your chalkboard. You can either buy the chalkboard already finished, and cut to size, or paint a piece of plywood with chalkboard paint.
Using wood glue and staples, attach your chalkboard to the backside of one of your frames. Make sure you put the front of the chalkboard facing out, and attach from behind. -
Add hinges
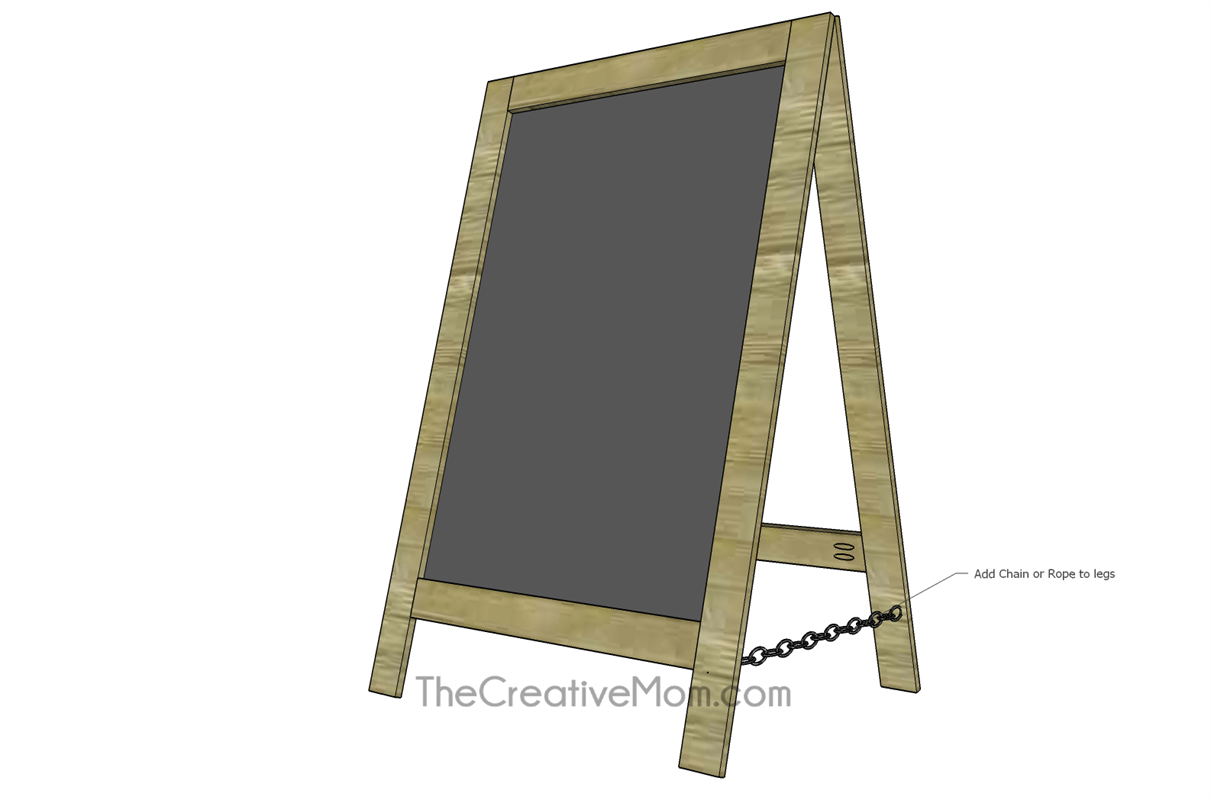
Add hinges to the tops of your frames, about 5 inches from each side.
-
Add chain or rope
To prevent the chalkboard from falling, attach chain or rope to the legs. You will need one chain for each side of your easel. You can make it as long or as short as you want. My chain was 22 inches long.
-
Sand, stain, or paint
You will need to prepare your chalkboard. You can either buy the chalkboard already finished, and cut to size, or paint a piece of plywood with chalkboard paint.
I found that it was easiest to finish my boards after I cut and drilled pocket holes, but before I started building. Sand, then paint or stain your wood. The stain used in the example photos is Minwax Special Walnut. -
Finish
Fill or plug pocket holes, if desired. Enjoy!


