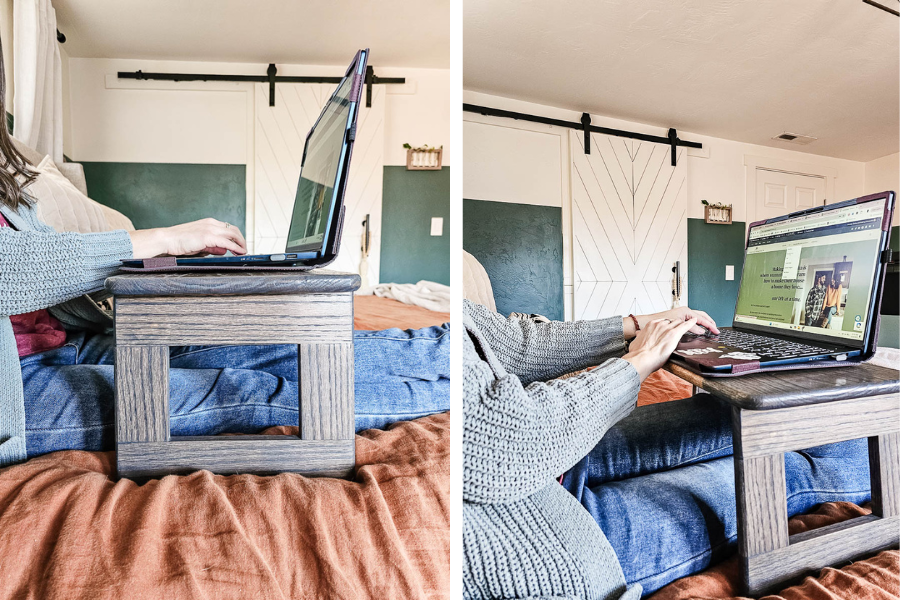
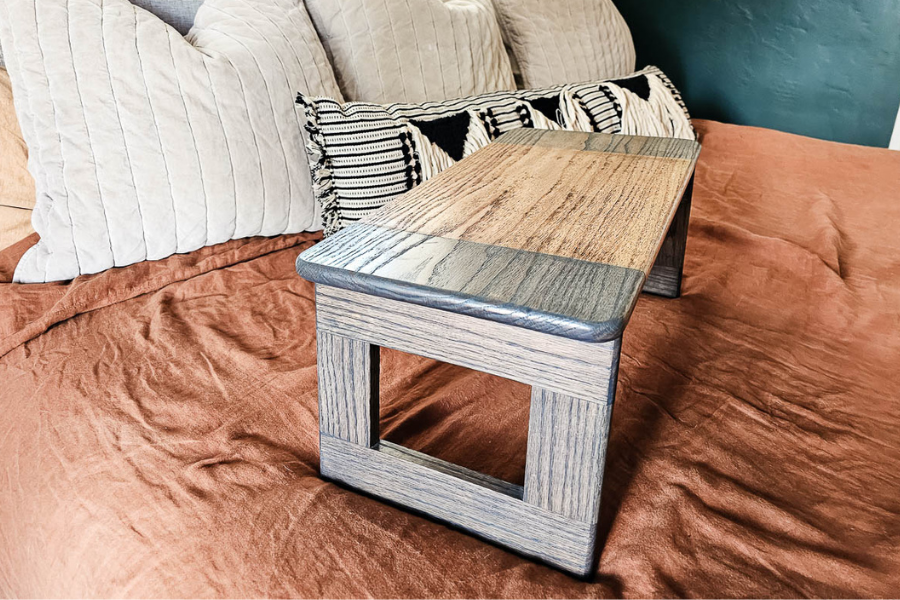
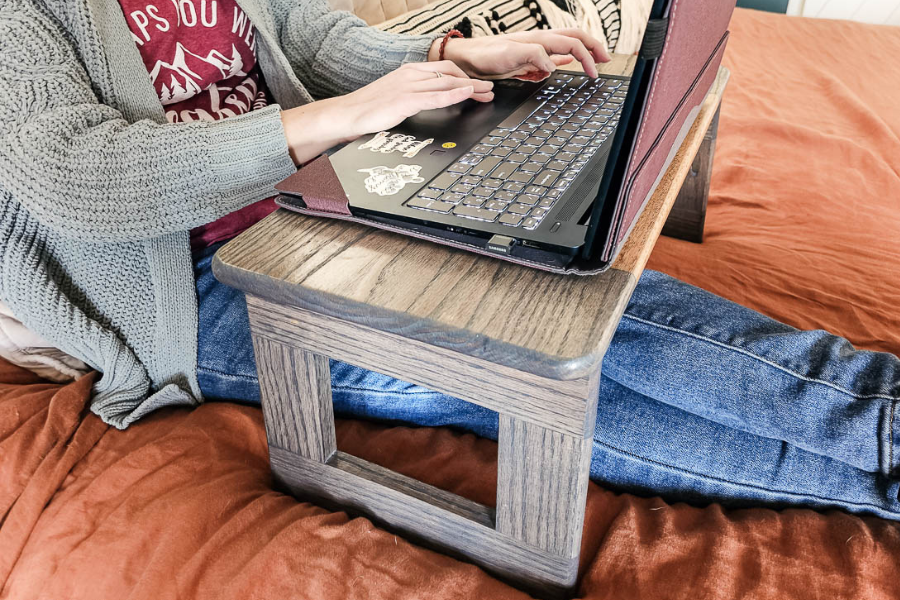
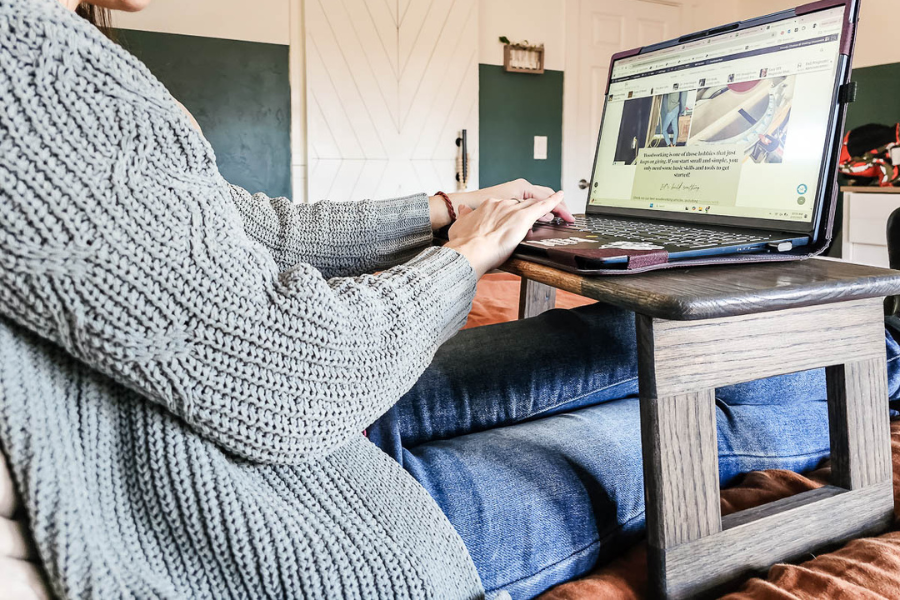


Easily work on your laptop from the bed or the couch with this tray!
Tools
Kreg Tools


Other Tools
-
Miter Saw

-
Table Saw
-
Tape Measure
-
Roundover Bit
Materials
Wood Products
- 1 Oak , 1x12 , 4’
- 1 Oak , 1x3 , 8'
Hardware & Supplies
- -- Kreg Pocket Hole Screws 1 ¼”, zinc (see Tools list)
- -- Wood Glue
- -- Golden Oak Stain
- -- Phantom Gray Stain
- -- Staining Cloth
- -- Spray Lacquer
- -- Sandpaper (80-grit & 150-grit)
Cut List & Parts
- 2 Top Side , ¾” x 11 ¼” x 4”
- 1 Top Middle , ¾” x 11 ¼” x 14 ¼”
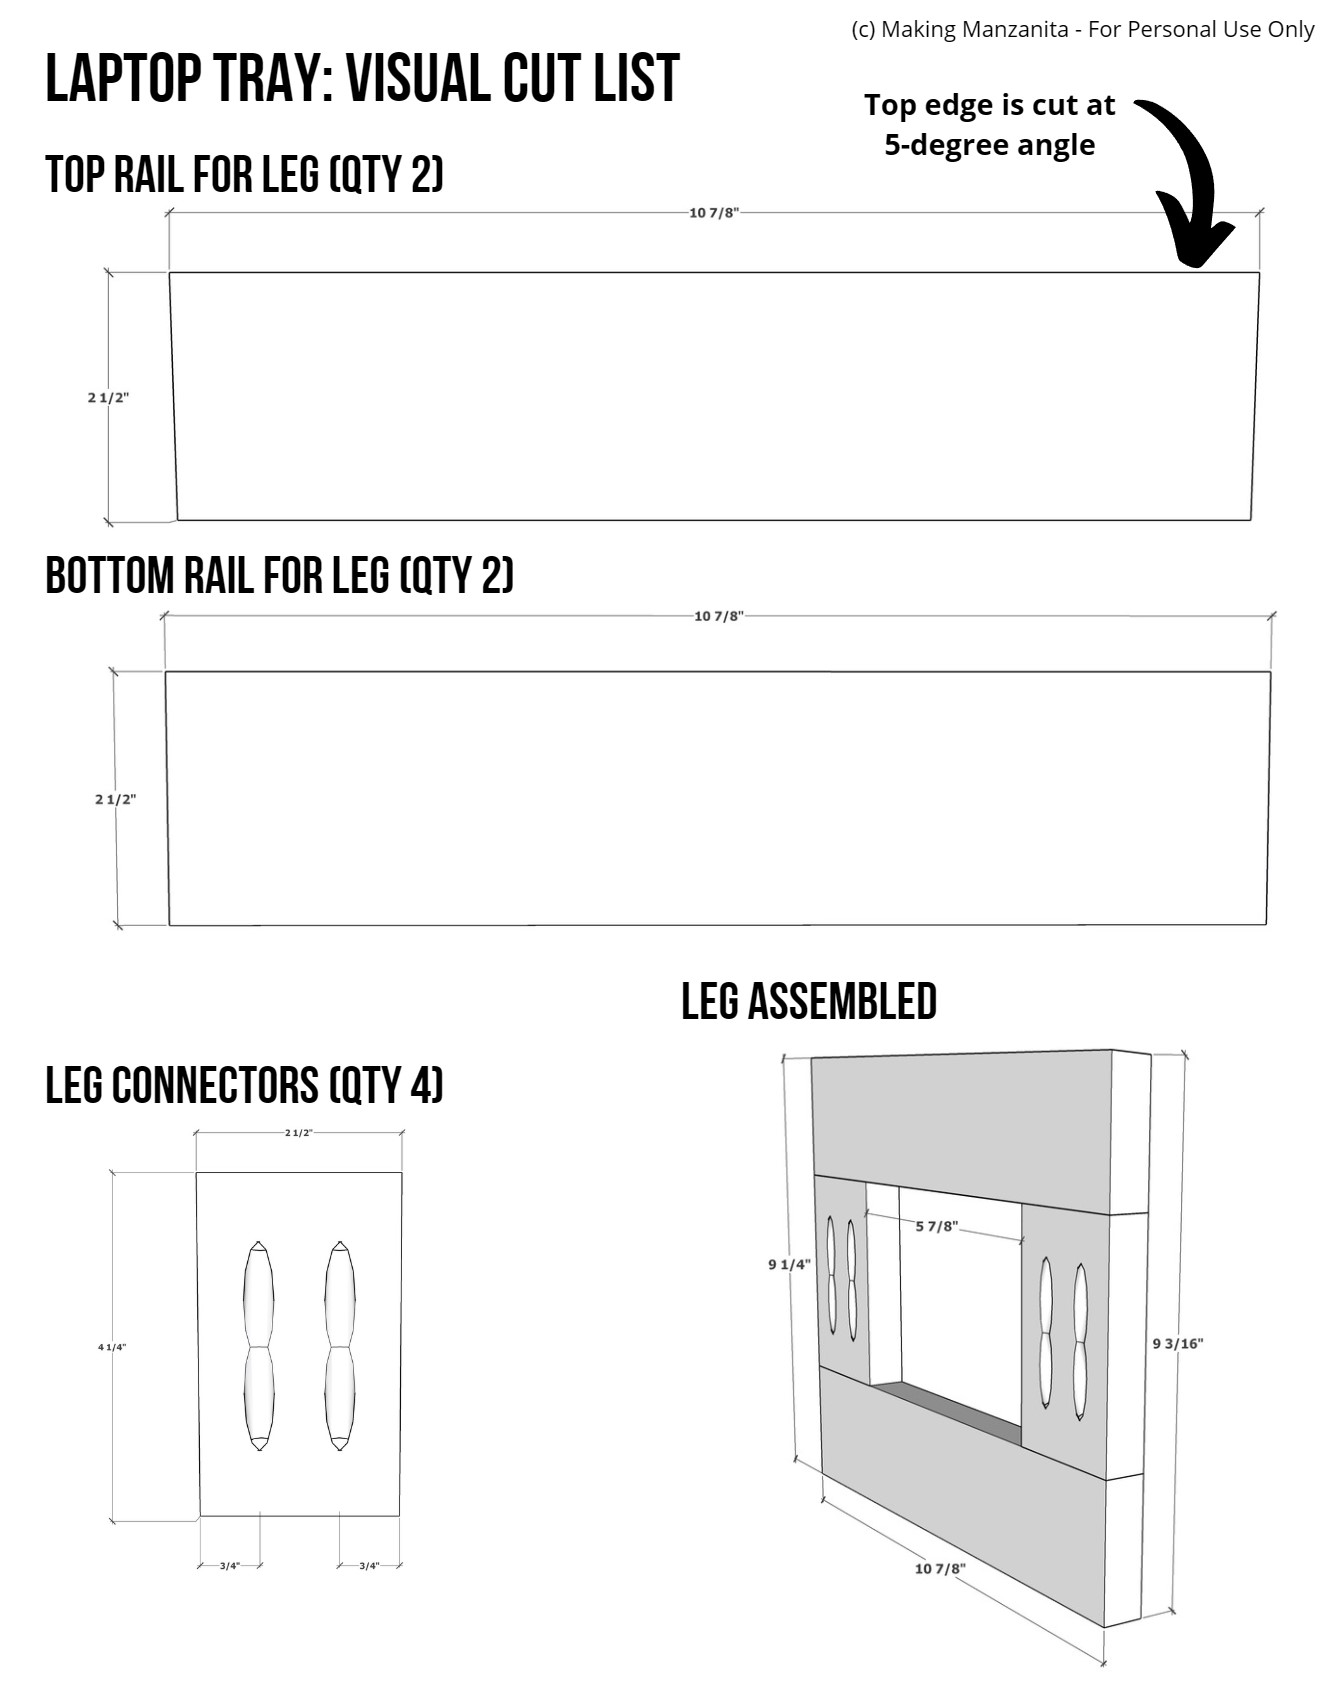
- 2 Top Rail for Leg , ¾” x 2 ½” x 10 ⅞” with 5-degree cut on top edge
- 2 Bottom Rail for Leg , ¾” x 2 ½” x 10 ⅞”
- 4 Leg Connectors , ¾” x 3 ½” x 4 ¼”

Directions
-
Cut Wood
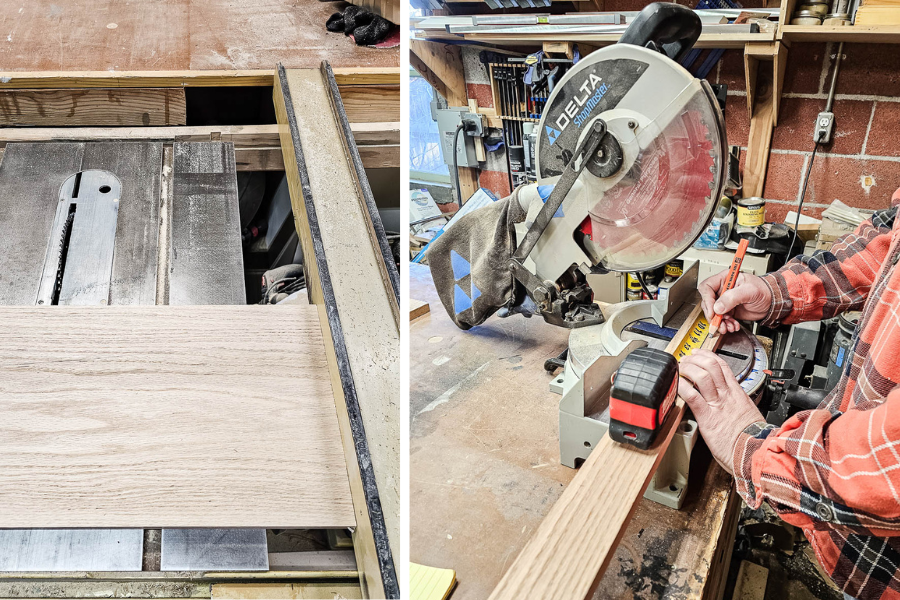
Cut wood according to the visual cut list in the woodworking plans with a miter saw for the lengths and a table saw for the rip cuts. Optionally, you can add a 5 degree angle cut to the top edge of the top rail for legs so they slightly angle out. This helps the legs stay open on the hinges.
-
Drill Pocket Holes
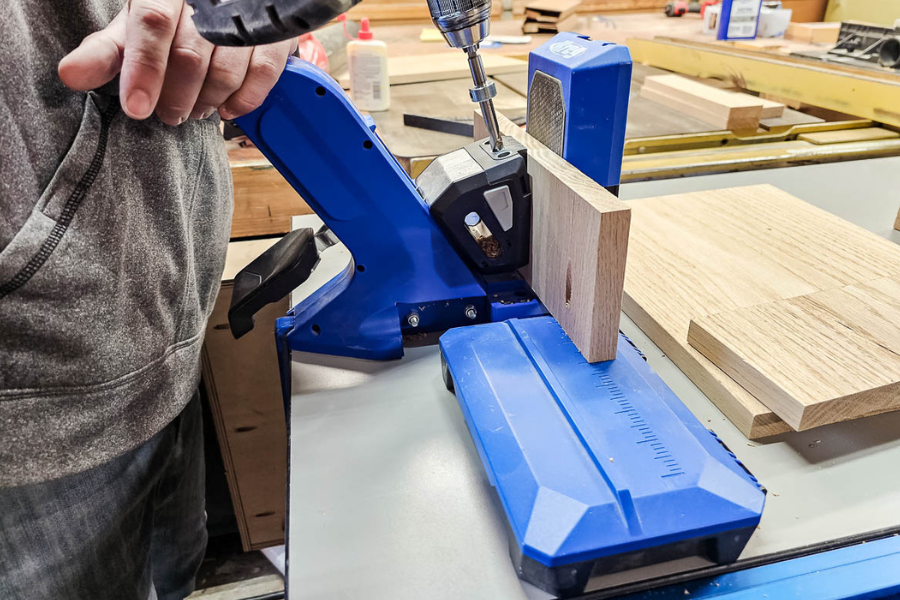
Drill pocket holes as shown in the woodworking plans. We’re using the 720Pro jig.
-
Assemble
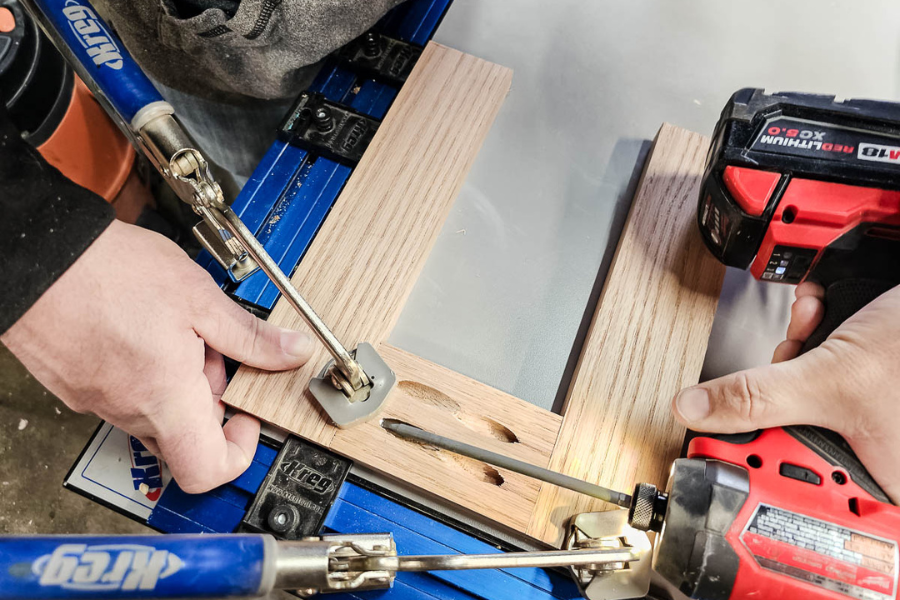
Using clamps, attach the top side pieces and top middle with the pre-drilled pocket holes and 1 ¼” pocket hole screws as shown in the woodworking plans. Large clamps or a clamp table can help keep these two together as you attach. Next, attach both leg connectors to the top and bottom rails with pocket hole screws.
-
Round Corners and Edges
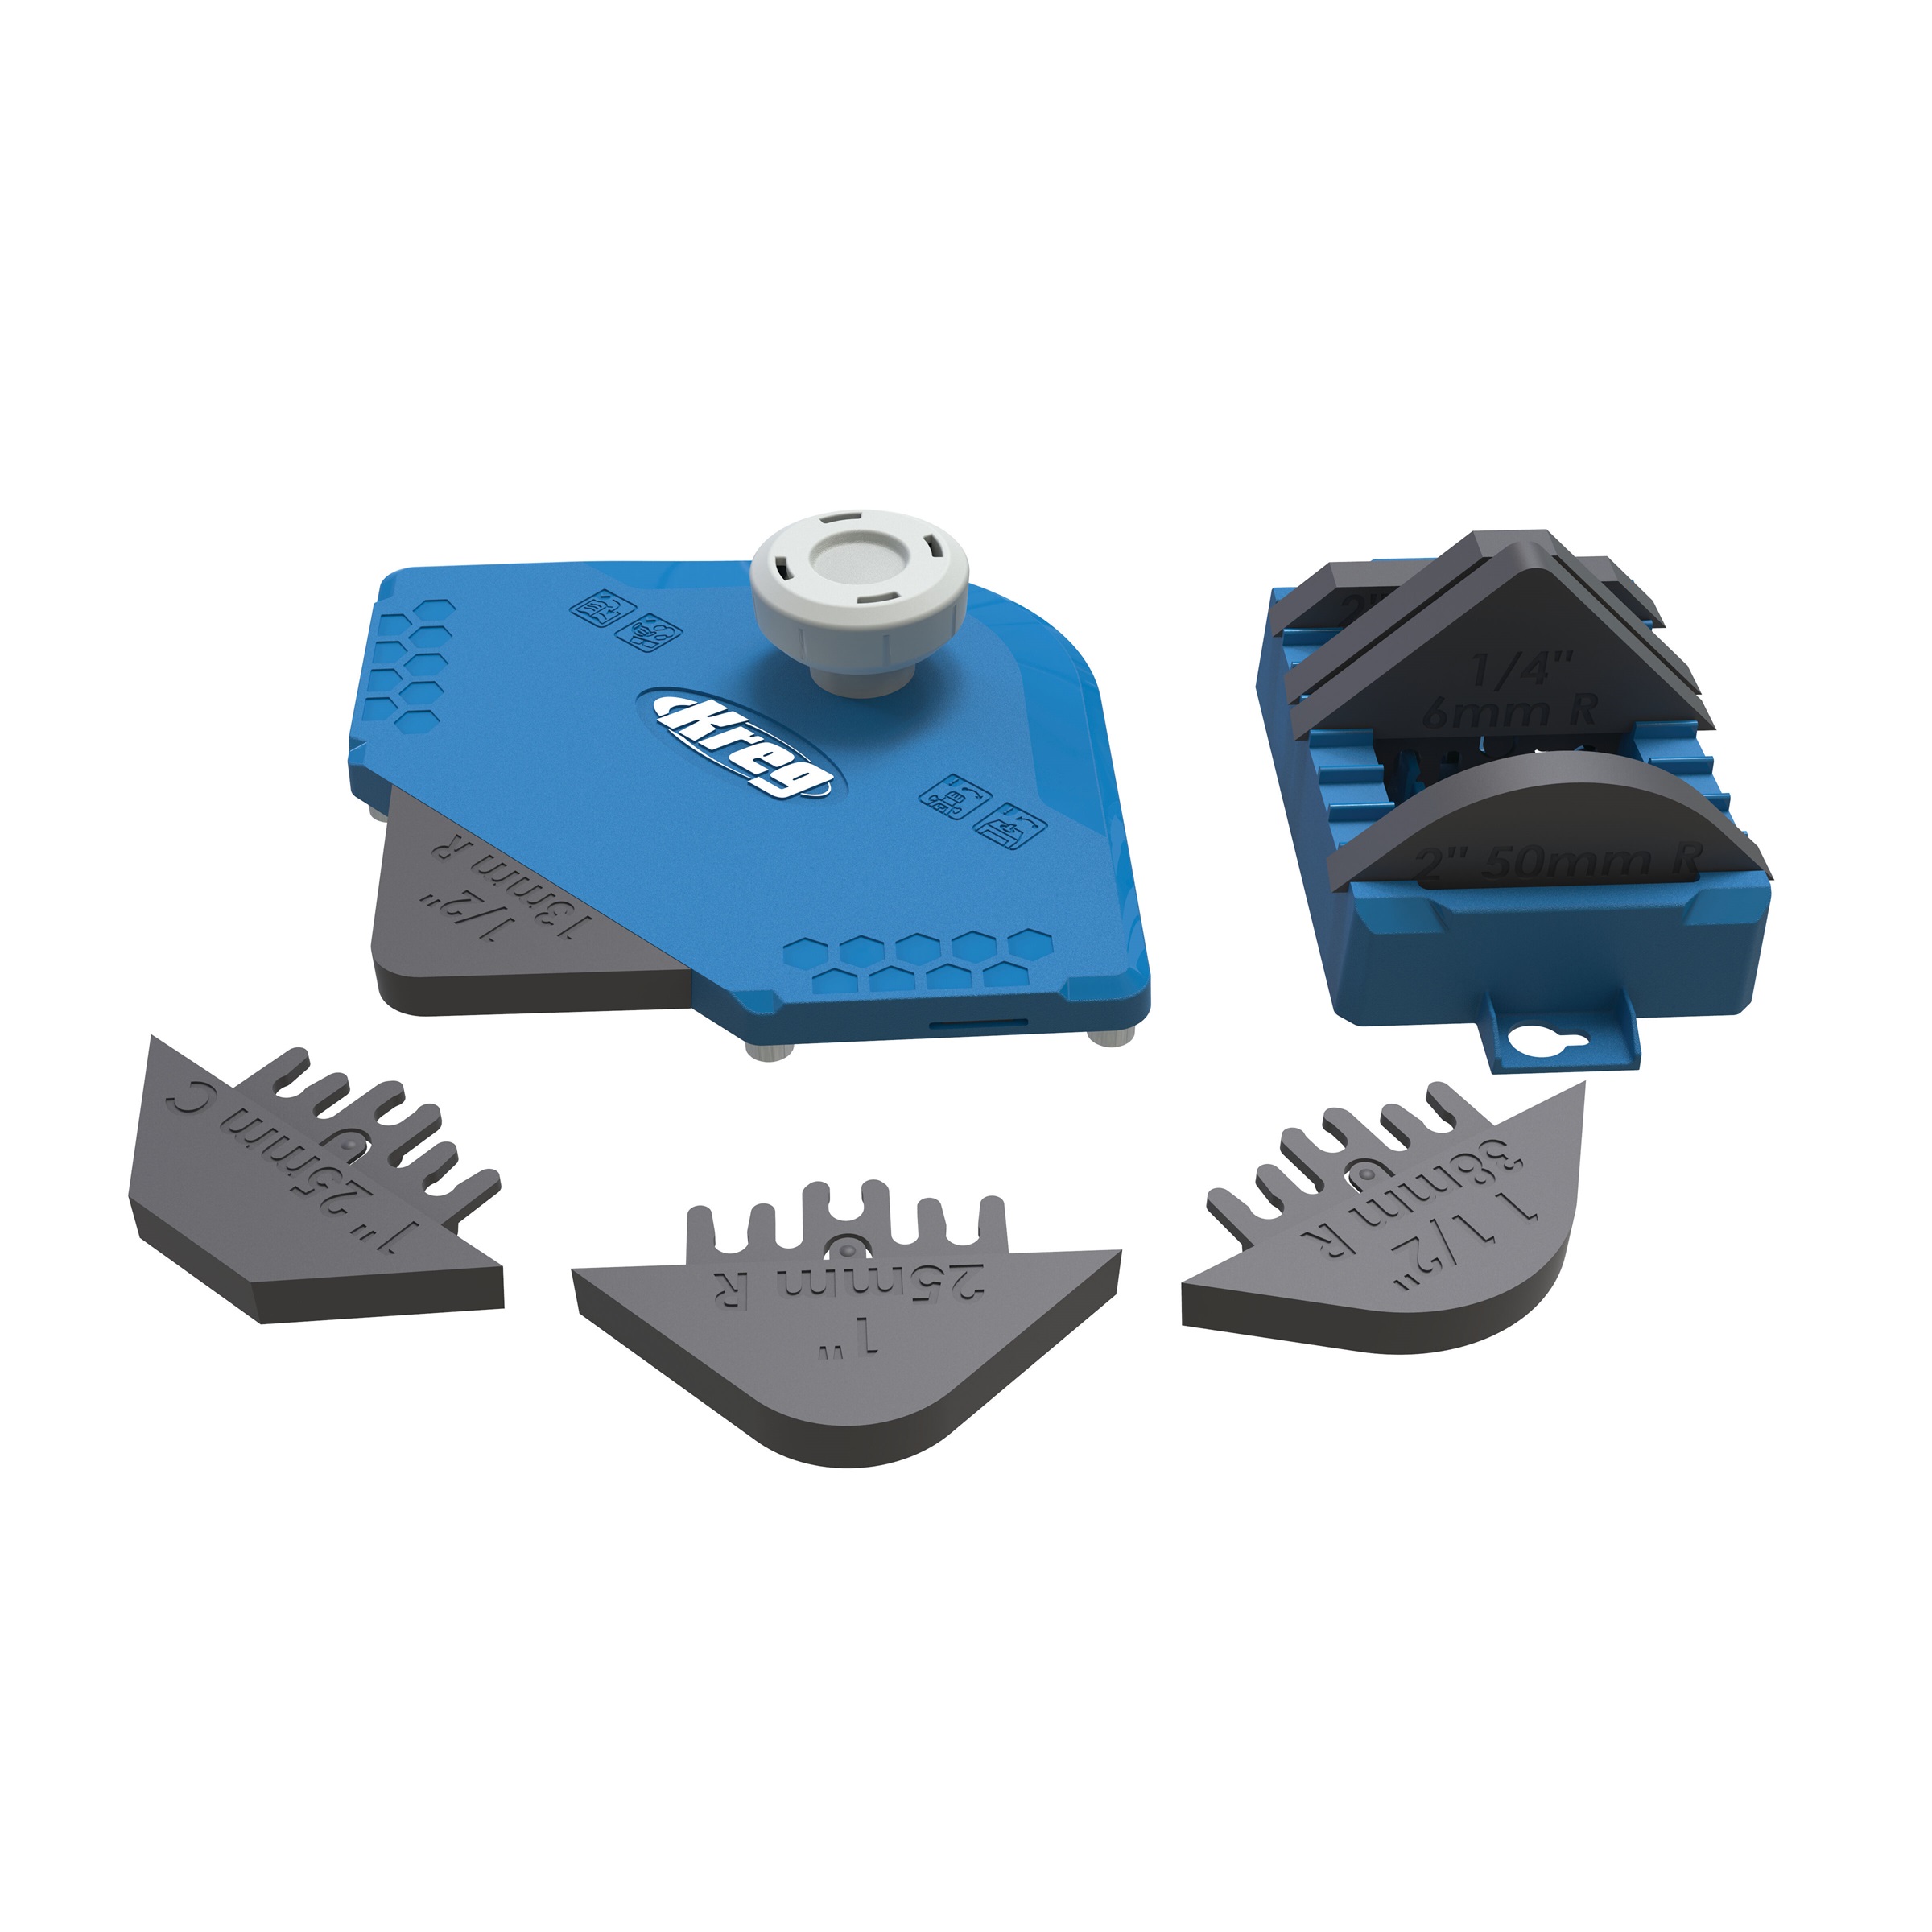
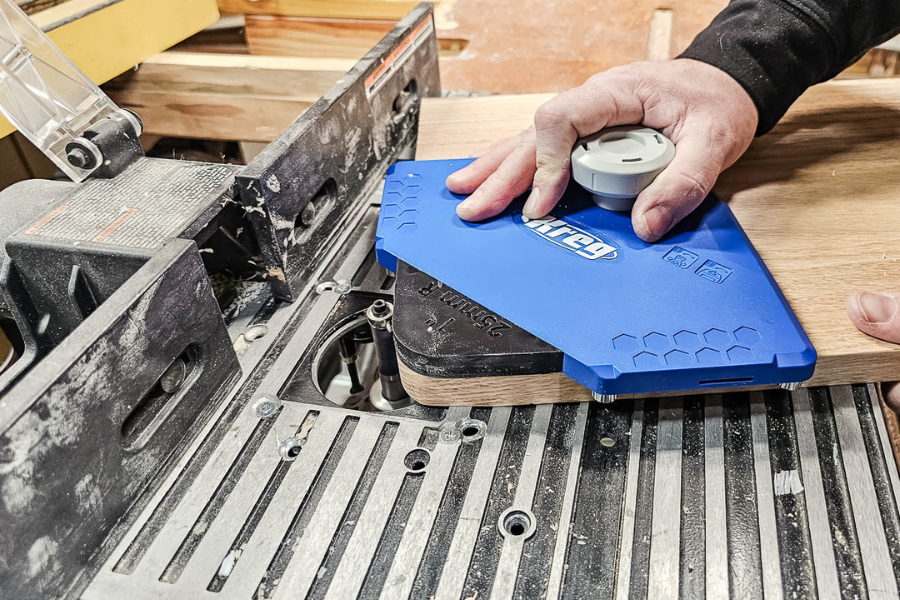
Using the Kreg corner routing guide set, round the corners with the 1” rounded corner guide and router. Follow up by rounding all of the edges with a roundover bit.
-
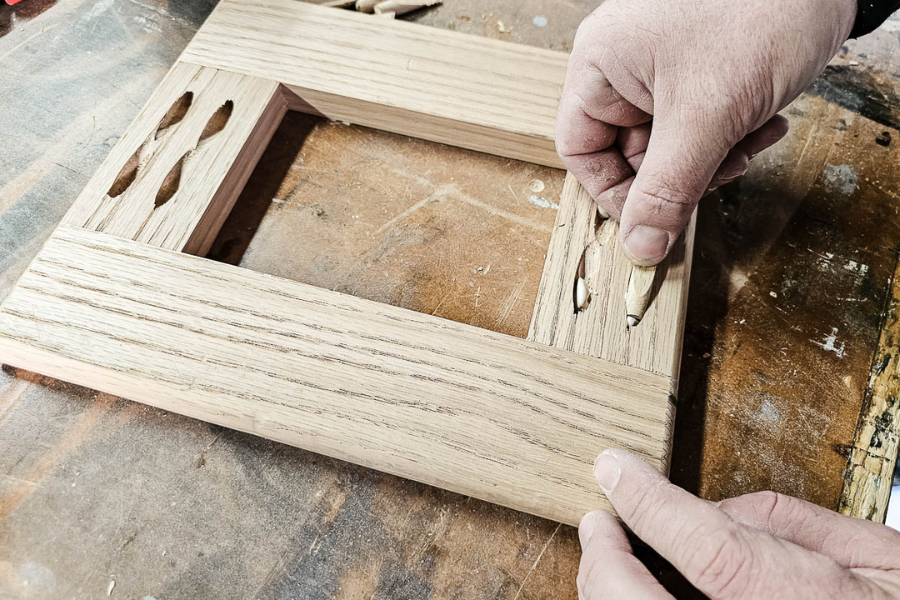
Drill Pocket Hole Plugs and Glue
If you have matching premade plugs, glue them in. If you are making them with the custom plug cutter drill guide, then drill them out of the extra oak stock first then glue them into place.
-
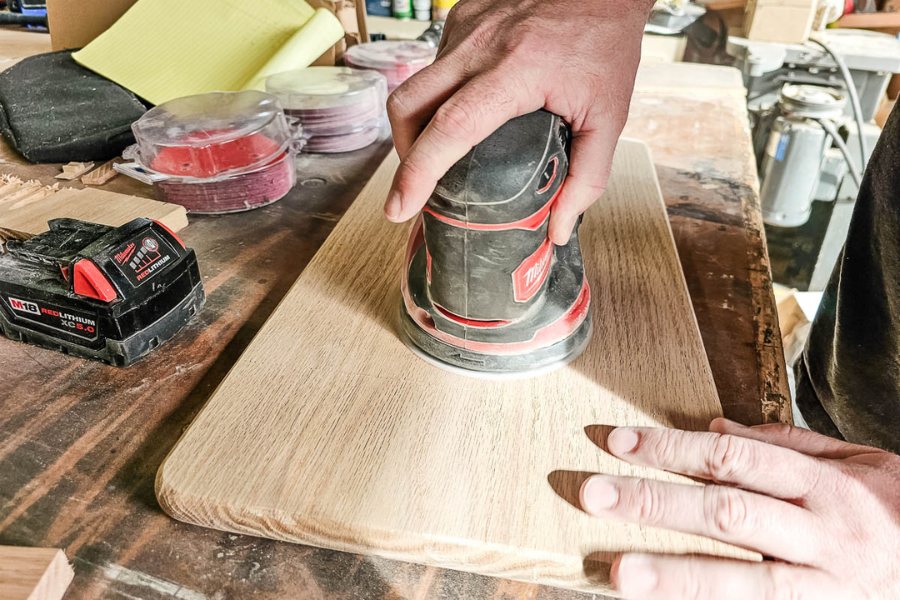
Sand
Once the glue is dry, sand everything down flush with 80-grit then 150-grit sandpaper.
-
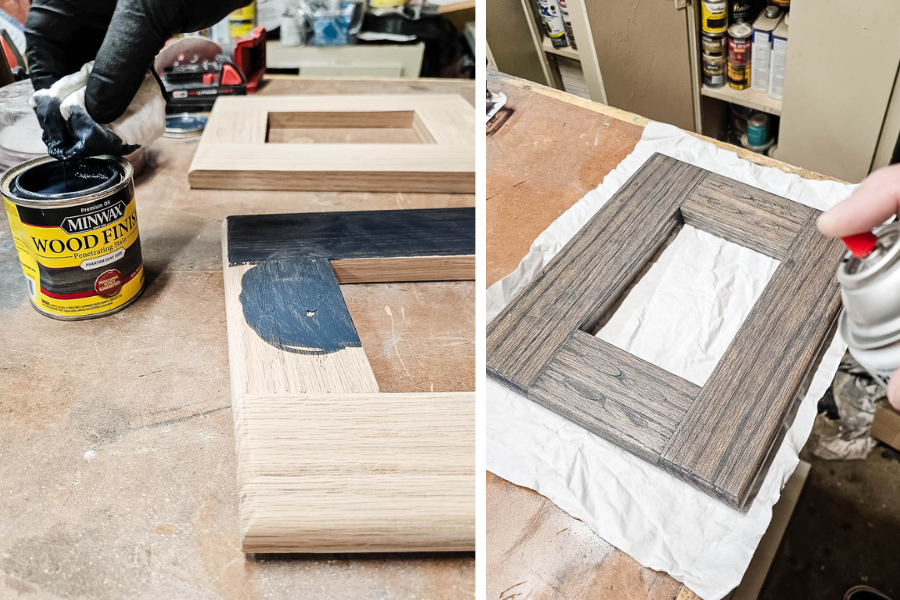
Stain and Seal
Dust the laptop tray off then stain with the stain color of your choice. We added two different stain colors for a two-tone look. Then seal with spray lacquer after the stain has dried fully.
-
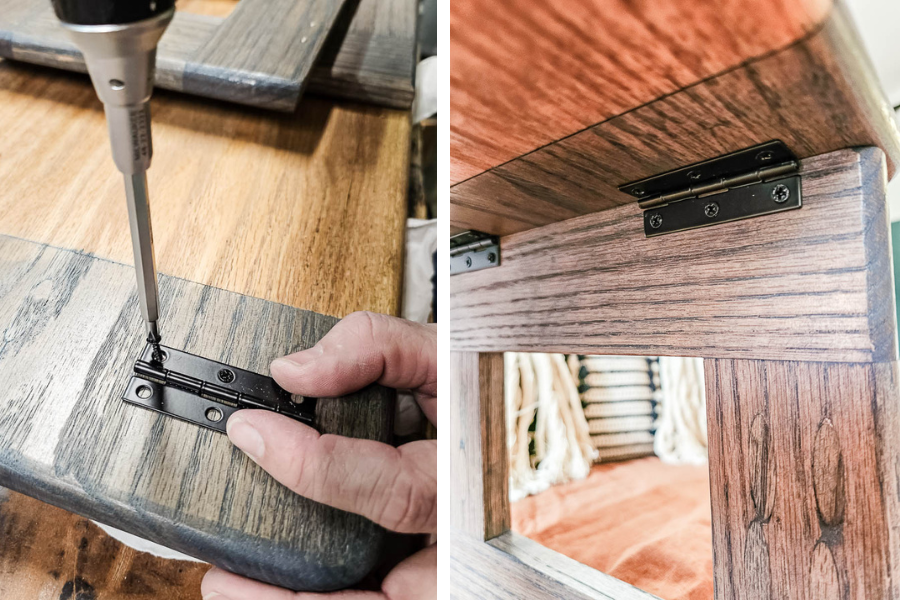
Attach The Hinges
Depending how you finished the edges, align the assembled legs keeping in mind that you want them flat when folding in and not on top of each other. They should also open wide enough to comfortably open up over your legs. Mark and pre drill the holes for the screws and attach the hinges with screws provided with your hardware.