Kreg Foreman Mobile Cart
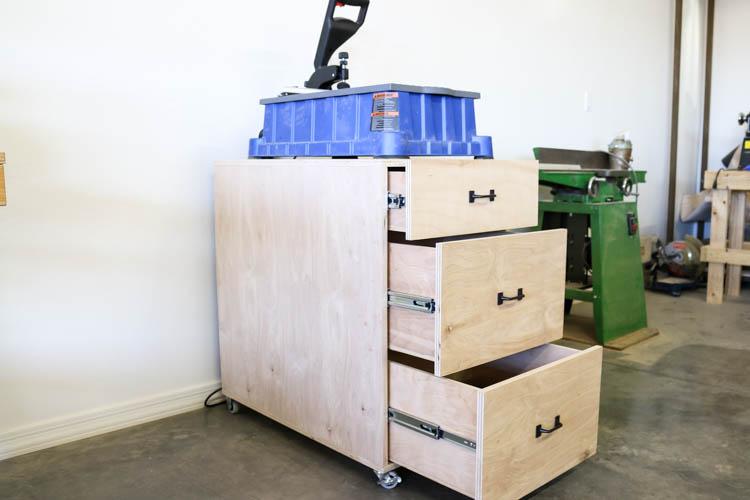
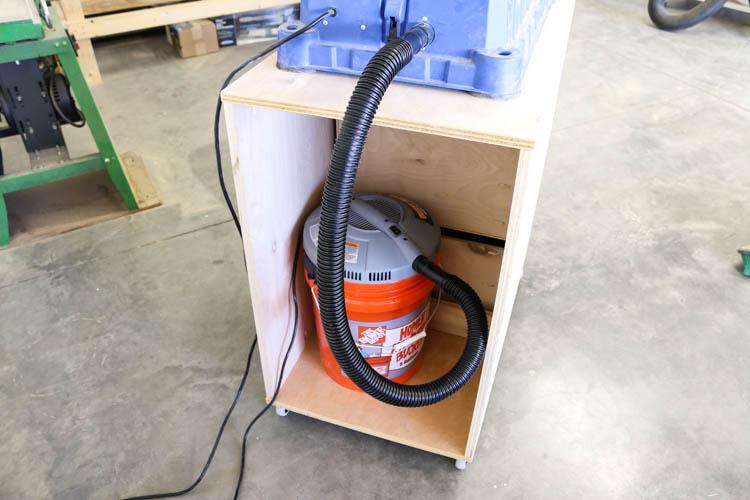
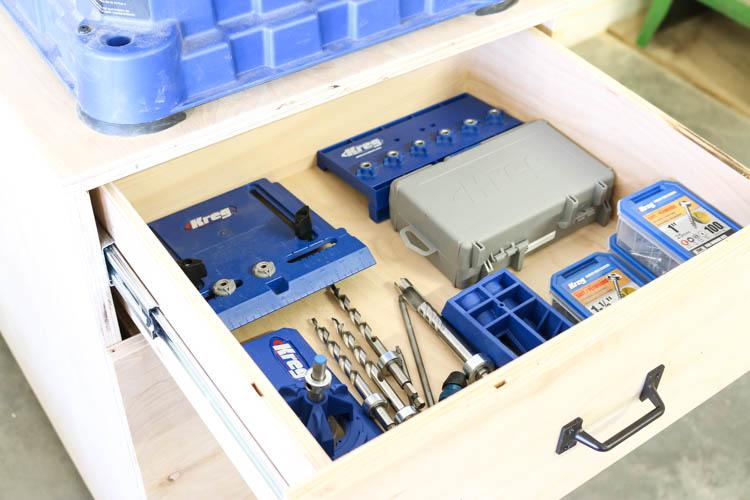
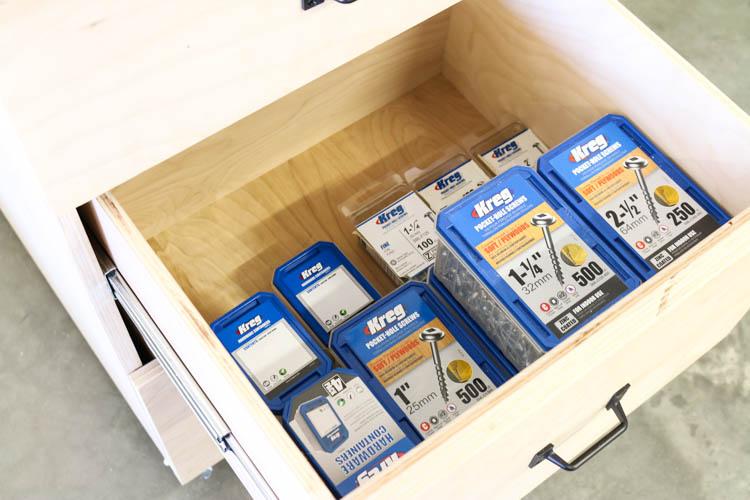
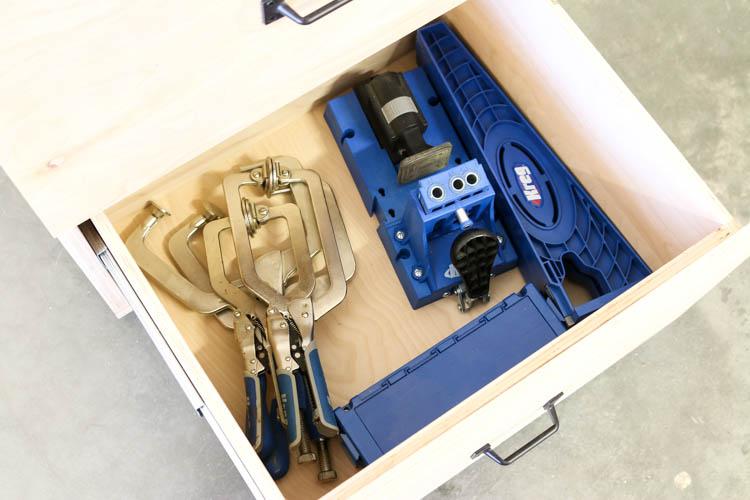
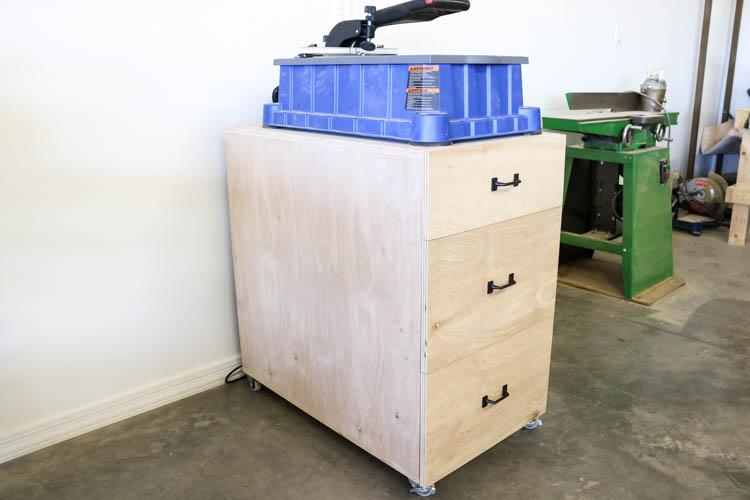
By Addicted 2 DIYThis mobile work cart for the Kreg Foreman not only puts it at a perfect working height, it also includes hidden dust collection and TONS of storage for all of your Kreg tools!
Directions
-
STEP 1
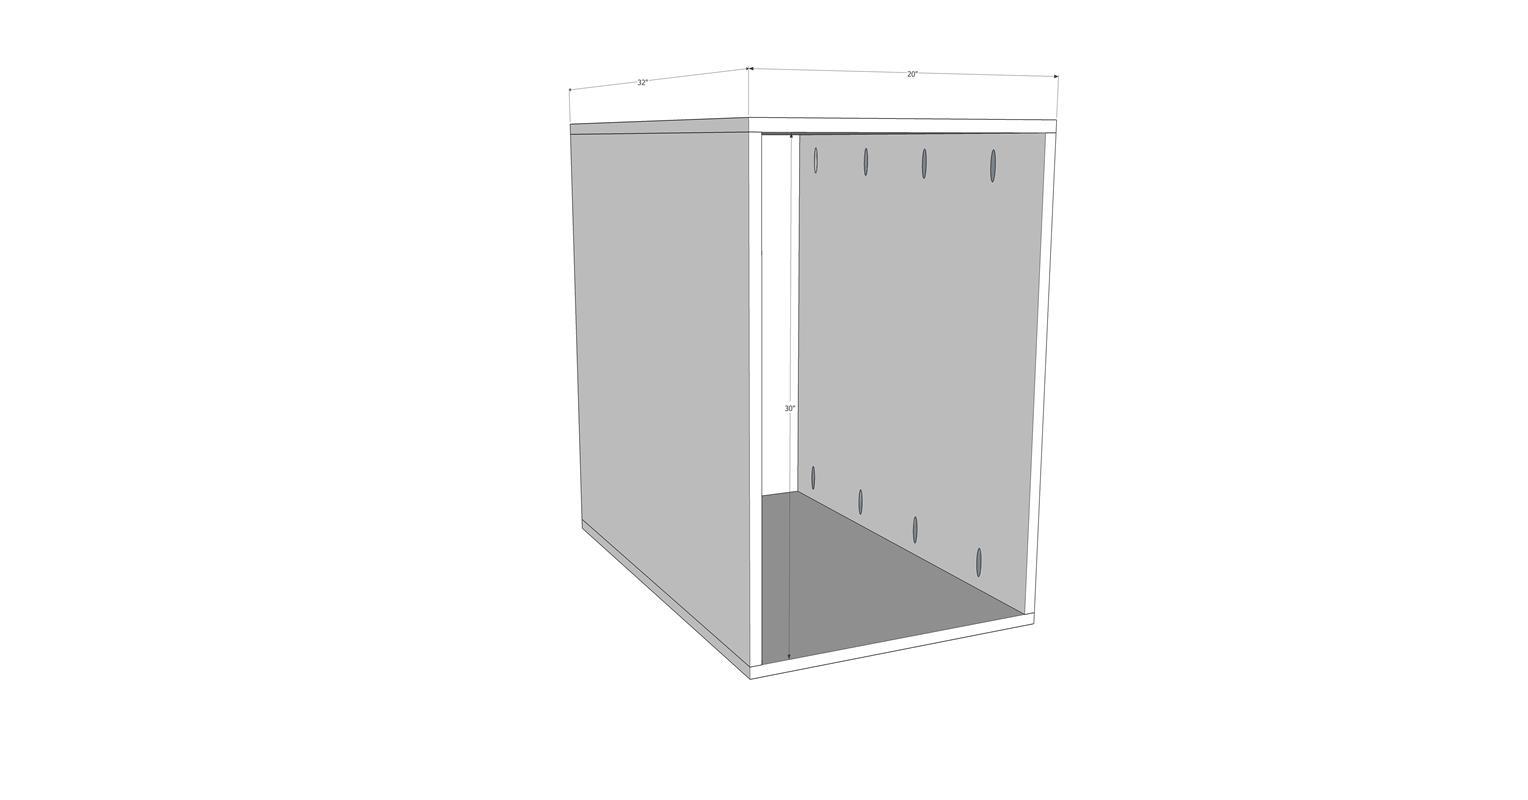
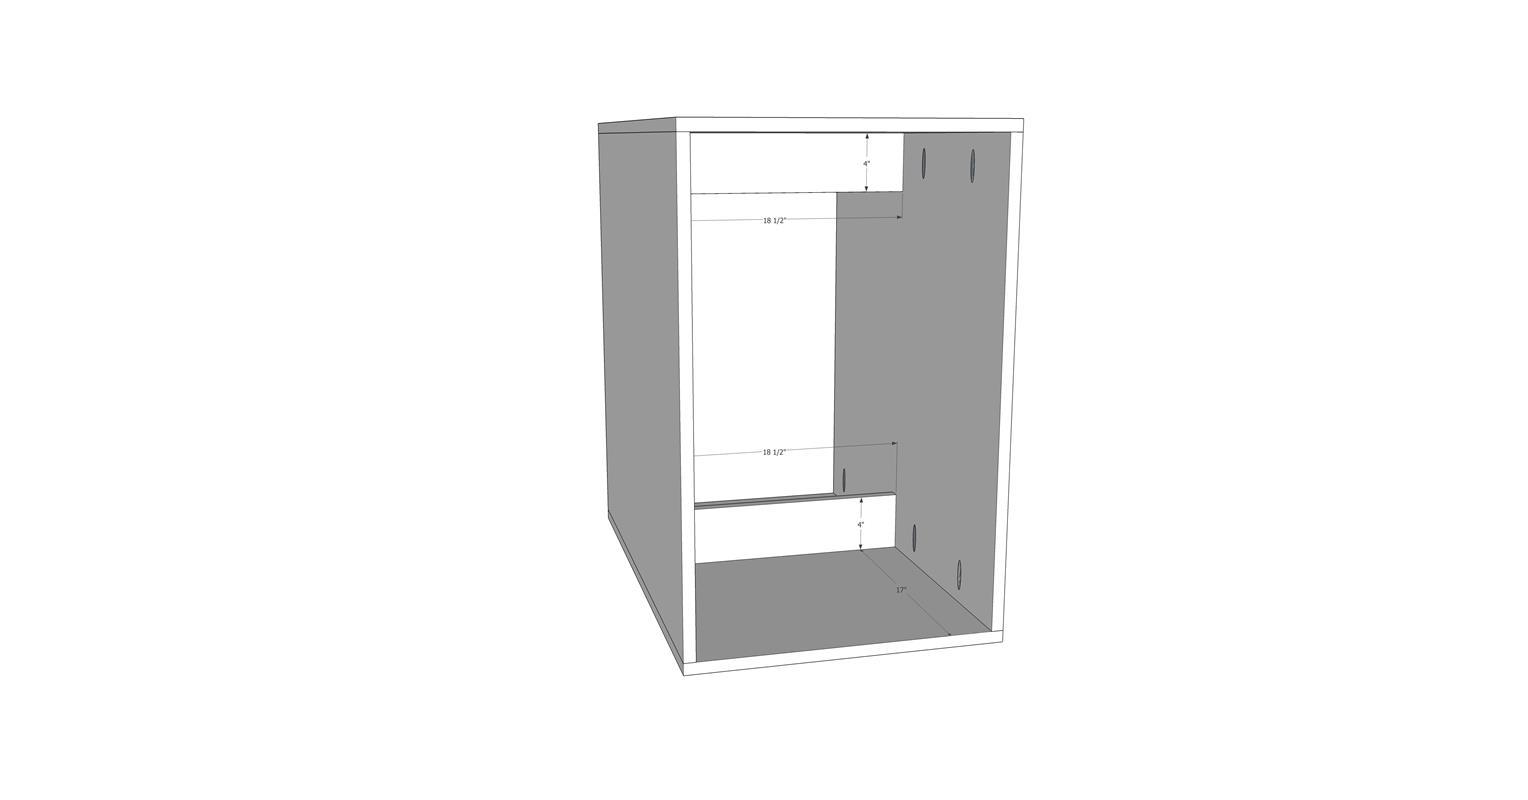
Begin by building the box for the cart. Drill 3/4" screws into the upper and lower edges of the side pieces of the box. Using wood glue and 1 1/4" pocket screws, attach the side pieces to the box, making sure to check for square while assembling.
-
STEP 2
Drill 3/4" pocket holes into each end of the 3/4" braces. Place the braces on the bottom and top of the cart, 17" in from the front side of the cart. Glue and attach with 1 1/4" pocket screws. These will keep the cart rigid and square.
-
STEP 3
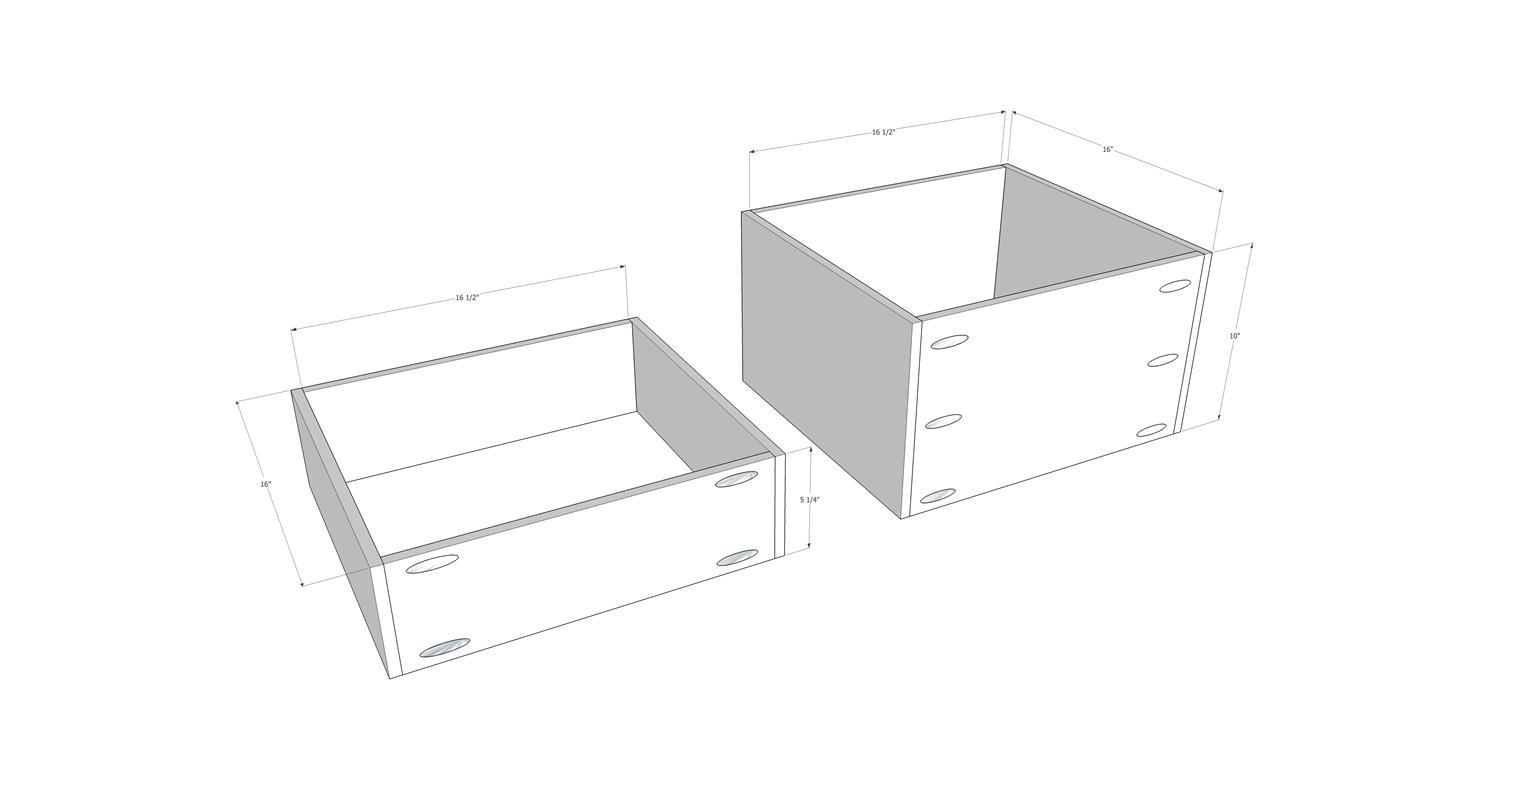
Build the drawer boxes. Drill 1/2" pocket holes into the front and back pieces of the drawer boxes. Glue and clamp together, checking for square as you build them. Attach with 1" pocket screws.
-
STEP 4
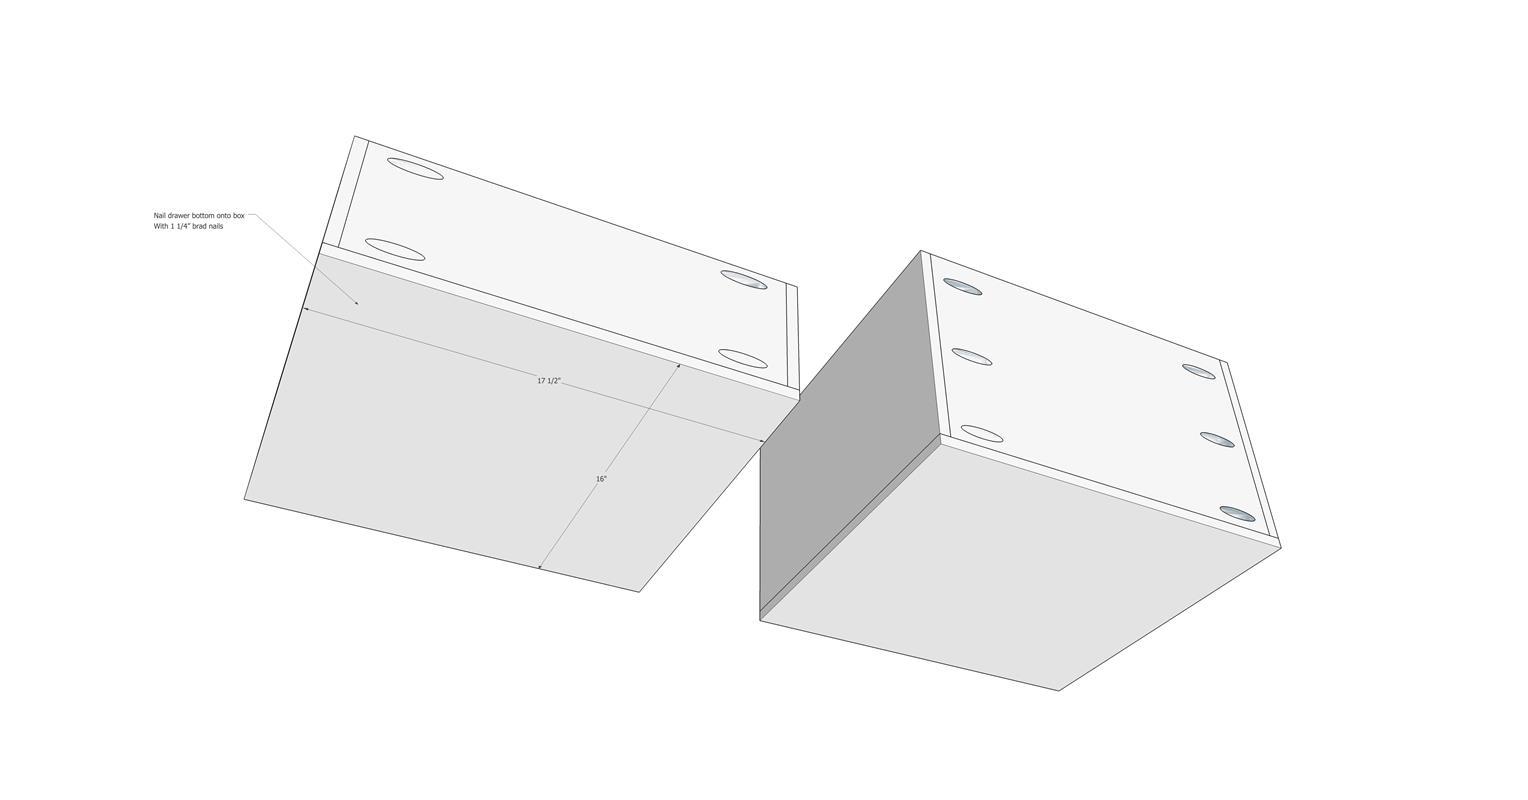
Attach the 1/2" plywood bottoms to the drawers using wood glue and 1 1/4" brad nails.
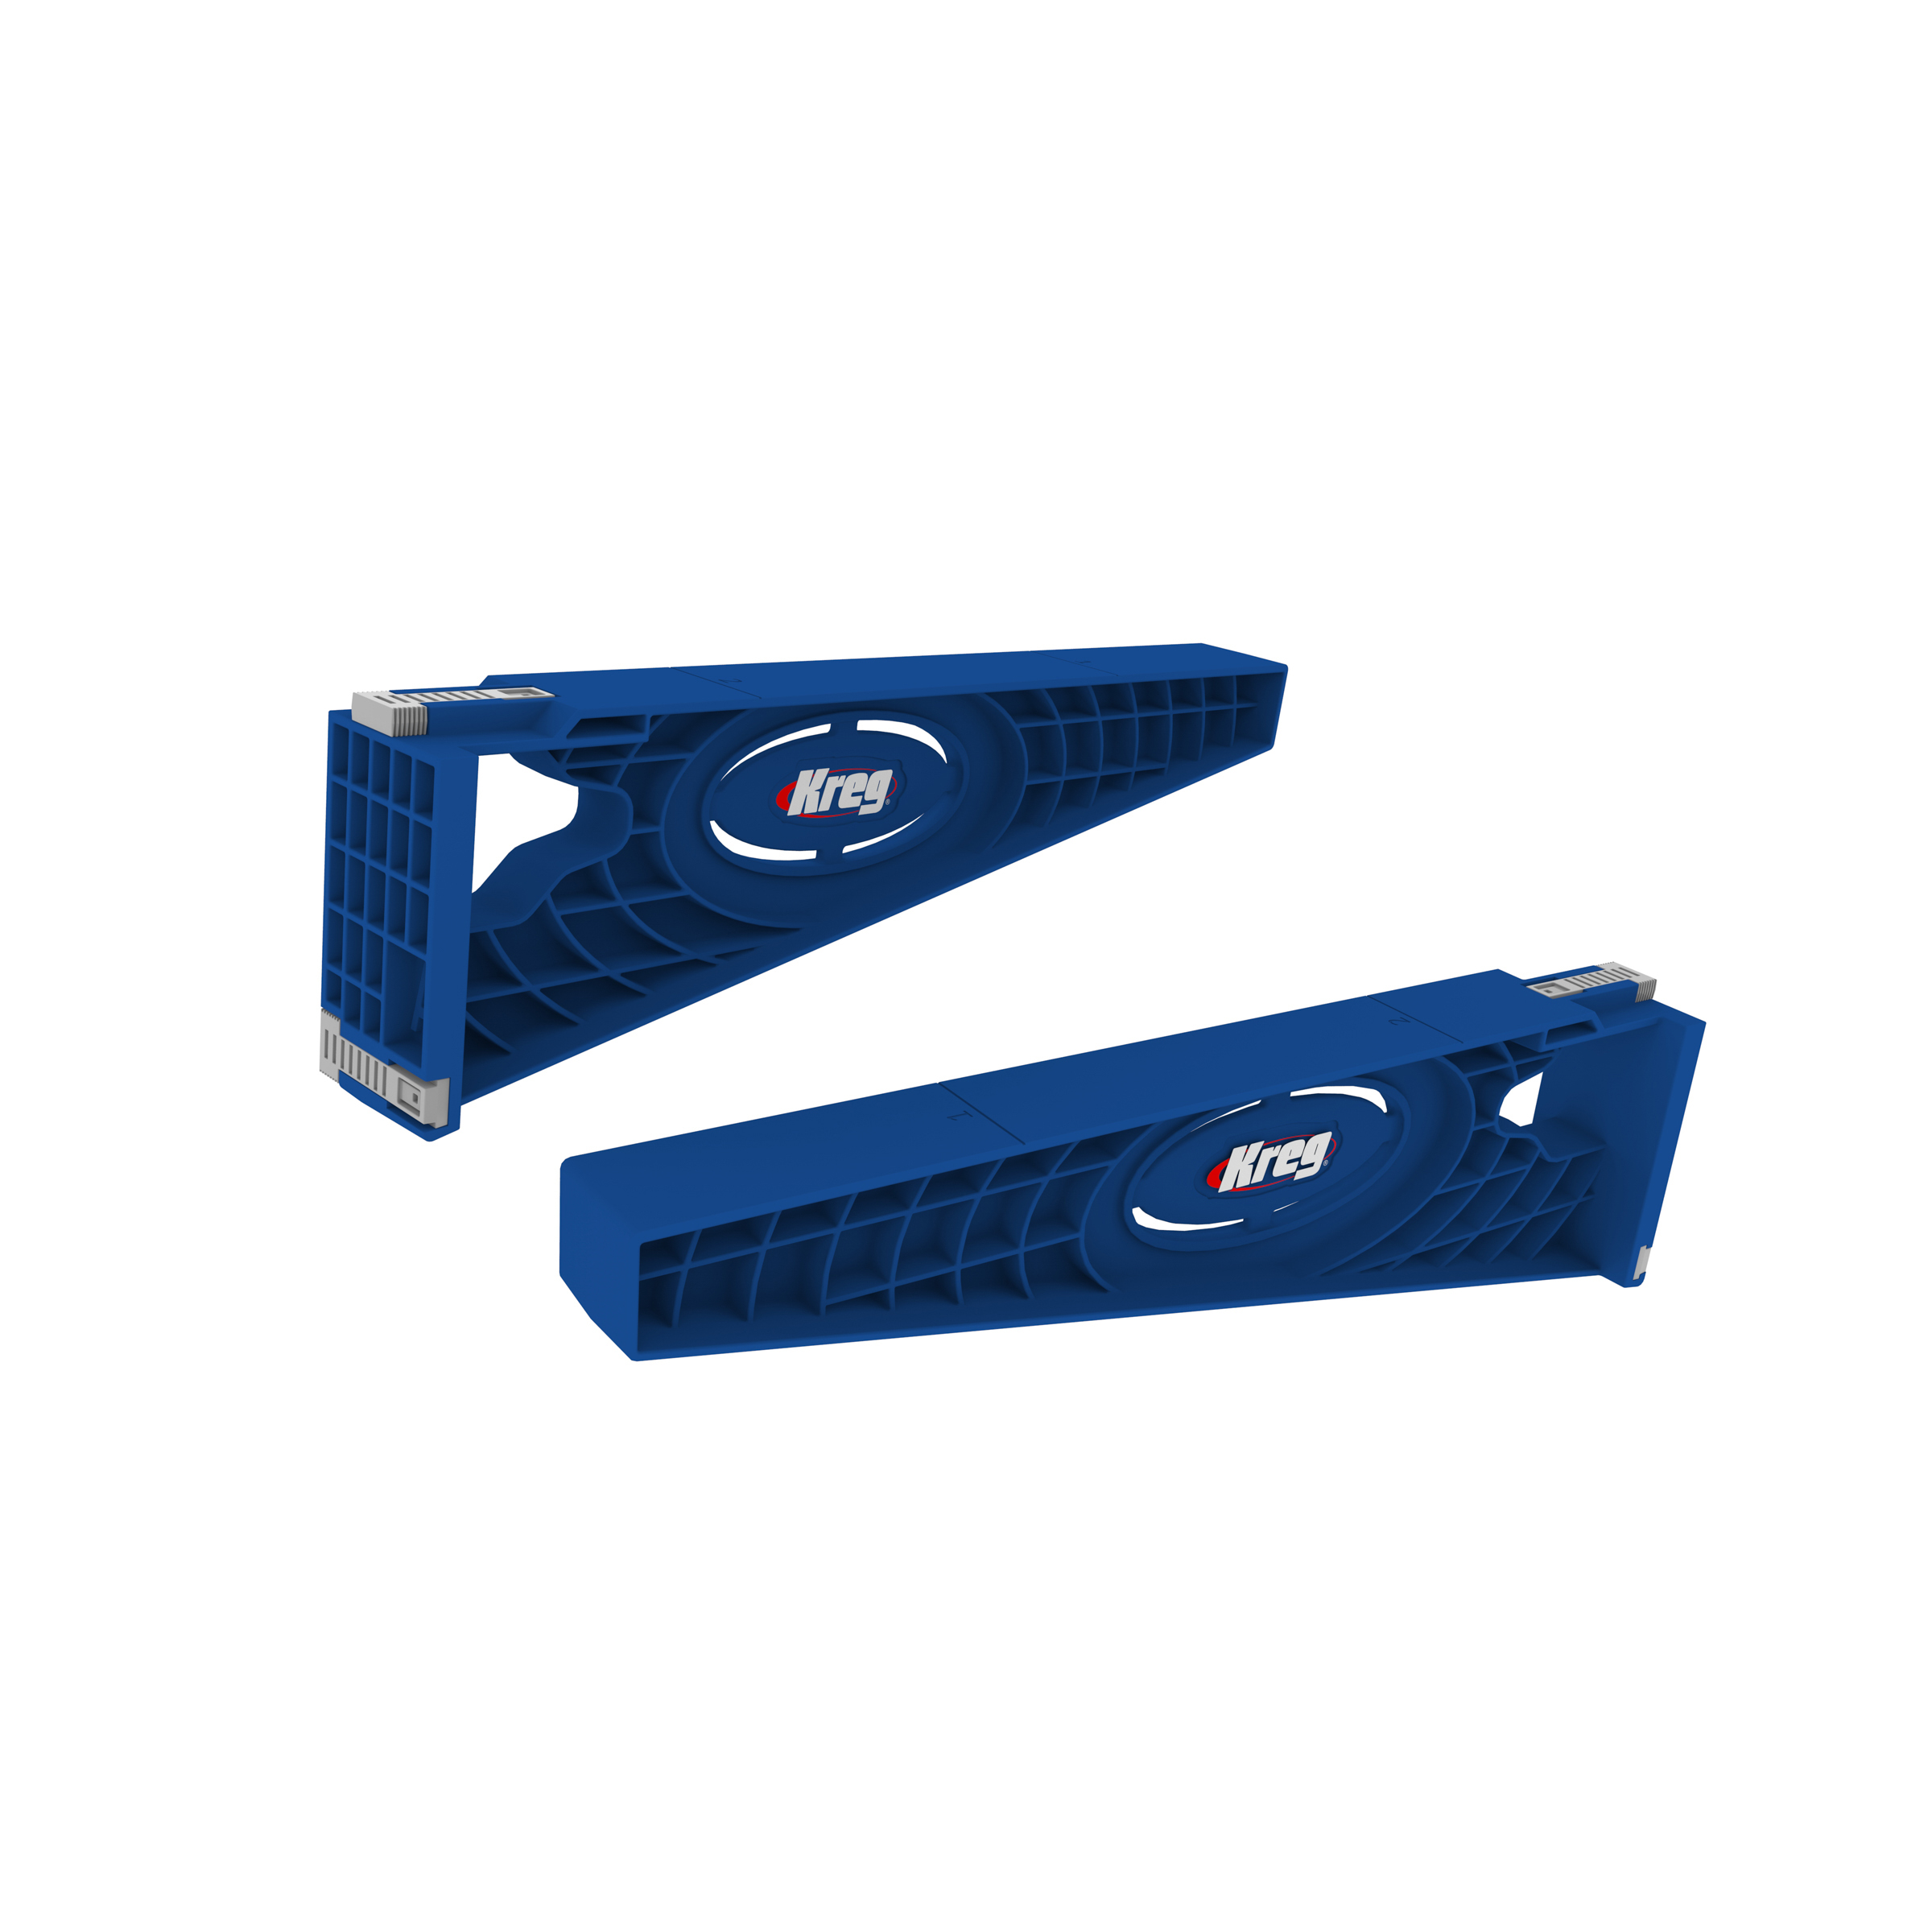
Install the desired drawer slides and insert the drawer boxes into the cart. Side mount or under mount drawer slides can be used, depending on preference and budget.
-
STEP 5
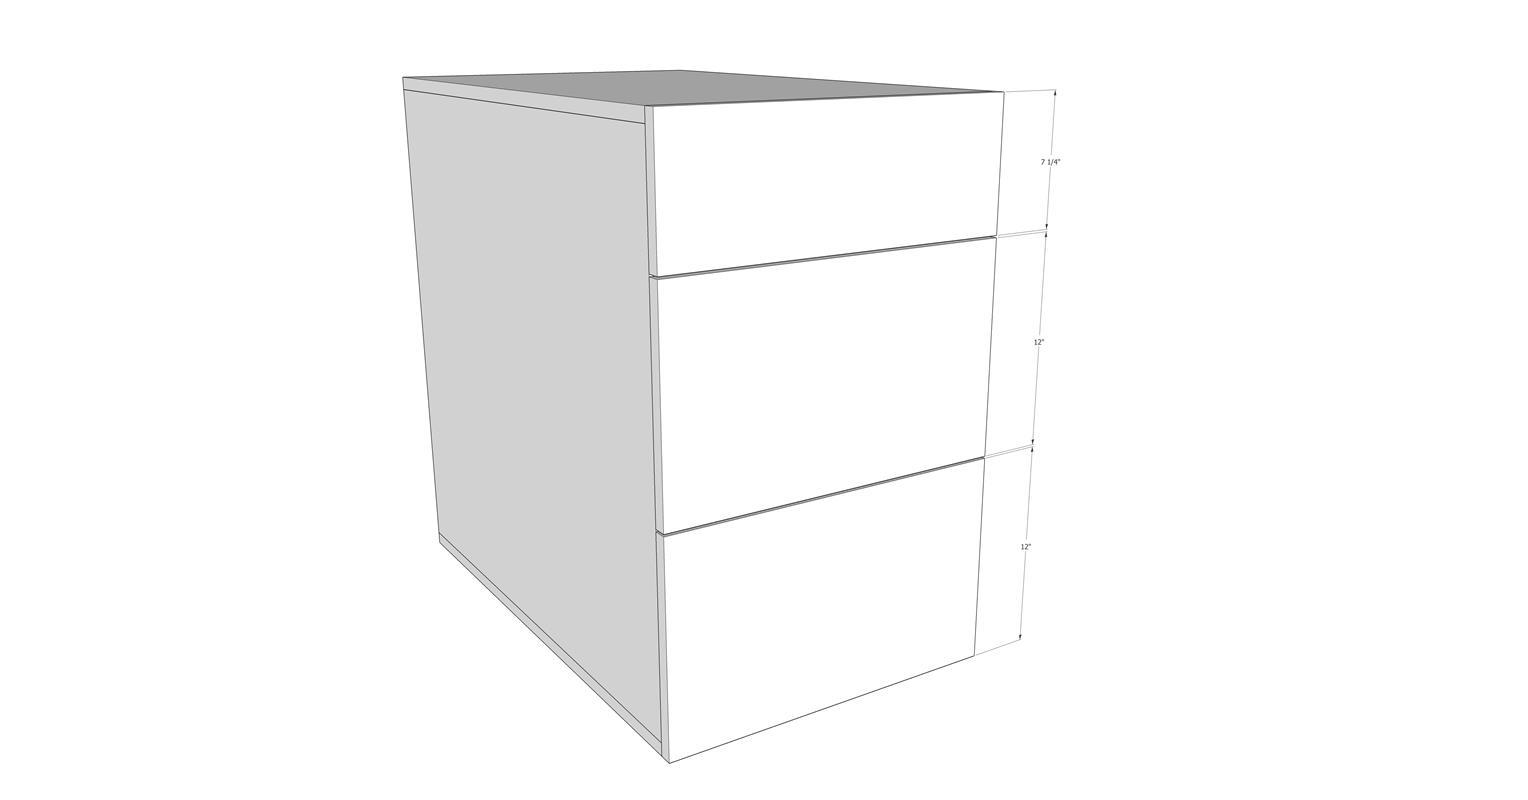
Install the drawer fronts. The top drawer front should be flush with the top of the cart. The bottom drawer front should be flush with the bottom of the cart. There will be approximately a 1/8" gap between drawer fronts when the middle drawer front is installed. Nail the drawer fronts in place using two 1" brad nails going in through the front. Pull the drawer out and firmly attach them using 1" wood screws drilled from the inside of the drawer box, in all four corners.
-
STEP 6
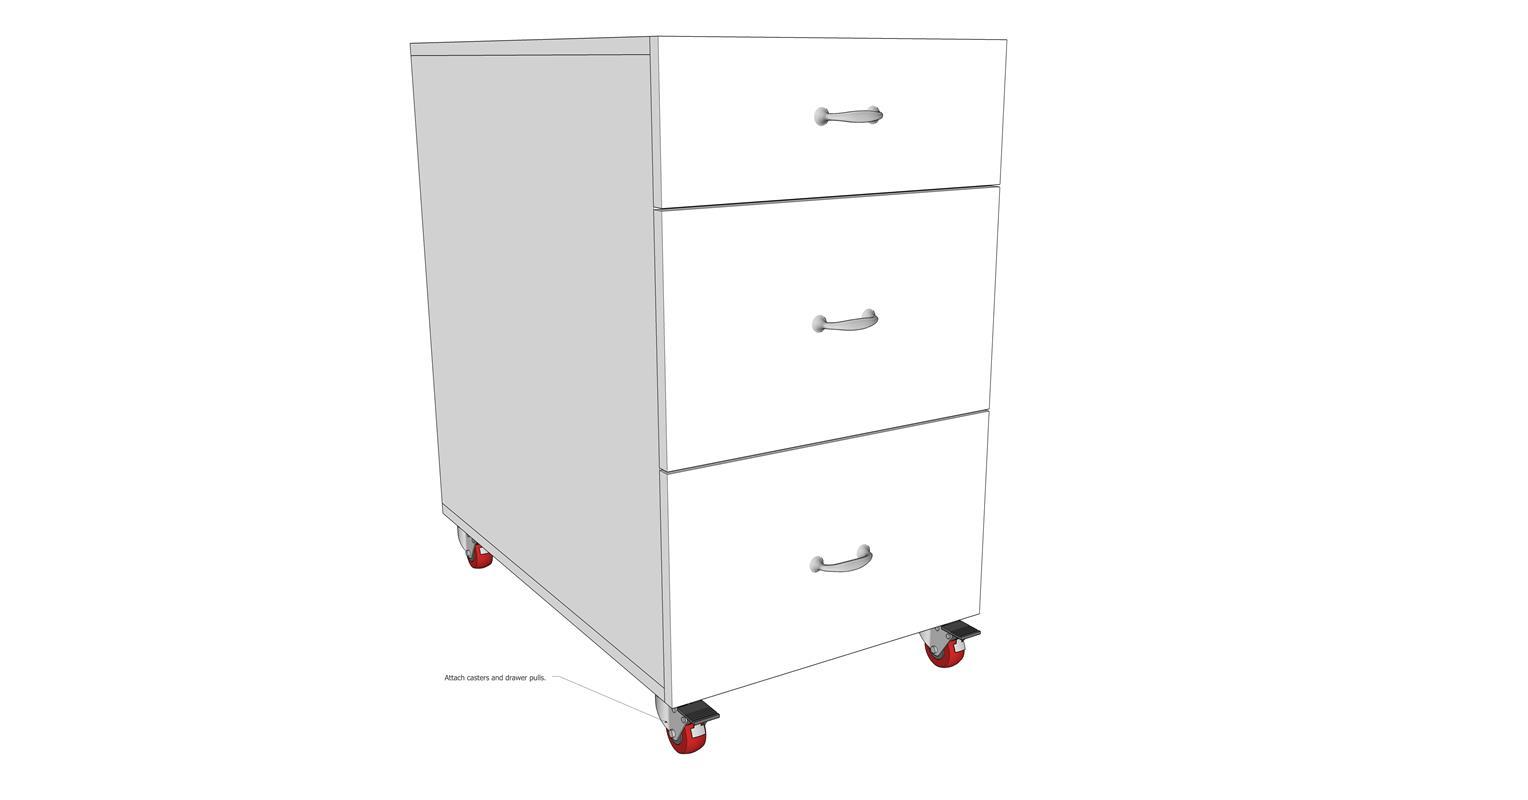
Install the drawer pulls and 2" locking casters. Use 5/8" wood screws to install casters.


