


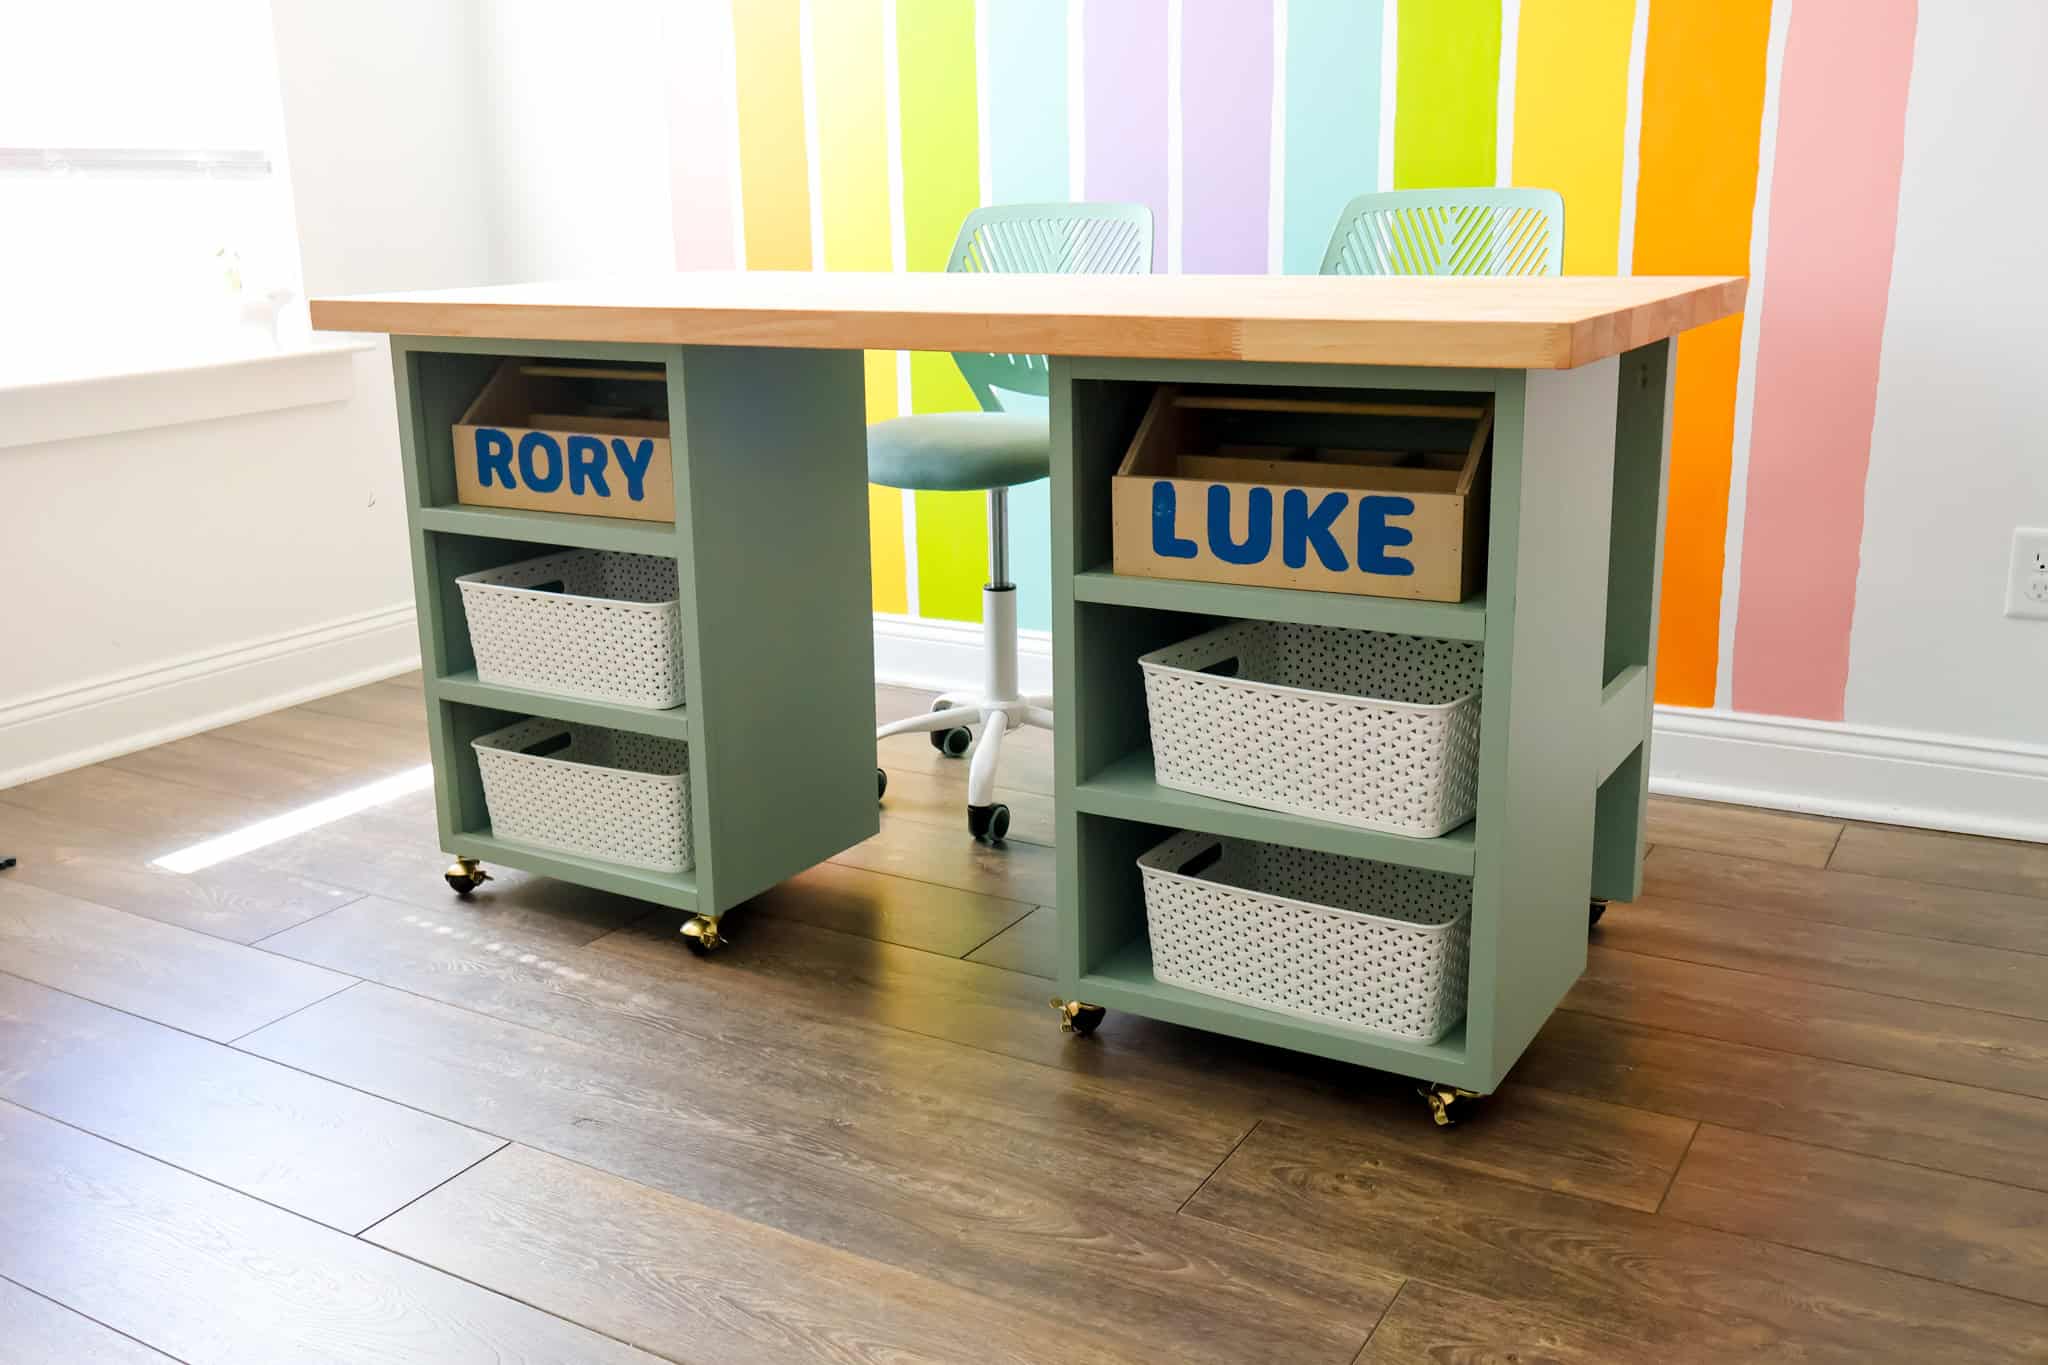
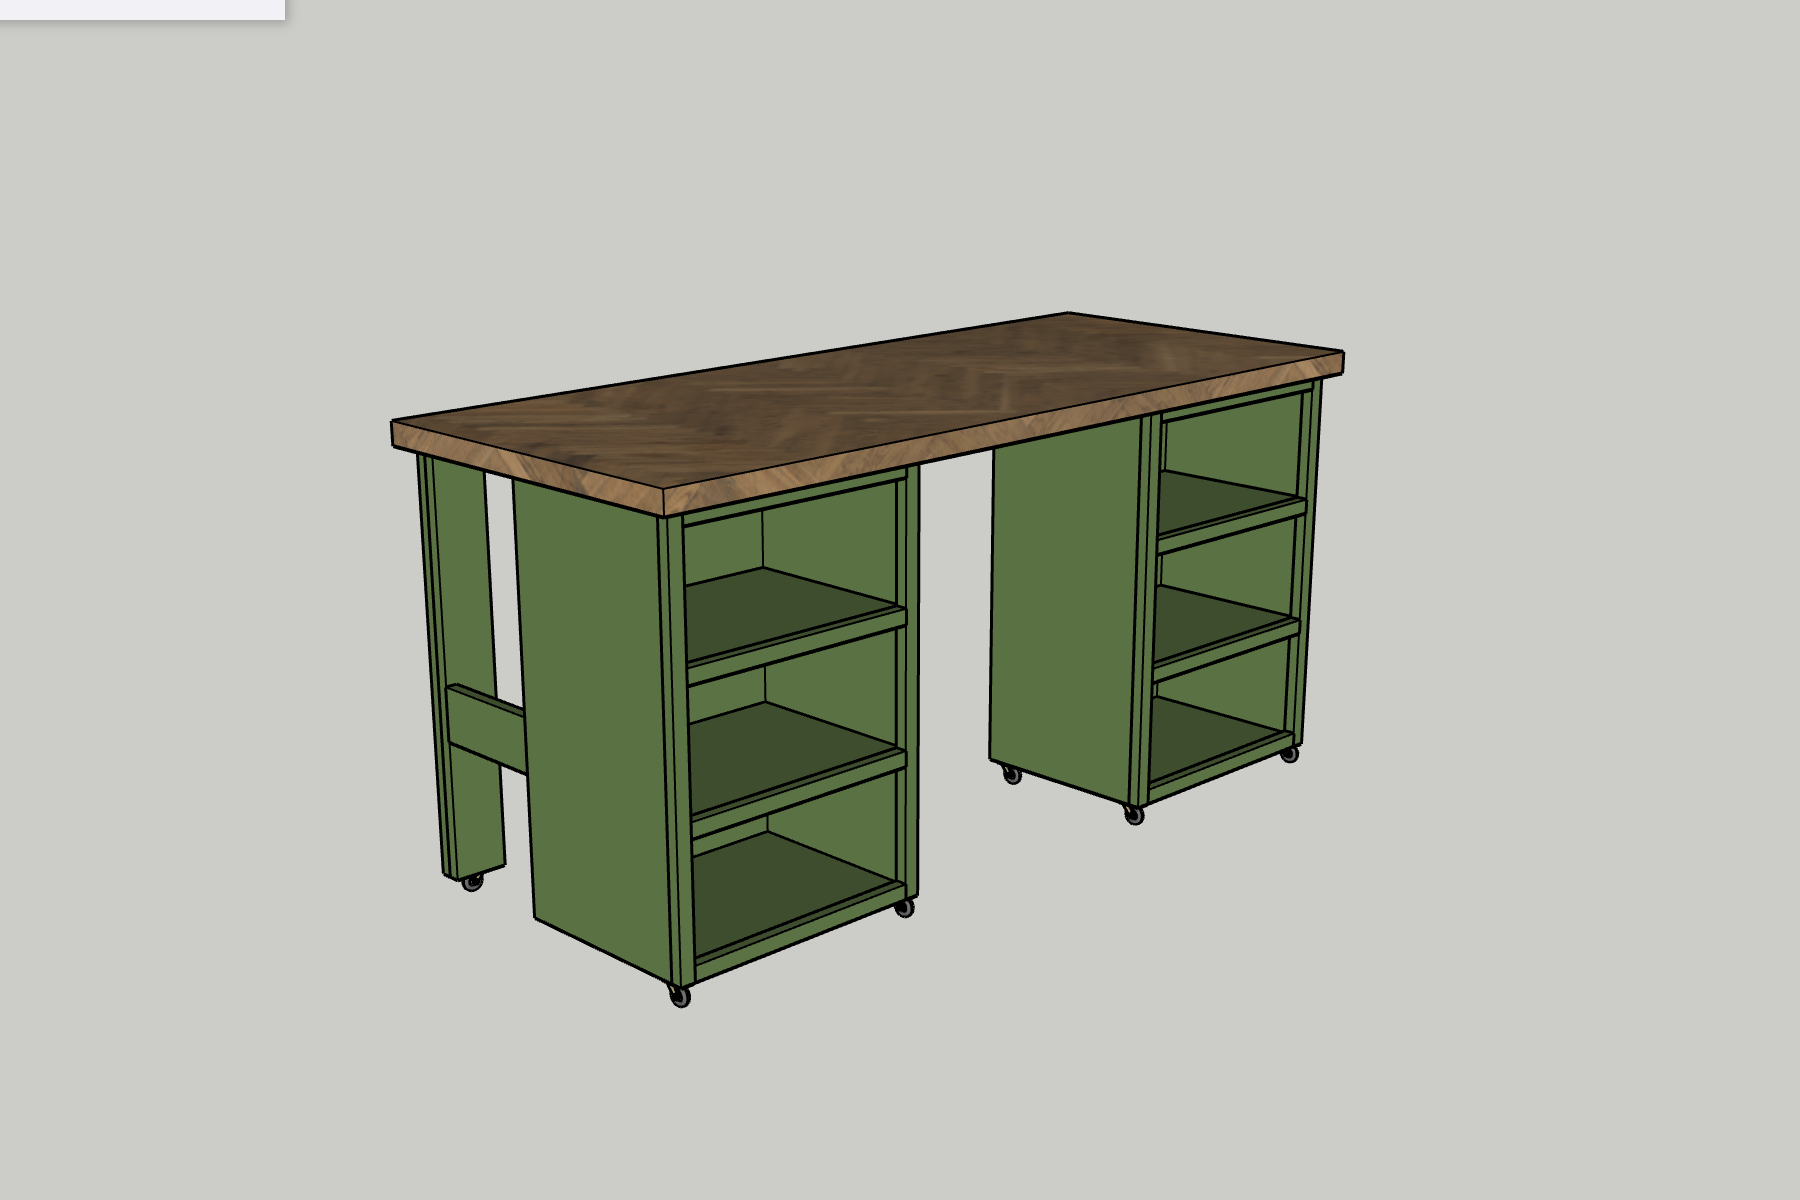
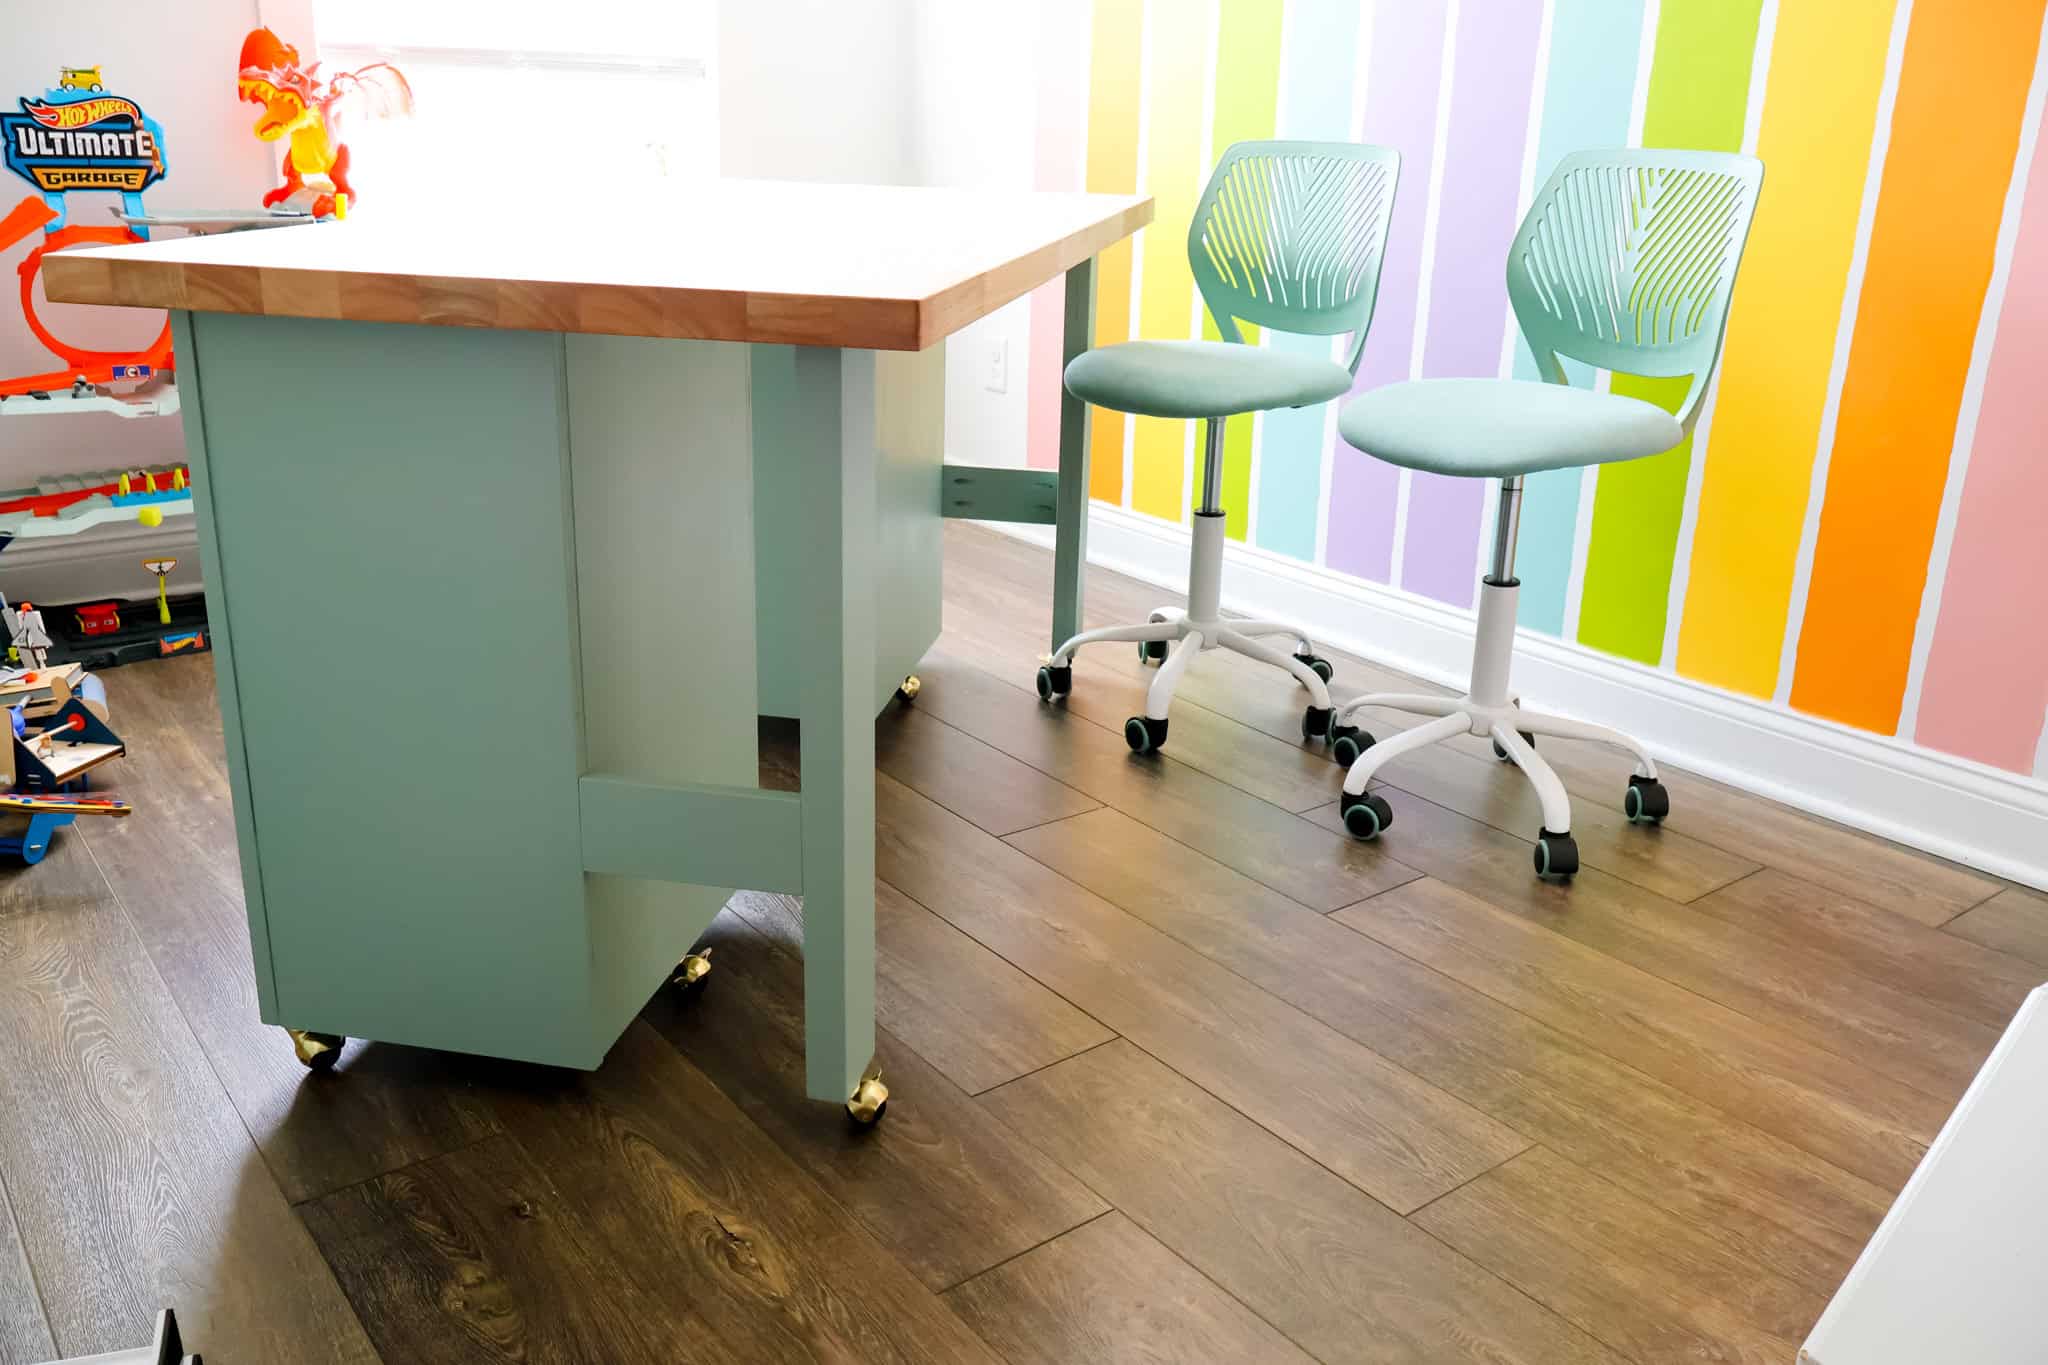
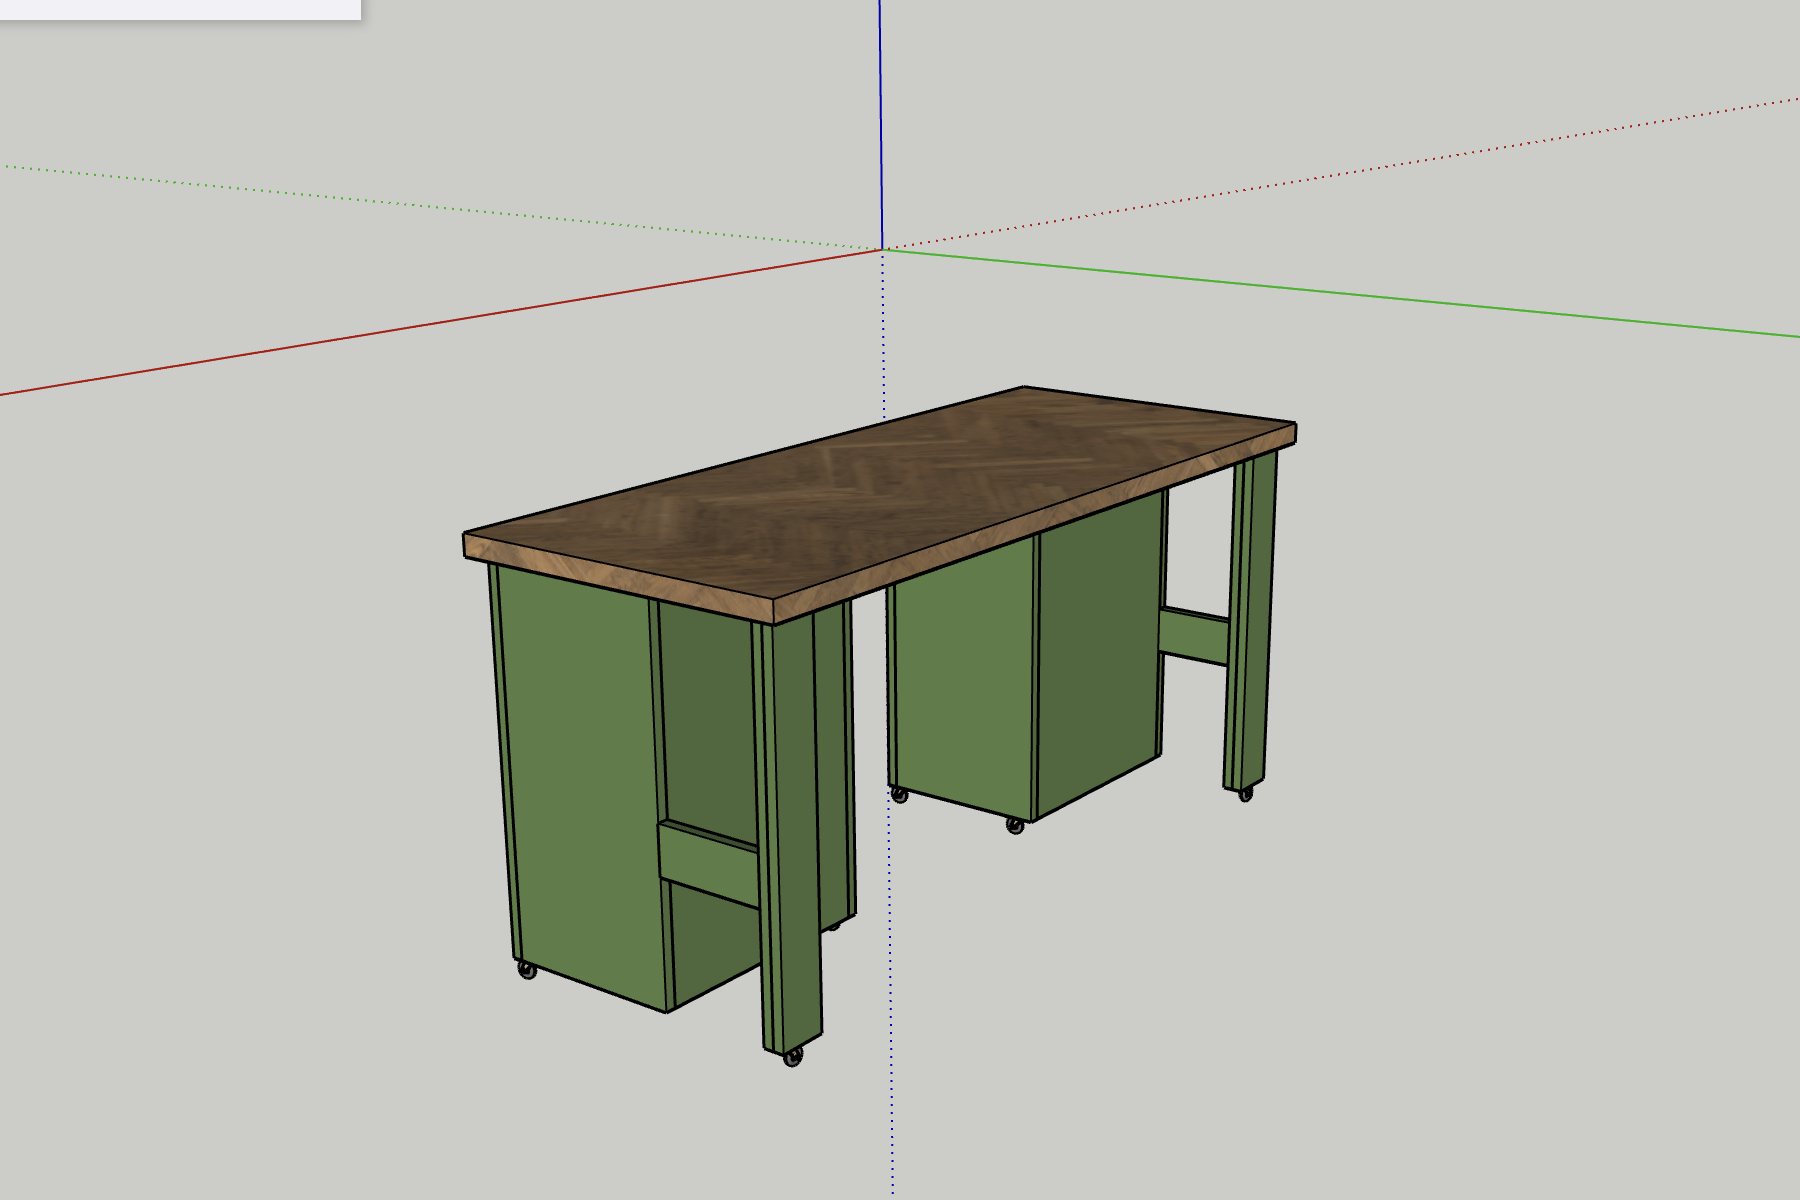
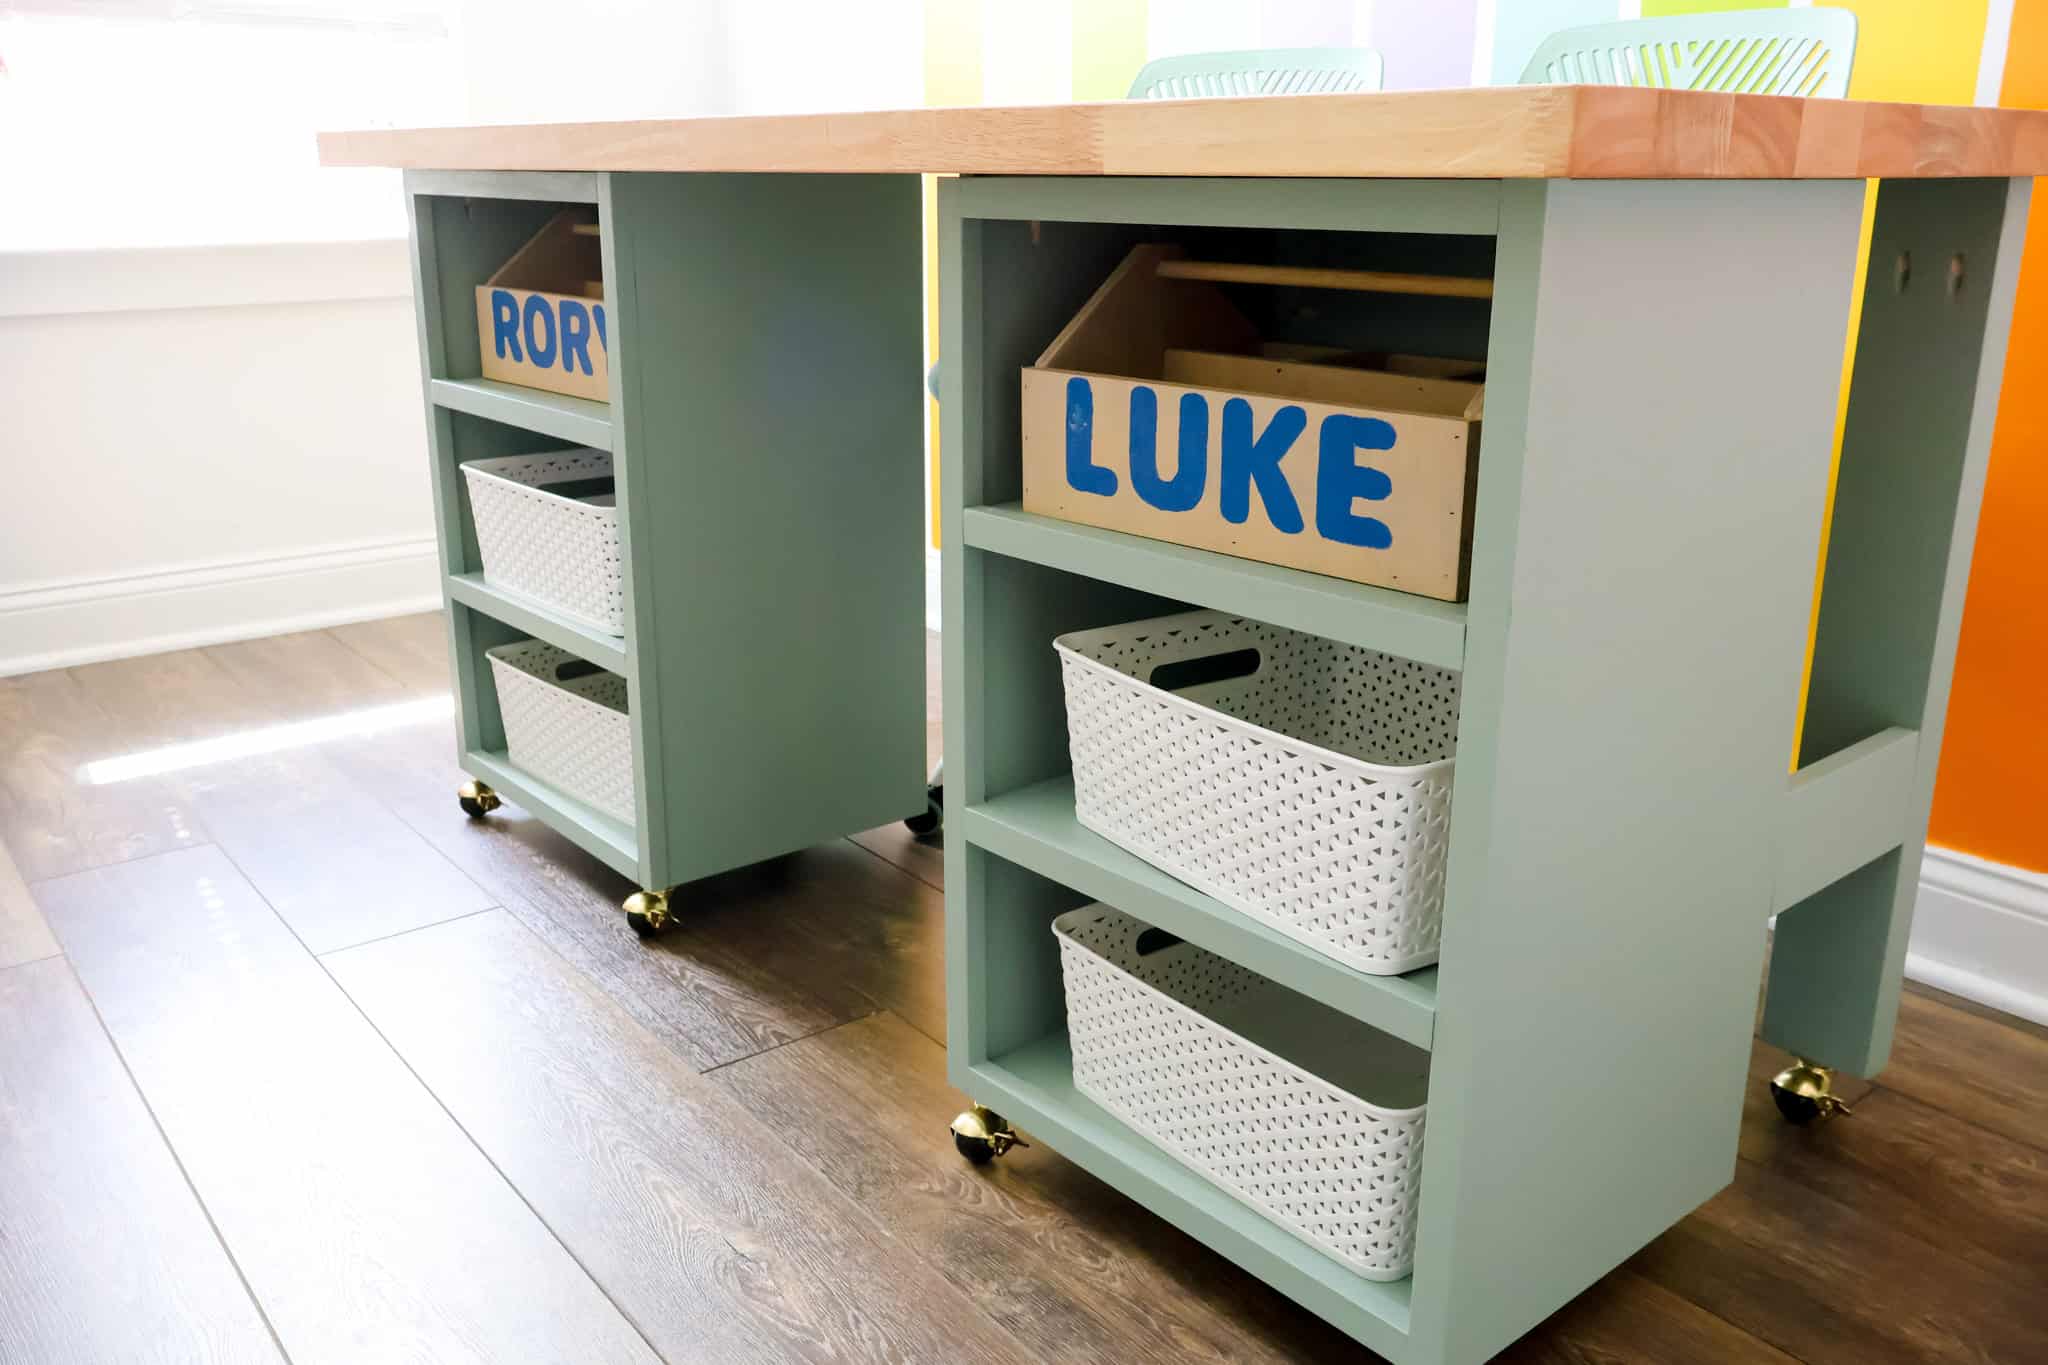
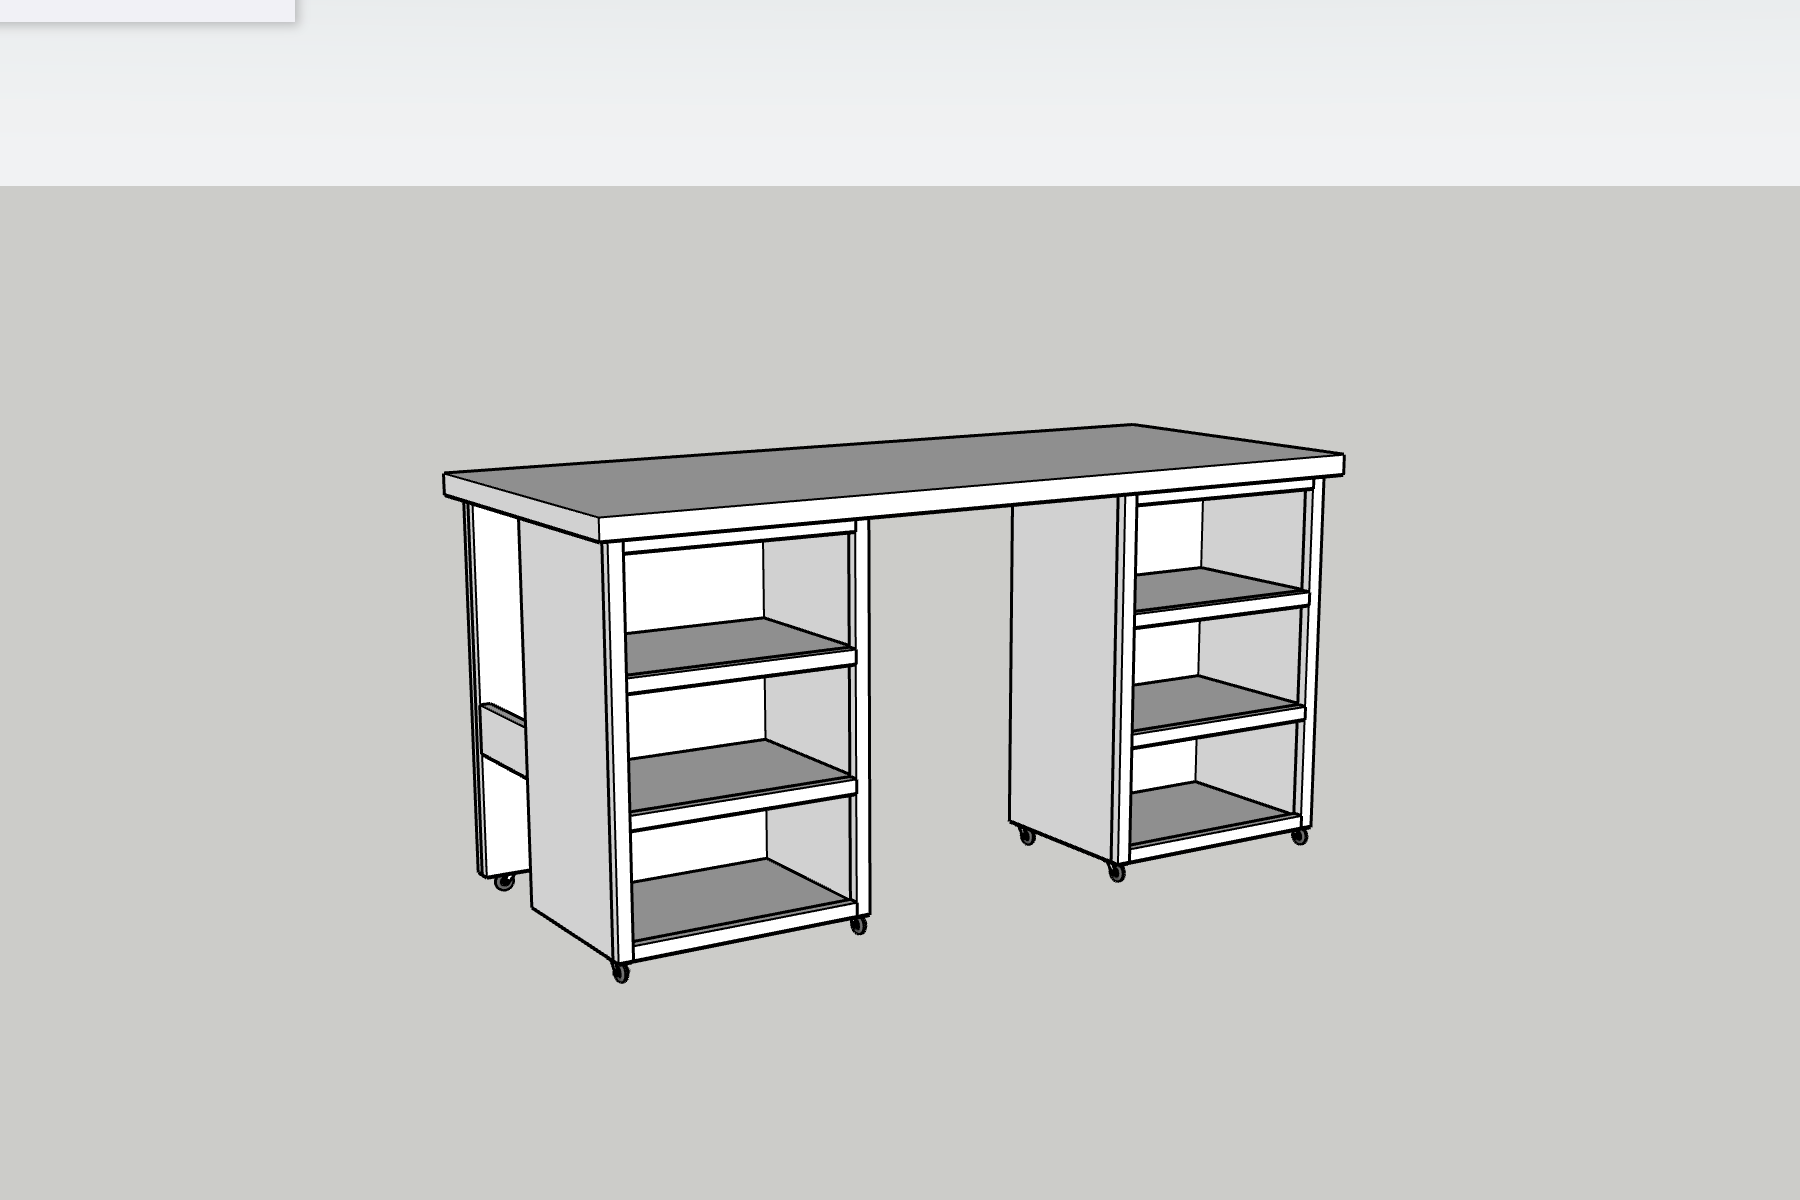

Do your kids need a dedicated space to craft, build or do homework? This rolling craft table can be moved around, stores supplies and gives a huge work surface.
Tools
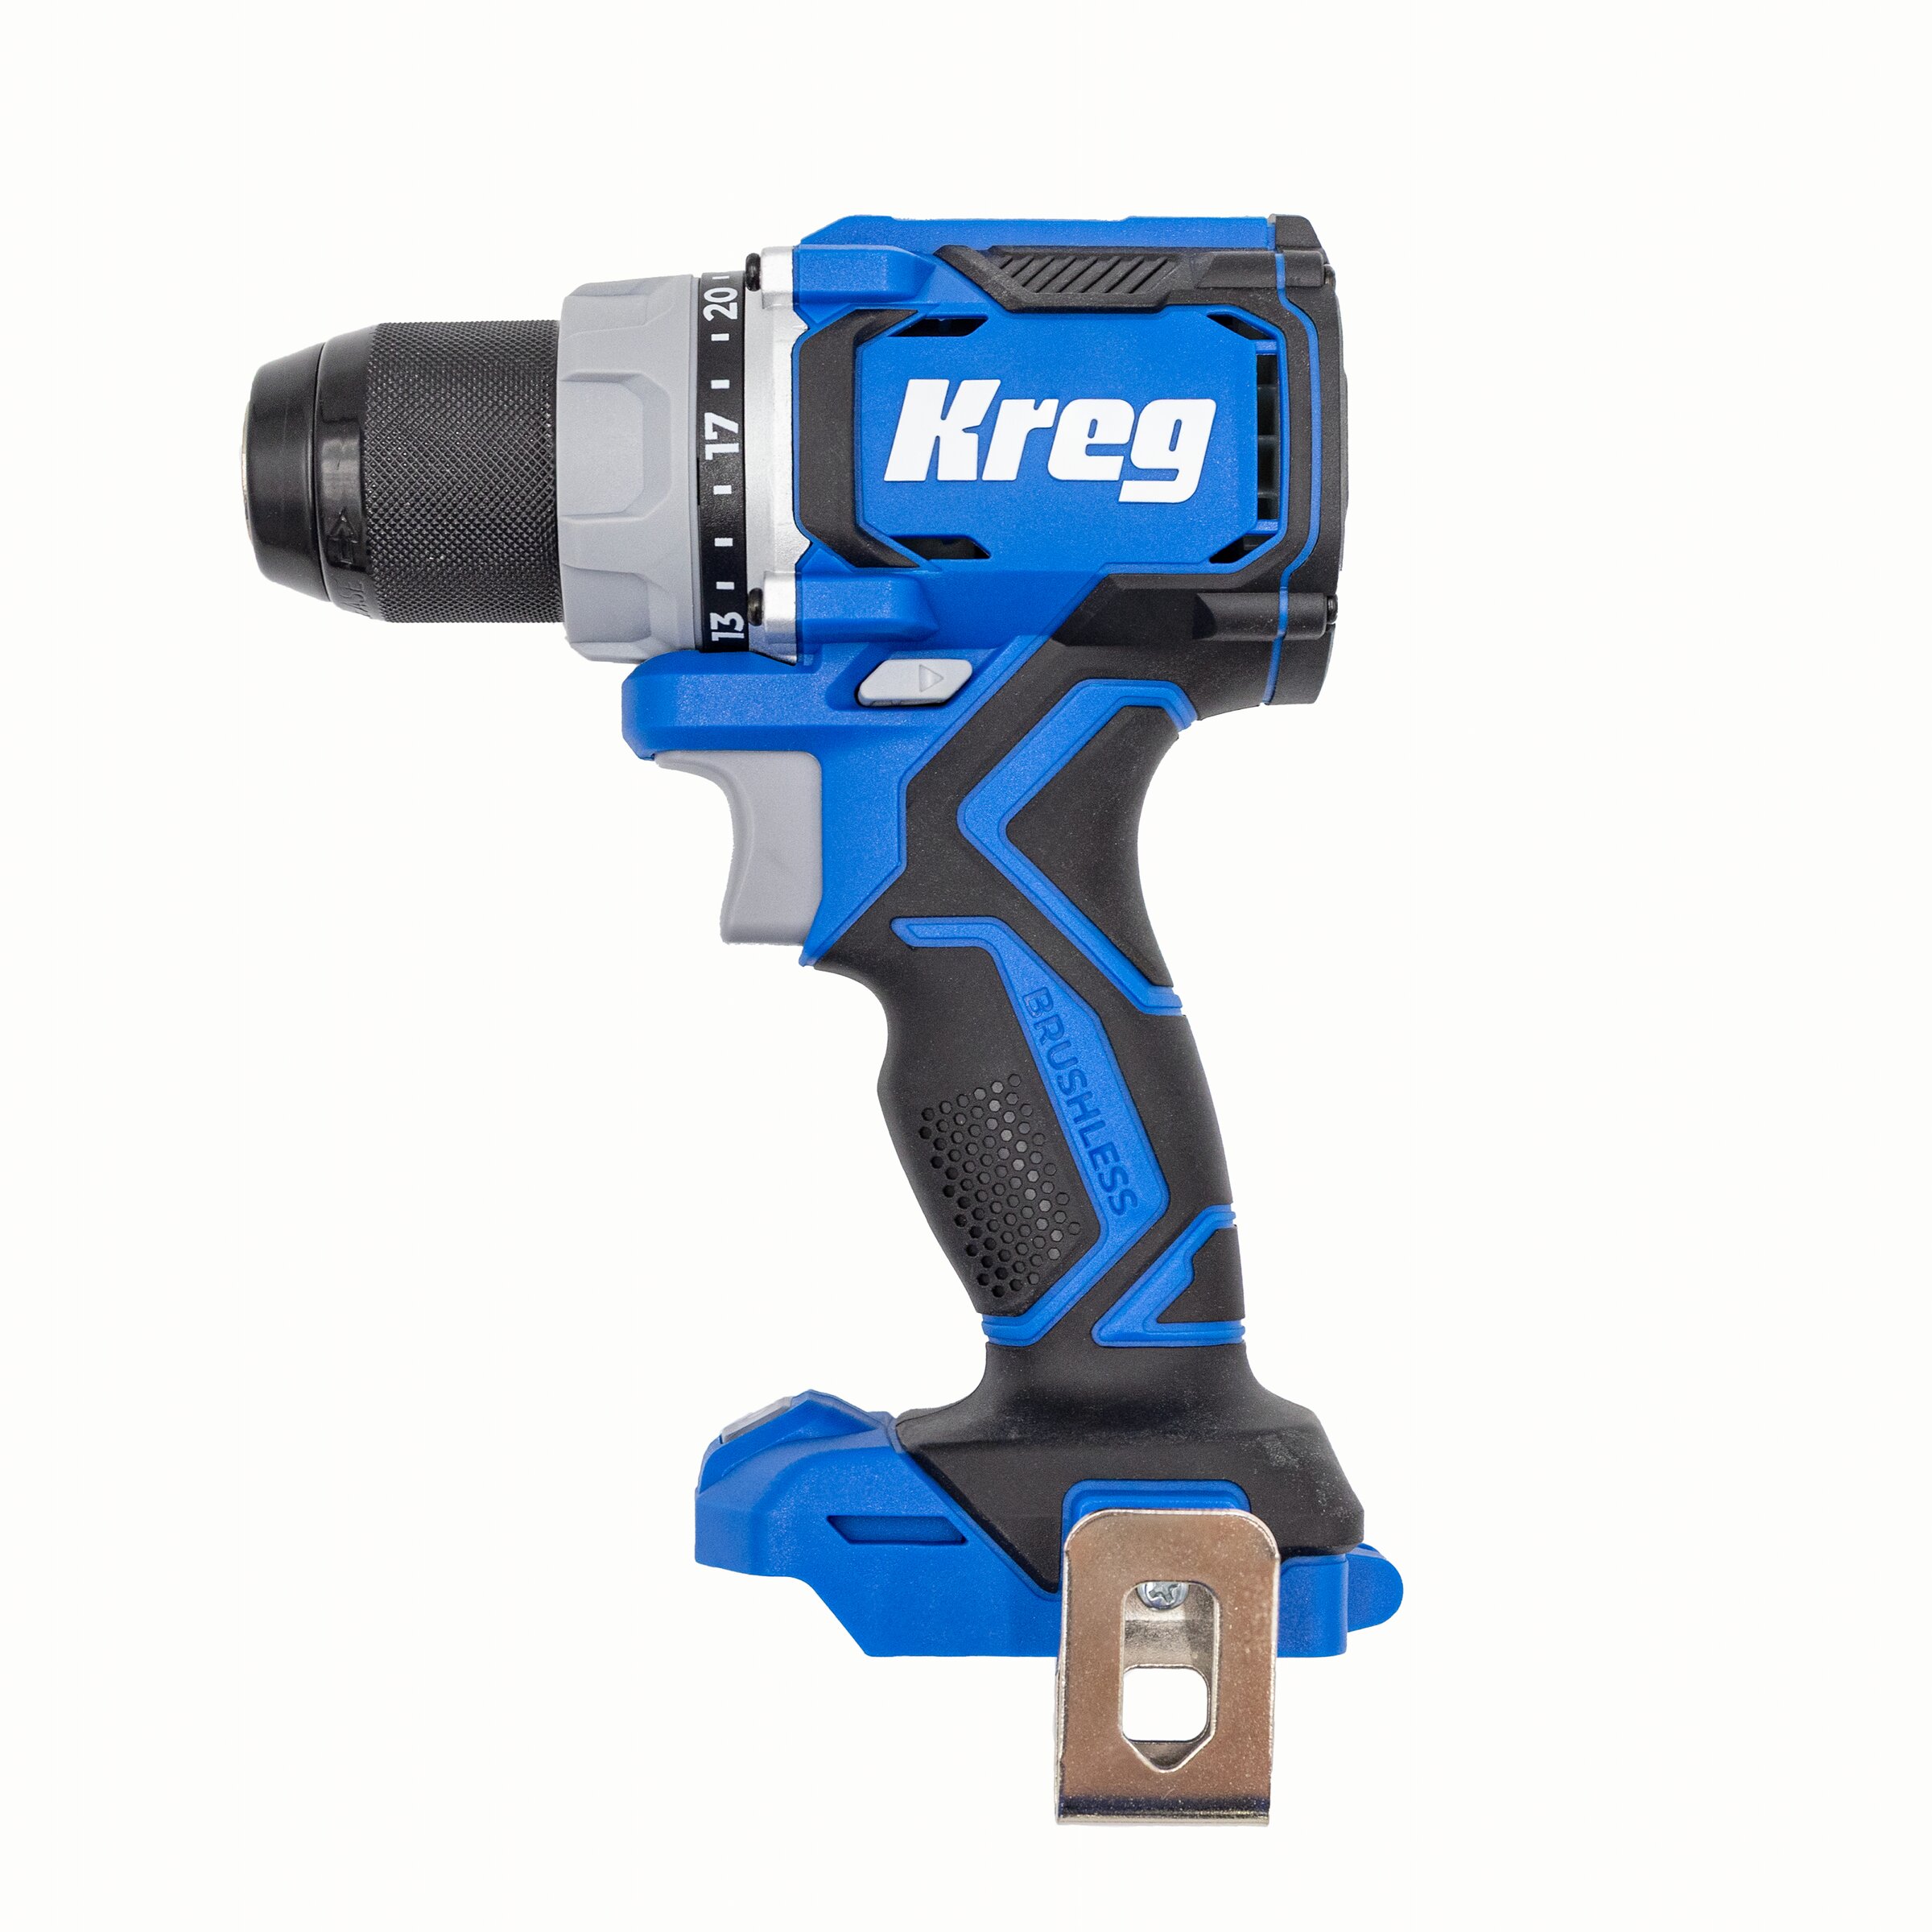
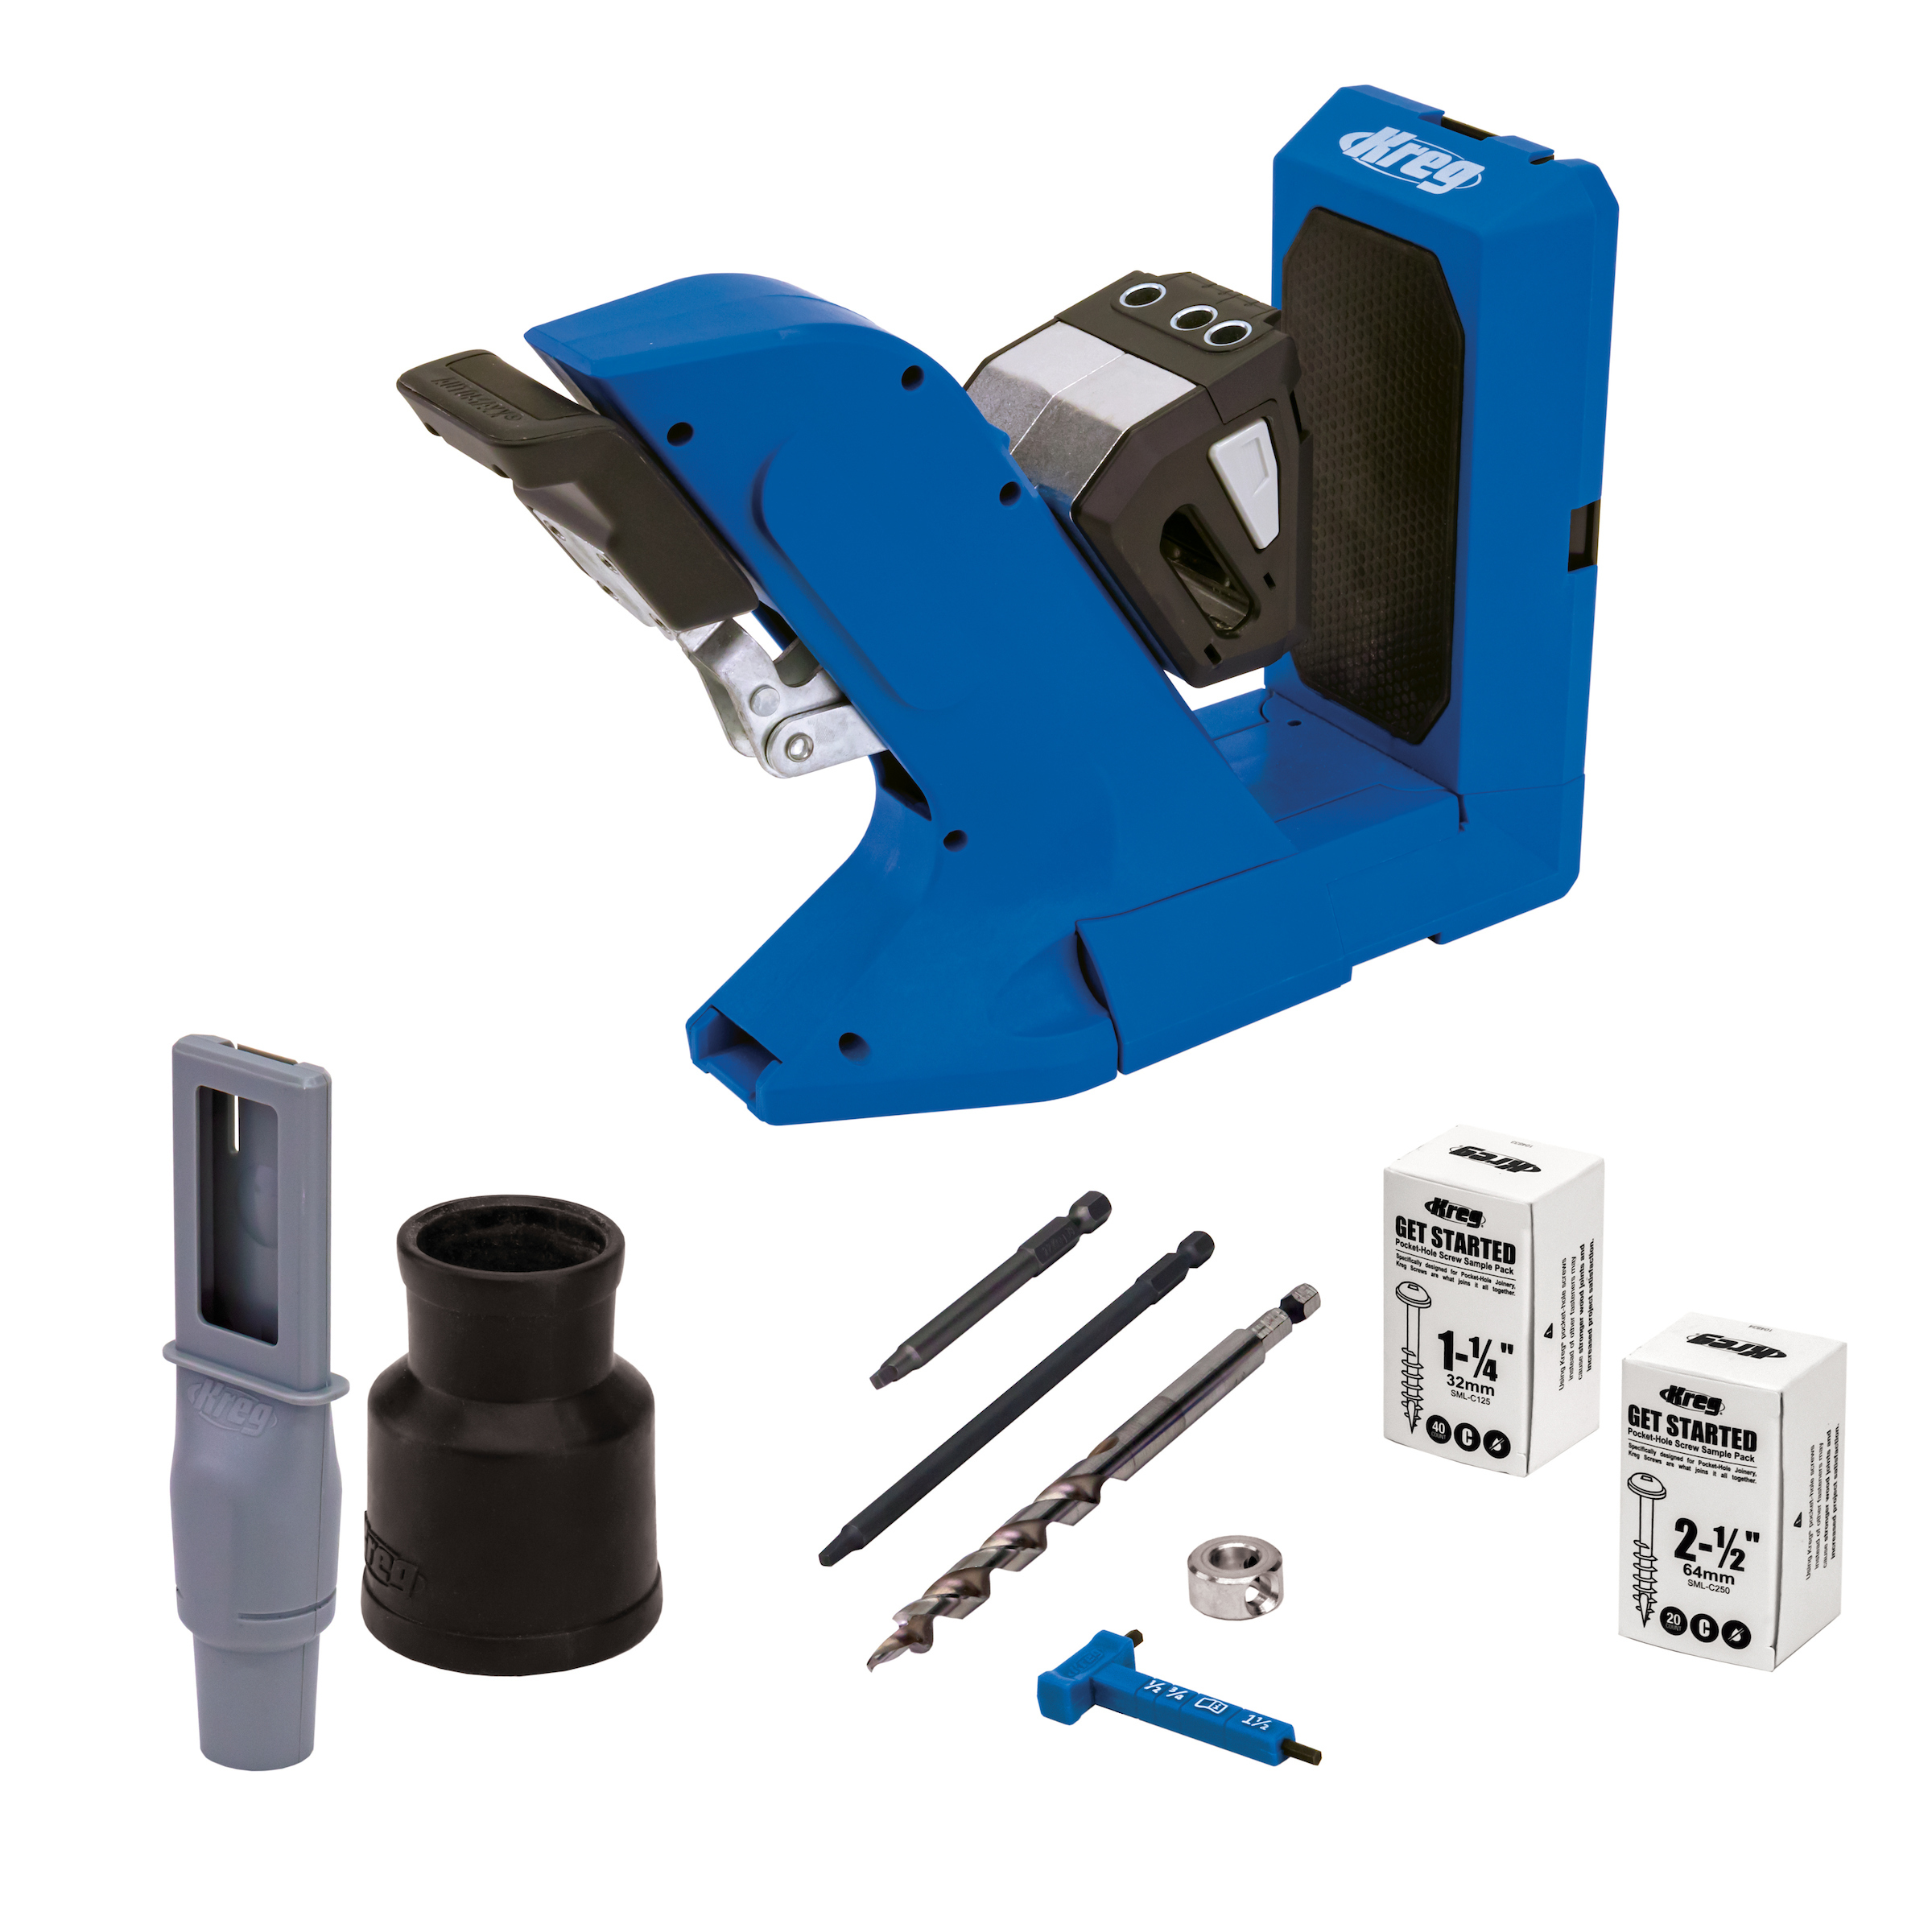
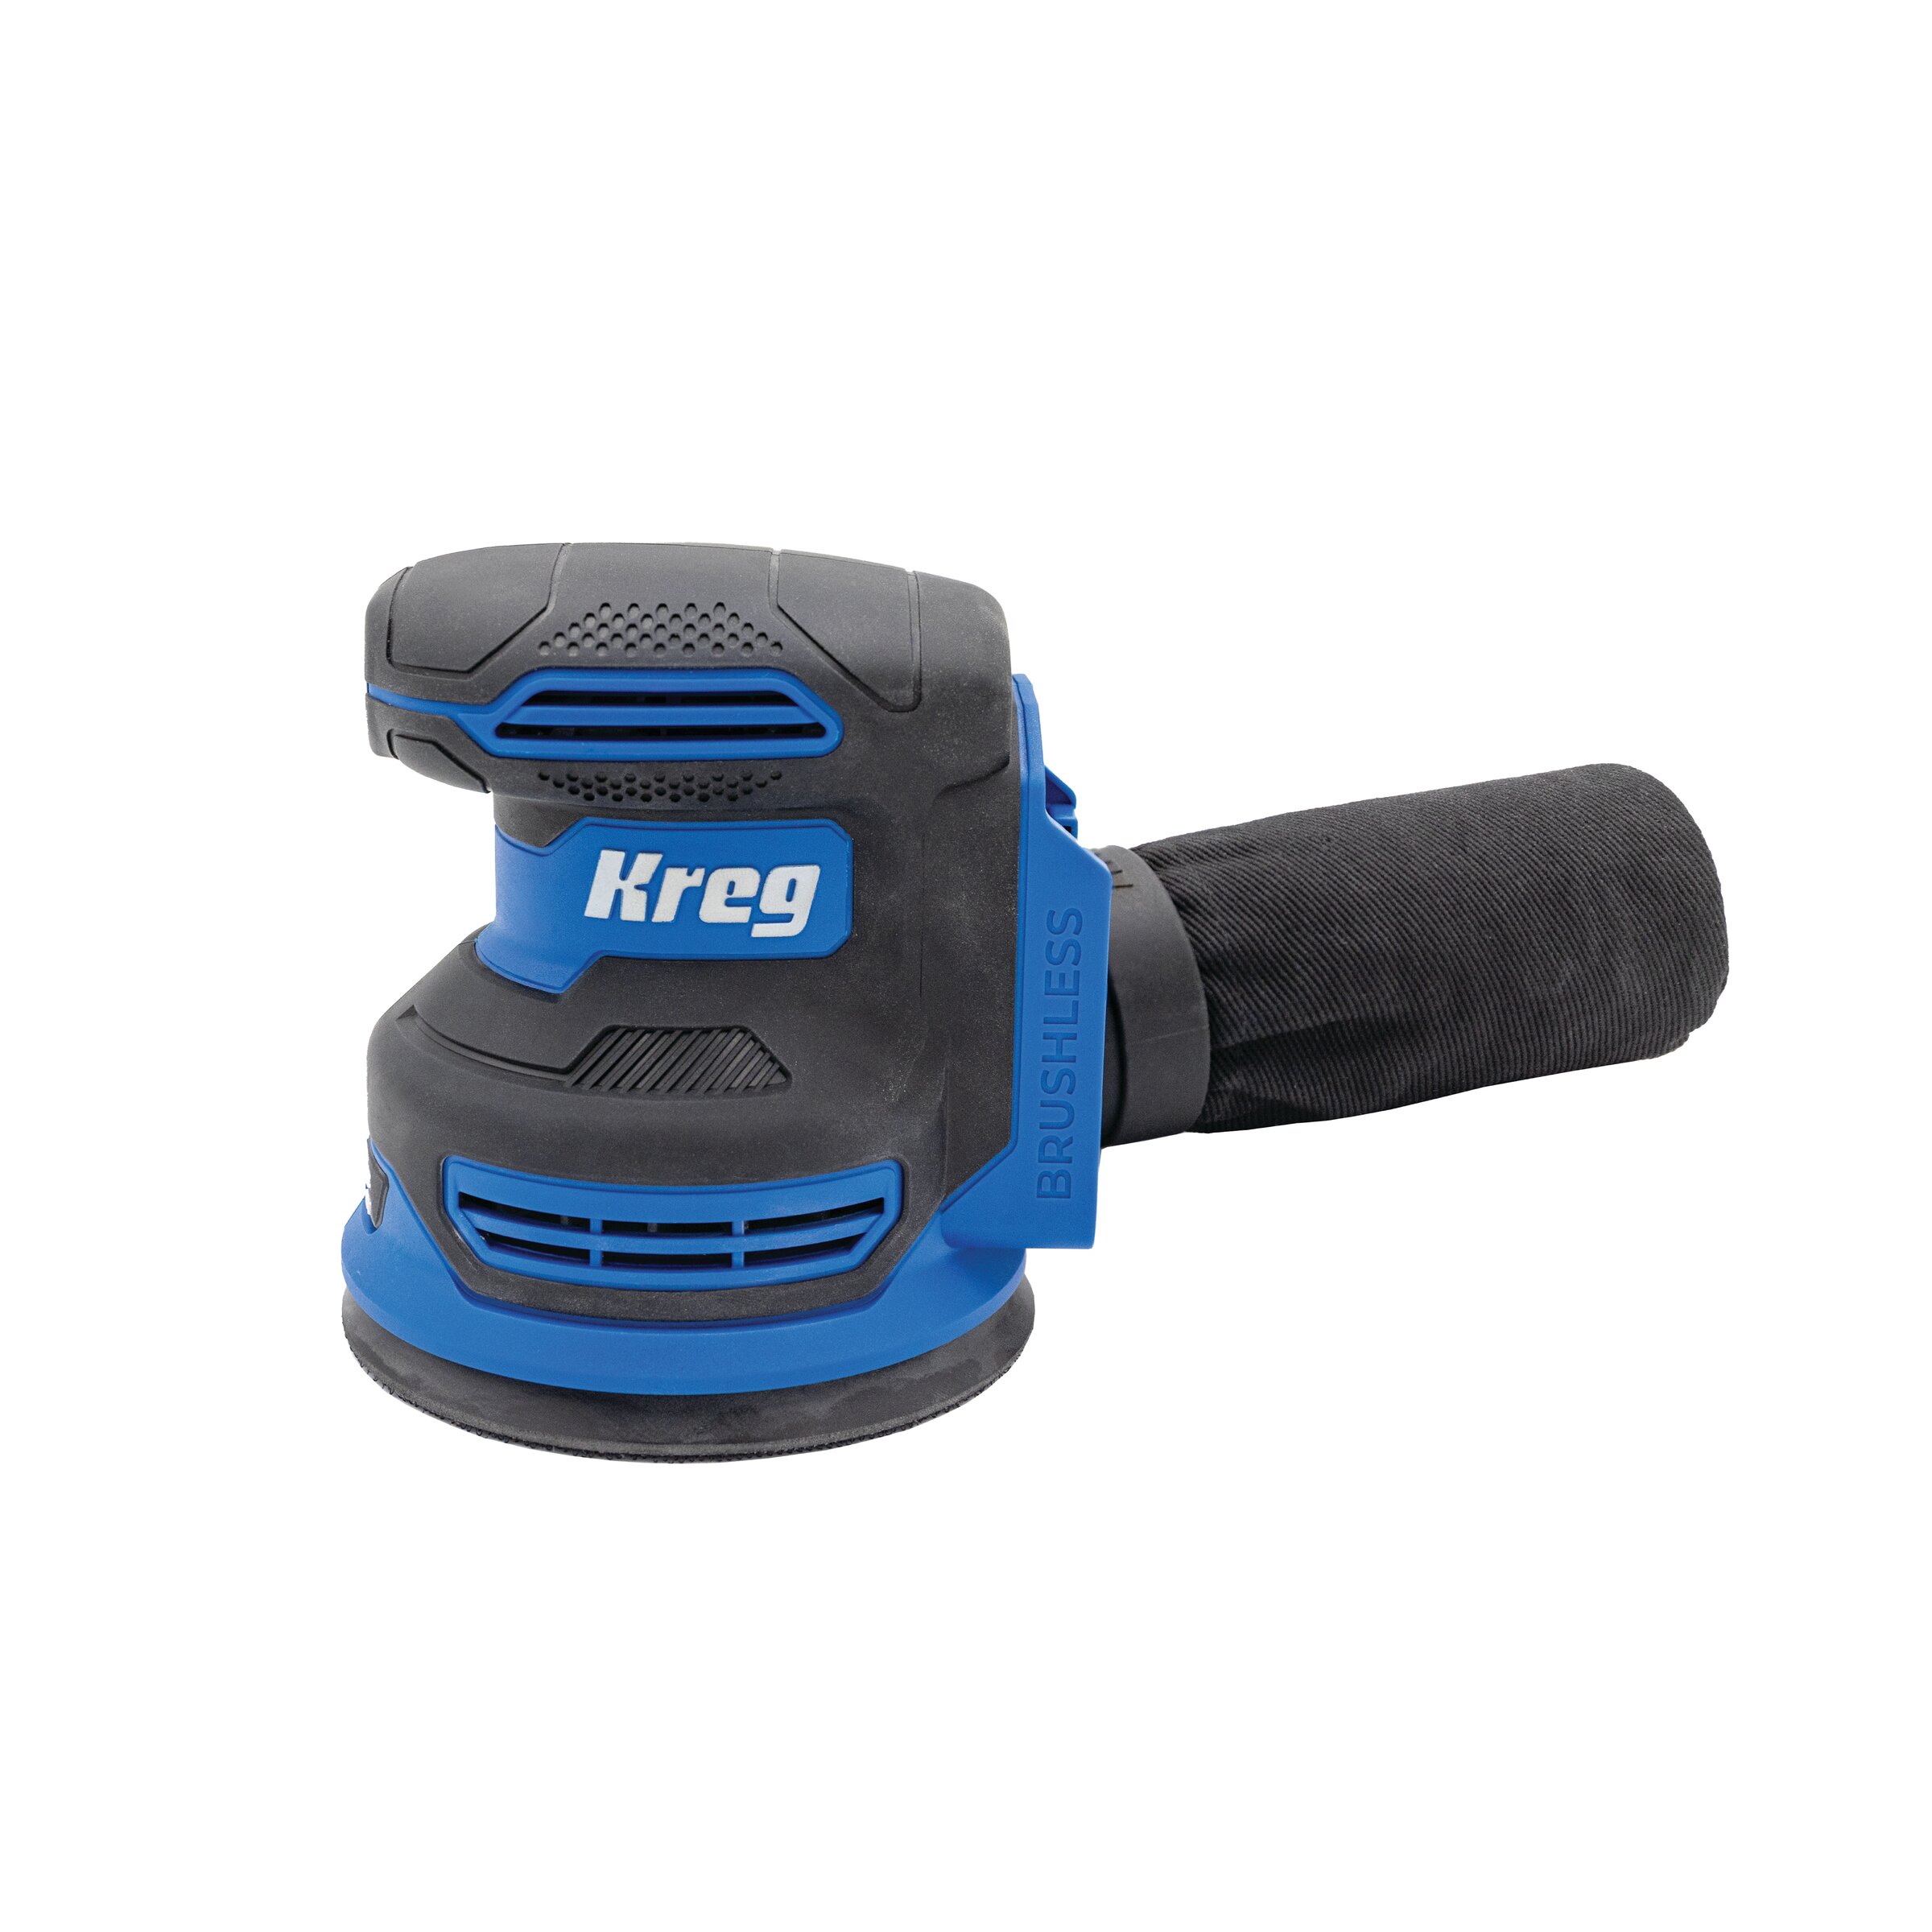
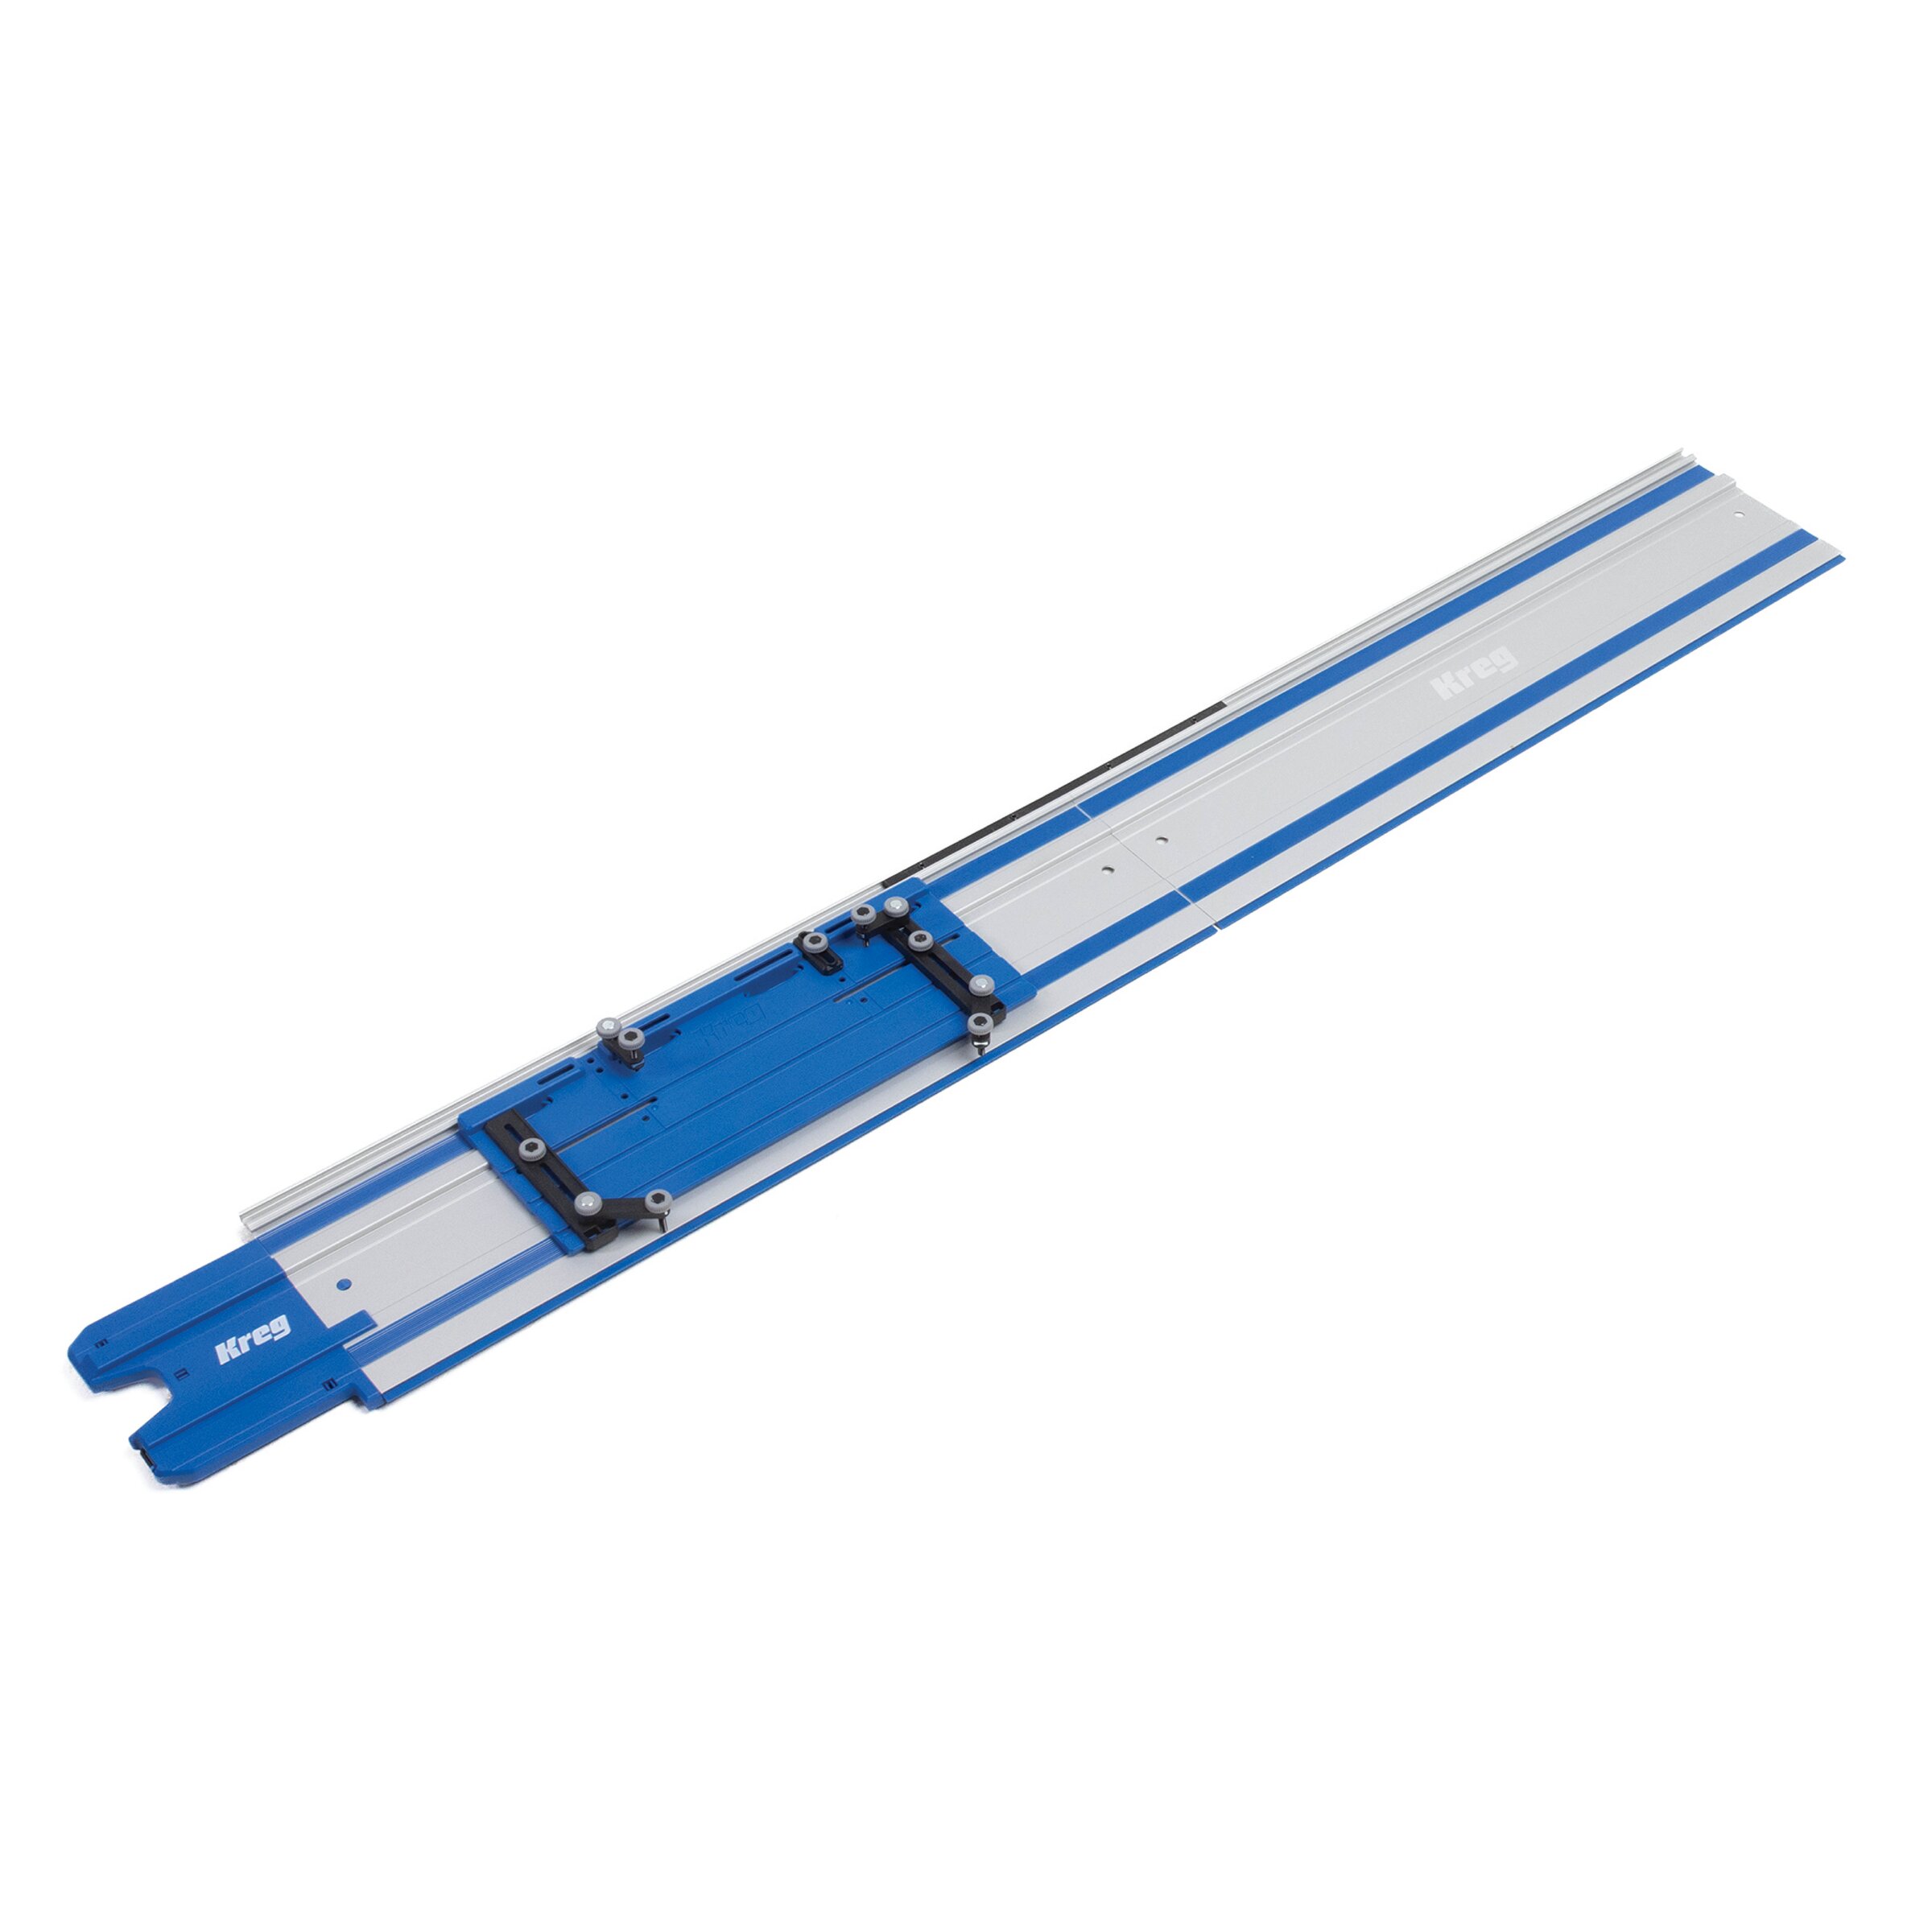
Kreg Tools
Materials
Wood Products
- 1 Butcher Block , 30"x60"
- 1 3/4" plywood , 4'x8'
Hardware & Supplies
- 50 1 1/4" Kreg pocket hole screws
- 4 2 1/2" Kreg pocket hole screws
- 8 Rolling casters
- 1 Wood glue
- 1 Wood oil
- 1 Paint of choice
Directions
-
Drill pocket holes
Drill the following number of pocket holes on each piece:
(4) Legs- two on one end of each set after step two
(2) Spreaders- two on each end
(4) Cabinet Sides- two on one end
(2) Cabinet Backs- three on each long side, two on one end
(6) Shelves- two on each end
(4) Face Frame Verticals- none
(8) Face Frame Horizontals- one on each end
(1) Top- none -
Glue legs
- Spread a healthy amount of wood glue on one face of two of the Legs.
- Place the two unglued Legs on top of those glued faces.
- Use clamps to hold the two leg sets together until dry.
- Wipe away any excess glue to make sanding easier later.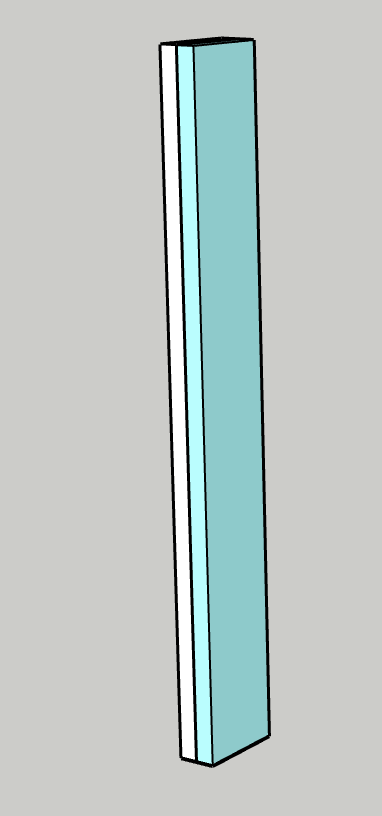
-
Assemble boxes
- Using wood glue and 1 1/4" pocket hole screws, attach a Cabinet Back between two Cabinet Sides.
-- Keep all pocket holes on the inside of the box so they aren’t visible on the outside.
- Using wood glue and 1 1/4" pocket hole screws, attach one Shelf between the two Cabinet Sides, flush at the bottom.
- Repeat for a second cabinet box.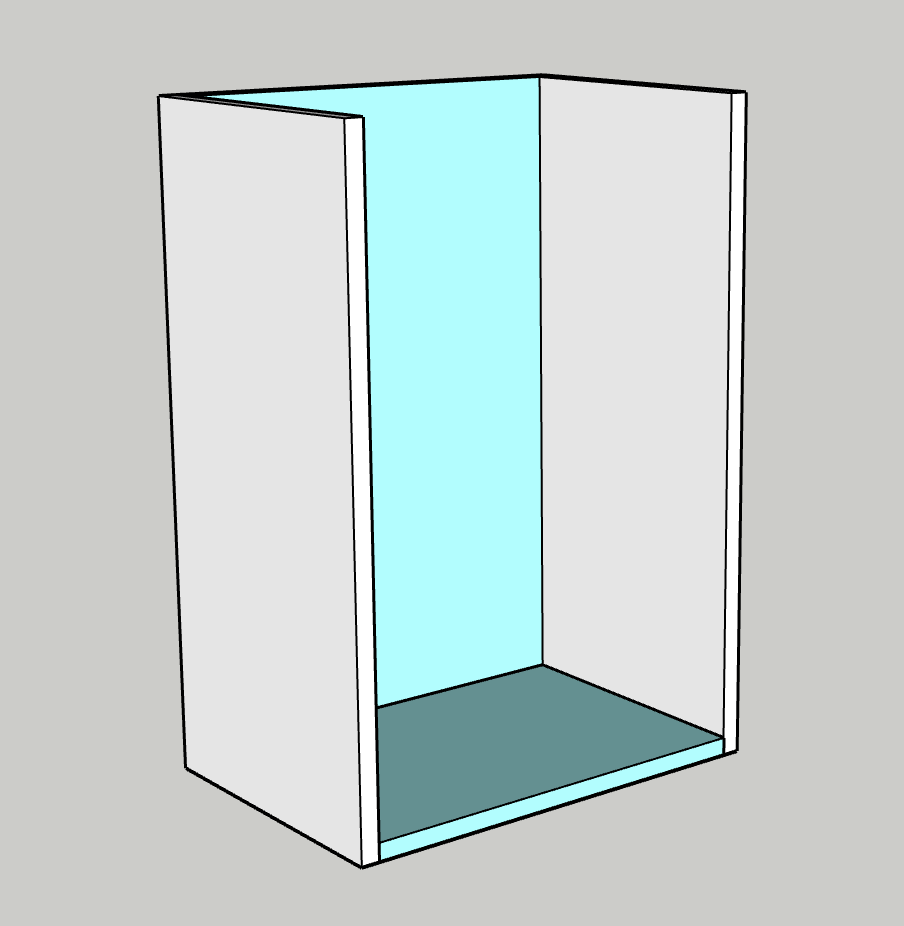
-
Add shelves
- Using wood glue and 1 1/4" pocket hole screws, attach two Shelves between the Cabinet Sides.
- Attach the first Shelf 8" up from the bottom Shelf and the second Shelf 8" above that.
- Repeat for the second cabinet box.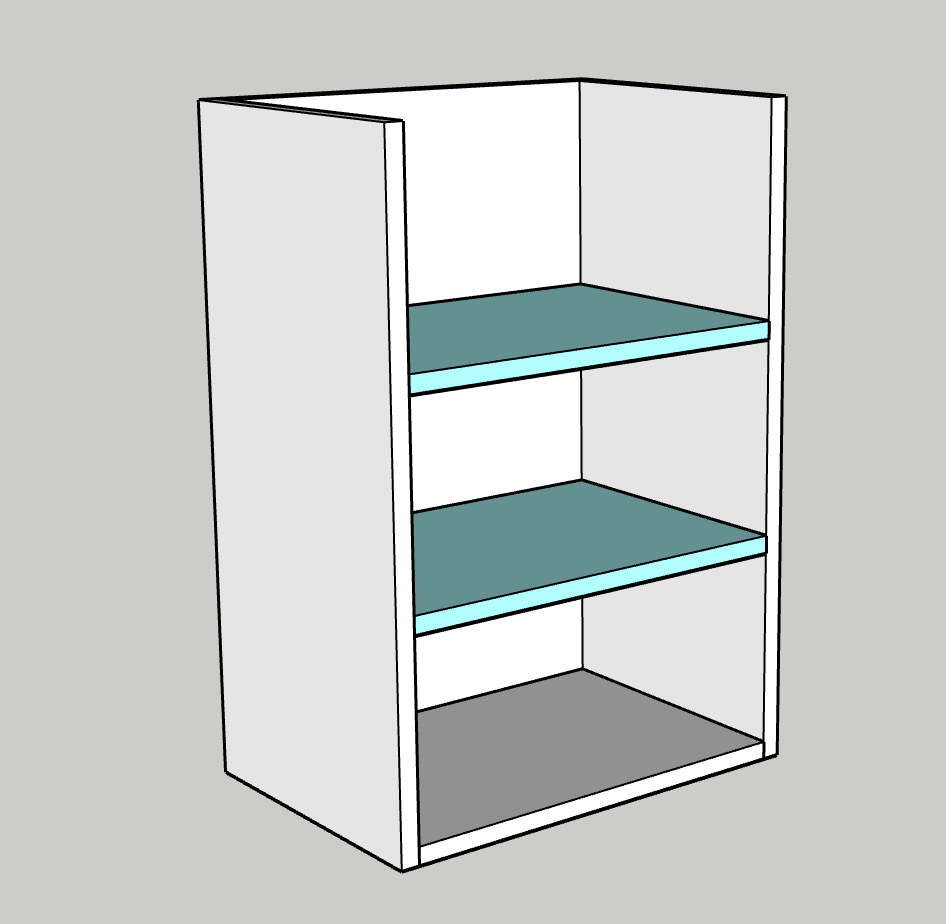
-
Build face frames
- Using wood glue and 1 1/4" pocket hole screws, attach two Face Frame Horizontals between two Face Frame Verticals at the top and bottom.
- Then, attach two more Face Frame Horizontals between the Face Frame Verticals at the 8" and 16 3/4" marks above the bottom.
-- My tip- attach the top and bottom Horizontals first, then lay it upside down on the cabinet box. Then attach the other two Horizontals exactly where the two Shelves are just in case your measurements aren’t perfect.
- Repeat to make a second face frame for the other box.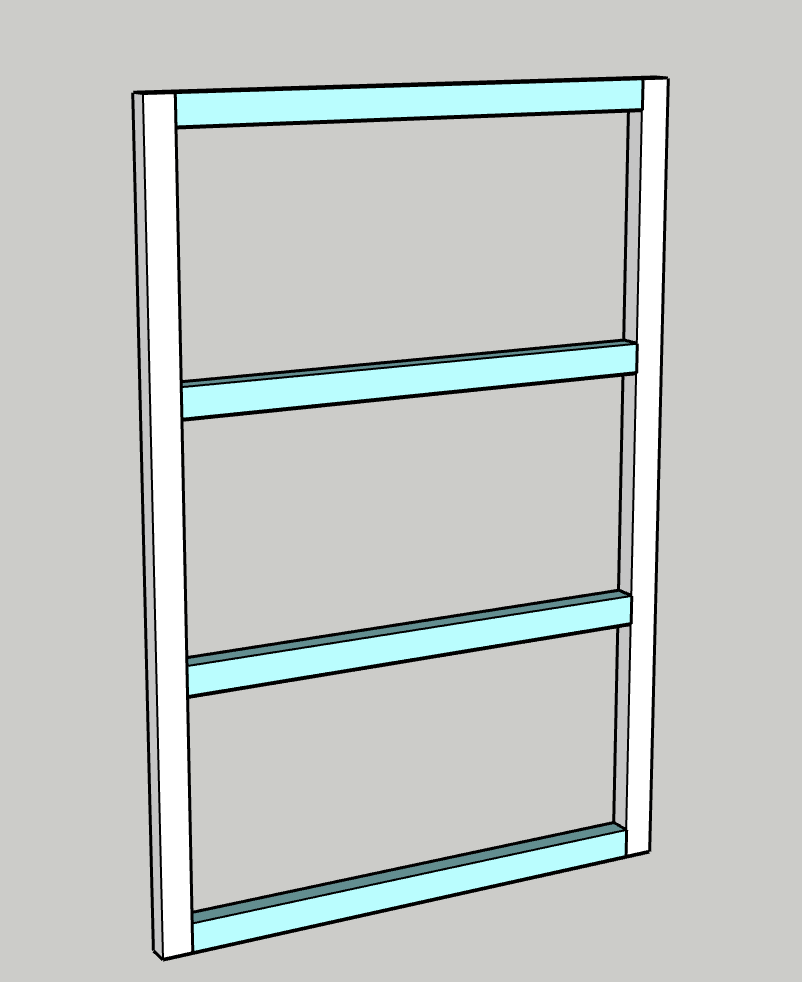
-
Attach face frames
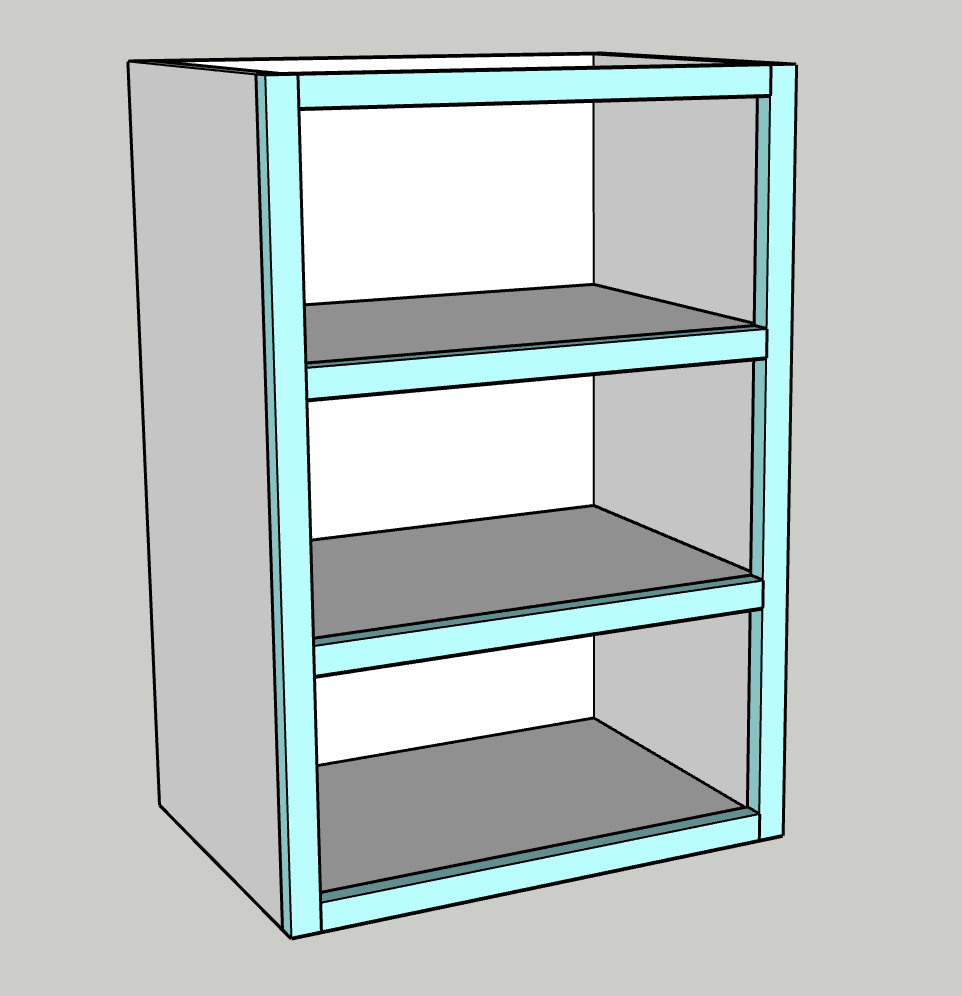
Using wood glue and clamps, attach the face frames to the front of the cabinet box and let dry.
-
Paint and oil
- Paint or stain your Legs, Stretcher and cabinet boxes.
- Oil your butcher block top. -
Attach cabinet boxes
- Using wood glue and 1 1/4" pocket hole screws, attach the two cabinet boxes to the underside of the Top.
- Attach them so that the open shelving is facing the outside edge.
- Attach each box 1" from the sides and the front edge of the Top. There should be 21" between the sides of the two boxes.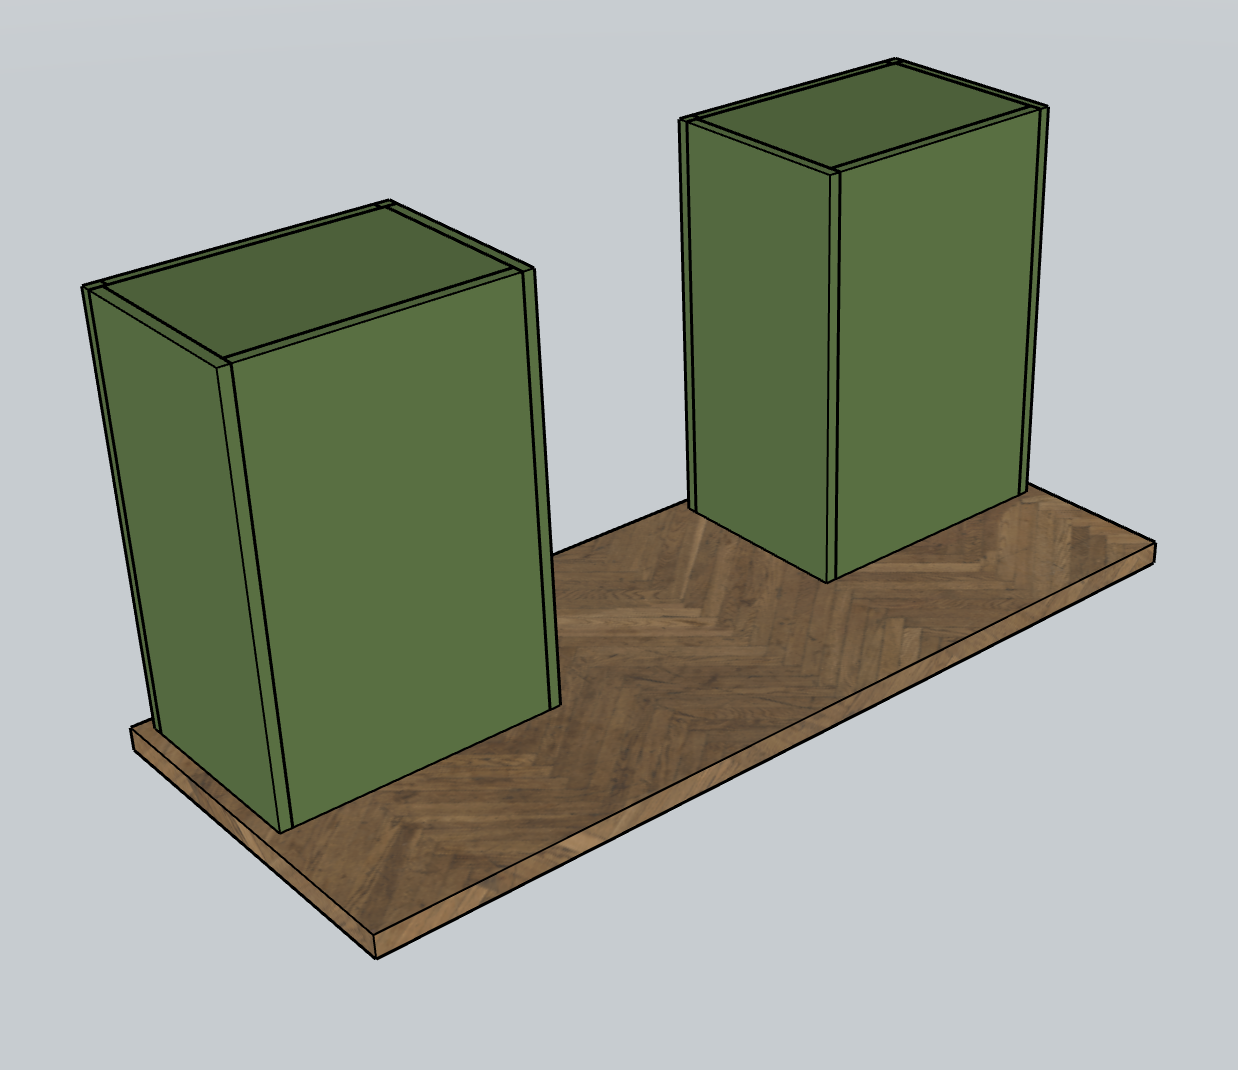
-
Attach legs
- Using wood glue and 1 1/4" pocket hole screws, attach the Stretchers to the Legs 9" up from the end without the pocket hole screws.
- Flip over the Legs and place on the underside of the Top so that the Stretchers are also making contact with the back of the Cabinet Backs.
- Using wood glue and 1 1/4" pocket hole screws, attach the Stretchers into the Cabinet Backs.
- Using wood glue and 2 1/2" pocket hole screws, attach the Legs into the Top.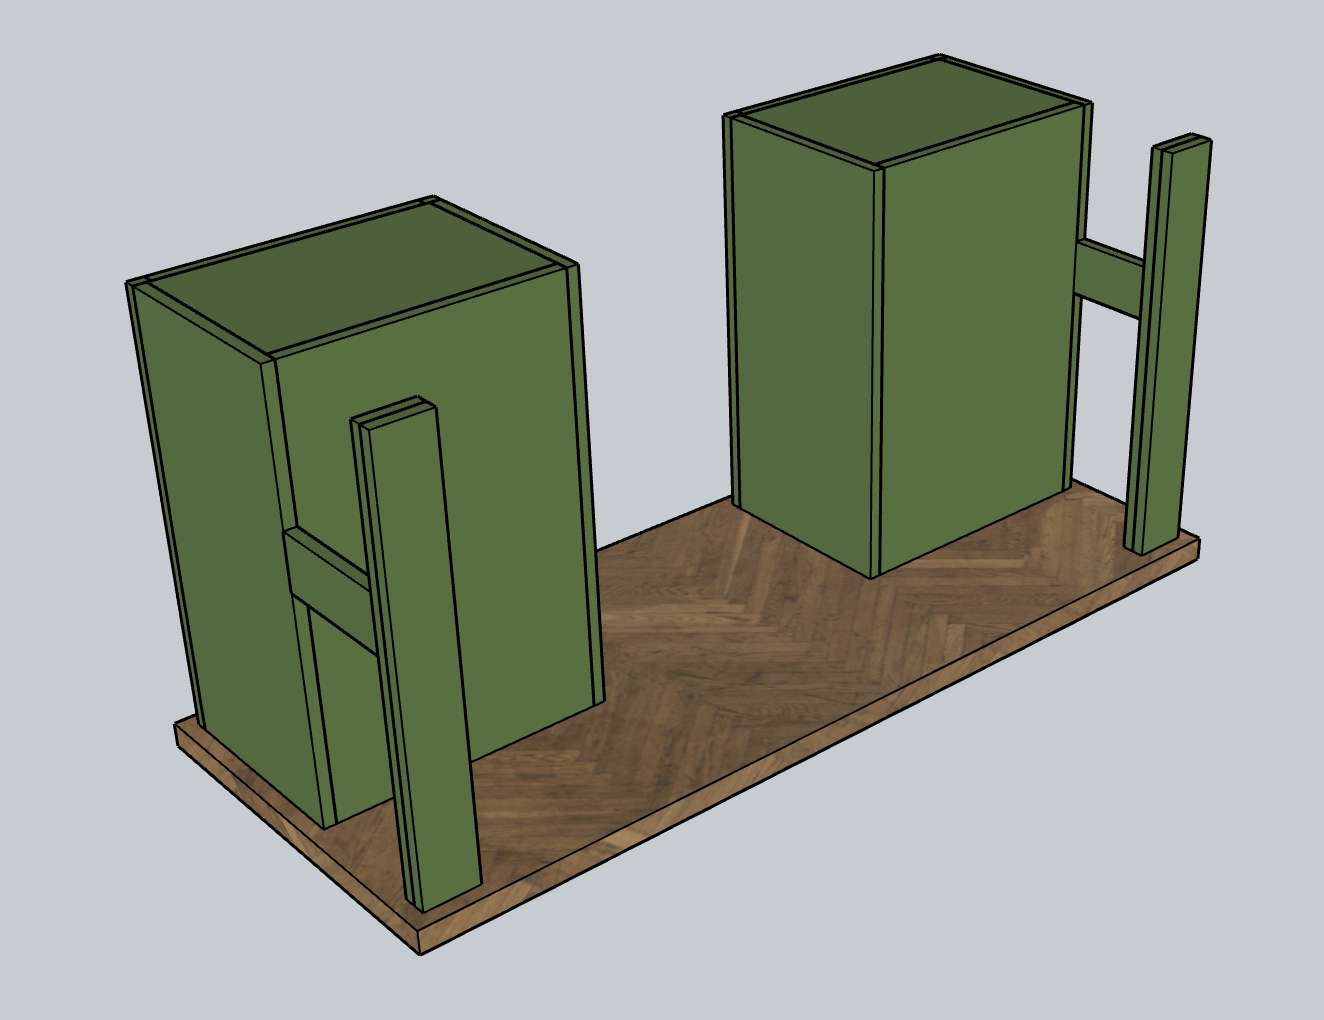
-
Add casters
- Attach a caster to the bottom of each set of Legs.
- Attach a three casters to the bottom of each cabinet box, with two in the front corners and one in the back of each.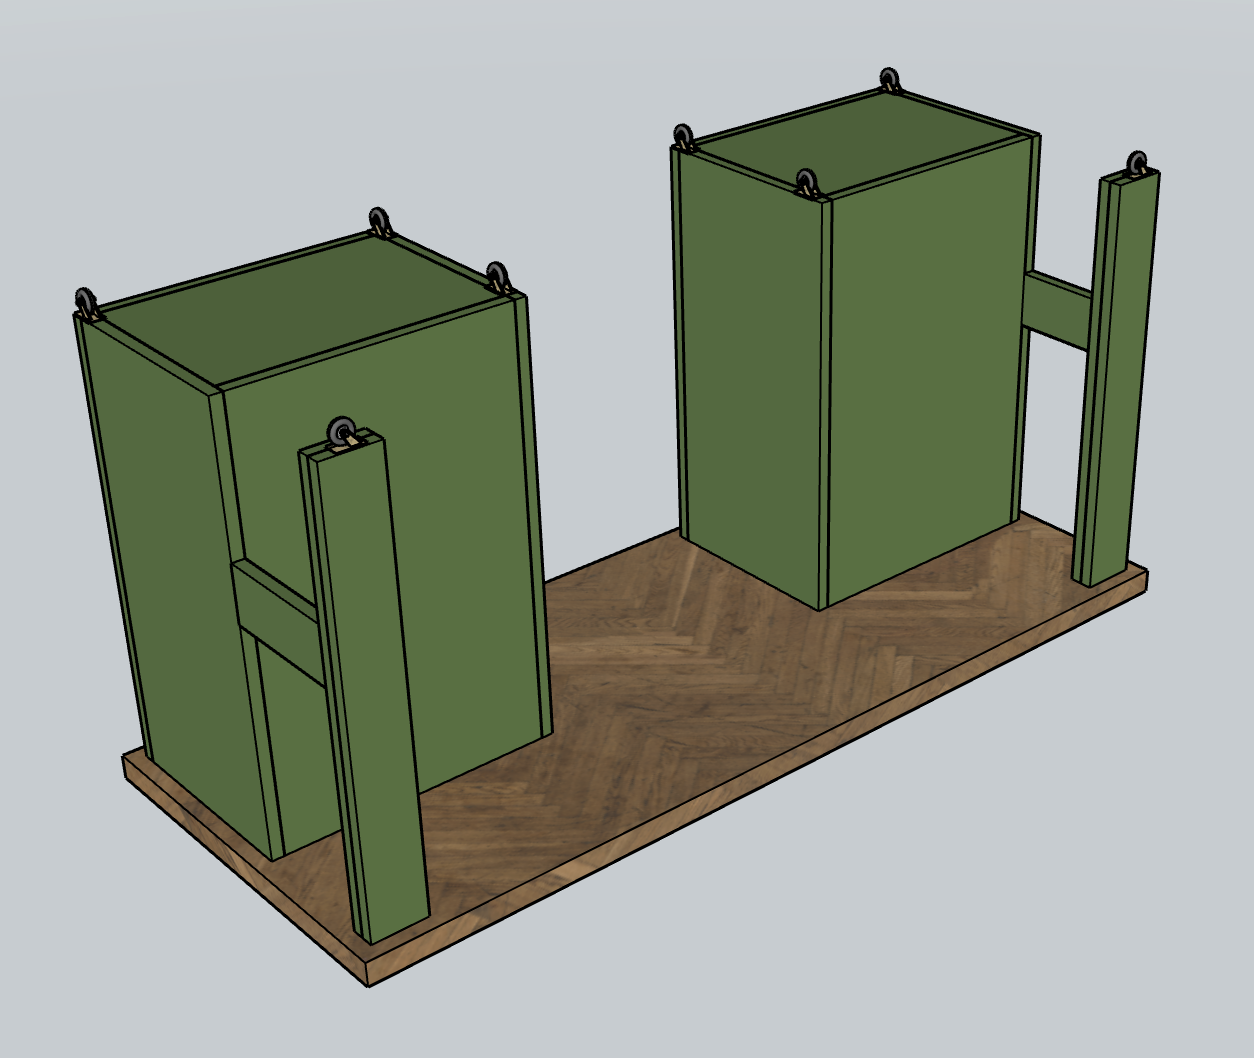
-
Flip and accessorize
- Grab a friend and carefully flip the table up onto its wheels.
- Add baskets or organizers onto the shelves and chairs and get to work!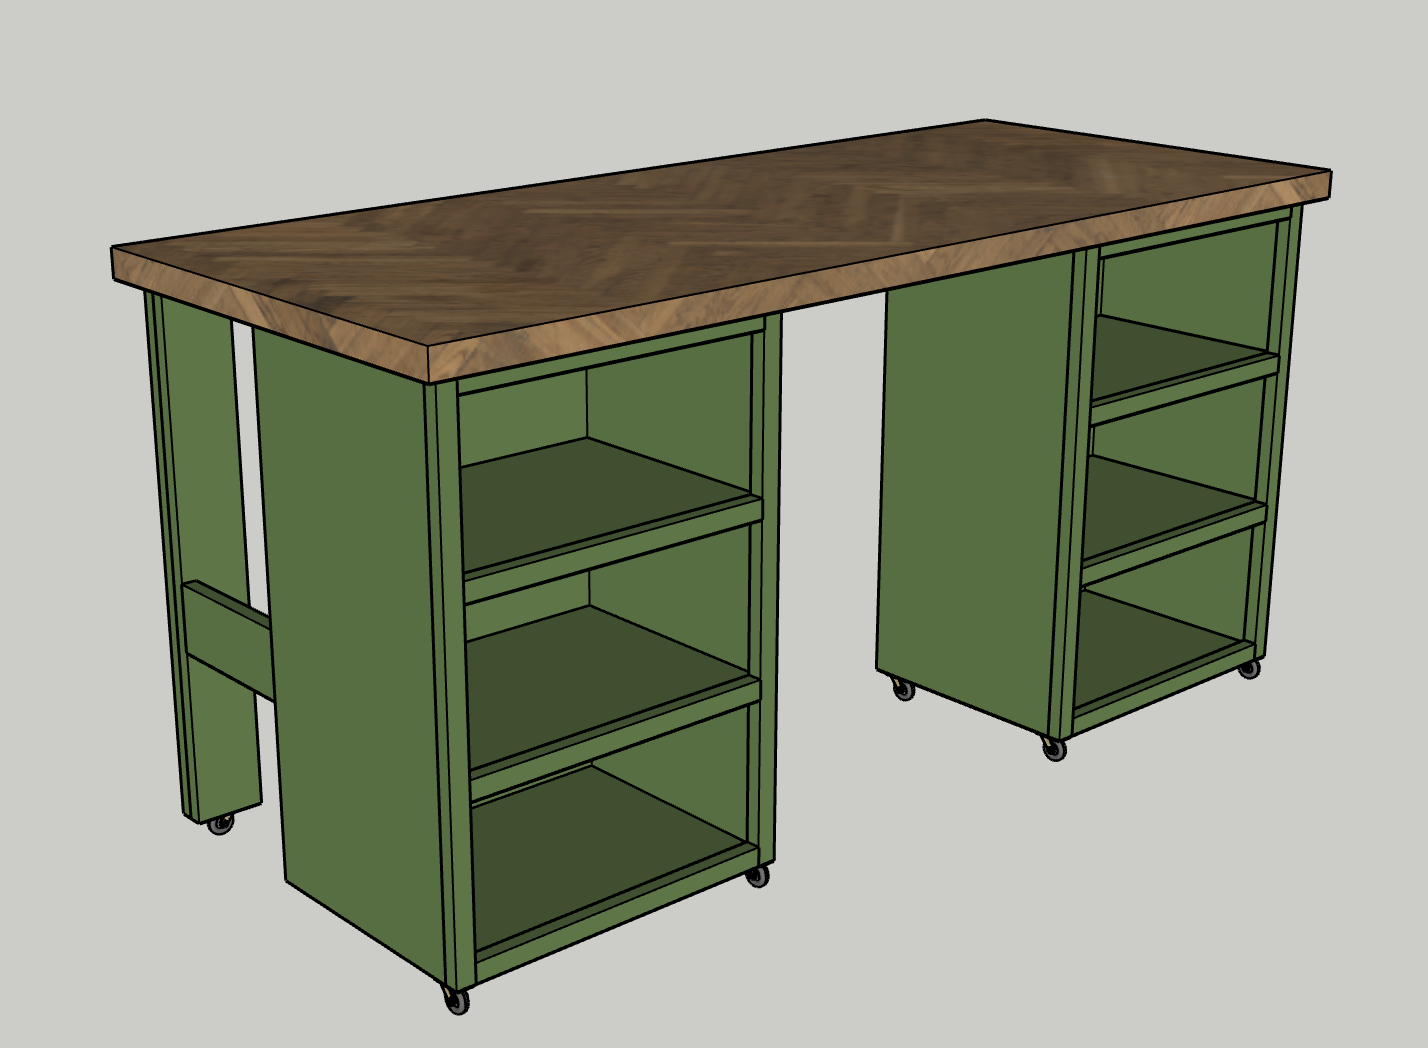
-
Enjoy
Enjoy your handiwork and tag @CharlestonCraftedBuilds on Instagram with a picture!
Charleston Crafted on Instagram
Charleston Crafted on Pinterest
- (1) Workbench size butcher block
- (1) 4′ x 8′ x 3/4″ sheet of plywood
- 1 1/4″ pocket screws
- 2 1/2″ pocket screws
- (6) Rolling Casters
- Wood glue
- Cutting Board oil
- Paint of choice
Check out the entire supply list in your Lowes.com cart here!