

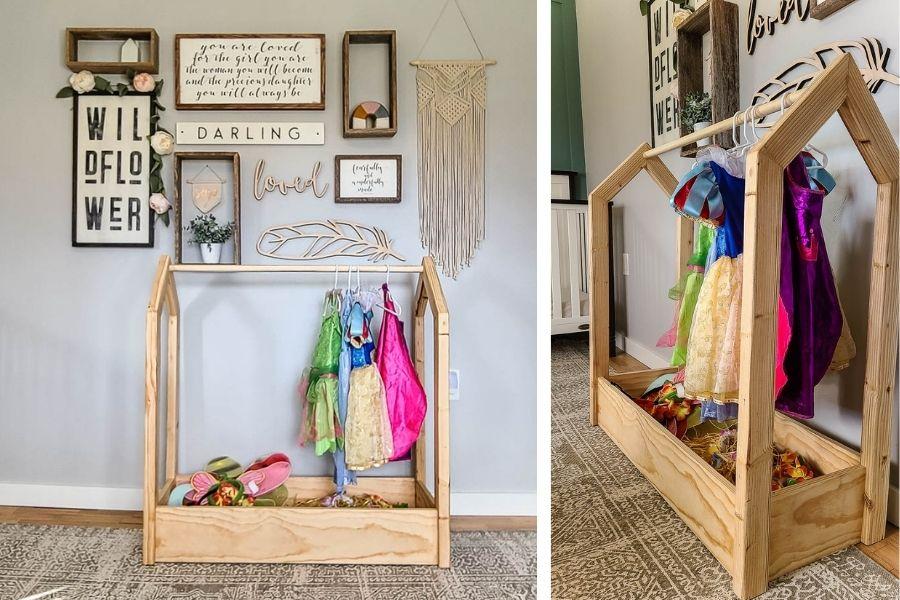
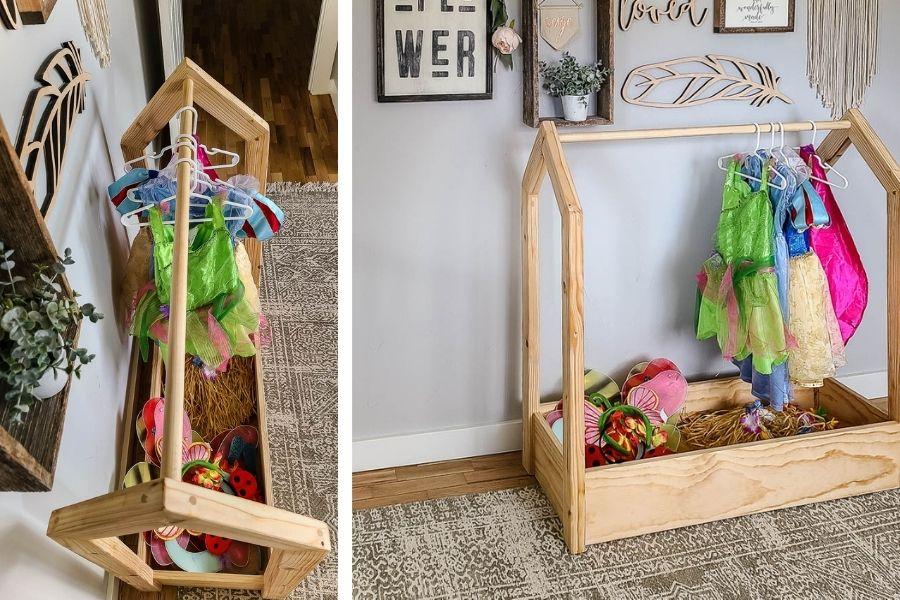


Get your kid’s space organized with this dress up storage rack. This fun build incorporates pocket-hole joinery, simple cuts and easy-to-find wood materials so it is perfect for beginners. Your kids will love it and you’ll love it because the dress up clothes will be nice and organized.
Tools
Kreg Tools


Other Tools
-
Miter Saw

-
Tape Measure
Materials
Wood Products
- 3 Wood Stud , 1 ½” x 2 ½” x 8’
- 1 Round Dowel , 1” x 1” x 48”
- 1 Sanded Plywood , 2’ x 4’ x 3/4”
- 1 Select Pine , 1” x 8” x 10’
Hardware & Supplies
- 1 Wood Filler
- 1 2" Kreg Pocket-Hole Screws
- 1 1 ¼" Kreg Pocket-Hole Screws
- 1 1" Dowel
- 1 Linseed Oil
- 1 Wood Glue
- 1 80 and 150 grit sandpaper
- 1 2 ½” construction screws
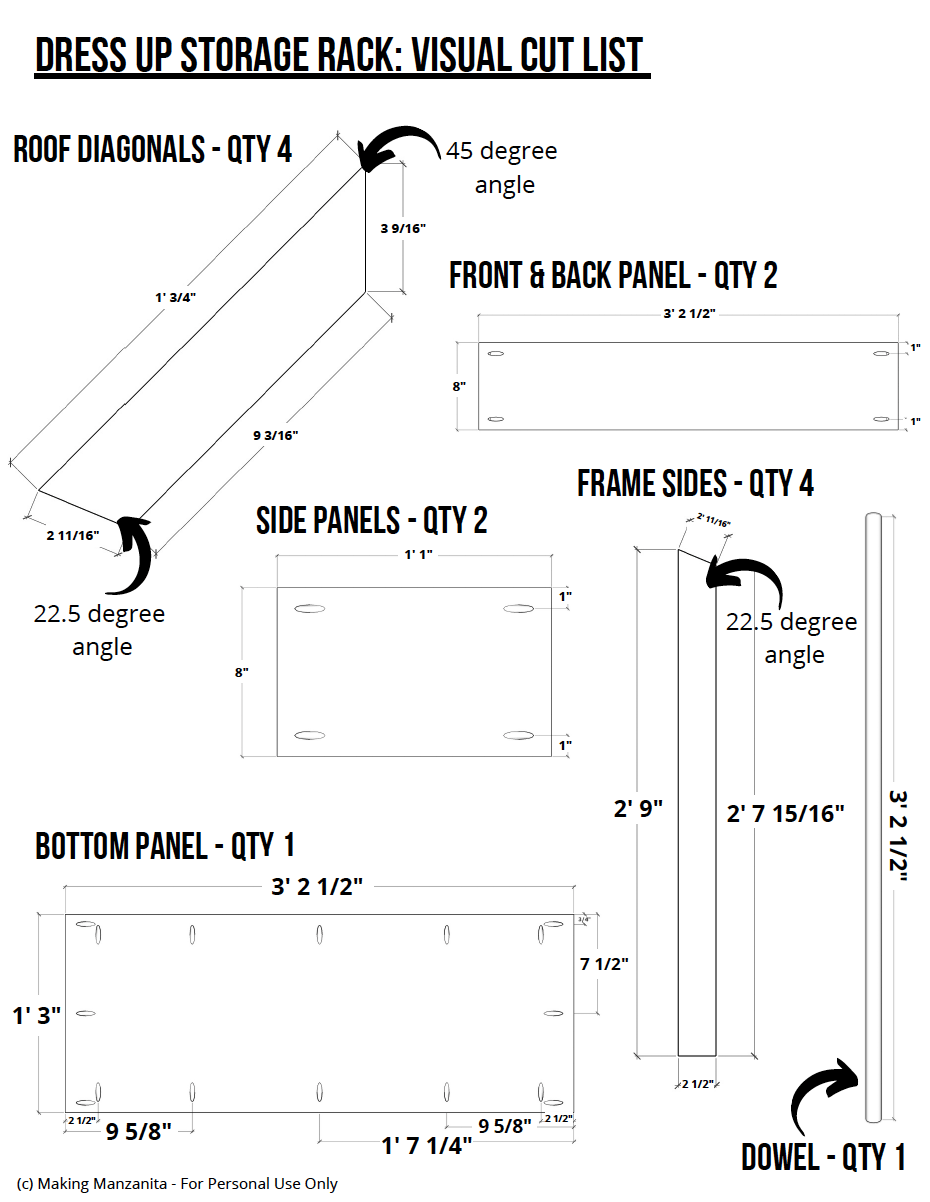
Cut List & Parts
- 4 Roof Diagonals (cut from wood studs) , 1 ½” x with 22.5 degree angle cut on one end and a 45 degree angle cut on the other end with 1’ ¾” on the long side and 9 3/16” on the short side
- 4 Frame Sides (cut from wood studs) , 1 ½” x 2 ½” with 22.5 degree angle cut on one end with 2 ‘ 9” on the long side and 2’ 7 15/16” on the short side
- 2 Front & Back Panels (cut from select pine boards) , 8” x 3’ 2 ½” x ¾”
- 2 Side Panels (cut from sanded plywood) , 8” x 1’ 1” x ¾”
- 1 Bottom Panel (cut from sanded plywood) , ¾” x 1’ 3” x 3’ 2 ½”
- 1 Dowel , 1” x 1” x 3’ 2 ½”
Directions
-
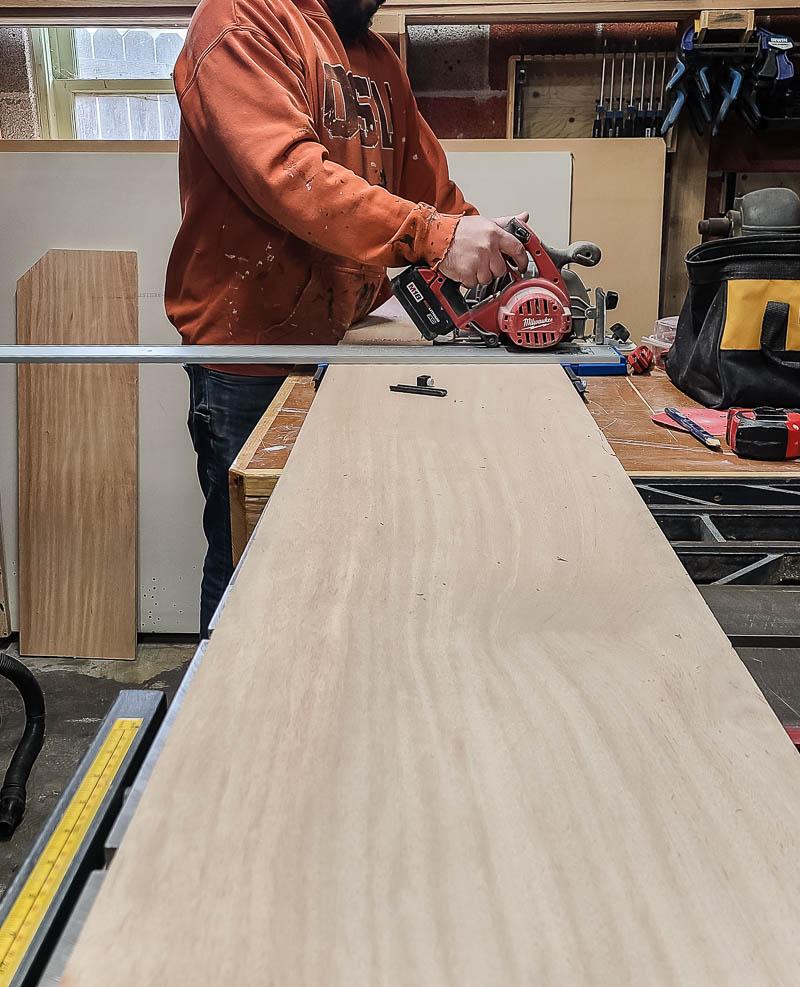
Cut wood.
Cut wood according to the cut list and woodworking plans. You’ll need to make a couple of angled cuts. For those you can use a miter saw or the Kreg’s portable cross cut guide. Lightly sand all pieces of wood before assembling with orbital sander and 80 then 150 grit sandpaper.
-
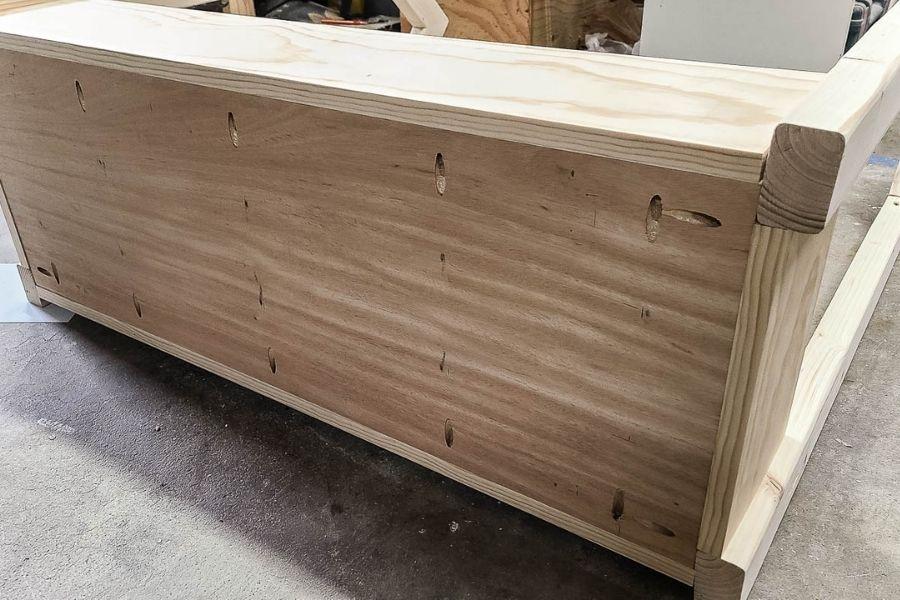
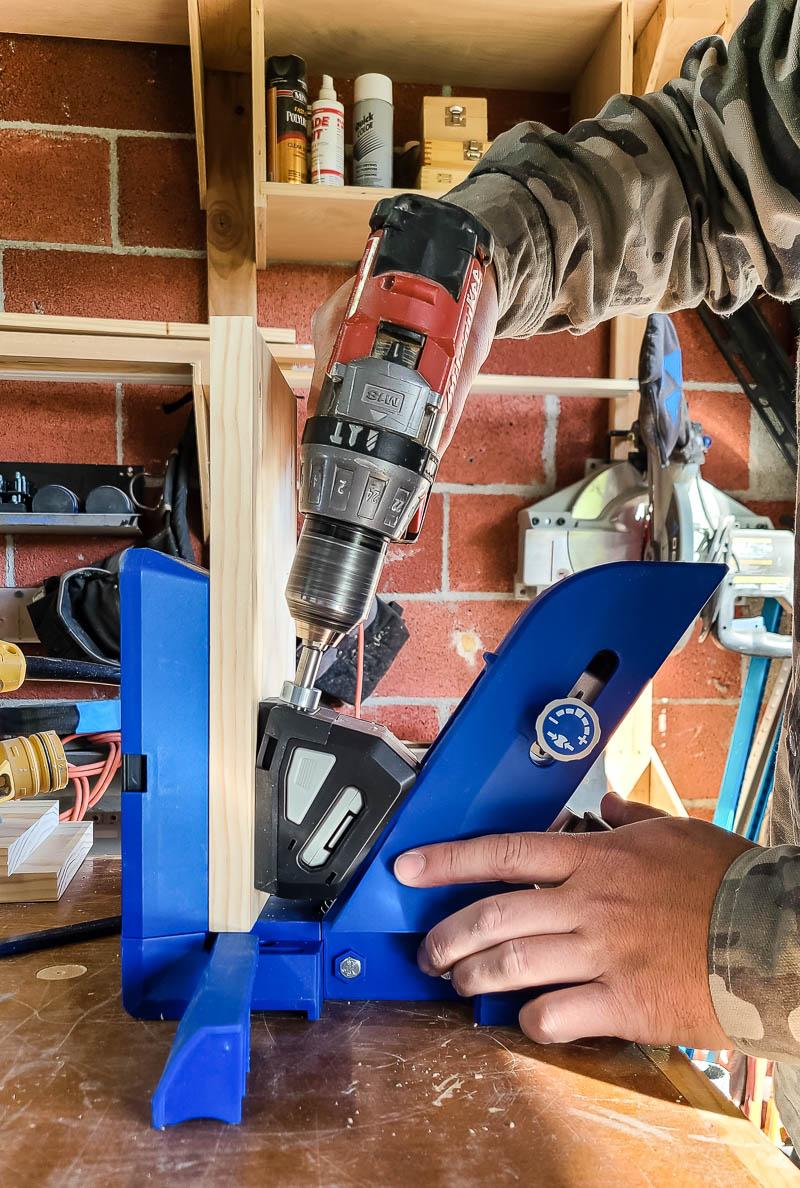
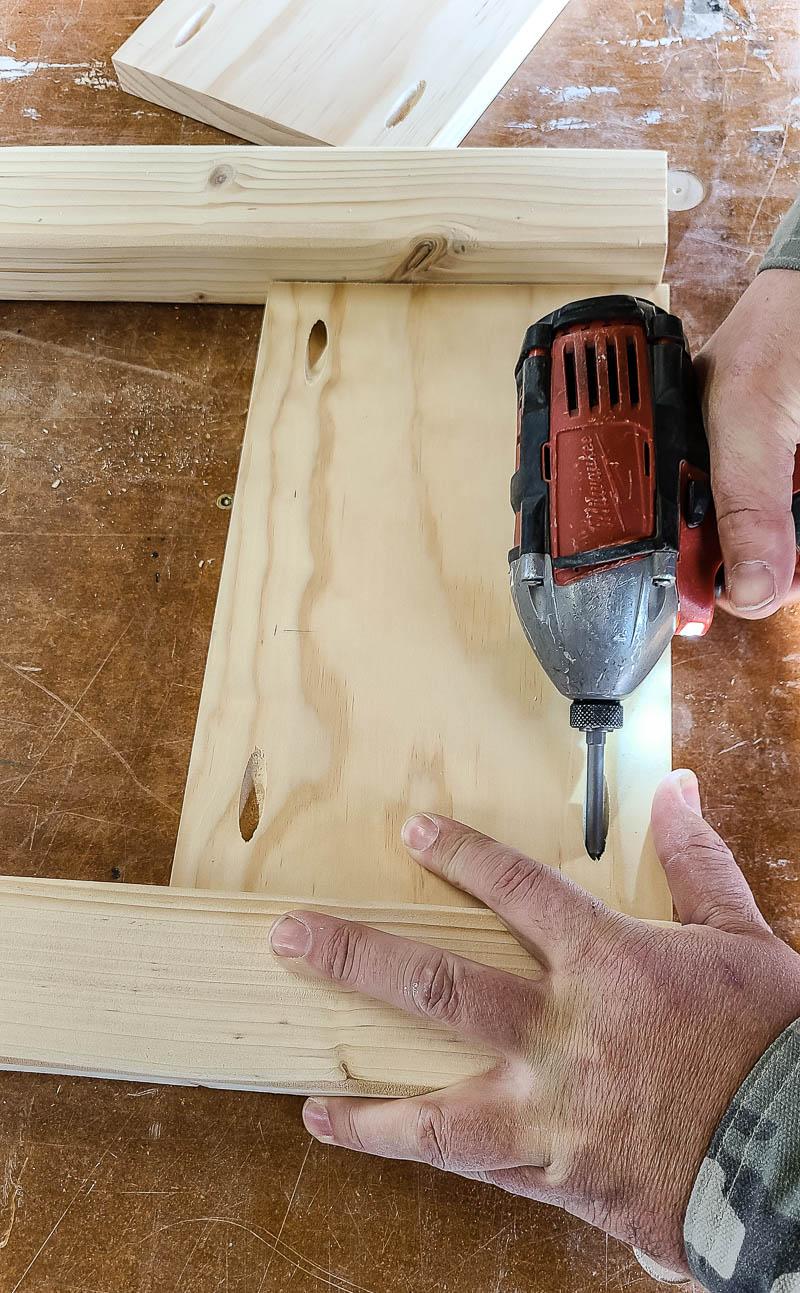
Drill pocket holes.
Drill pocket holes as shown in the woodworking plans. We used the 720 Pro.
-
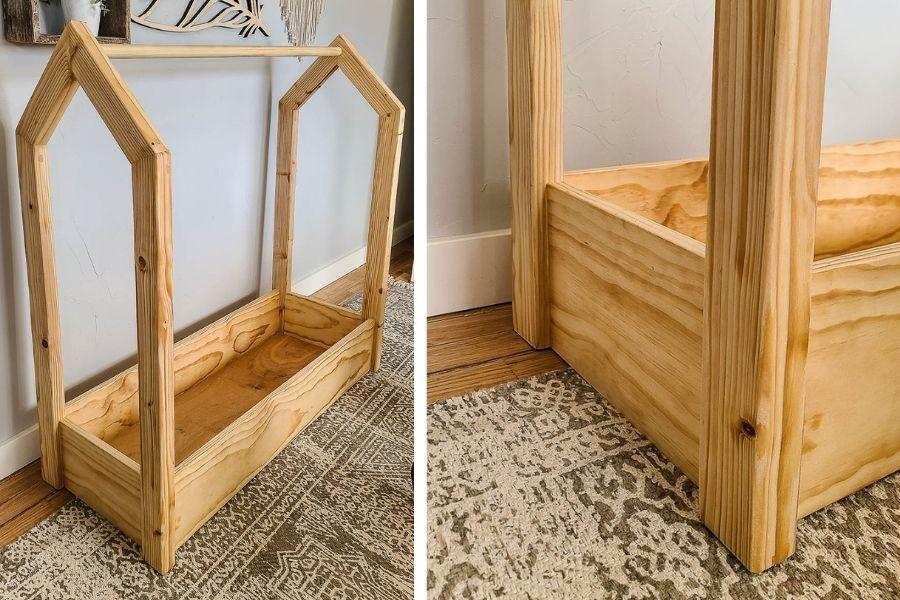
Assemble.
Assemble both sides with 2x3 studs as shown in the woodworking plans in the house shape for the side frame. The angled joints in the side frame are attached with 2 ½” construction screws drilled at an angle from the outside of the frame. Add side panels at the bottom of the side frame with pocket holes and add 2" pocket-hole screws. Add front and back panels and attach with pocket holes to create a box at the bottom and attach the two side frames. Add bottom plywood panel and attach with pocket holes and 1 ¼” pocket-hole screws . Lastly at the 1” dowel to the top and attach with 2 ½” construction screw on each side drilled from outside of the side frame.
-
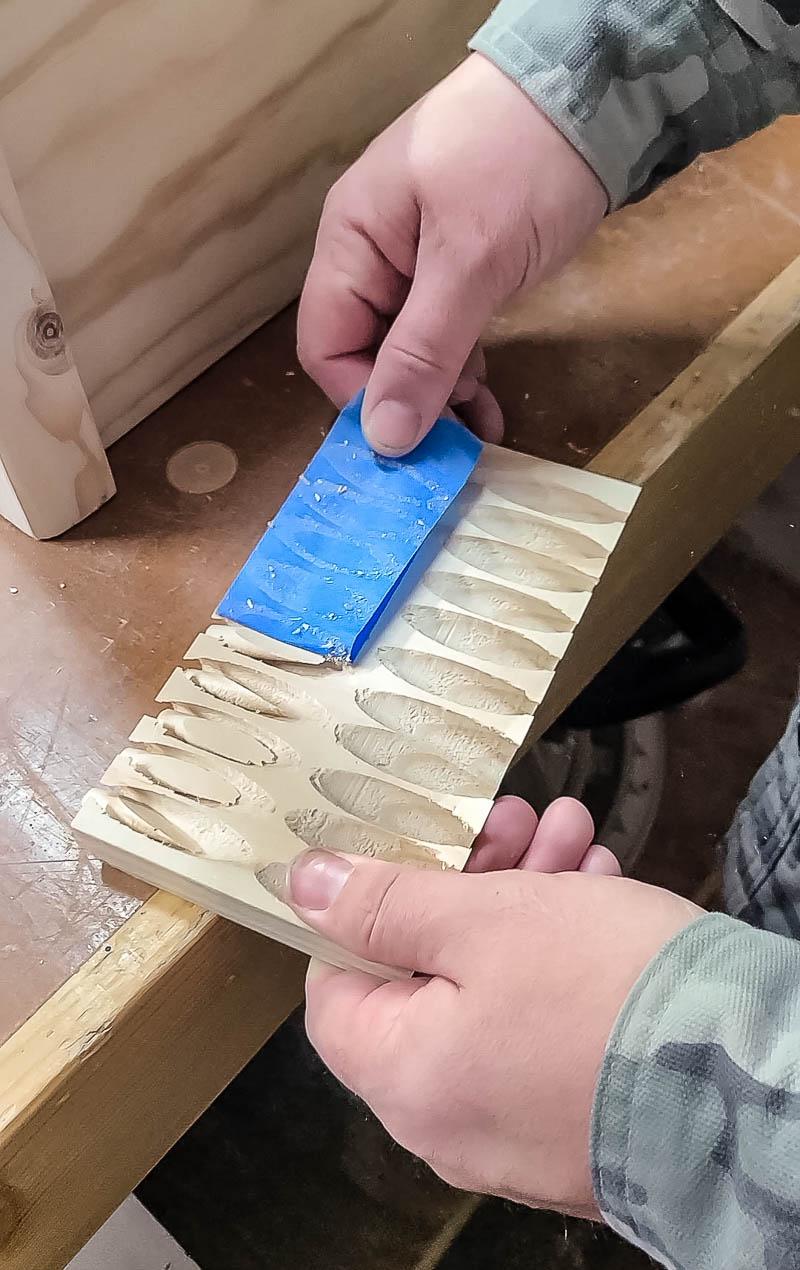
Create pocket-hole plugs and fill.
Using the custom pocket hole plug cutter, create the plugs and fill pocket holes on the inside of the box with wood glue and plugs. Once dried, sand smooth.
-
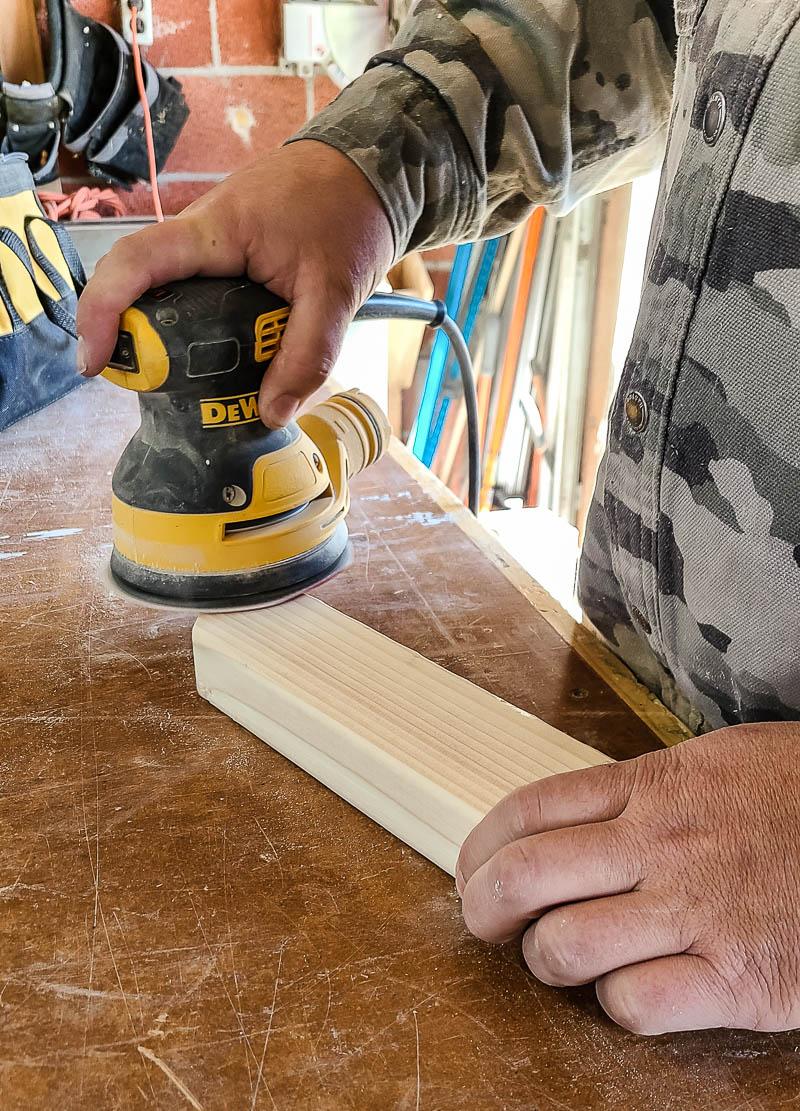
Sand.
Once everything has been sanded smooth with 150 grit sandpaper and a random orbital sander. Wipe everything well after sanding to remove sanding dust.
-
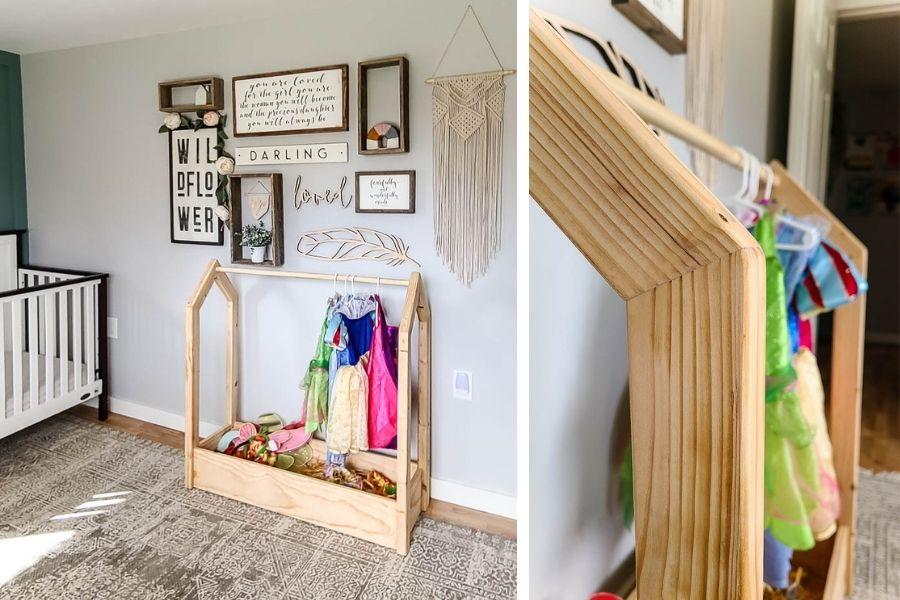
Seal or paint.
Seal with stain/oil or paint of your choice. We used Linseed Oil for a natural finish and applied a matching wood filler after we sealed. If you were painting, you’d want to fill holes prior to painting with a paintable wood filler.
Check out more from Making Manzanita here:
MakingManzanita.com
Download this plan
Instagram
Facebook
YouTube