Jewelry or Medicine Cabinet
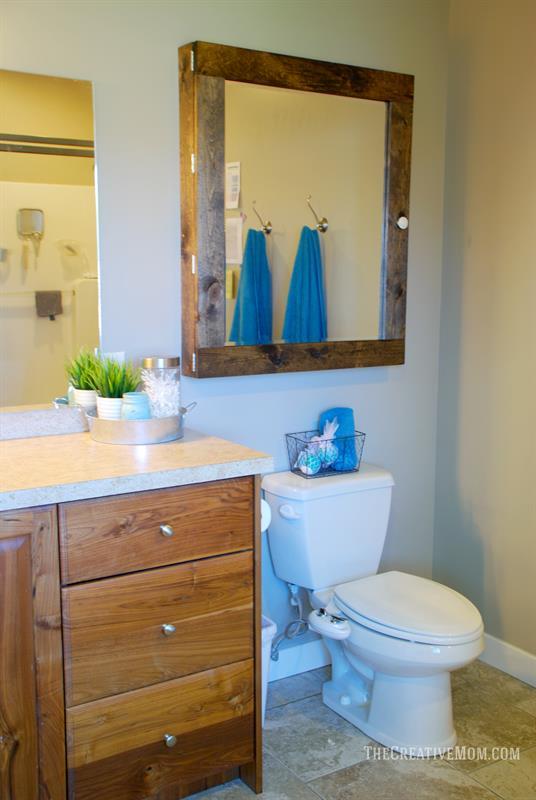
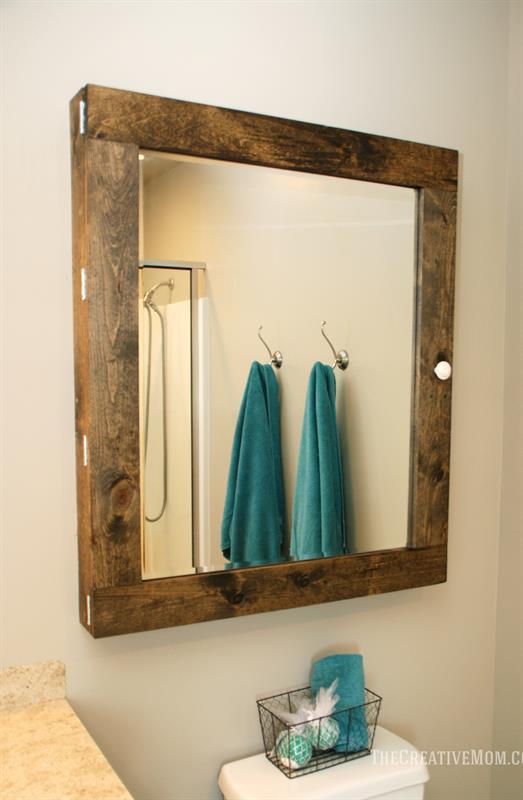
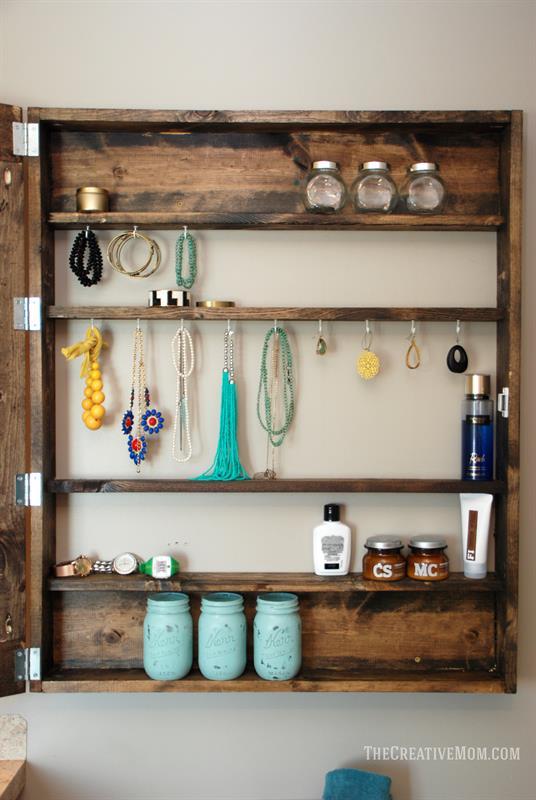
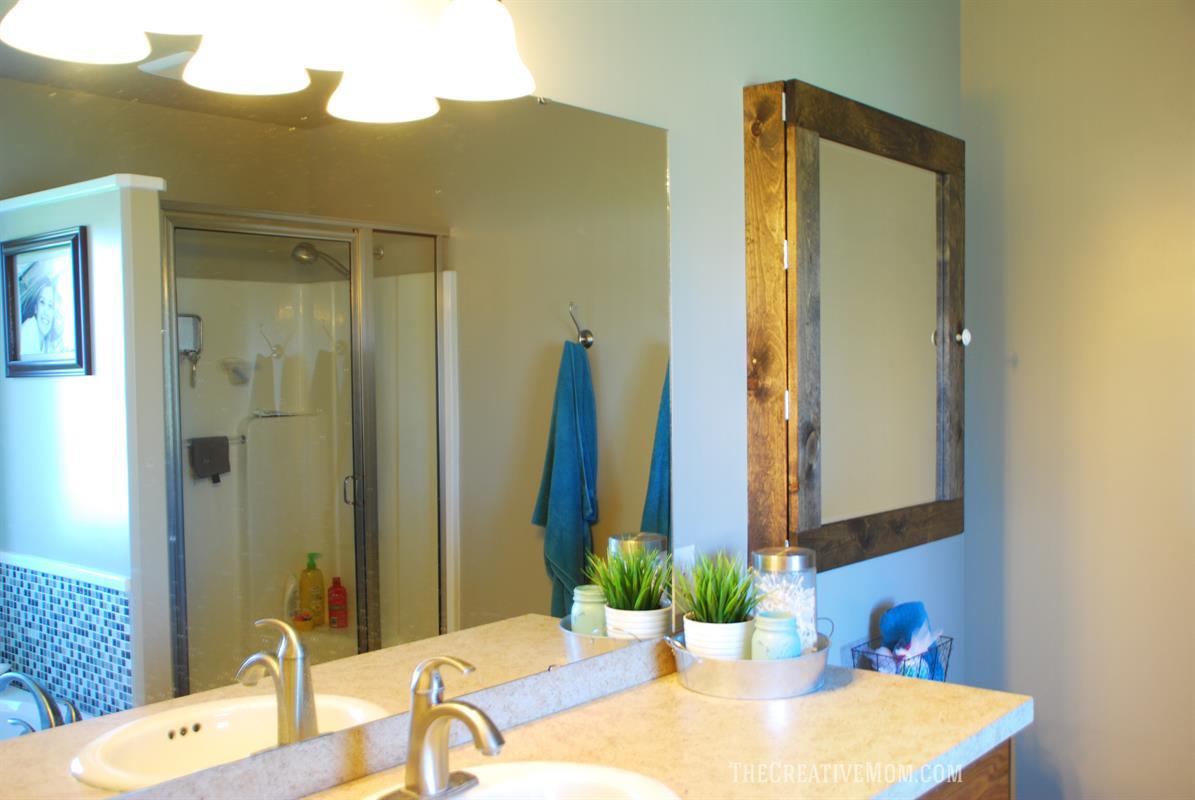
By The Creative MomThis is a great build. This jewelry cabinet can really be used for anything, but it's especially perfect for use in a closet or bathroom. The cabinet shelves can be adjusted and built as you'd like. The cabinet has a mirror on the front, and is made of solid pine wood. It can be stained or painted.
Directions
-
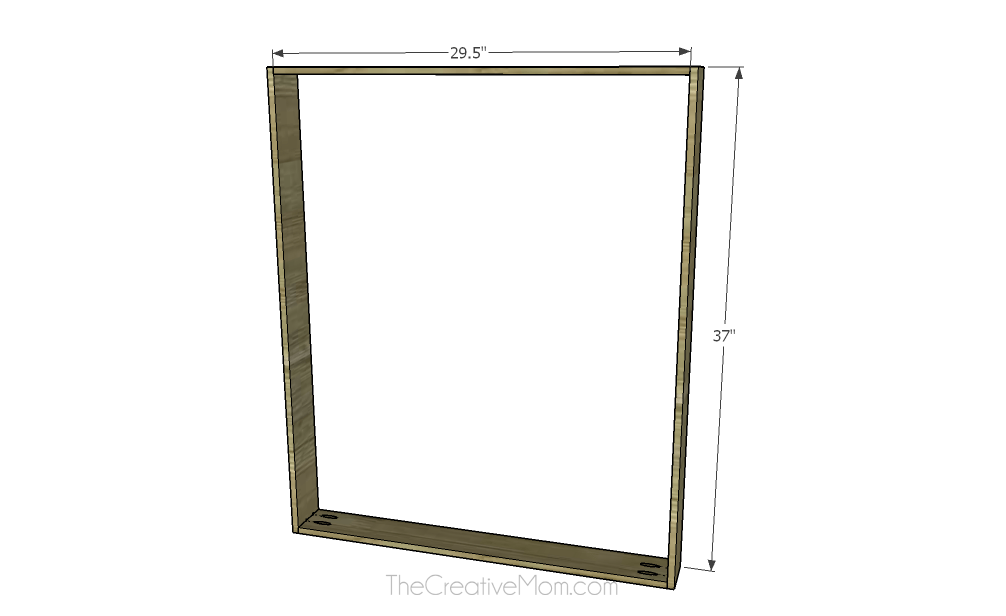
Build cabinet frame
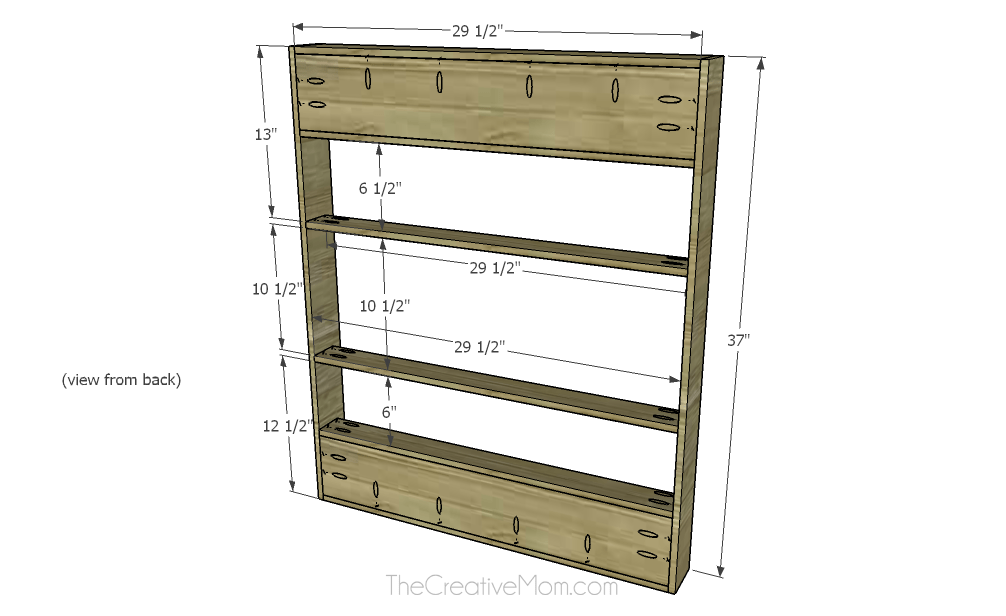
Drill pocket holes in ends of 29.5" boards. Using 1" pocket hole screws and wood glue, Attach those boards to the 37" boards to create the cabinet frame.
-
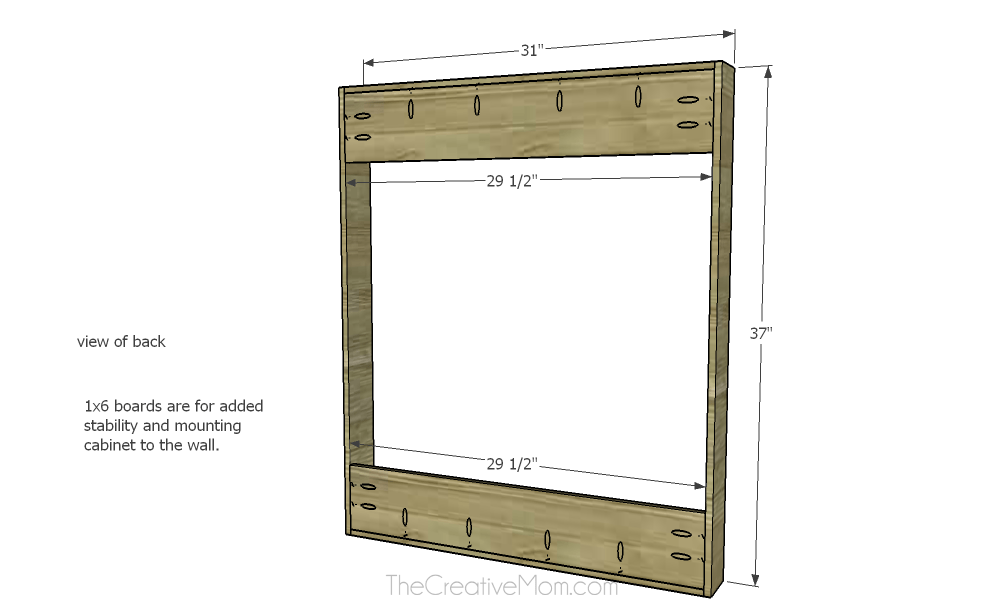
Attach supports to frame
Cut 2- 1x6 boards 29 1/2" long. Drill pocket holes in both ends and across one side of each board. Use 1" pocket hole screws and wood glue, attach one to the top and one to the bottom of the frame. These boards are used to add stability to the frame, and for mounting the cabinet to the wall.
-
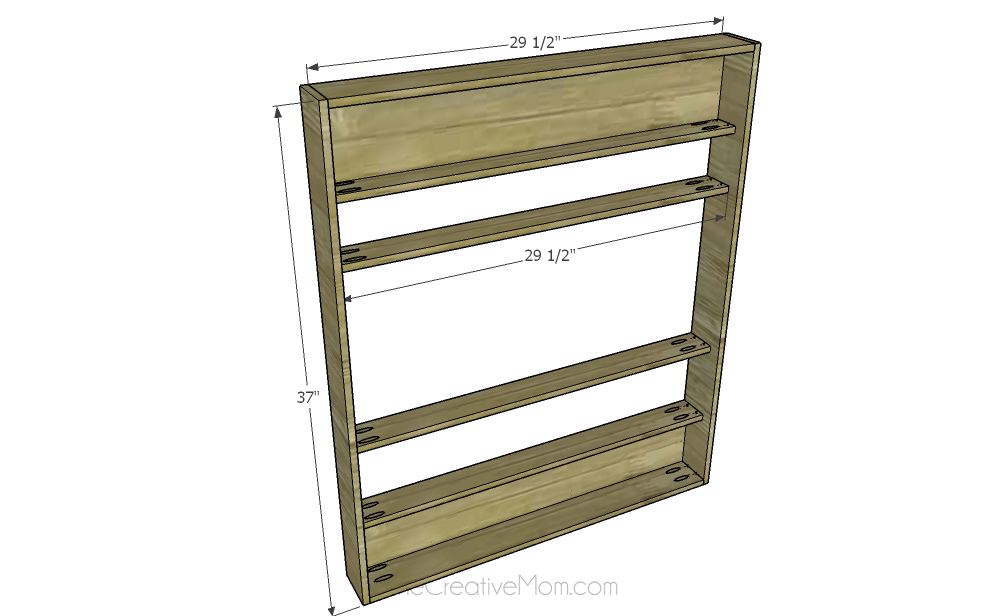
Build Shelves
Cut 4- 29 1/2" 1x3's. Drill pocket holes in each end of the boards. These are your shelves. You can place the shelves wherever you want them.
-
Install Shelves
You can build your shelves wherever you'd like. I placed mine above and below the 1x6", and then 13" down from the top, and 12 1/2" up from the bottom. Use 1" pocket hole screws and wood glue to attach shelves to the vertical supports of the cabinet frame.
-
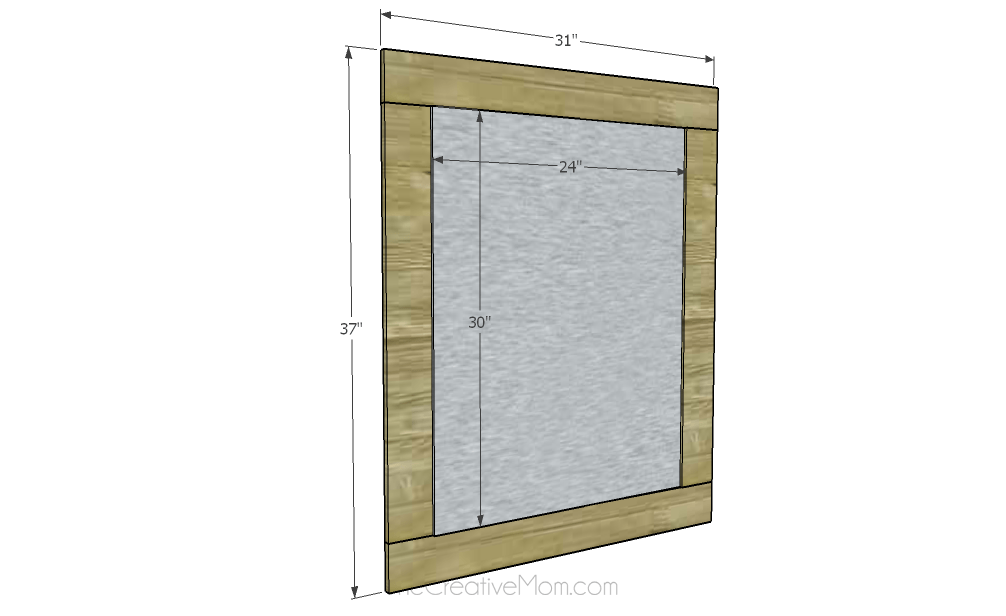
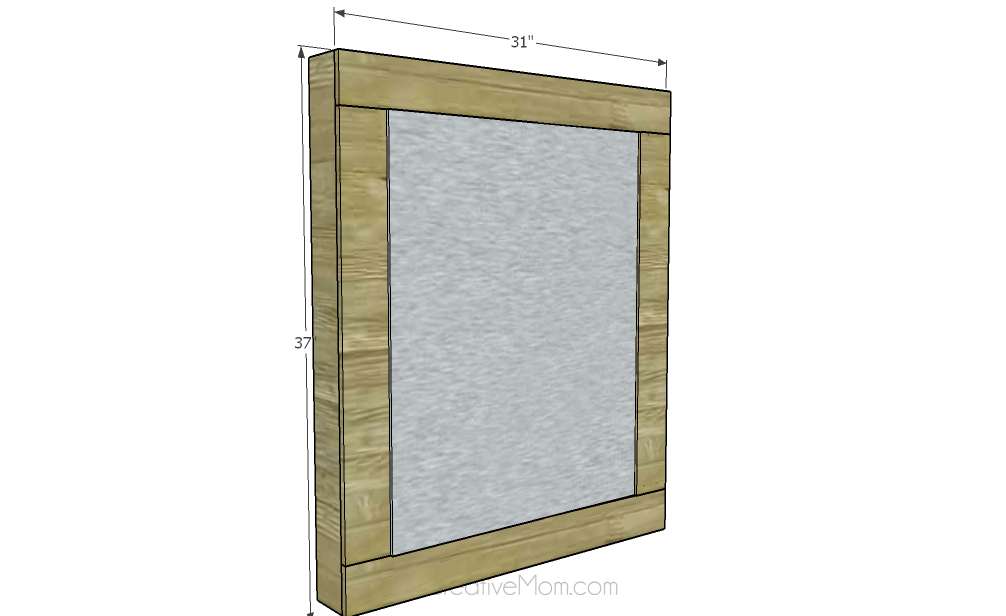
Build Cabinet Door Frame
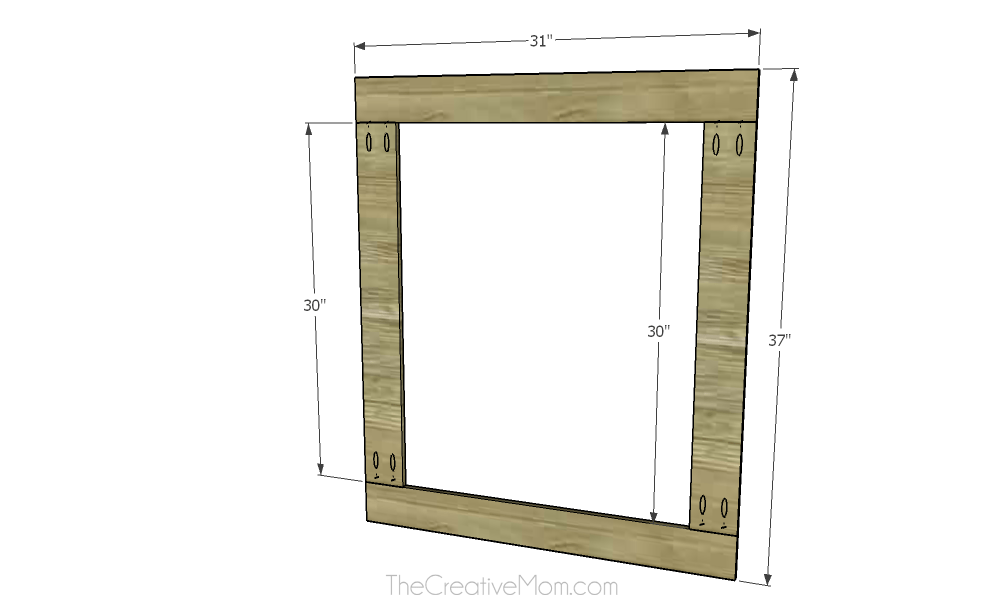
Cut 2- 30" 1x4's and drill pocket holes on each end of both boards. Use 1" pocket hole screws and wood glue to attach them to your 31" 1x4's. This frame will be your cabinet door frame.
-
Attach cabinet door backing
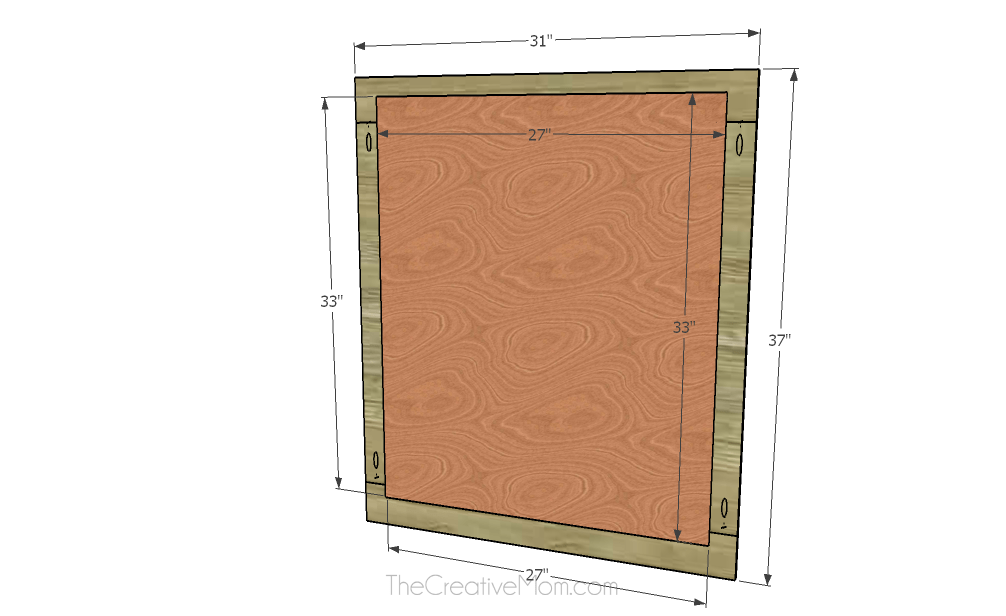
cut a piece of 1/4" plywood 27x33". Using staples and wood glue, attach it to the back of your cabinet door frame. This will hold your mirror in place.
-
Attach door to the cabinet
Finish the cabinet by filling in holes with wood filler and sanding. Paint or stain the wood.
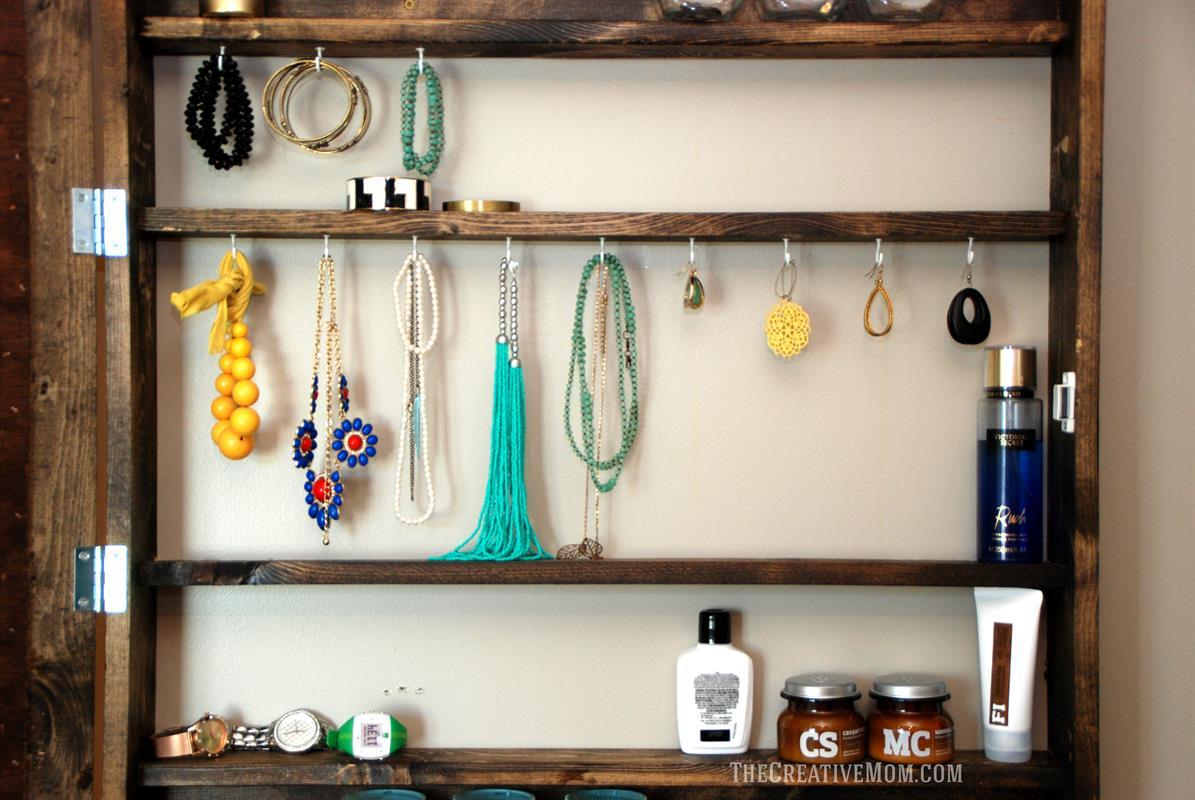
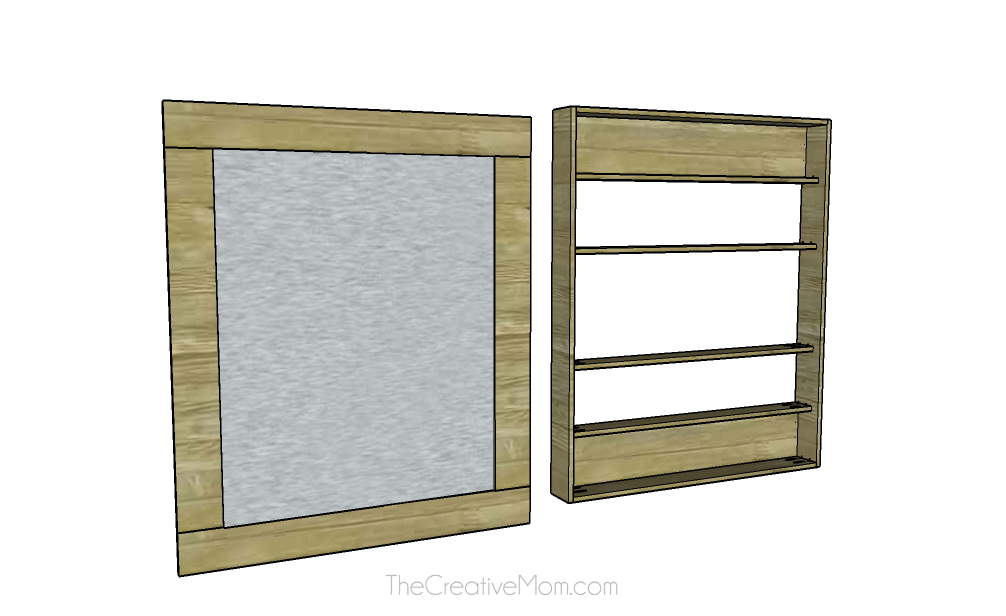
Using either 4 hinges or a piano hinge, attach the door to the cabinet. Add a knob or handle to the door and a magnet closure to the inside to keep the door shut. Screw your hooks into the bottoms of your shelves, if desired.
*note: The Kreg cabinet door jig is a perfect tool to use for this.
-
Glue mirror in place
Using construction adhesive or mirror adhesive, glue your mirror on to the front of the cabinet door. Let dry completely before moving.
-
Attach cabinet to wall
Attach the jewelry cabinet to the wall with grabber screws or lag bolts, through the 1x6's.


