

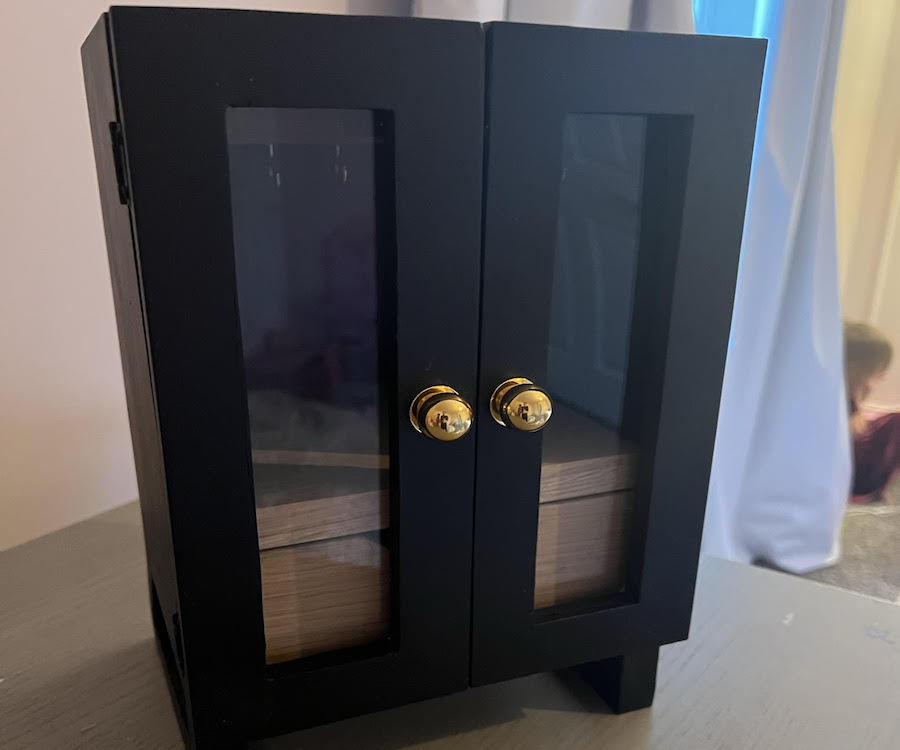


Build this easy jewelry box for a gift or for yourself!
Tools
Kreg Tools


Other Tools
-
Miter saw

-
Clamps
-
Rabbeting bit
Materials
Wood Products
- 1 Sheet of plywood , 2x4’x ¾”
- 1 Wood , 2 b ft x¾”
Hardware & Supplies
- 1 Box of 1 ¼ Kreg pocket hole screws (see tools list)
- 1 Variation of 80, 120 and 220 grit sandpaper
- 1 Wood glue
- 1 Stain of choice
- 2 Small hinges
- 1 Sheet glass or acrylic
- 1 Paint of choice
- 2 Knobs
- 2 Hooks
Directions
-
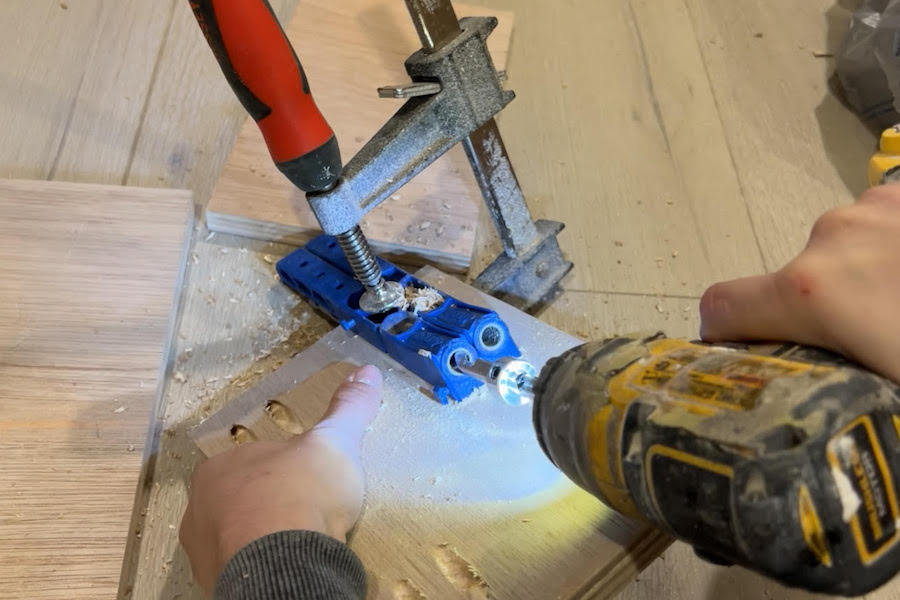
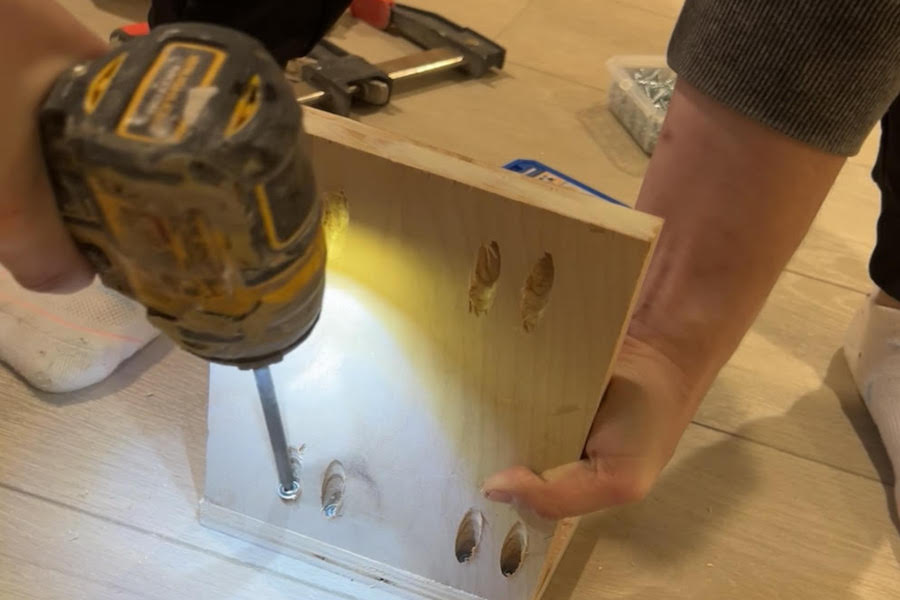
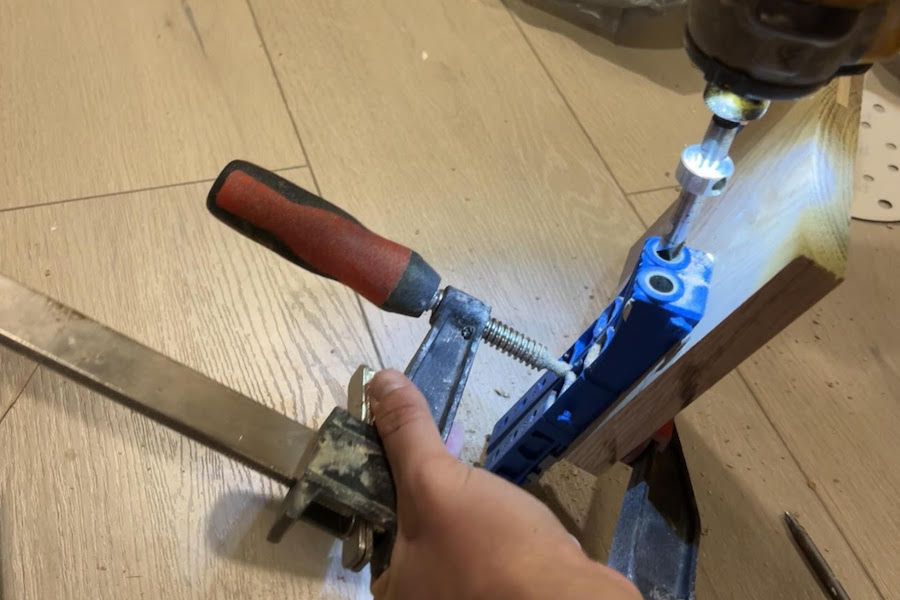
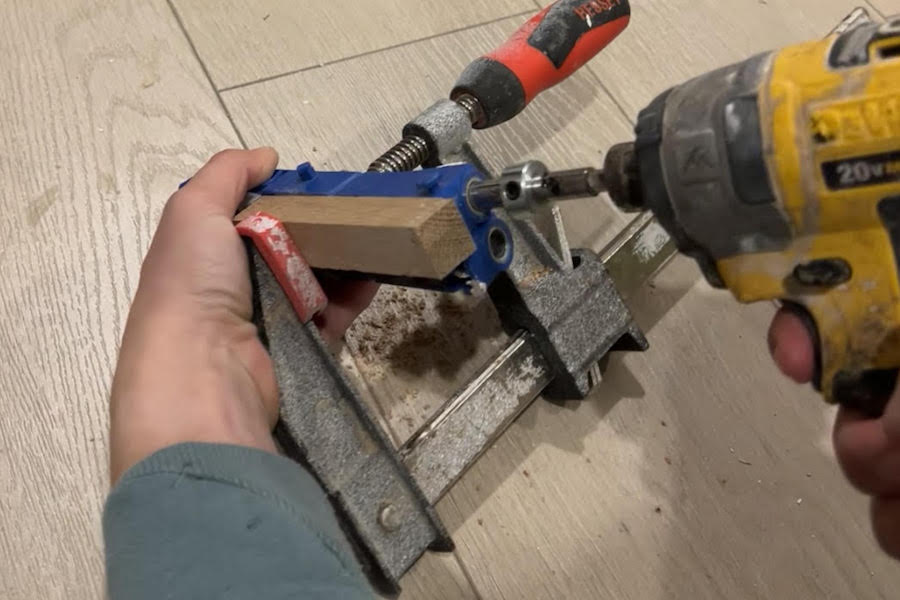
Step one
Cut the plywood to size. Set your pocket hole jig and stop collar to 3/4”. Pocket hole the top and bottom of the jewelry box. Attach to the sides with 1 1/4” pocket hole screws and wood glue.
-
Step two
Pocket hole and glue the doors together.
-
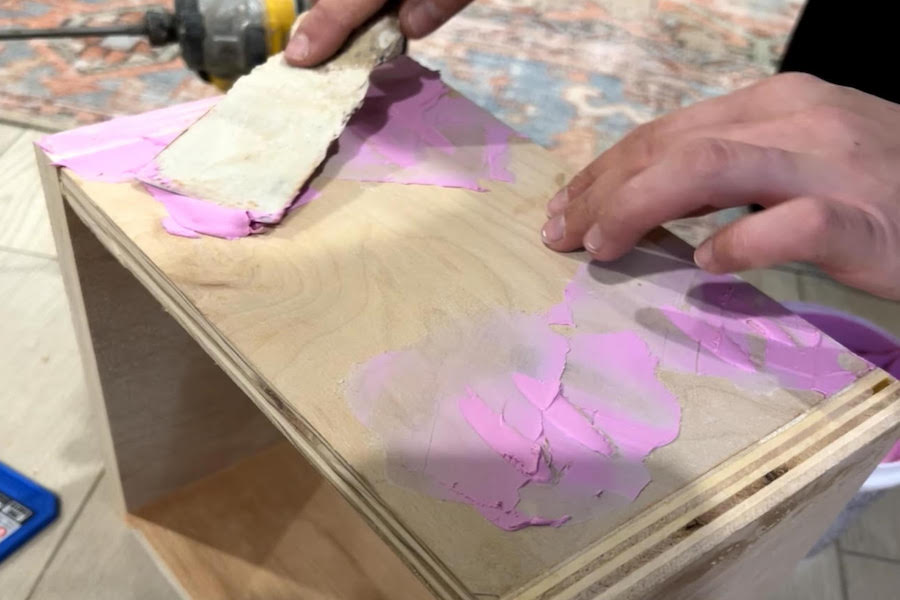
Step three
Spackle the pocket holes and plywood edges. Optional: edge banding the plywood edges.
-
Step four
Rabbet the back side of the box and attach back with nails.
-
Step five
Glue and nail the drawer box together.
-
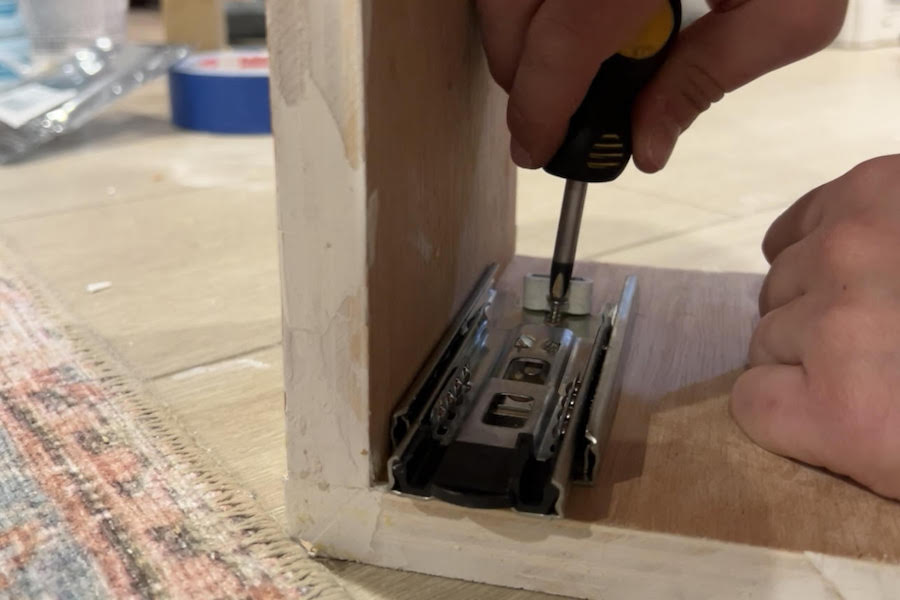
Step six
Attach drawer slides to jewelry box.
-
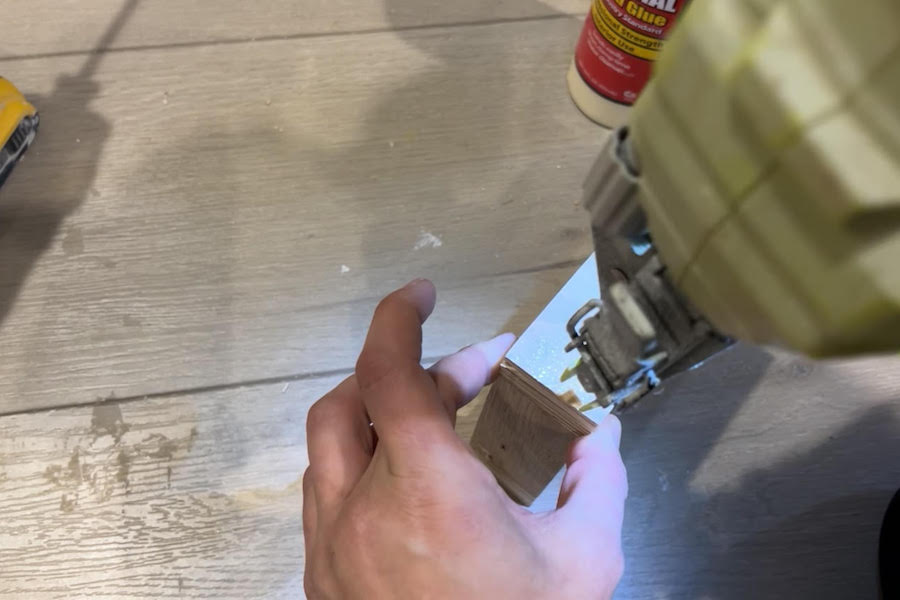
Step seven
Cut drawer front and attach with brad nails.
-
Step eight
Pocket hole the divider and attach just above the drawers with screws and glue.
-
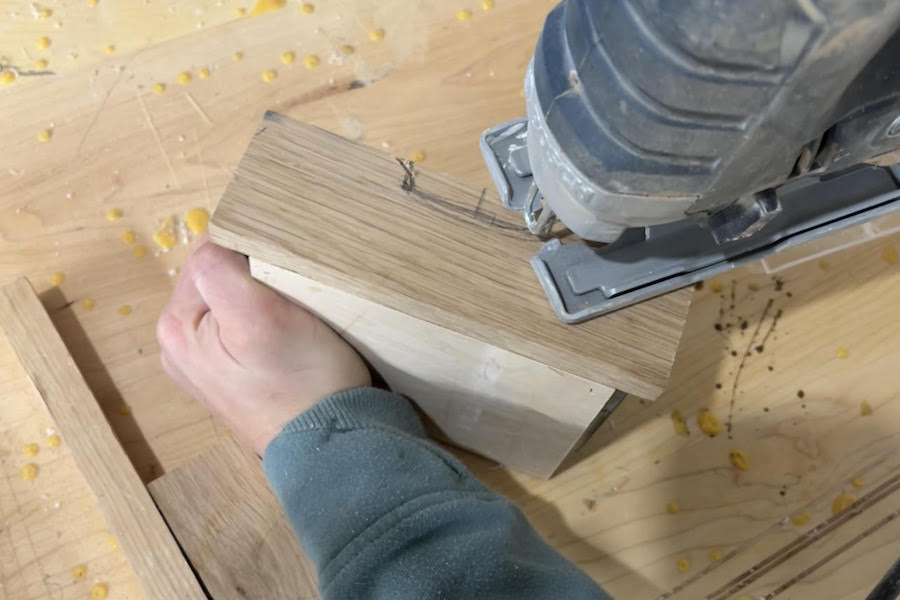
Step nine
Find the center of the drawer and cut the handle to the shape and size you want.
-
Step ten
Pocket hole the legs and glue to the underside of the main box. Make sure the pocket holes face down so they aren’t visible.
-
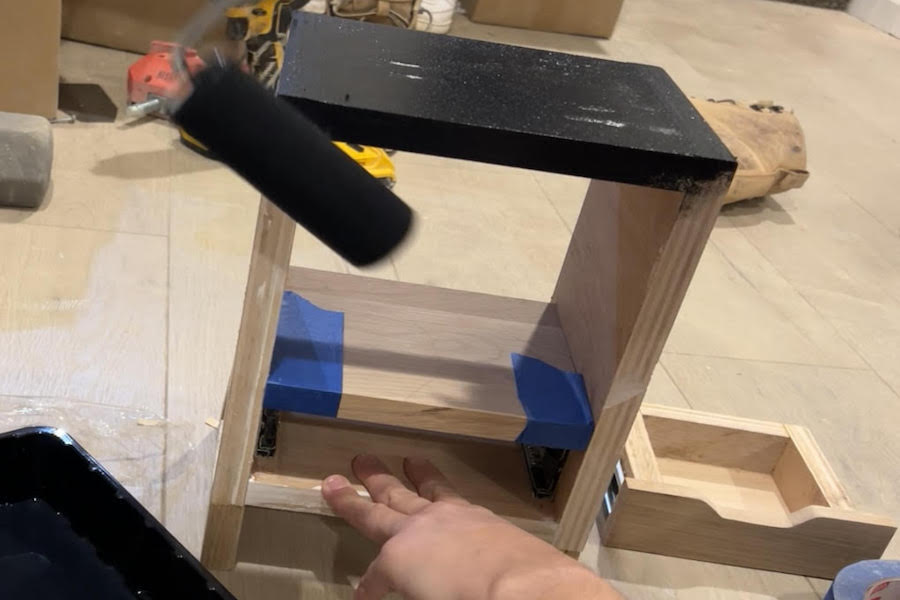
Step eleven
Paint the main box, insides, legs and door with the color of your choice.
-
Step twelve
Attach the doors using the small hinges.
-
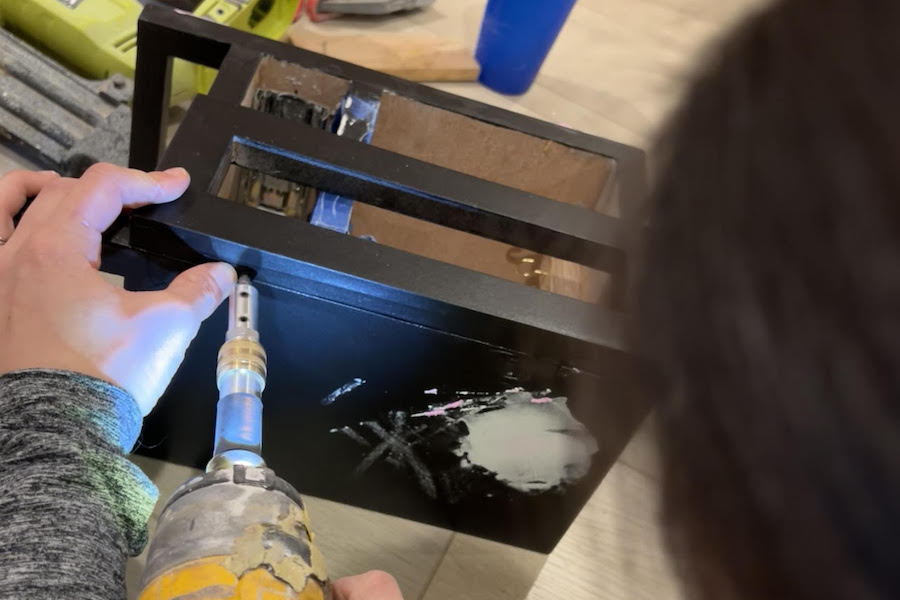
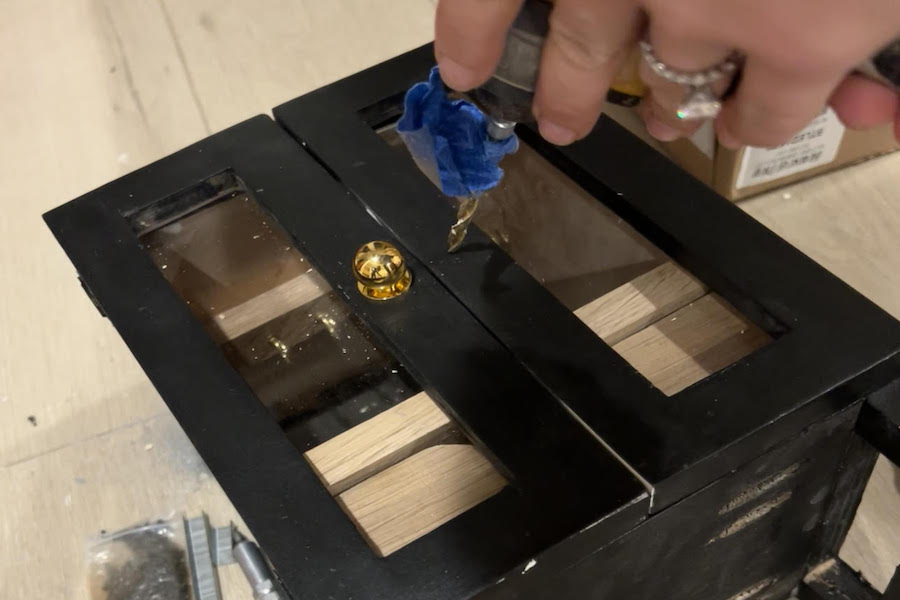
Step thirteen
Attach the knobs by finding the center of your door, drill and screw in.
-
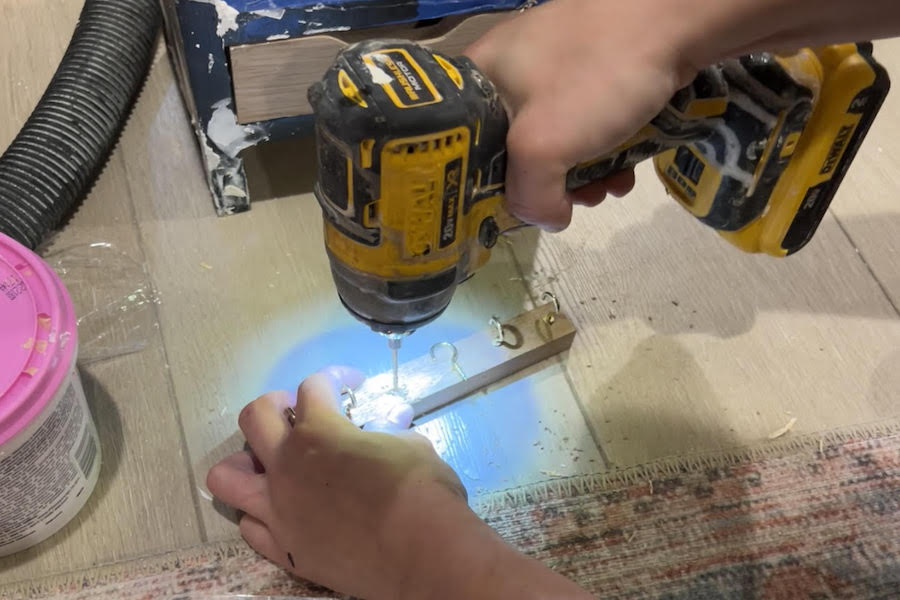
Step fourteen
Predrill for the hooks in the necklace holder and screw them in. Attach to the inside top of the jewelry box with pocket holes and glue.
-
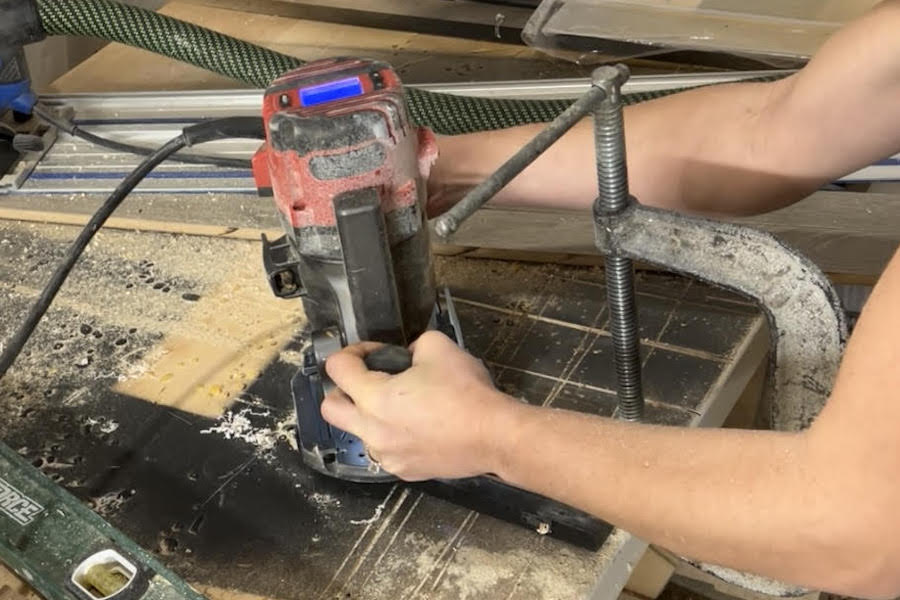
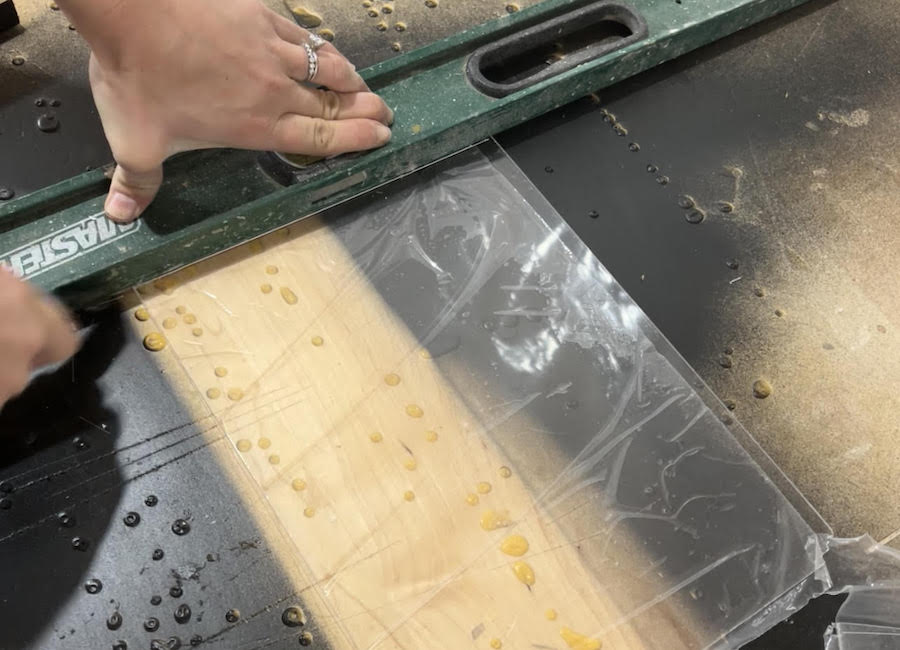
Step fifteen
Using your router and a rabbeting bit, rabbet the inside back of the doors.
-
Step sixteen
Cut the acrylic or glass to size and fit into the rabbet of the doors. Use glazing points to keep them in place.
-
Step seventeen
Enjoy your new jewelry box!