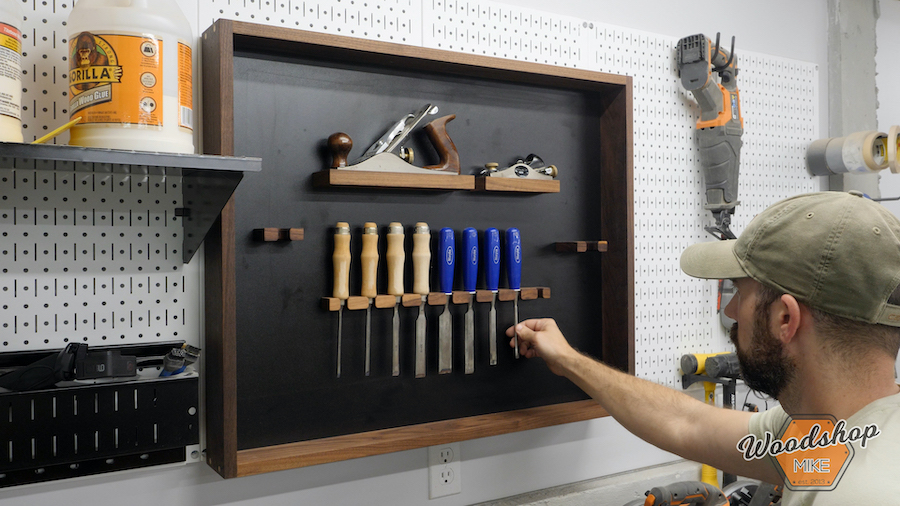


This hand tool storage cabinet not only organized my chisels, planes, and sharpening stones, but it also helped me to stop wasting time in the shop looking for tools. This storage solution is highly customizable and easy to modify. Be sure to check out the build video linked below in the “extras” section for extra details!
Tools
Kreg Tools


Other Tools
-
Miter saw

-
Table saw
-
Flush cut saw
-
Shopvac
-
Clamps
-
Tape Measure
Materials
Wood Products
- 1 Black Melamine , ¾ " x2’ x4’
- 1 ¾” Walnut (or other hardwood) , 5bf
Hardware & Supplies
- 1 Bottle of Starbond Medium CA glue
- 1 Bottle of Starbond Brown CA glue
- 1 Bottle of Starbond Accelerator
- 1 Box of 1-¼” pocket hole screws (See tools list)
- 1 Box of 2” pocket hole screws (See tools list)
- 1 Box of 2-1/2” pocket hole screws (See tools list)
- 1 Finish of choice
Directions
-
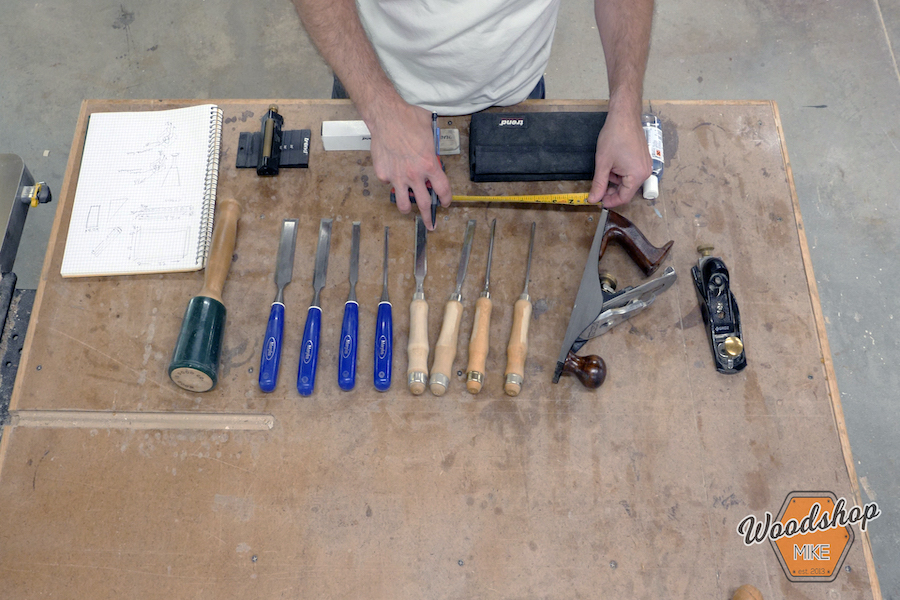
Gather Your Tools
To start things off grab all of the tools you want to throw into this cabinet and lay them out. Once you have gathered everything up, we’re ready to get a game plan together.
-
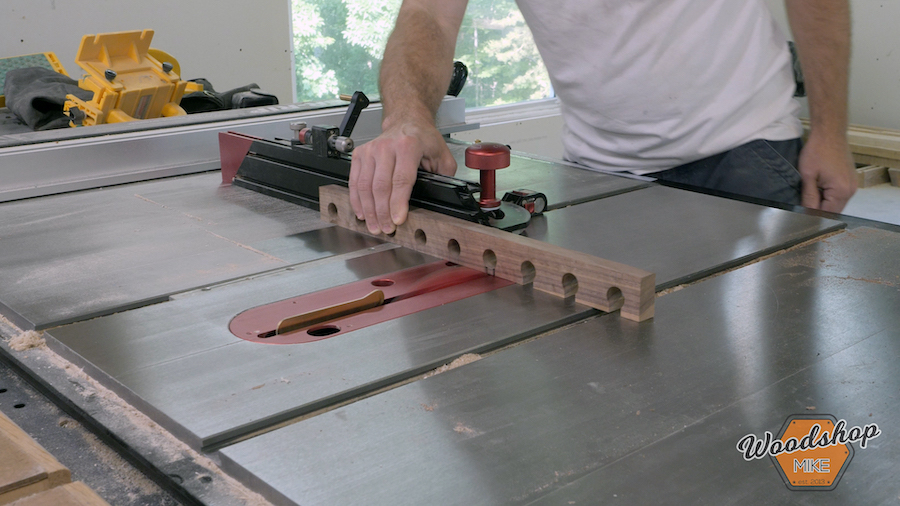
Make the Tool Holders
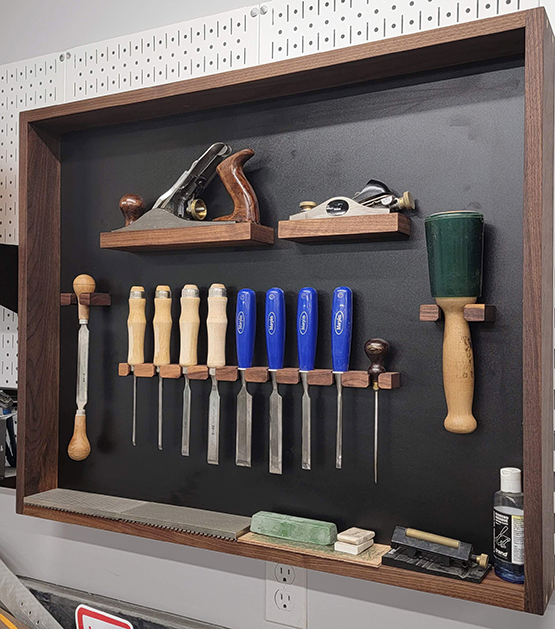
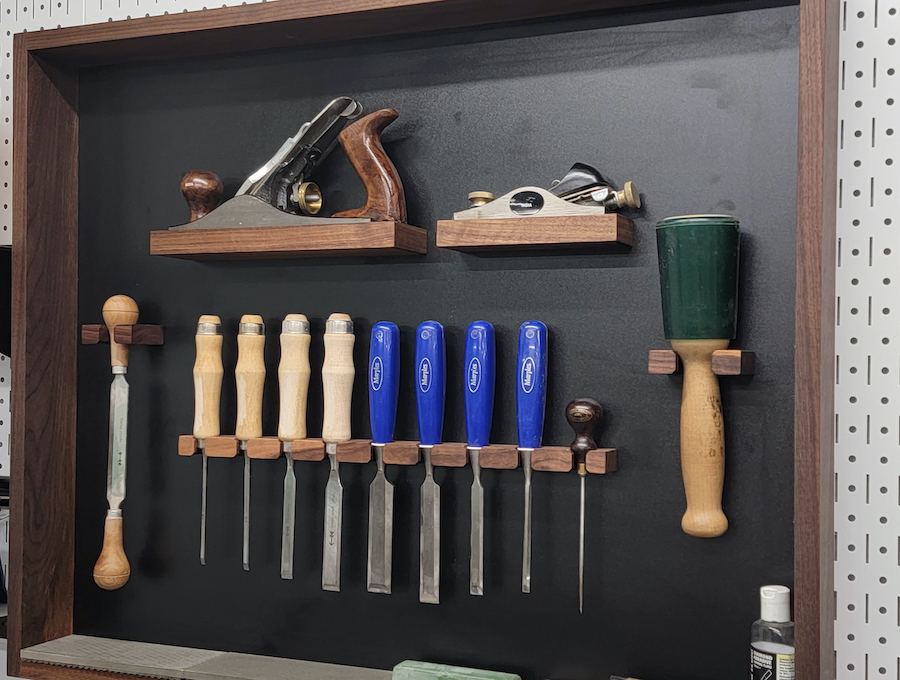
These items (items 1 - 3) are pretty simple to make and you can use anything from pine to exotic woods if you like. In the plans (see the extras tab) you’ll find all of the dimensions I used for my chisels, draw knife, and mallet. Adjust the dimensions as needed to fit your tools.
-
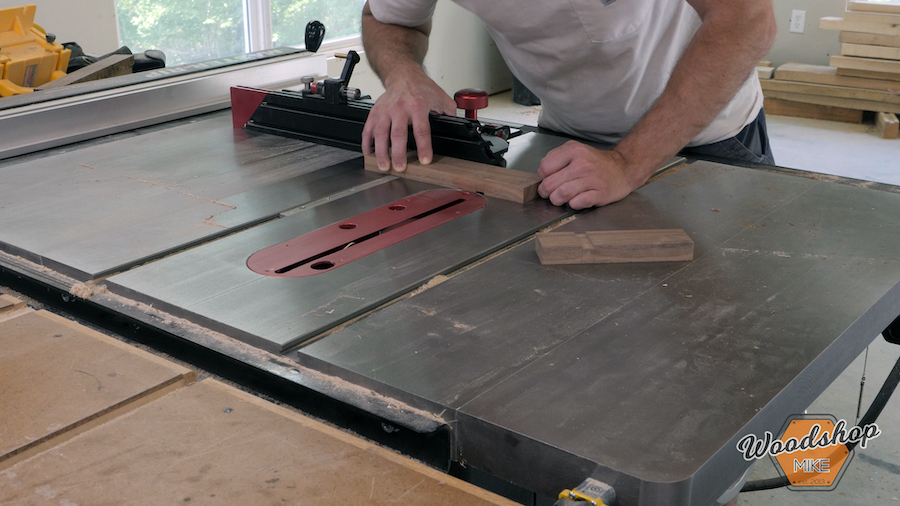
Make the Plane Shelves
I have two planes that I needed to make shelves for (items 4 & 6). The first step was to mill a piece of wood to be just larger than the base of my plane. The next crucial step for the shelf was to cut a shallow groove in the shelf that lines up with the blade location of the plane. This allows you to set the plane down on its sole without dulling the blade or always having to retract the blade.
-
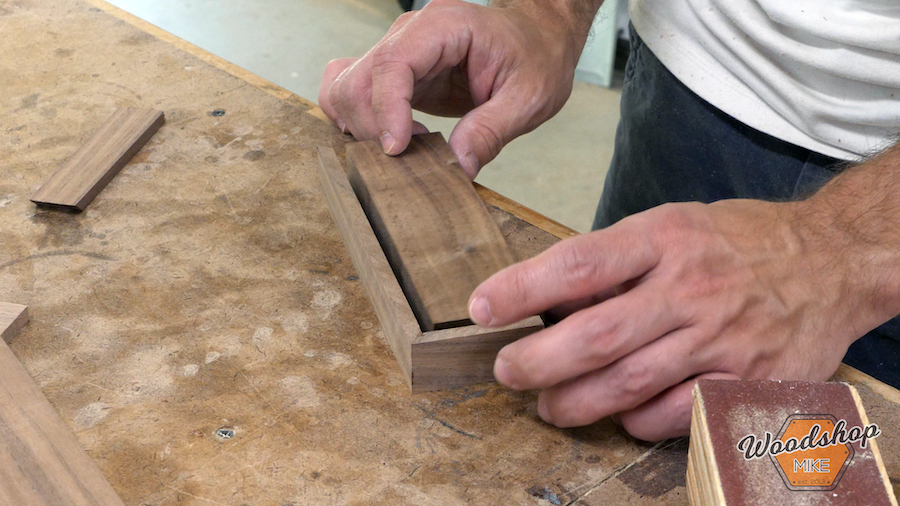
Adding Trim to the Shelf
Mill up some stock (items 5 & 7) to be about 3/16” thick and about an ⅛” taller than the thickness of your plane shelves. Cut miters (or use butt-joints) and glue the trim to each shelf. This provides a “lip” and prevents the plane from inadvertently slipping off the shelf. I used Starbond Brown CA glue to glue the trim to the shelf since I used walnut, but Starbond Medium CA glue would be a great choice for light colored woods.
-
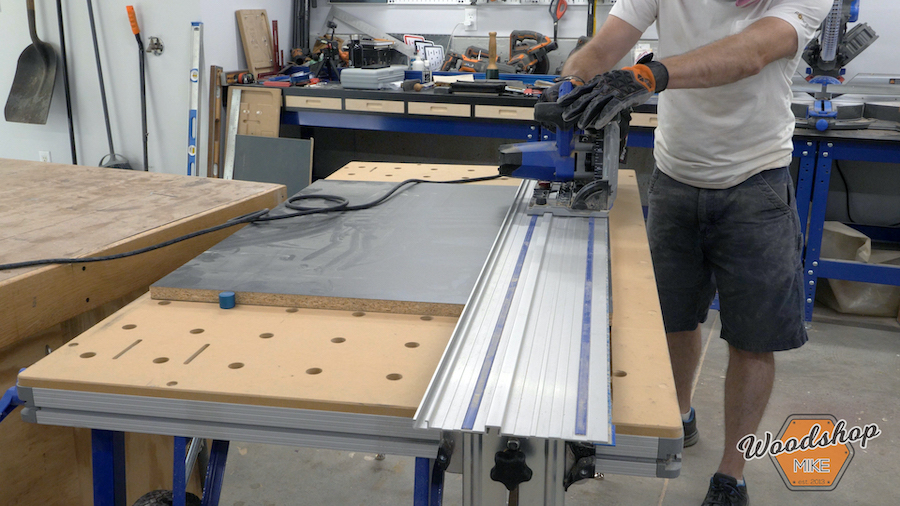
Cut the Back
Once all of the tool holders and plane shelves are made, arrange them on your bench (with the tools in/on them) and make sure there is enough space around them to put the items away and retrieve the items from the holders and shelves. With this done, take some measurements to determine how big the back (item 8) piece for your cabinet needs to be.
-
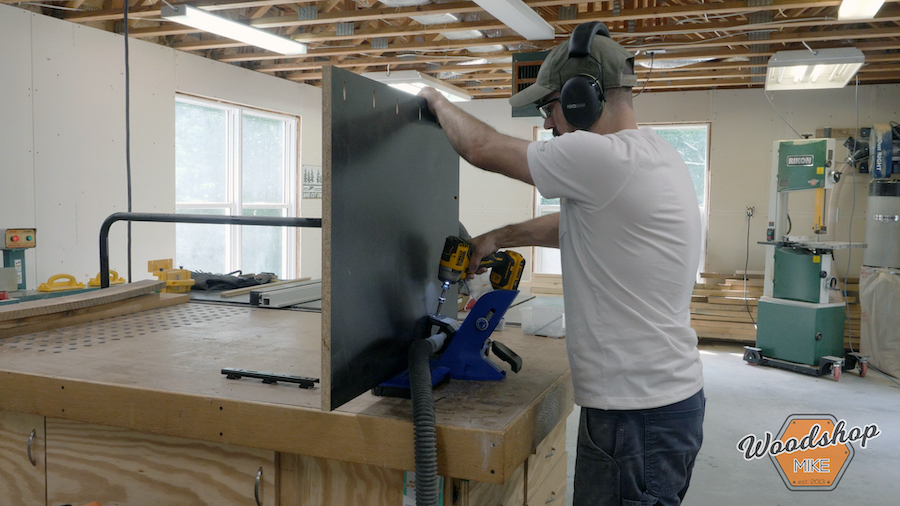
Pocket Holes
Drill pocket holes around the perimeter of the back. Start 2” from each corner and drill holes every 4-6 inches.
-
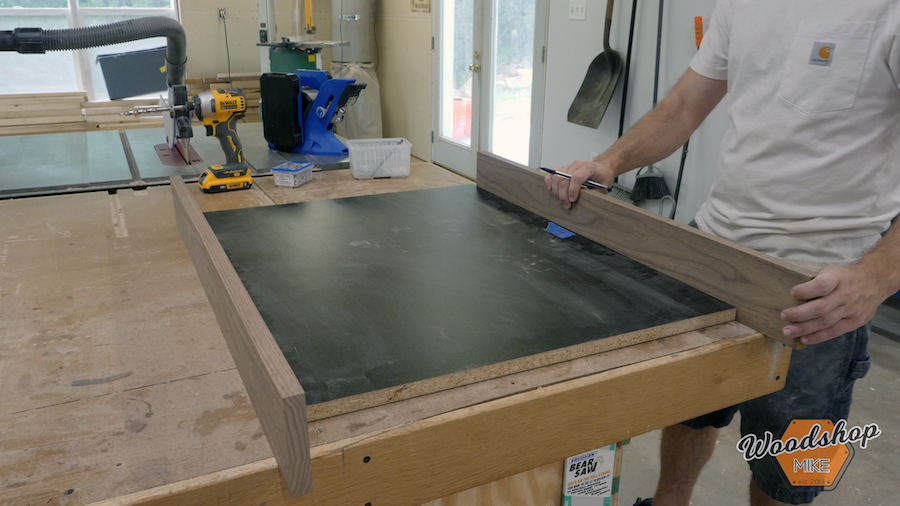
Cut the Frame
Mill lumber as shown in the plans to make the frame (items 9 & 10) for your cabinet. Adjust the length as necessary to fit your back (item 8) piece.
-
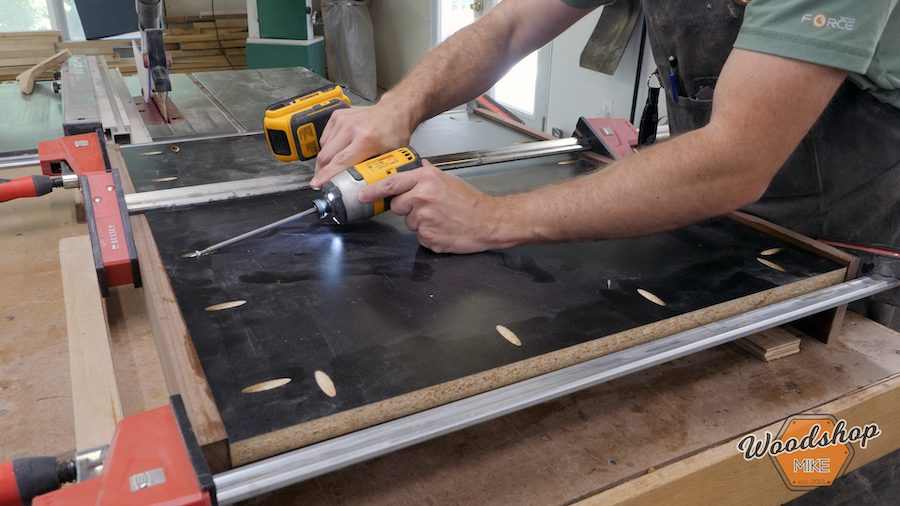
Assemble the Cabinet
Secure frame (items 9 & 10) to back (item 8) with 1-¼” pocket hole screws. Secure items 9 & 10 together with 1-¼” pocket holes screws through the counterbored holes and cap with plugs.
-
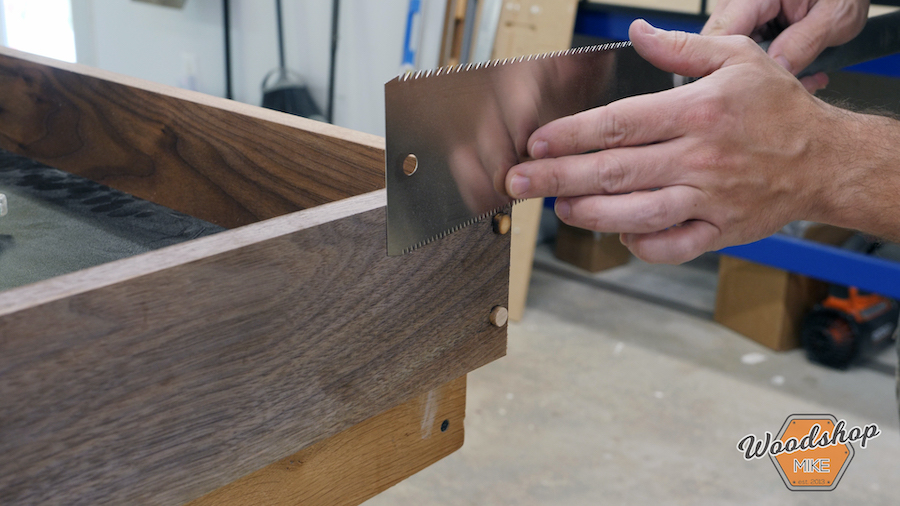
Flush Cut Plugs
With the plugs installed, cut/sand them flush and finish the wood as desired.
-
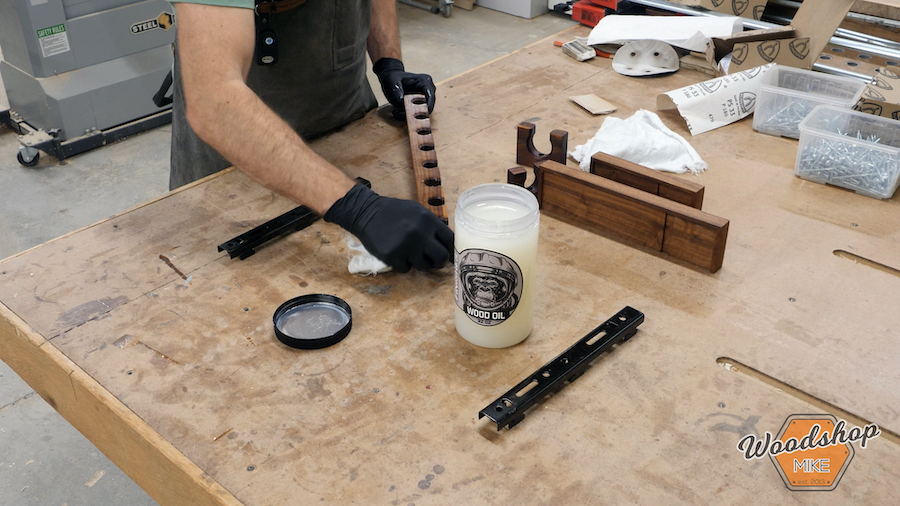
Apply Finish
Finish tool holders and plane shelves as desired.
-
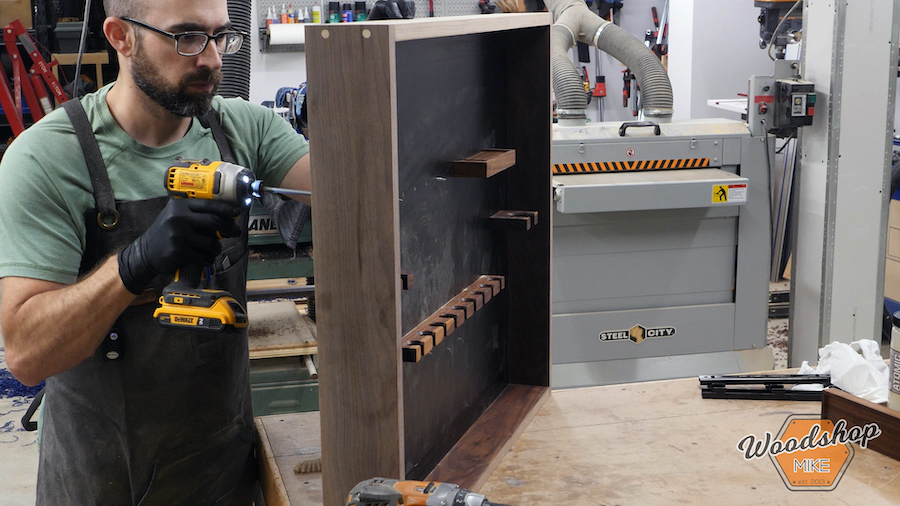
Install Tool Holders
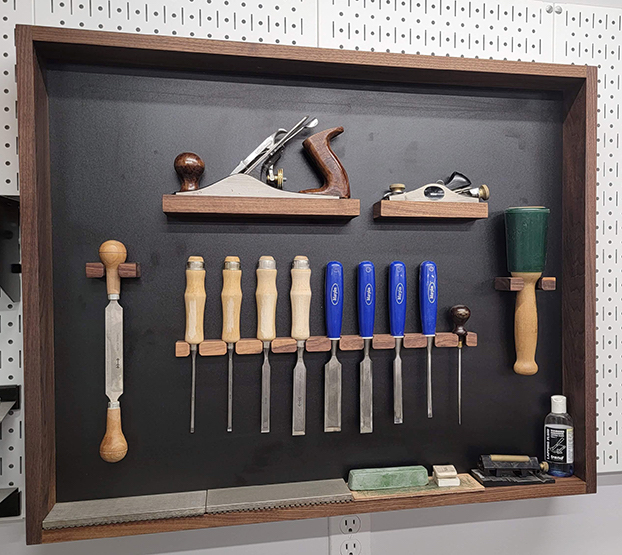
Install items 1-3 with 1-¼” screws through the counterbored holes into item 8. Install the plane shelves with 2” and 2-½” screws through pre-drilled holes in item 8 and the plane holders where desired. Pre-drilling the holes will help to insure shelves are installed accurately and prevent the shelves from splitting. (This is more critical if using hardwood for the shelves.)
-
Done!
Load up your cabinet with tools and be more productive!