

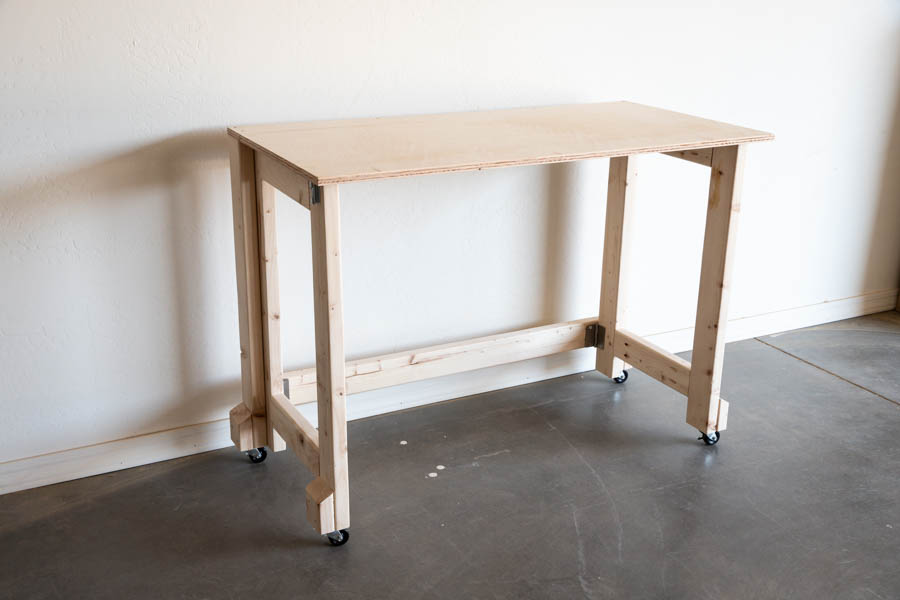
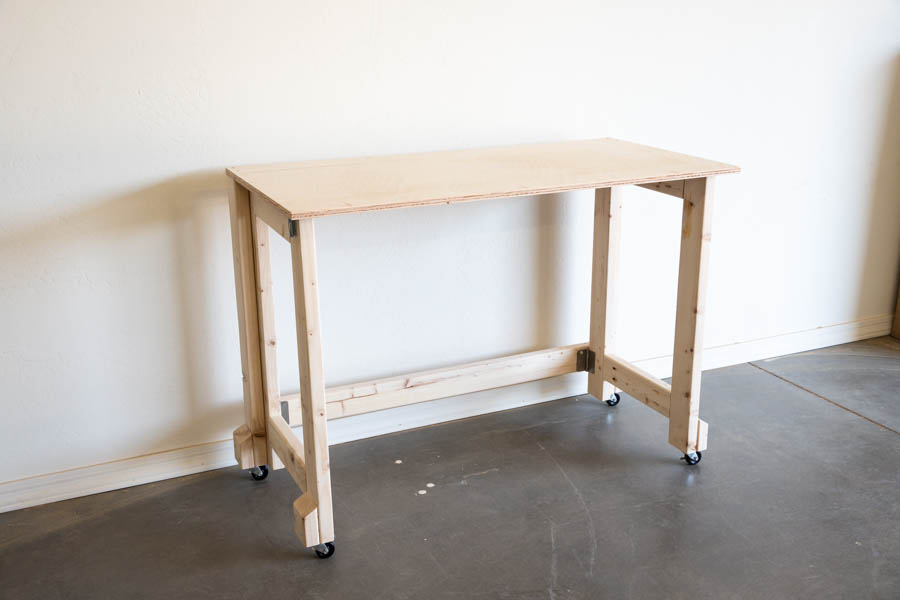
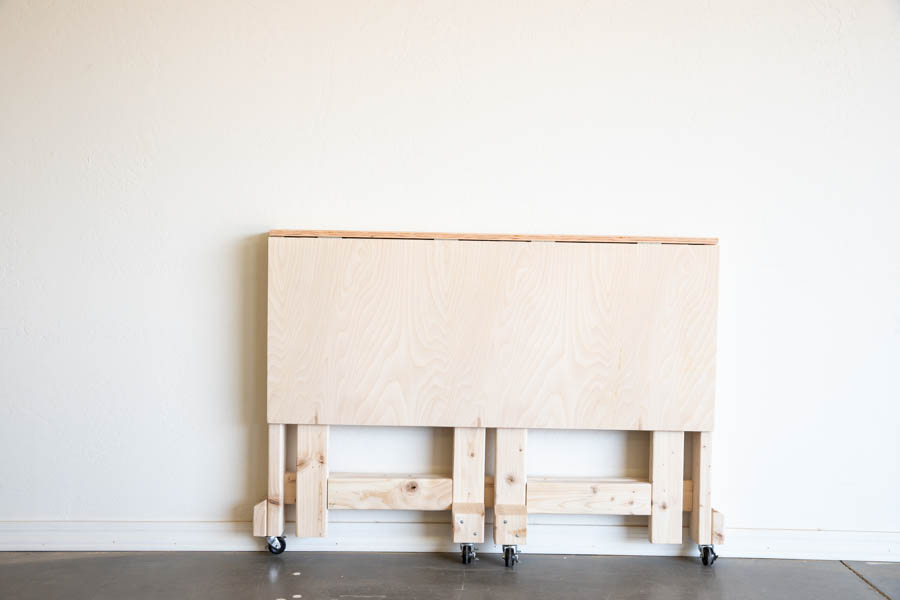
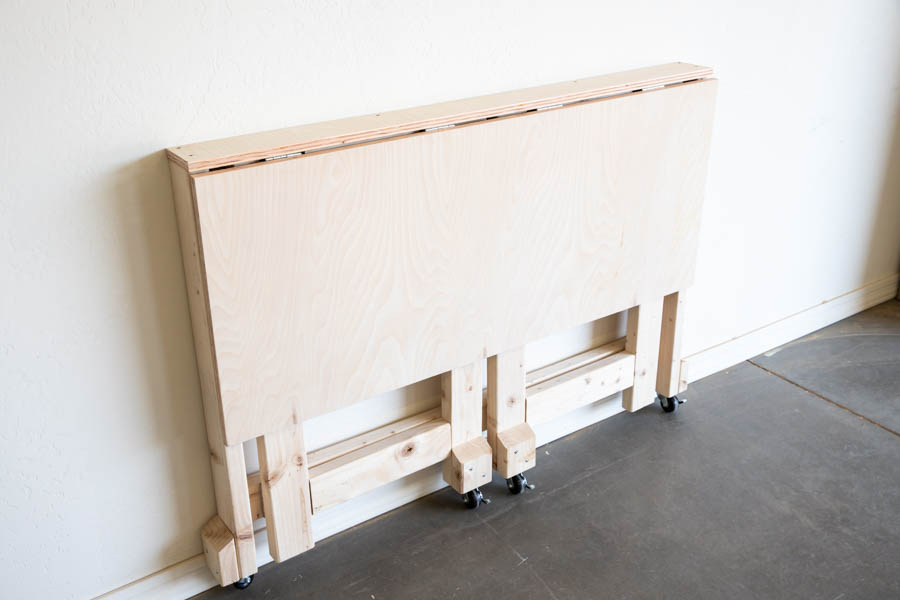


This handy, folding mobile workbench is the perfect project for anyone looking to add a little more of a work surface to their shop and/or is limited on space. It folds up to a slim profile and can be quickly tucked away against any wall.
Tools
Kreg Tools


Other Tools
-
Miter saw

Materials
Wood Products
- 4 Pine boards , 2"x4" , 8' long
- 1 Plywood panel , 2'x4'x3/4"
Hardware & Supplies
- 4 2 1/2" locking casters
- 4 2 1/2" hinges
- 4 3" hinges
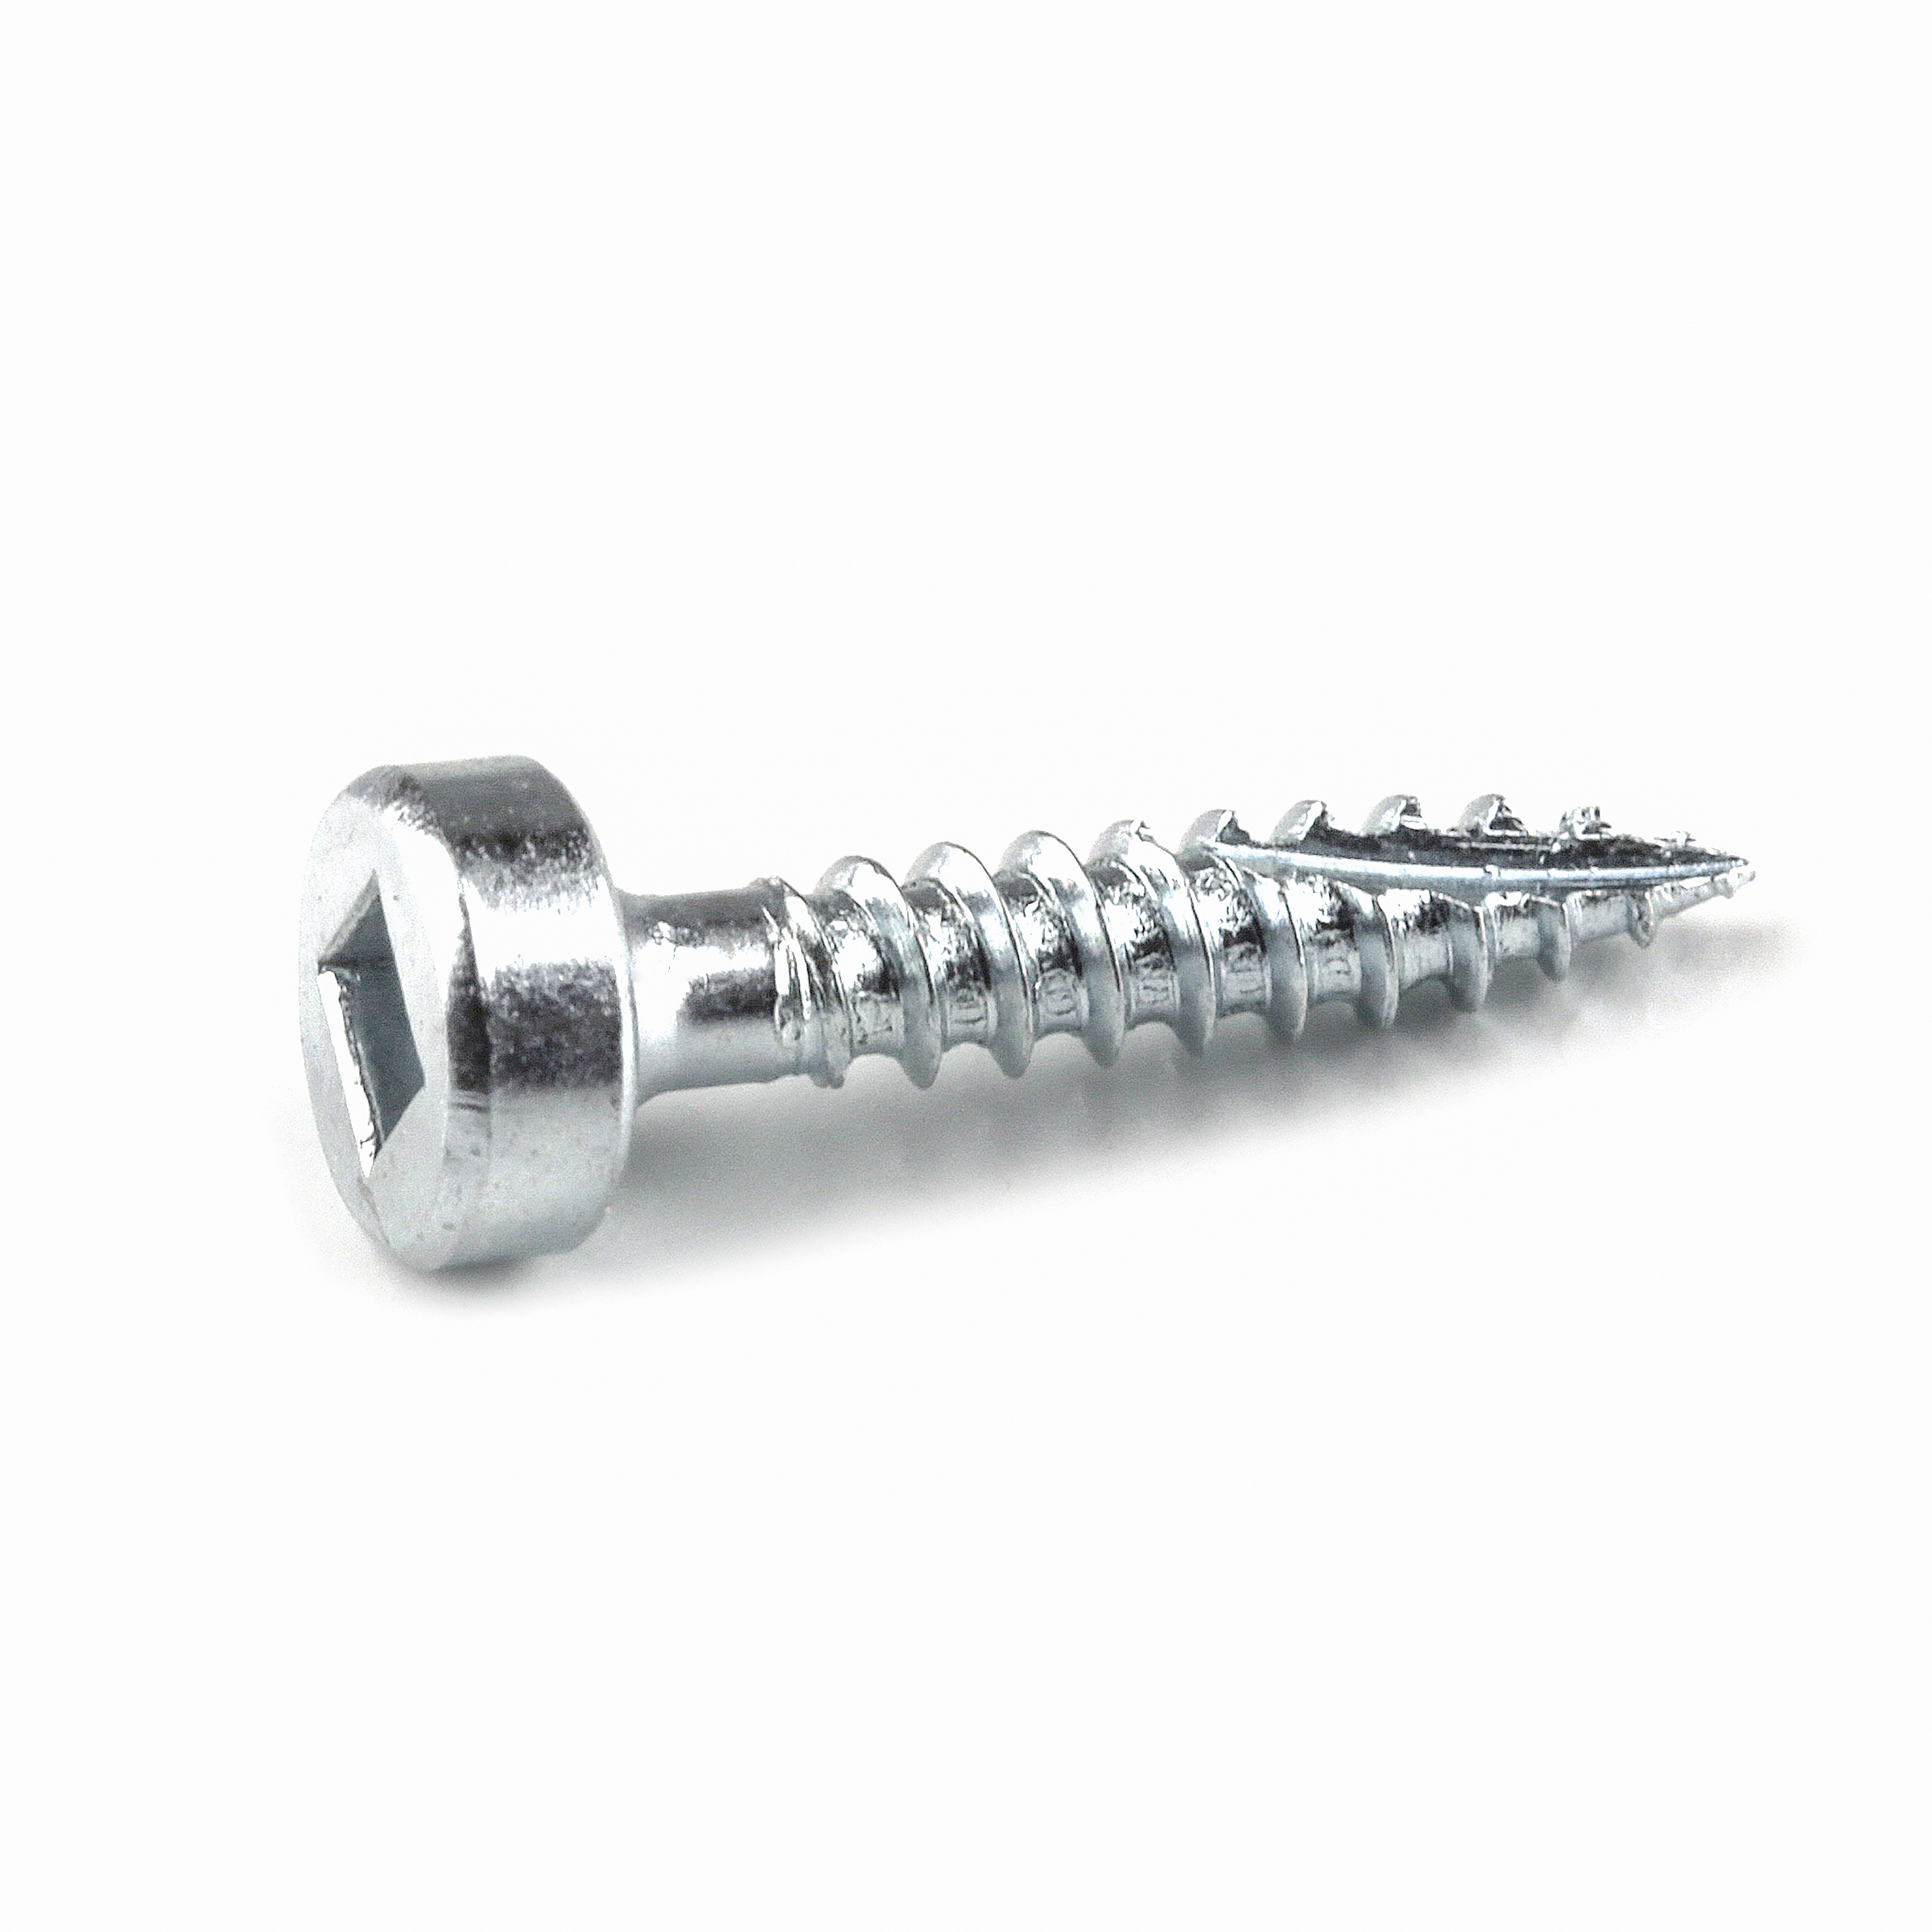
- 24 2 1/2" pocket screws
- 8 2 1/2" wood screws
- 8 1 1/2" wood screws
- 2 Barrel bolt latches
Directions
-
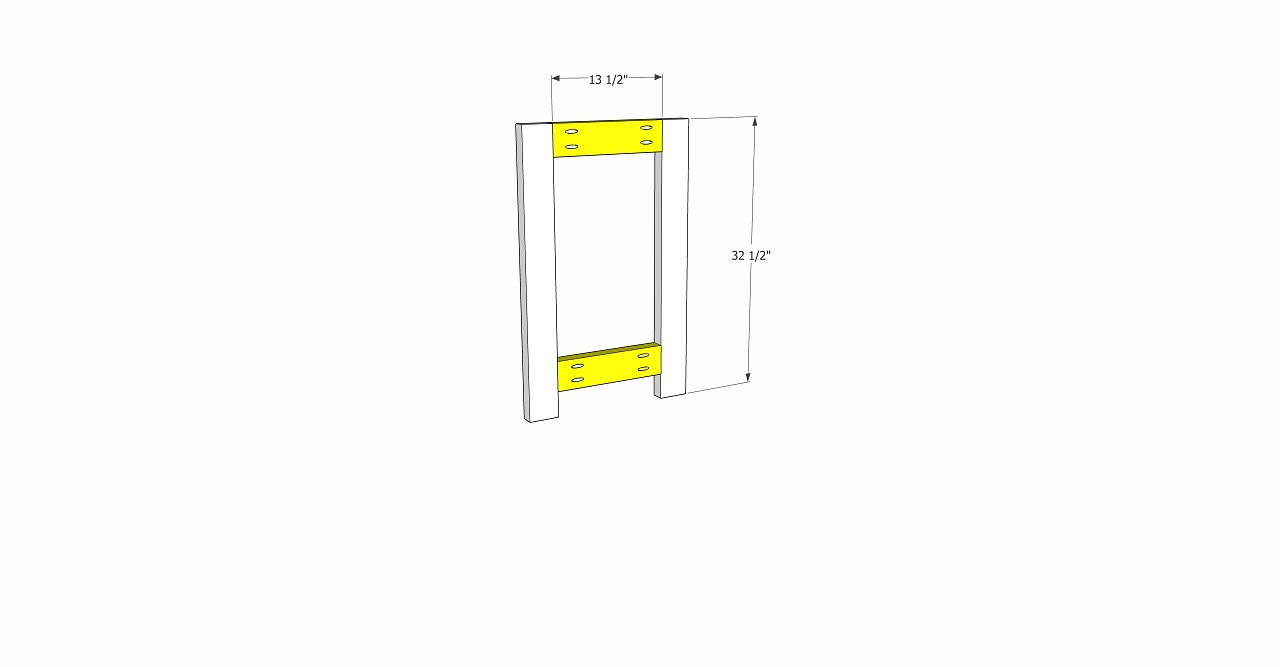
Build the folding panels
Drill 1 1/2" pocket holes into the 13 1/2" pieces. Attach the top board flush with the tops of the legs and the bottom board 3" up from the bottom of the legs.
Attach in place with wood glue and 2 1/2" pocket screws.
Build 2 panels.
-
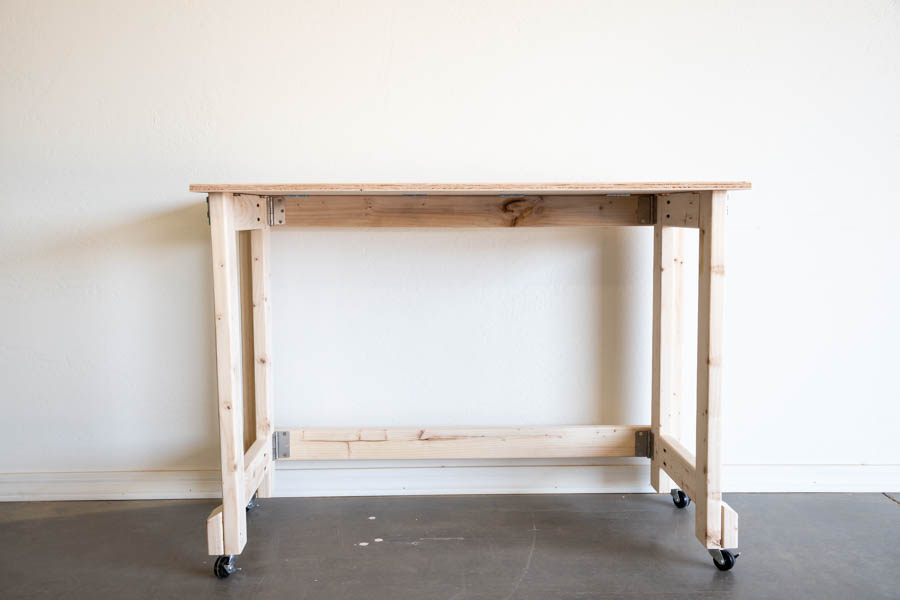
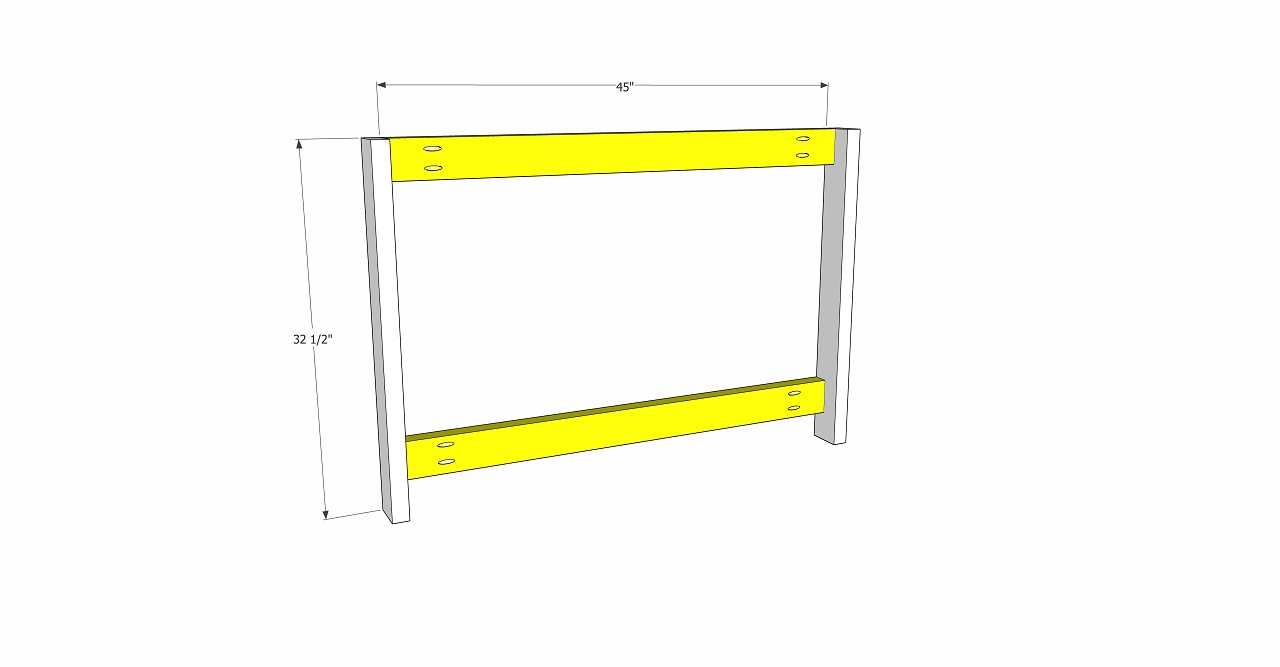
Build the back of the work bench
Drill 1 1/2" pocket holes into each end of the 45" long boards. Attach the top board flush with the top of the legs using wood glue and 2 1/2" pocket screws. Attach the lower board 3" up from the bottom of the legs, using wood glue and 2 1/2" pocket screws.
-
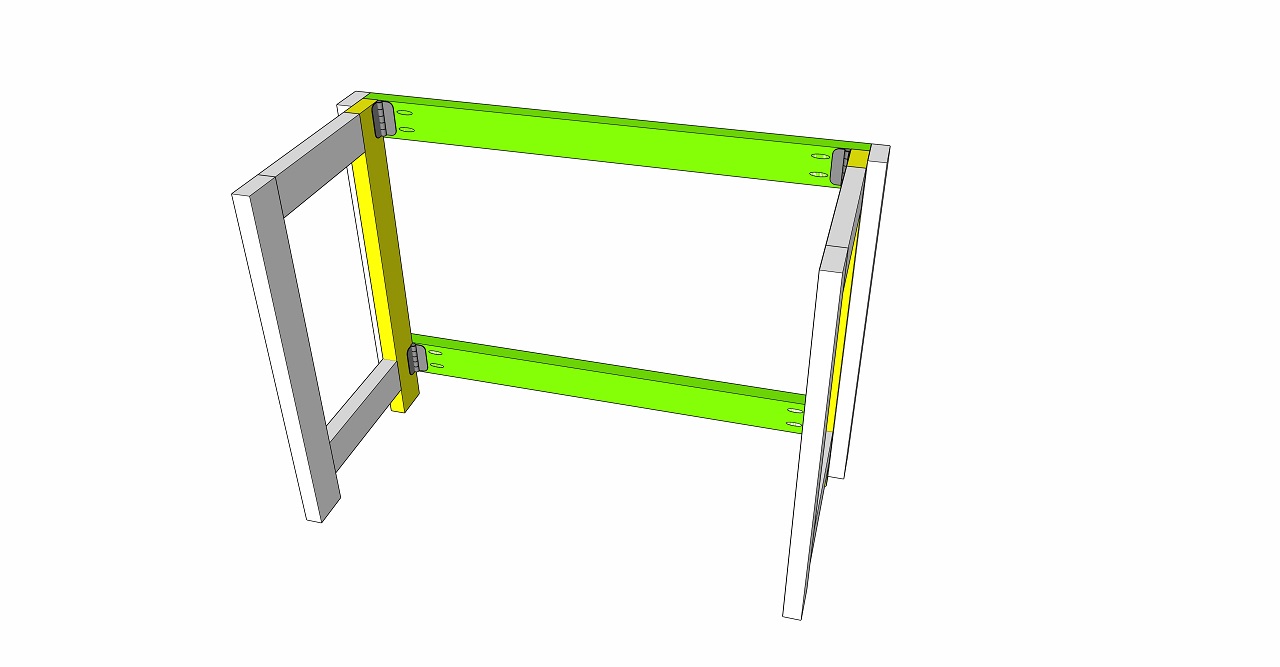
Attach the folding panels with hinges
Set the panels flush against the inside edges of the back legs. Attach the 3" hinges to the top and bottom joints on each side.
-
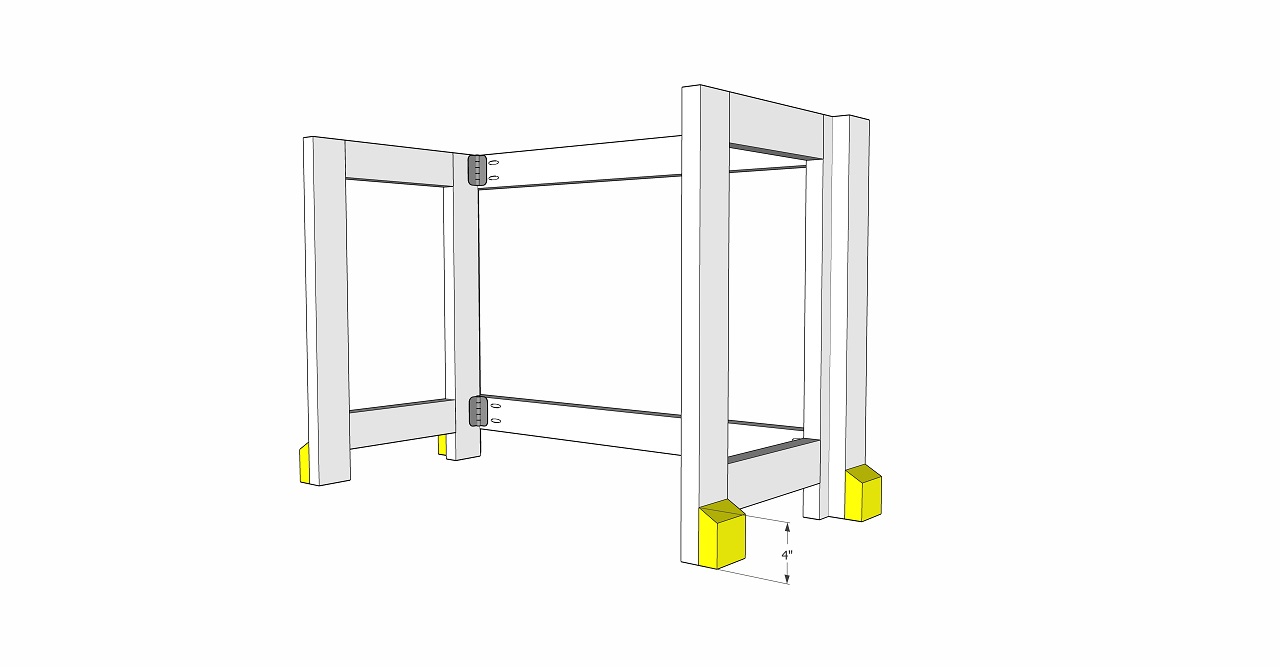
Attach blocks to legs
Attach the 4" blocks to the back legs and also the front edges of the folding panels. This will provide support for the casters.
Attach using wood glue and 2 1/2" wood screws (2 in each block).
-
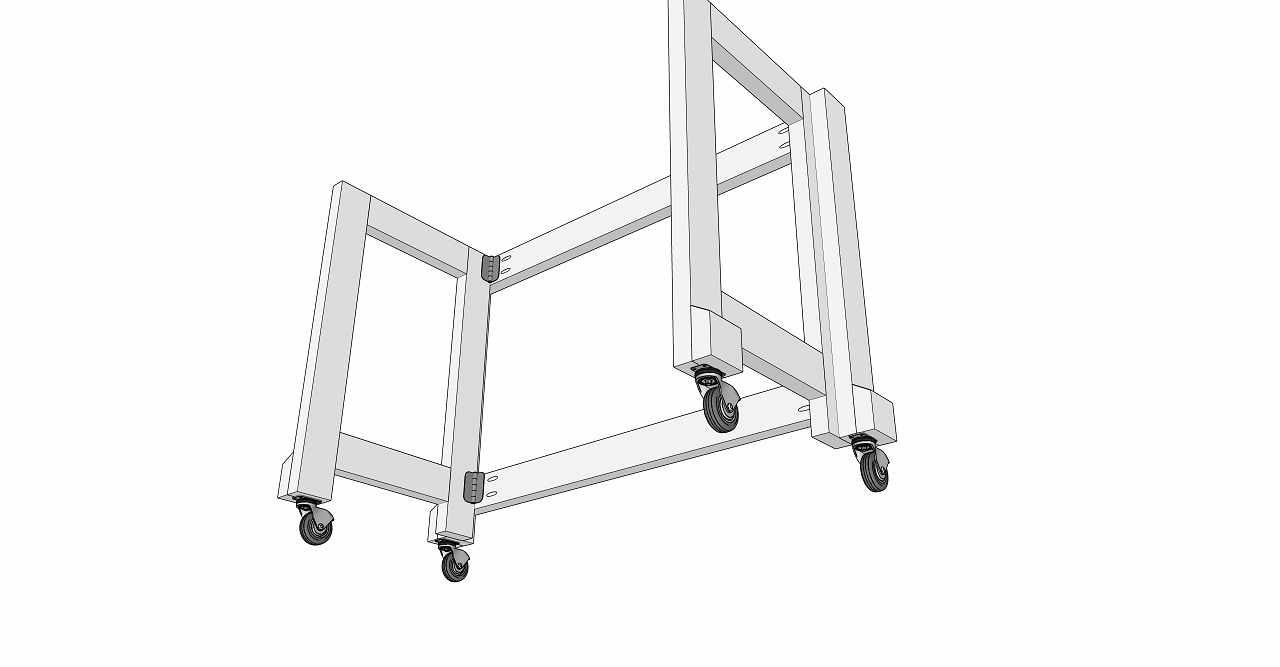
Attach the casters
Attach the 2 1/2" locking casters to the back stationary legs of the bench and the fronts of the folding panels.
-
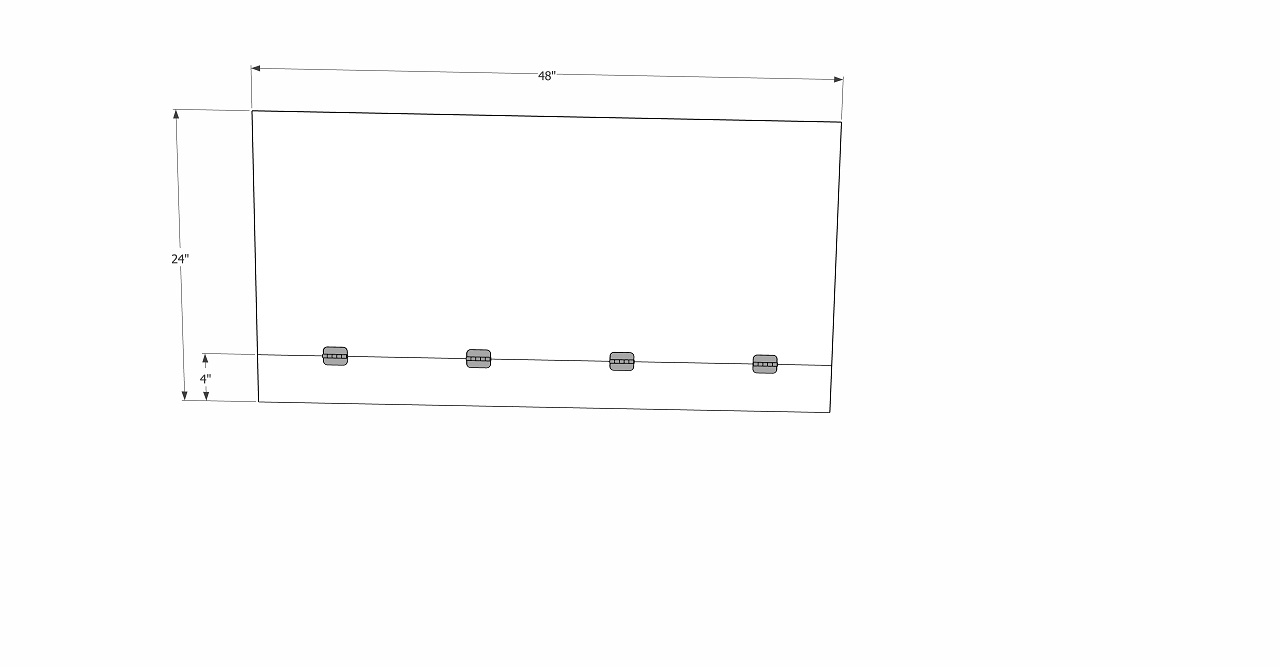
Building the table top
Cut 4" off of one end of the table top. Evenly space 4 - 2 1/2" hinges across the seam of the plywood pieces, making sure that the outer hinges will set inside of the legs.
-
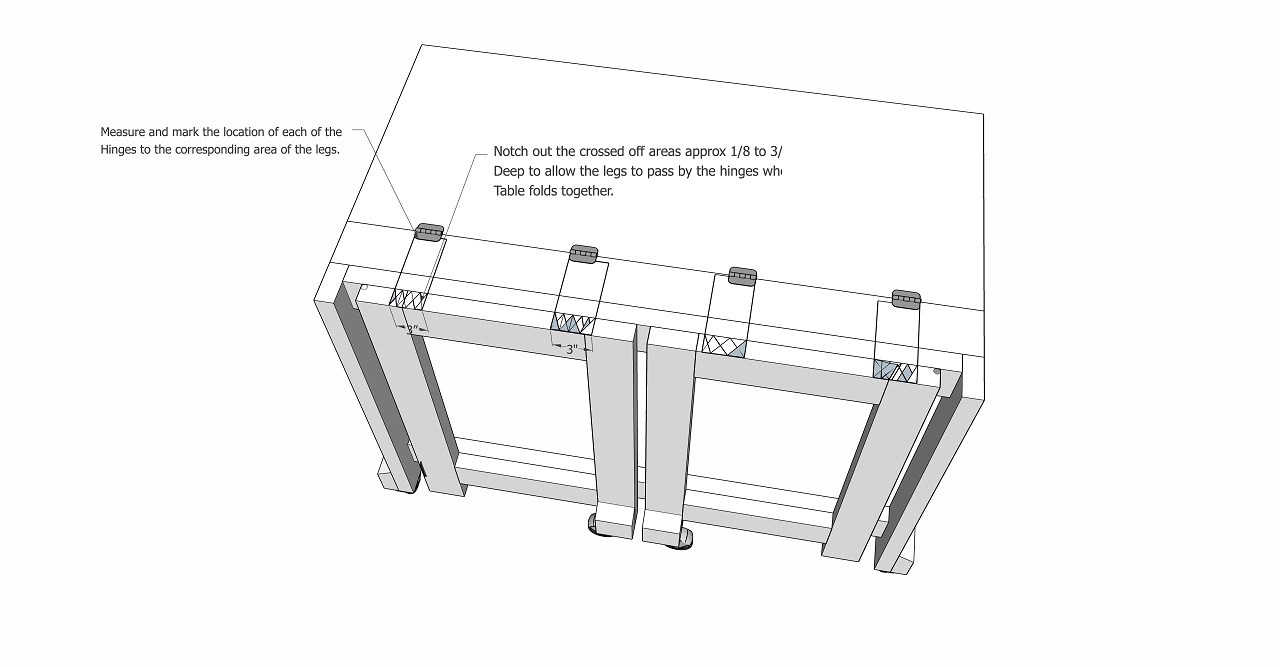
Notch out folding panels
Following the diagram, mark the location of the hinges to the corresponding area on the folding panels. Add an additional 1/2" to the marks to allow for the swing of the panels. Notch the areas out using a router or chisel and mallet, approx 3/16" deep.
-
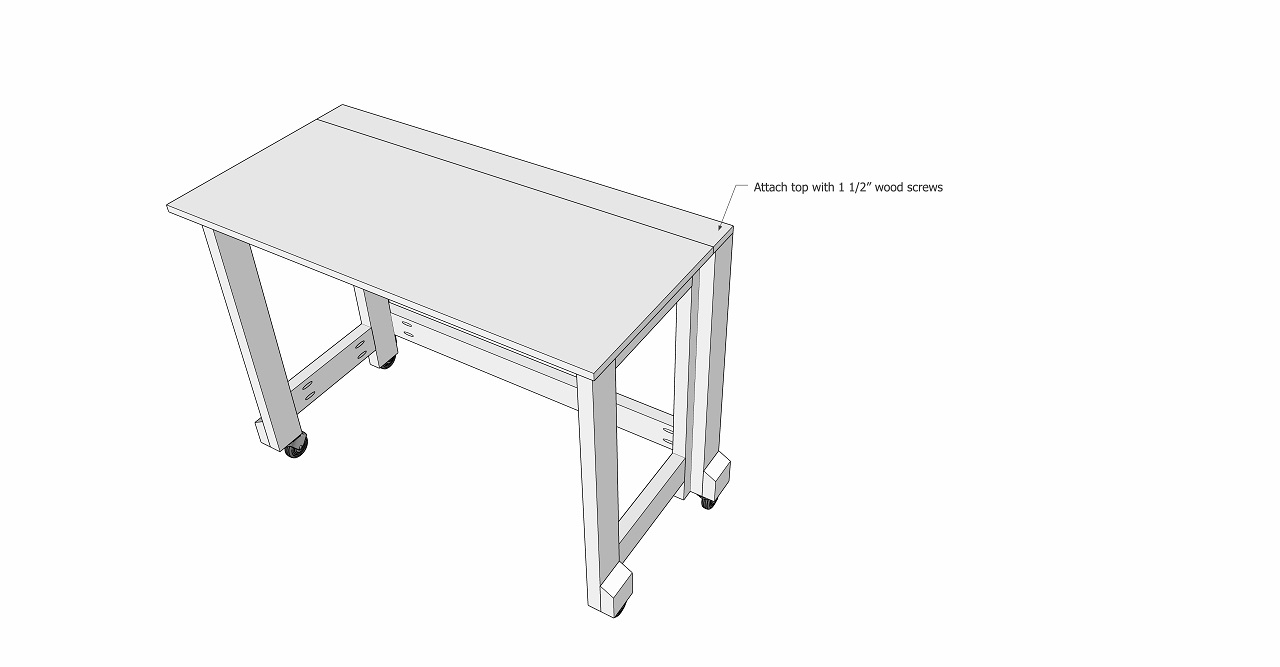
Attach the table top
Attach the 4" section of the table top to the back legs and apron using the 8 - 1 1/2" wood screws.
-
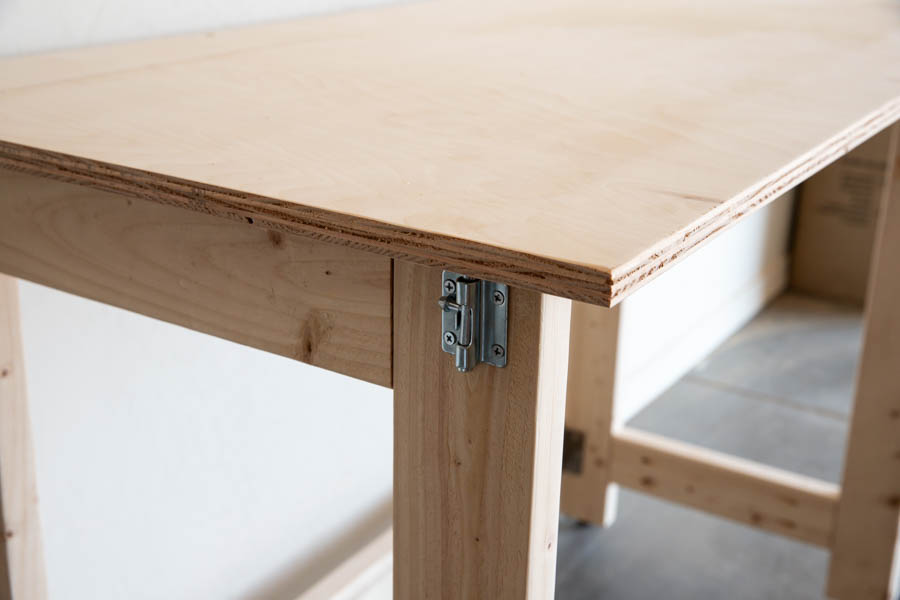
Attach the barrel bolt latches to lock the legs
Install barrel bolt latches on the front legs (latches only, not the catch). The latches should be installed approximately 1/4" down from the top of the legs. Set the bolt against the top of the plywood and trace around it with a pencil. Move the leg out of the way and drill a 5/16" hole where the mark was traced. The bolt will fit into the hole and then turn and lock in place to secure the leg. Repeat this step on the other side of the table.