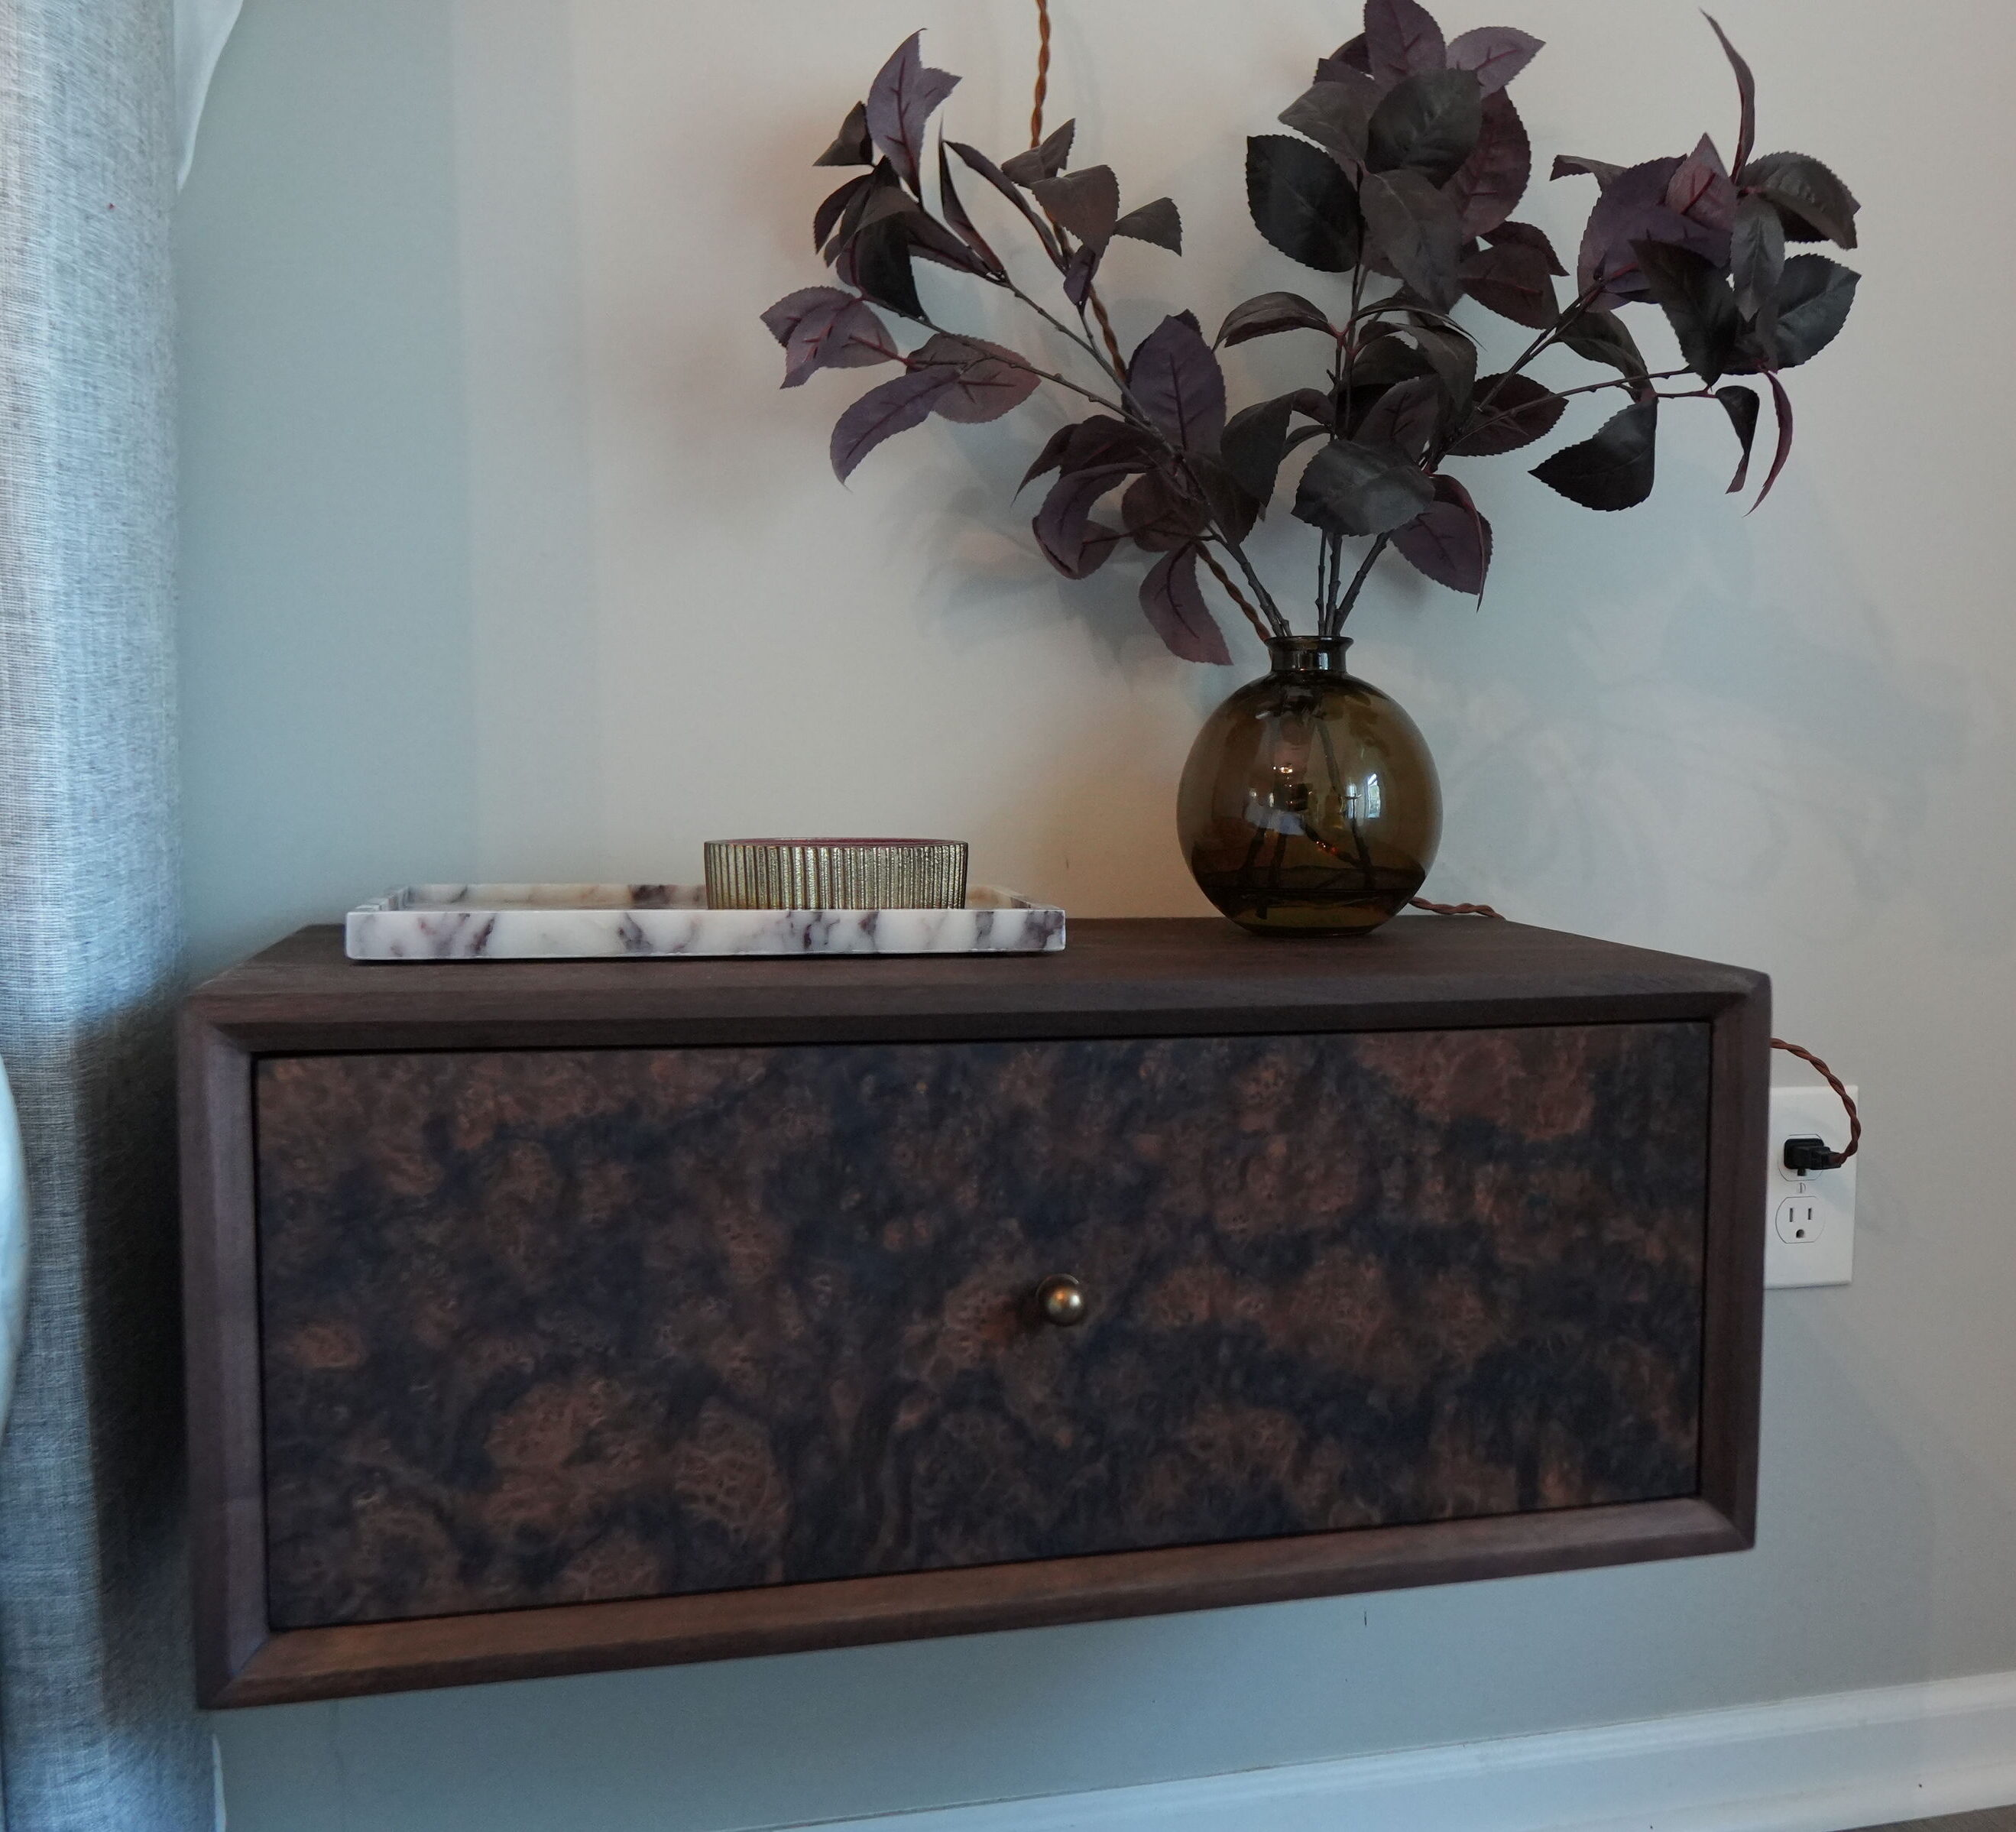
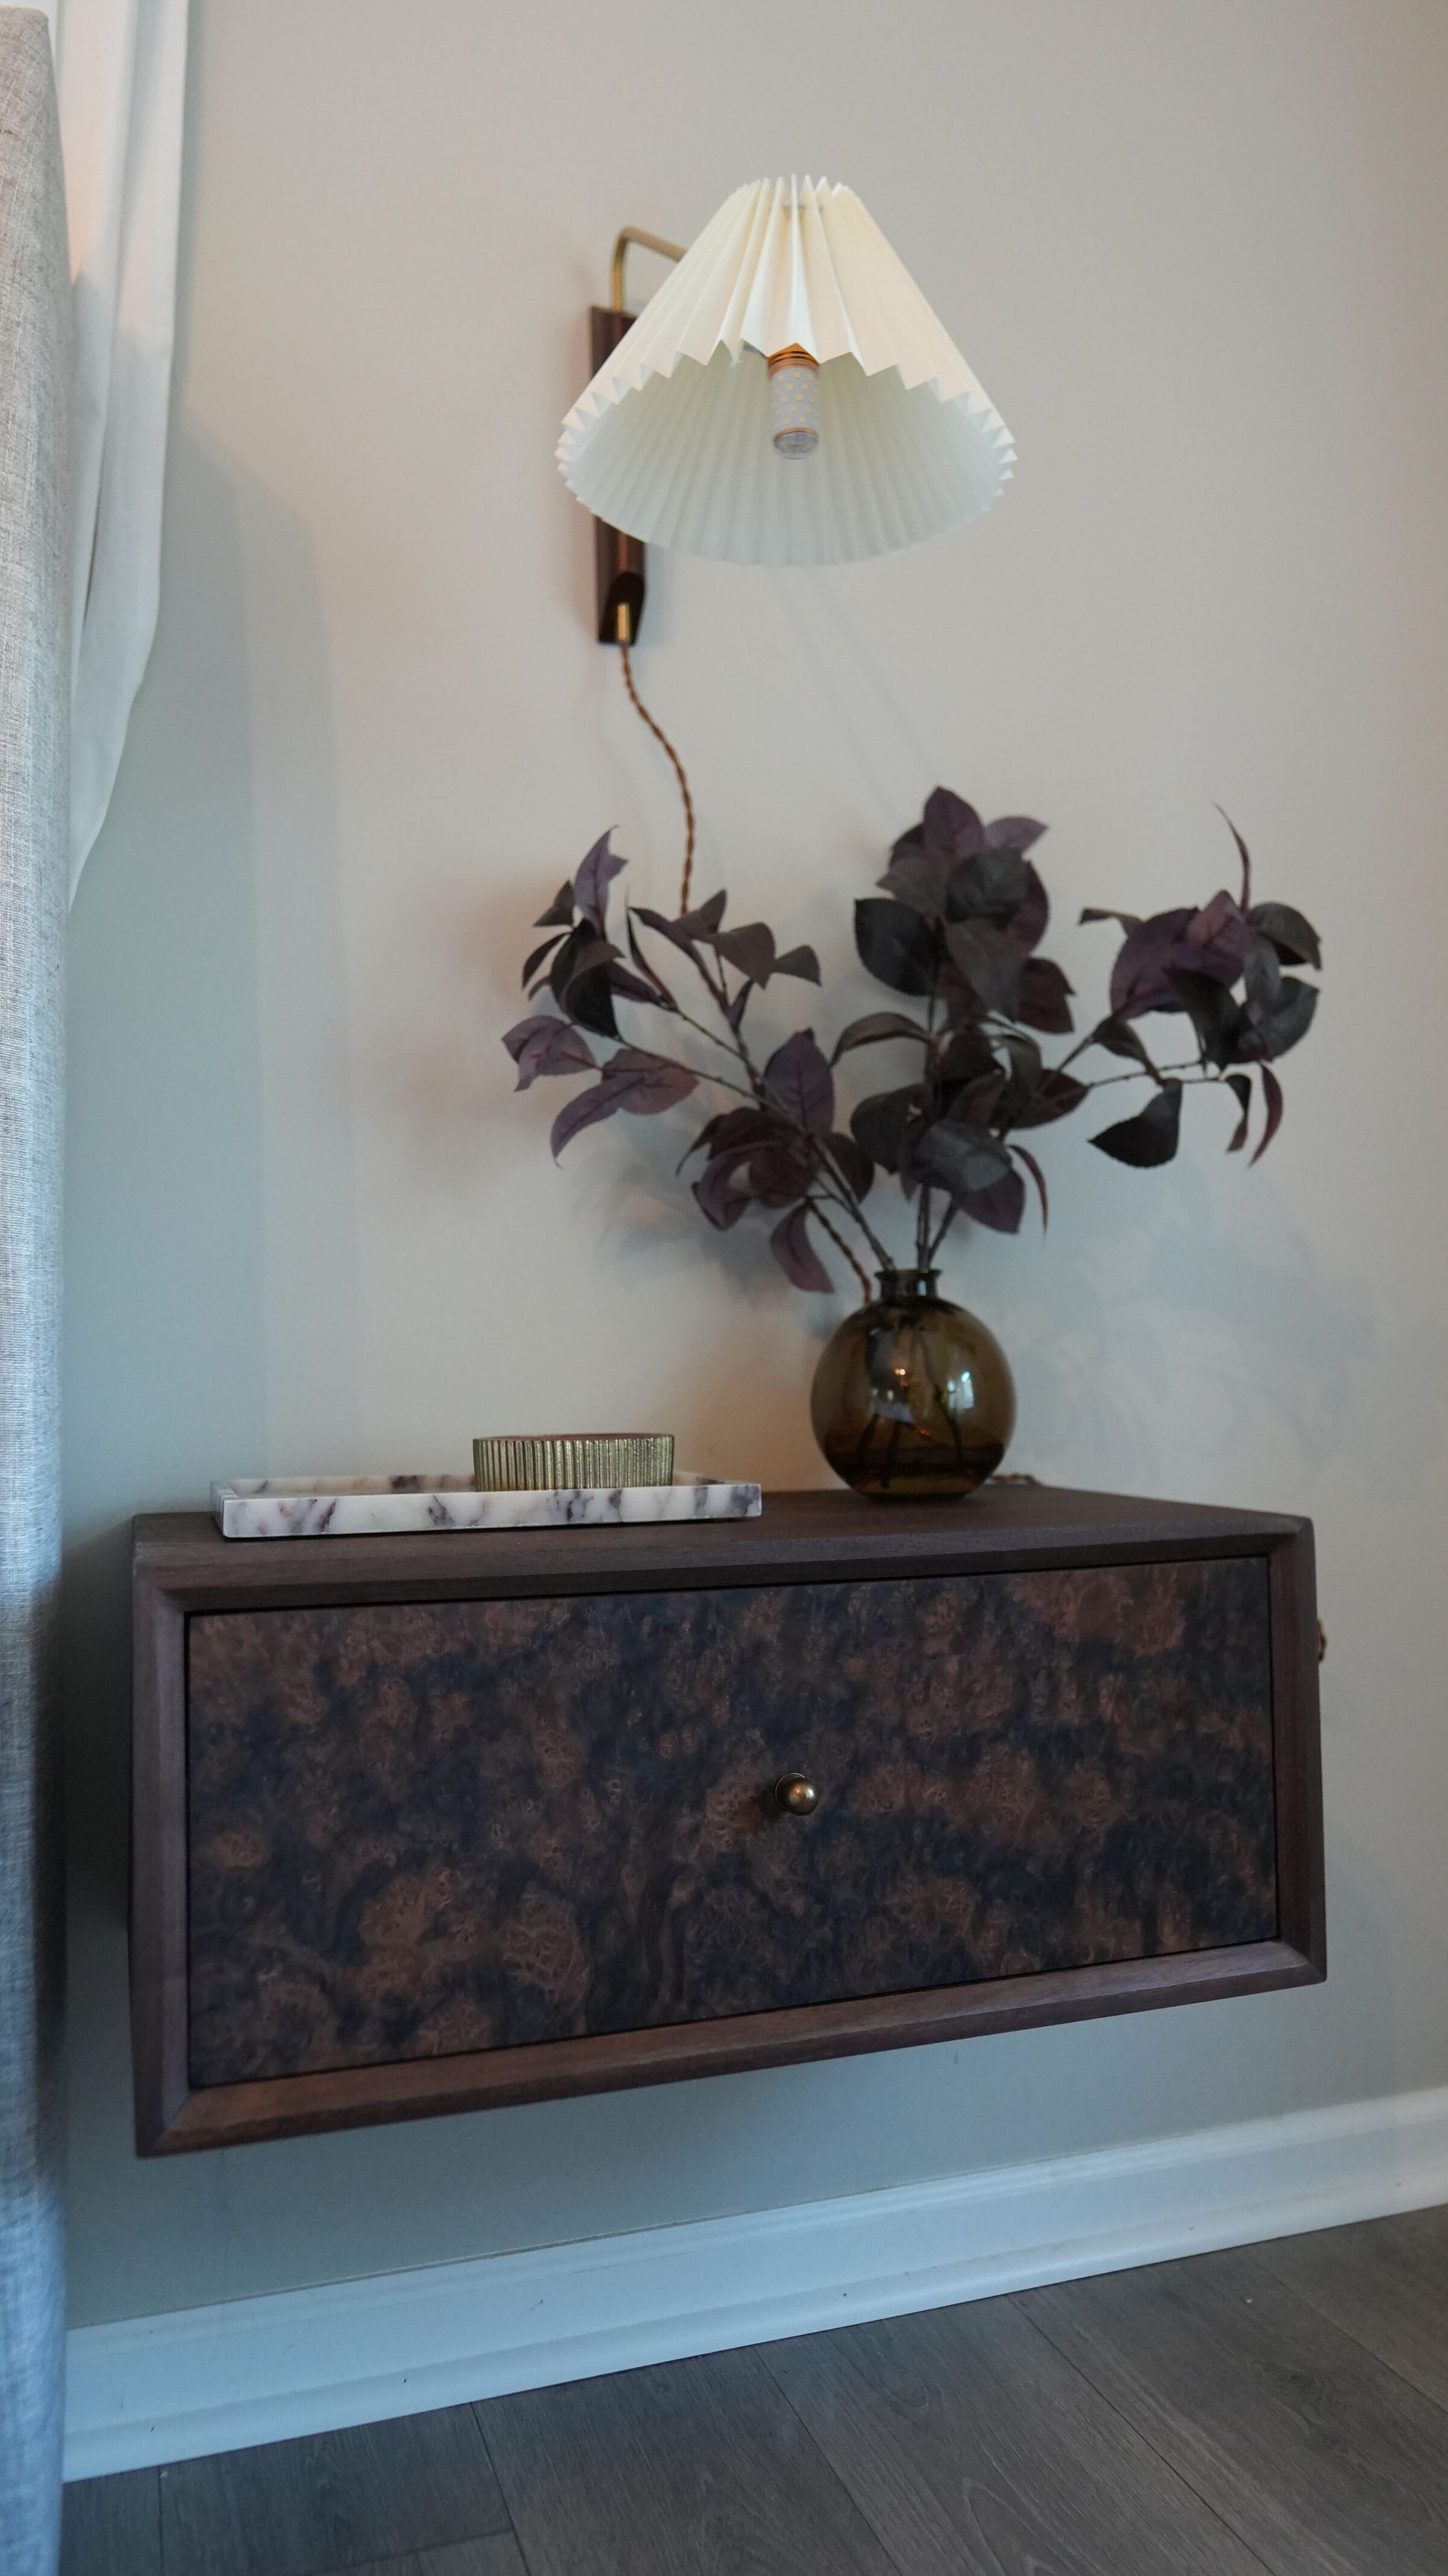


Learn how to build a stunning custom nightstand featuring a straight grain walnut cabinet and a striking burl veneer drawer front. These complete woodworking plans guide you through the entire build, including tips for working with delicate veneer.
Tools
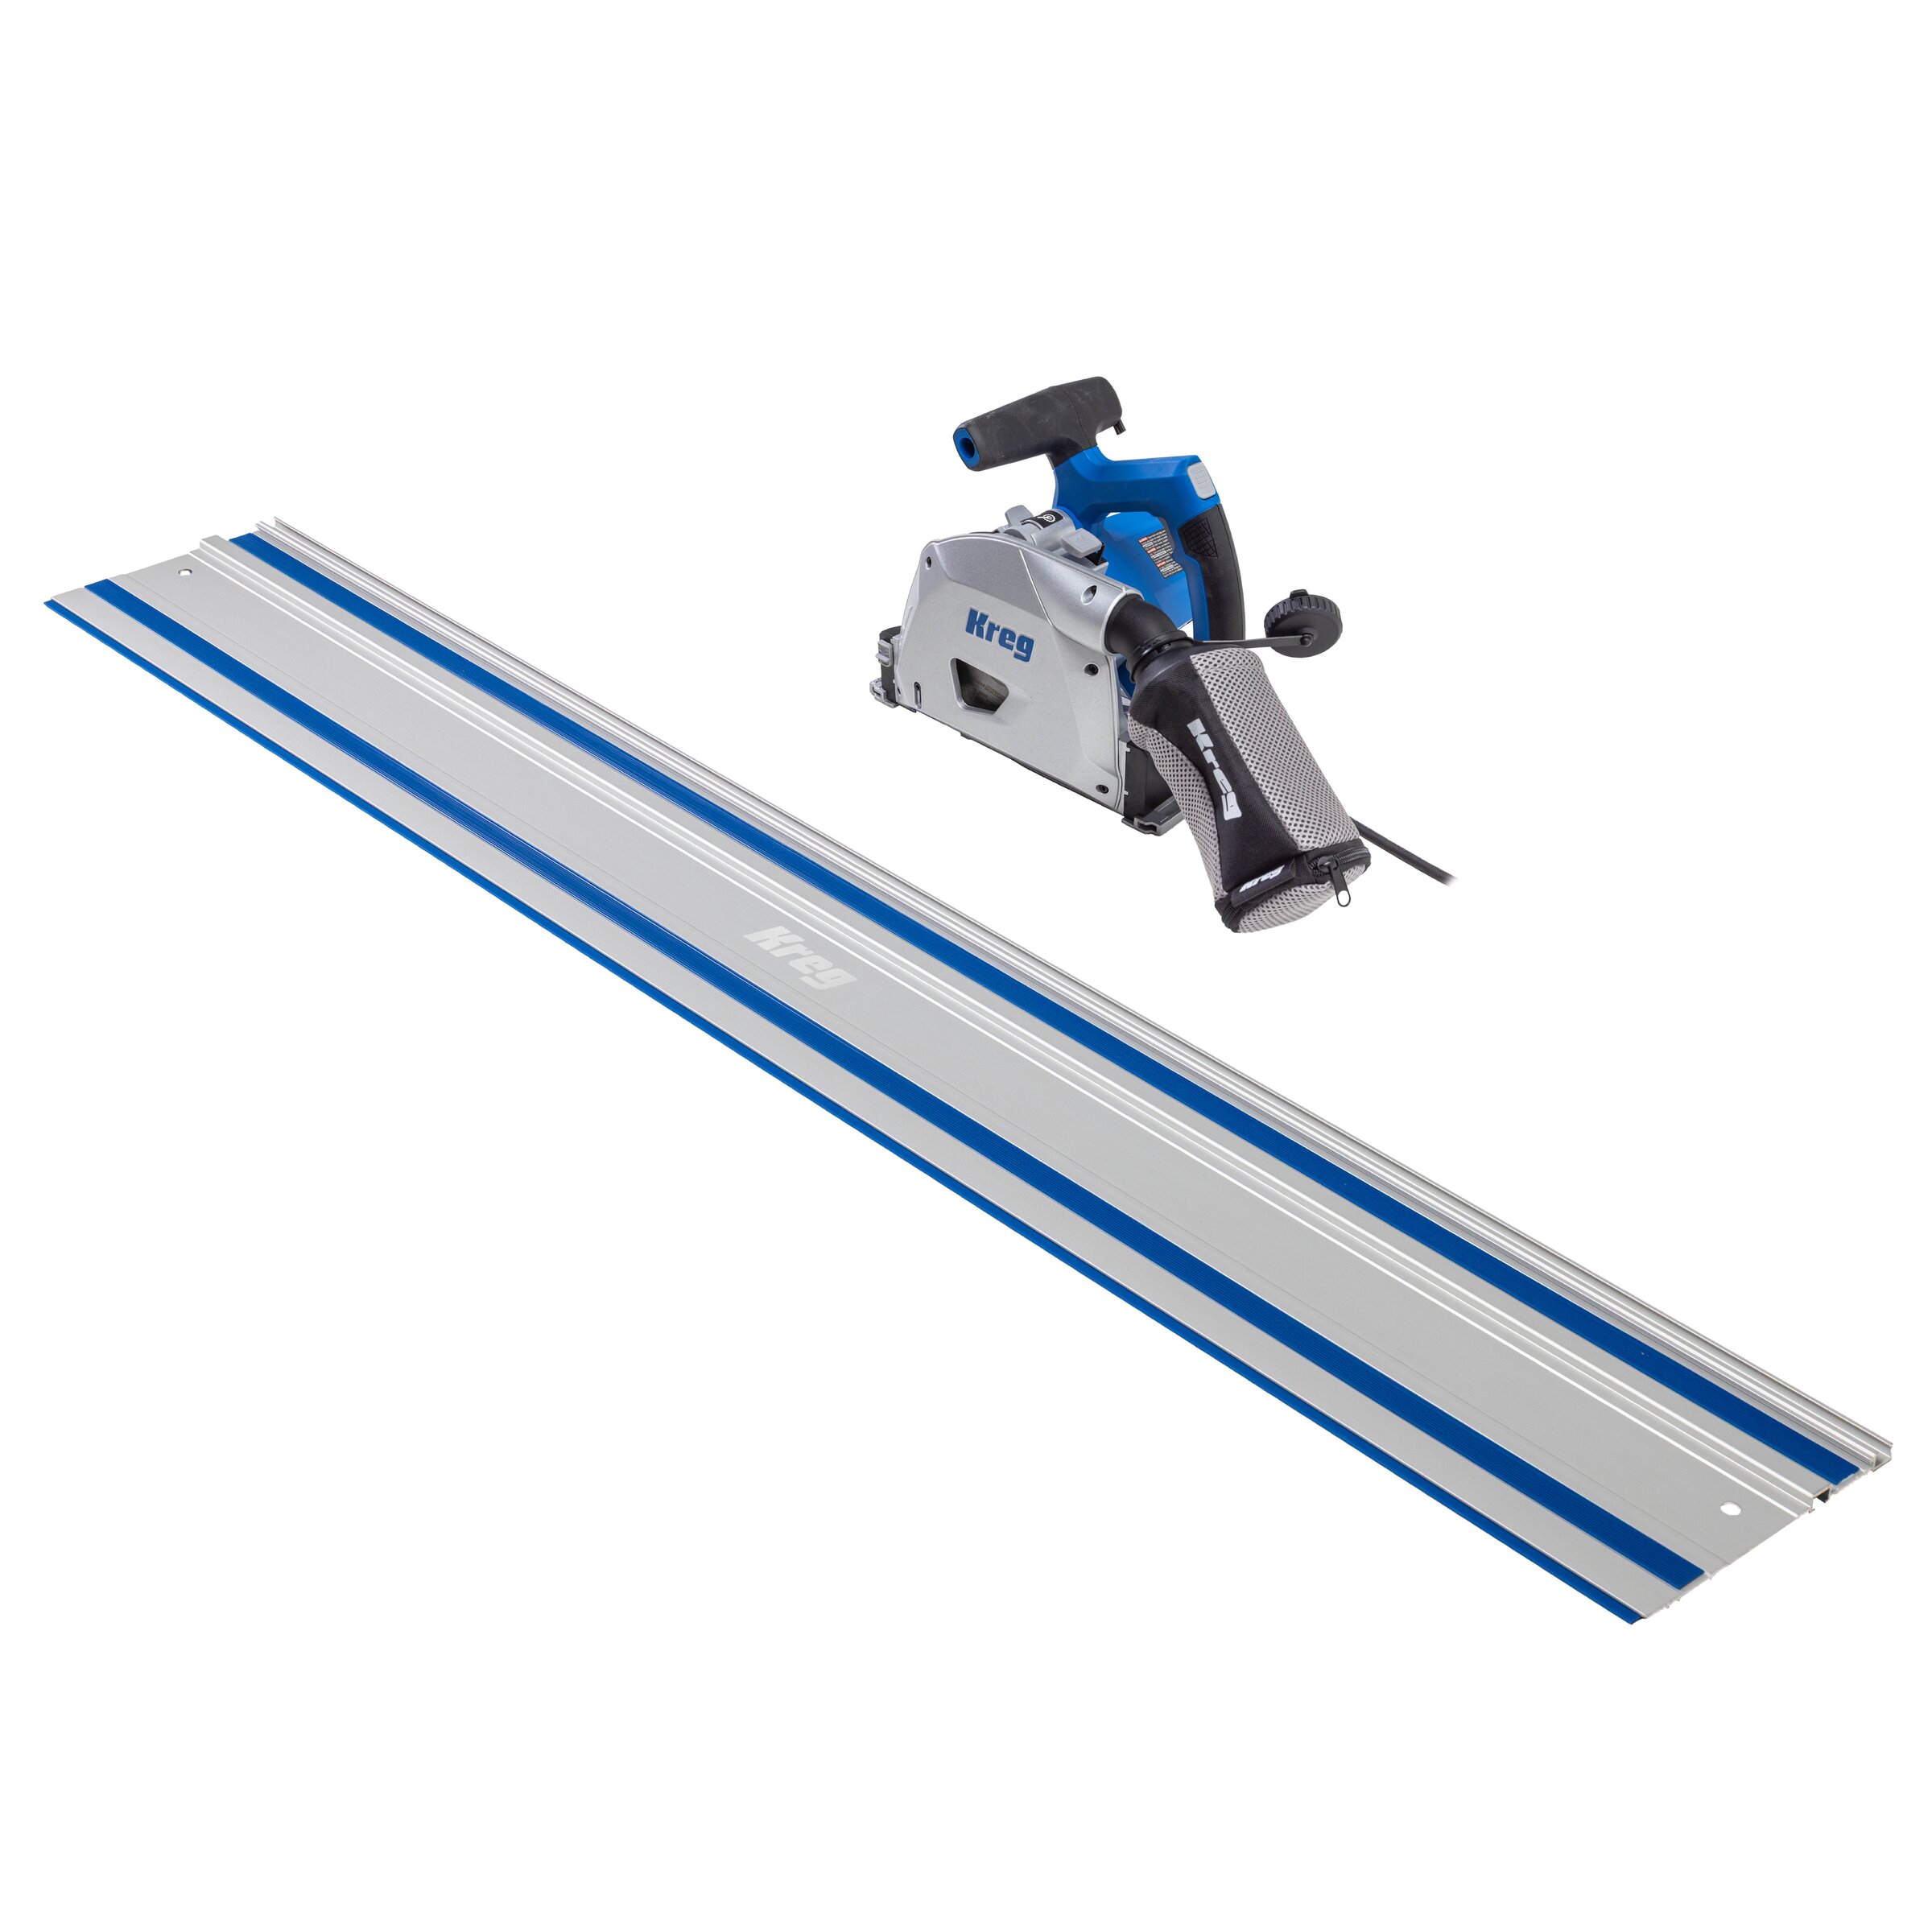
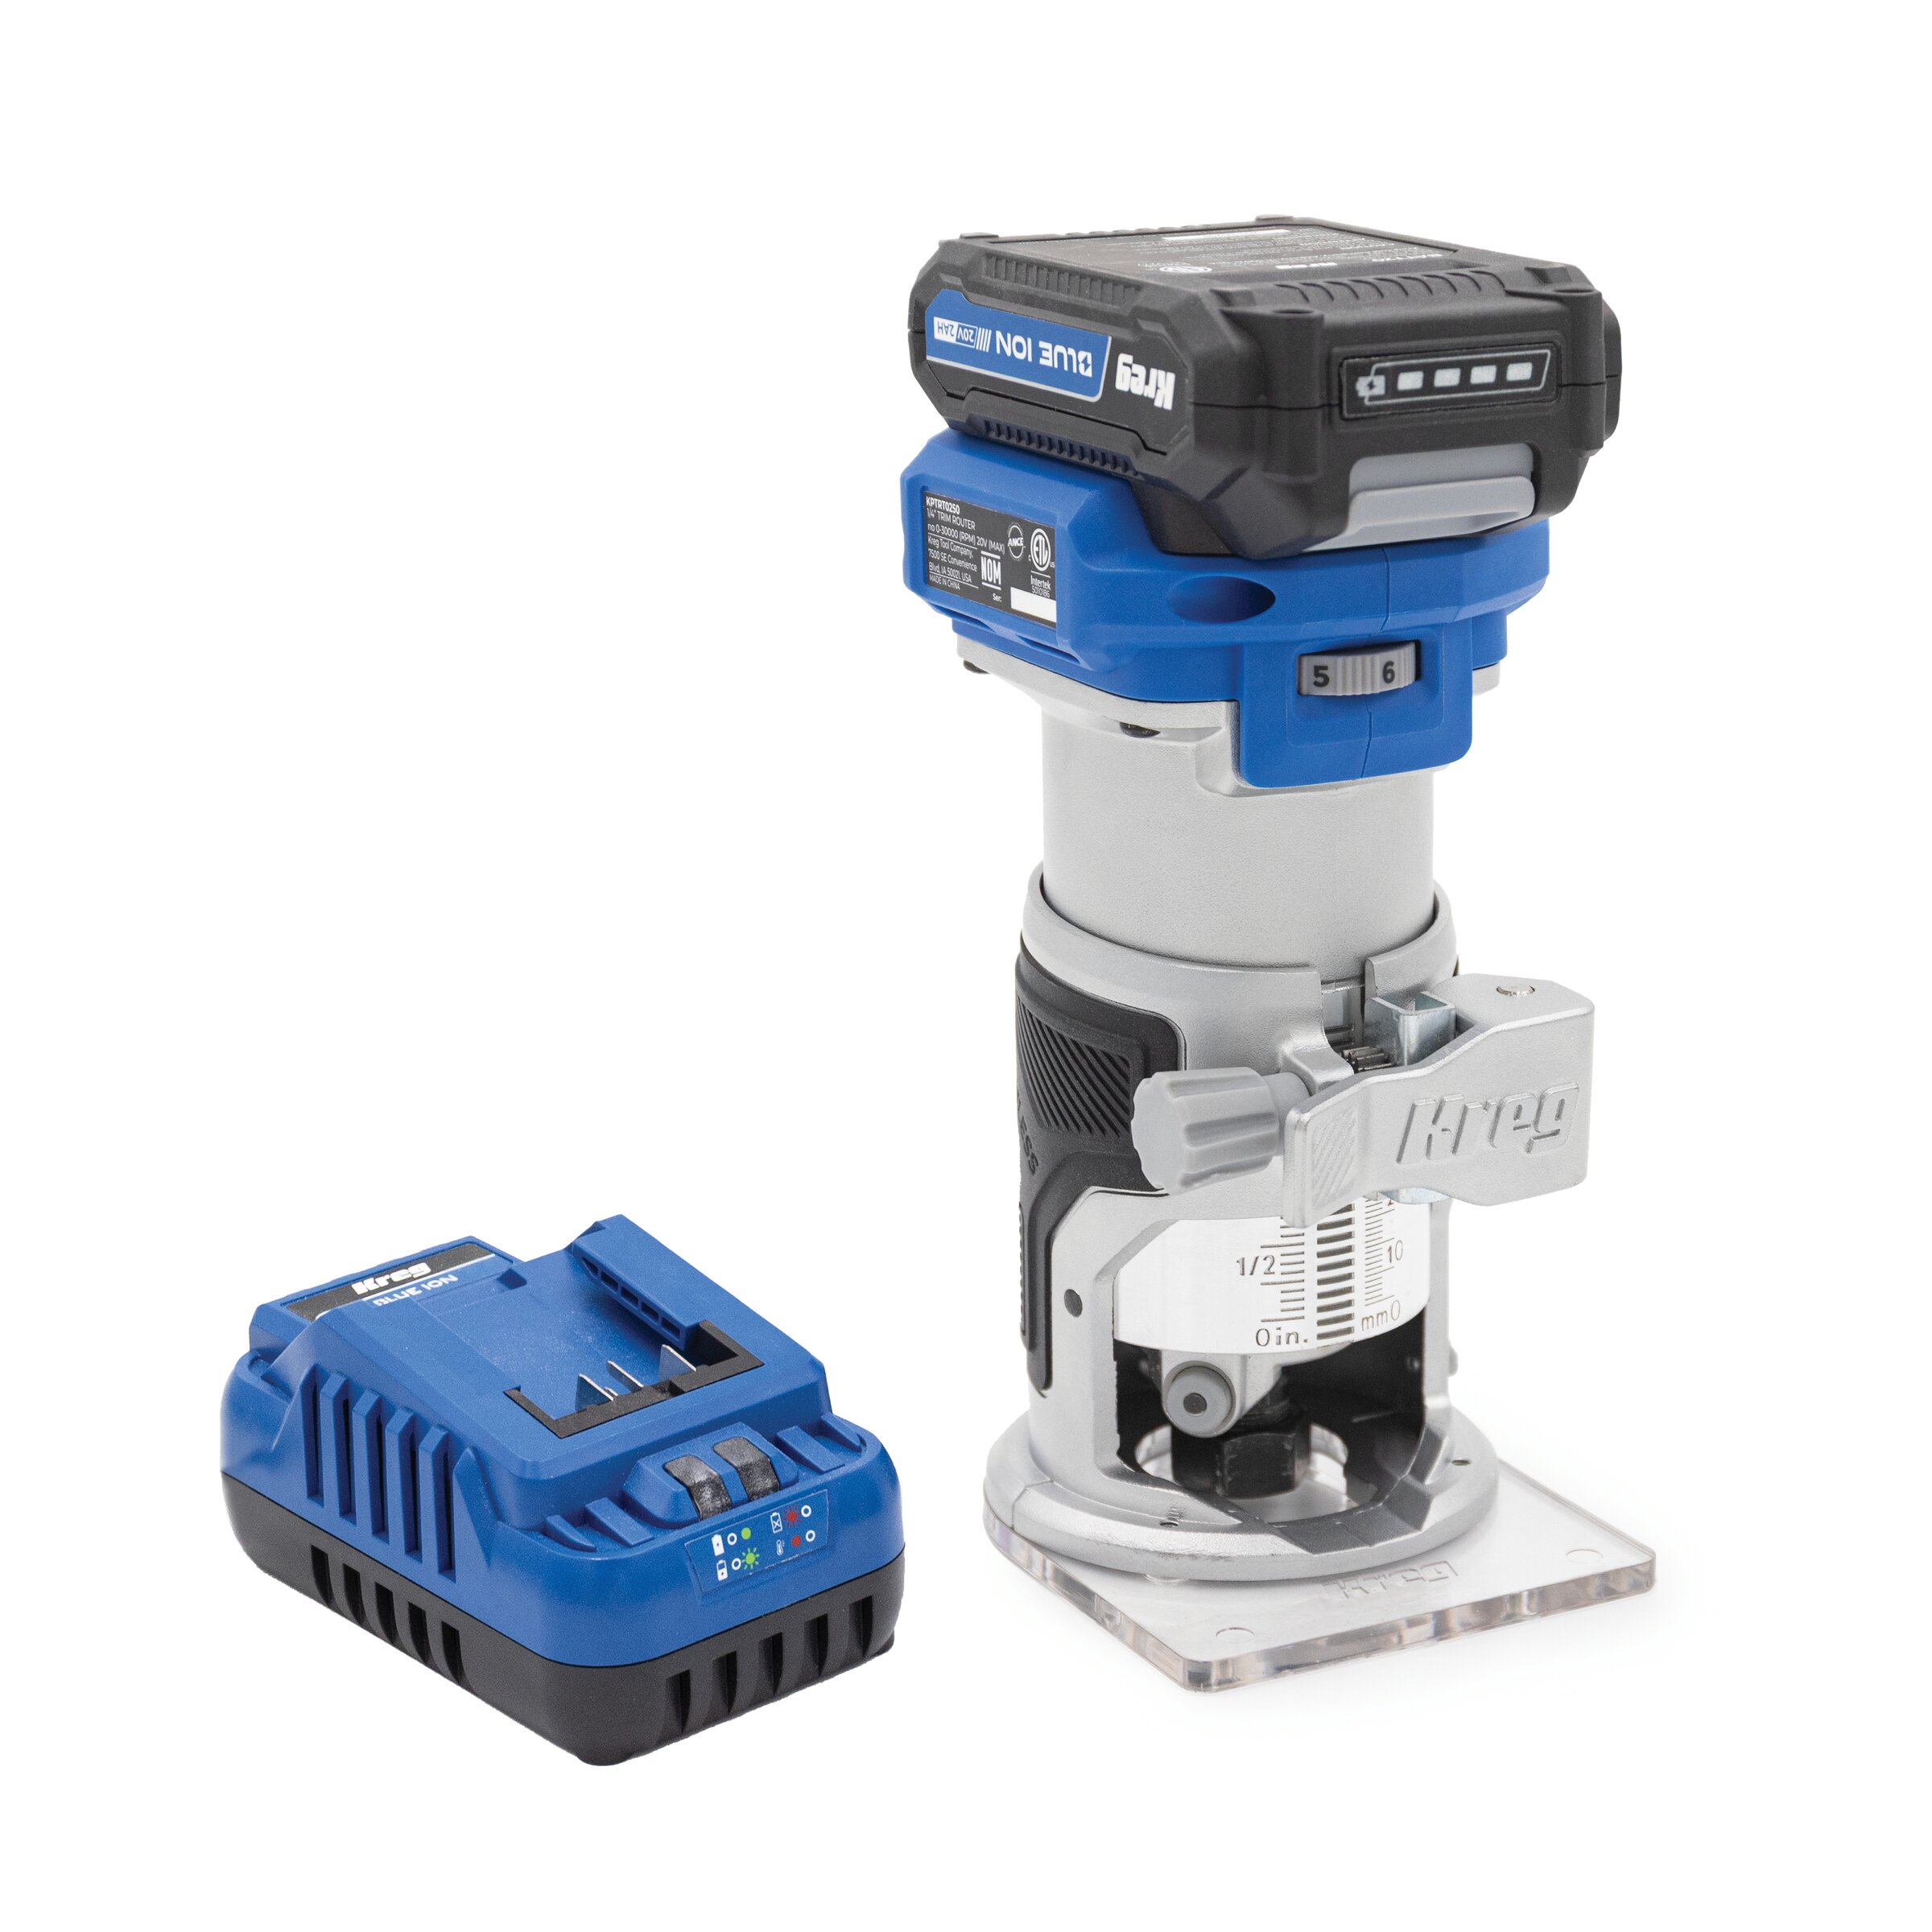
Kreg Tools




Other Tools
-
Table saw

Materials
Wood Products
- 10 Board feet, solid walnut , 4/4, milled to 3/4"
- 1 3/4" walnut plywood , 2' x 2' , 24" x 24"
- 1 1/4" walnut plywood , 2' x 2' , 24" x 24"
- 1 1/2" MDF , 2' x 2' , 24" x 24"
- 1 Walnut veneer , At least 2 square feet to cover drawer front
- 1 Walnut Burl Veneer , At least 2 square feet to cover drawer front
Hardware & Supplies
- 2 10" slow close drawer slides
- 1 Hardware of choice
- 1 Wood glue
- 25 5x30mm tenons
- 25 1 1/2" pocket screws
- 1 Titebond cold press glue
- 1 Veneer softener
- 2 1 1/4" screws for drawer front
- 1 RMP finishes Half + Half for finish or other preferred finish
- 1 45 degree chamfer bit
Cut List & Parts
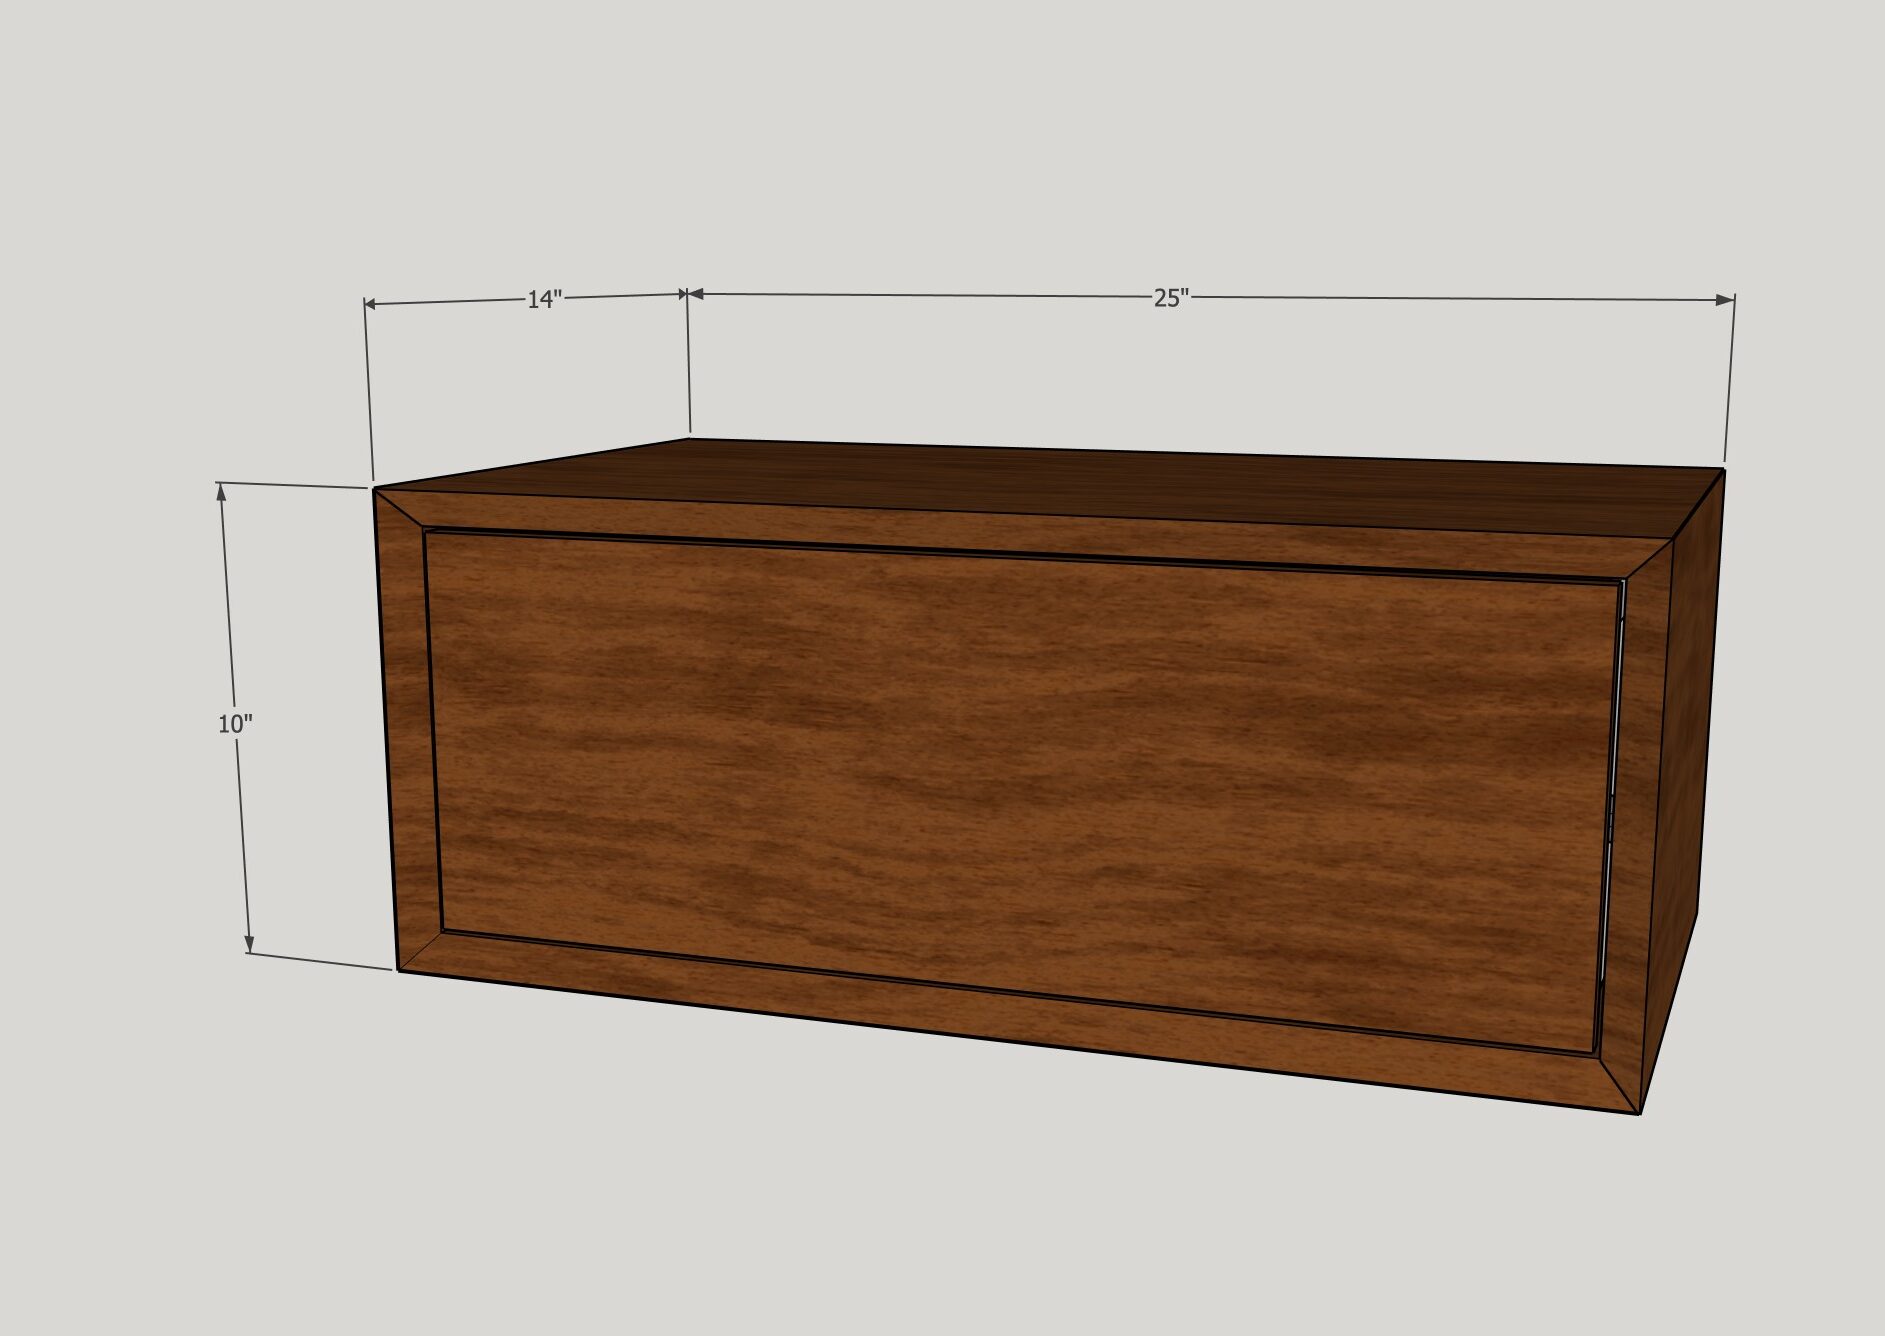
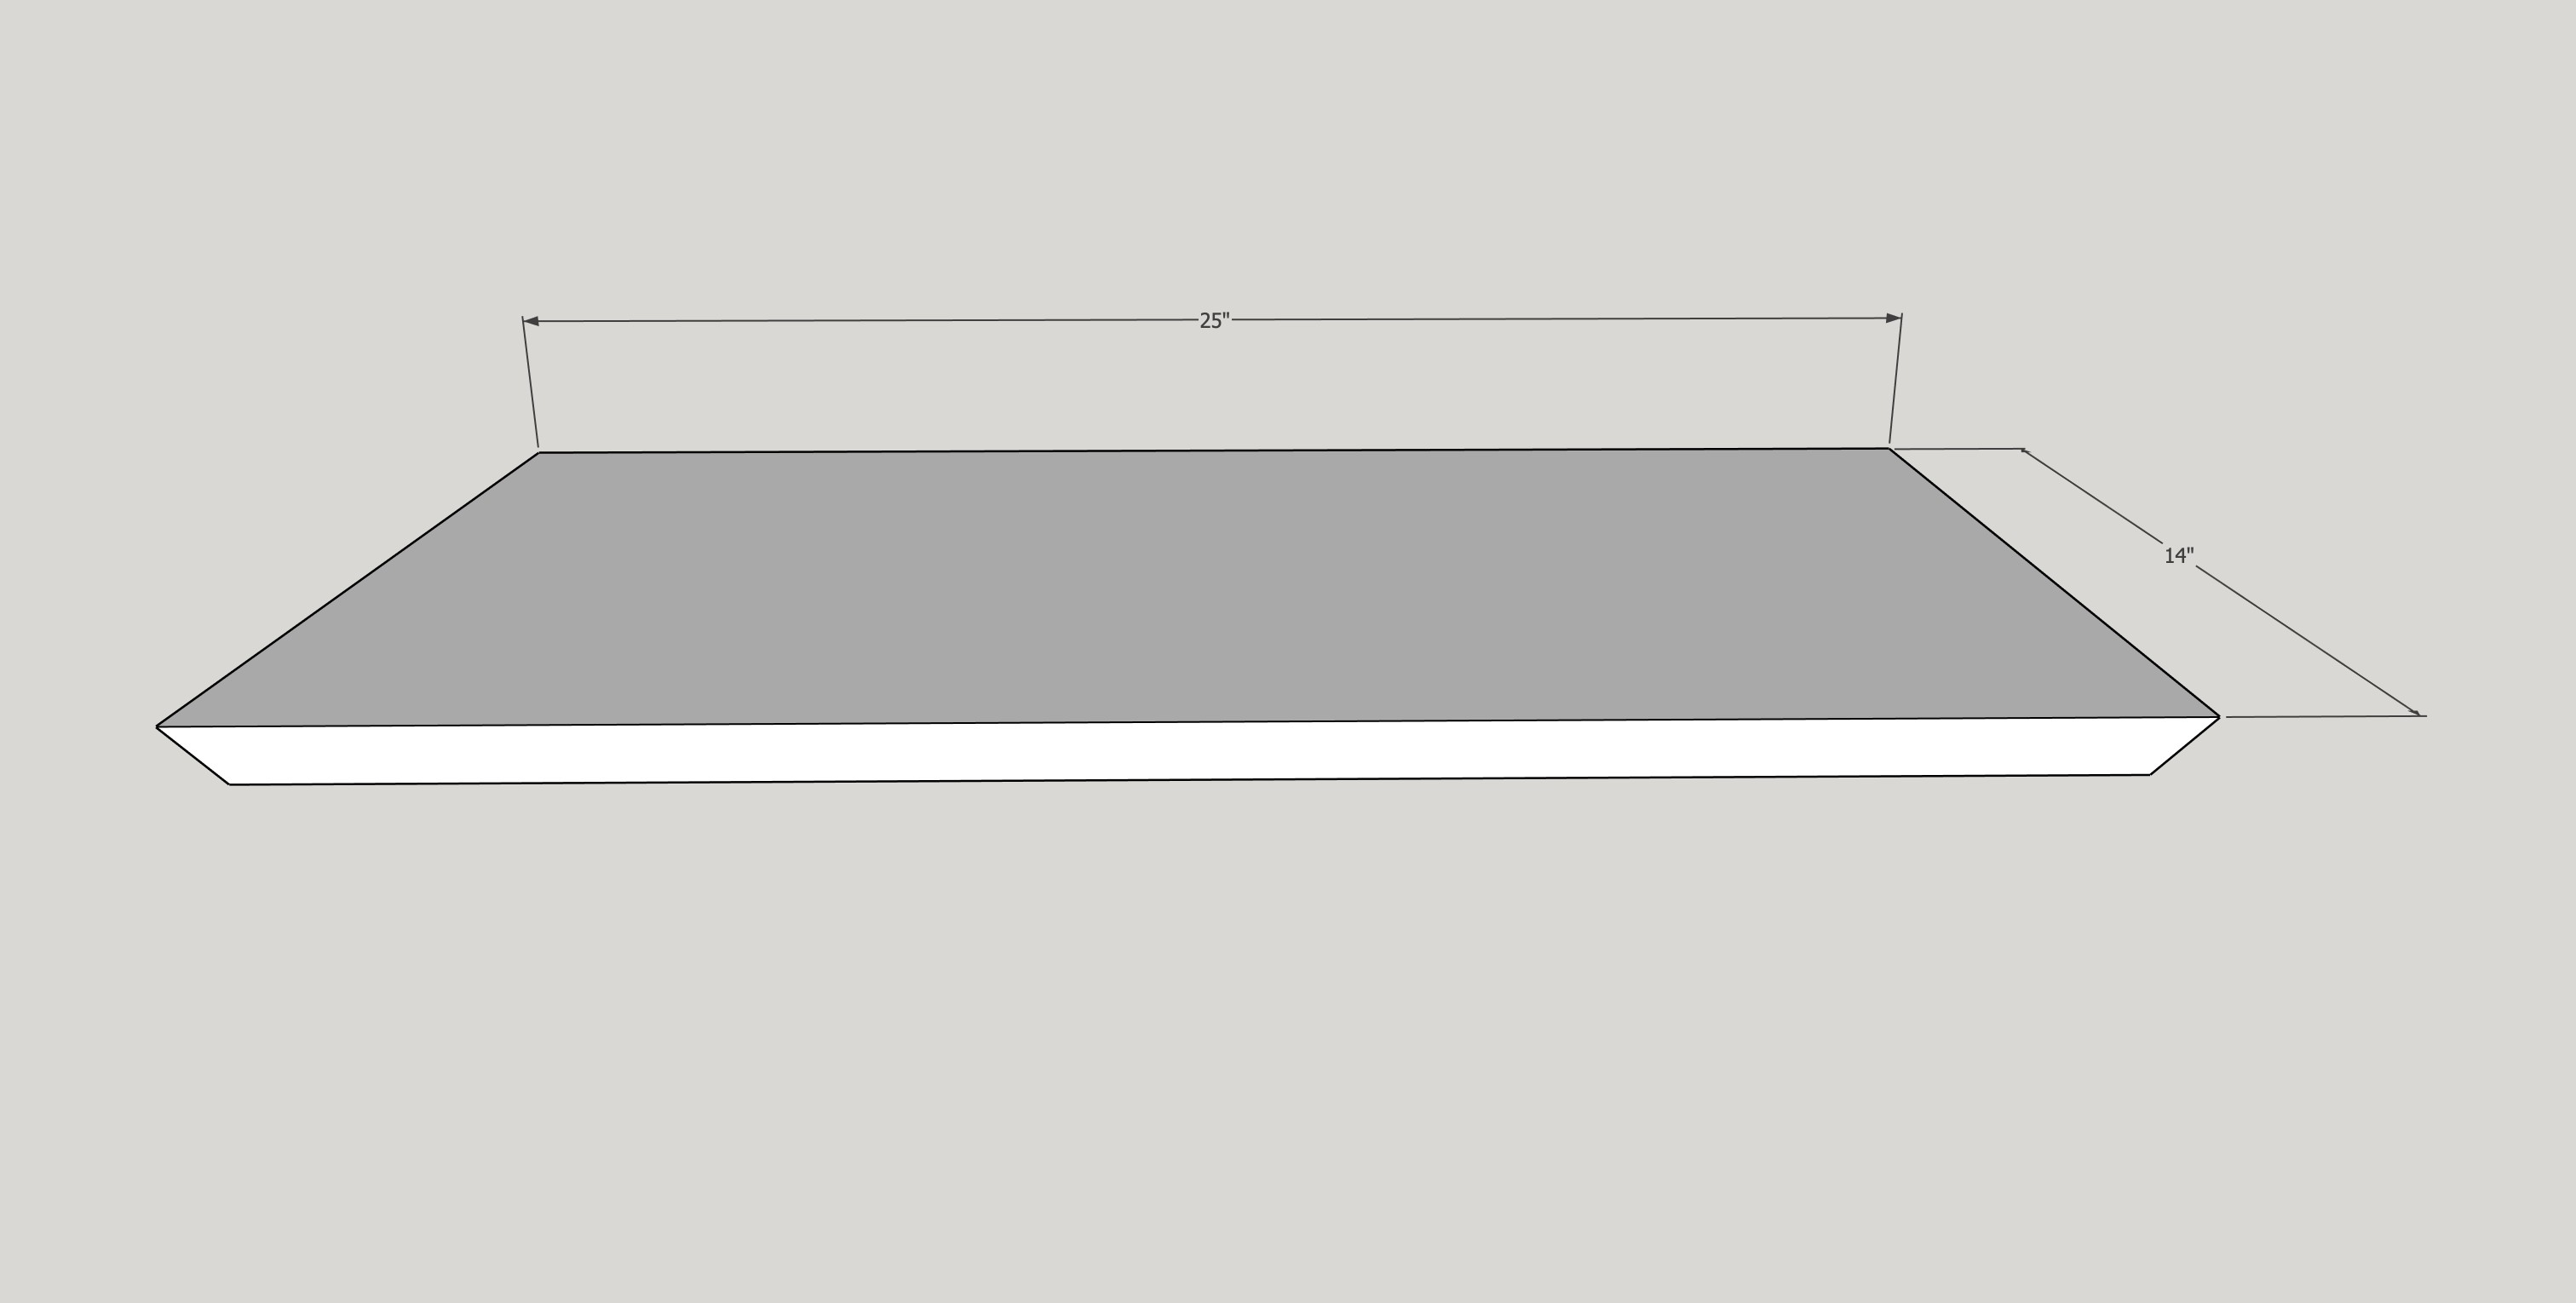
- 2 Top + Bottom Panels, solid walnut + mitered both ends , 25" x 14" x 3/4"
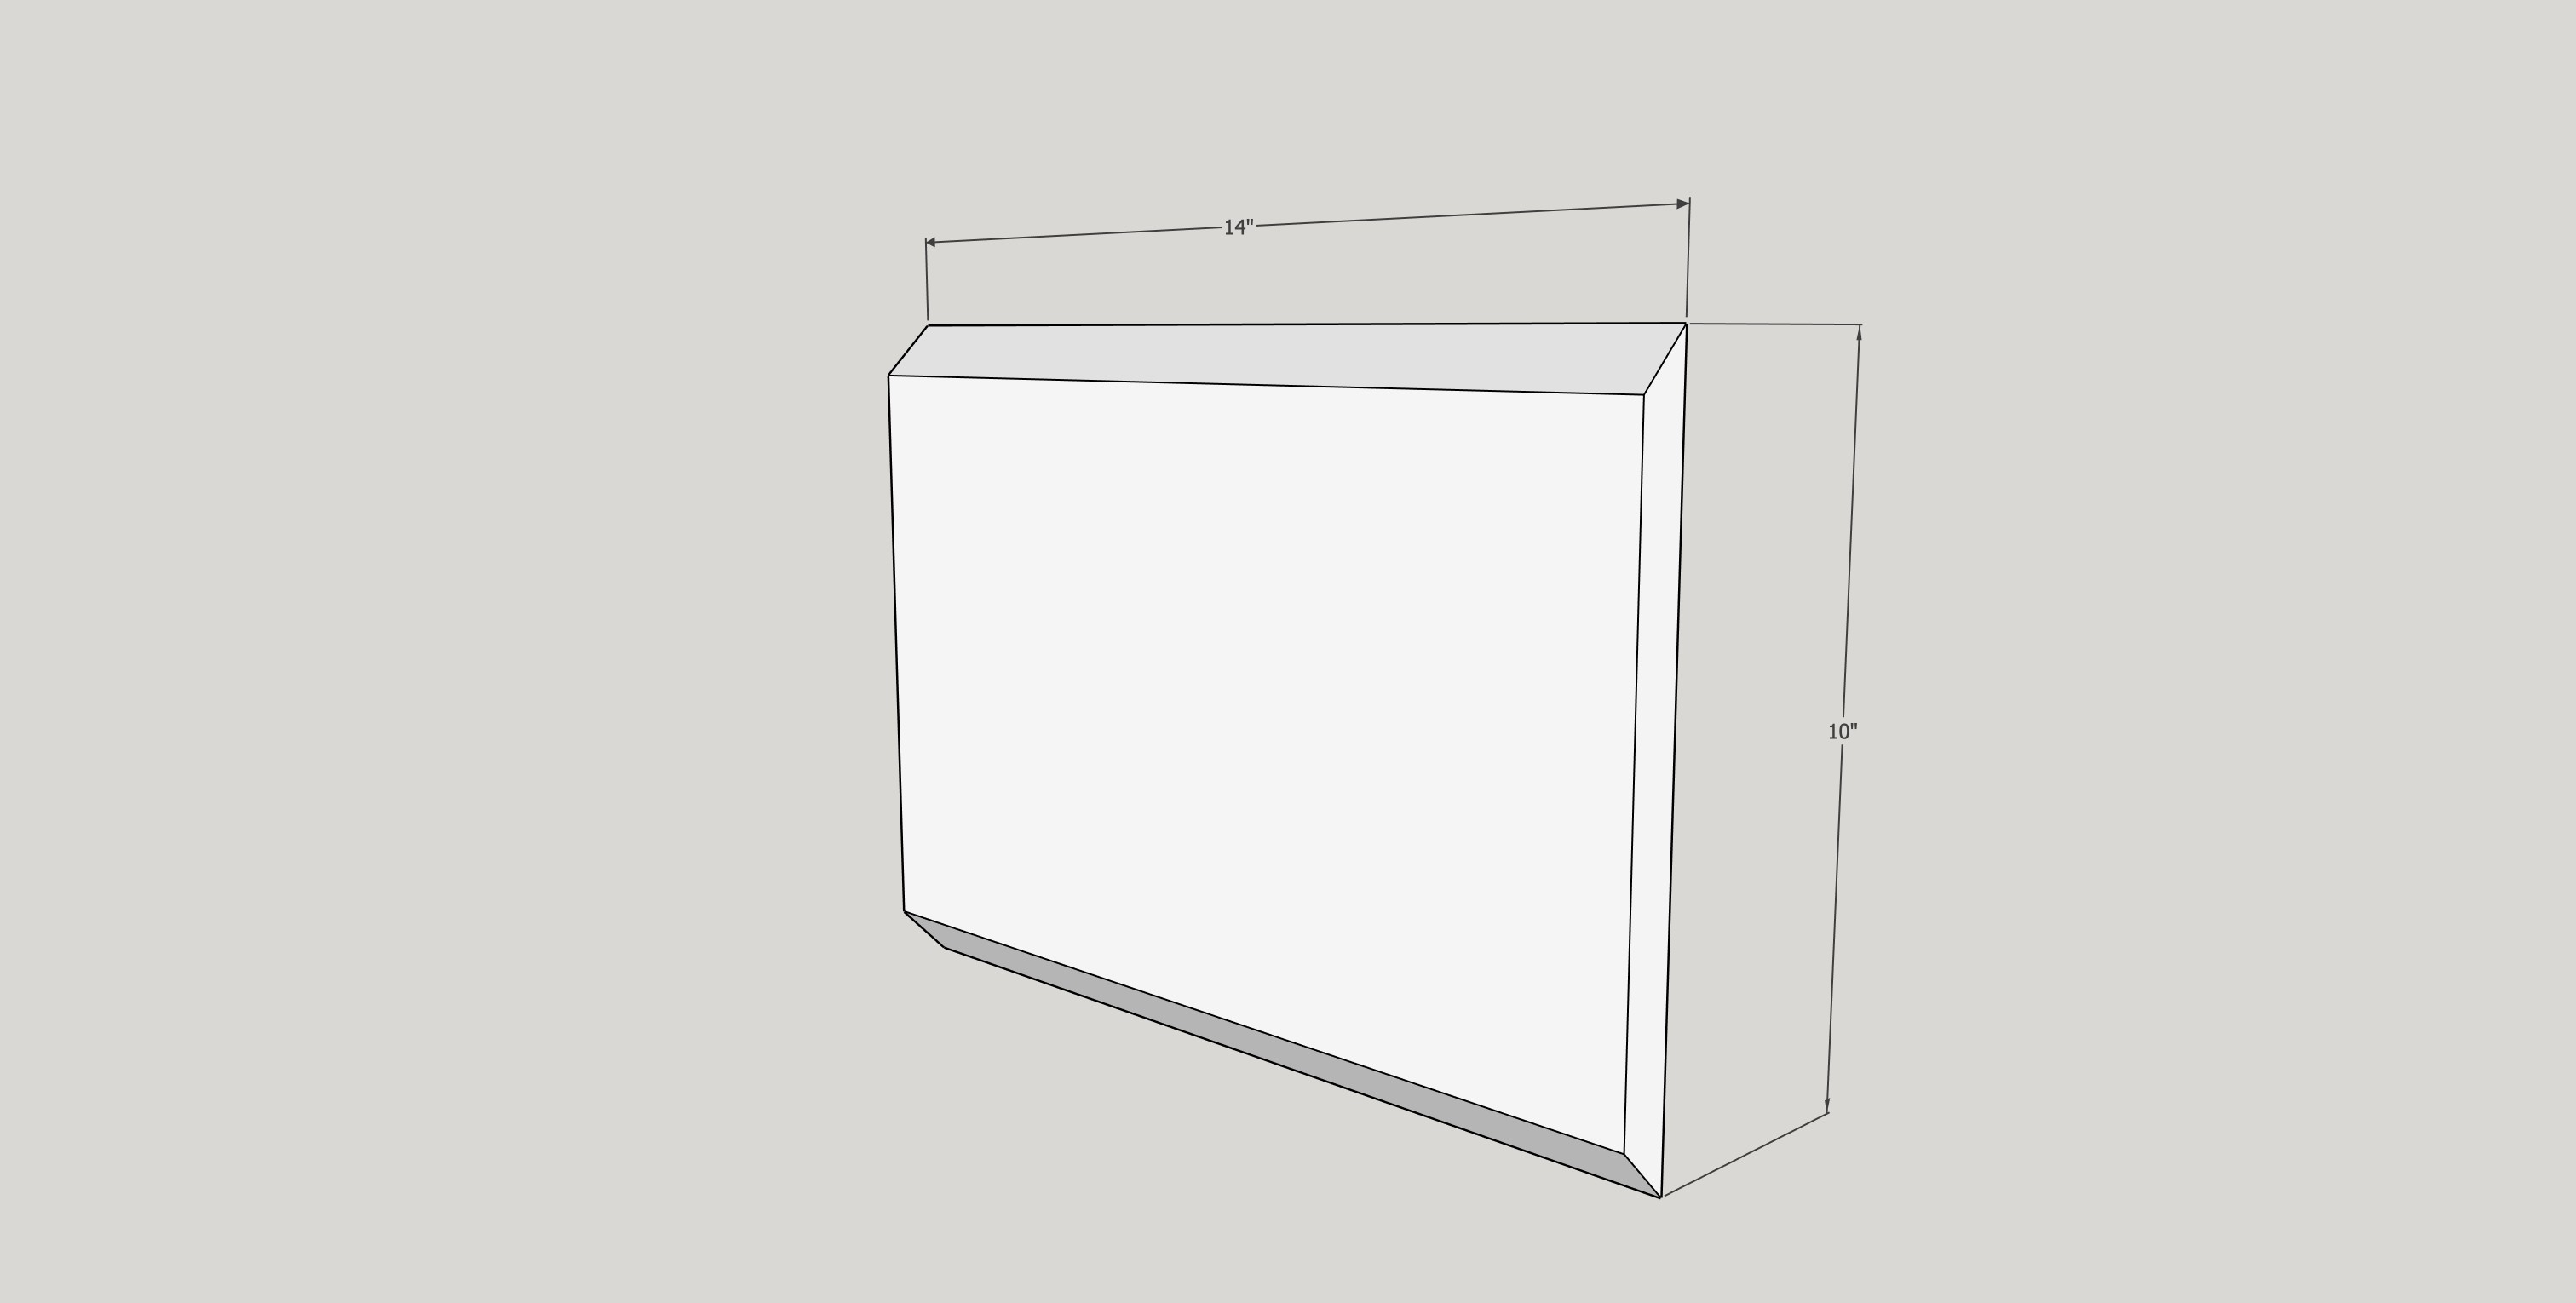
- 2 Side Panels, solid walnut + mitered both ends , 14" x 10" x 3/4"
- 2 Edge banding for drawer front top + bottom , 23 1/4" x 1/2" x 1/8" (can also use iron on edge banding)
- 2 Edge banding for drawer front sides , 9" x 1/2" x 1/8" (can also use iron on edge banding)
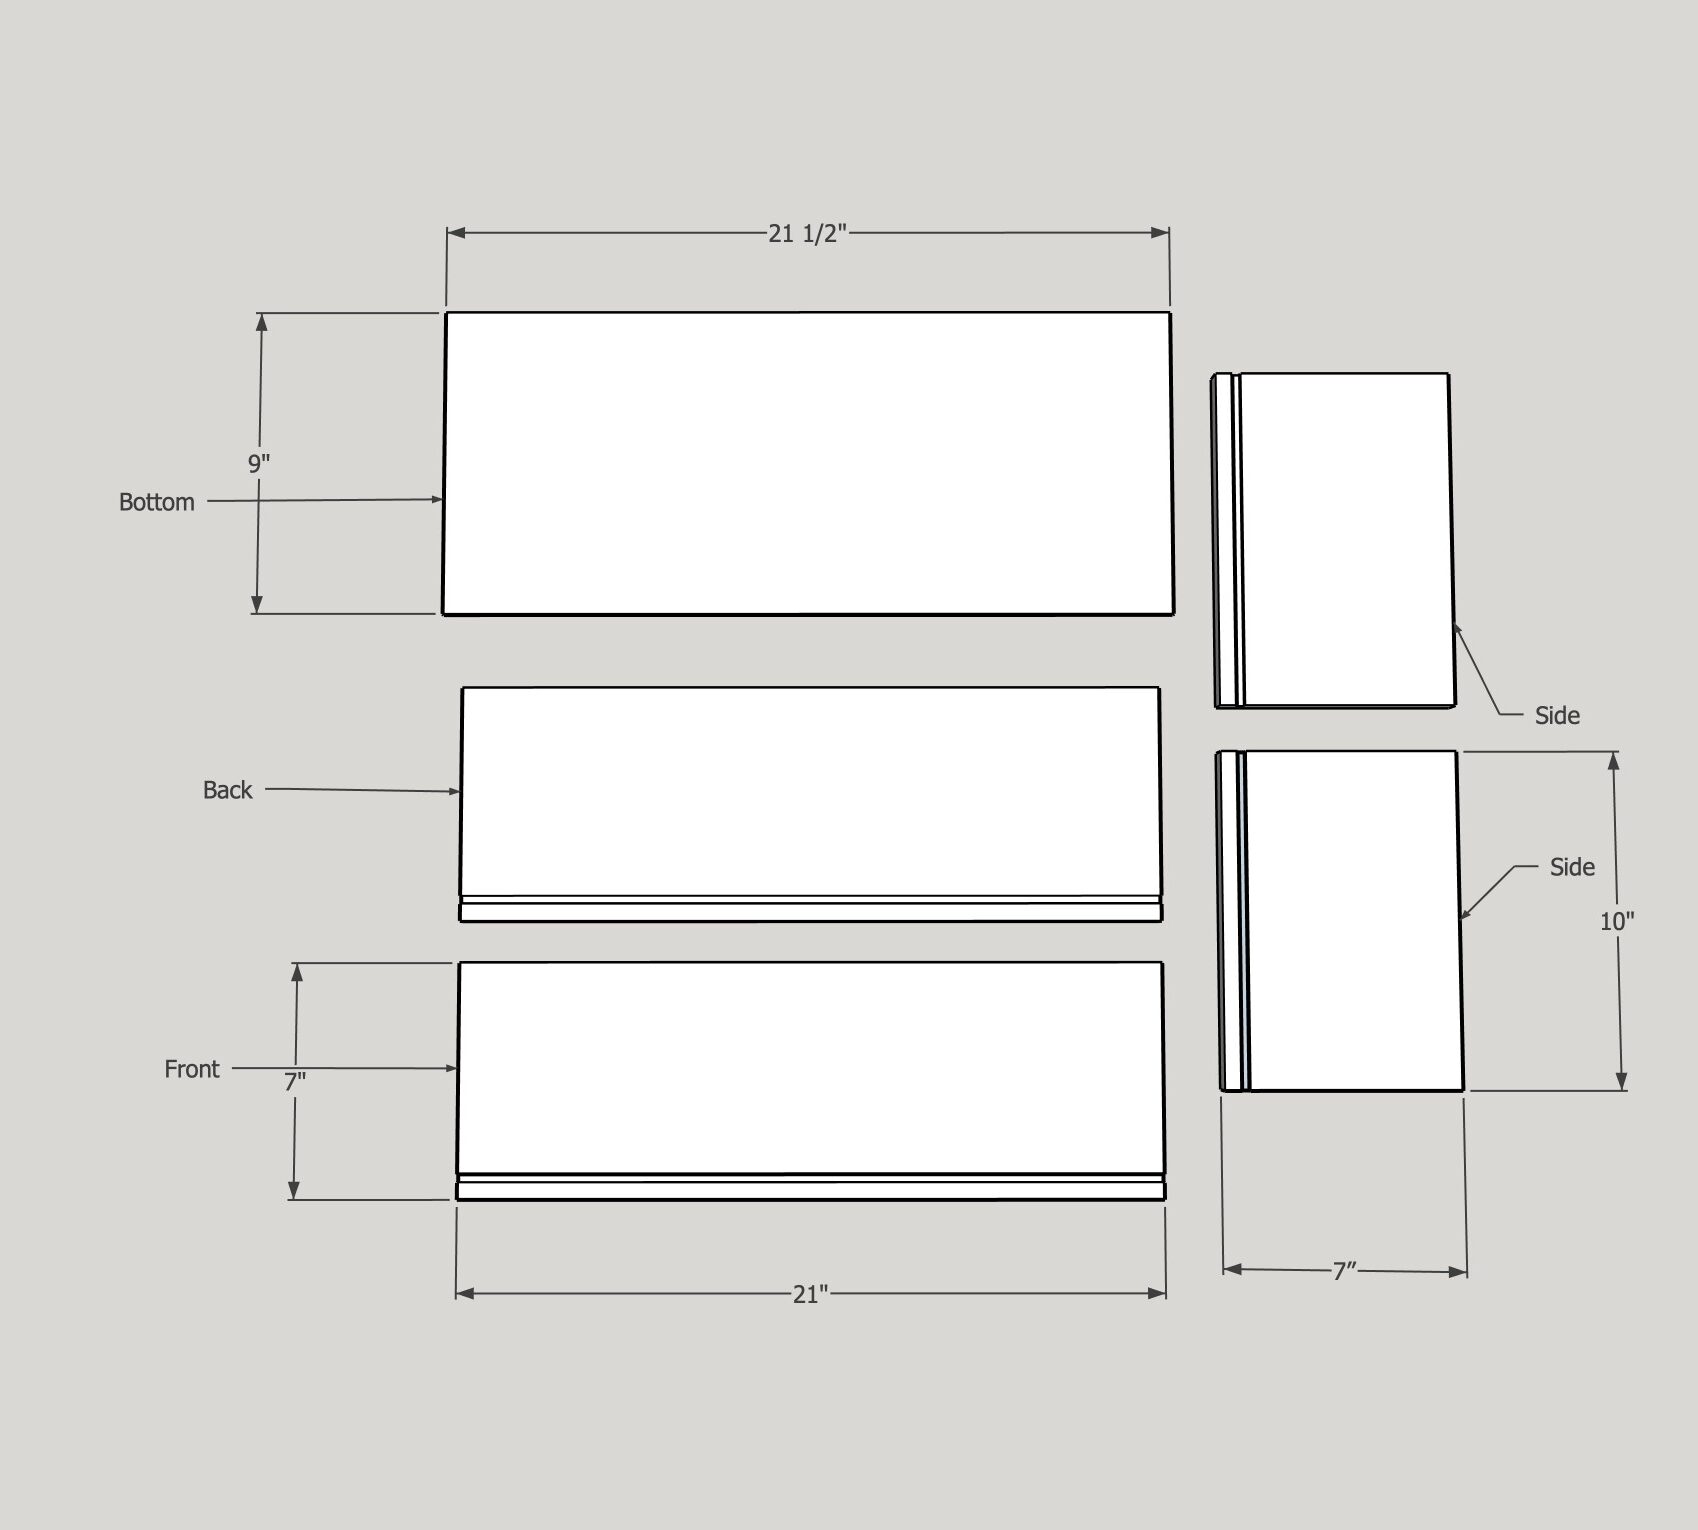
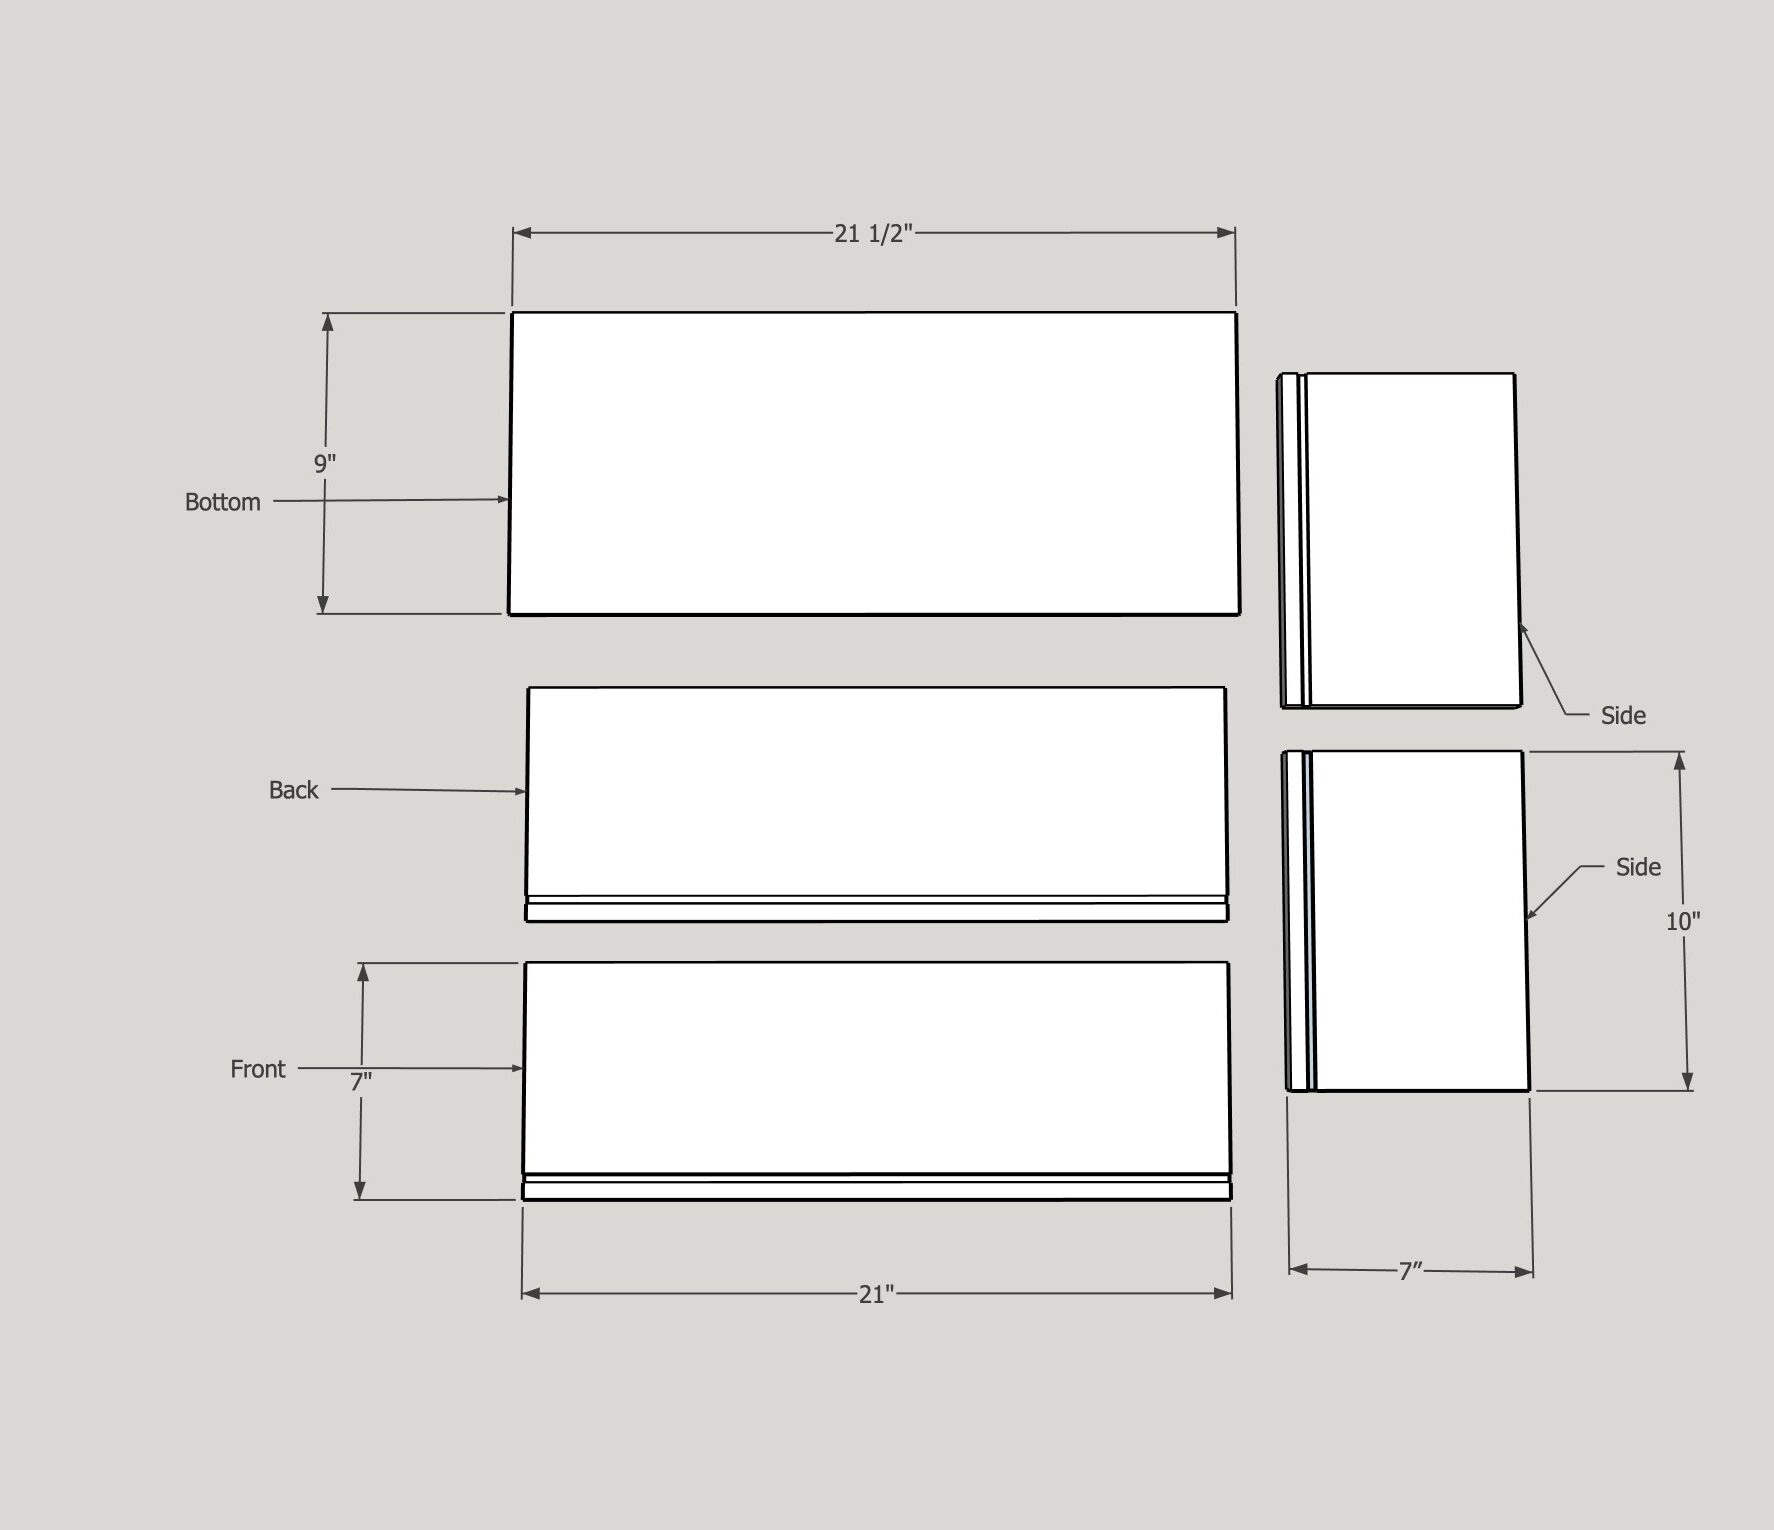
- 2 Drawer front + back, 3/4" plywood , 21" x 7" x 3/4"
- 2 Drawer sides, 3/4" plywood , 10" x 7" x 3/4"
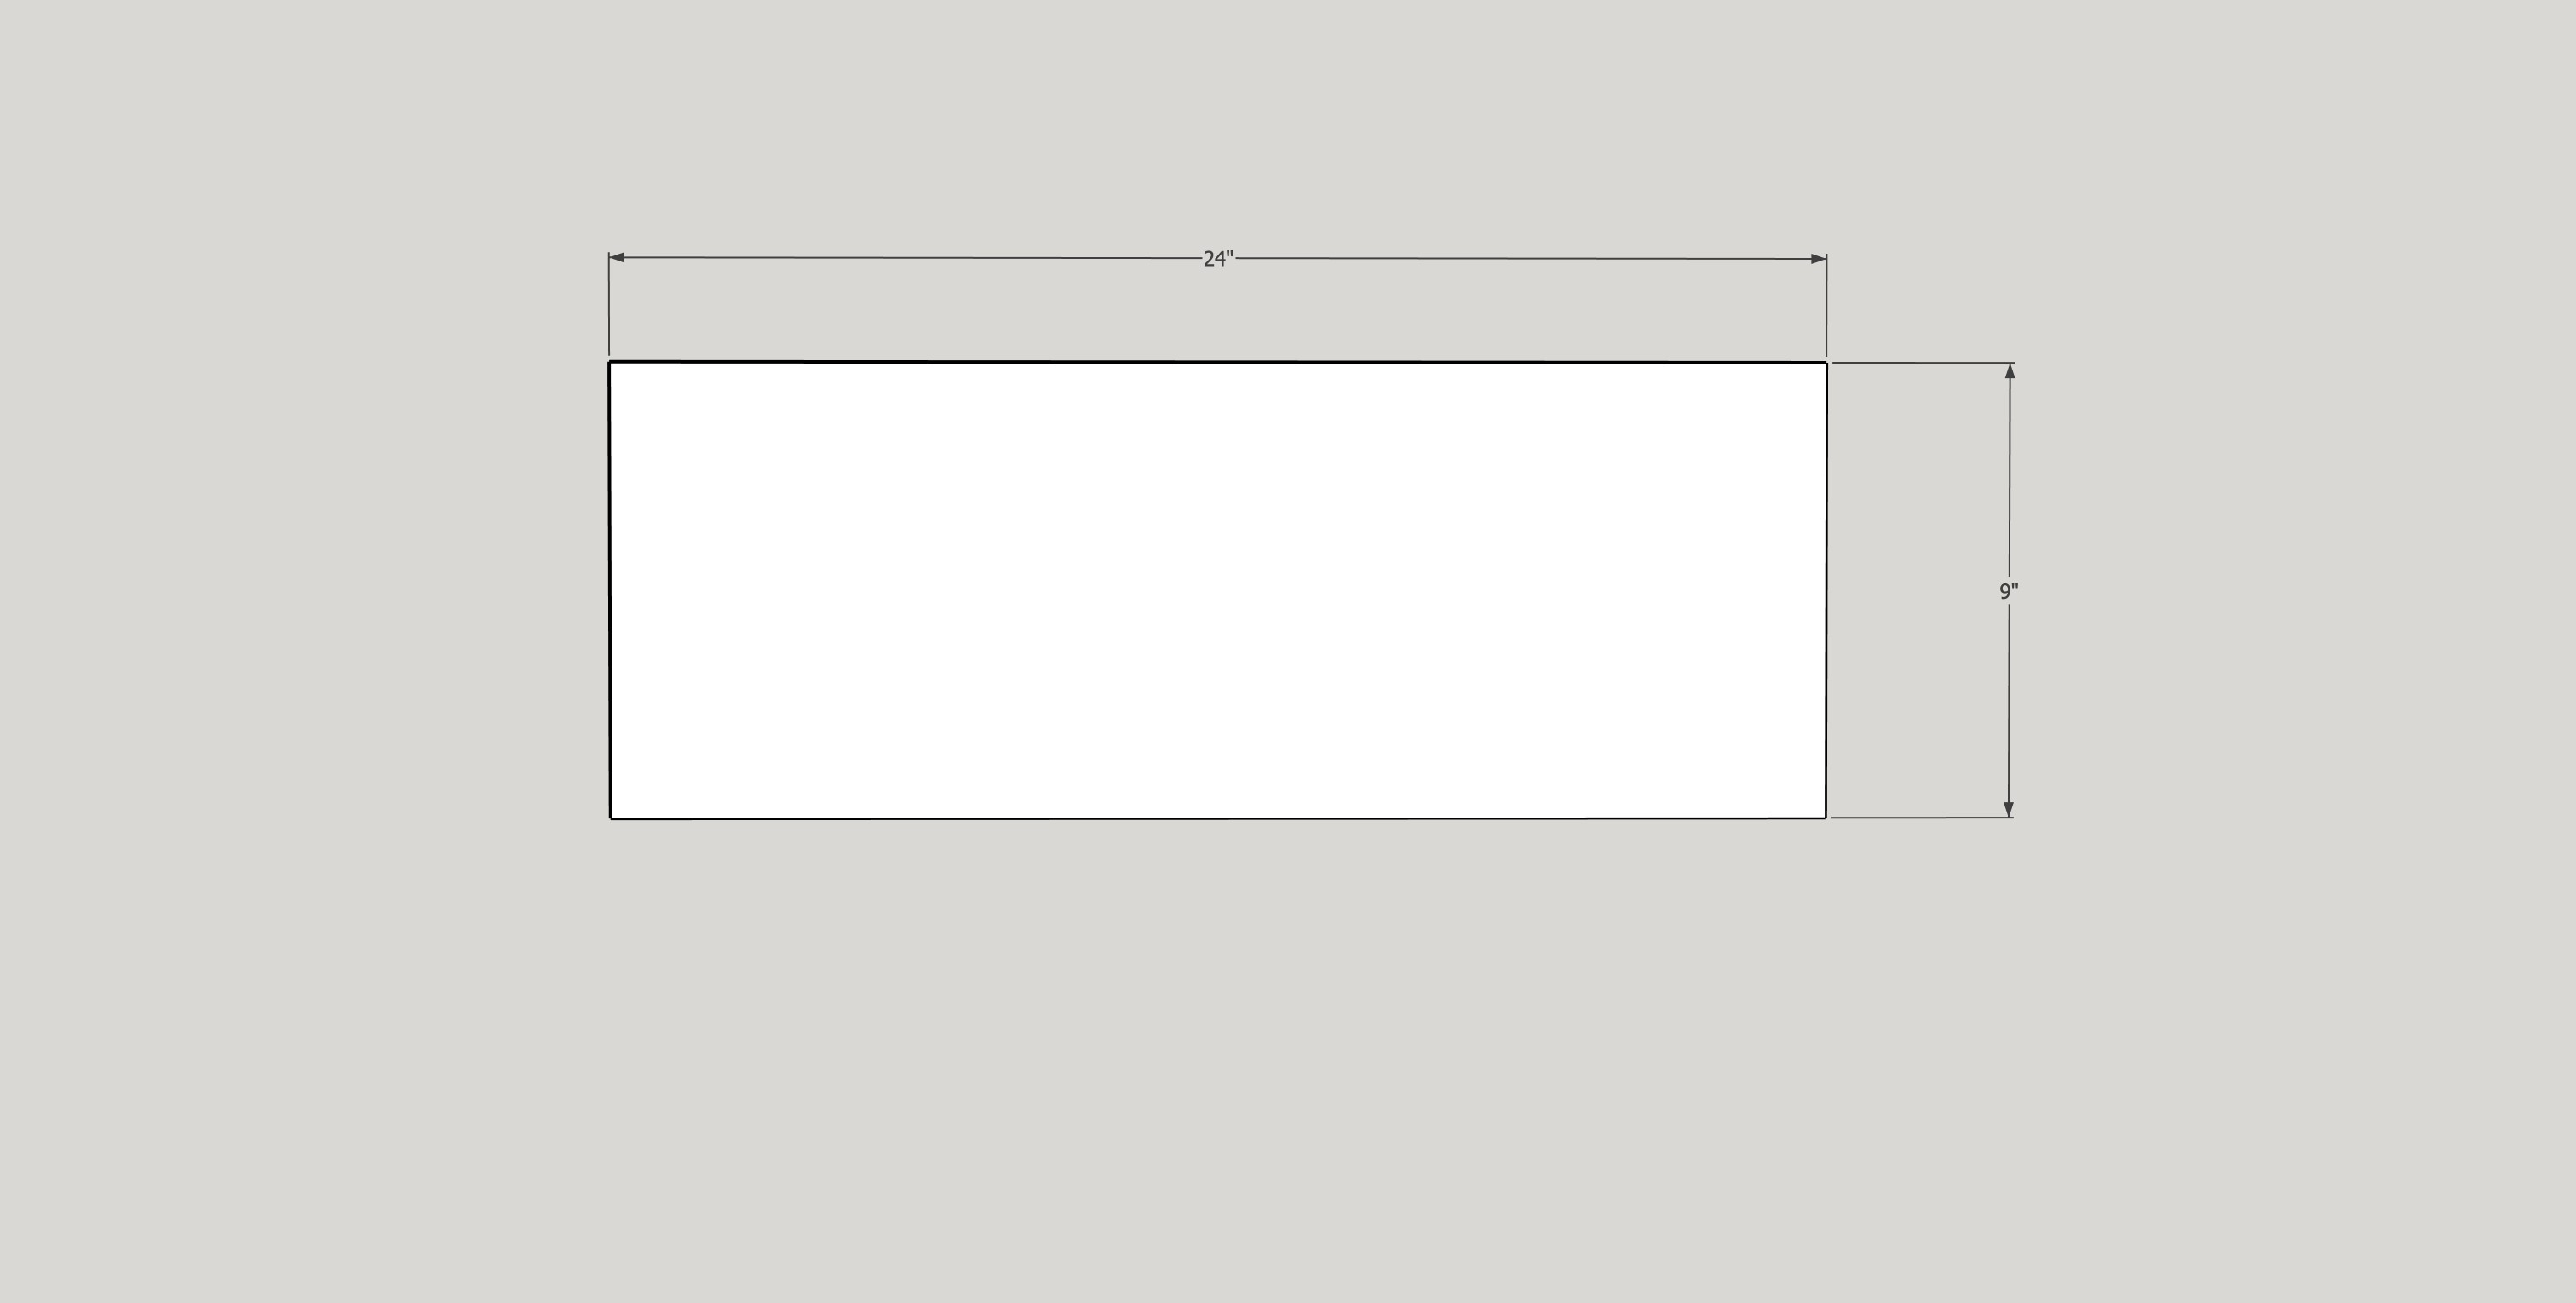
- 1 Cabinet back panel, 1/4" plywood , 24" x 9" x 1/4"
- 1 Drawer bottom, 1/4" plywood , 21 1/2" x 9" x 1/4"
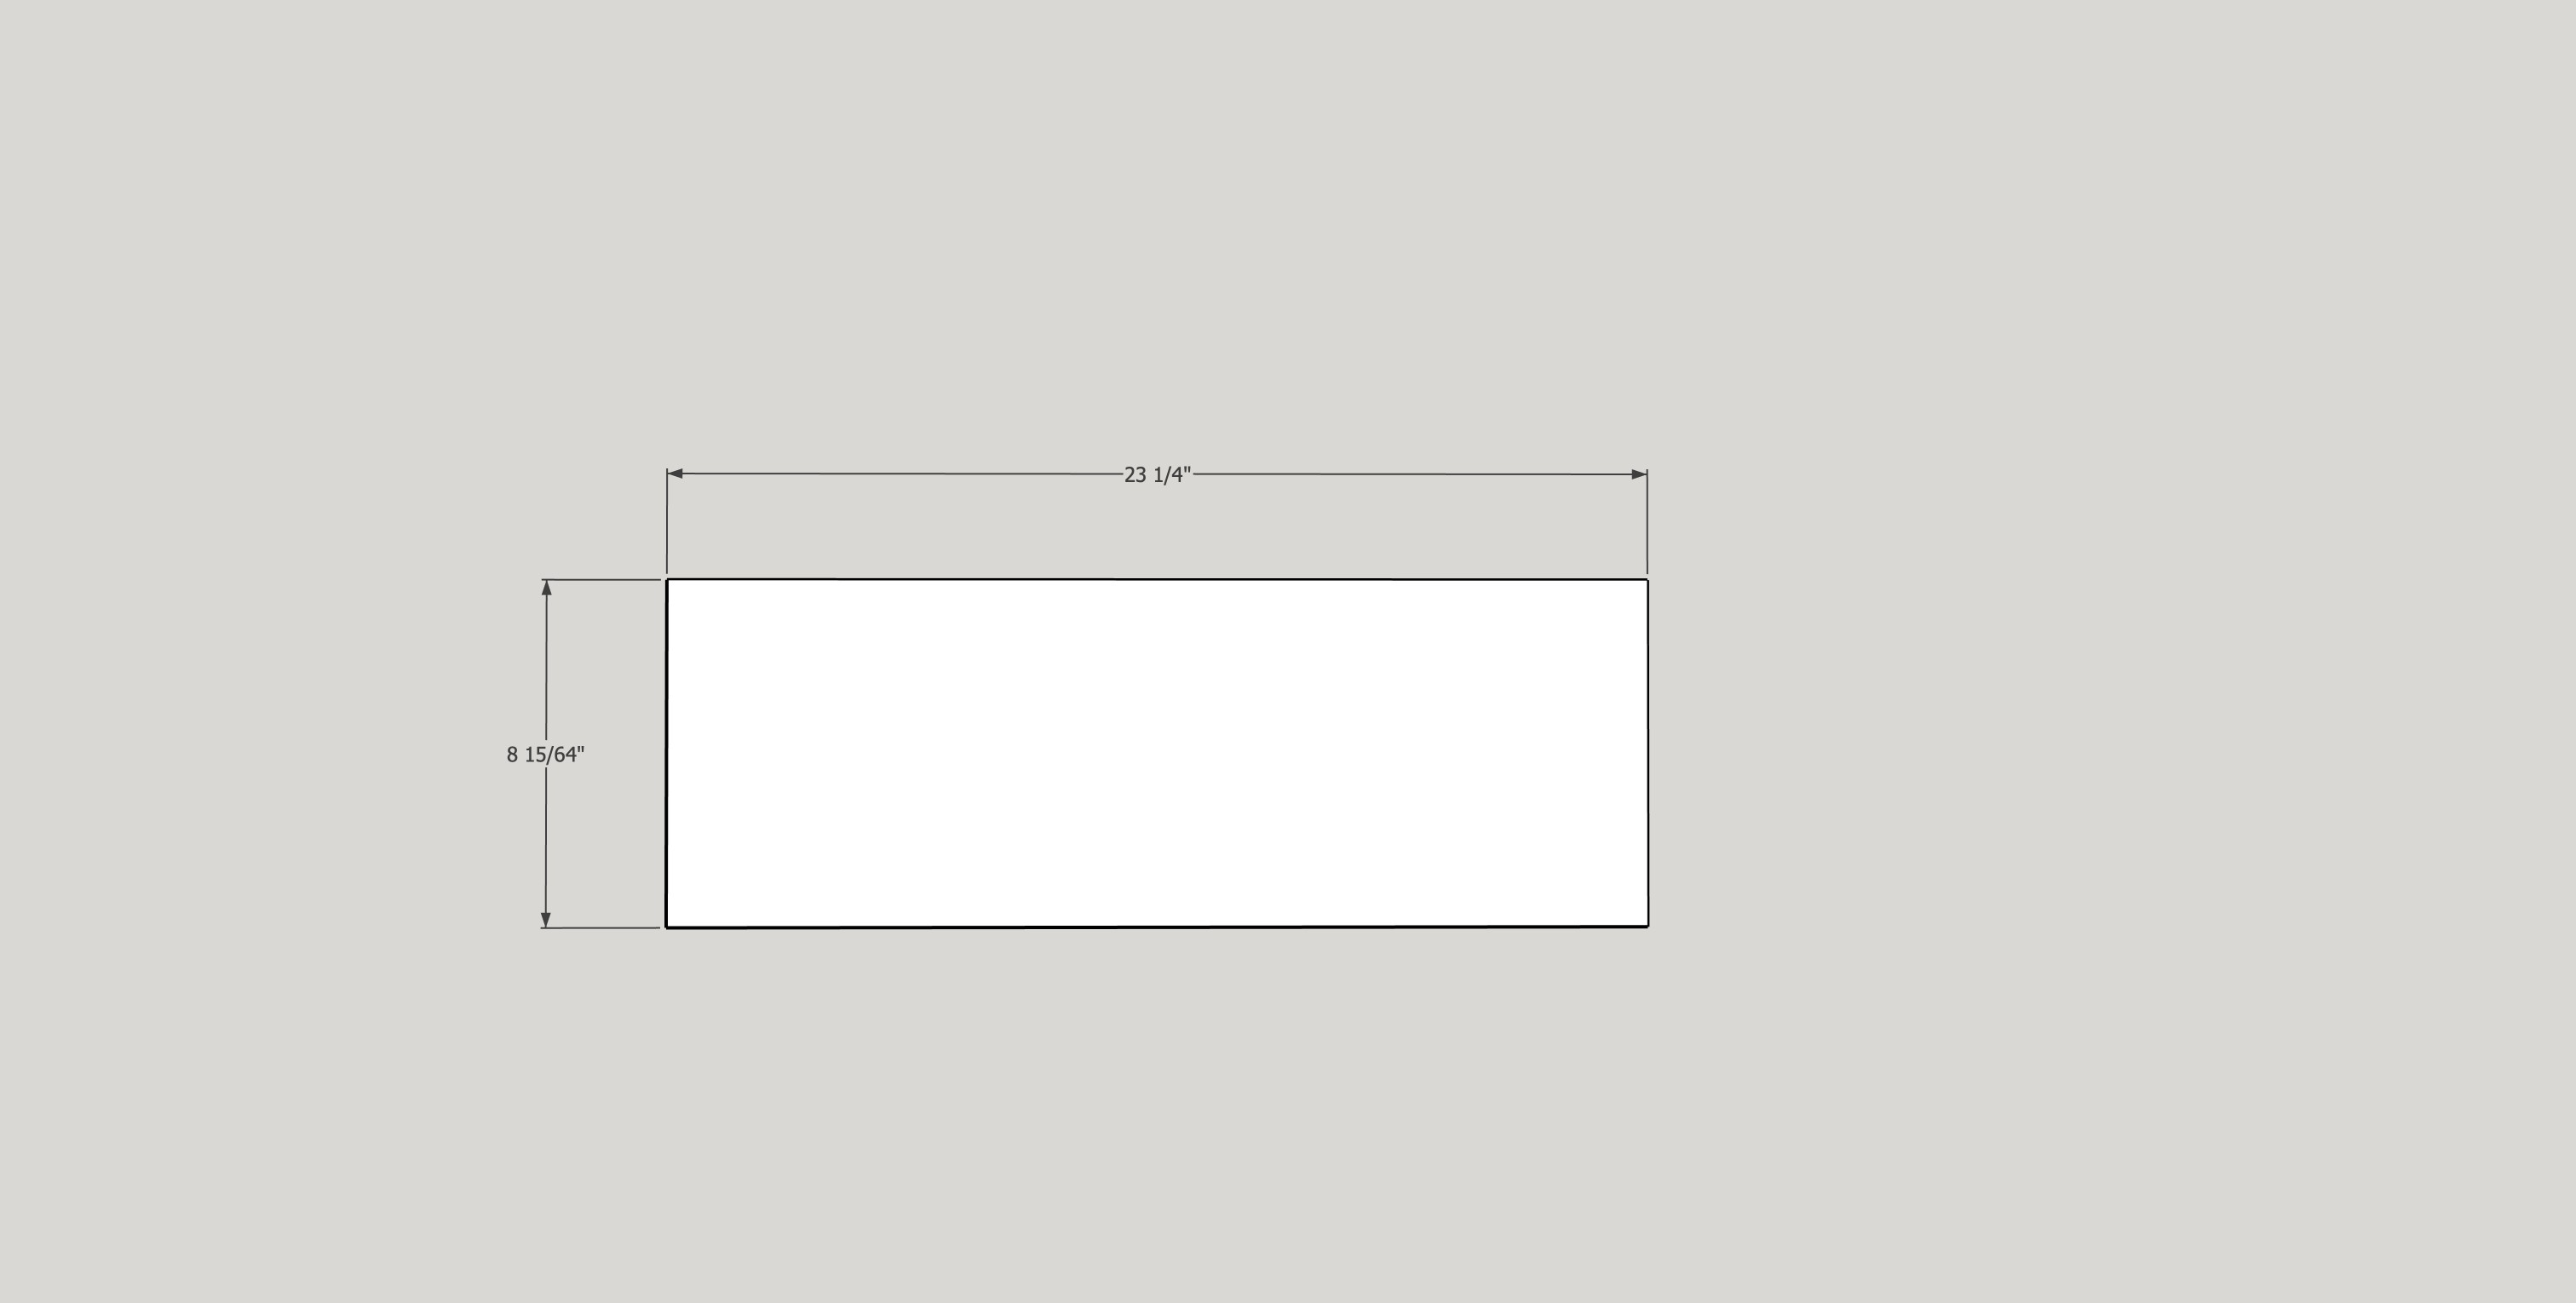
- 1 Drawer front, 1/2" MDF , 23 1/4" x 8 15/64" x 1/2"
- 1 Walnut veneer, back of drawer front , Cut to approx 24 1/4" x 9 1/4"
- 1 Walnut burl veneer, front of drawer front , Cut to approx 24 1/4" x 9 1/4"
- 4 Wood screws , 3" screws for French cleat into studs
Directions
-
1
Because your cabinet requires panels that are 14" and 10" wide, you will likely need to edge glue multiple narrower walnut boards together.
Mill your lumber (or use pre surfaced S4S stock), apply a generous bead of wood glue to the edges, and clamp the boards side by side to create oversized panels for your top, bottom, and sides. Keep them as flat as possible during clamping, let the glue cure overnight, and sand or plane the joined panels completely smooth. -
2
Once your glued up panels are perfectly flat, trim them to their final length and width dimensions.
Next, set your table saw blade to exactly 45 degrees and cut miters on both ends of all four case panels. Take your time here, a perfect 45 degree angle is crucial for a seamless, square cabinet.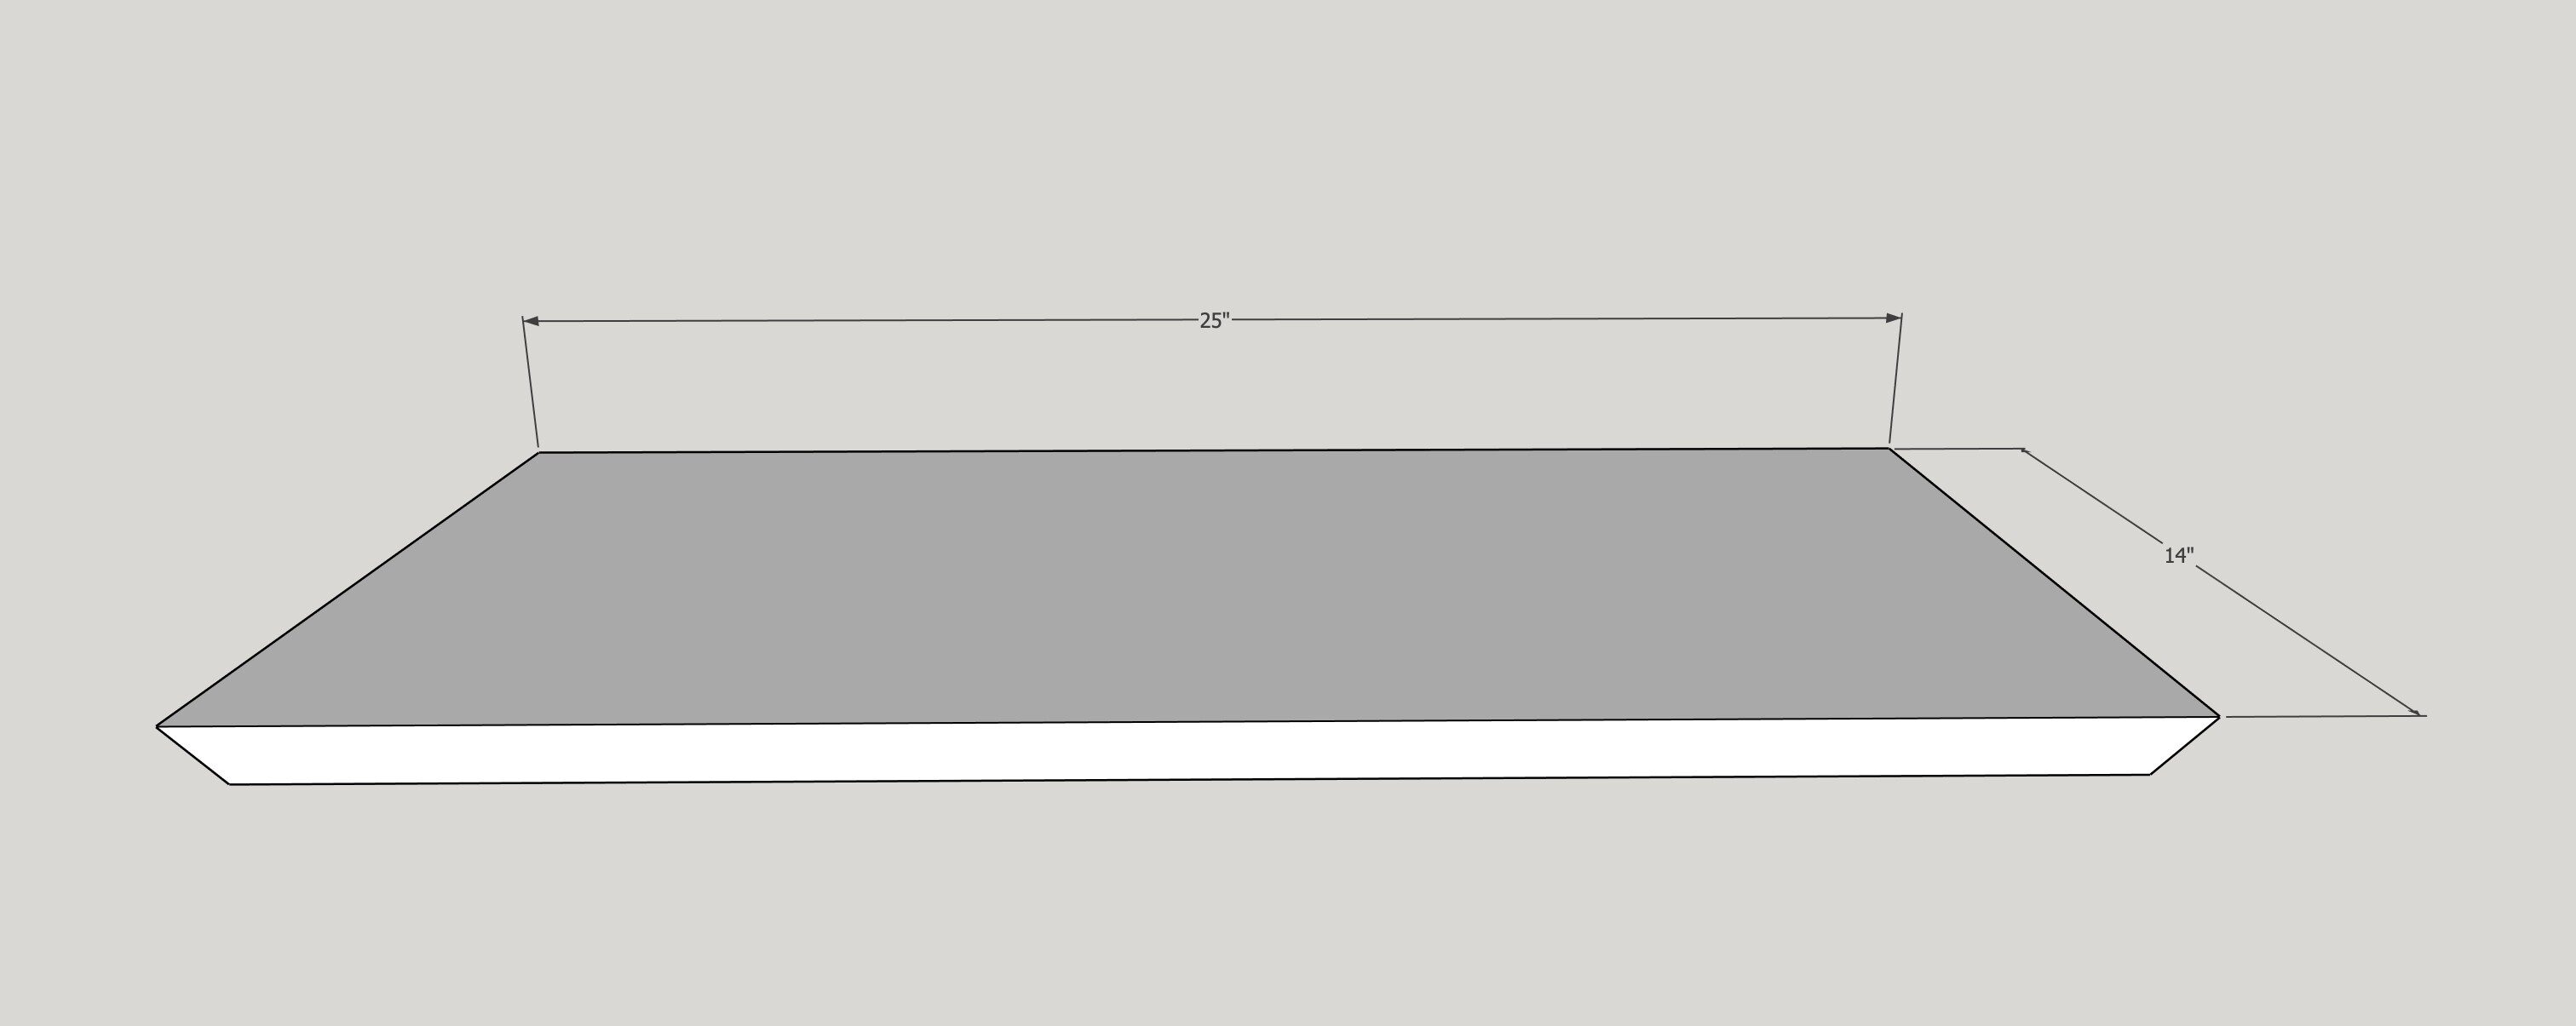
-
3
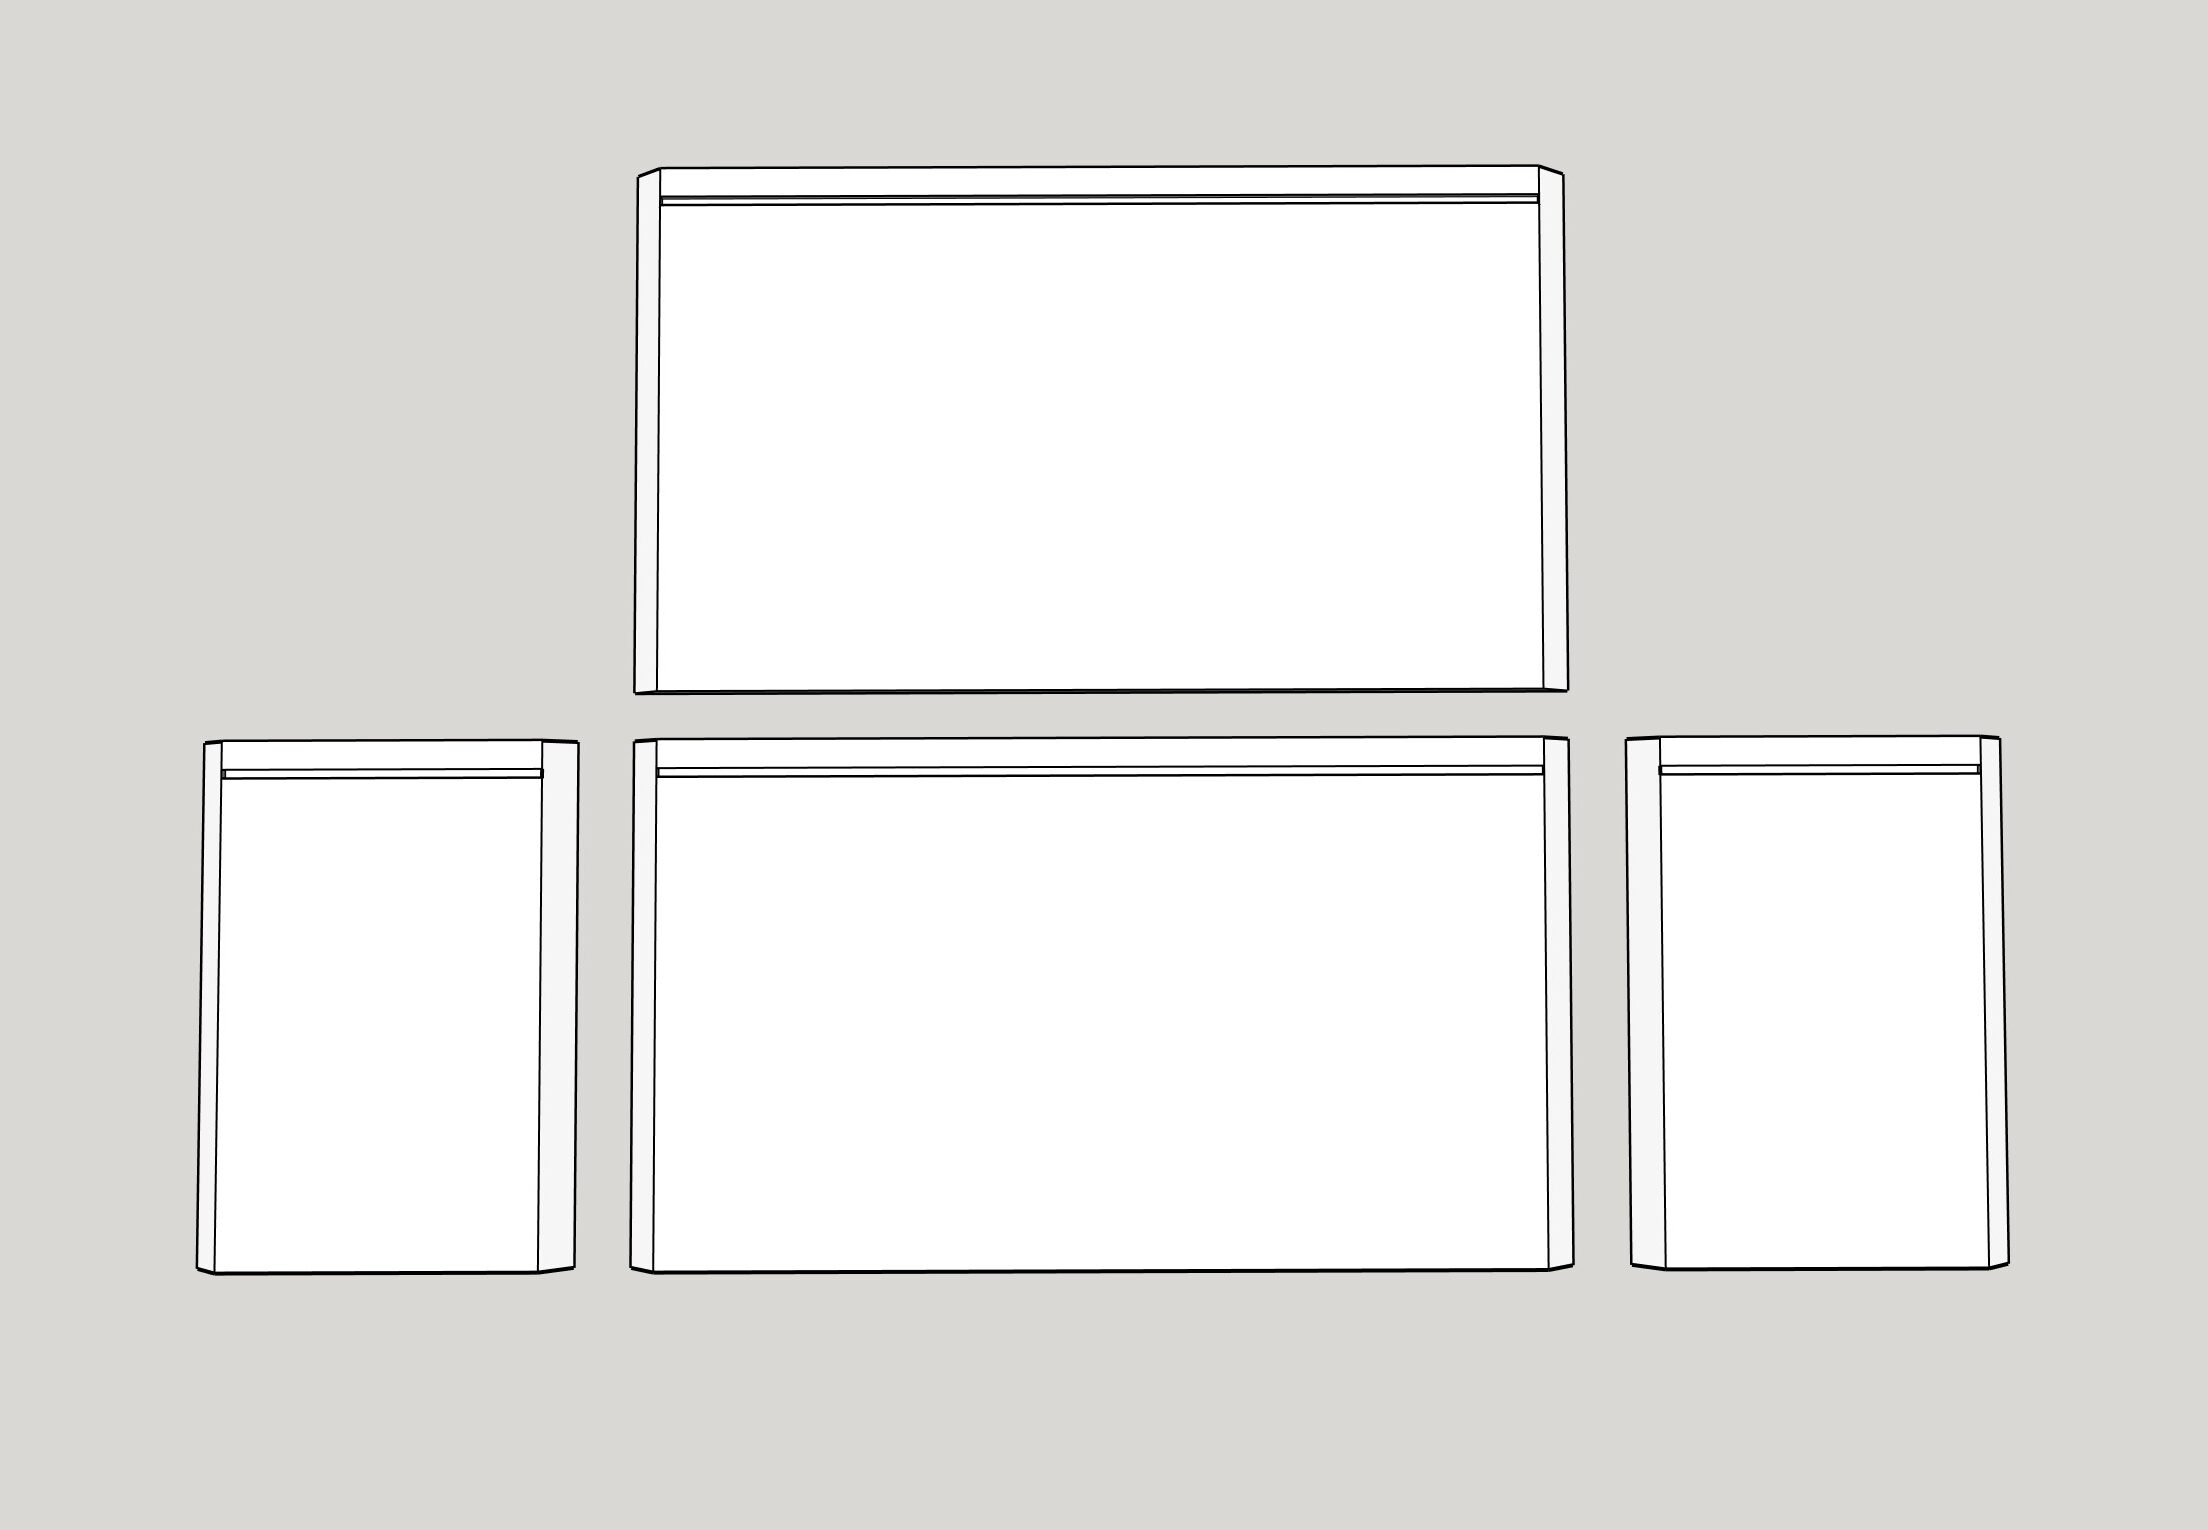
Before assembling the case, you need to create a track for the 1/4" plywood back panel. Set up a 1/4" dado blade (or take multiple passes with a standard blade) and cut a groove on the inside face of all four mitered panels. Position this groove exactly 3/4" in from the back edge. This not only captures the back panel but perfectly leaves 3/4" of depth at the rear of the cabinet to hide a French cleat for hanging the nightstand on the wall.
-
4
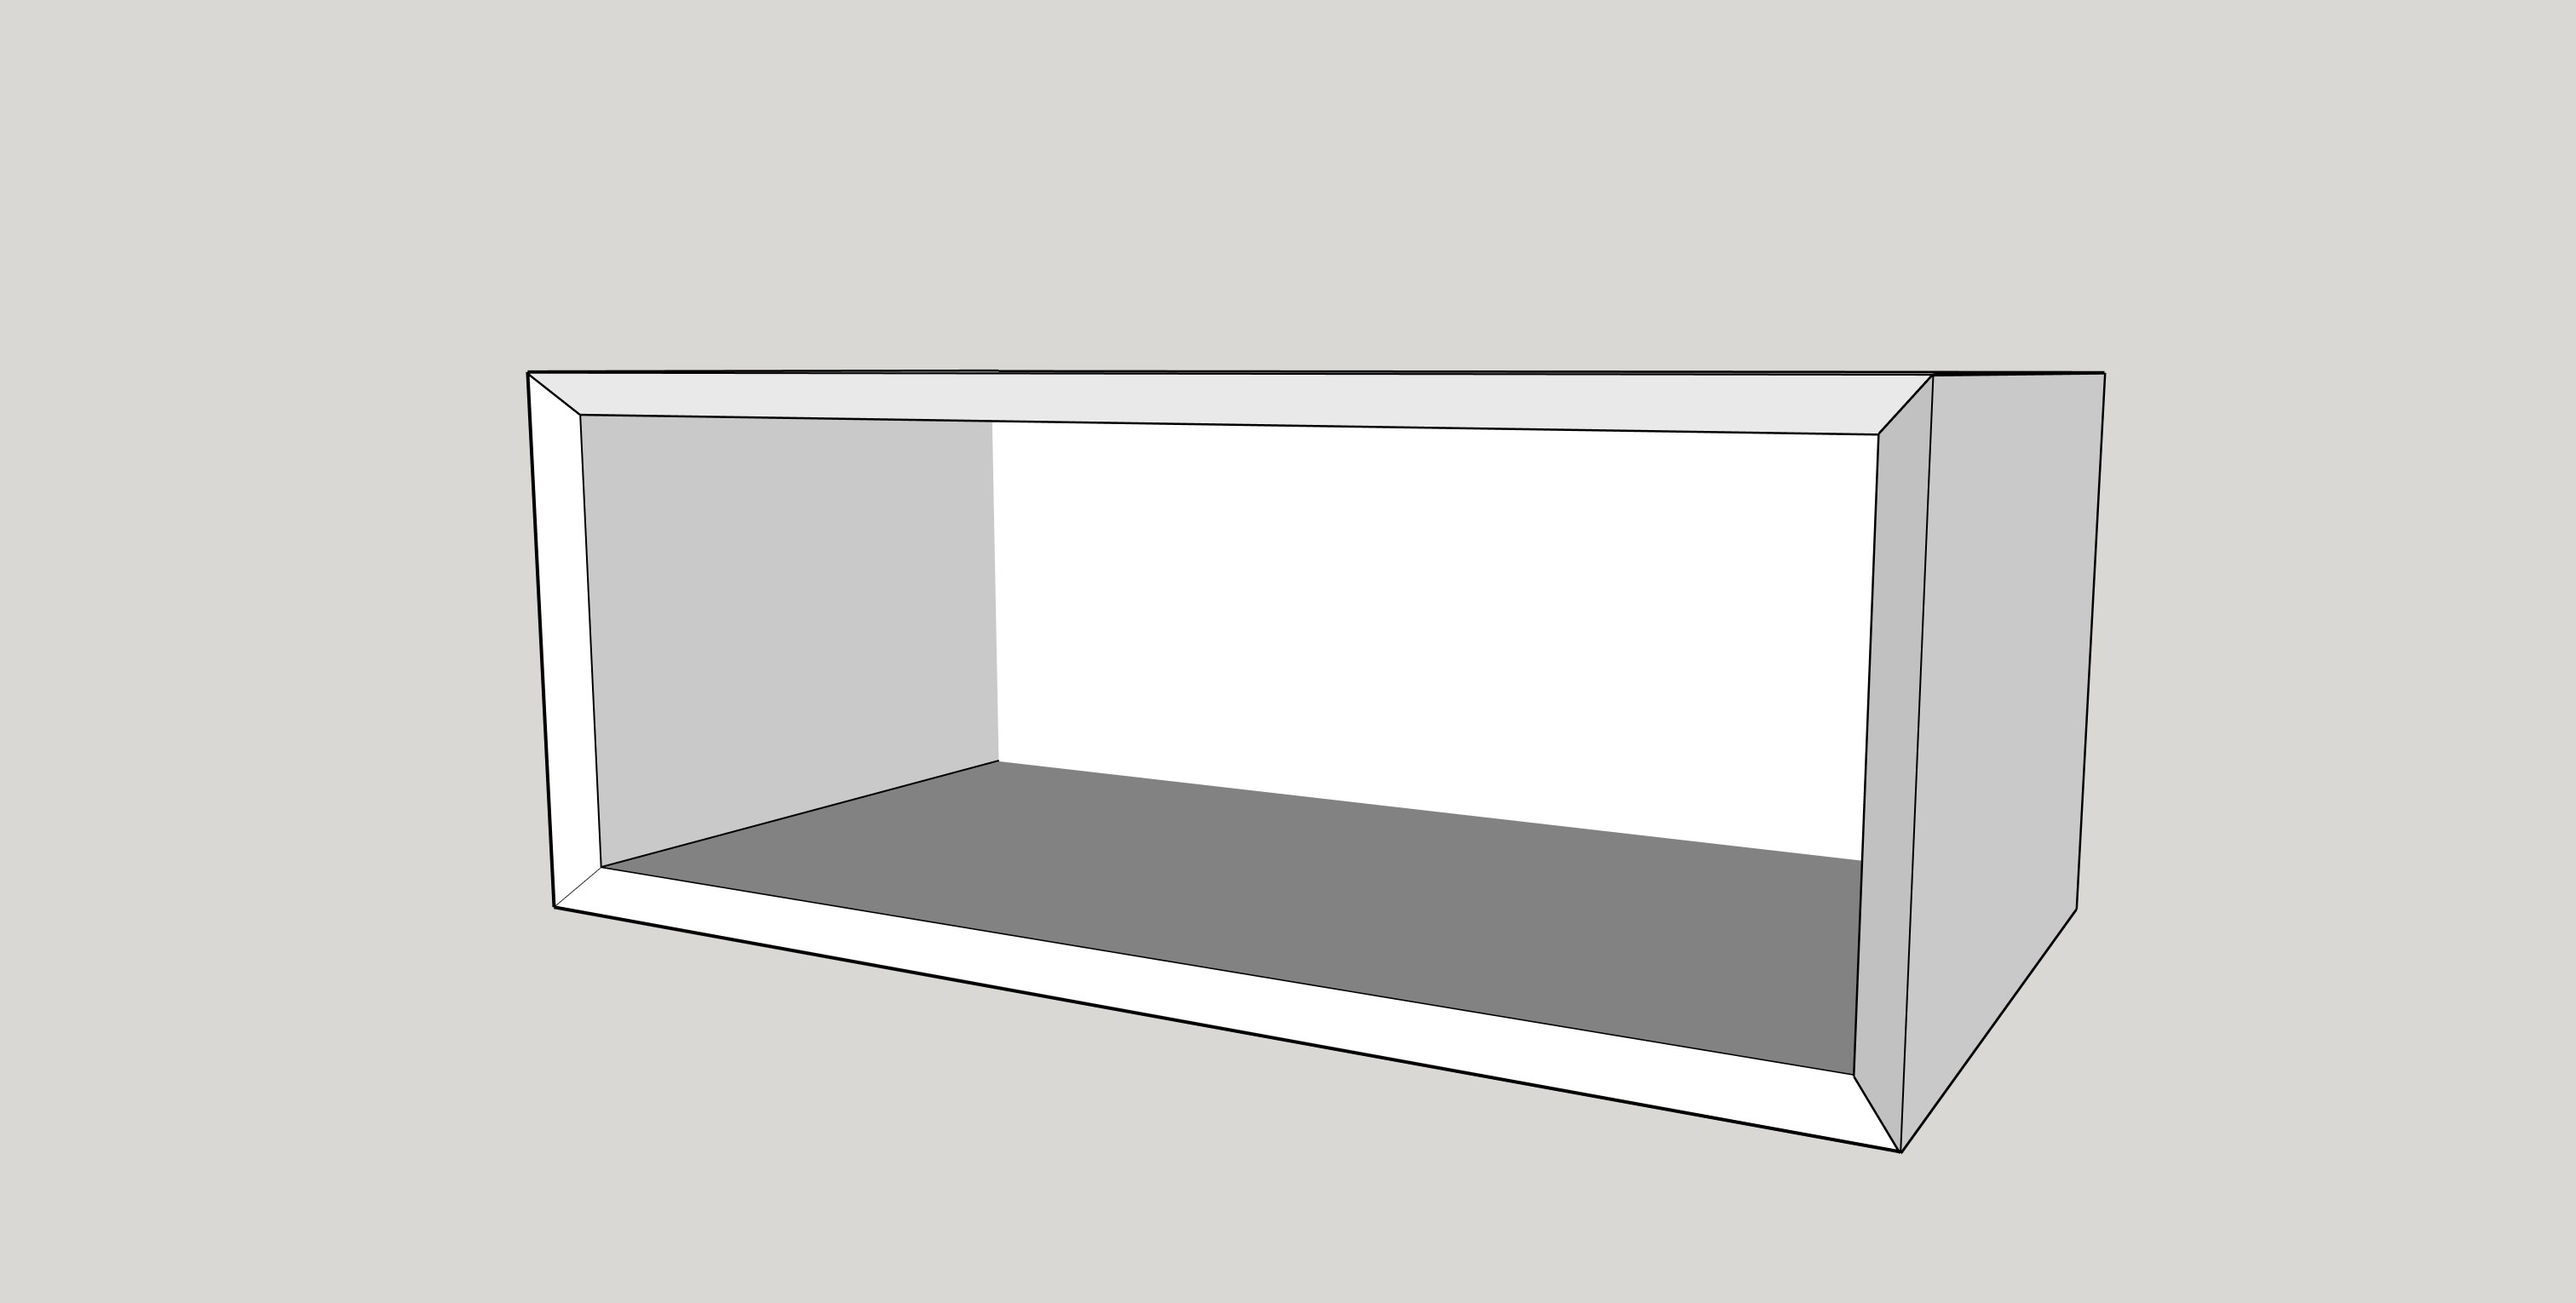
While the panels are still flat, set up a router with a chamfer bit. Route a small chamfer along the inside front edge of your top, bottom, and side panels.
-
5
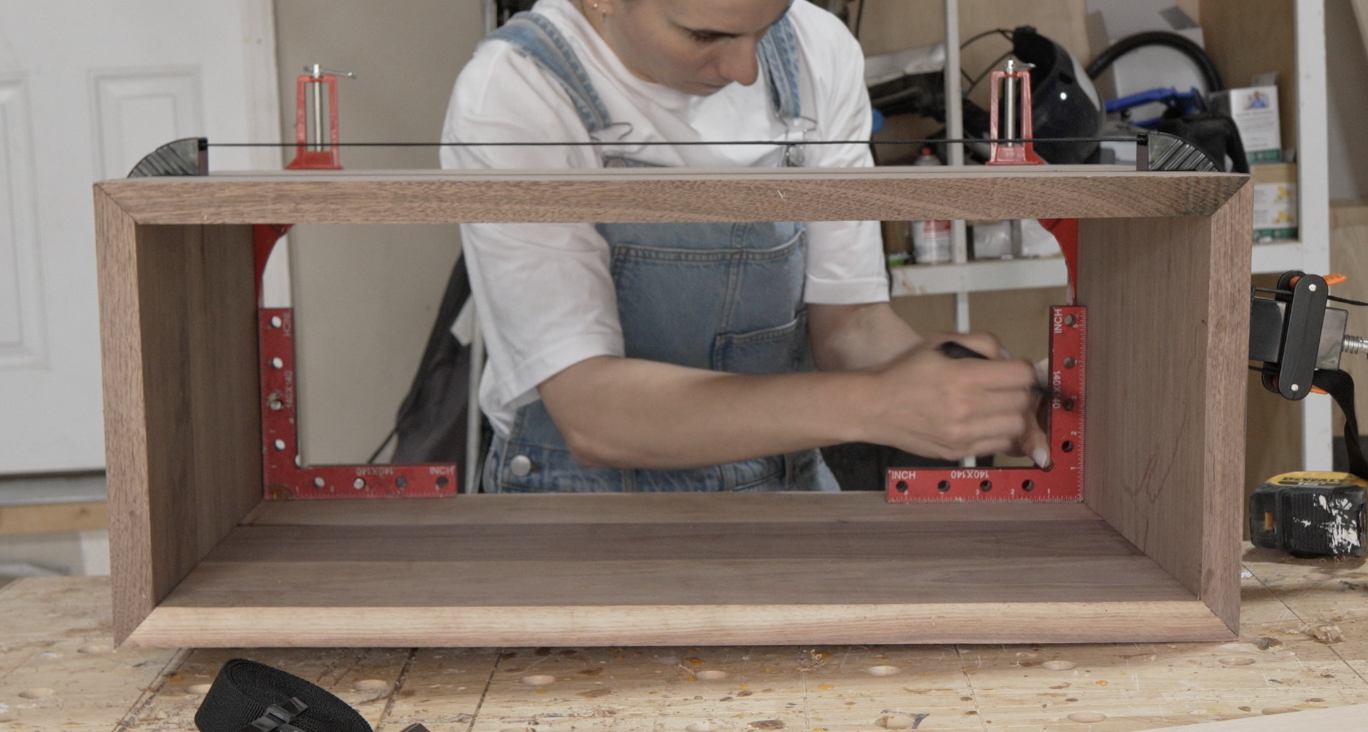
Dry fit the cabinet panels together to ensure your miters align. Mark exactly where you want your loose tenons to cross the joints. Adjust the fence on your Kreg edge guide to exactly 45 degrees, and use a 5mm bit to cut the mortises into the mitered faces. These mortises are sized for 5x30mm loose tenons, which will mechanically lock your pieces together so they cannot slide out of alignment when wet glue is applied.
-
6
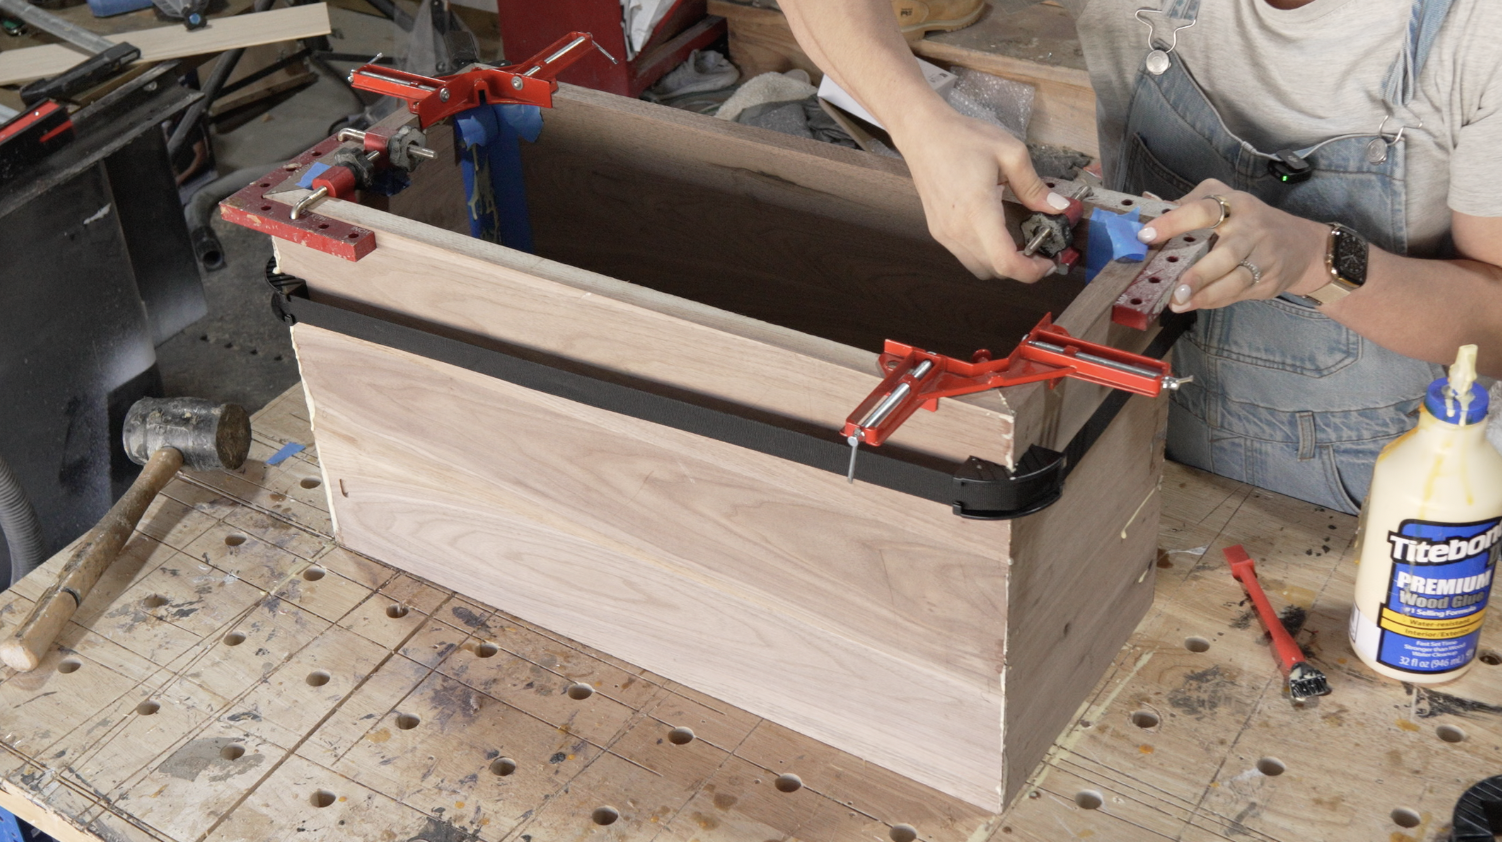
Lay the four panels flat, end to end, with the outside faces pointing up. Apply painter's tape tightly across the joints to act as a hinge. Carefully flip the entire taped assembly over, apply wood glue to the mitered faces, and insert your 5x30mm loose tenons. Slide the 1/4" plywood back panel into its grooves, and fold the cabinet together around it like a box. Clamp the joints perfectly square and let the glue cure overnight.
-
7
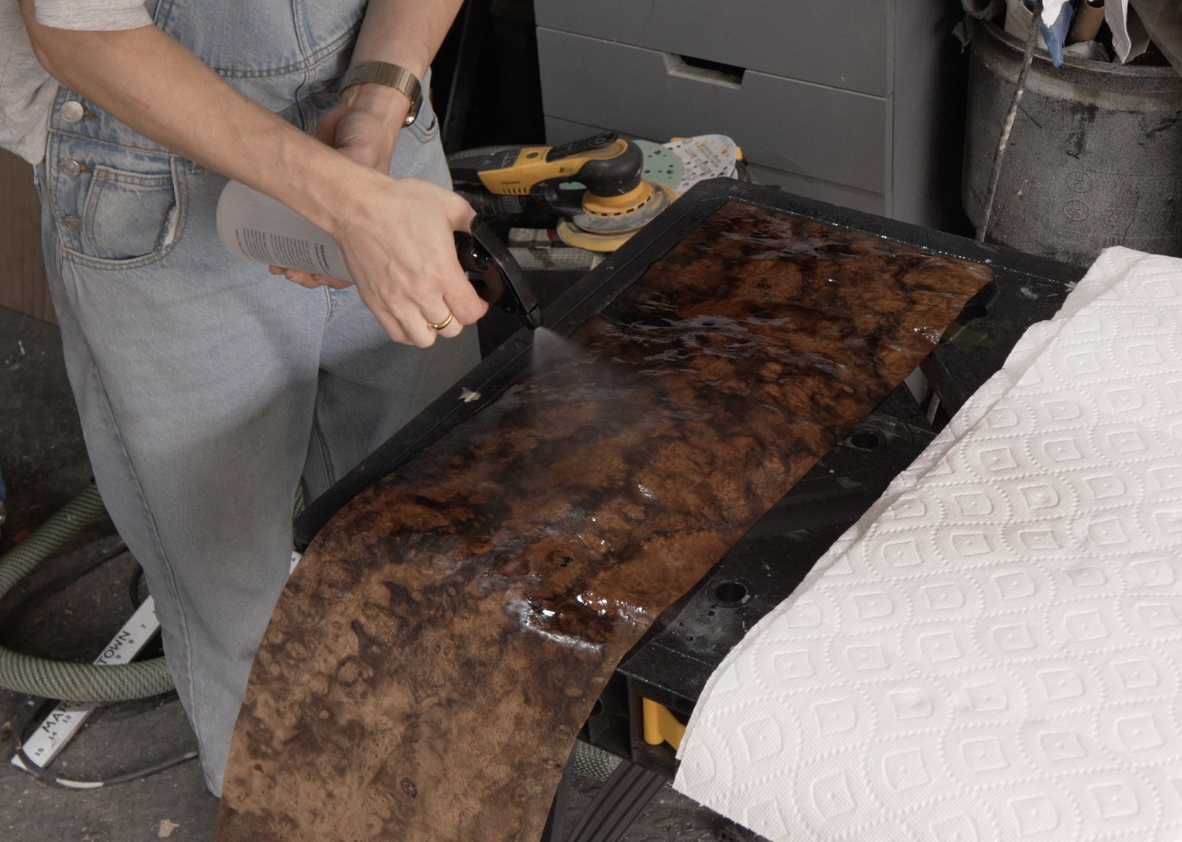
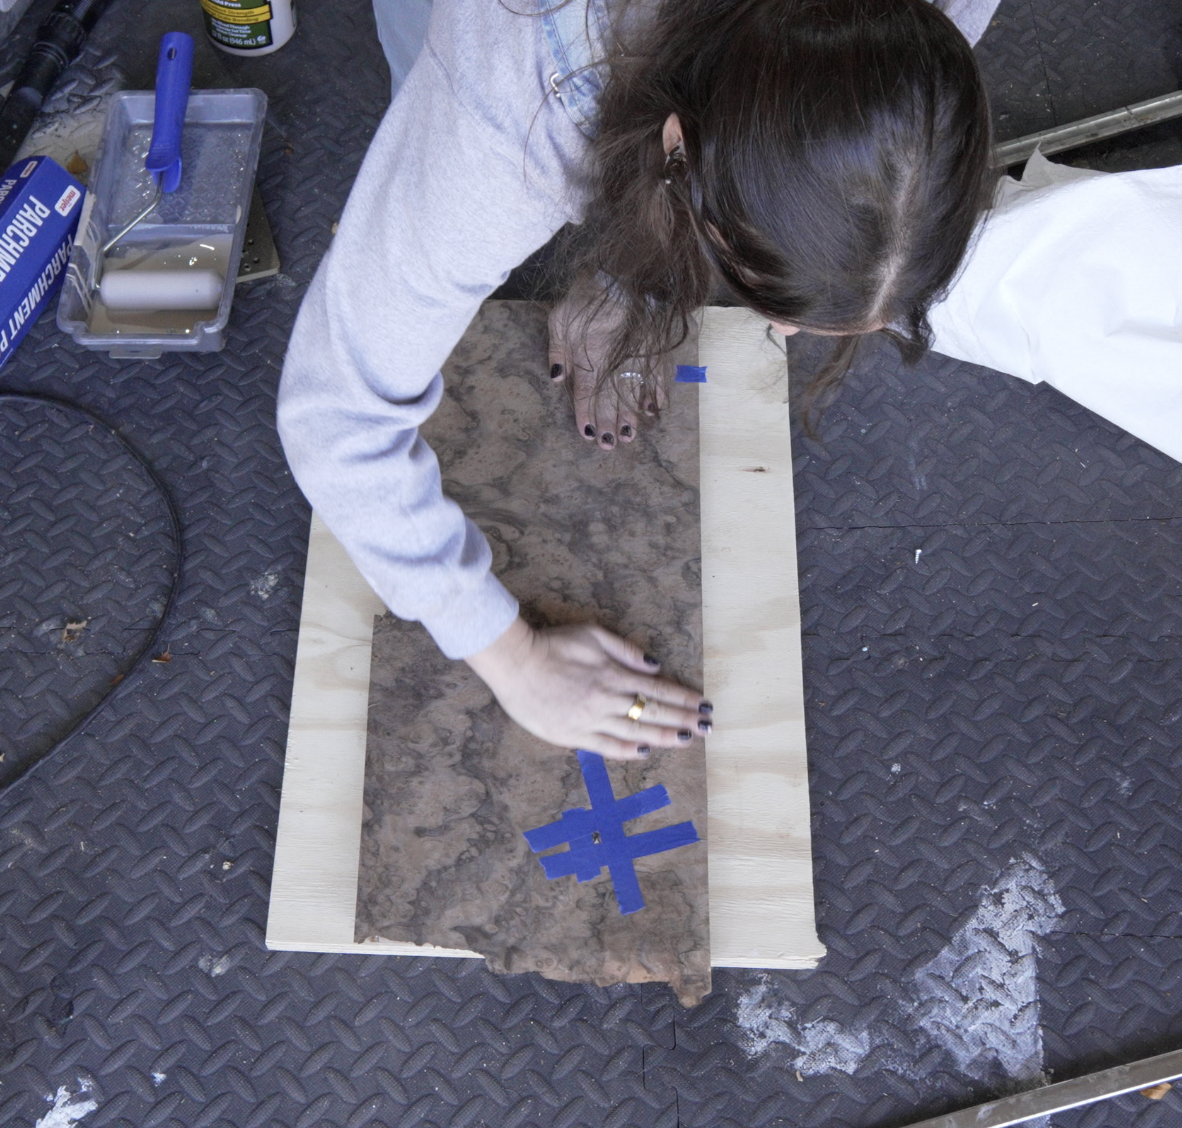
Burl veneer is incredibly wavy and brittle right out of the package. Spray it generously with a veneer softener. Sandwich the wet veneer between dry paper towels, and place it between two heavy sheets of flat plywood. Change the paper towels every 6 hours. After about 2 days, the veneer will be completely dry, flat, and ready to use.
-
8
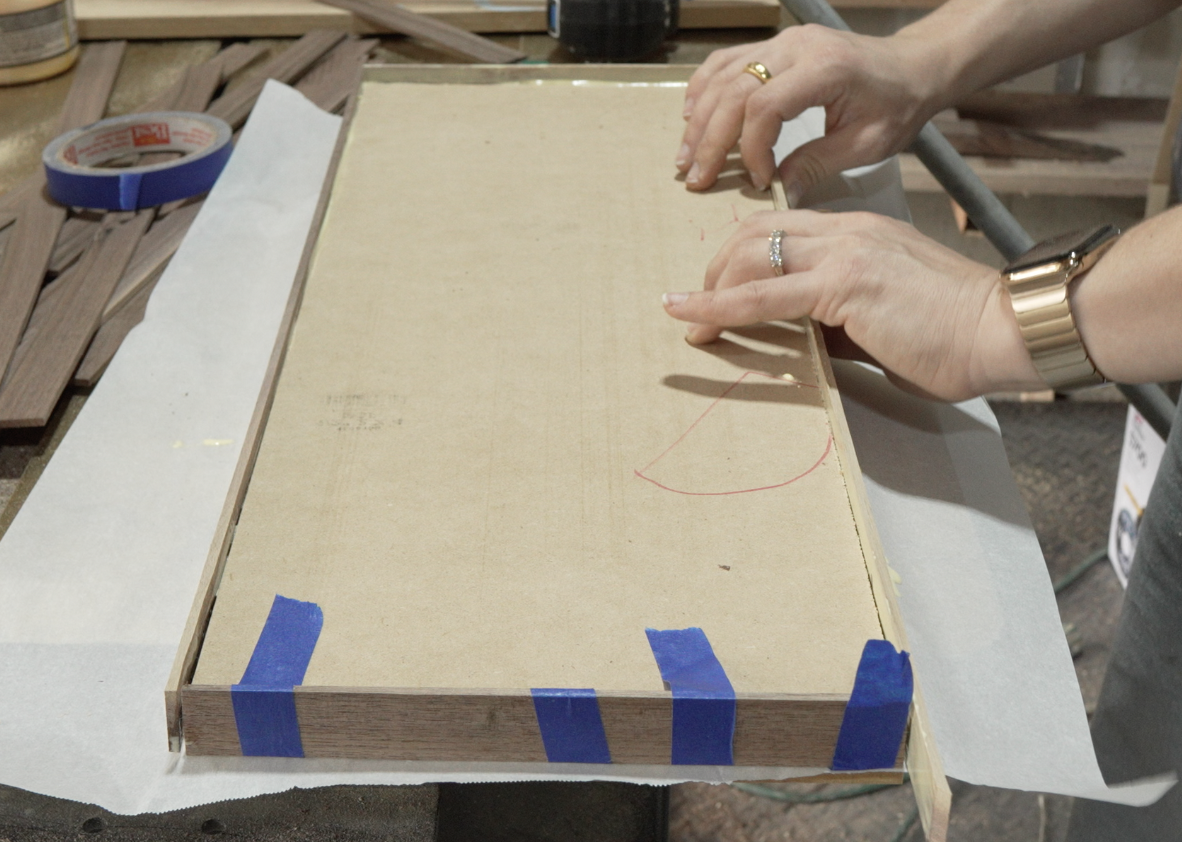
Cut 1/8" thick strips of solid walnut and glue them to the four edges of your 1/2" MDF substrate using standard wood glue. Once the glue dries, carefully sand the solid walnut edges perfectly flush with the MDF faces. (Beginner Alternative: You can skip milling solid wood and simply use iron-on walnut edge banding to cover the MDF edges).
-
9
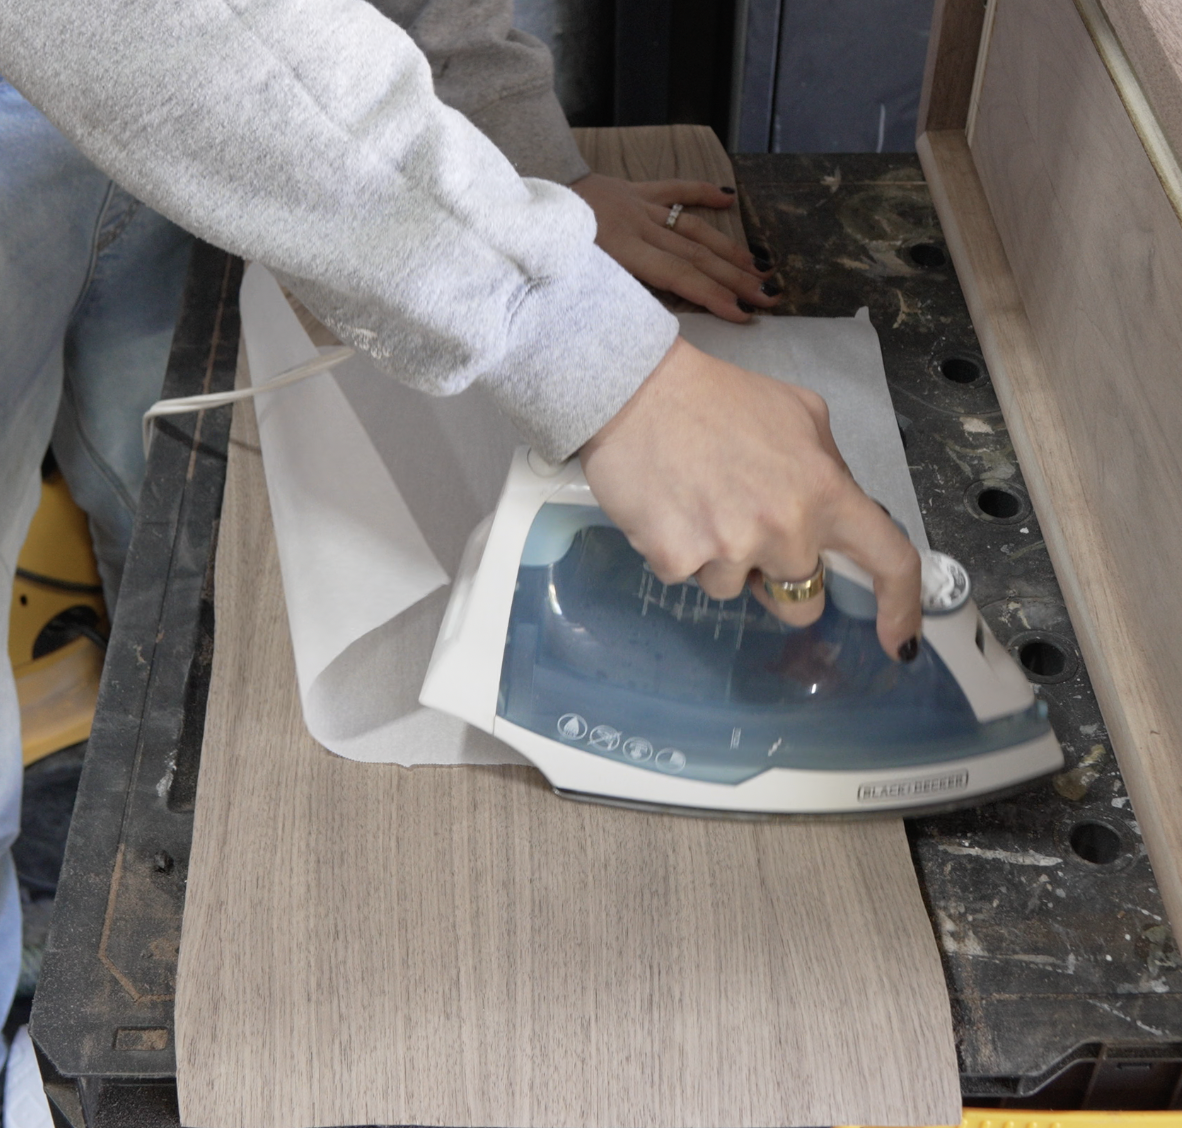
To balance the drawer front, you must veneer the back. Roll a thin, even layer of standard wood glue onto the back of the MDF and onto the straight-grain walnut veneer. Wait for the glue to dry completely to the touch. Position the veneer on the MDF and use a regular household iron (set to medium-high) to press down firmly. The heat reactivates the glue and bonds it instantly. Trim the overhang flush.
-
10
With the back and edges finished, apply an even layer of cold press veneer adhesive to the front face of the MDF. Carefully lay your flattened burl veneer over the glue, place the MDF between two flat cauls (like thick scrap plywood), and clamp it down incredibly tight. Once the glue has cured, trim the overhanging burl veneer flush to your solid walnut edges.
-
11
Cut your 3/4" plywood down to the final dimensions for the drawer box front, back, and sides. Then, set up your table saw to cut a 1/4" wide groove near the bottom inside edge of all four plywood pieces. This groove will hold the 1/4" plywood drawer bottom securely in place.
-
12
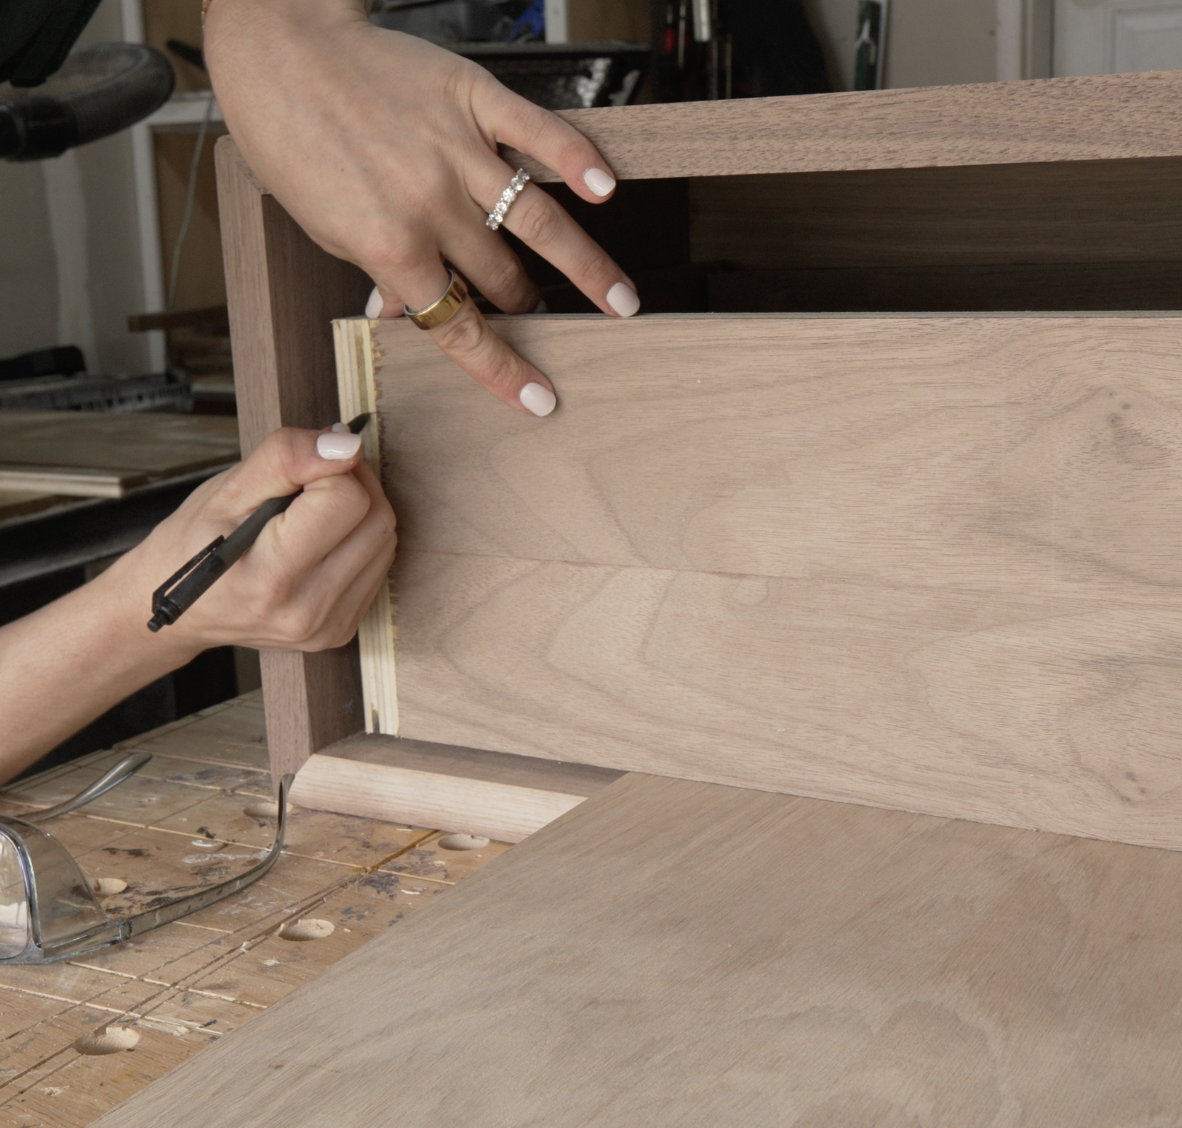
Dry fit the 3/4" plywood drawer box pieces together. Mark where you want the joints to connect, then use your Kreg edge guide set to 90 degrees to plunge holes for loose tenons across the joints.
-
13
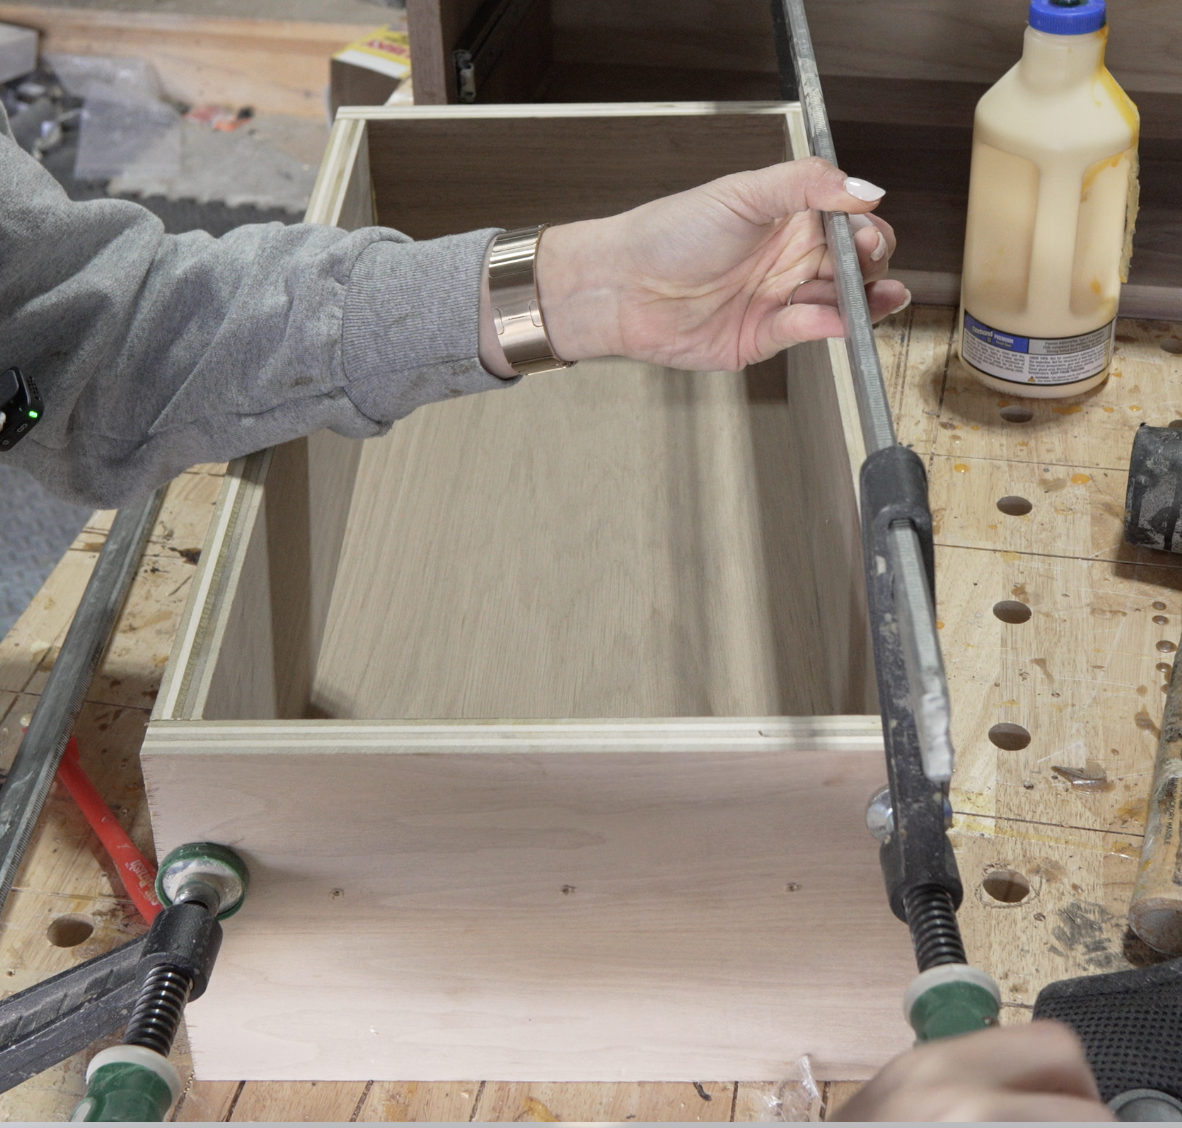
Apply wood glue to the plywood joints and insert your loose tenons. Slide the 1/4" plywood drawer bottom into the grooves you cut earlier, and clamp the four sides of the drawer box together. Ensure the box is perfectly square by measuring from corner to corner diagonally, then let it cure overnight.
-
14
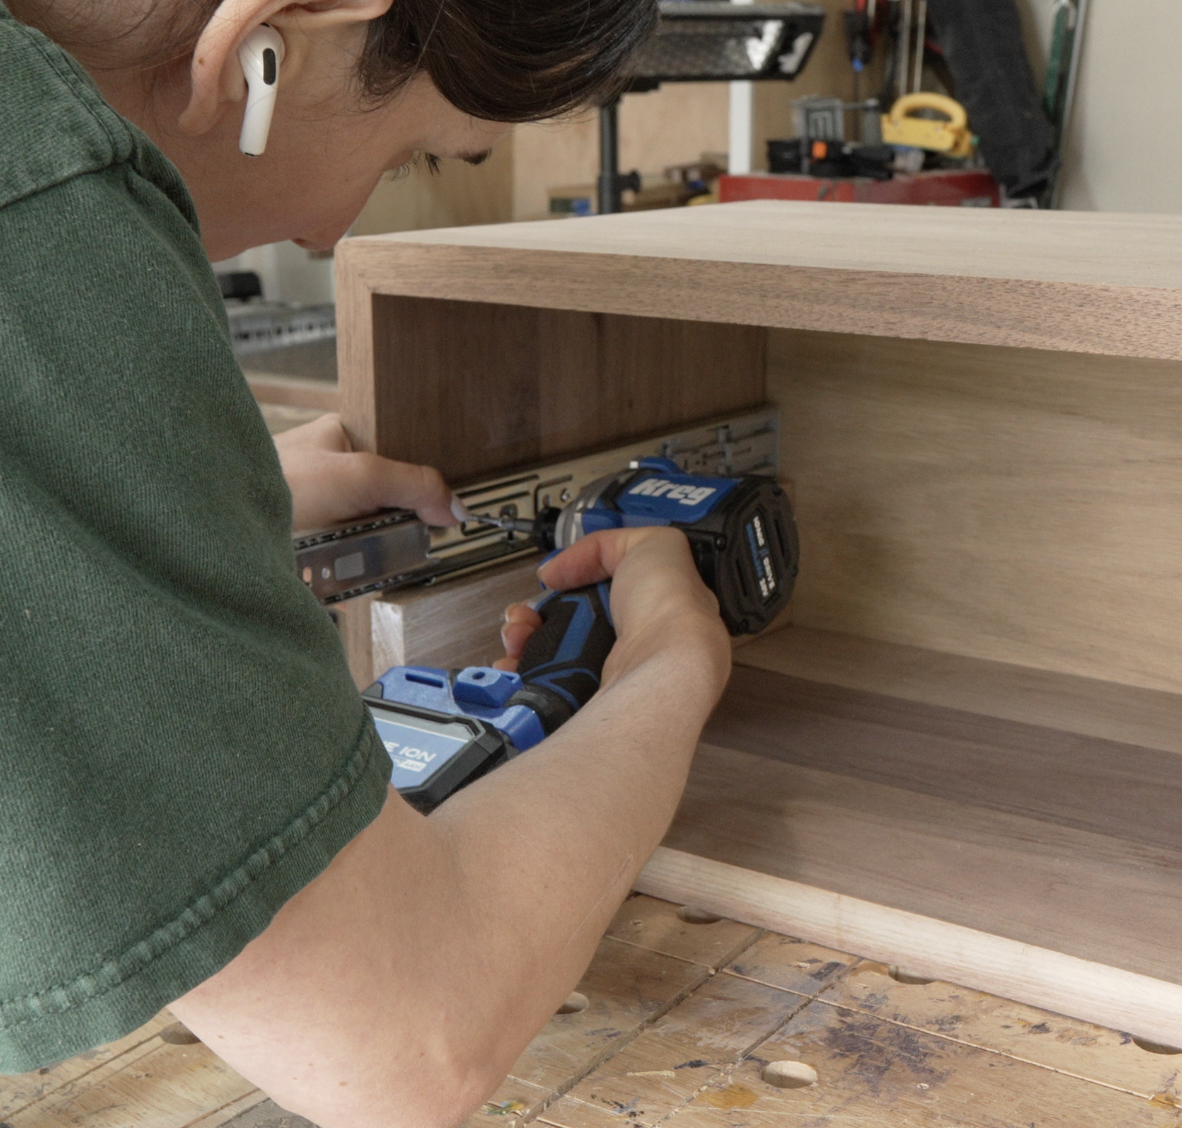
Once the drawer box is fully dried, install your drawer slides. Follow the manufacturer's instructions to mount the hardware inside the walnut cabinet first, and then attach the corresponding hardware to the sides or bottom of your plywood drawer box. Slide the box into the cabinet to ensure it opens and closes smoothly.
-
15
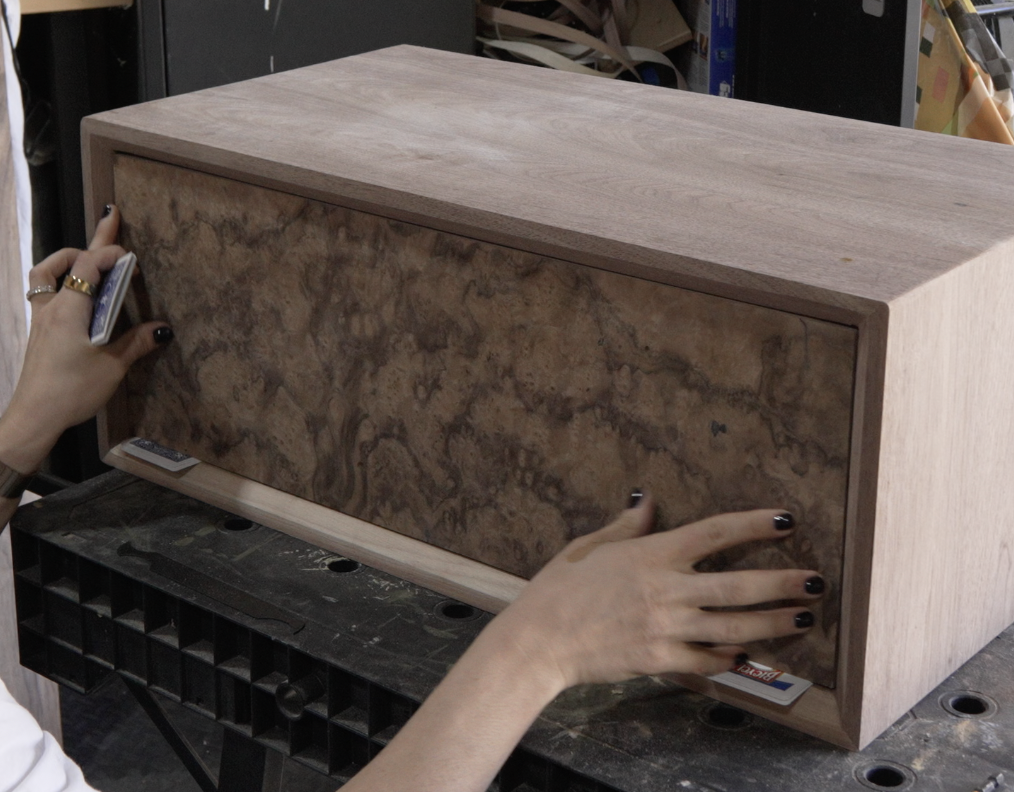
With the drawer box installed and closed, position your finished burl drawer front over the opening. Use playing cards or thin plastic spacers to ensure you have perfectly even reveals (gaps) on all four sides. Secure the drawer front to the plywood drawer box from the inside using screws.
-
16
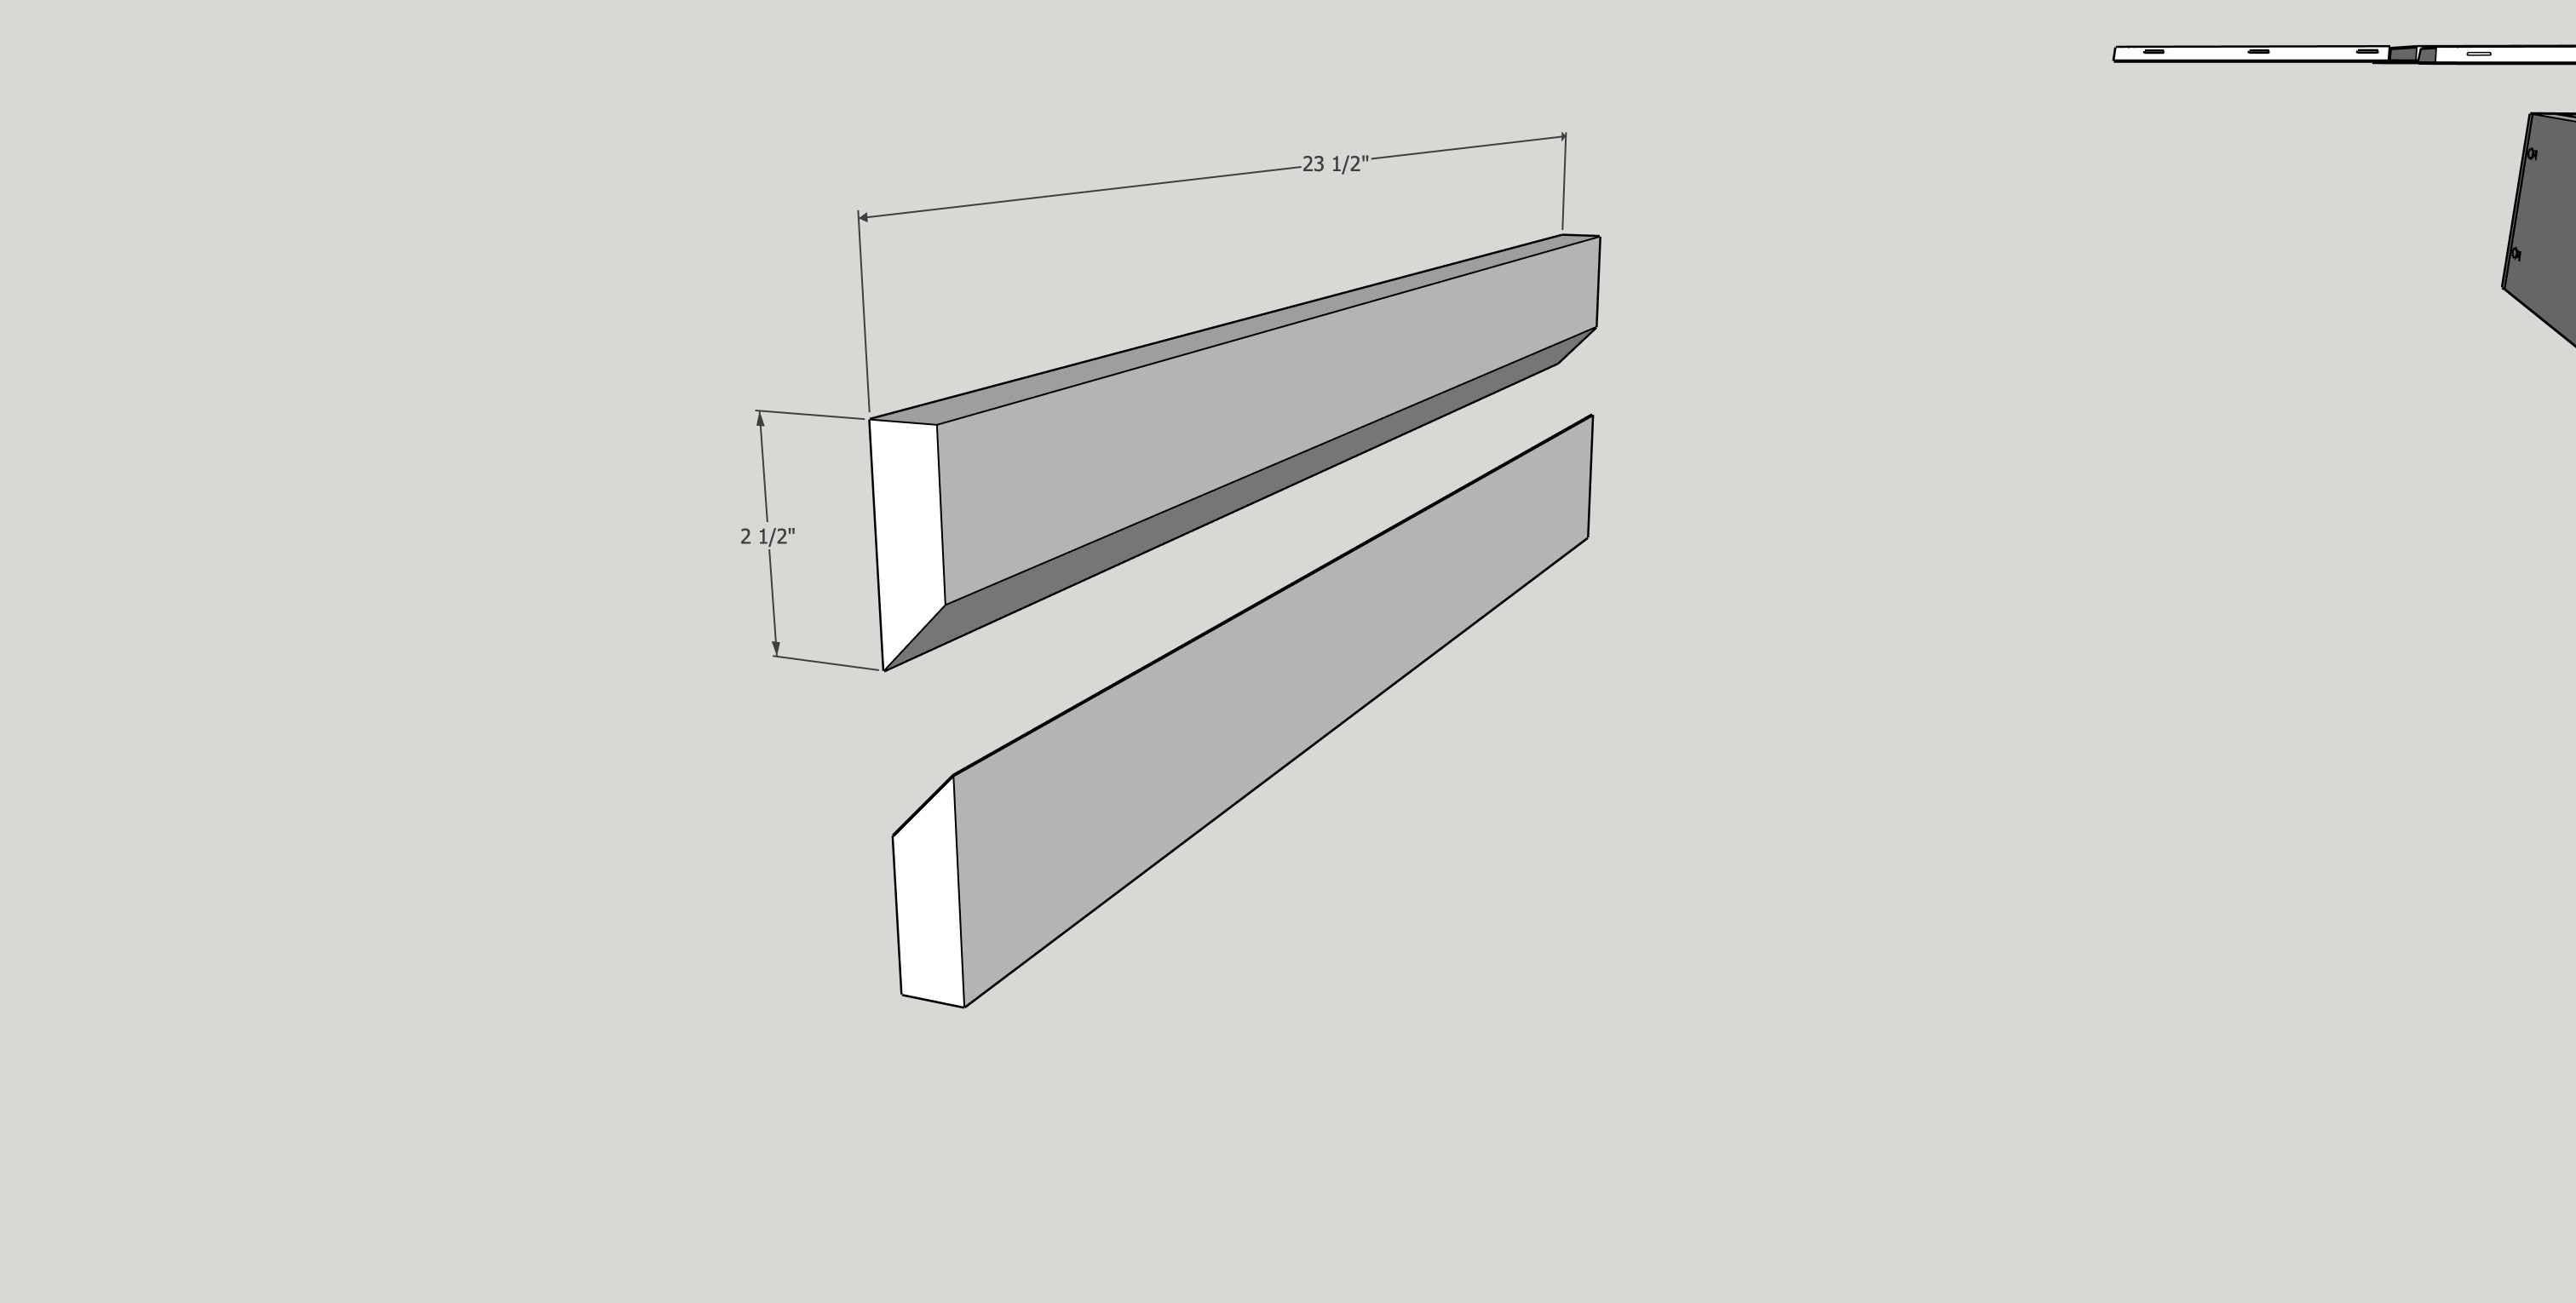
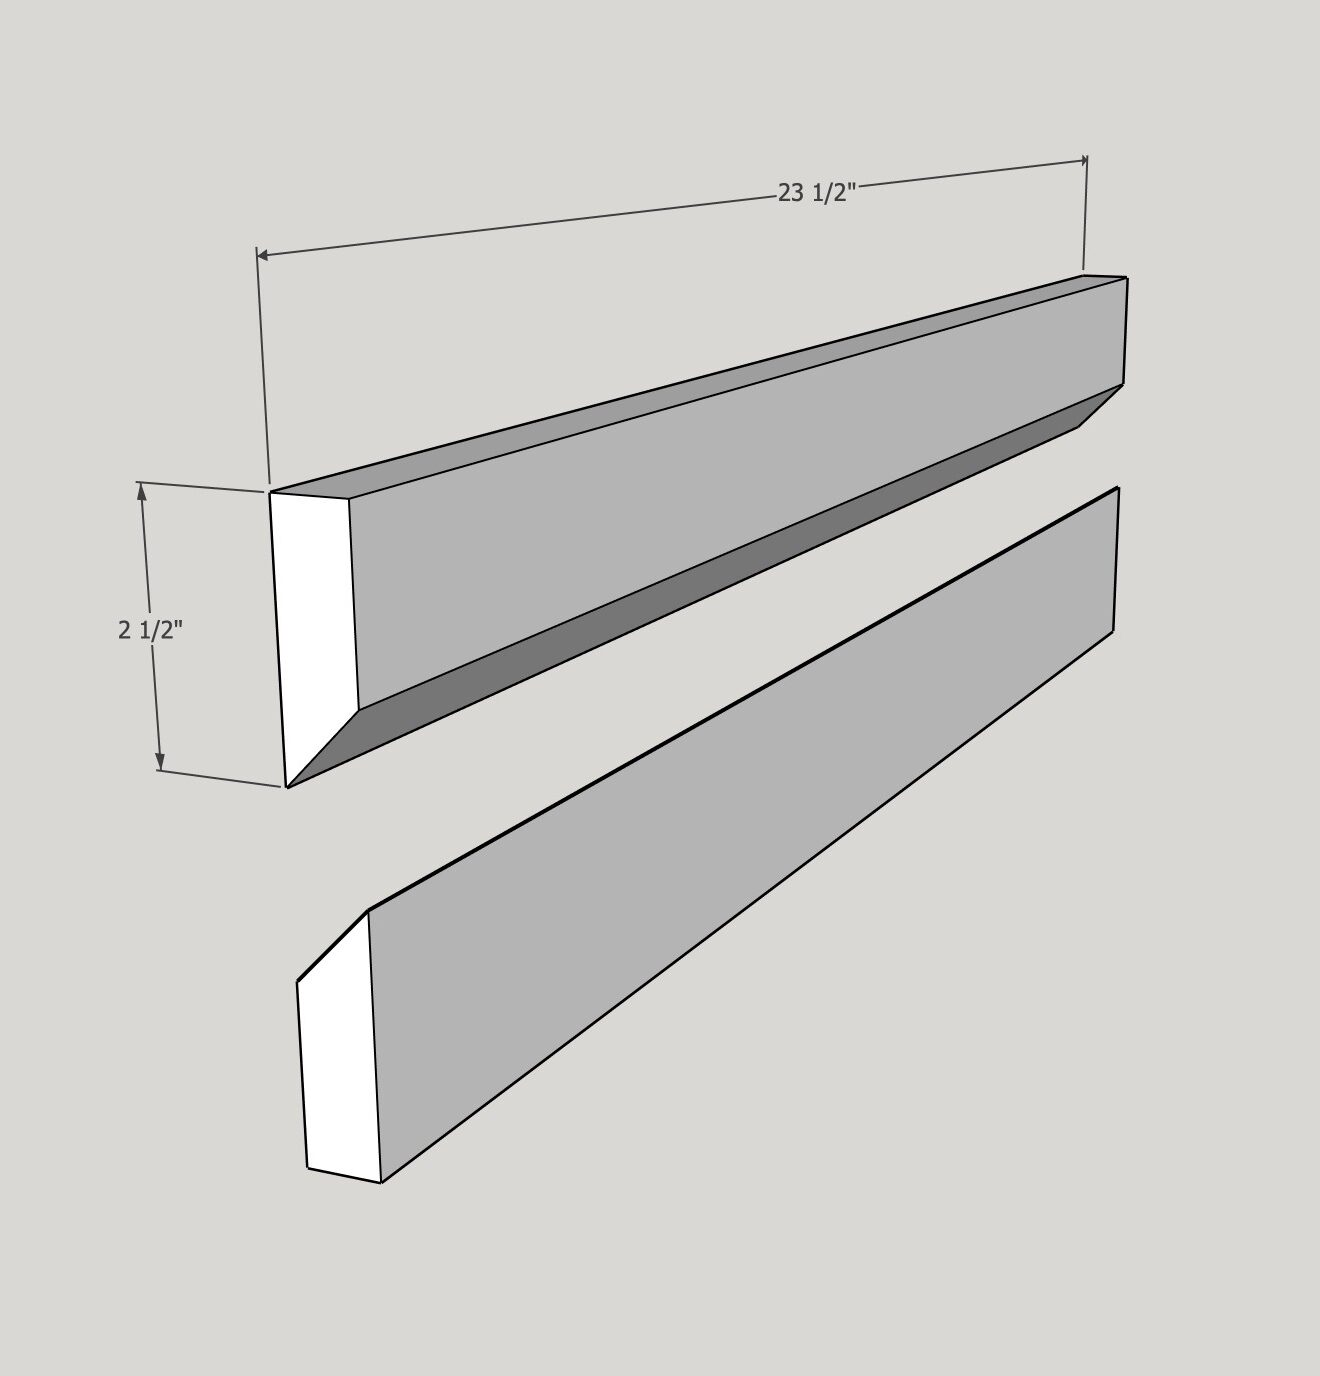
Cut a piece of 3/4" thick wood to fit the inside width of your cabinet's rear recess. Rip it in half down the middle at a 45 degree angle. This is called a French cleat.
-
17
Take the top half of the cleat and drill pocket holes along its top and side edges.
Fasten it securely to the underside of the top panel and into the side panels inside that 3/4" rear recess using pocket hole screws, ensuring the angled point faces down and toward the front of the cabinet.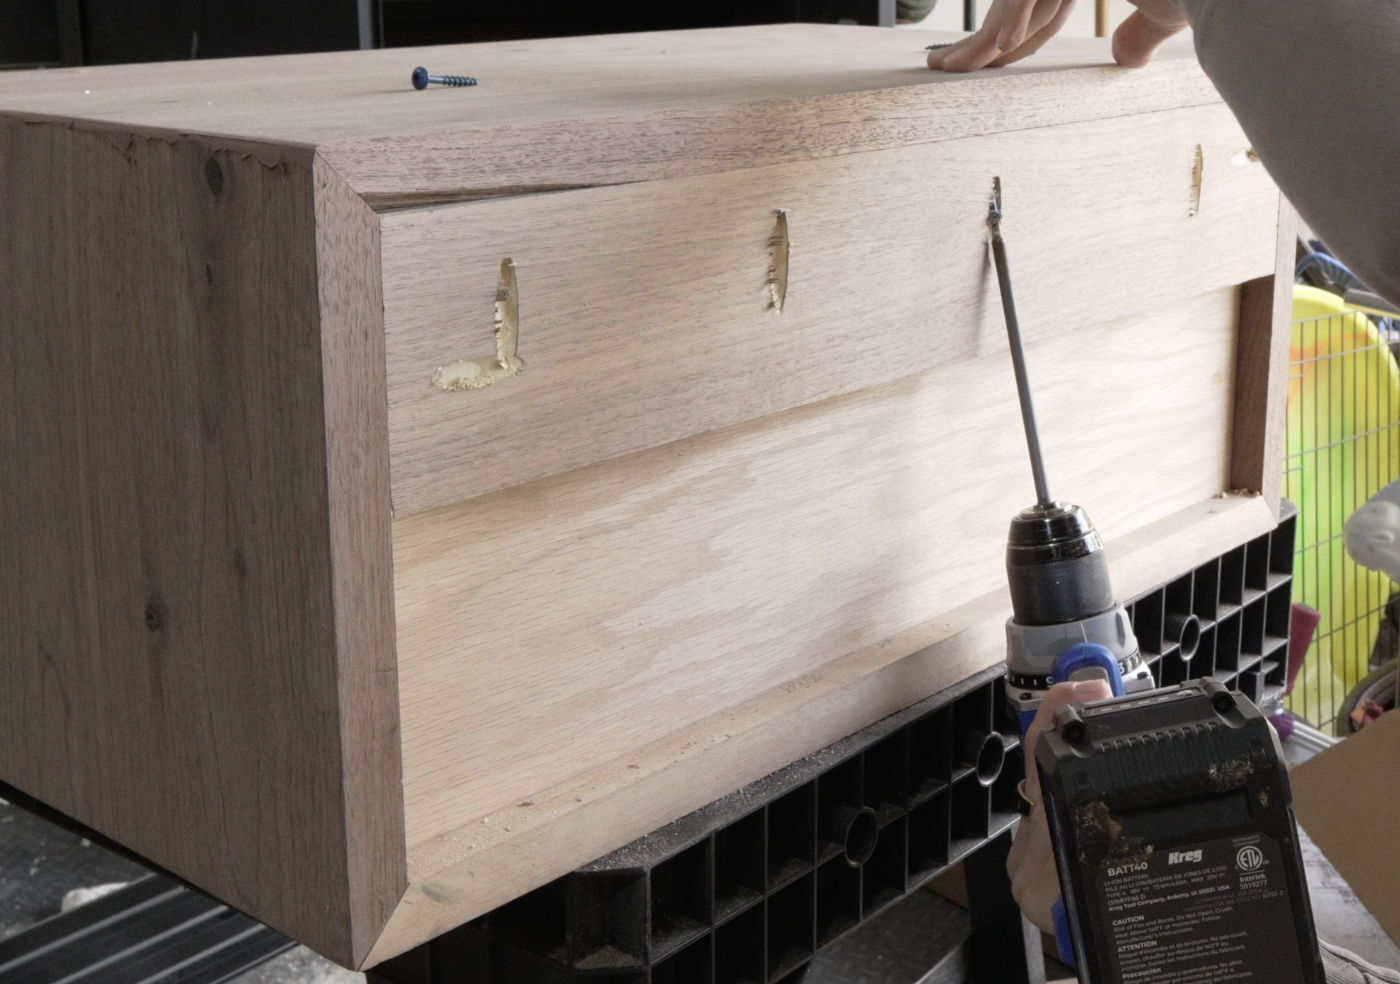
-
18
Sand the solid walnut cabinet.
When sanding the burl drawer front, use a very light touch so you do not accidentally sand through the thin veneer layer. Wipe the entire piece down with a tack cloth or a rag lightly dampened with mineral spirits to remove all dust before finishing. -
19
Warning: If using oil, lay rags flat outside to dry
If using RMP finishes's Half + Half like I did, flood the surface and let it soak in for 20 to 40 minutes.
Monitor the highly porous burl veneer, if dull spots appear, apply more oil. Once the wood stays evenly wet, vigorously buff the entire piece completely dry with a clean cotton cloth. Wait 24 hours and repeat for 1 to 3 more coats until fully saturated.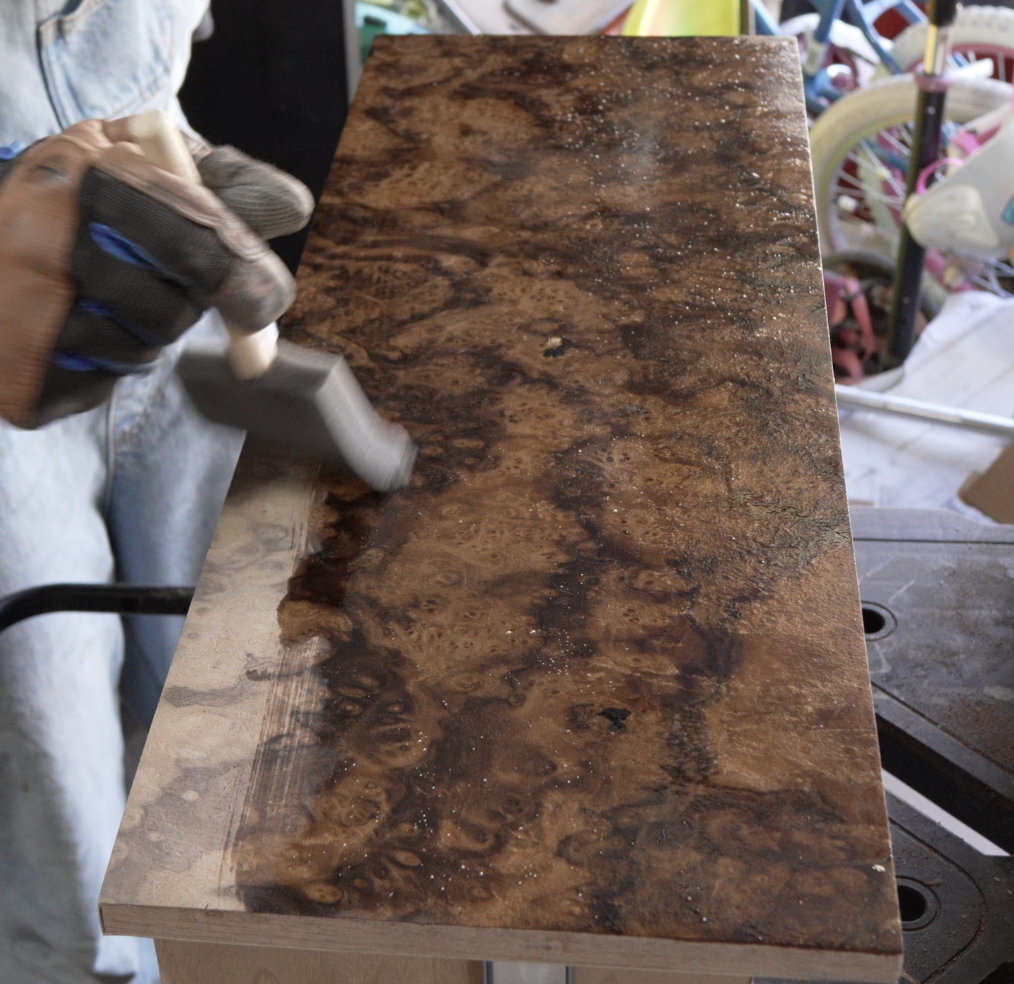
-
20
Drill holes for your hardware using the Kreg Jig.
-
21
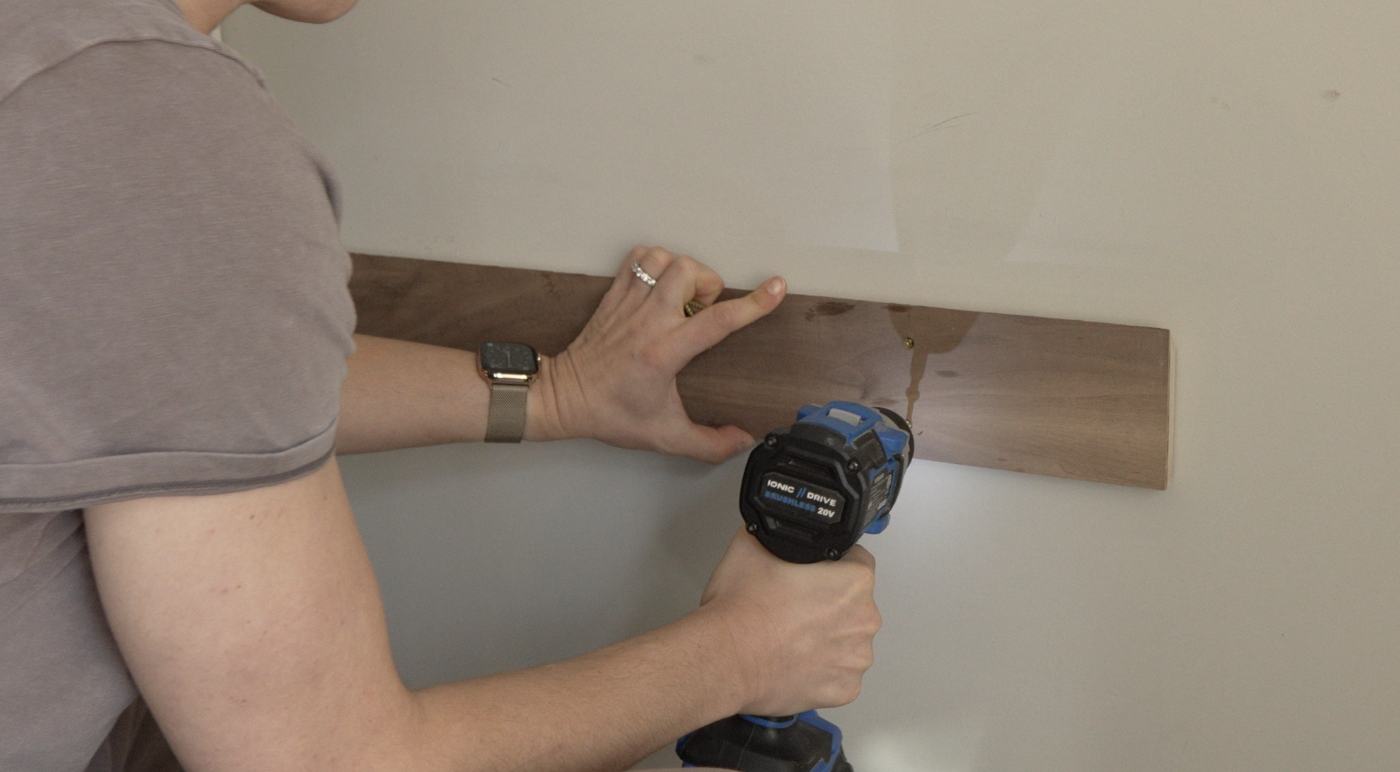
Once the finish is fully cured, locate the studs in your bedroom wall.
Take the bottom half of your French cleat and screw it directly into the wall studs, ensuring it is perfectly level.
The 45 degree angled edge should point up and away from the wall. Finally, lift the nightstand and slide the two halves of the cleat together to lock the cabinet safely in place on the wall.