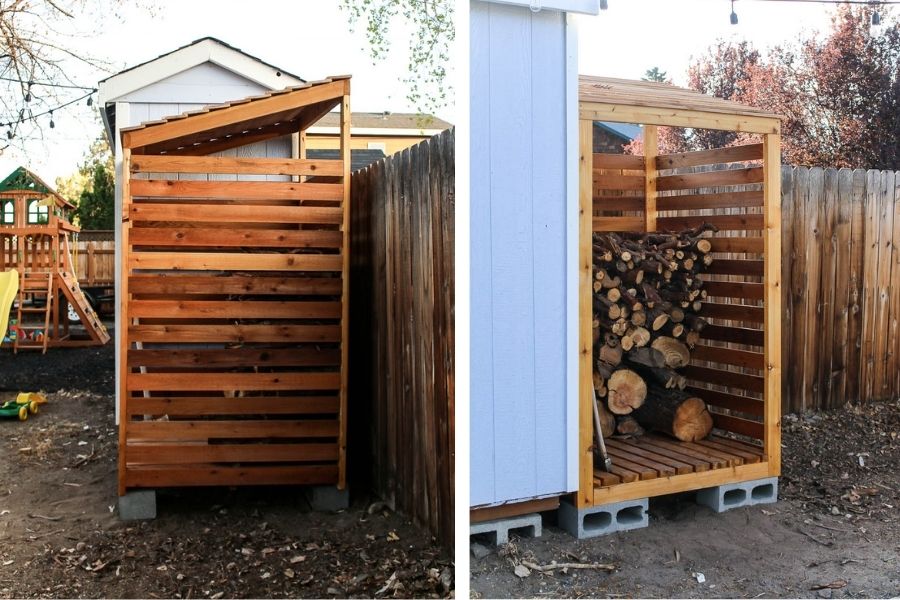
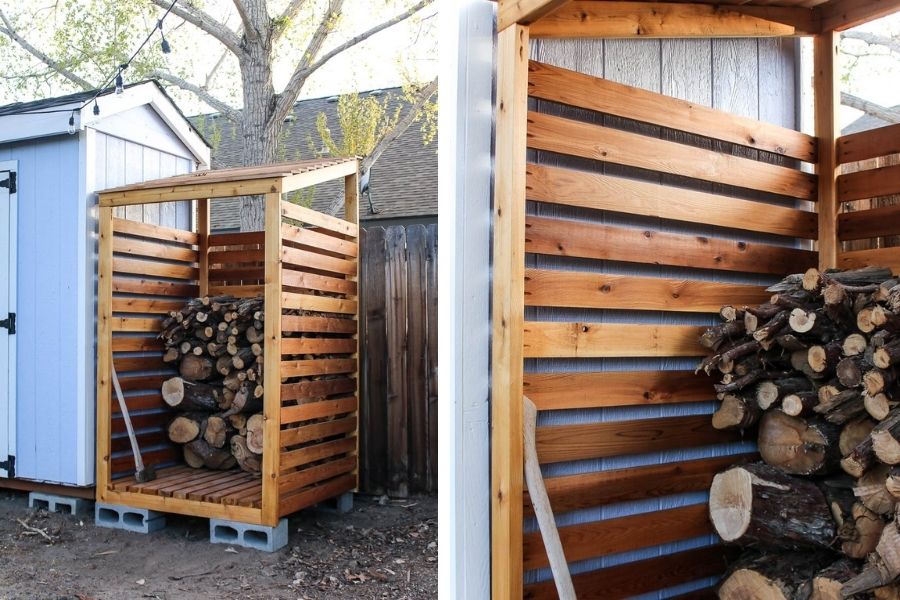
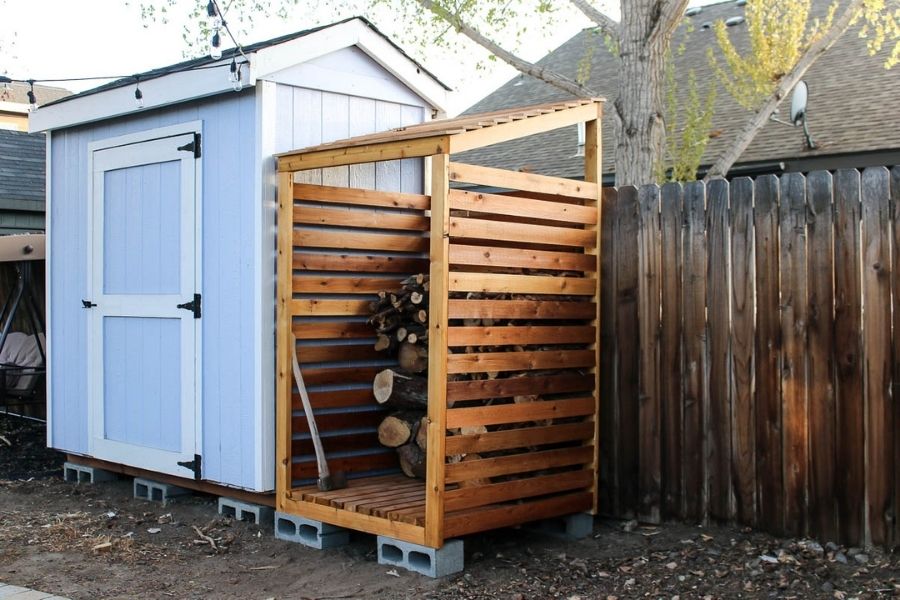
Firewood Storage Rack
By Making ManzanitaGet your firewood covered and organized in your background with this gorgeous outdoor firewood storage rack. This fun build incorporates pocket-hole joinery and simple cuts so it is perfect for beginners. Customize the finished product by staining, painting or leaving it natural.
Directions
-
Cut wood.
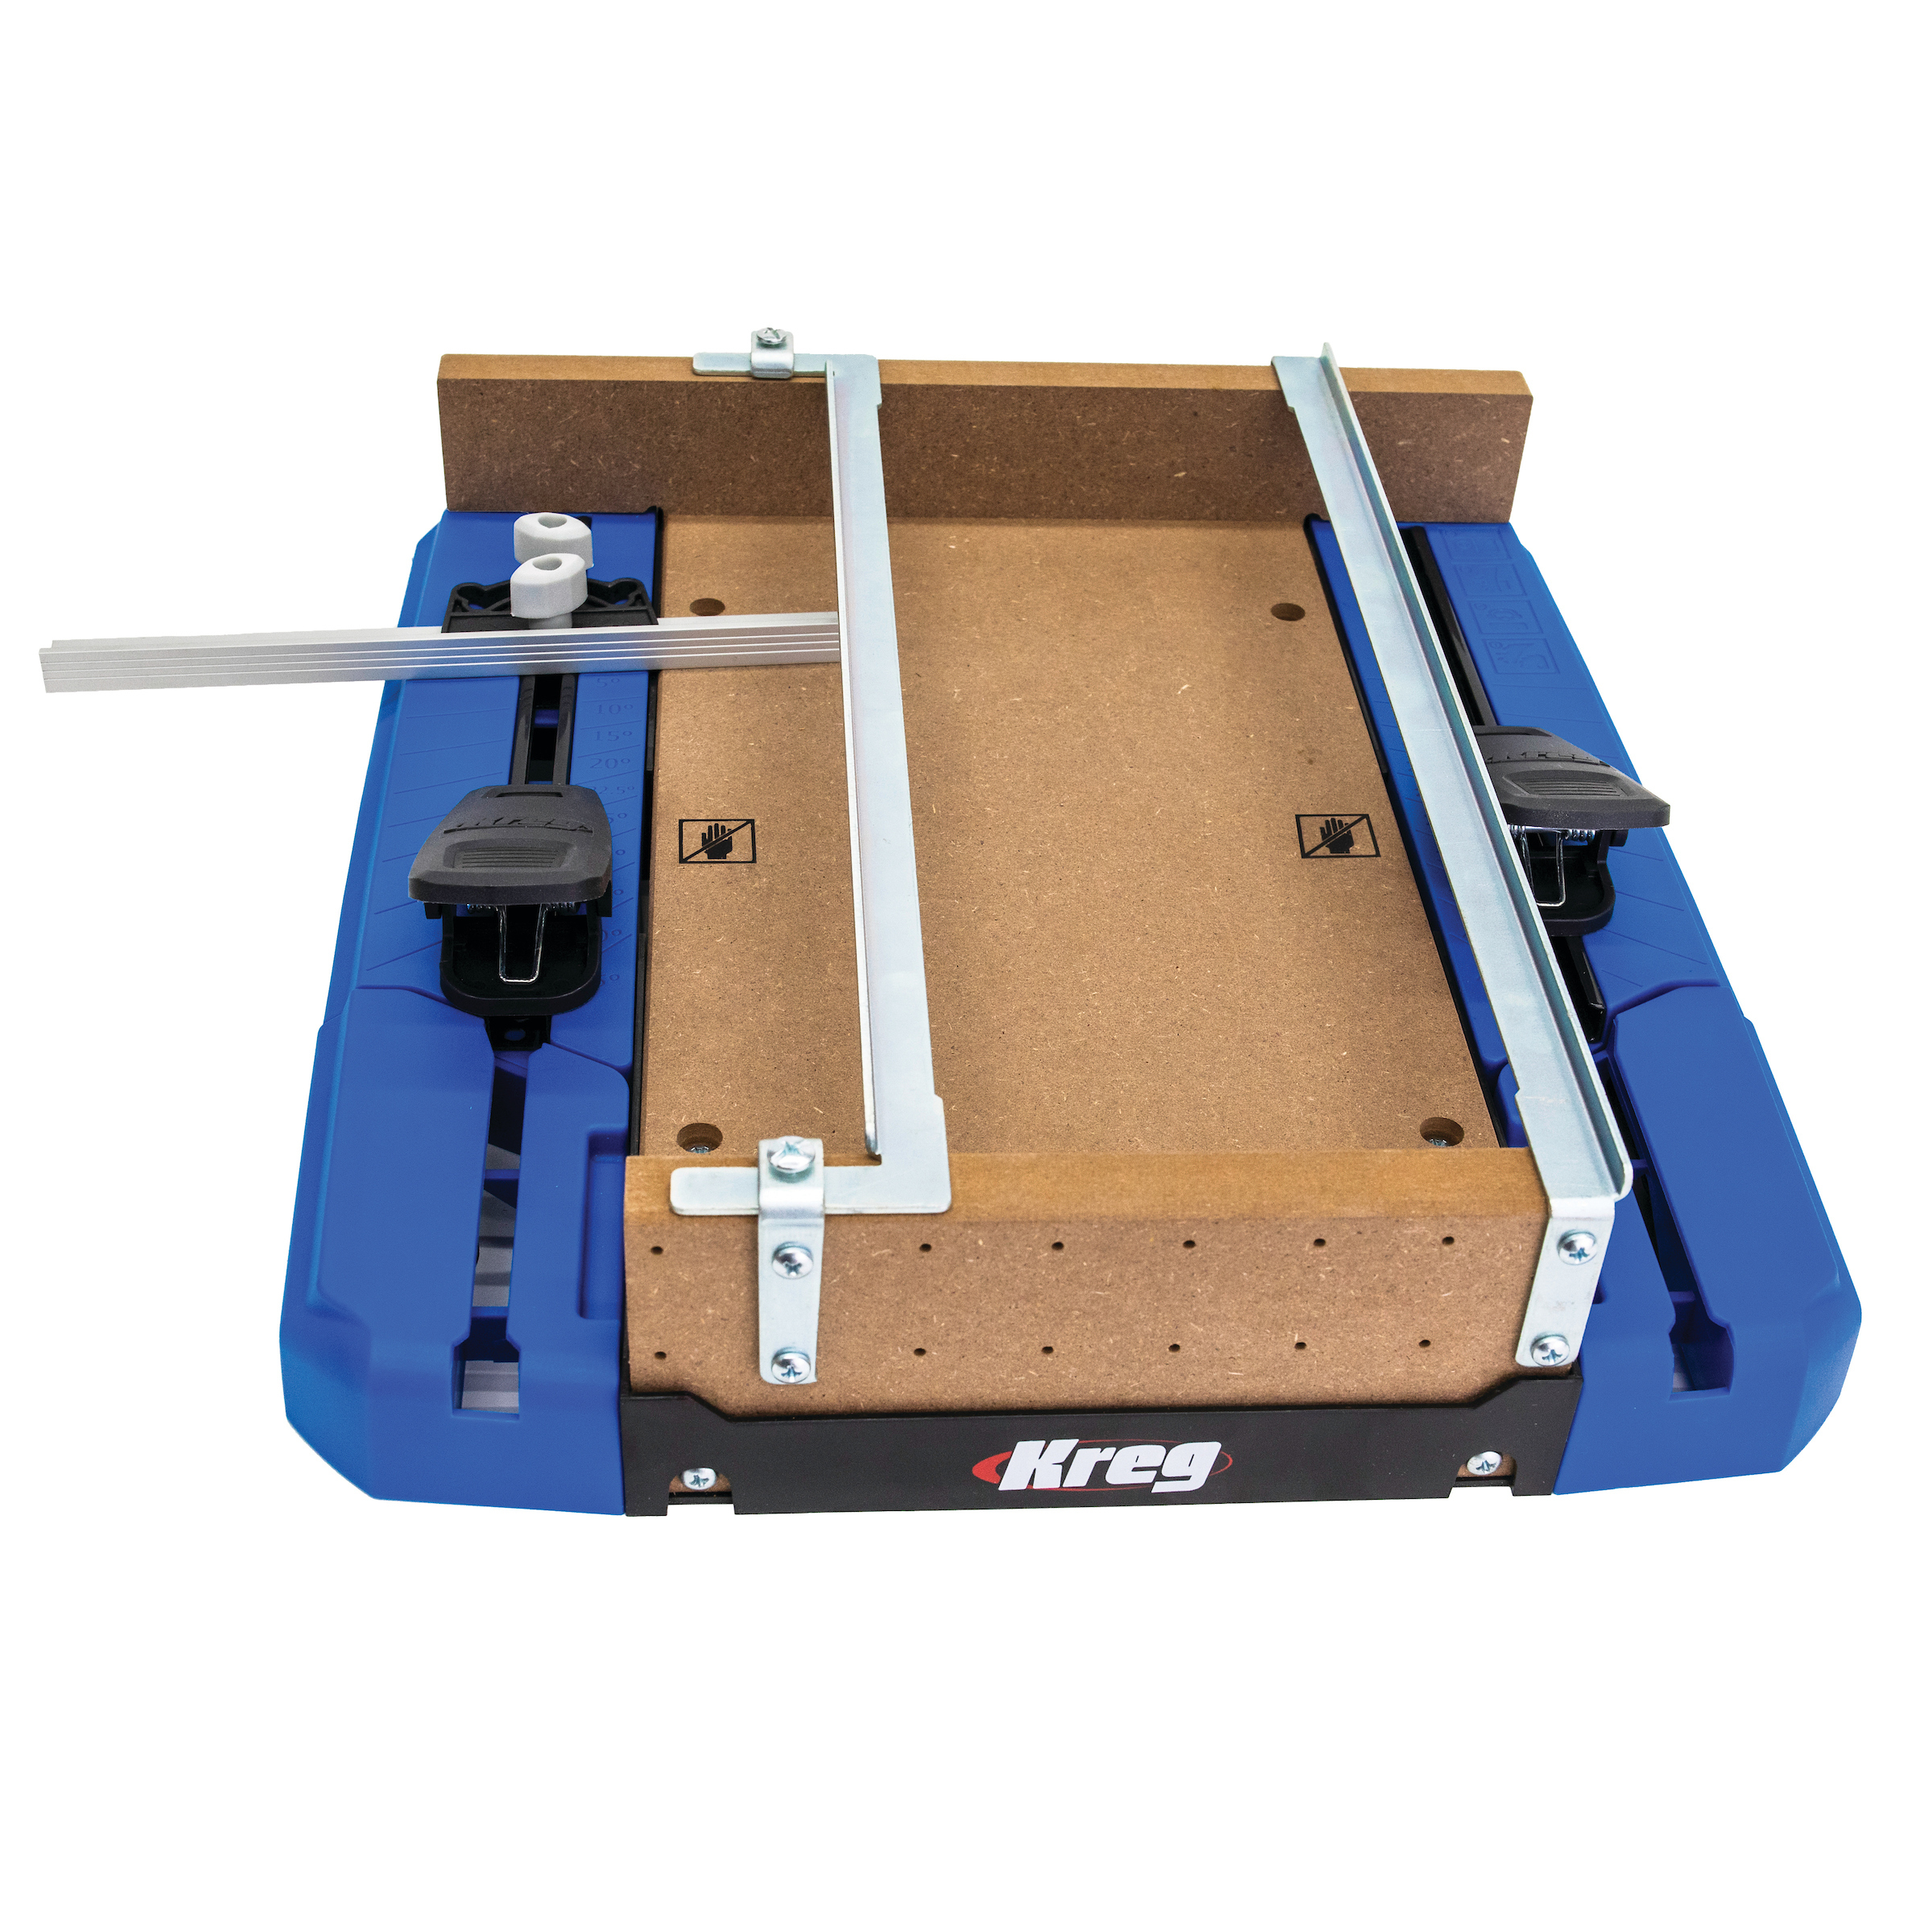
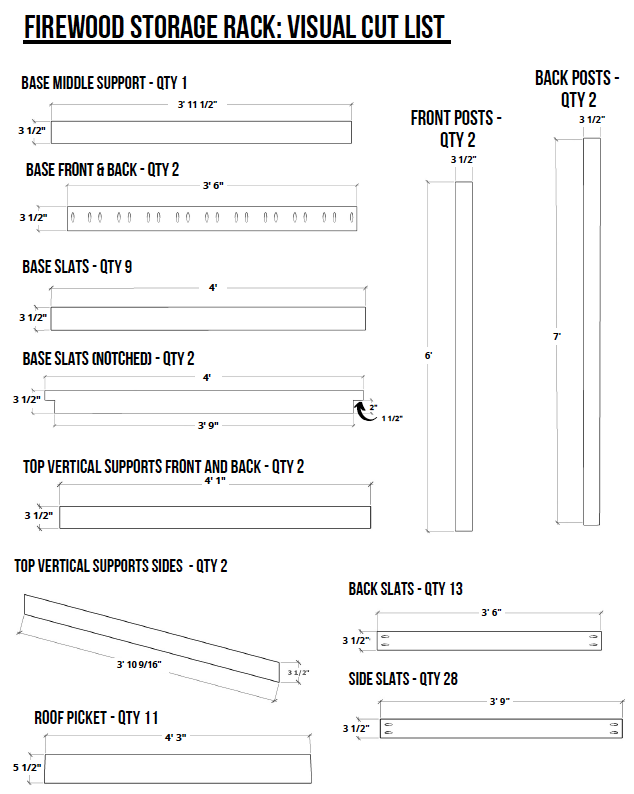
Cut wood according to the cut list and woodworking plans with either a miter saw or Kreg’s cutting station & circular saw.
-
Drill pocket holes.
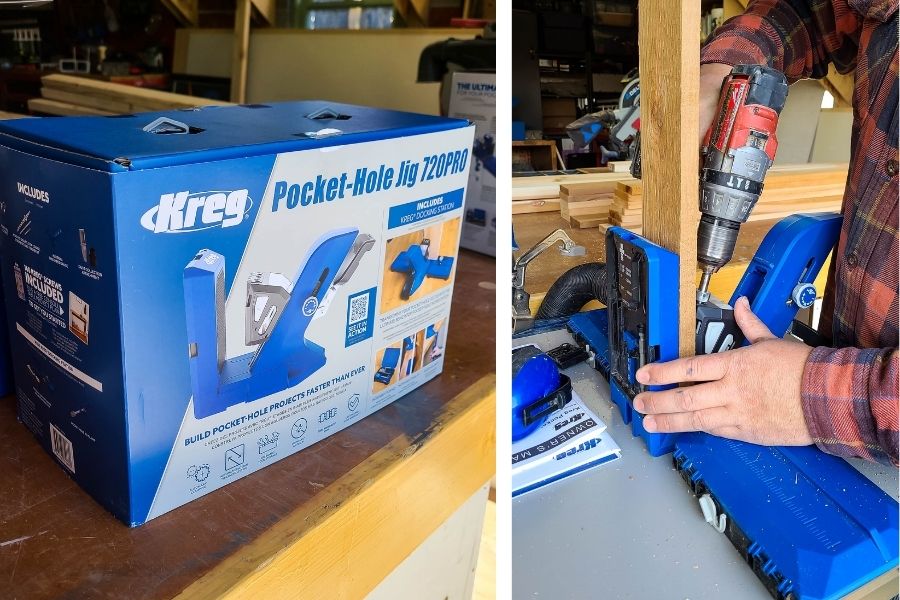
Drill pocket holes as shown in the woodworking plans. We used the 720 Pro pocket hole jig.
-
Assemble base and sides.
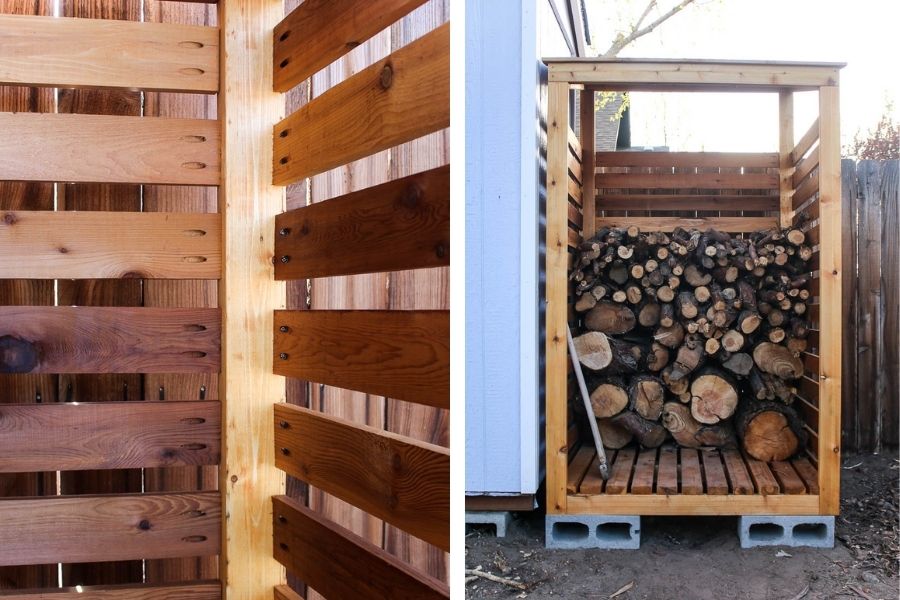
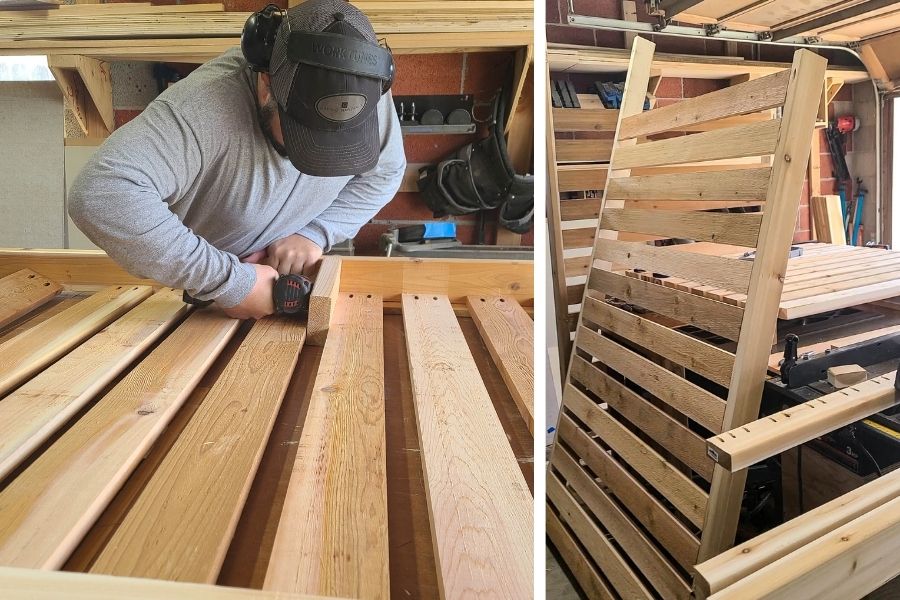
Assemble base and side panels as shown in the woodworking plans.
-
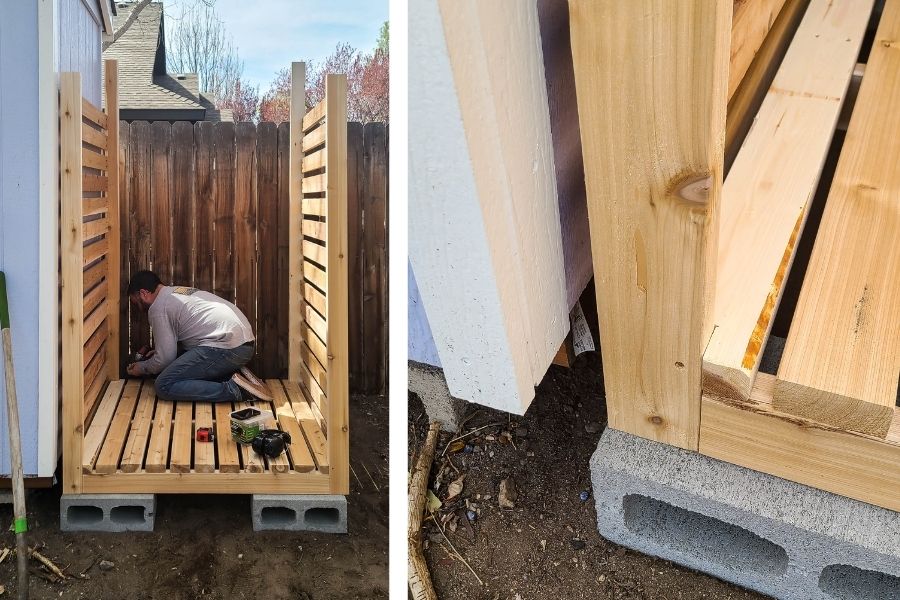
Level ground and add cinder blocks.
Clear the area in your yard where the firewood storage rack will go and level ground as flat as possible. Add 4 cinder blocks to go under the base of the rack (one in each corner), which will keep the wood off of the ground.
-
Attach base, side panels and back slats.
Gently place the base on top of the cinder blocks and attach each side panel individually, attaching at the base with 2 ½” construction screws. Next, add the vertical supports connecting the 2 side panels on the top in the front and the back. Then, add the vertical supports to the sides along the angle of the roof line. To do this, hold a 2x4 up to the top of the side panel and draw some lines where the posts are and cut with circular saw or miter saw. Lastly, add slats to the back, attaching the pocket holes to the posts.
-
Stain or paint (optional)
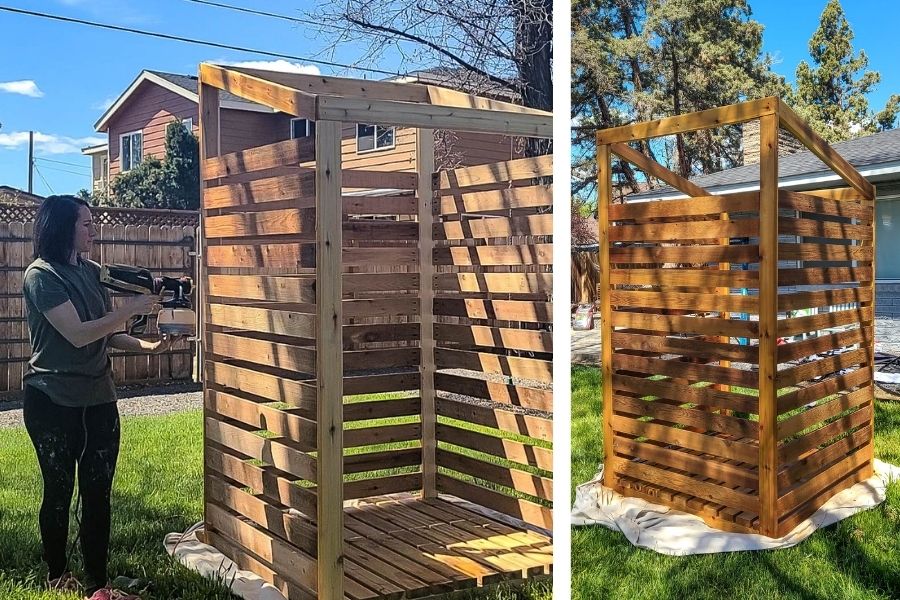
Since this build uses cedar, you can leave the wood to age naturally if you prefer. Otherwise, stain or paint with color of your choice. We went with a natural cedar exterior stain and applied with our paint sprayer, which helped get it in between the slats and in all the nooks and crannies of the pocket holes.
-
Add roof.
Last, but not least, add the cedar fence pickets, stacked on the top for a roof. Attach from the top with 2” galvanized brad nails.


