

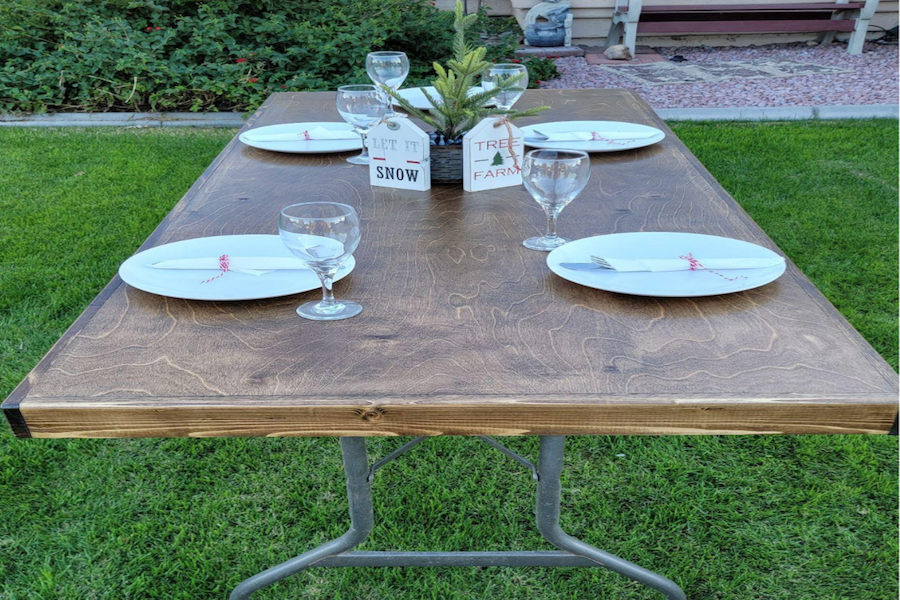


Quick easy Solution to convert your old 6’ plastic folding table into a rustic 6’ farm table just in
time for friends and family to enjoy it.
Tools
Kreg Tools


Other Tools
-
10” compound miter saw

Materials
Wood Products
- 1 Sheet of birch plywood , ½” x 4” x 8”
- 3 Premium Kiln-Dried Whitewood Common Boards , 1” x 3” x 8’
Hardware & Supplies
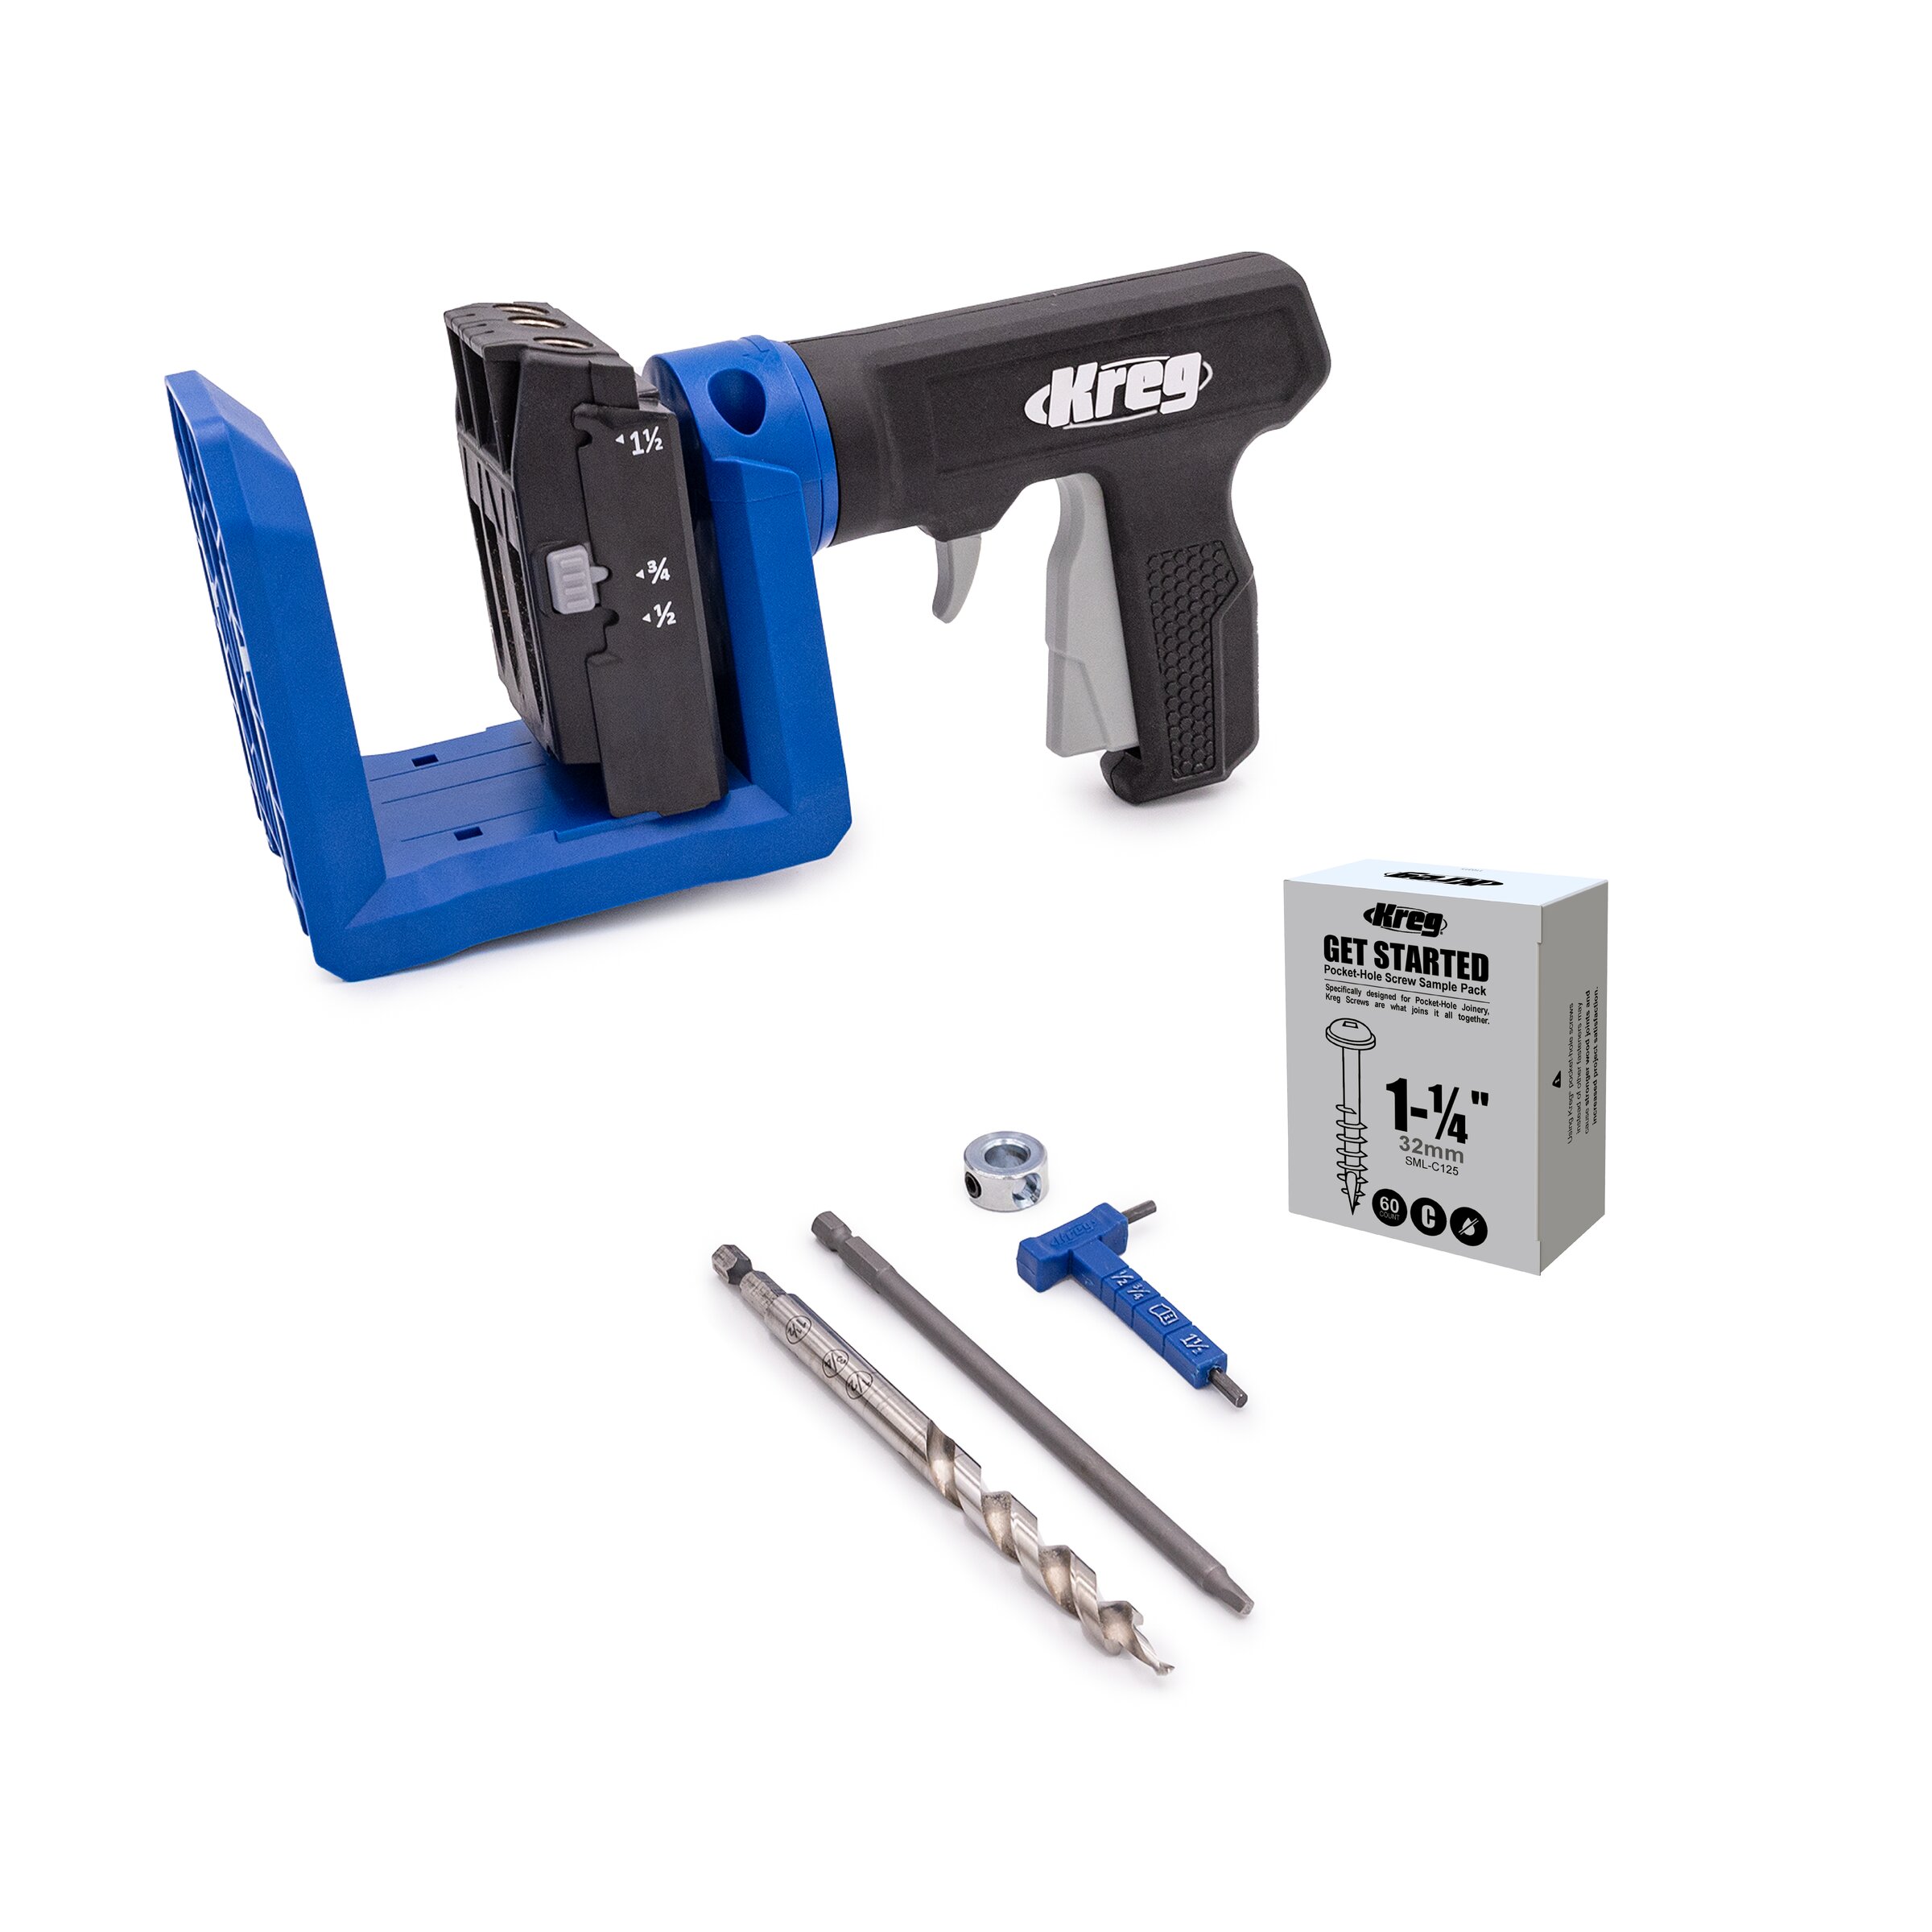
- 25 1" Pocket hole screws (See tools list)
Cut List & Parts
- 1 Birch Plywood , 72 ¼” x 30 ¼” x ½”
- 2 KD Whitewood , 3” x 1” @ 73 ¾”
- 2 KD Whitewood , 3” x 1” @ 30 ¼”


Directions
-
Break Down Plywood
Cut down ½” plywood sheet to fit your plastic folding table
top. Measure to confirm length and width. For a standard 6’ folding table, those dimensions are 72 x 30. But that is an exact dimension, we need to make sure our top slides over the plastic folding table, to ensure that we are adding ¼” to each dimension.Tip:
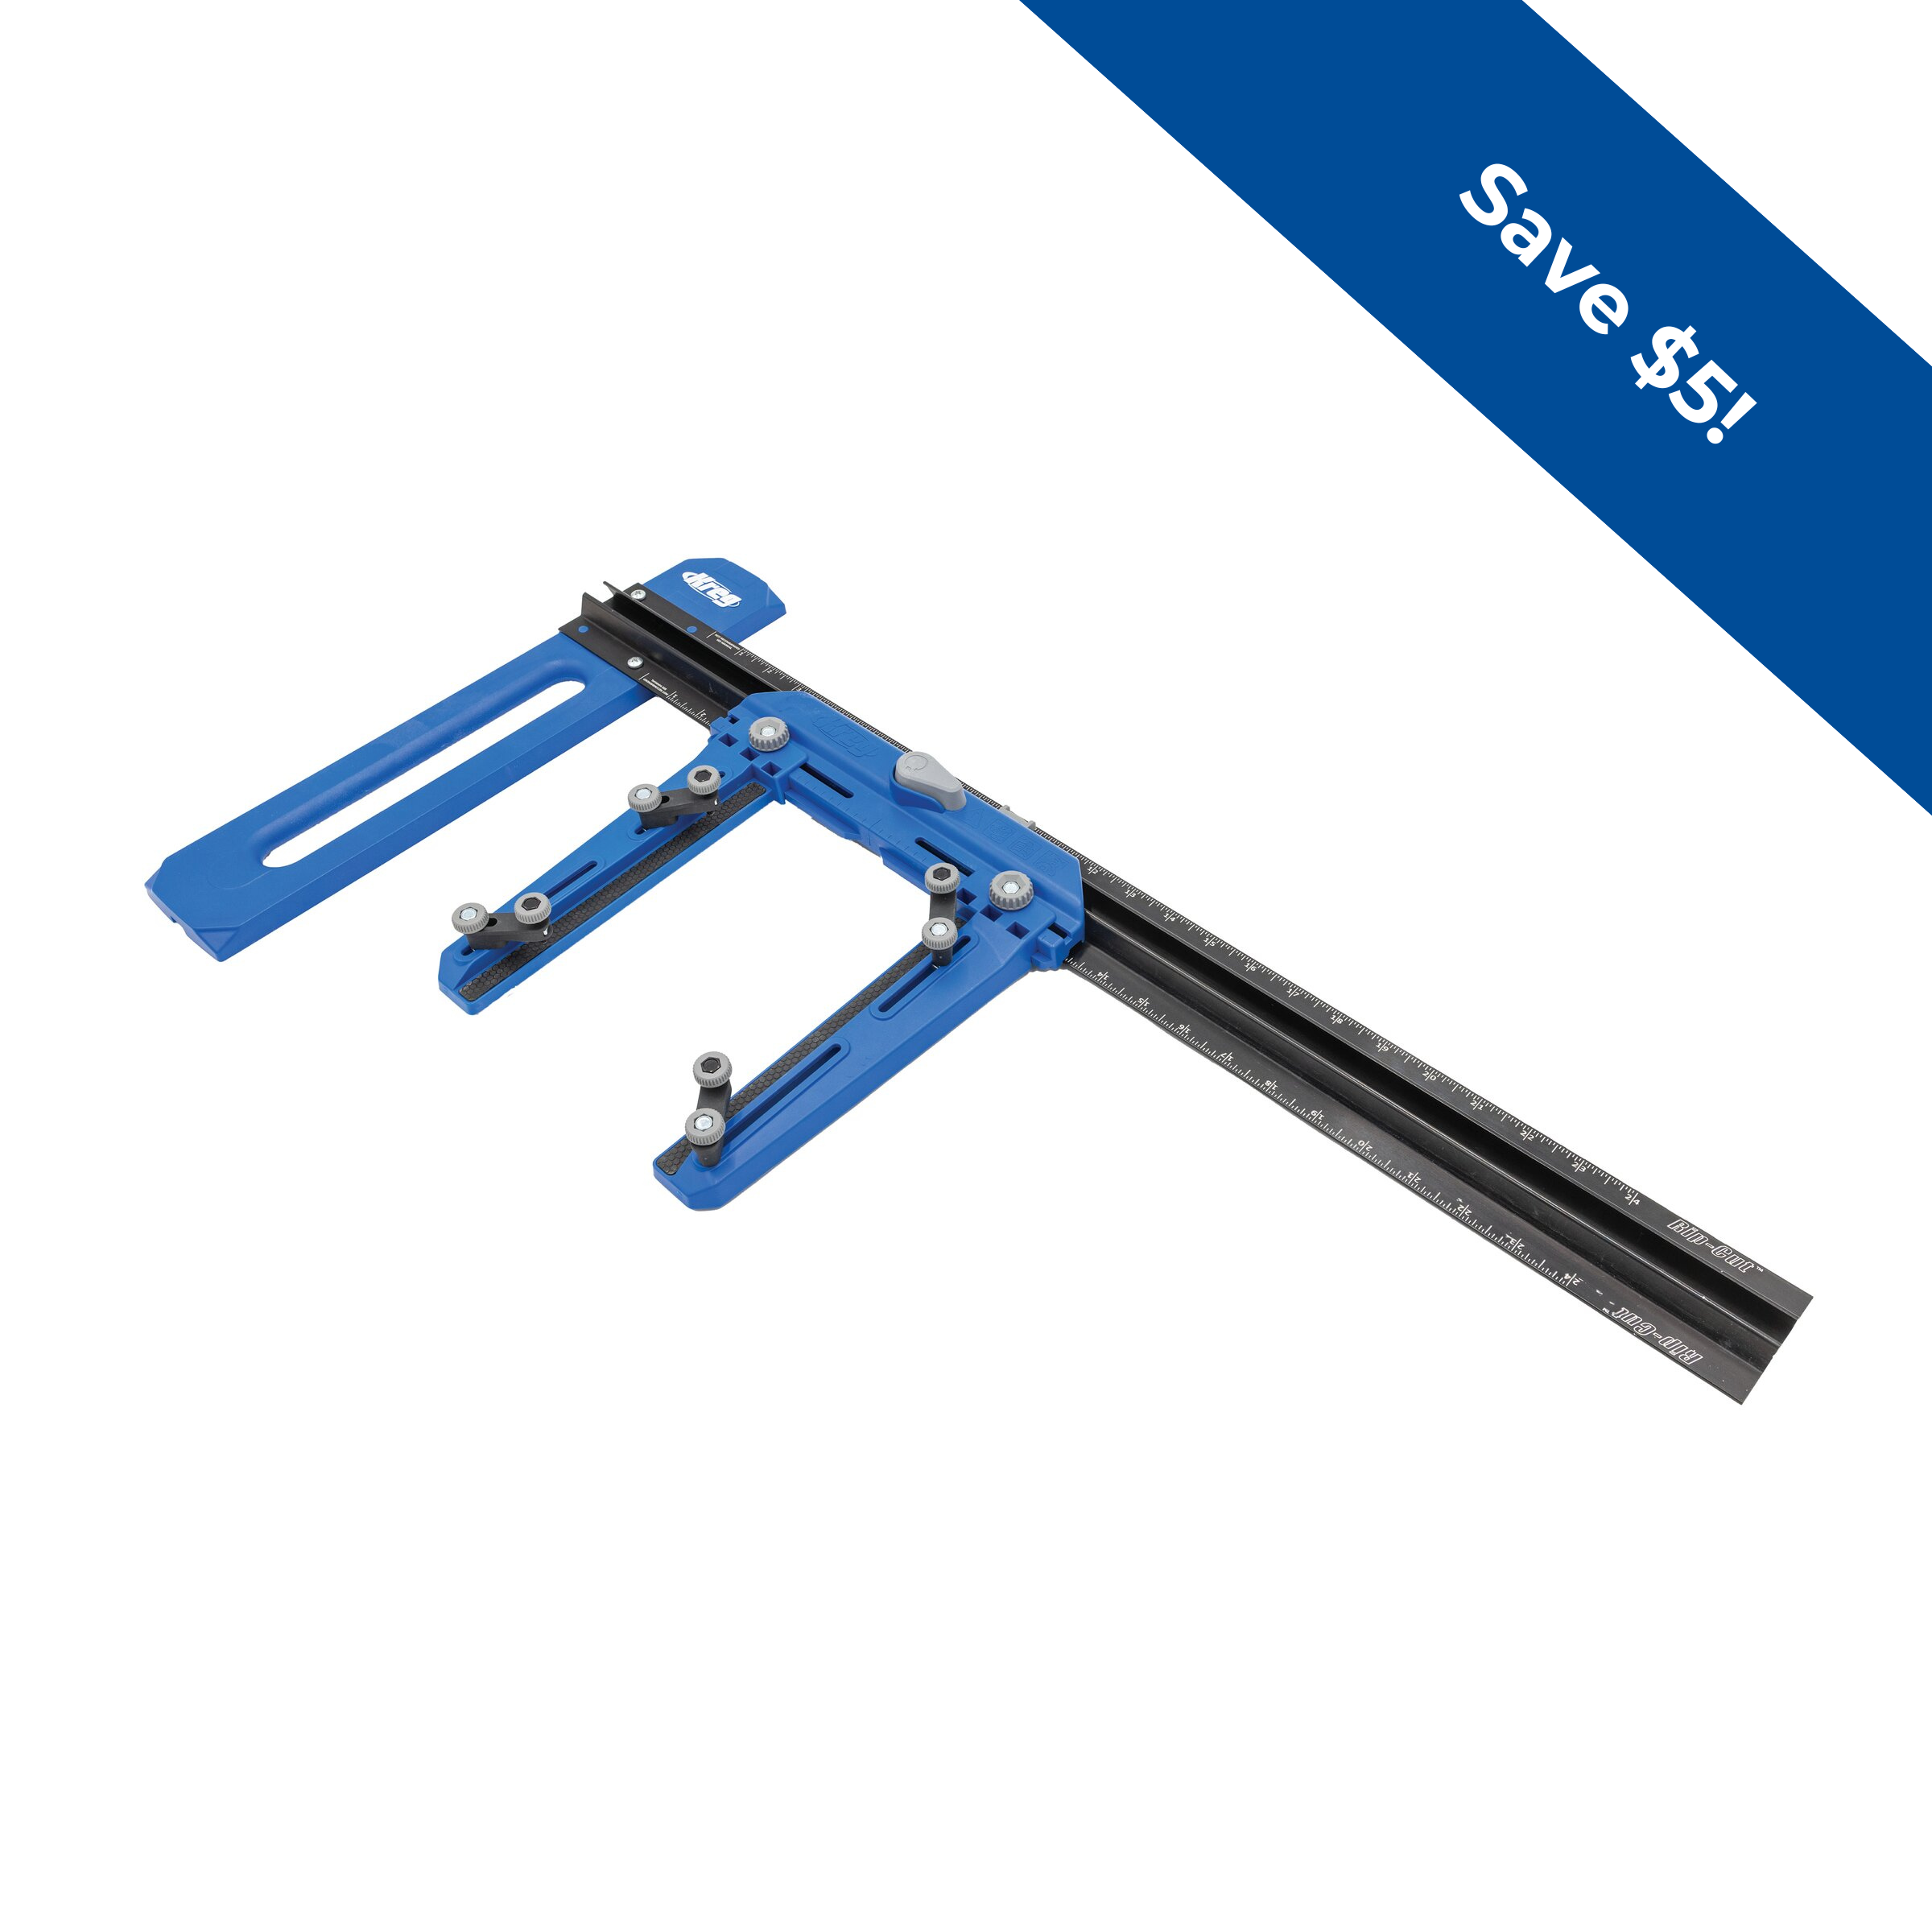
I made these cuts with the Kreg Rip-Cut w/ my circular saw as well as the Kreg Adaptive Cutting
System.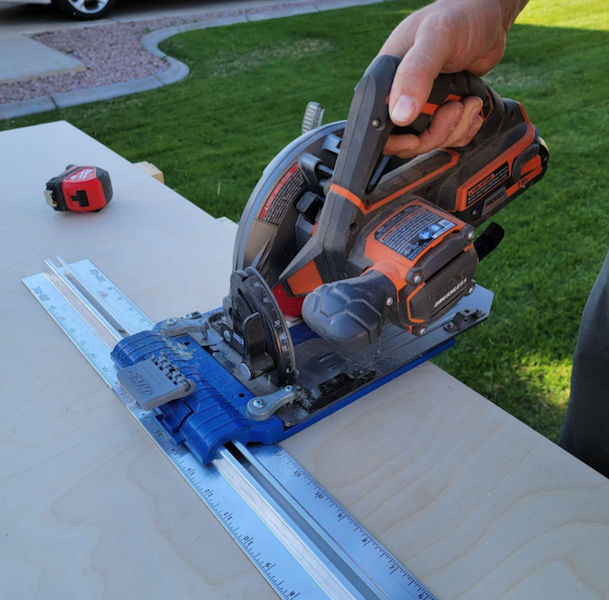
-
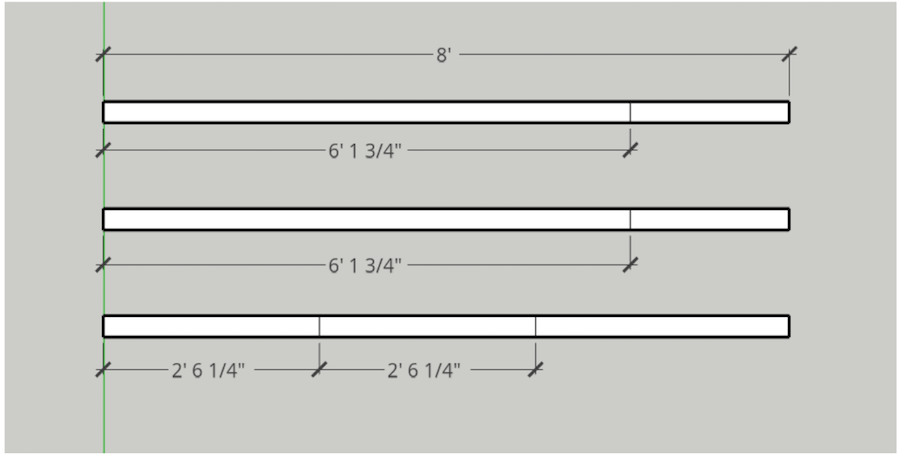
Break Down 1 x 3 for Assembly
We are starting with 03ea 1” x 3” x 8’ and here is
what we need for our standard 6’ folding table"2ea @ 73 ¾” - these pieces are for the long sides of our project - dimension of the ply top (72 ¼”) + ¾” at each end (1 ½” total).
2ea @ 30 ¼” - these will be the exact size of the width of the plywood top. The length will cap the ends.
-
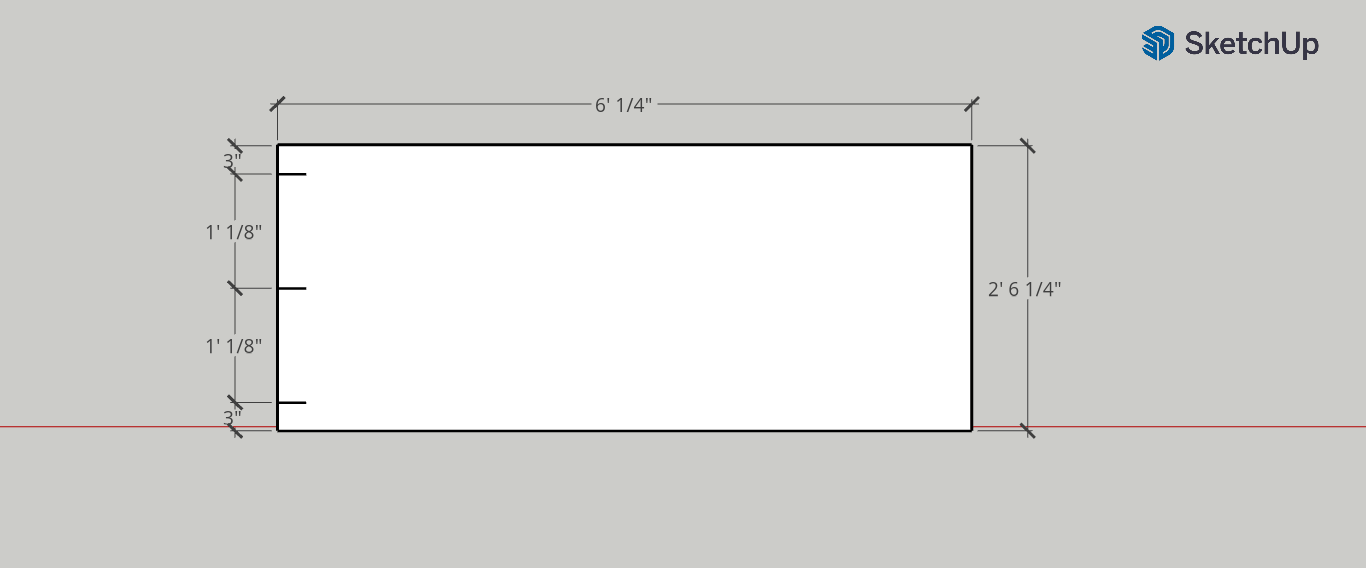
Prep the Top for Assembly
Set your Kreg pocket hole jig to ½” setting for the
plywood, drill 6ea pocket holes per the layout illustrated below.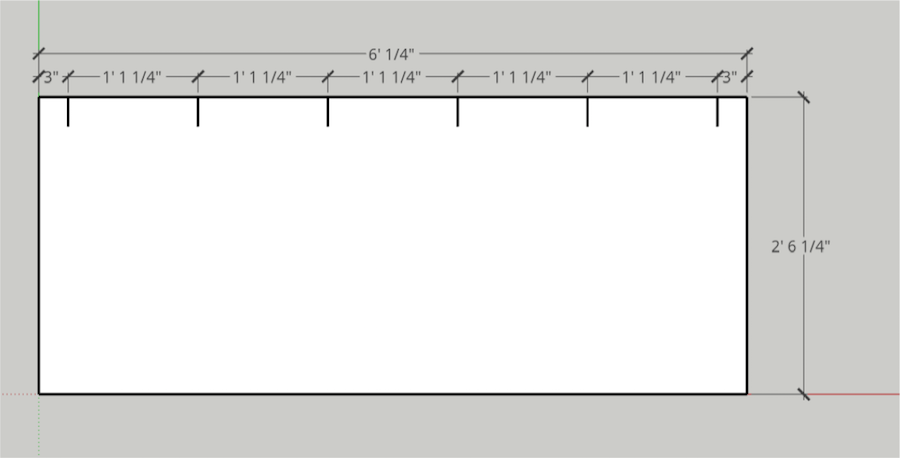
-
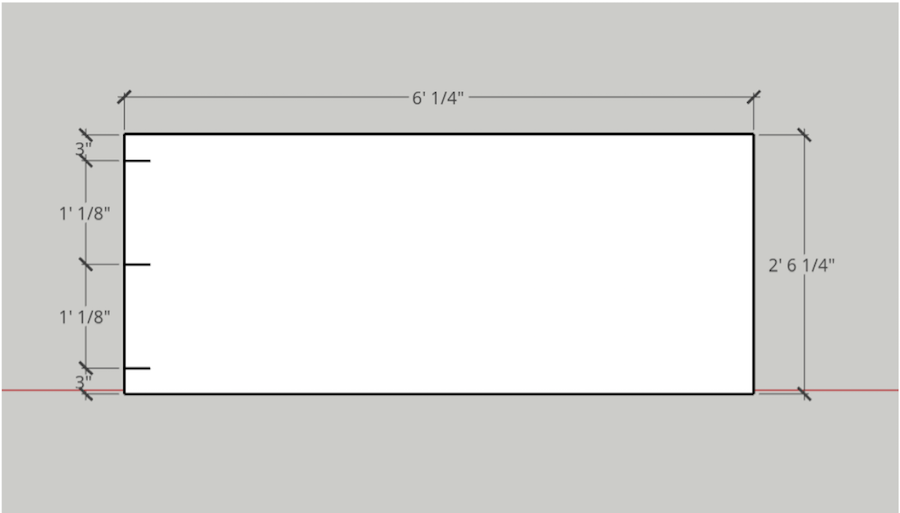
Add pocket-holes
Now we need to prep the ends of the plywood topper with 3 pocket holes per end.
-
Attach the 1 x 3” to the Plywood Topper
Start with the ends - Apply glue to the edge of
the plywood prior to attachment. Using 1” Kreg screw, attach the end to the top. Repeat the same step on the other end.
Once the 2 ends are attached to the topper, now we need to attach the sides using the same steps as the ends and the same 1” Kreg screws.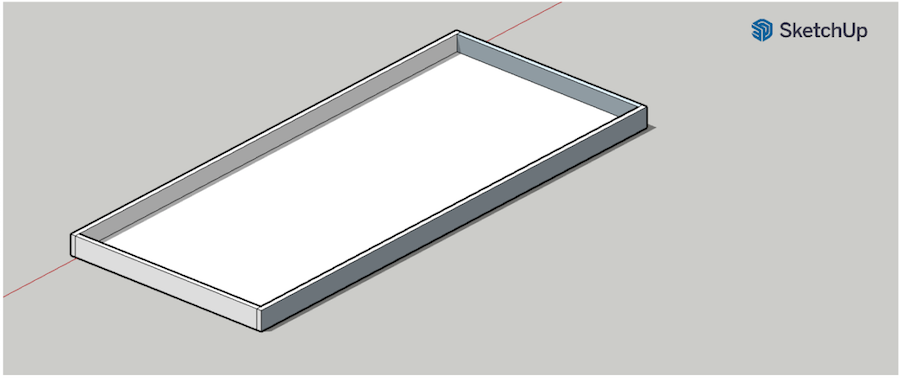
-
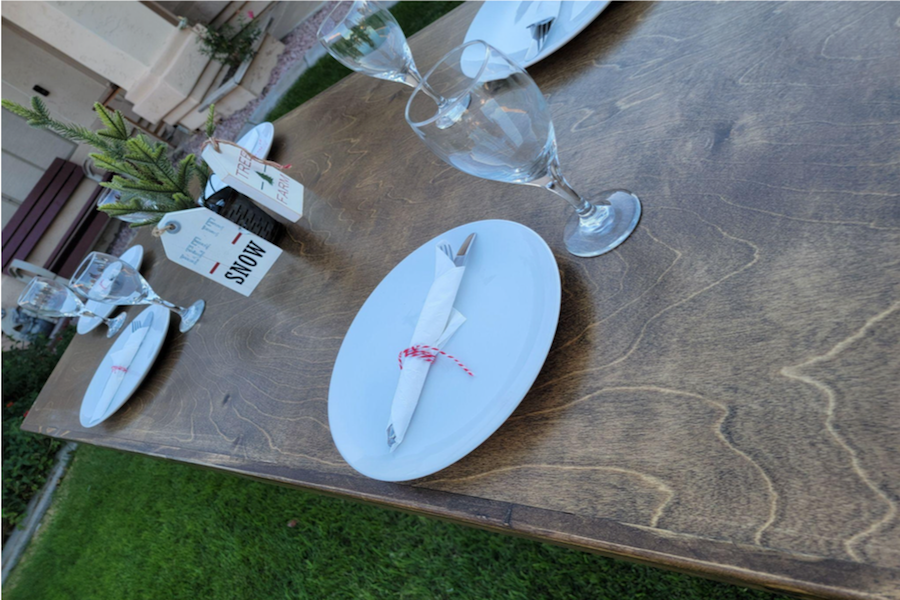
The Finish
Finish sand and finish the topper with your choice of finishes. I choose walnut stain and
clear satin poly acrylic.