Easy Weekend Privacy Pergola Beginner Friendly Plans
By Built by Bec Designs


Tired of having zero backyard privacy? You don't need to spend thousands of dollars or tackle a complicated build to create a secluded outdoor oasis. Thanks to a simple modular bracket system, building this DIY privacy pergola is basically like playing with giant adult Legos! Here are the exact step by step plans and a foolproof cut list so you can build this yourself this weekend—even if you are a total beginner.
Tools
Kreg Tools


Materials
Wood Products
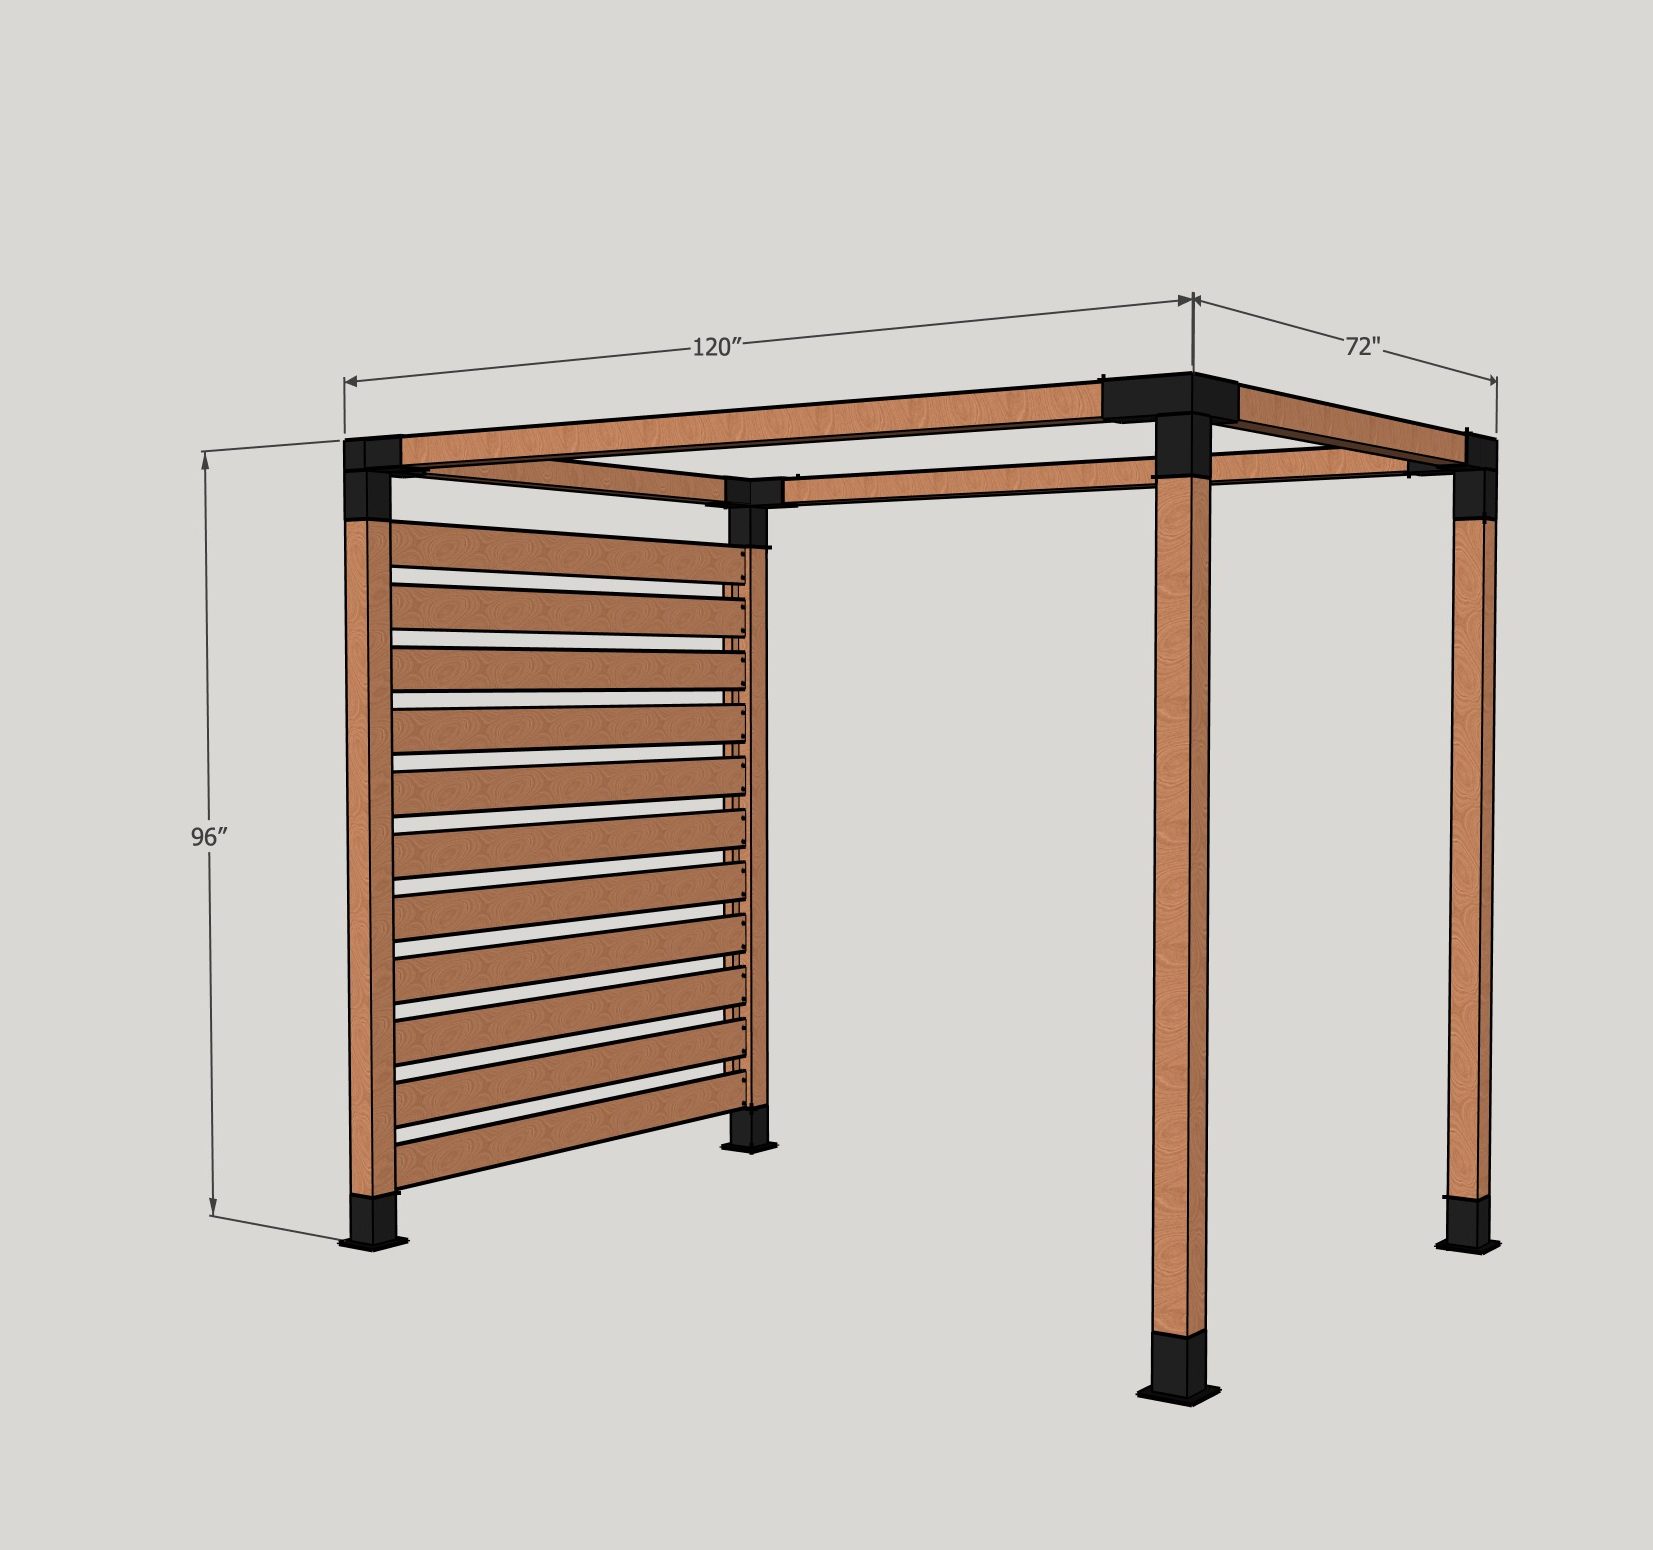
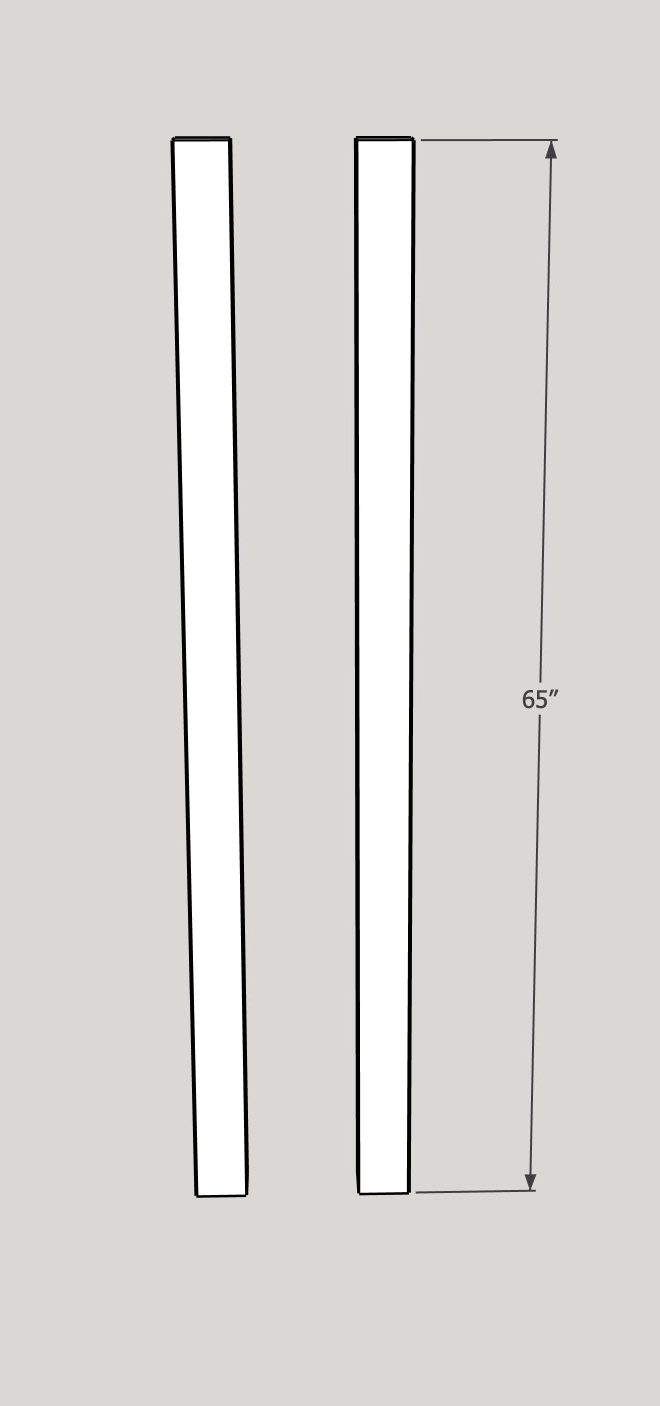
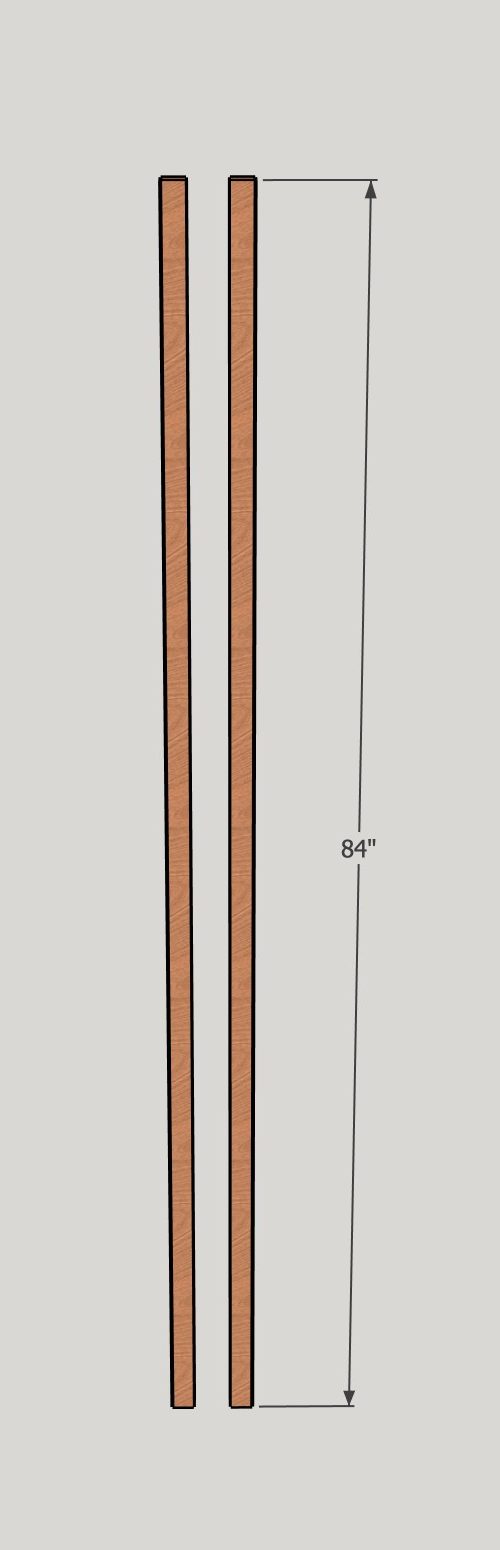
- 2 4x4x10' Pressure treated , 3.5" x 3.5" x 120"
- 6 4x4x8' Pressure treated , 3.5" x 3.5" x 96"
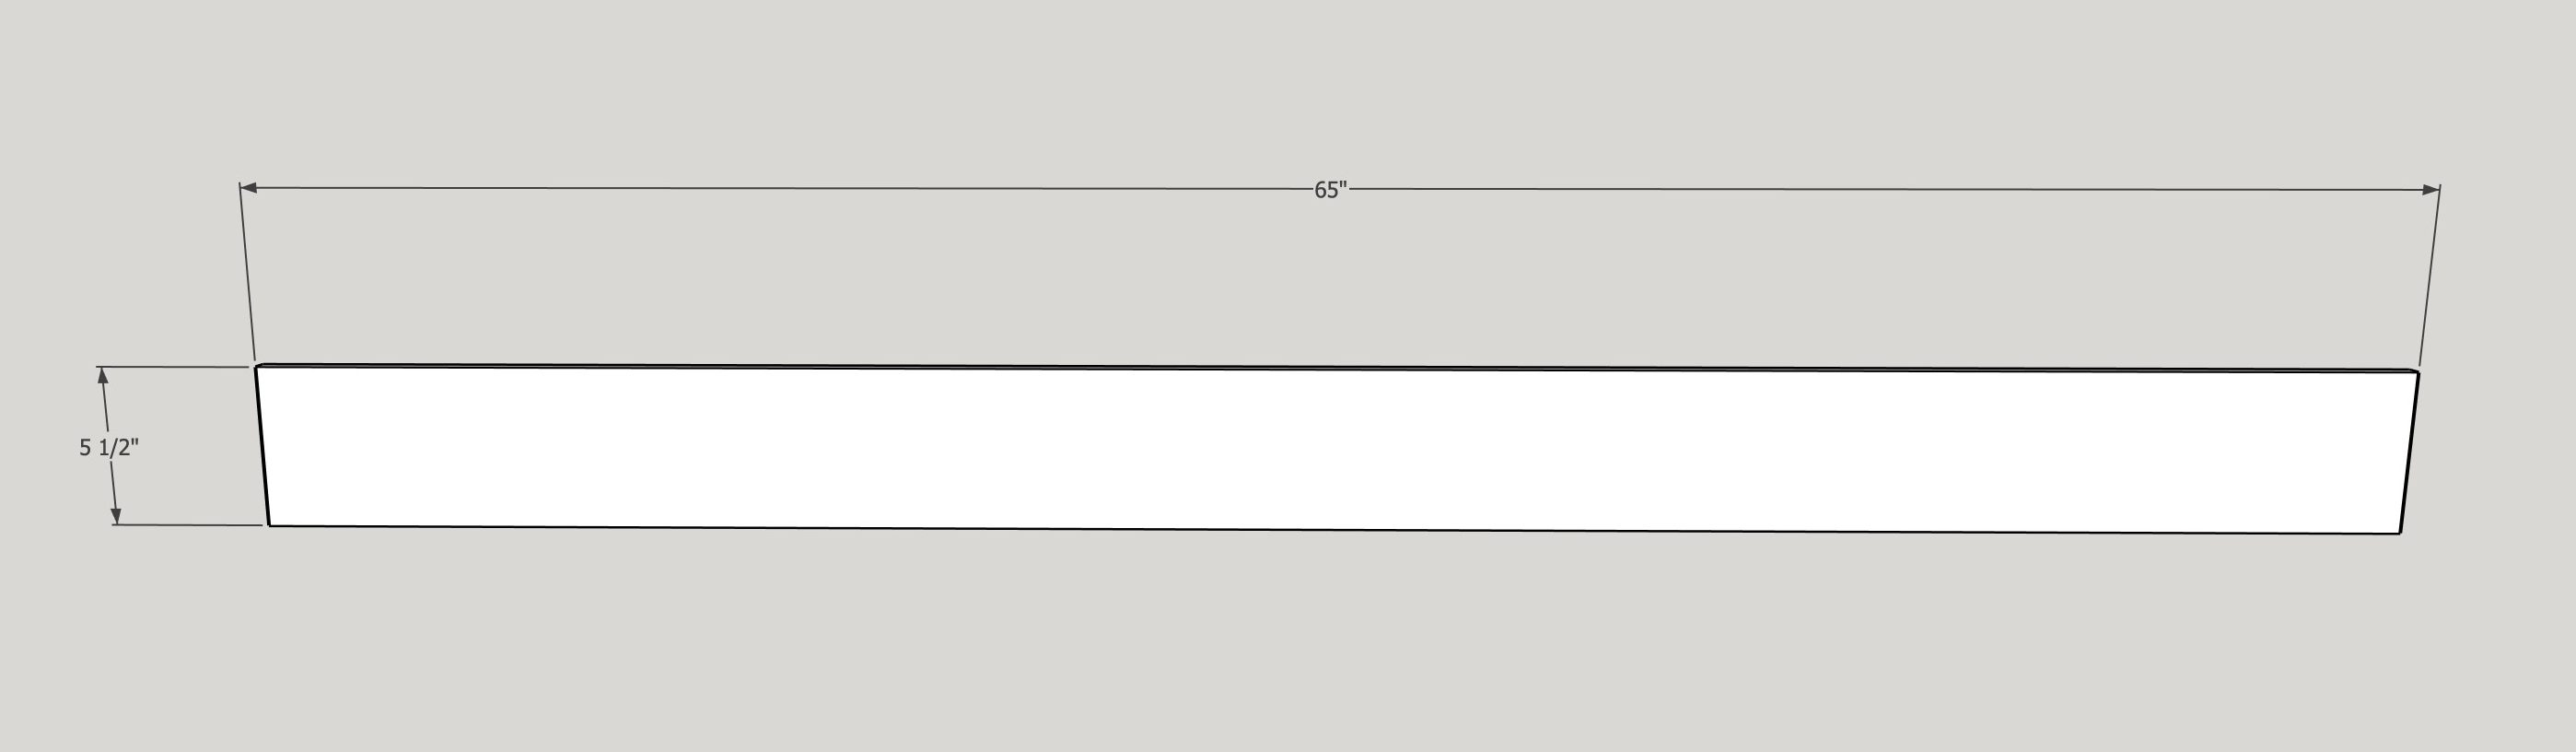
- 11 1x6x7' Cedar fence pickets , 5/8" x 5.5" x 72"
- 2 2x2x8' Pine boards , 1.5" x 1.5" x 96"
Hardware & Supplies
- 4 Metal 4x4 deck brackets (should come with screws)
- 4 Metal 4x4 pergola brackets with stiffeners (should come with screws)
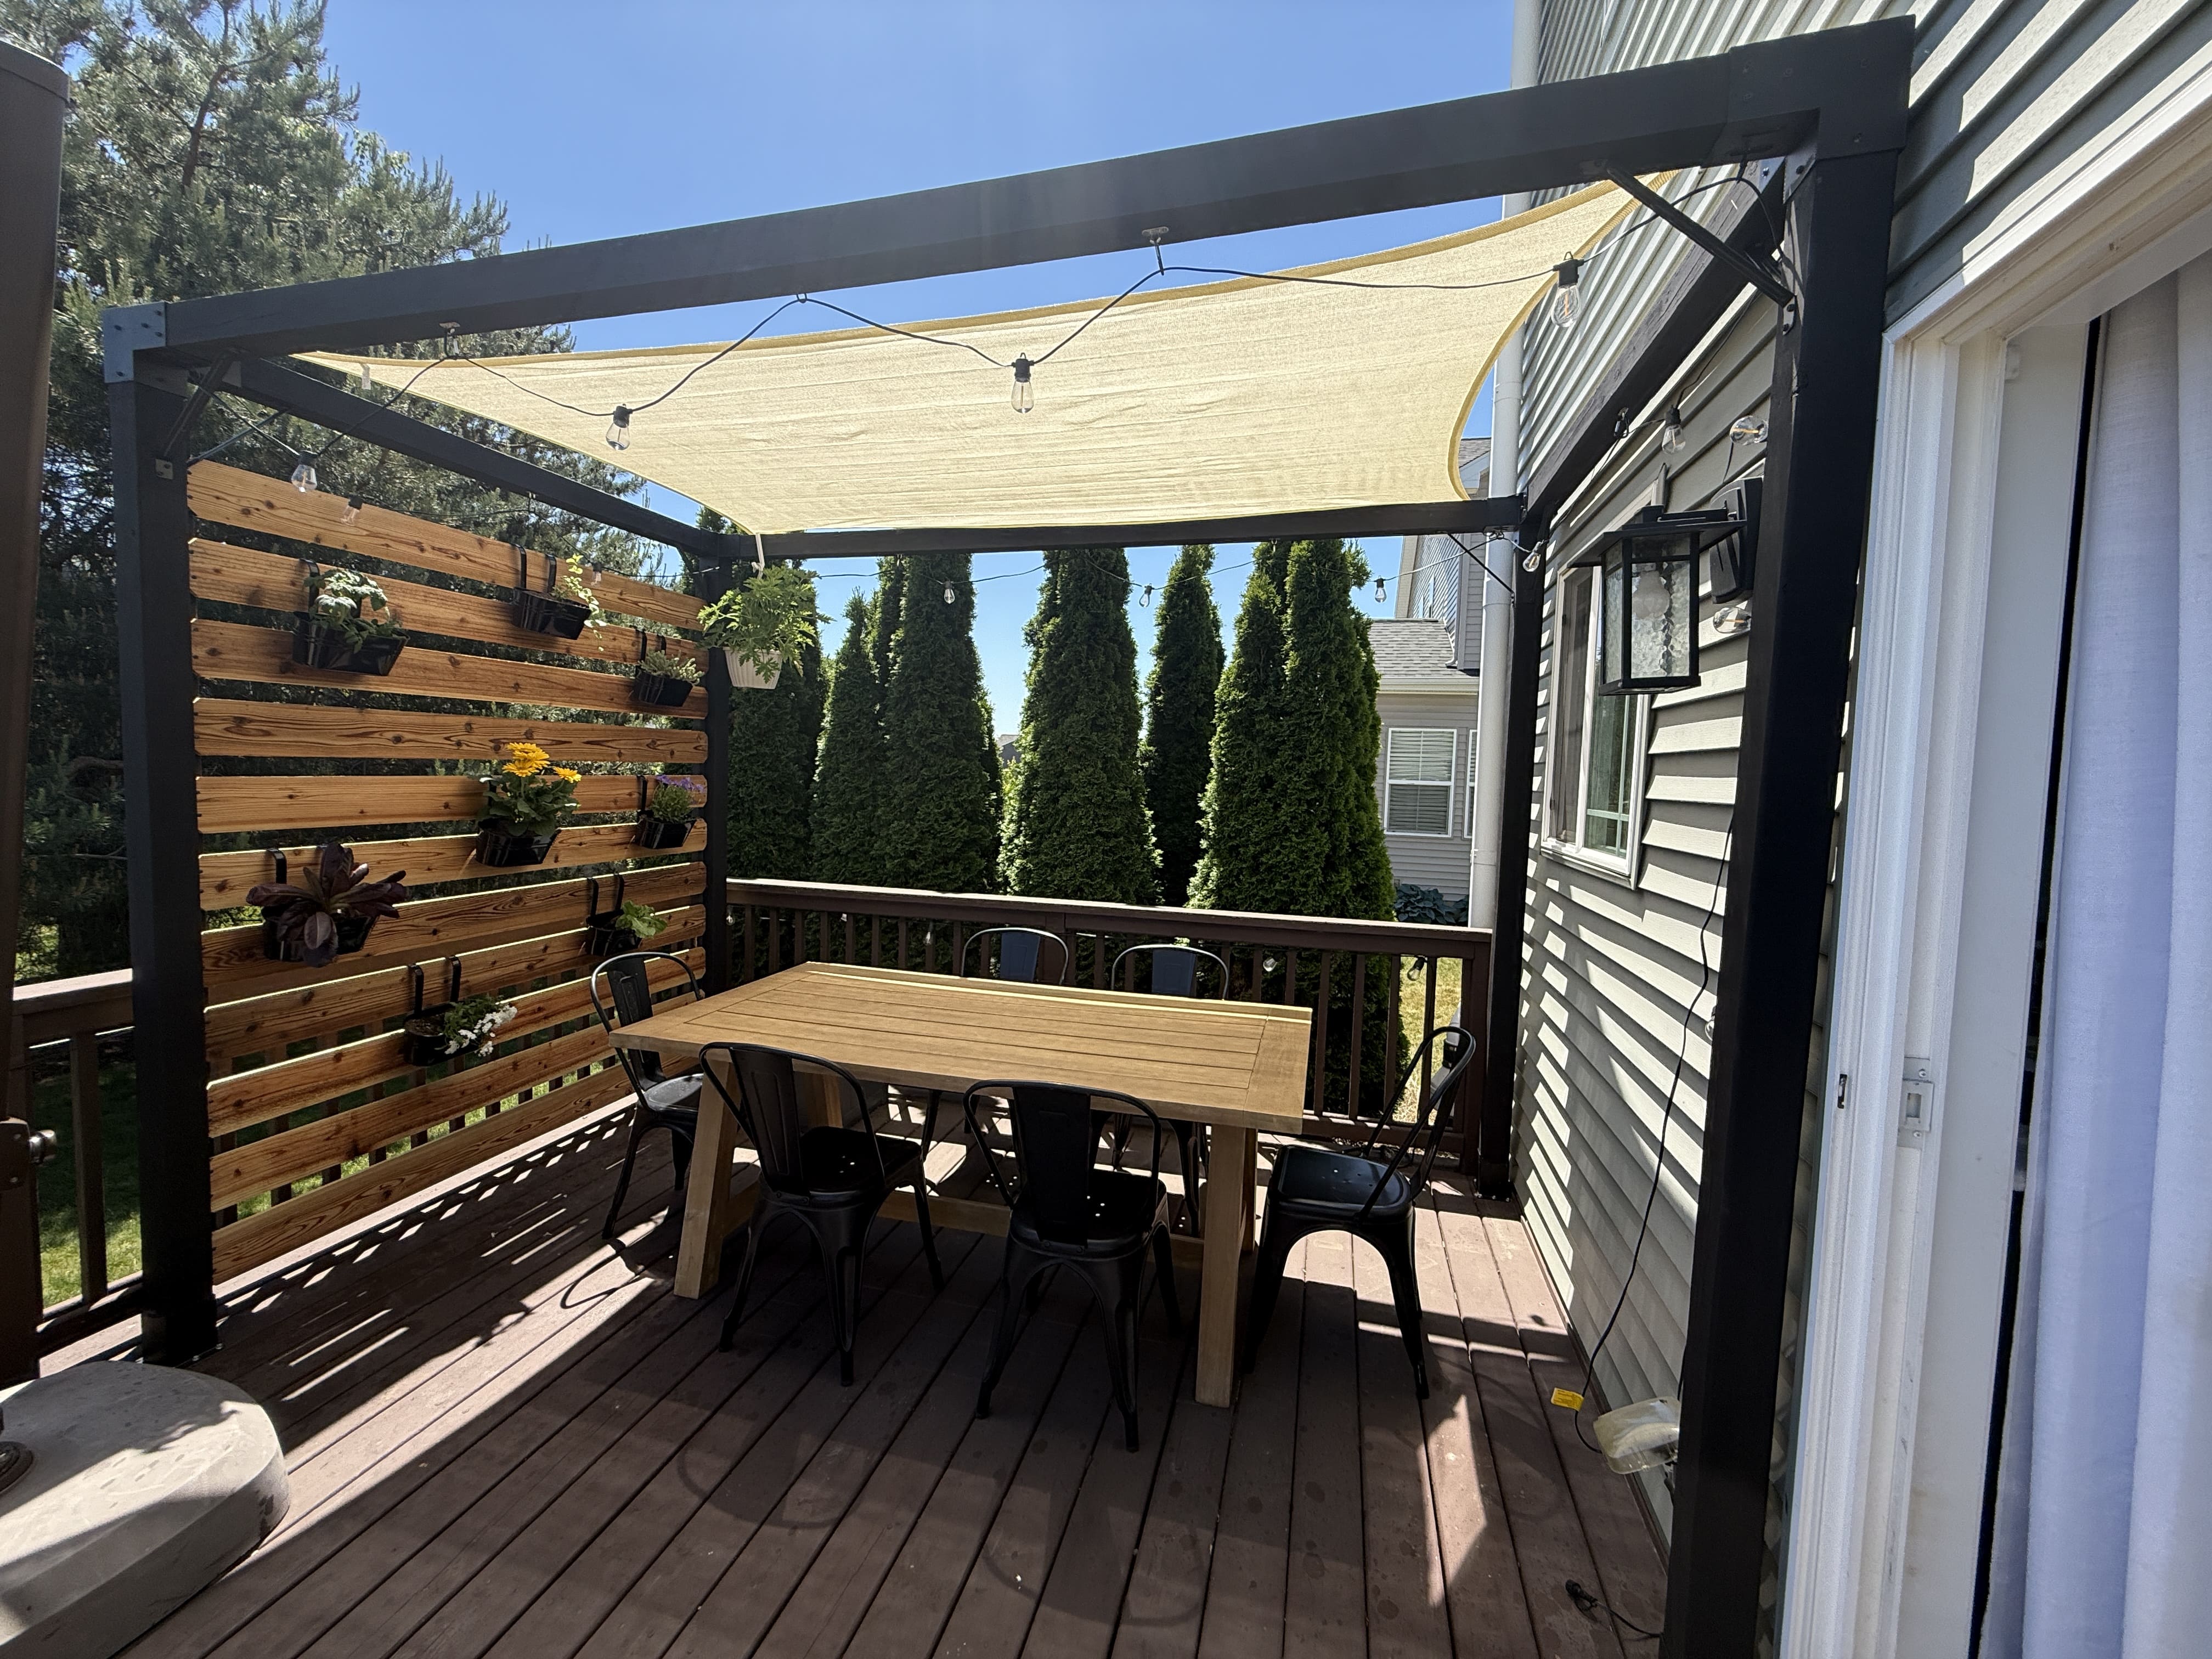
- 1 10 x 7 pergola sail
- 1 Outdoor paint/stain
- 50 2" exterior screws for 2x2
- 50 1 1/4" exterior screws for cedar fence pickets
Directions
-
1
Cut the short cross beams to size with a circular saw or track saw.
Tip: Mark all 4 sides of the beam with the dimensions you need and make shallow cuts on all 4 sides. Make sure the beams are properly supported when cutting.
-
2
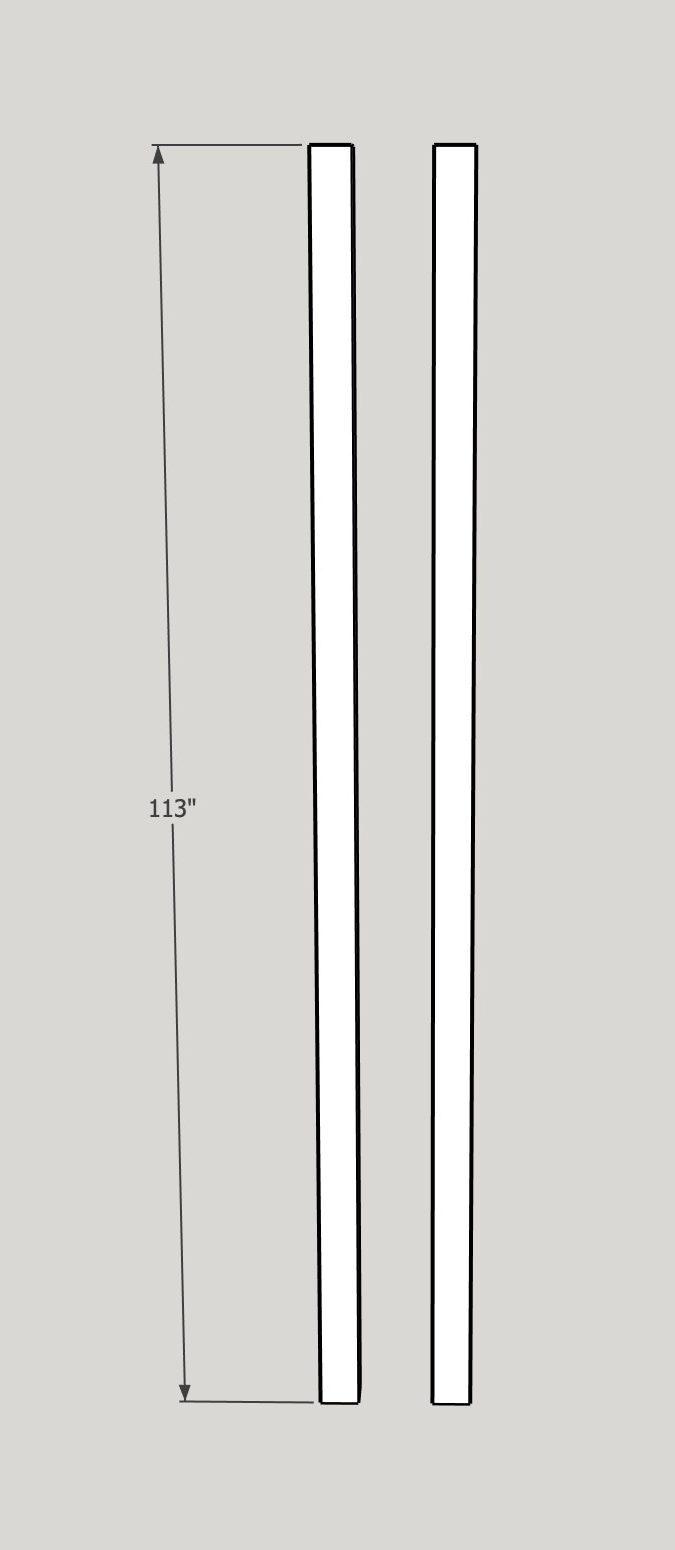
Cut the long cross beam pieces to size the same way you did in step 1.
-
3
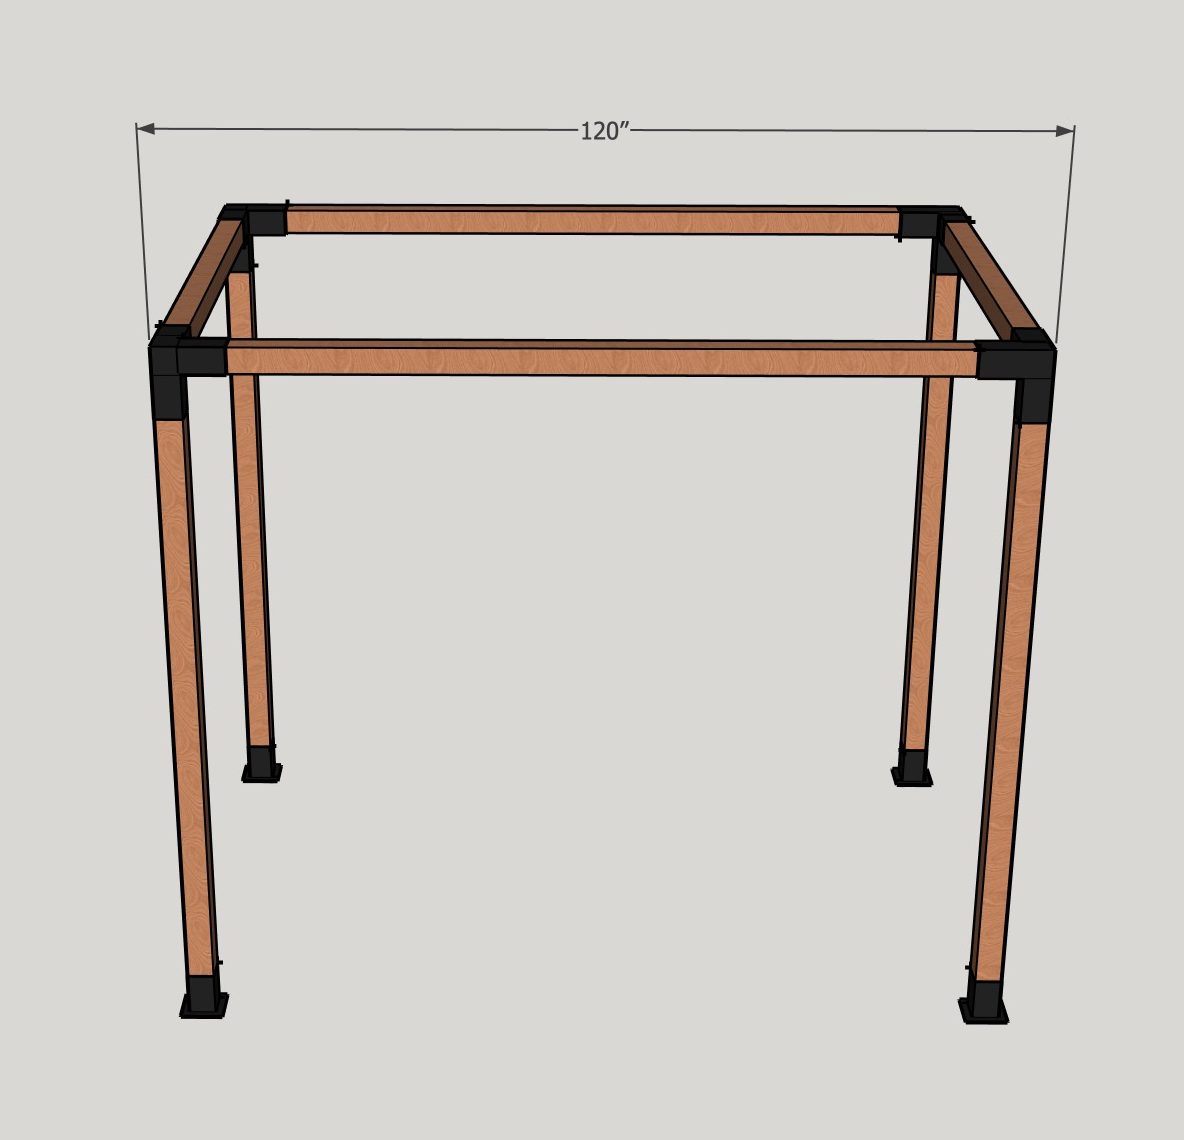
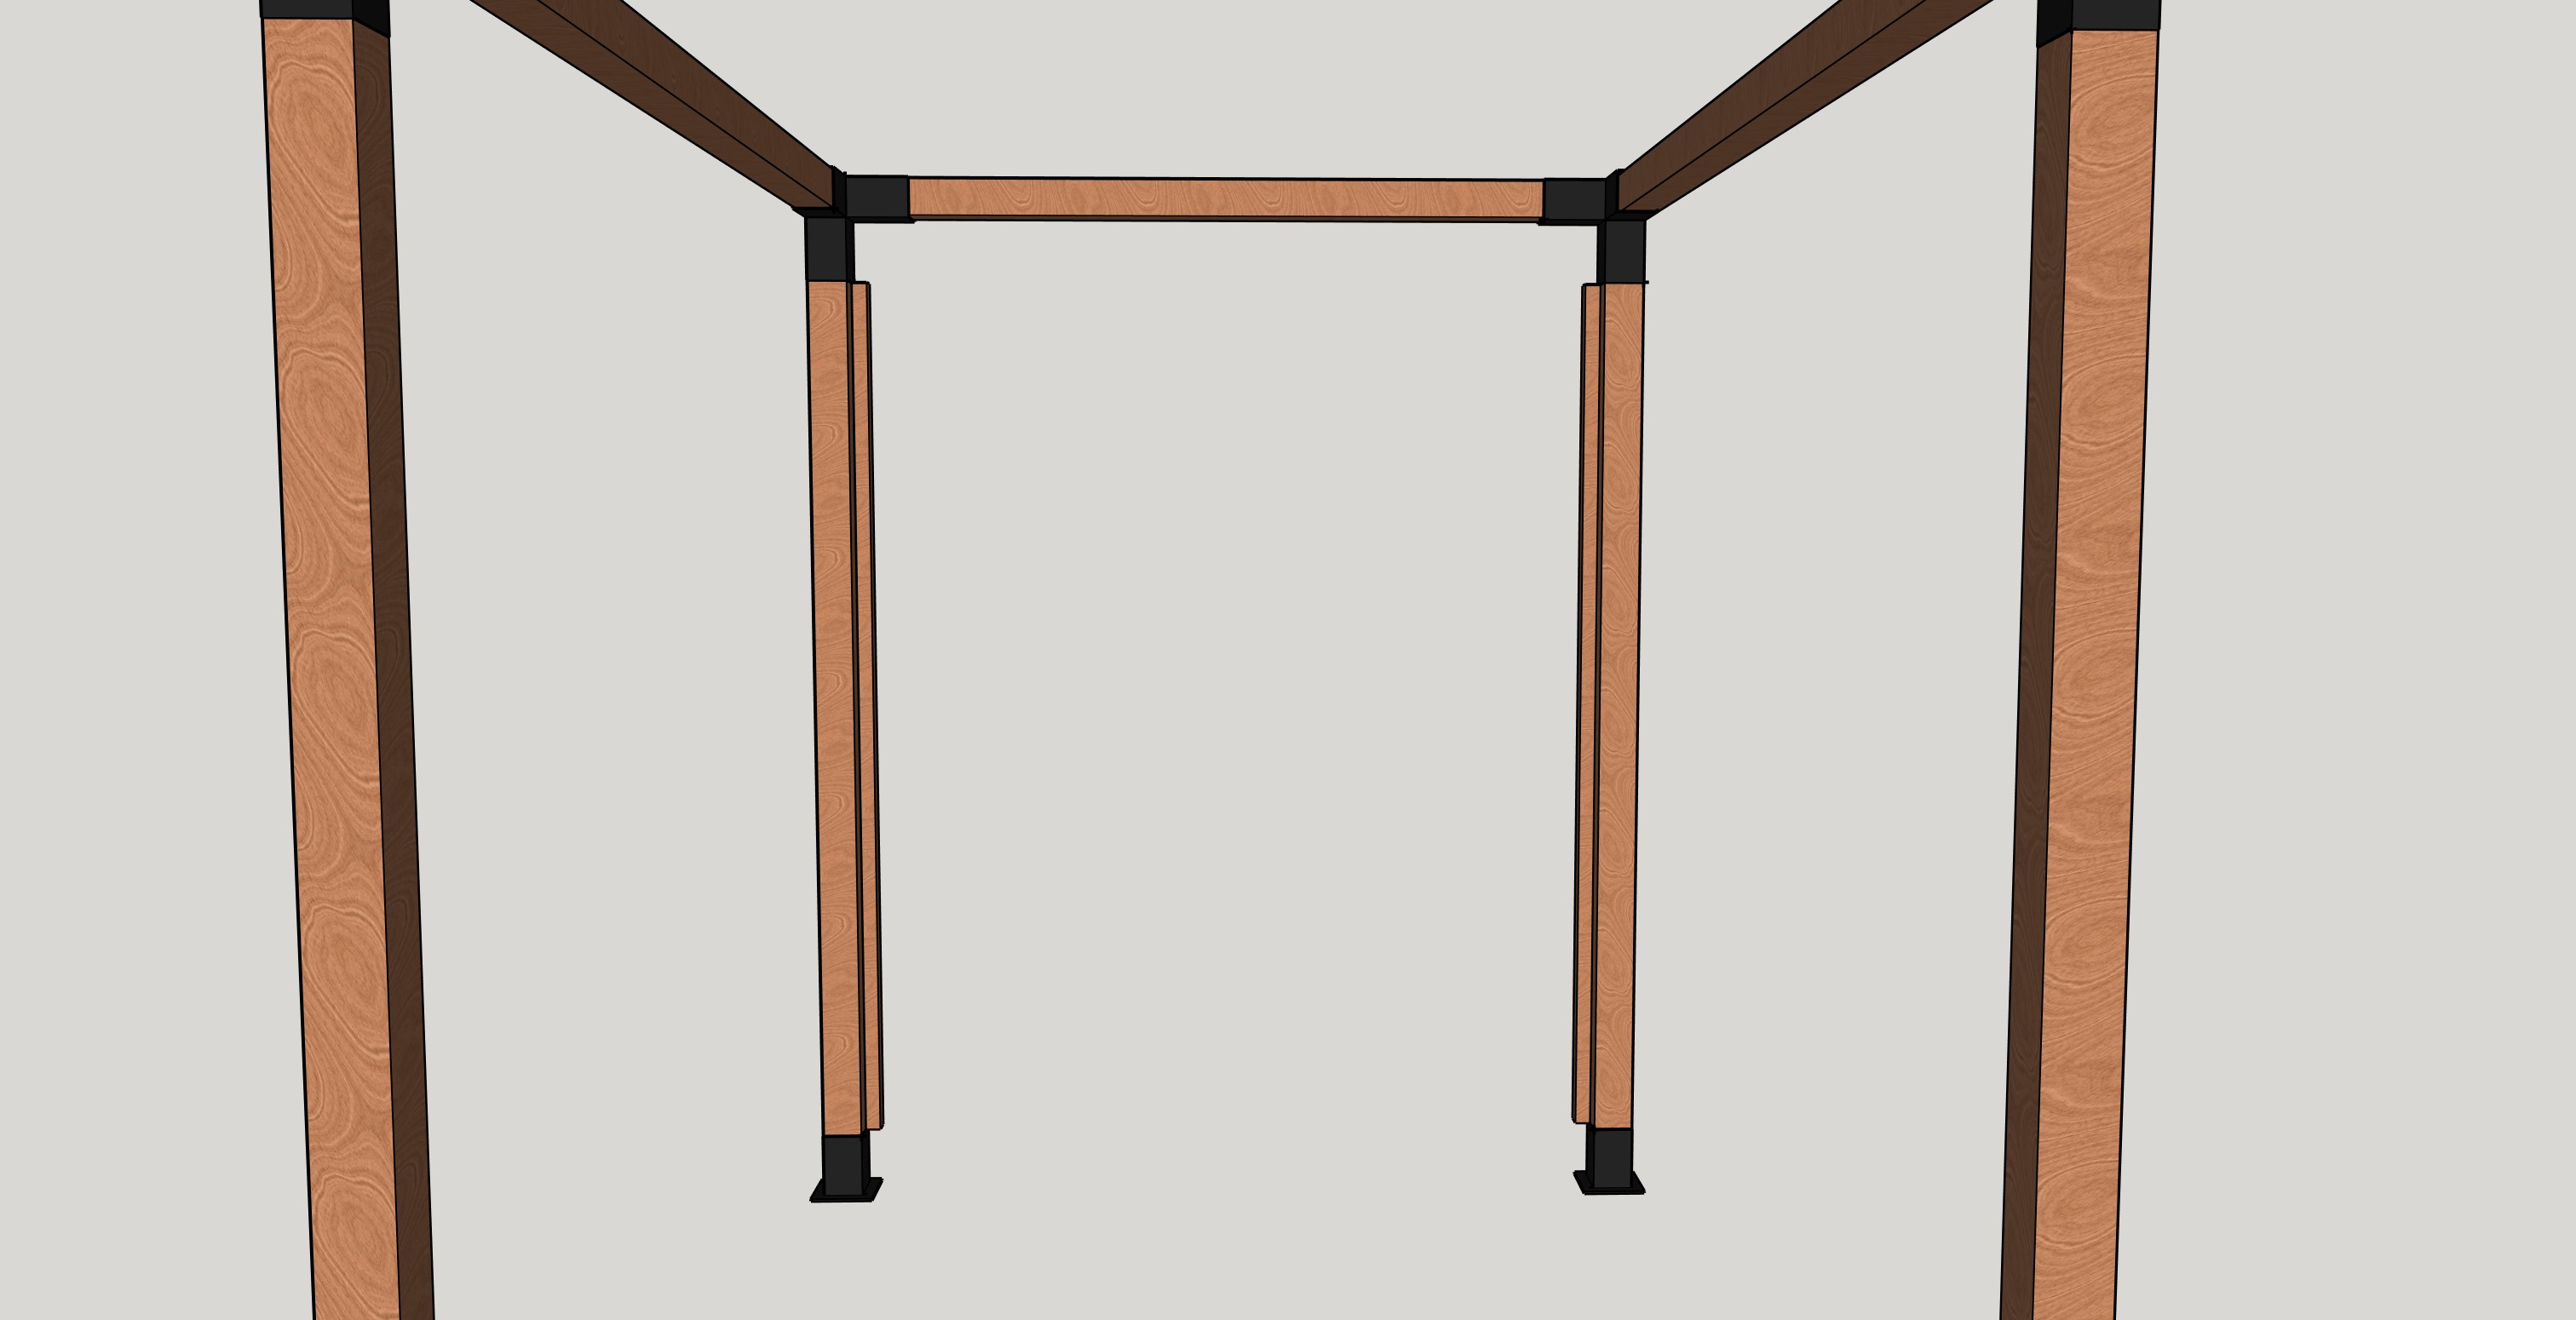
Start by screwing the shorter cross beams into the pergola brackets and the posts as shown in the photo.
Tip: lift both sides up with 2 people and screw the deck brackets into the deck or concrete before the next step.

-
4
Put the long cross beams into the pergola brackets and screw them in.
I suggest getting a pergola kit with stiffeners so you can add them on each corner of the pergola. It will help keep the wood from bowing.
-
5
Cut the 2x2 slat support so size
-
6
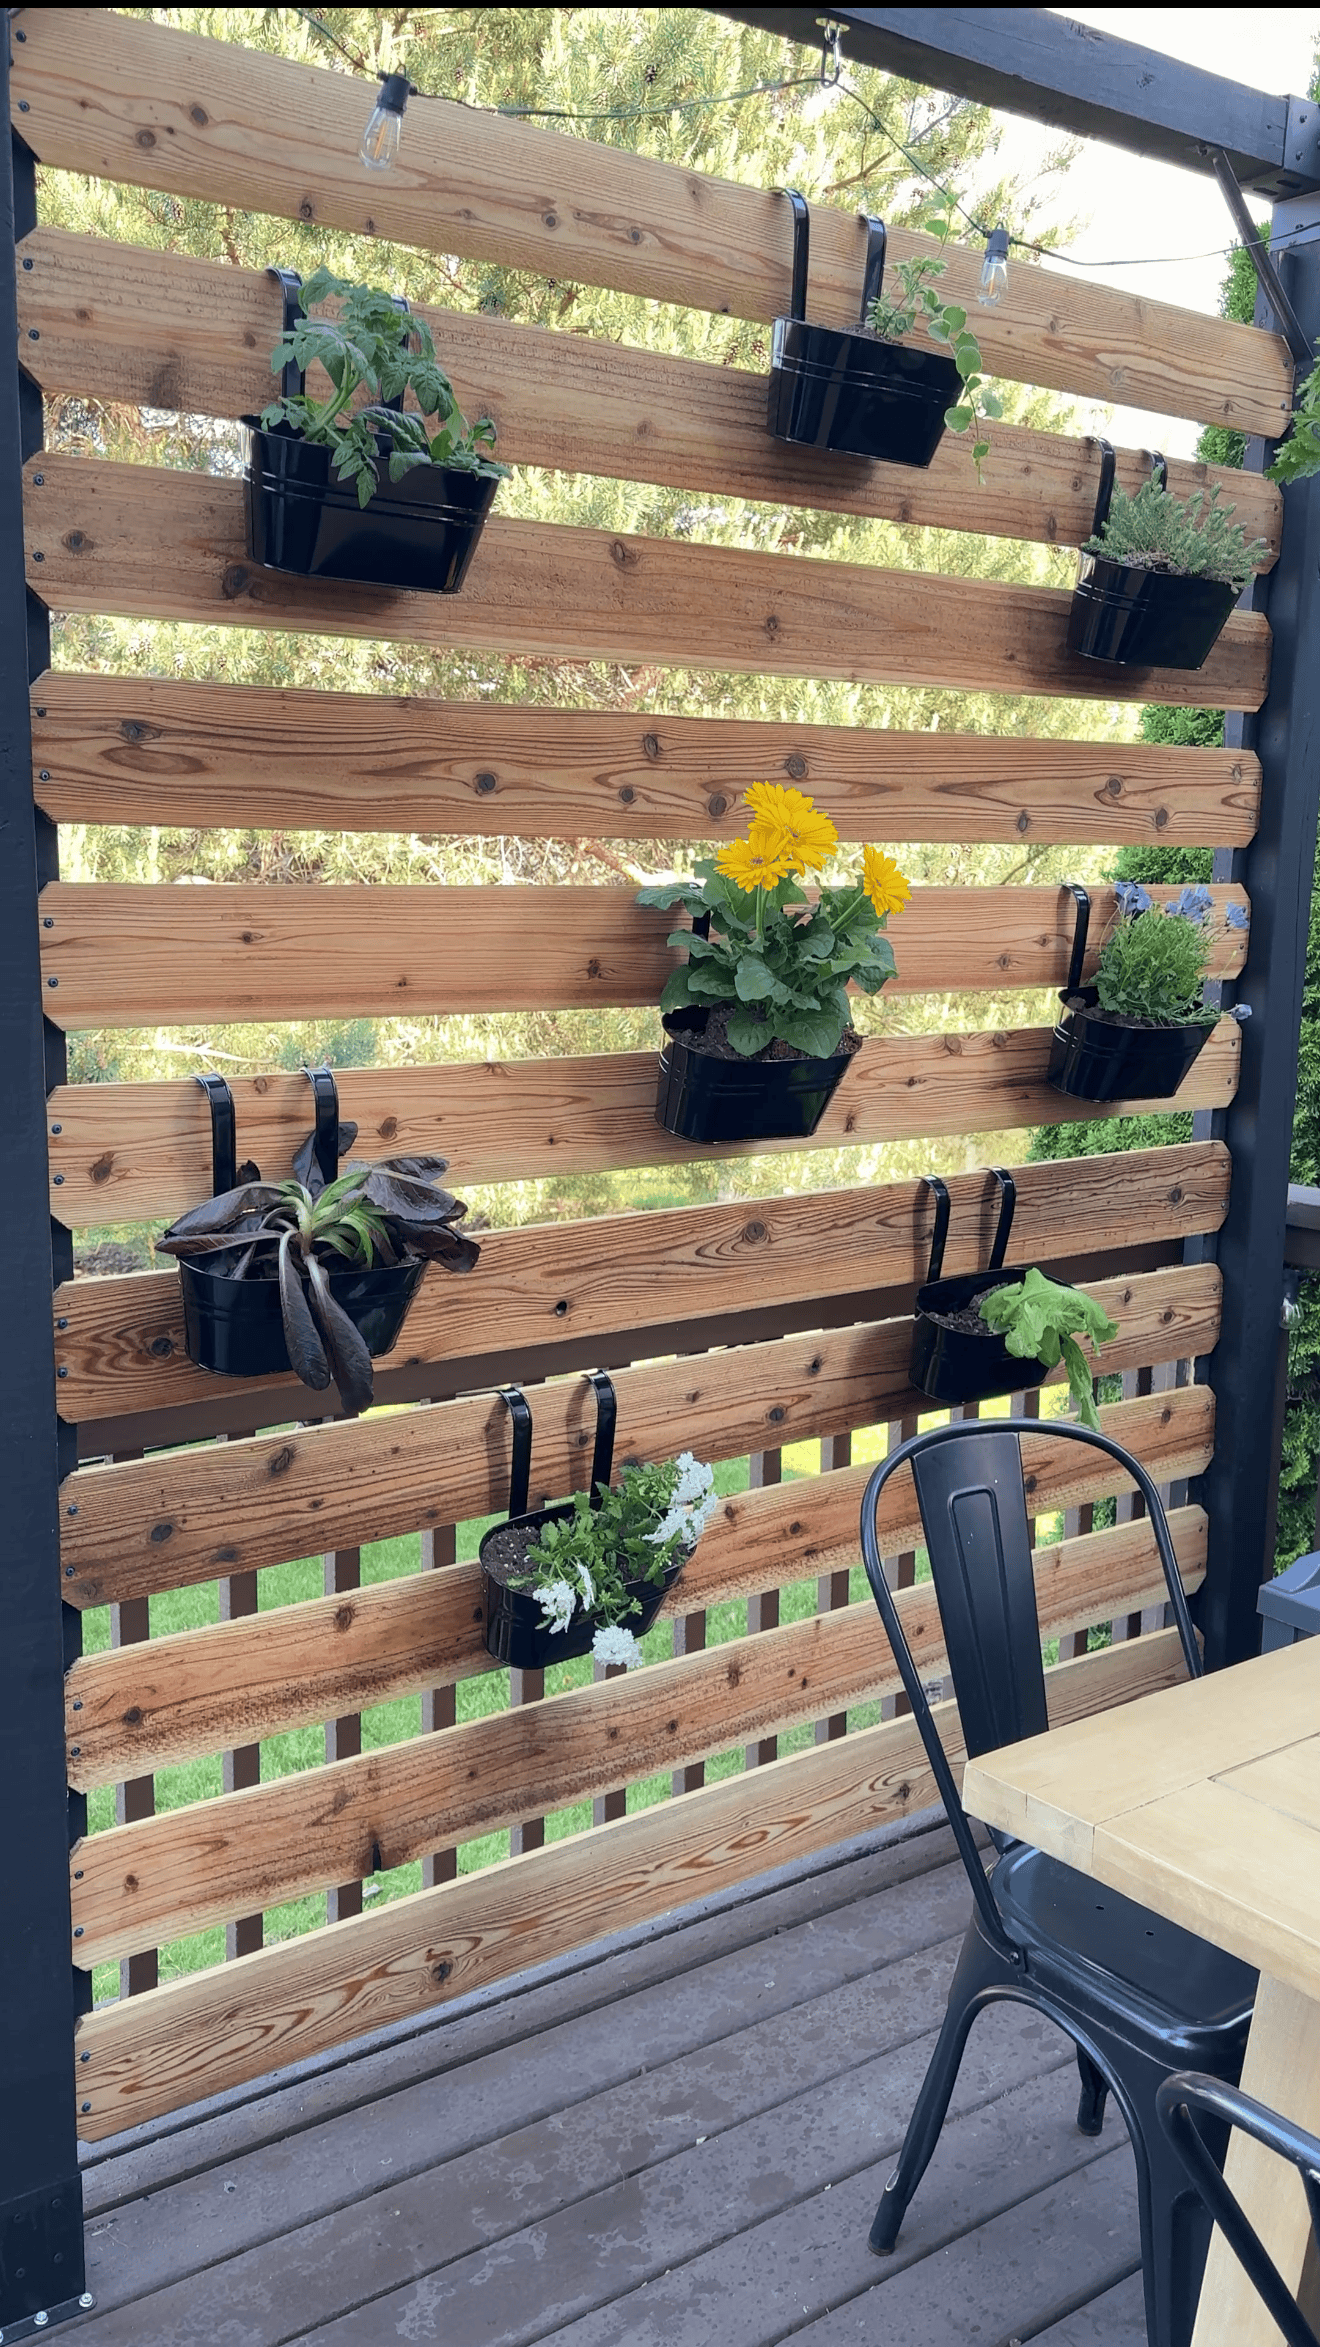
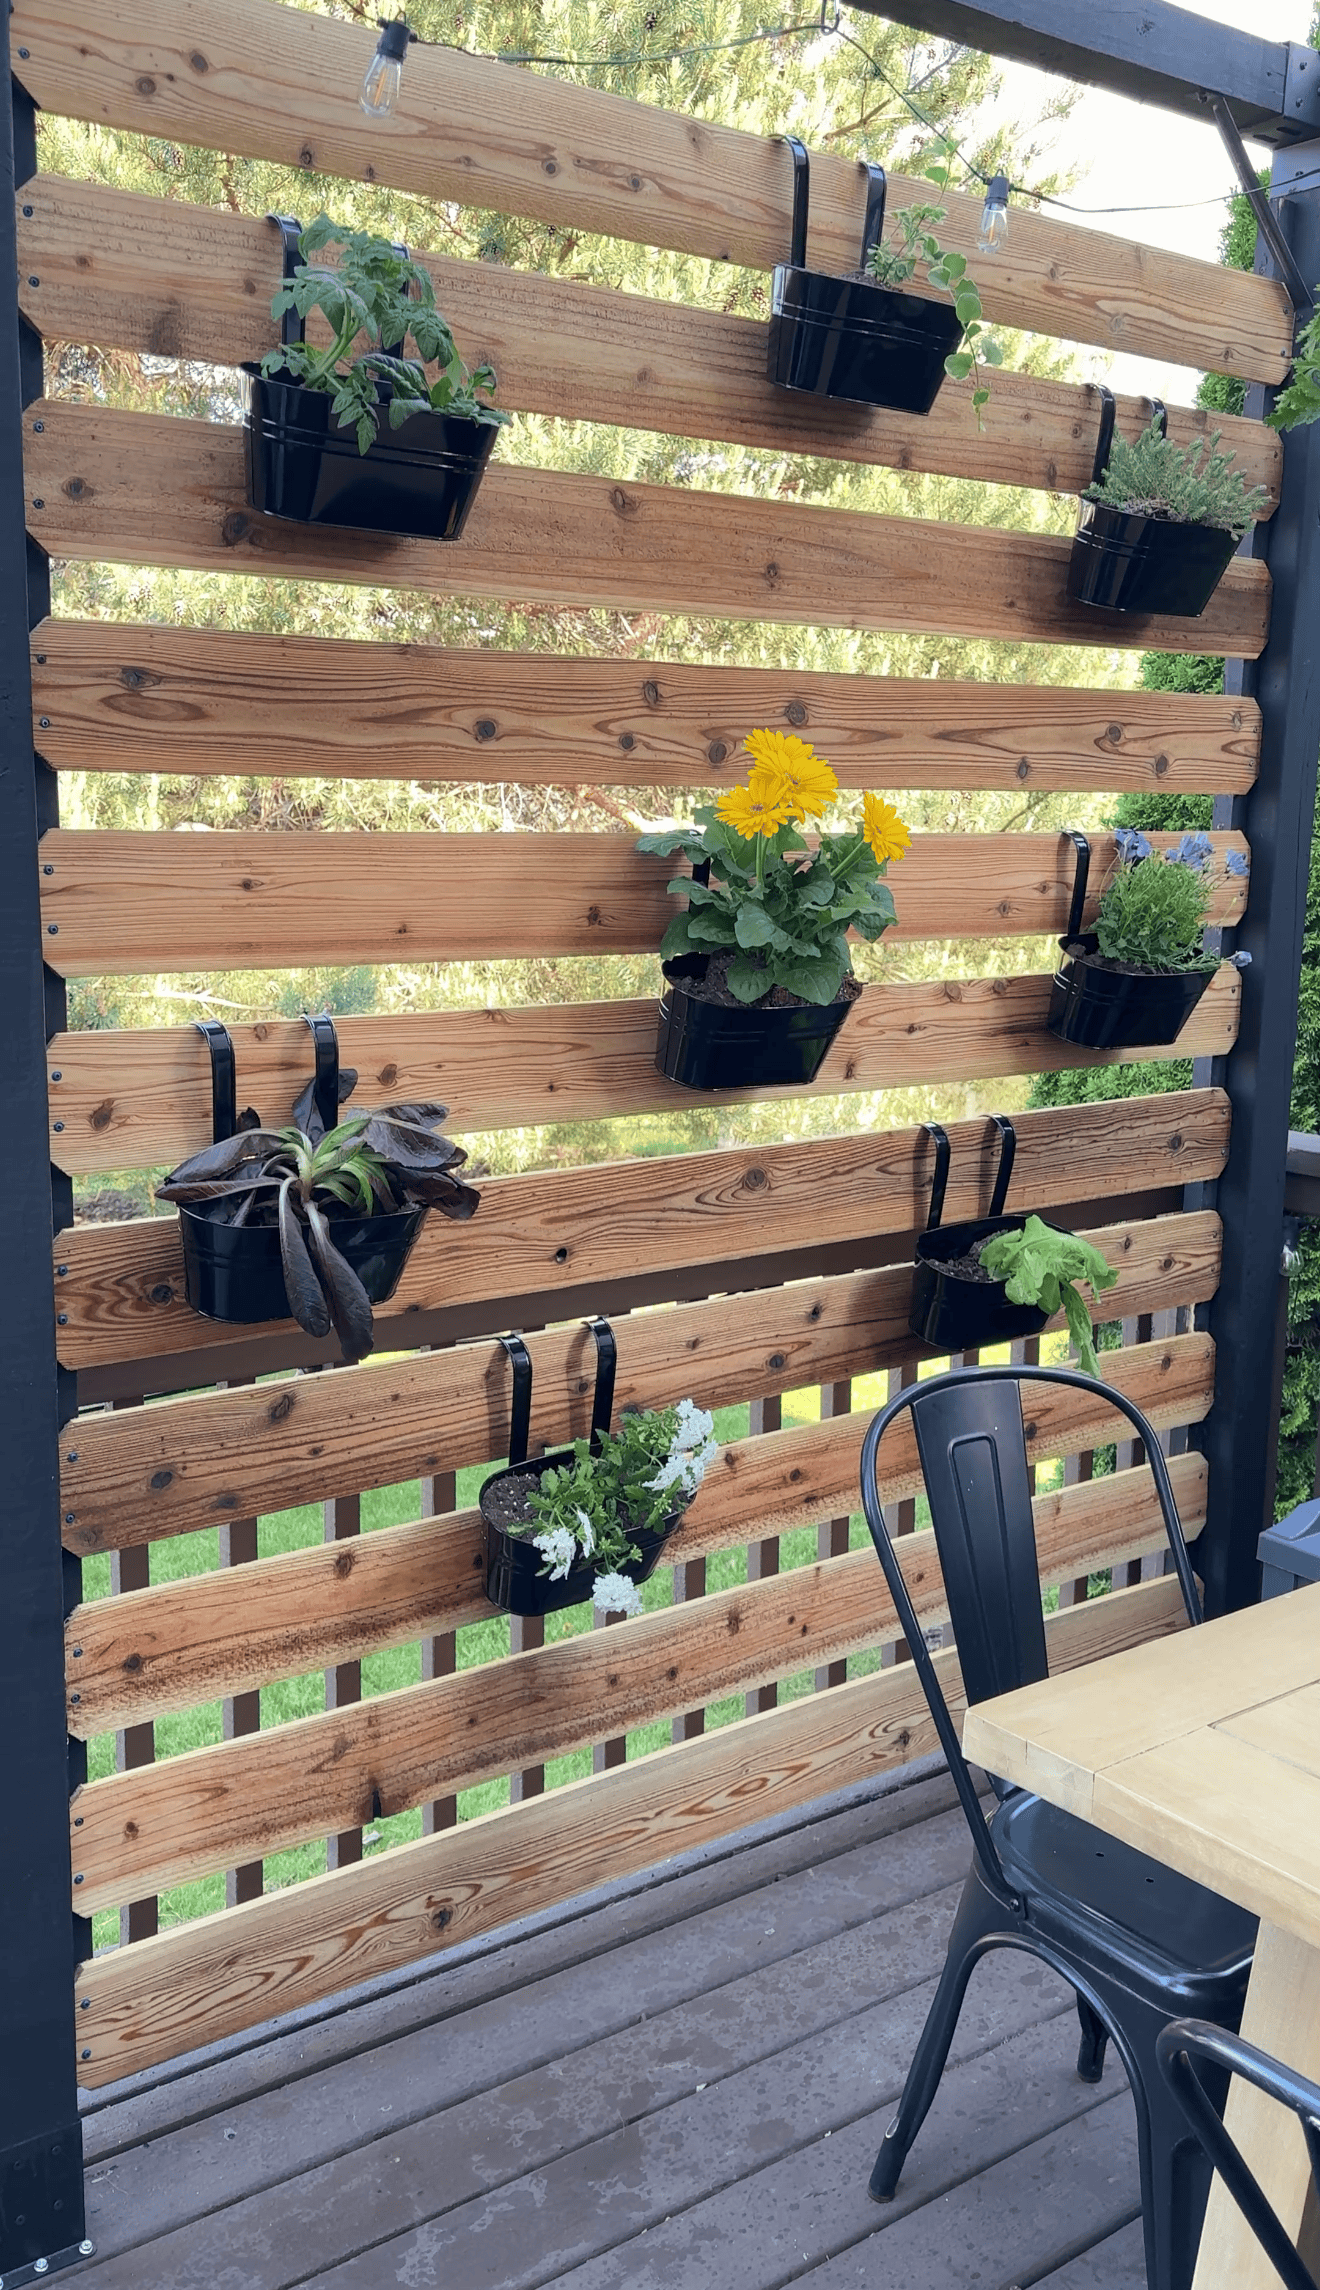
Screw the supports into the wall you want the privacy wall to be as shown in the picture. Use 2" exterior screws and the Kreg hammer drill.
-
7
Cut the cedar fence pickets to size.
-
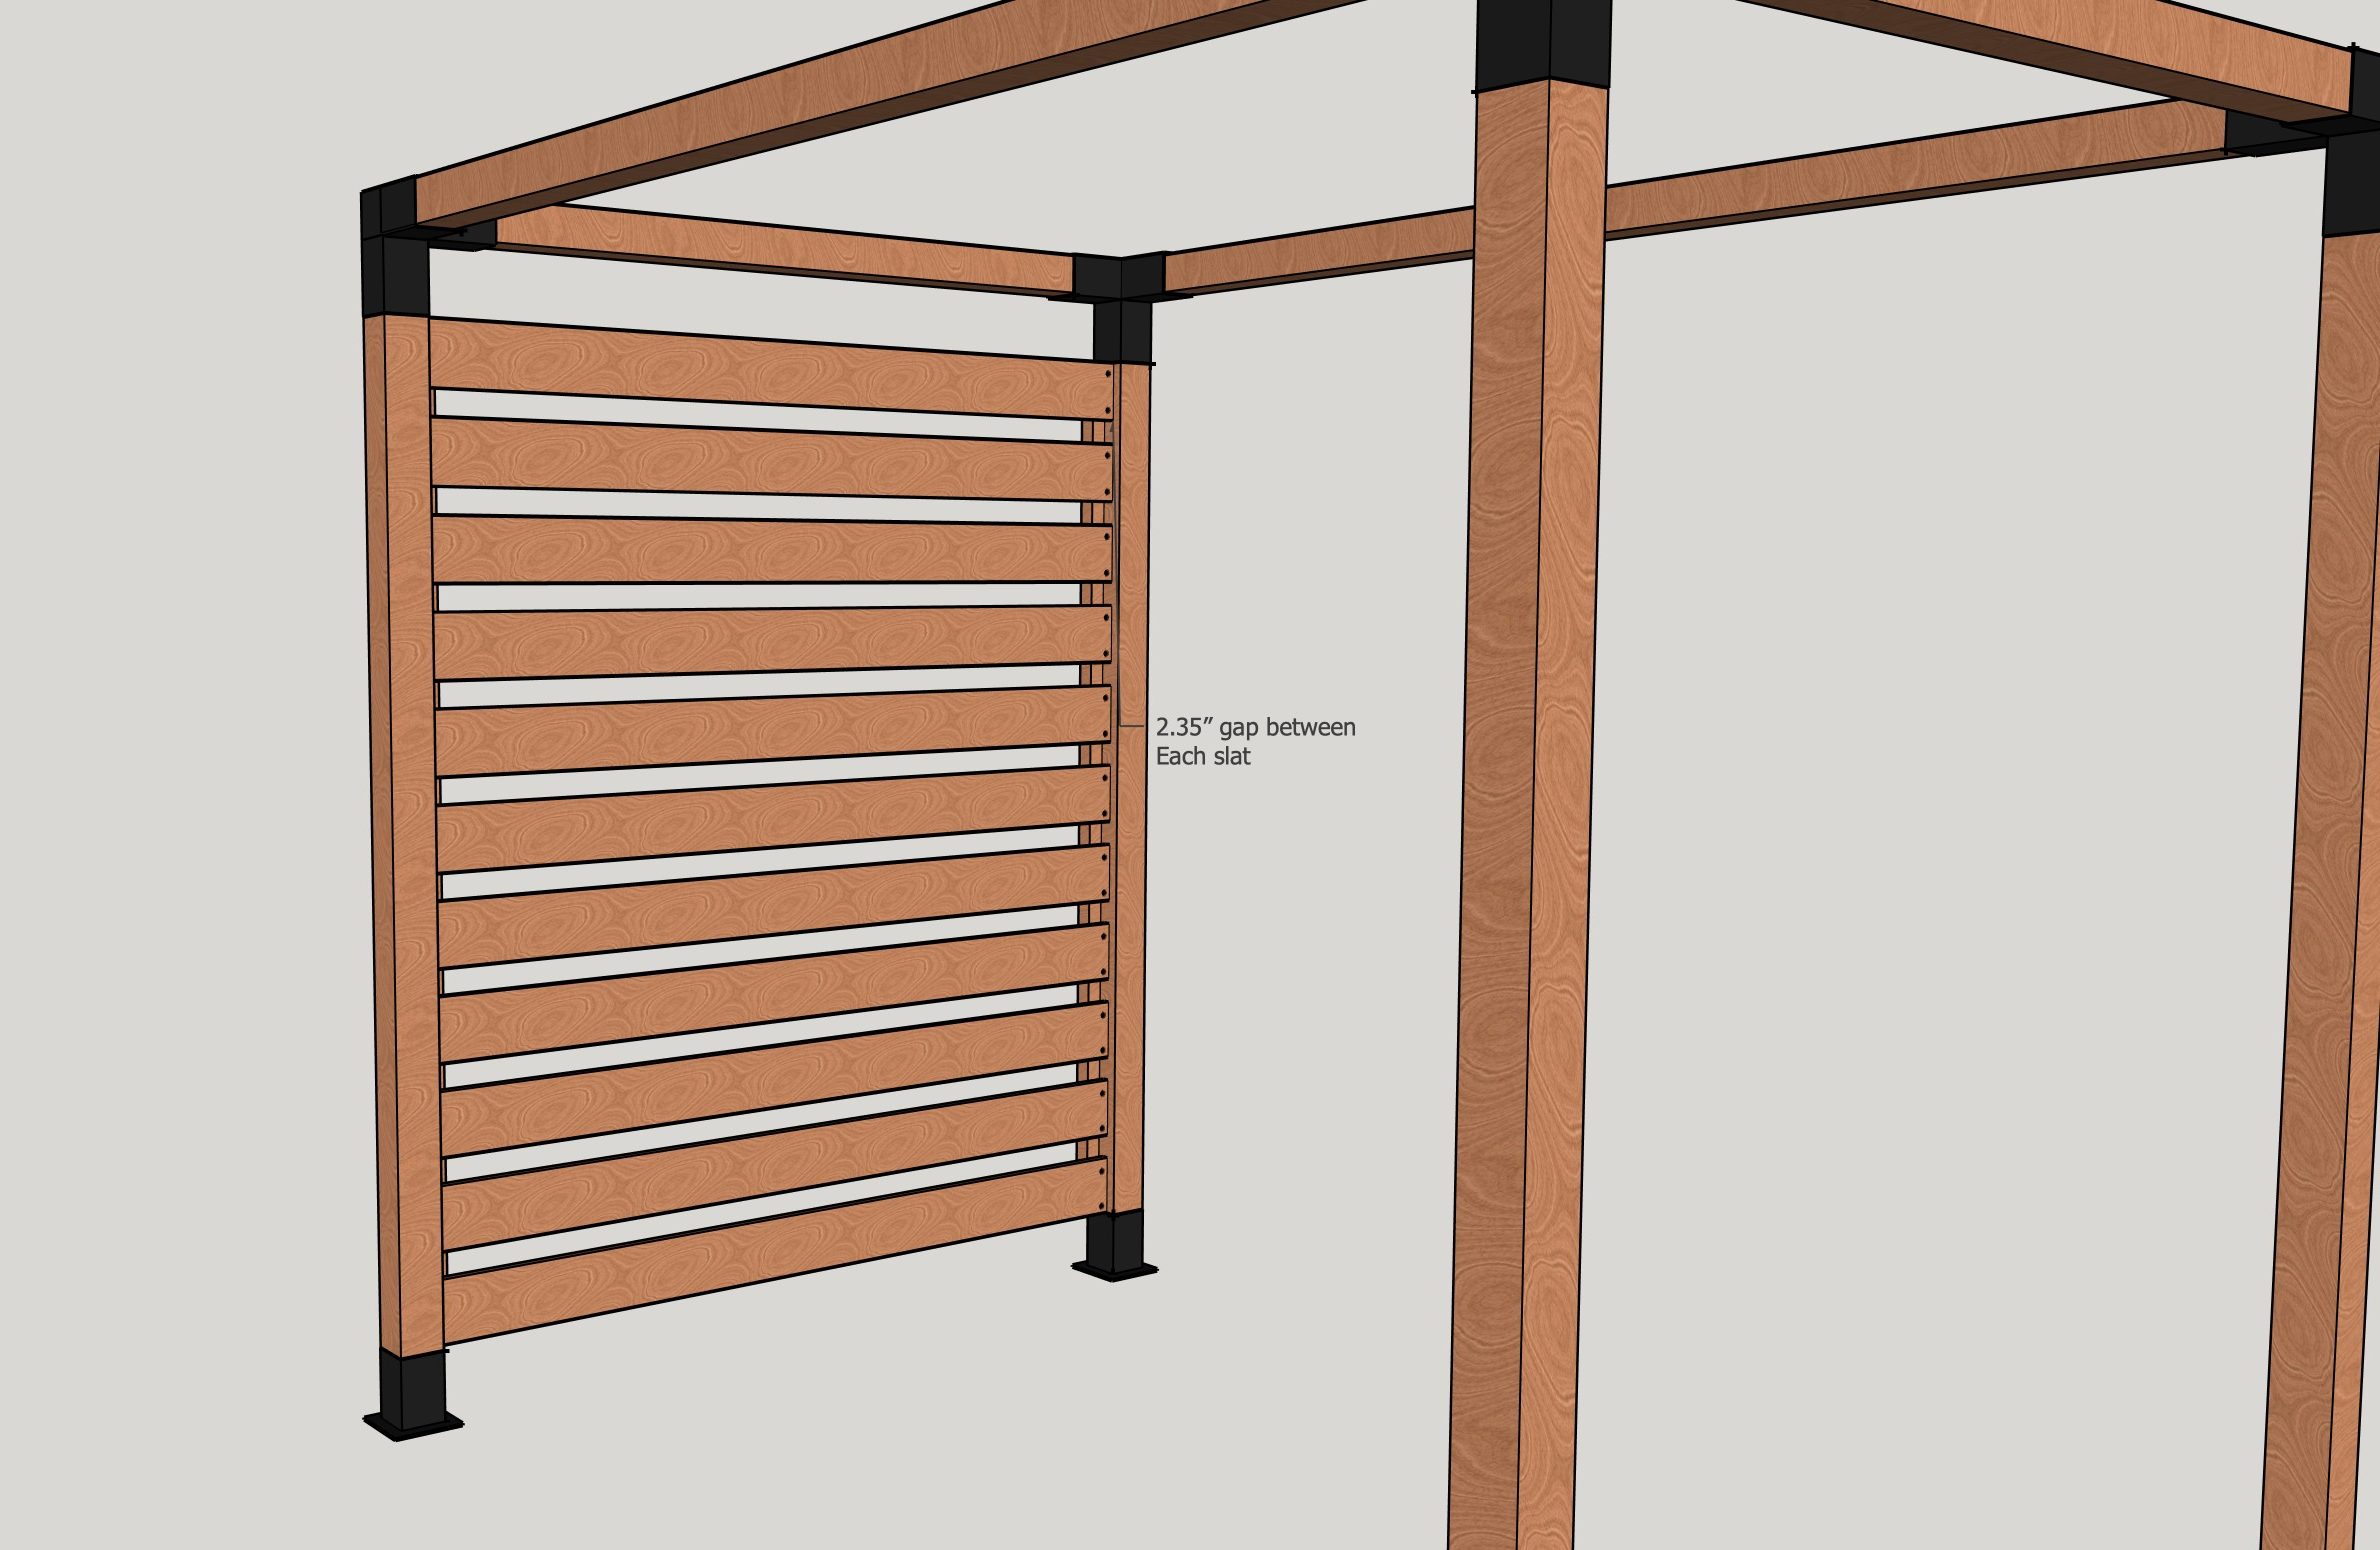
8
Screw the slats into the slat supports with 1 1/4" exterior screws. The slats should have a 2.35" gap between each one. Cut a piece of scrap wood and use that has a spacer.
-
9
Sand, paint and stain and you've built a Pergola!