

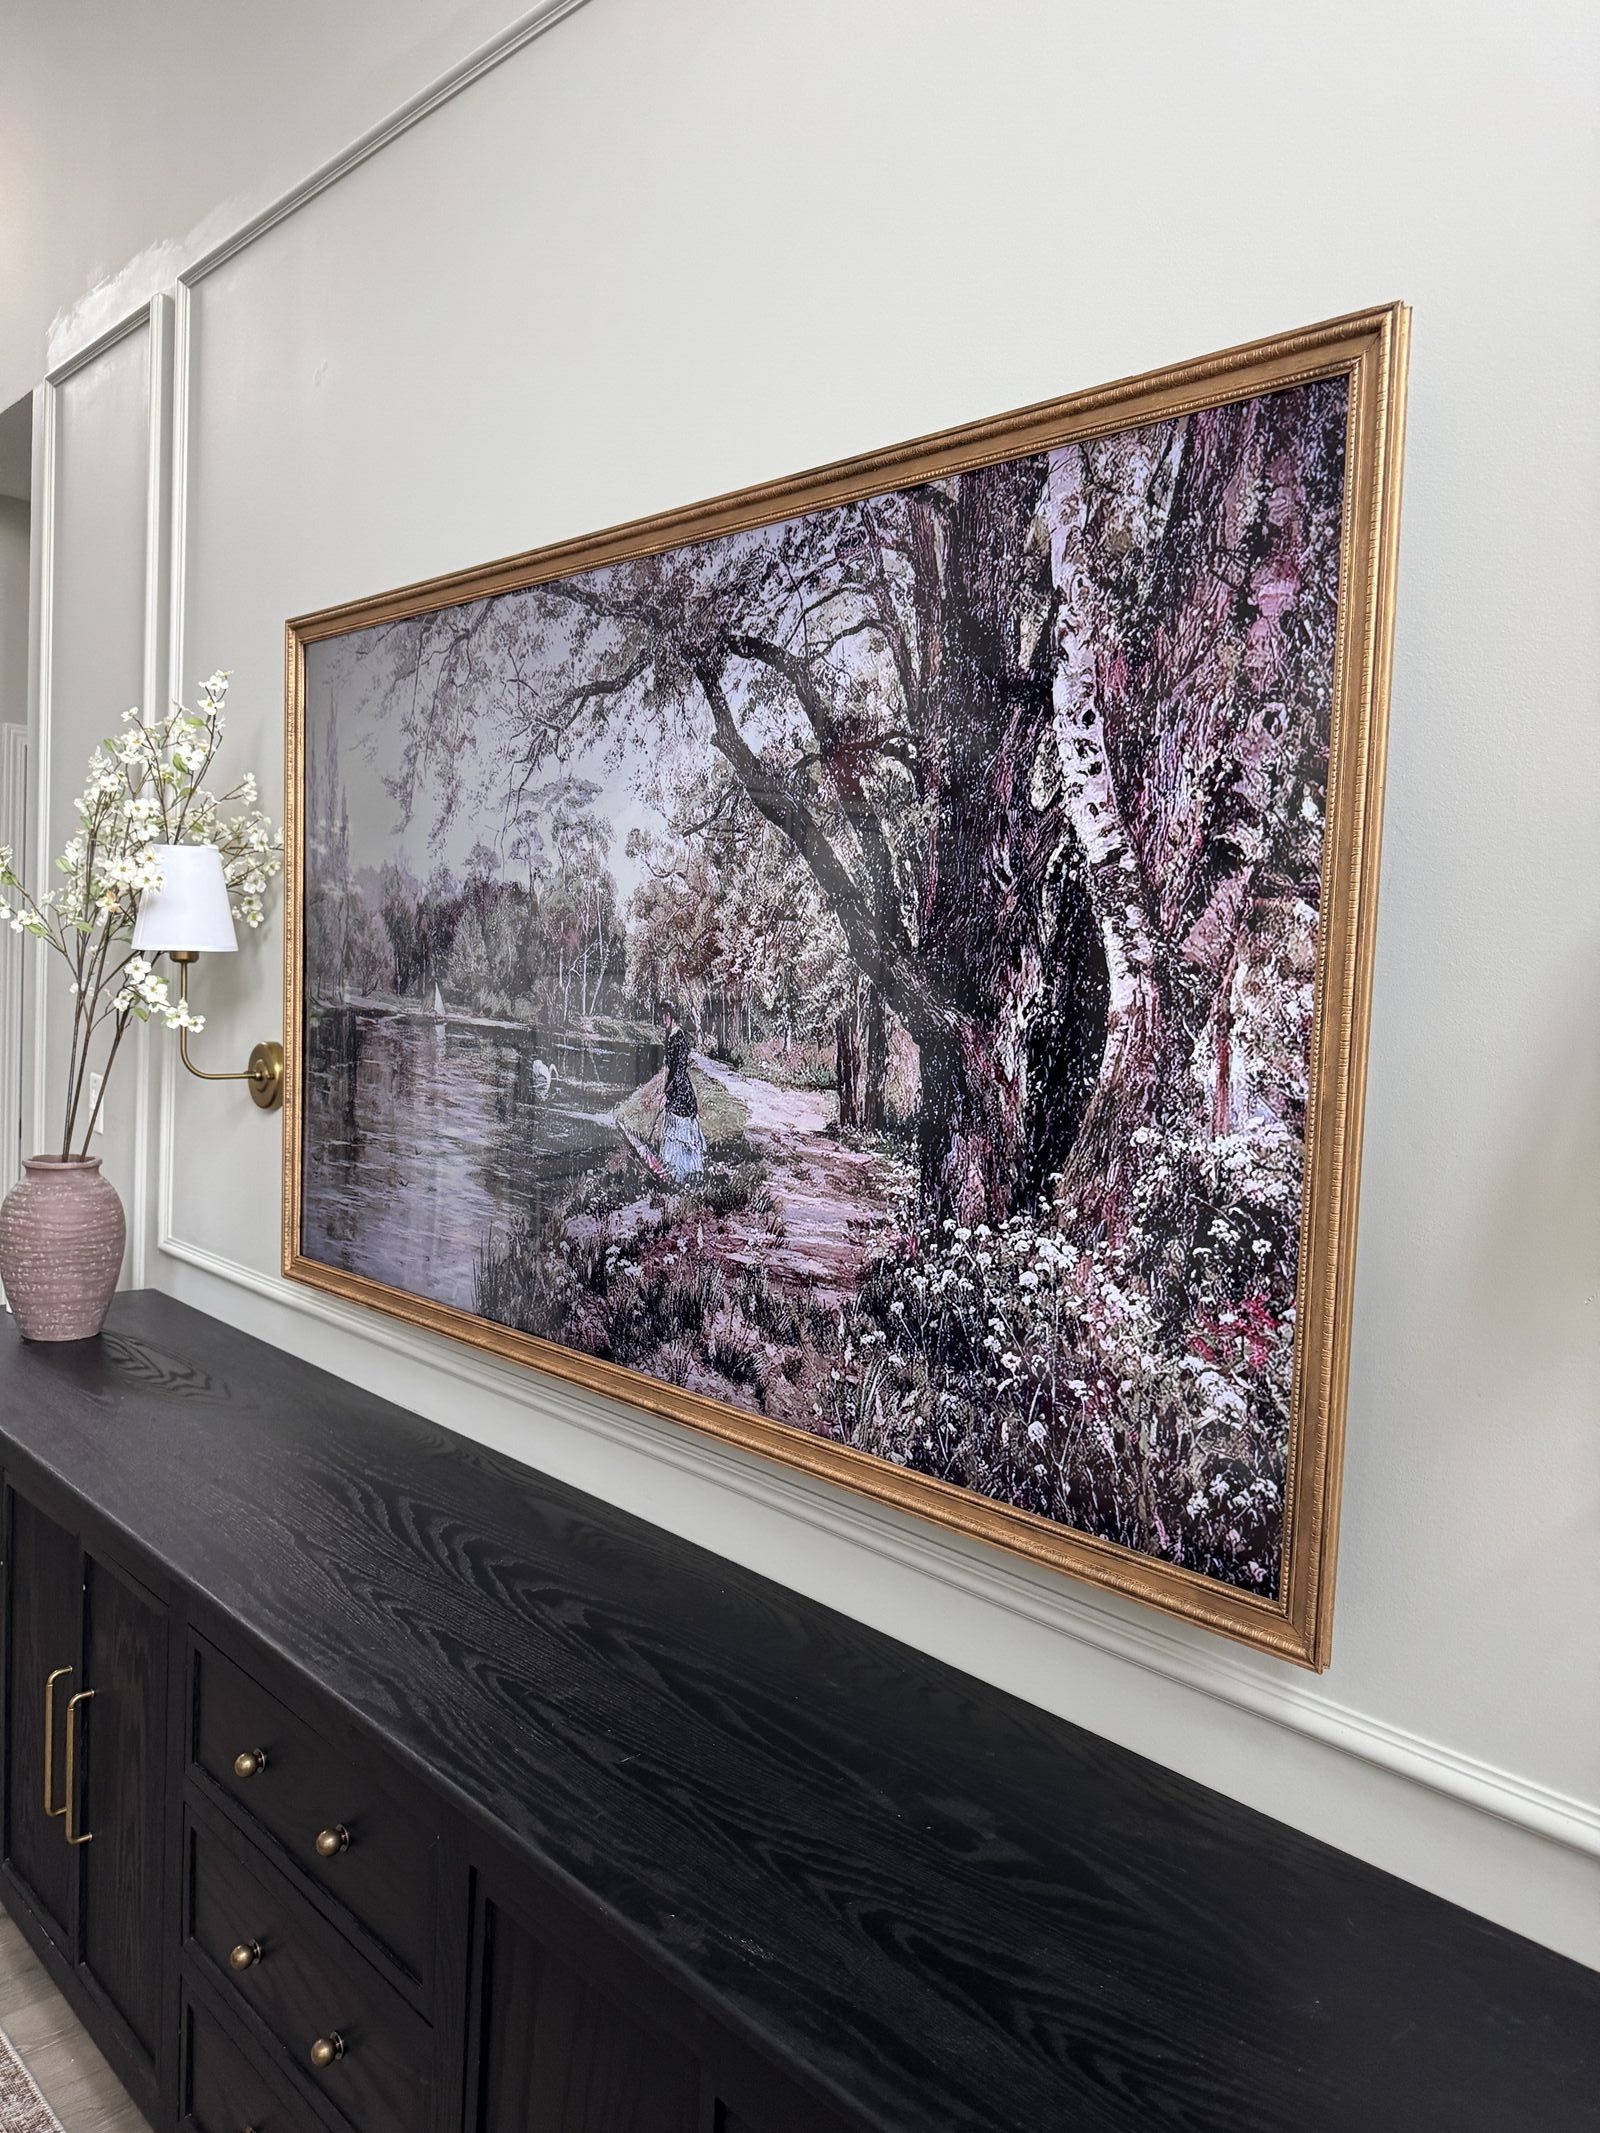
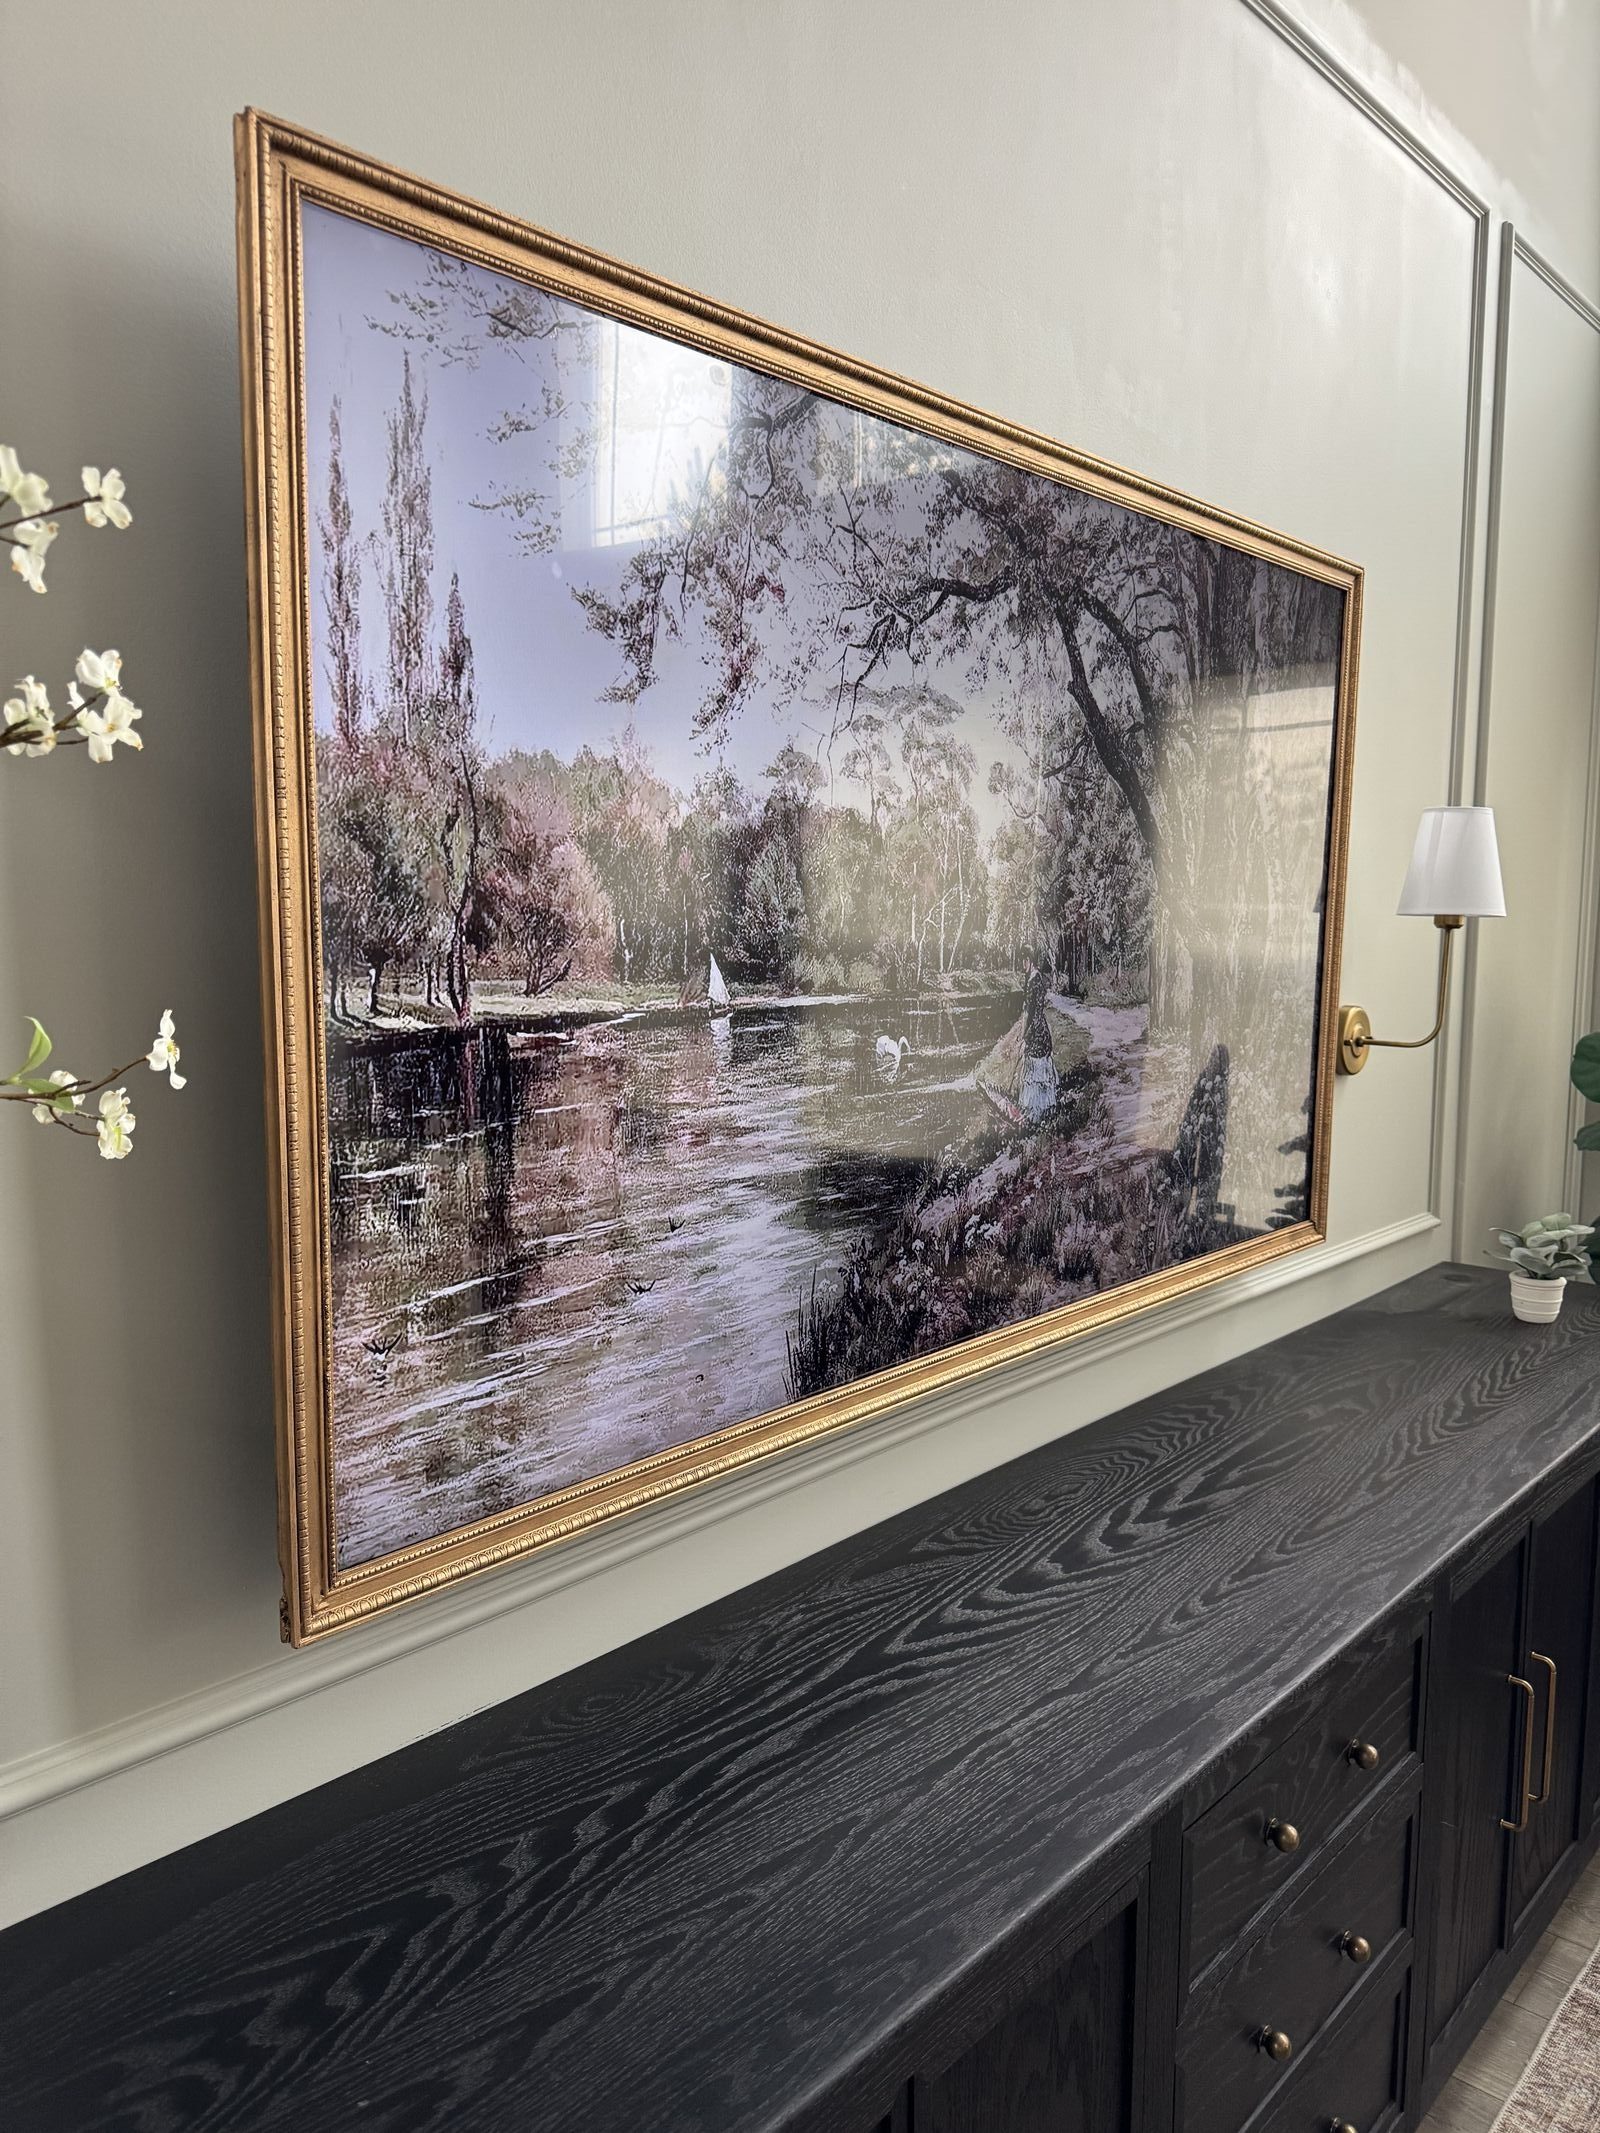
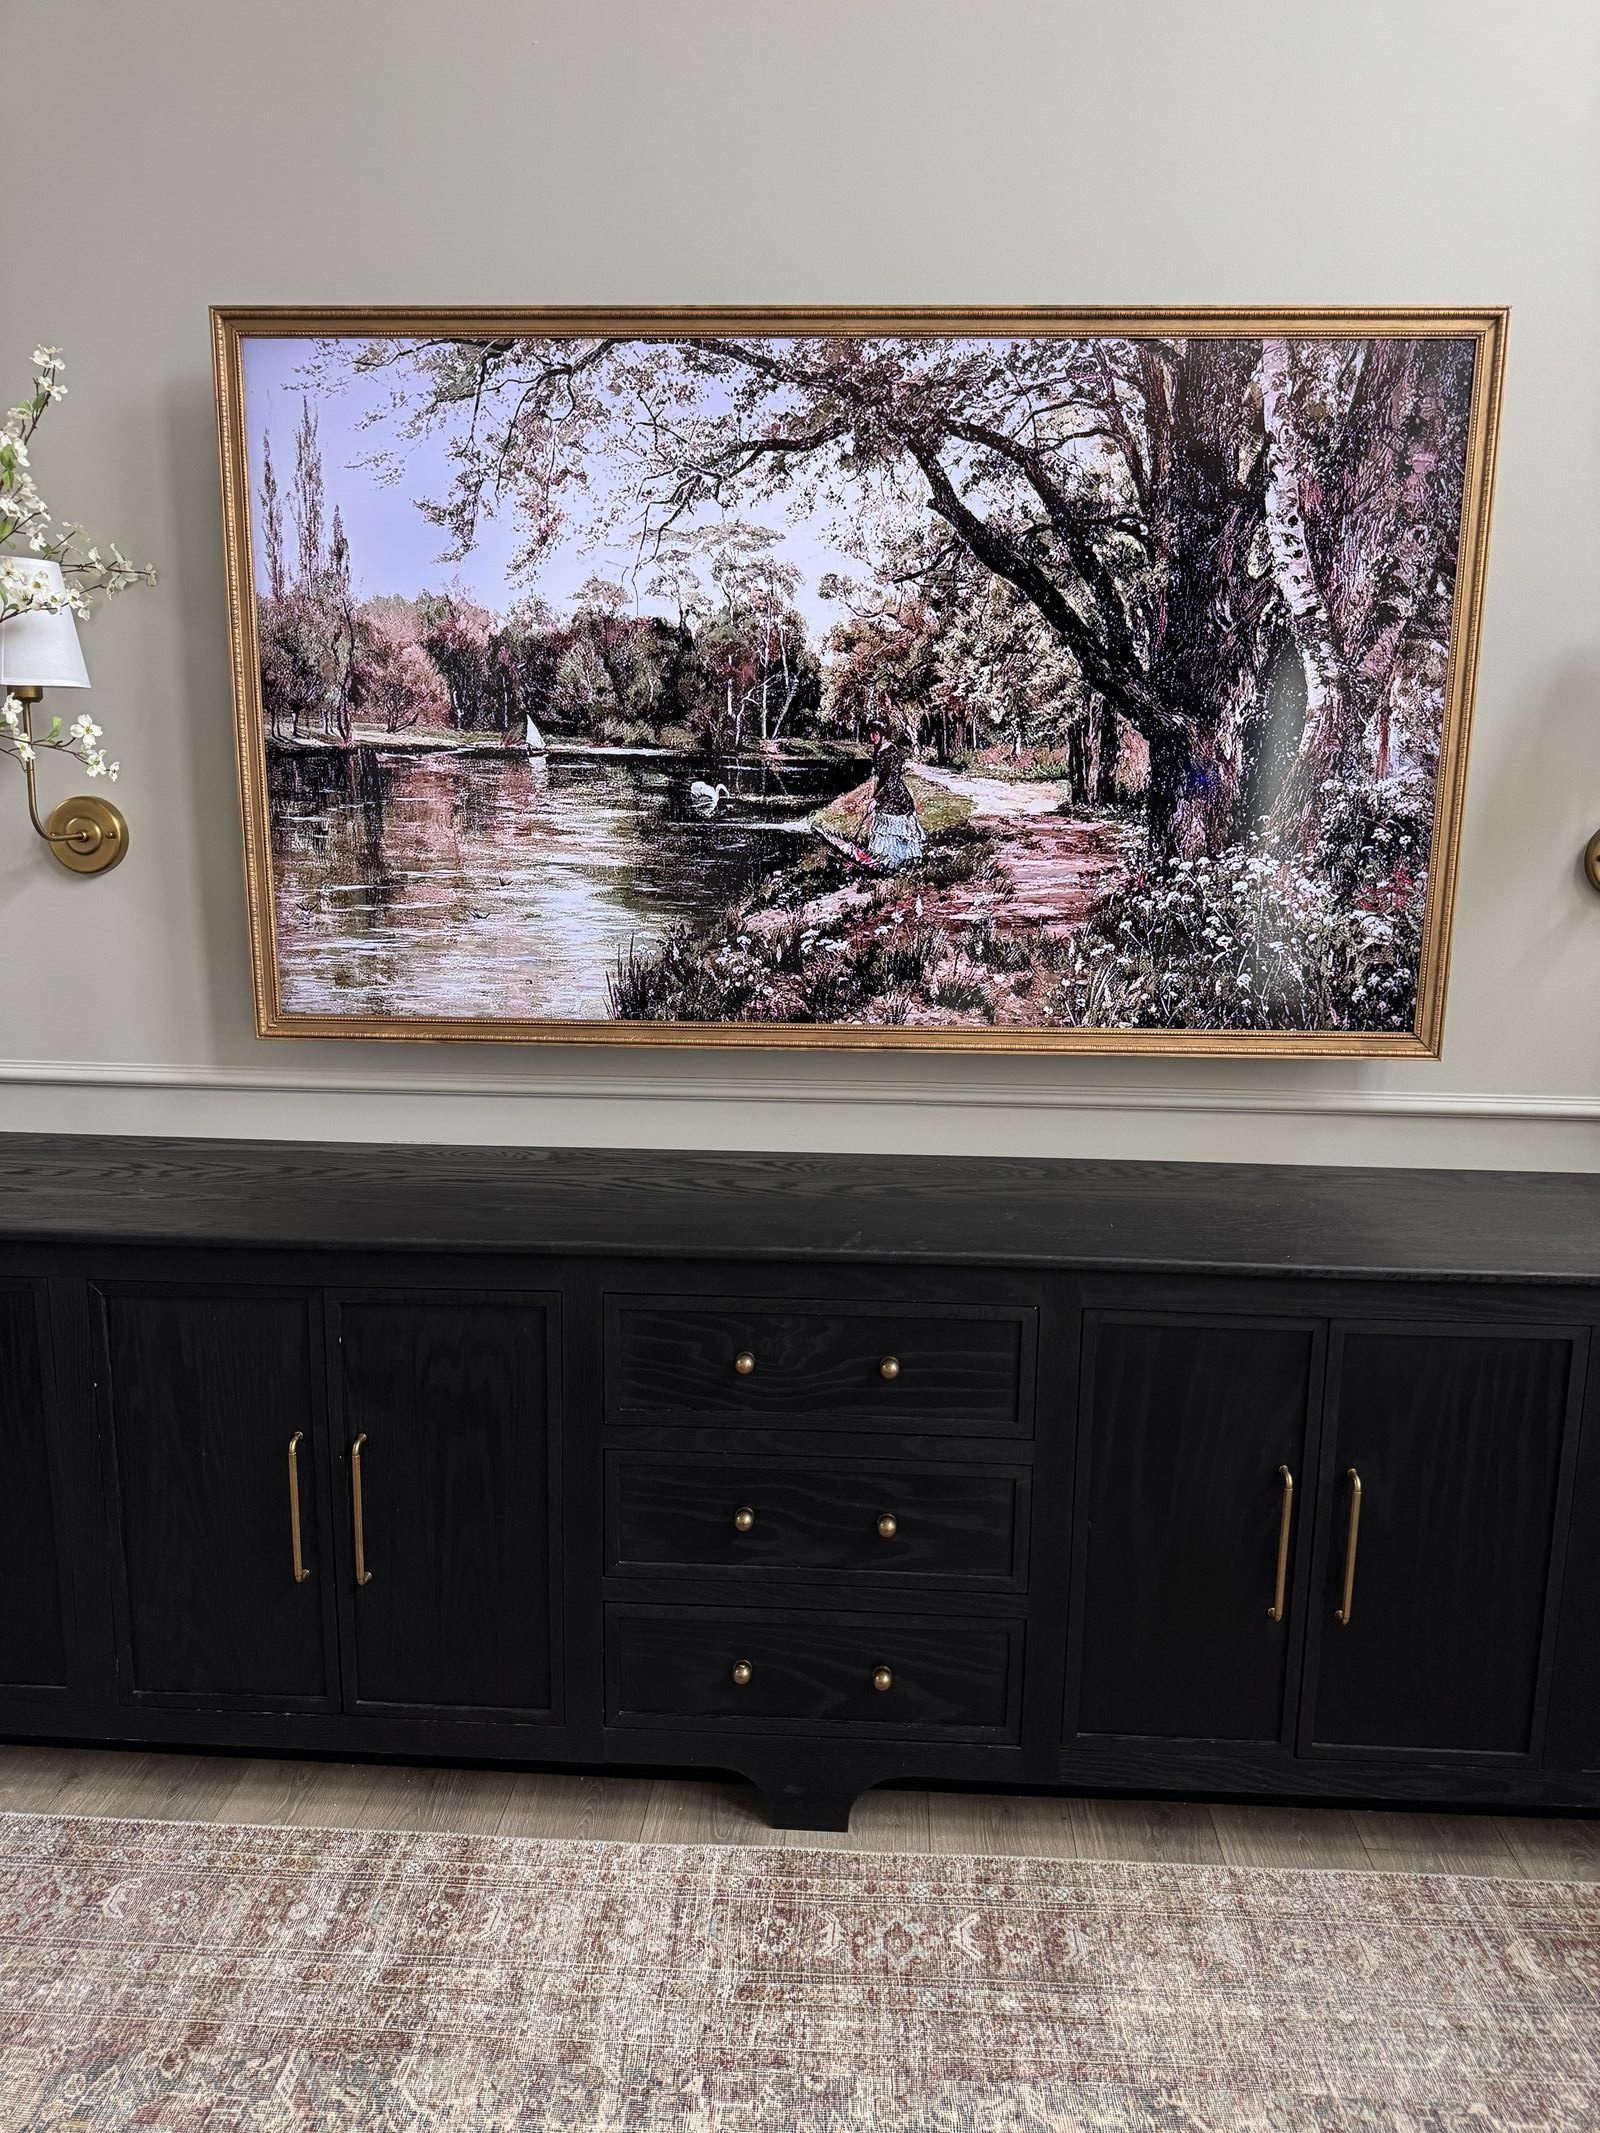


This easy tv frame is perfect for the beginner DIYer who is comfortable with a table saw. It only requires 4 pieces of trim and some elastic so its super budget friendly. This frame fits a 75" tv but I have included a way to adjust the size to fit your tv.
Tools
Kreg Tools


Other Tools
-
Table saw

-
Staple gun
-
Miter saw
-
Chisel
-
Hammer
Materials
Wood Products
- 4 Trim pieces , .75" x 1.5" x 96"
Hardware & Supplies
- 25 Kreg Pocket screws 1 1/4"
- 1 Wood glue
- 1 Stain/paint
- 1 Elastic
- 25 Heavy duty staples
Directions
-
1
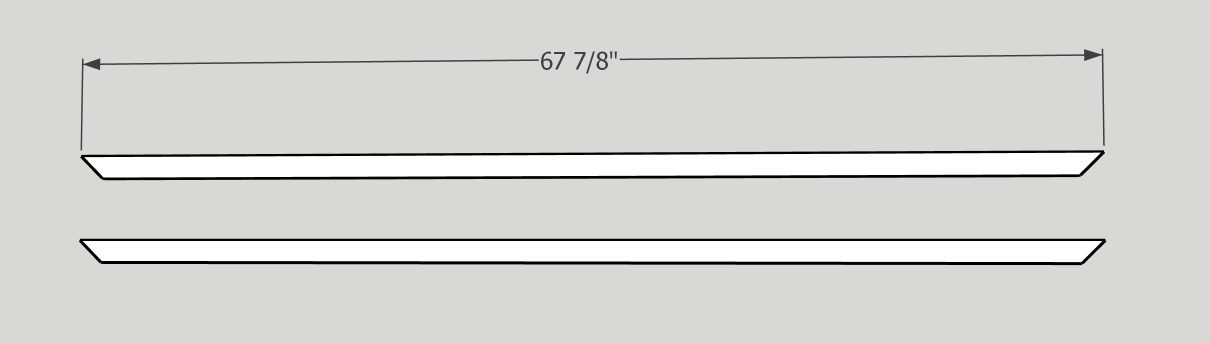
Cut the top and bottom pieces to size. Make sure to miter both sides as shown in the picture.
-
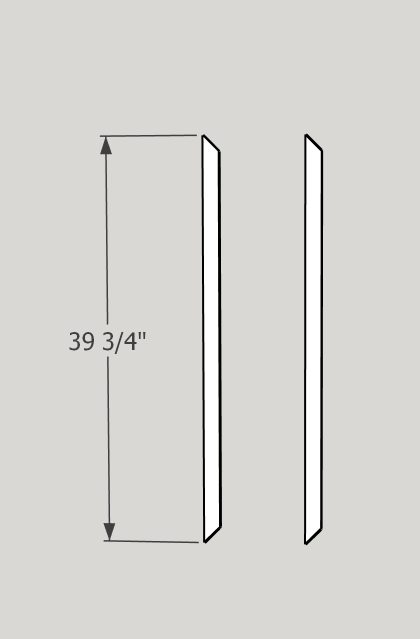
2
Cut the sides of the frame to size. Make sure to miter both sides as shown in the picture.
-
3
Cut the grooves on the backside, bottom of the trim as shown in the picture.
Go slowly when cutting it on the table saw. Use a push block to keep your hands safe.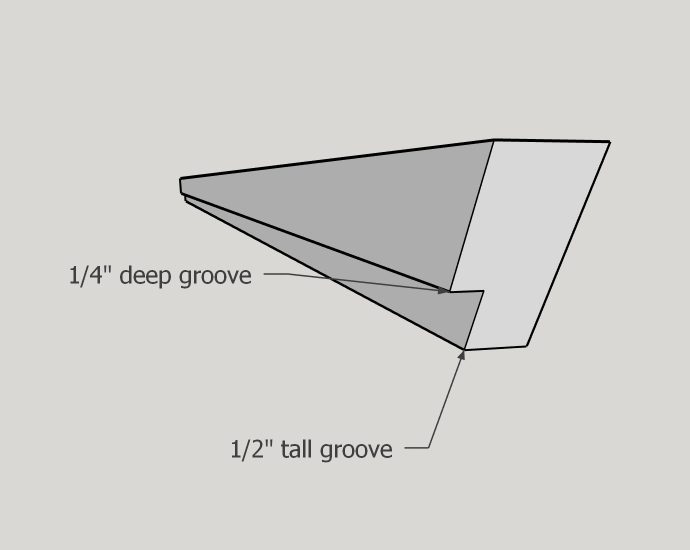
-
4
If your tv has a sensor, this is when you will want to cut out a groove for it to rest in.
It doesn't have to be perfect! Just make your marks, and use a chisel and a hammer to carefully remove the wood until the sensor fits.
Also make sure to check at this point that your remote works with the tv frame on. -
5
Drill one pocket hole on both ends of the top and bottom pieces as shown in the picture.
Using wood glue and 1 1/4" pocket screws, screw the frame together.
The Kreg clamps make it easy to hold the miters flush while screwing them together.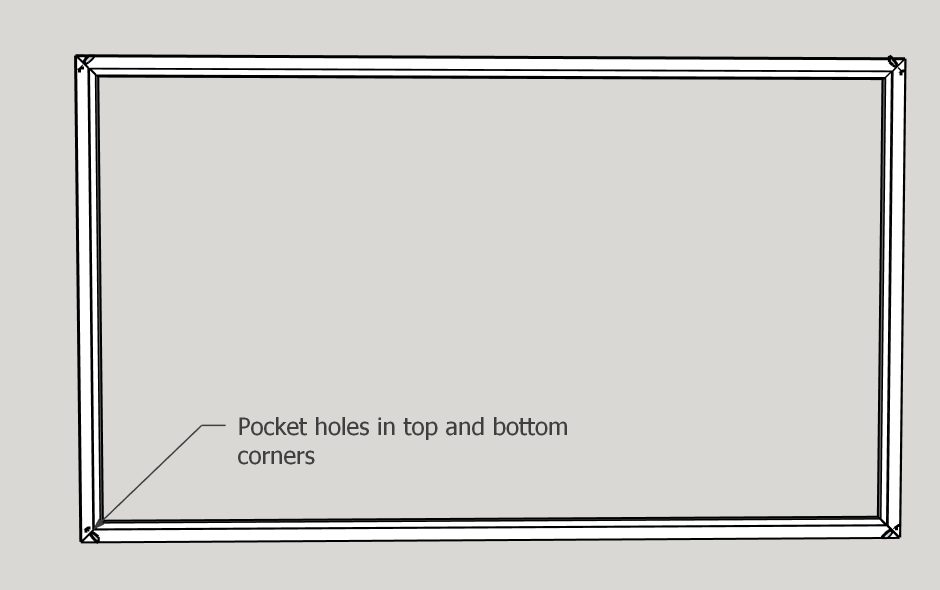
-
6
Staple the elastic to the back of the frame on each side.
Make sure the elastic is slightly tight.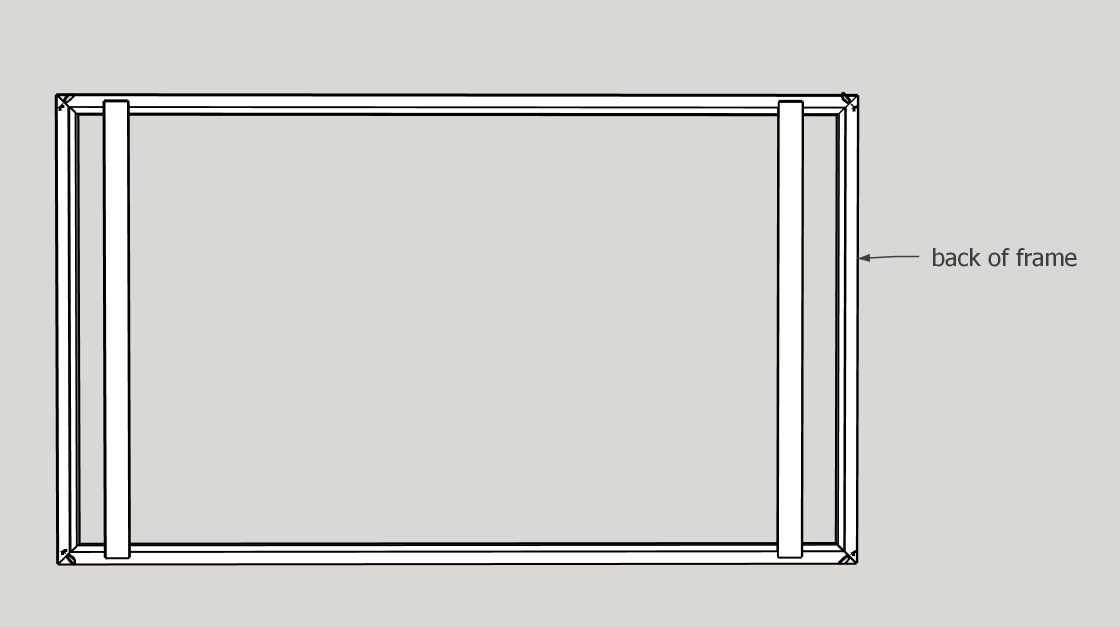
-
7
Paint or stain and you built a tv frame!
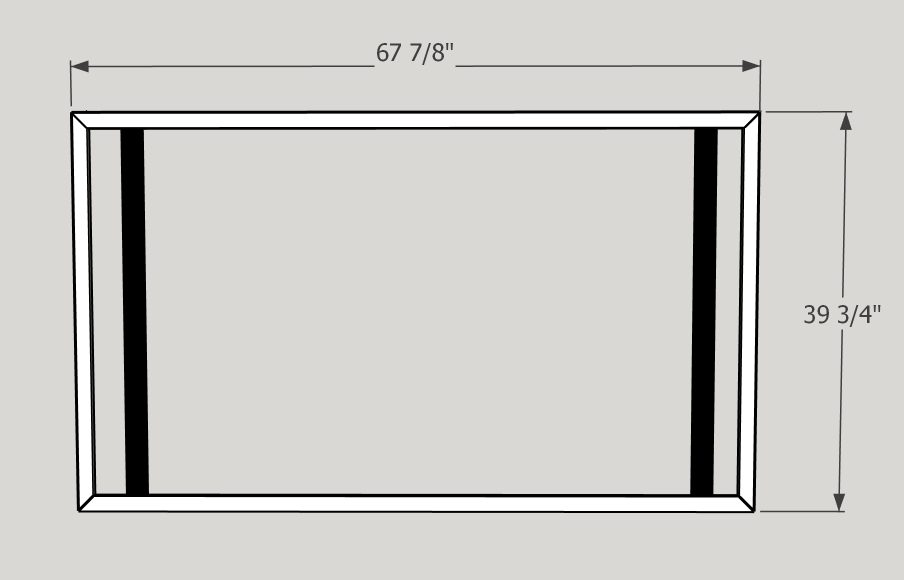
To determine the measurements for your tv first take the length of your tv + the width of your frame (1.5″ x 2) = 3 and then subtract 1″ from that number to get your length to cut the trim for the top and bottom.
The same measurement applies to the side pieces. So measure the height of your tv, take that measurement + the width of your frame (1.5″ x 2) = 3 and then subtract 1″ from that number to get your height to cut the trim for the side pieces.