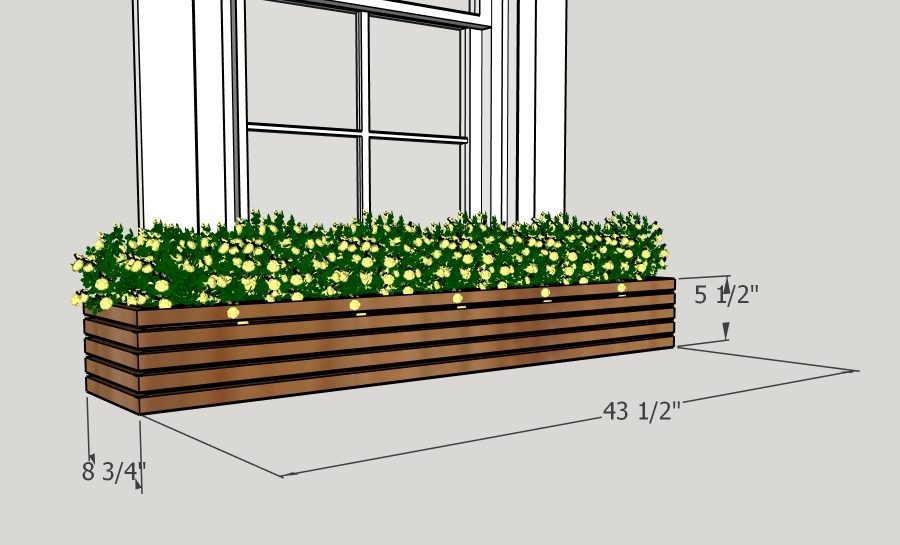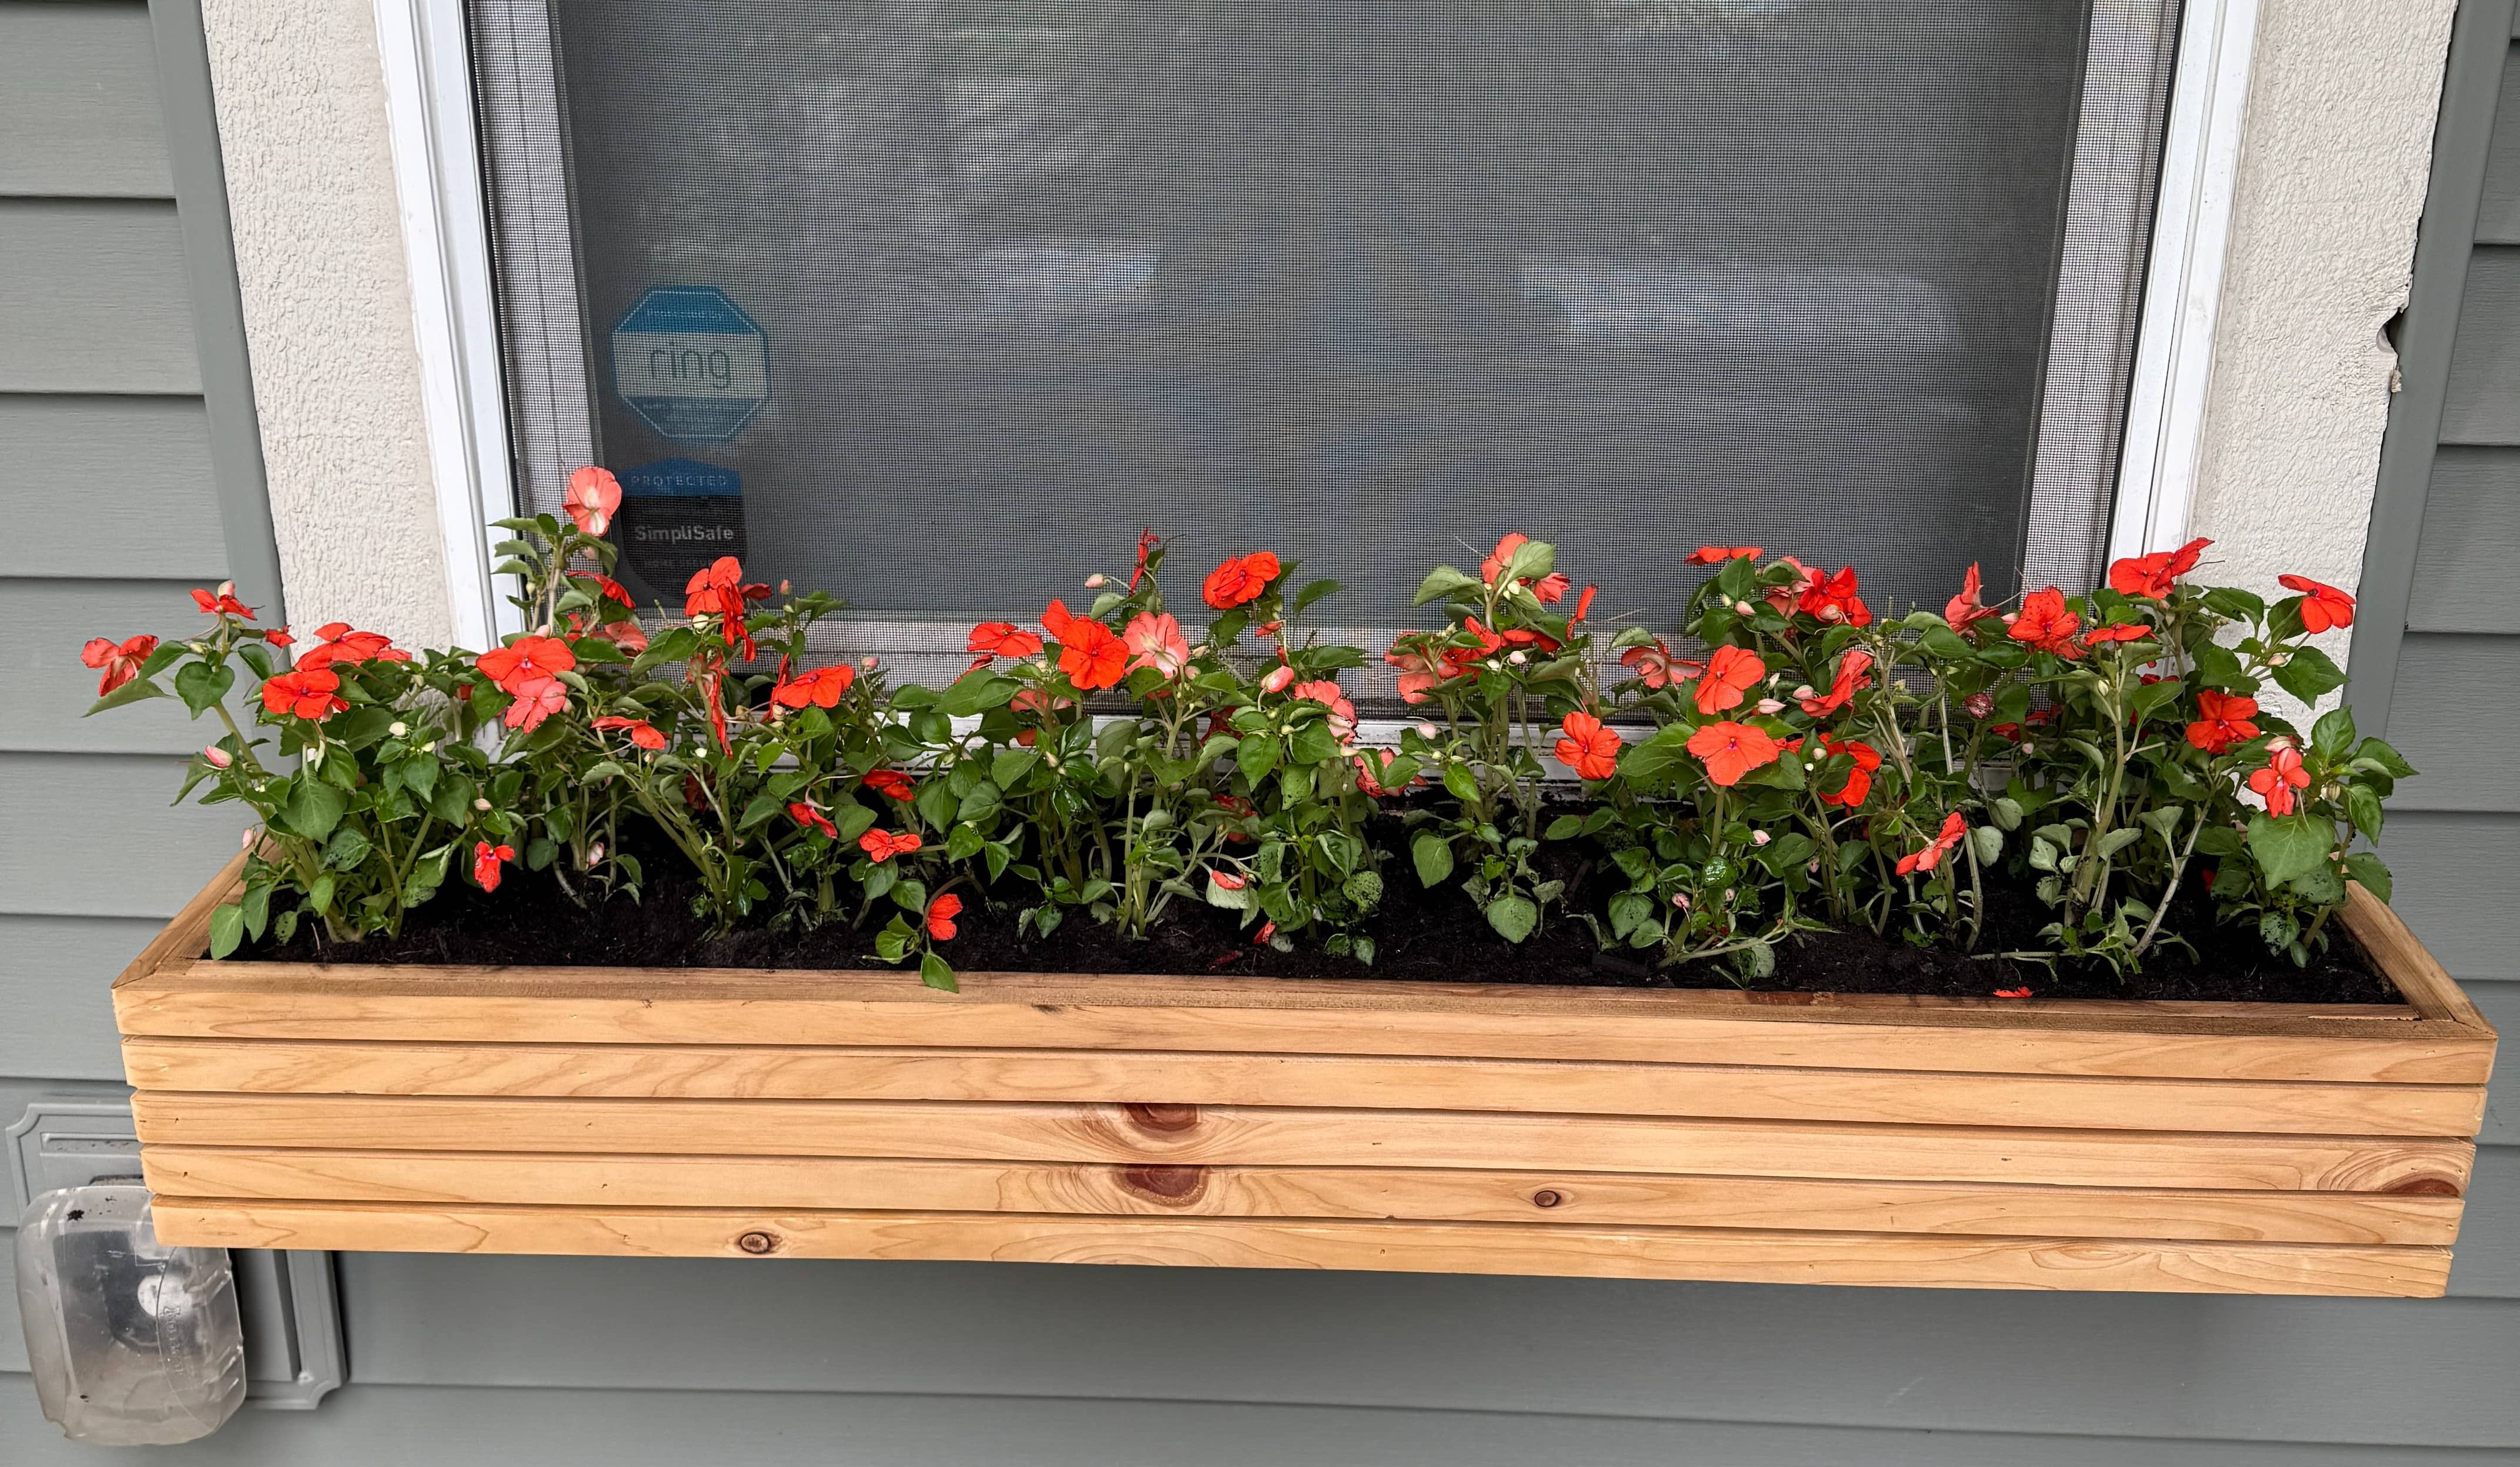


Build a beautiful, budget friendly flower box for under your window in just a couple of hours.
These builds plans will guide you step by step through creating your own flower box using beginner friendly materials and simple cuts. Whether you're a seasoned DIYer or just getting started, this project is perfect for anyone who wants to add instant charm to their front porch, patio or garden without breaking the bank.
Tools
Kreg Tools


Other Tools
-
Miter saw

-
Table saw
-
Nail gun
-
Staple gun
Materials
Wood Products
- 8 1x6x6' Cedar picket , .75" x 5.5" x 72"
Hardware & Supplies
- 1 Wood glue
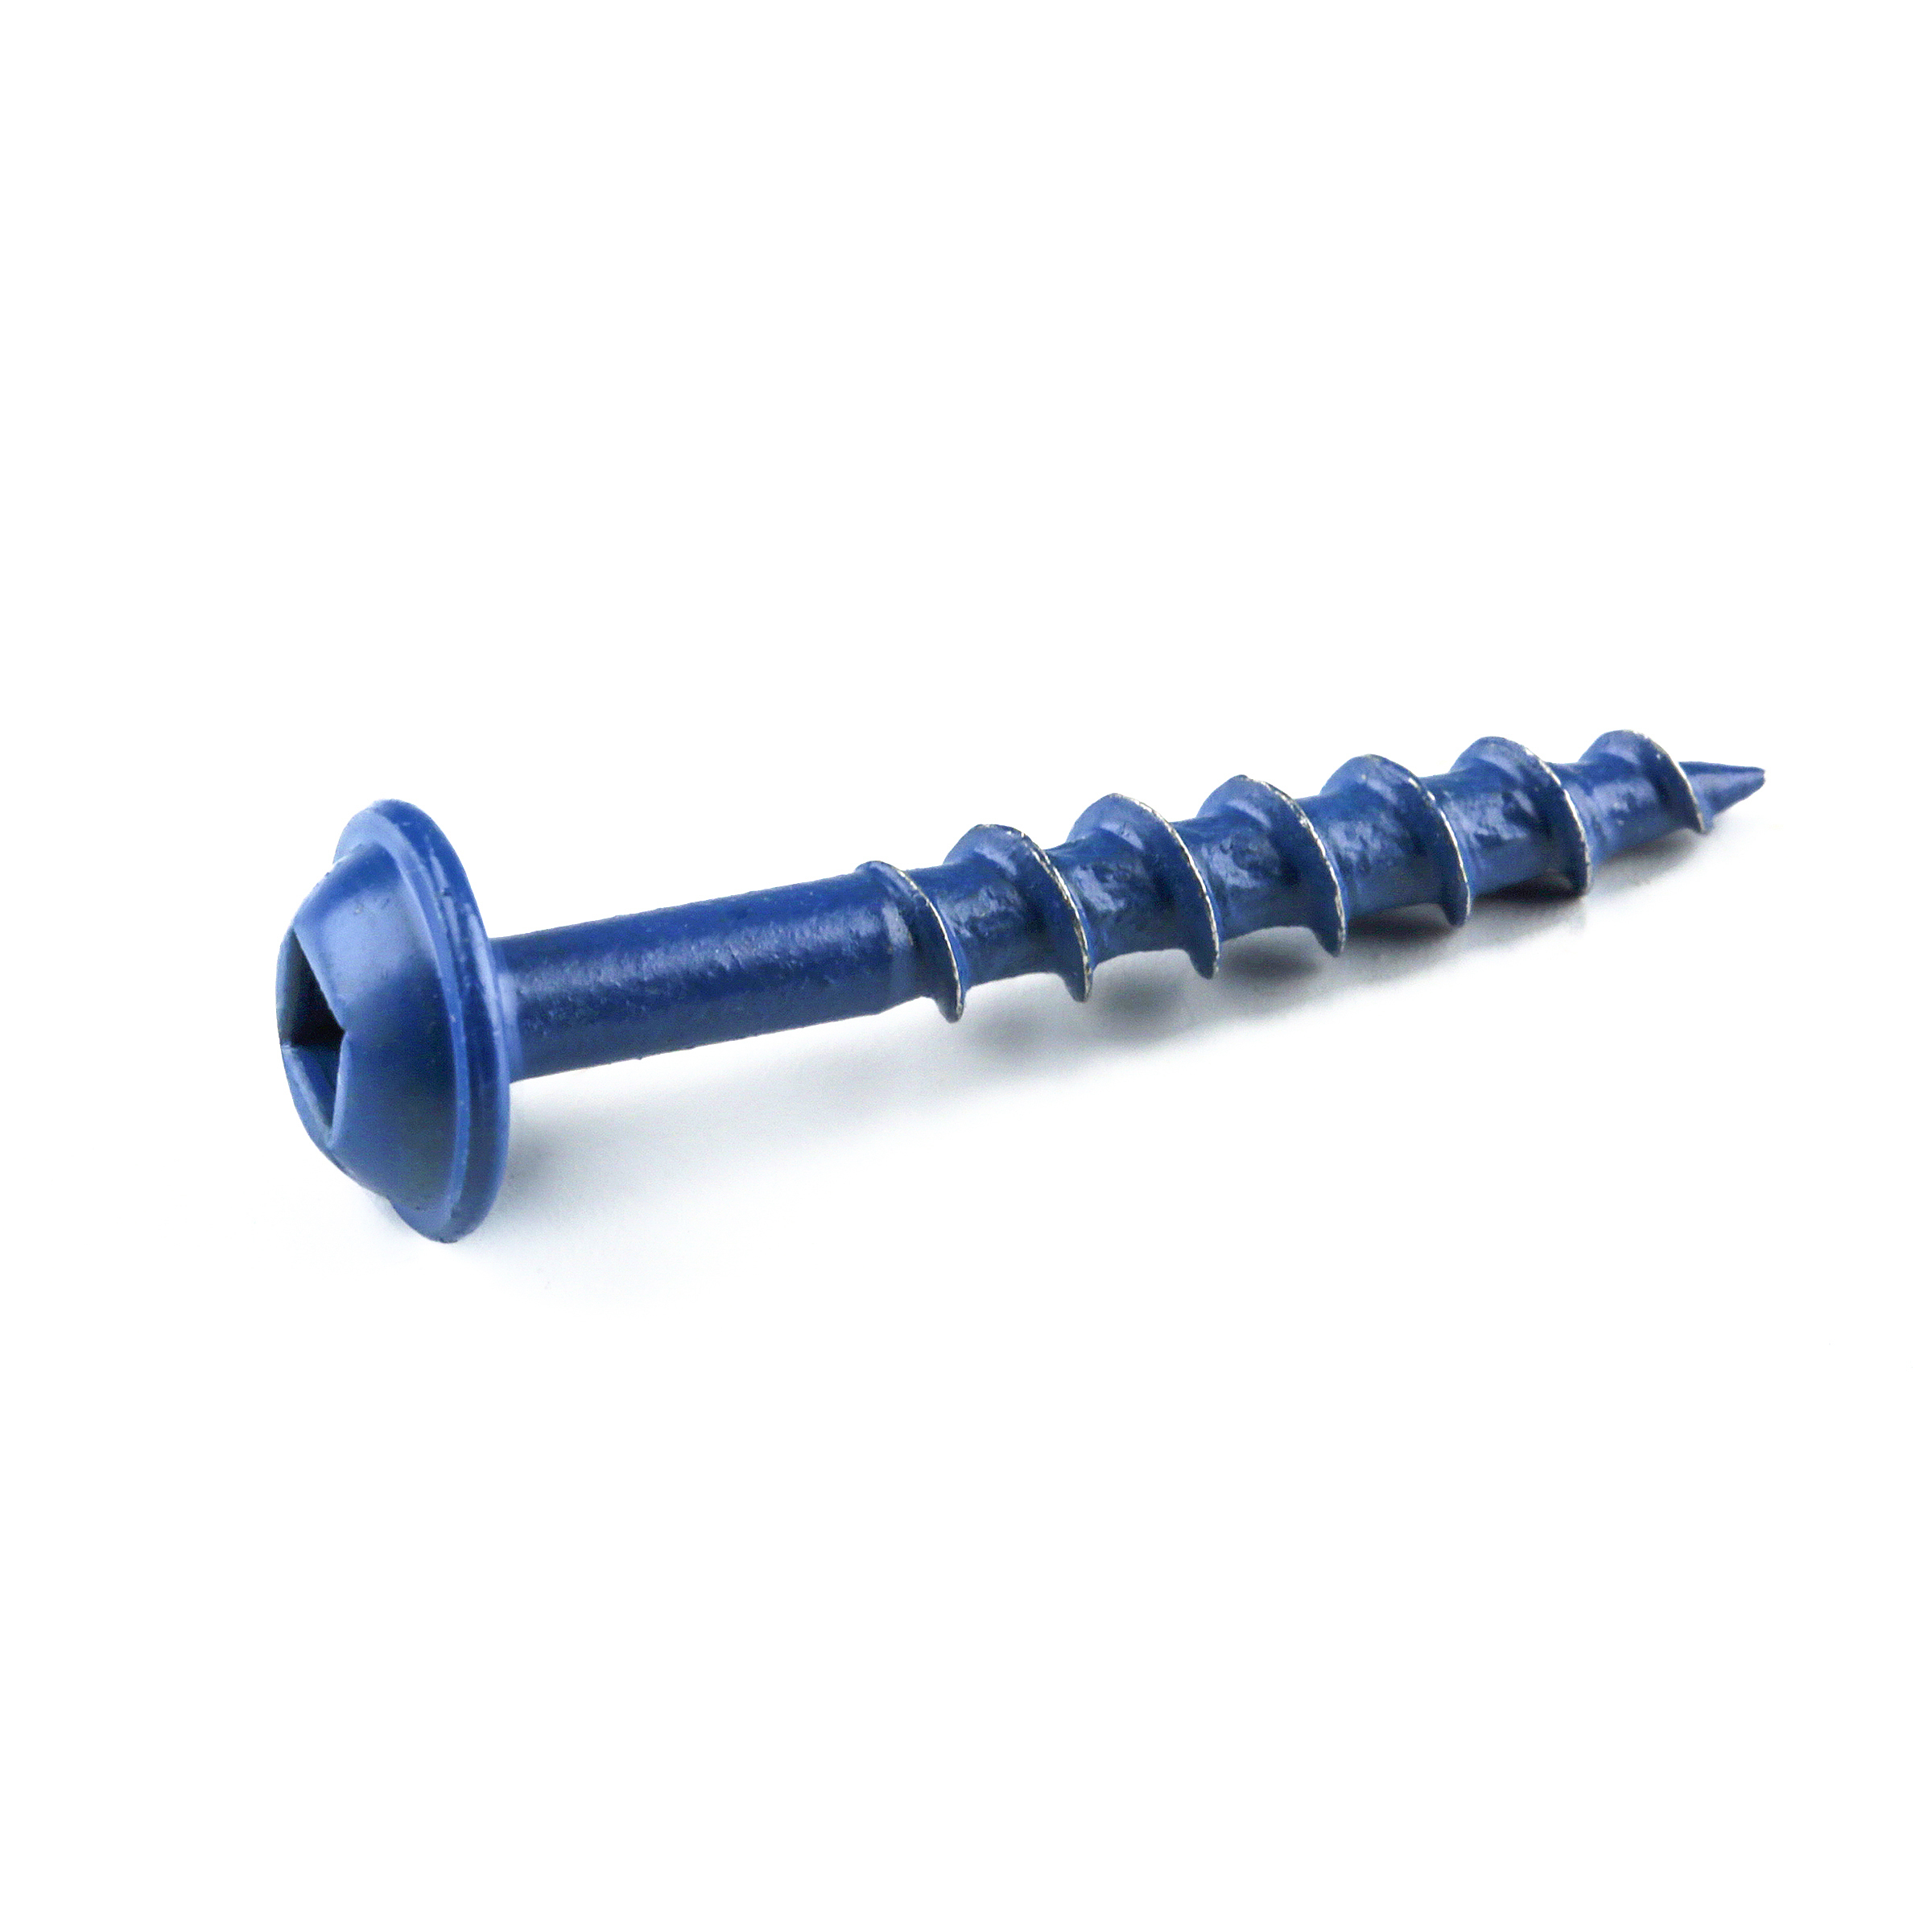
- 25 1 1/4" outdoor screws
- 100 1 1/4" brad nails
- 5 3" screws
- 1 Black plastic sheeting
- 1 Outdoor finish
- 50 Heavy duty staples
Directions
-
1
Cut the flower box pieces to size.
Pocket hole both ends of the long sides, making sure the pocket holes are on the inside.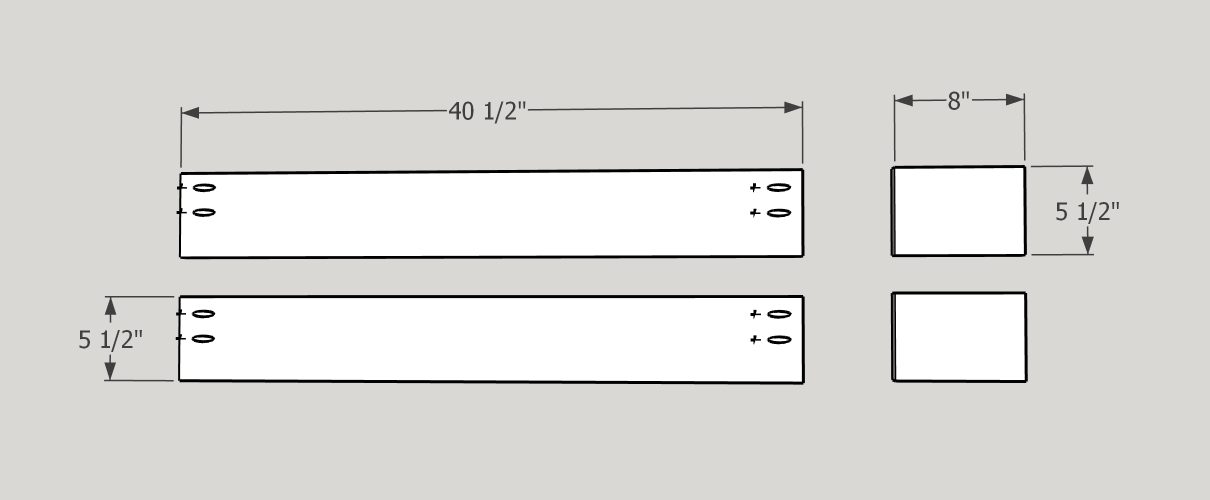
-
2
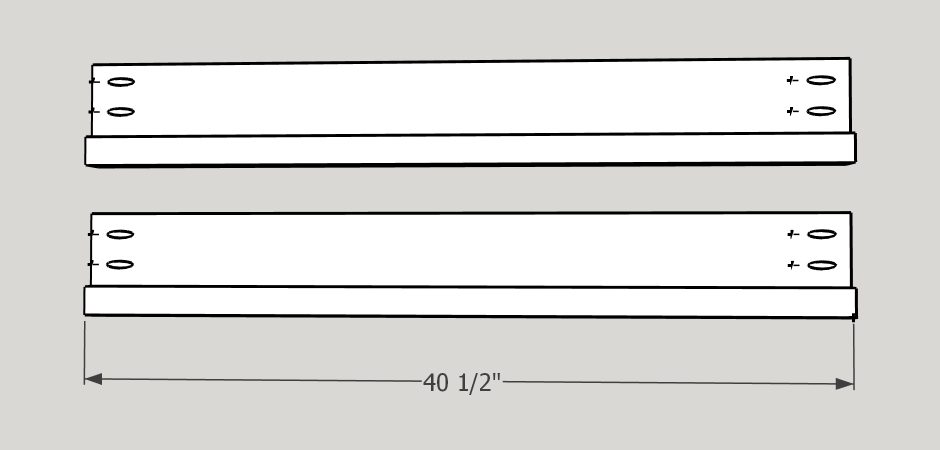
Attach the slat supports to the bottom of the flower boxes long sides. Use wood glue and 1 1/4" exterior screws.
-
3
Screw the flower box together as shown in the image.
Use wood glue and 1 1/4" exterior screws.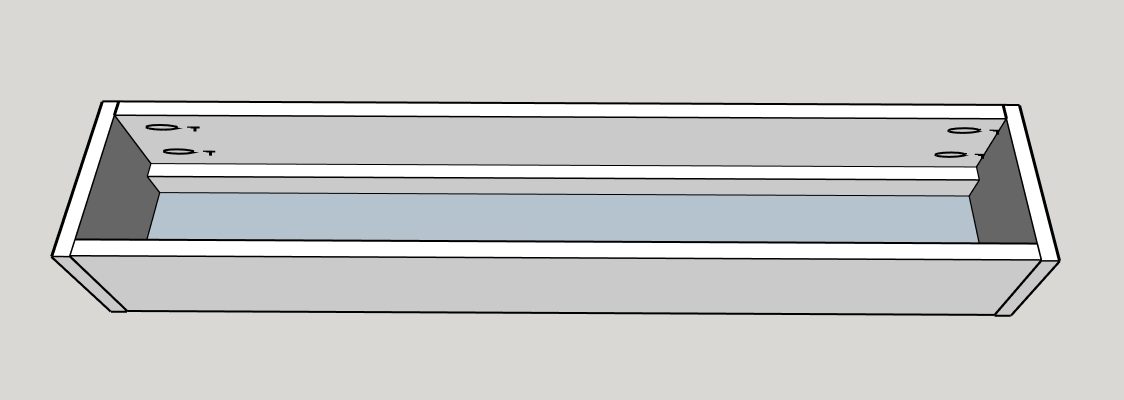
-
4
Attach the slats to the slat supports using 1 1/4" exterior screws.
Space them out as evenly as possible.
I recommend pre-drilling before you screw to prevent the wood from splitting.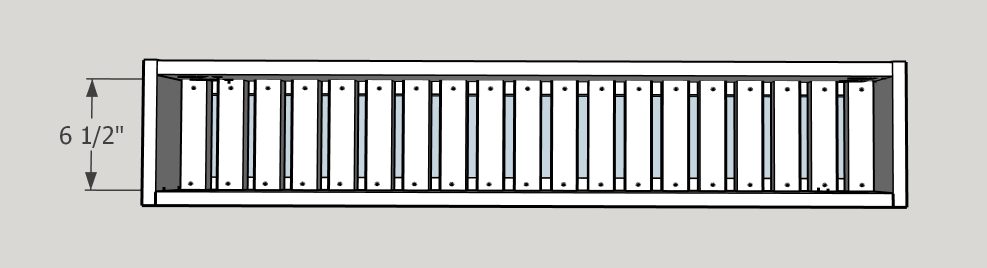
-
5
Cut all the decorative slats to size.
The short slats should be mitered on one end.
The long slats should be mitered on both ends.
-
6
Attach the slats to the flower box using wood glue and 1 1/4" brad nails.
The slats should wrap around the flower box as shown in the image.
Space them out as evenly as possible.
I suggest using a scrap piece of wood to make sure they are spaced evenly.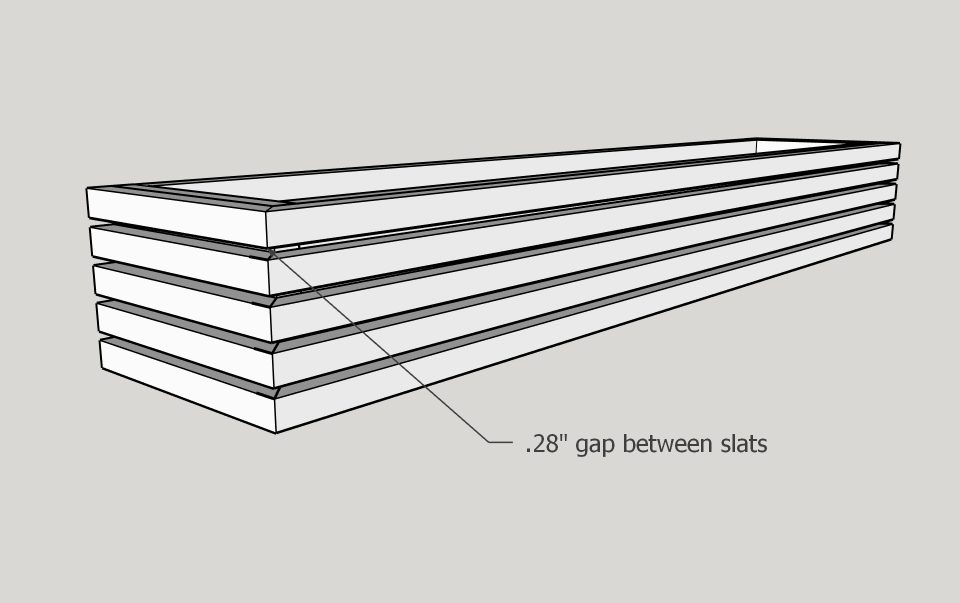
-
7
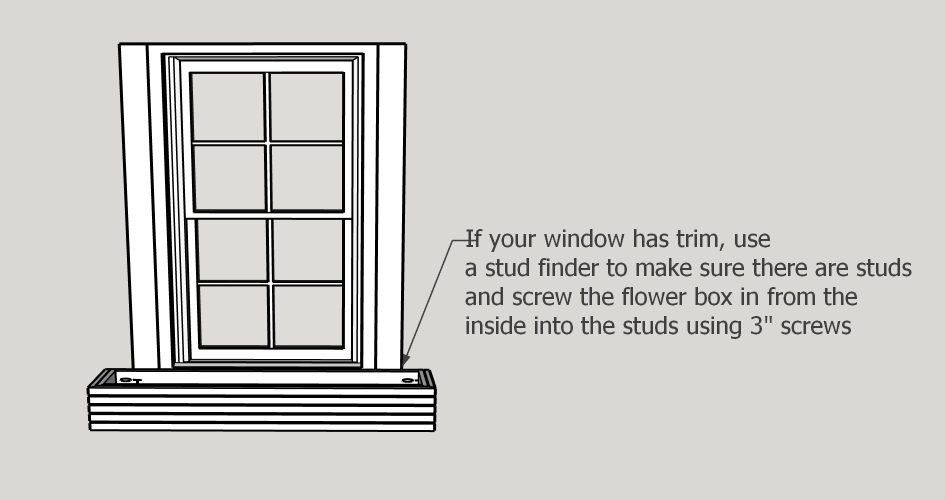
If your window already has trim, find the studs on the trim then screw the flower box directly into the studs through the trim.
Use 3" screws.Tip: I recommend sanding and finishing before this step.
-
8
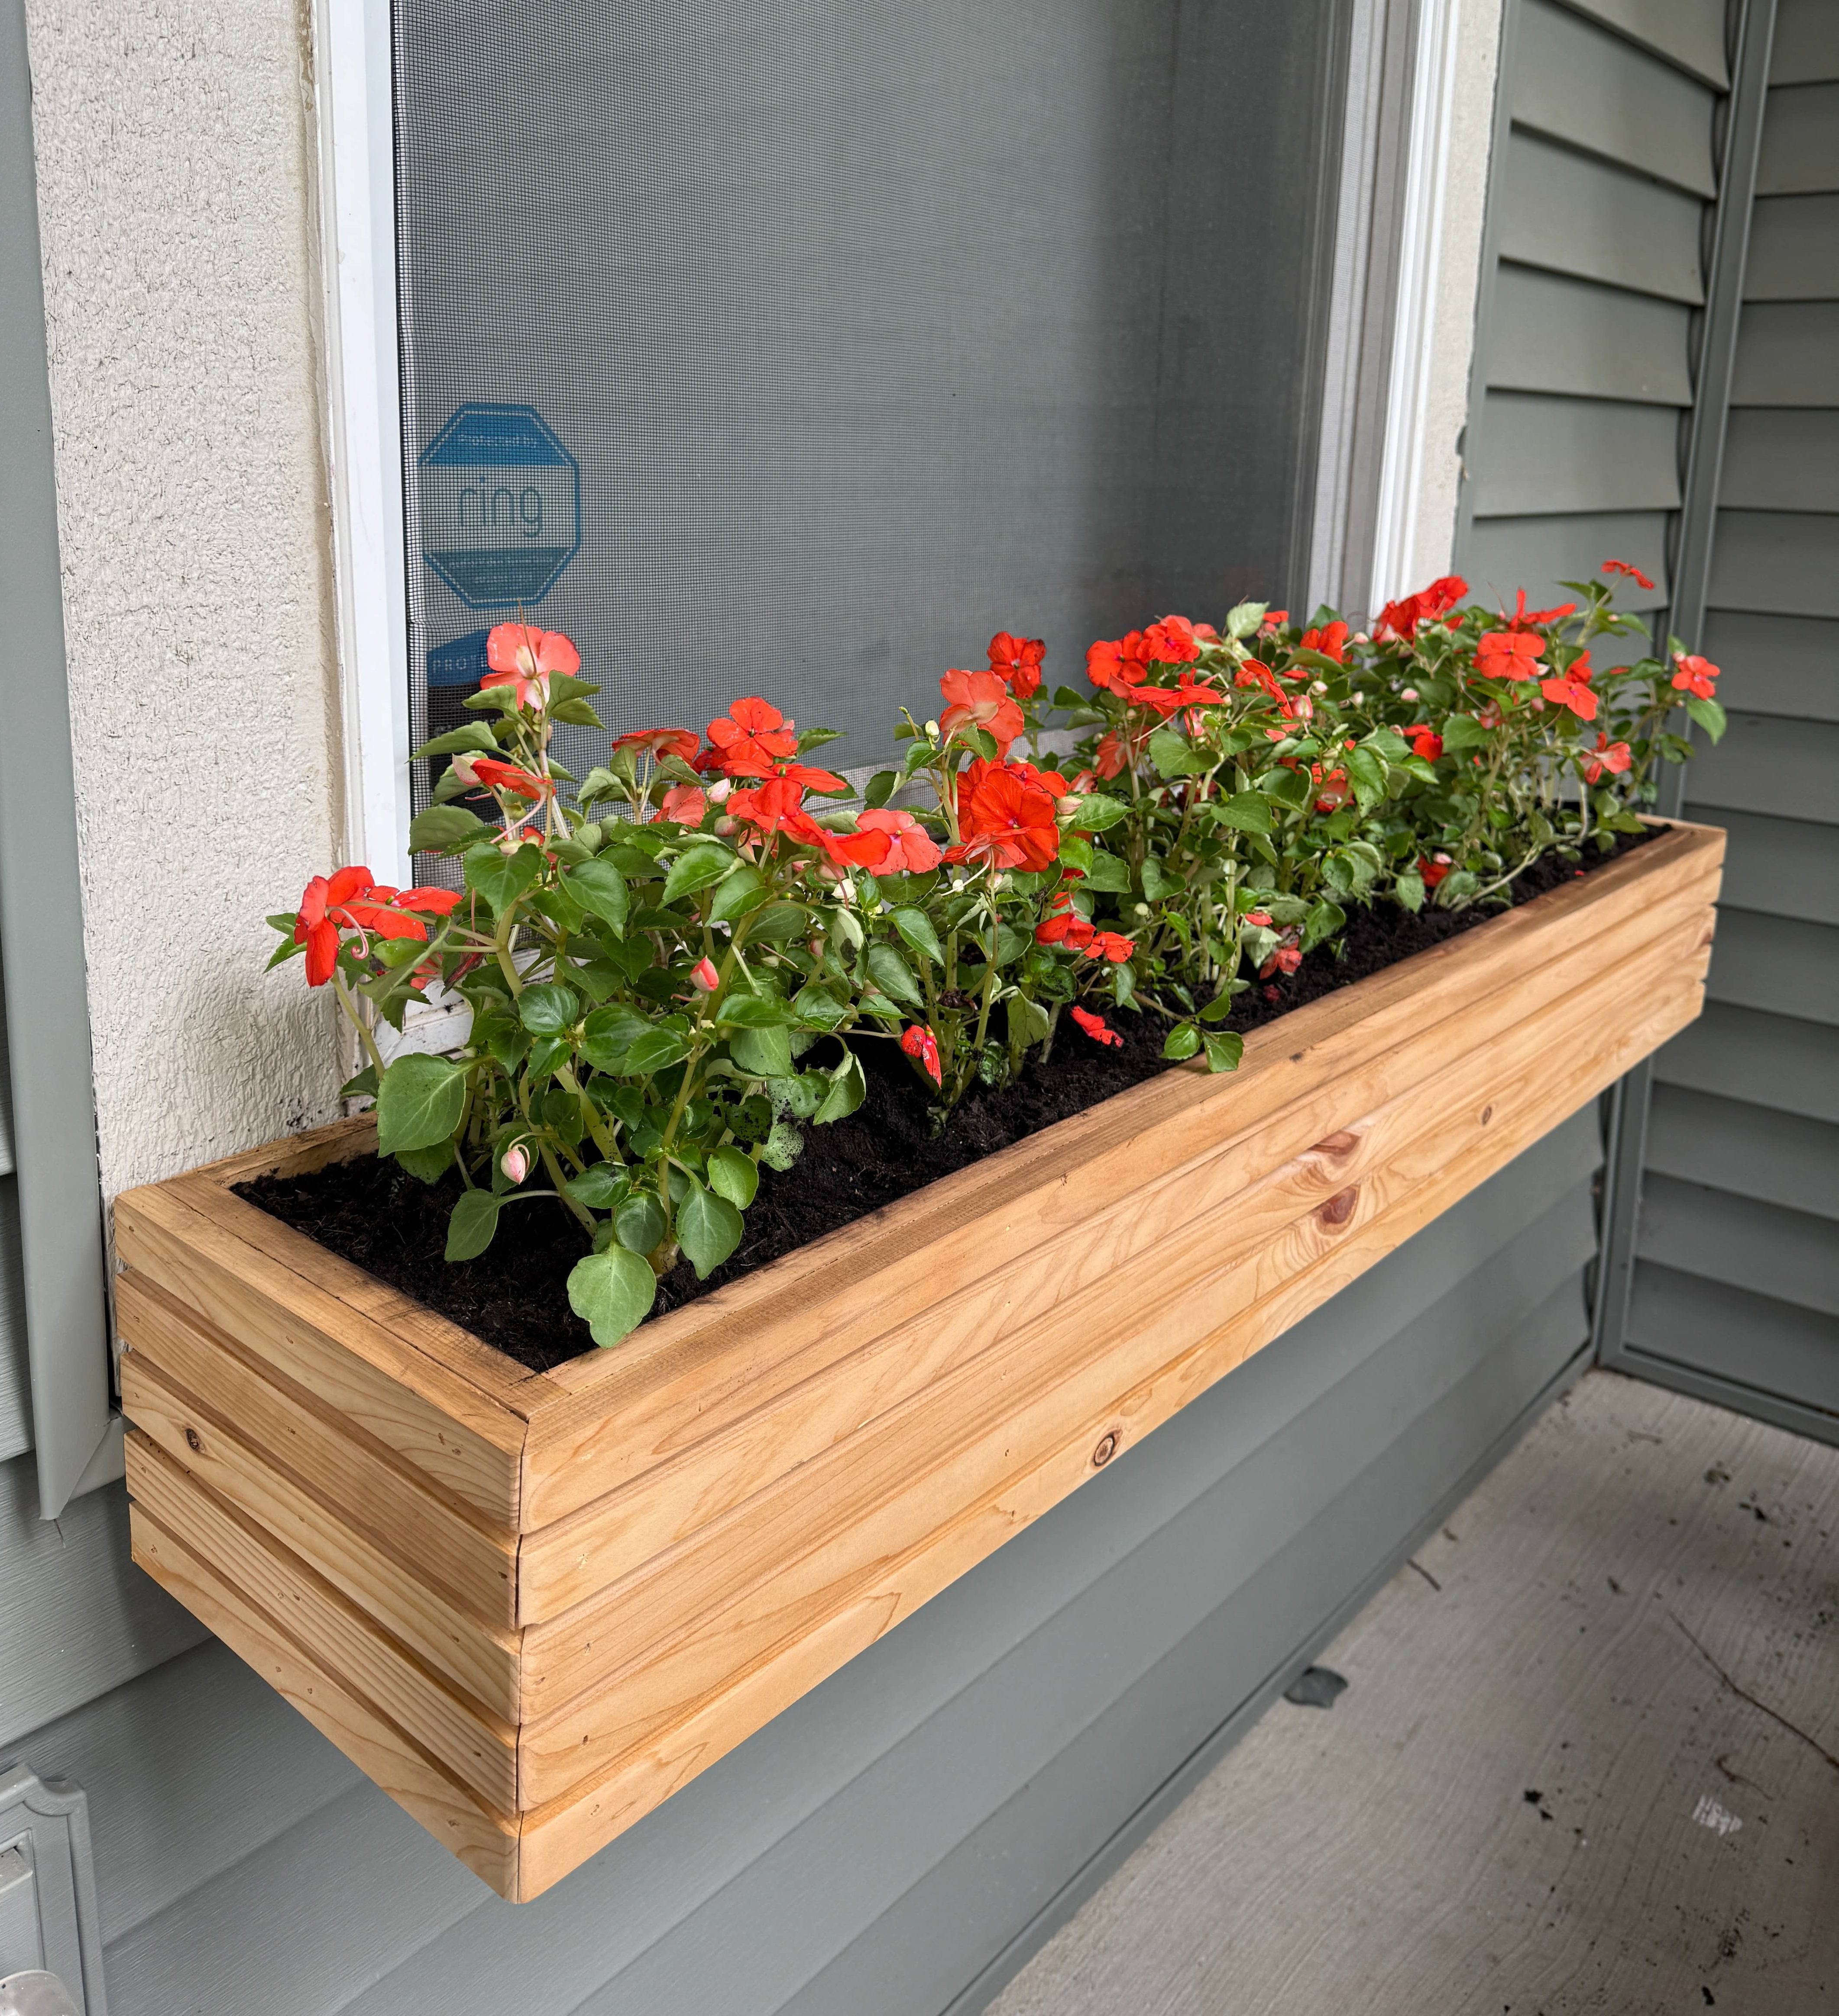
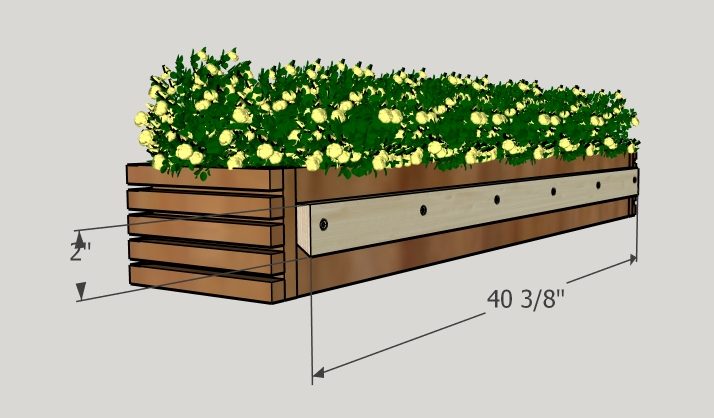
If you want to attach it to your vinyl siding under your window, make sure to find the studs under your window.
There should be two on either side under the window.Cut the cleats to size, making sure one edge is beveled at 45 degrees. Attach one side to the back of the flower box in the center of the flower box.
-
9
Attached the other cleat the opposite side up under the window, through your vinyl into the studs.
The box should hang easily onto the cleat and it will hold a ton of weight!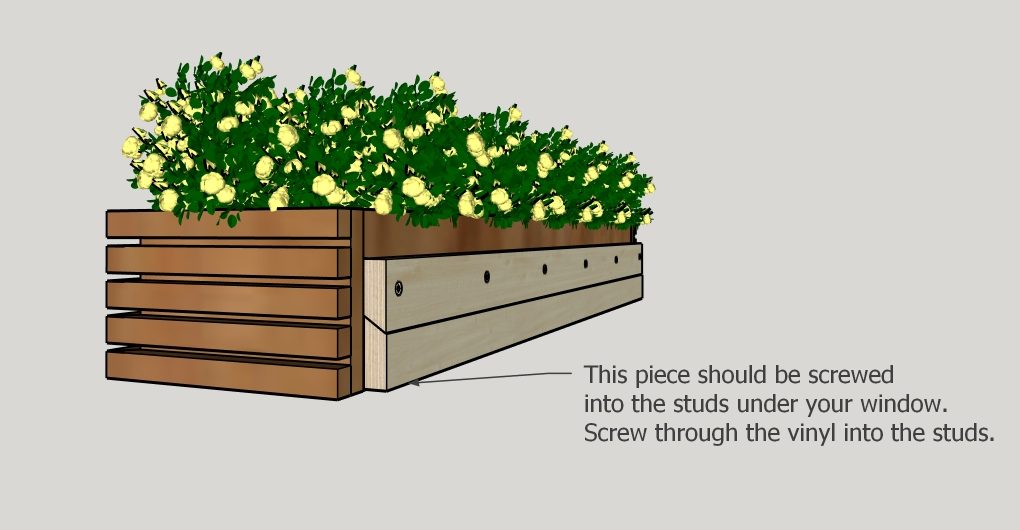
-
10
Attach the black lining with staples, fill with dirt, plant your flowers and enjoy your new flower box!