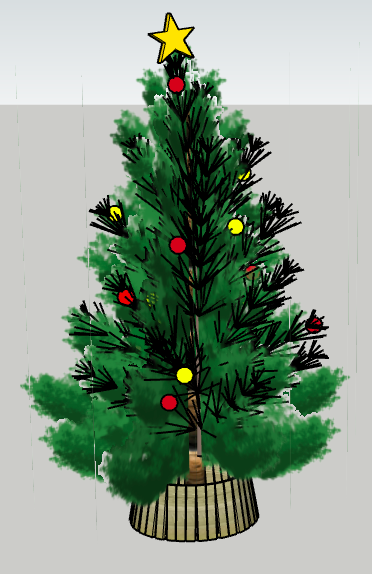
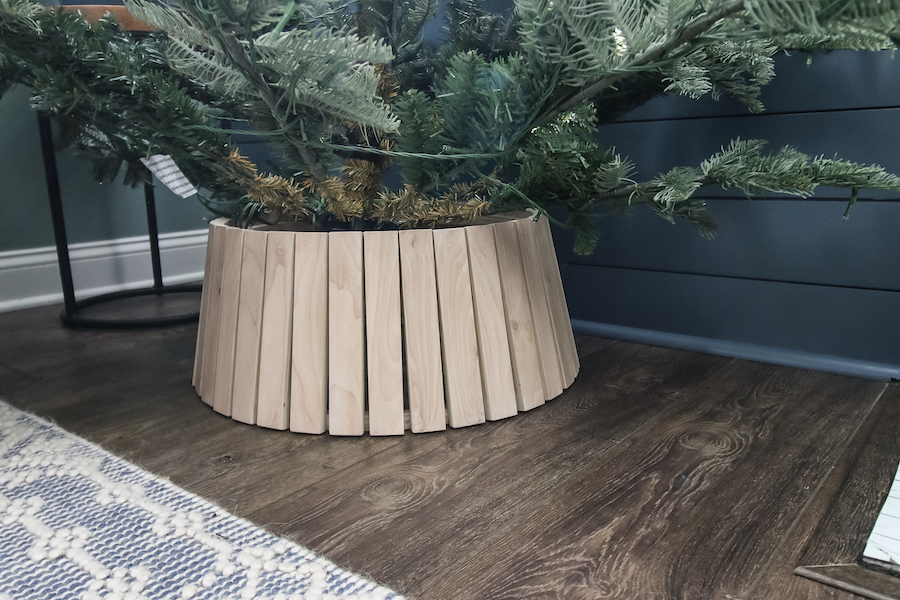


This DIY slatted wood tree collar will give your Christmas tree a modern look as you celebrate the holidays! These plans will help you build a tree collar to impress your friends and family all season!
Tools
Kreg Tools


Other Tools
-
Miter saw

-
Brad nailer
-
Measuring tape
Materials
Wood Products
- 1 Sheet plywood , 4' x 8' x 3/4"
Hardware & Supplies
- 1 Wood glue
- 1 Box of 1 1/4" brad nails
- 1 Stain and sealant of your choice
- 1 Christmas tree stand
Directions
-
Rip plywood
Using a Kreg Straight Edge Guide, cut four 1 1/2" thick strips of wood off of the sheet of plywood.
Using a miter saw, cut the strips down to 9" long pieces until you have 36 slats.
-
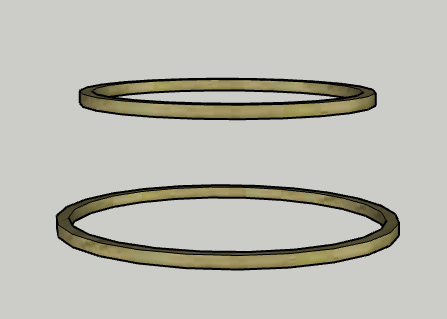
Cut rings
Start by cutting the two rings for the support.
Cut a 21" diameter ring and then measure 3/4" in from the edge all the way around and trace that circle.
Cut away the inner circle so you are left with a 3/4" wide ring that is 21" in diameter.
Cut a 18" diameter ring and then measure 3/4" in from the edge all the way around and trace that circle.
Cut away the inner circle so you are left with a 3/4" wide ring that is 18" in diameter.
-
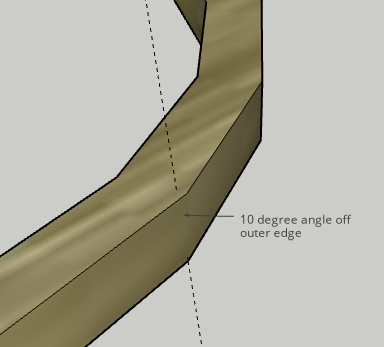
Bevel rings
Using a table saw jig, angled jig saw or router, cut a 10" angled bevel on the outside of each of the two rings.
-
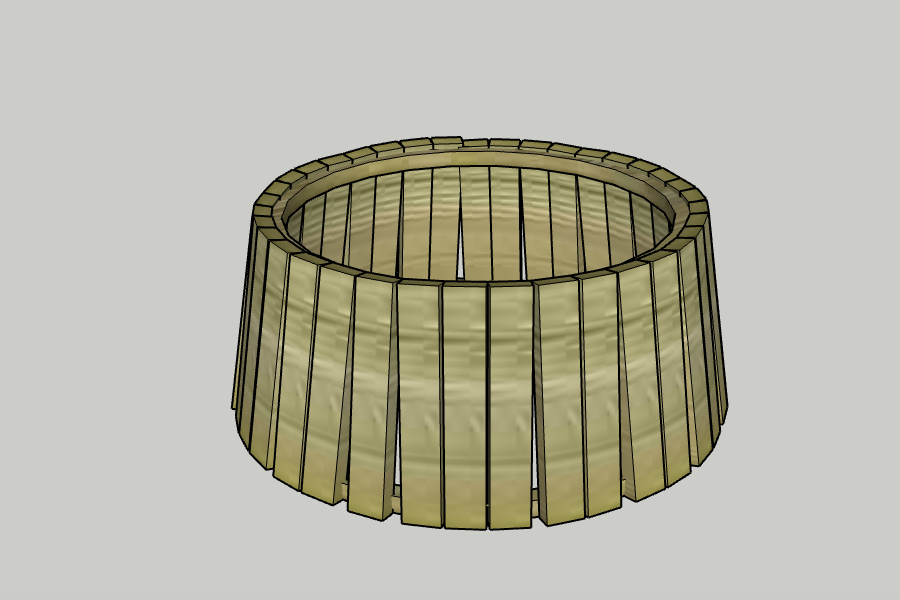
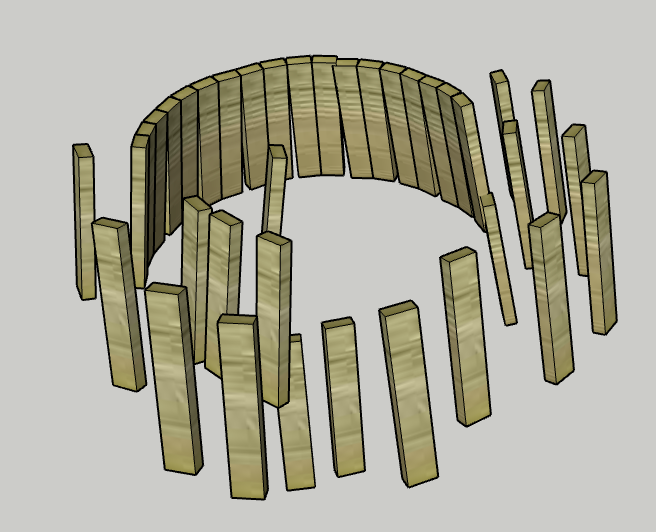
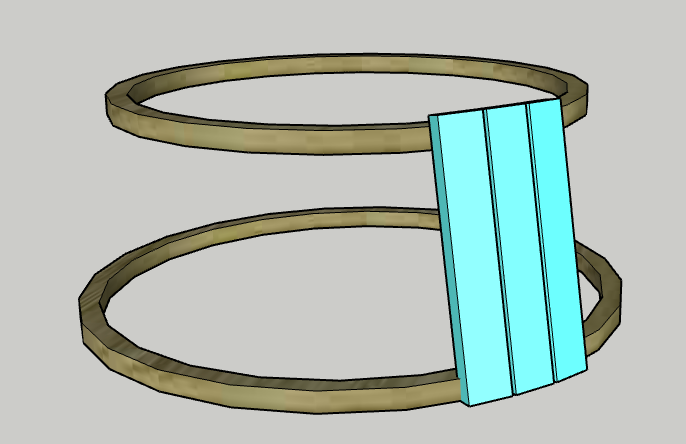
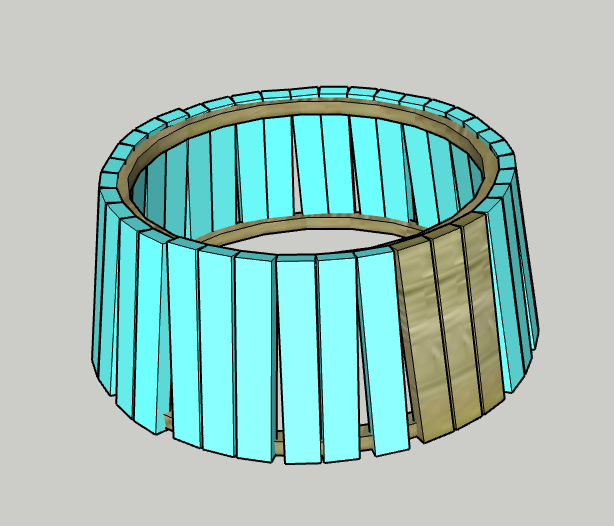
Attach first slats
Using wood glue and nails, lay the first Slat flush against the outside of the Bottom Ring and nail into place.
Then, repeat to attach the Slat to the Top Ring, with a 3/4" space from the end of the slat.
Repeat this process for two Slats on either side of the first. The Slats should be touching each other at the Top Ring and angle down to about 1/4" of space between them on the Bottom Ring.
-
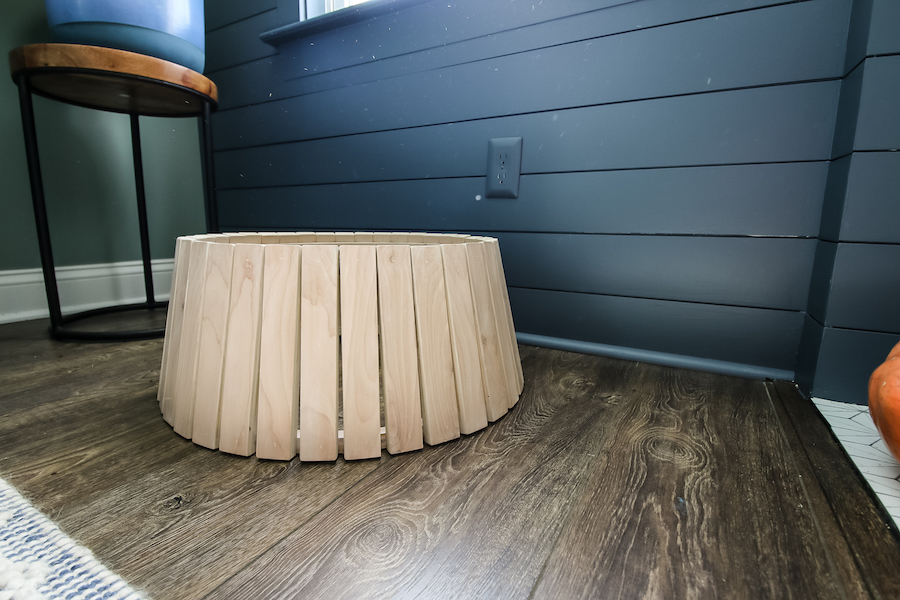
Attach remaining slats
Continue to attach the remaining Slats all the way around the rings.
It is helpful to attach a Slat at the four major compass points from the first Slat to help hold up. However, don't glue these in place because they likely won't perfectly align. When you get to these, simply pull them off the ring, adjust and secure in place.
-
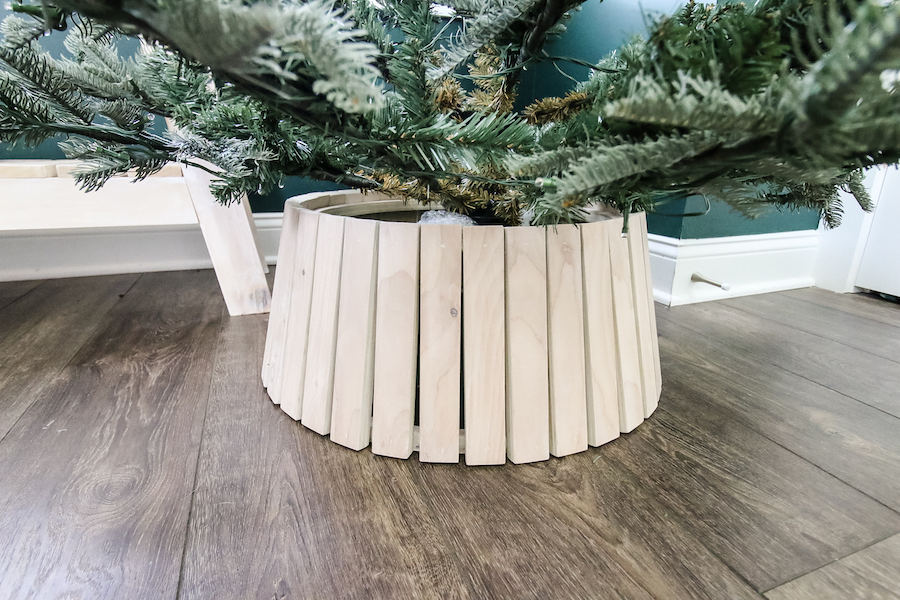
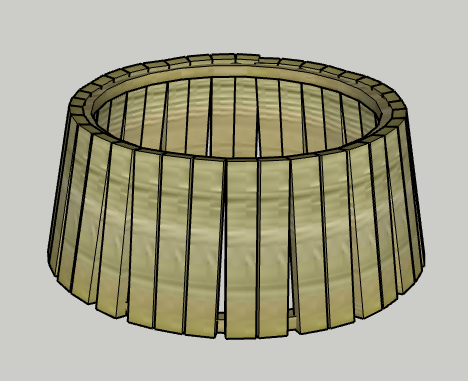
Stain and seal
Add a stain or paint of your choice, then seal with polyurethane since you could spill water when watering the tree.
-
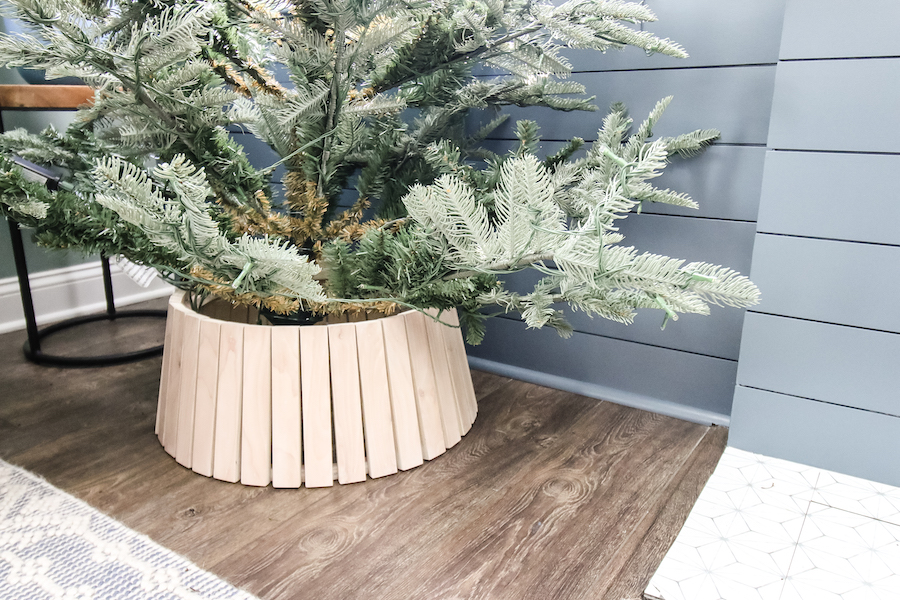
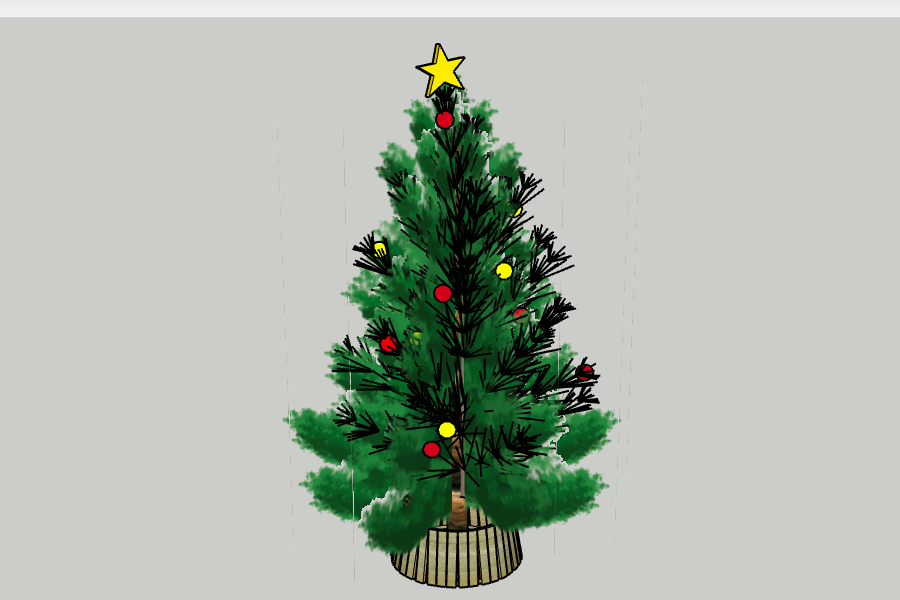
Enjoy!
Enjoy your handiwork and tag @CharlestonCrafted on Instagram with a picture!