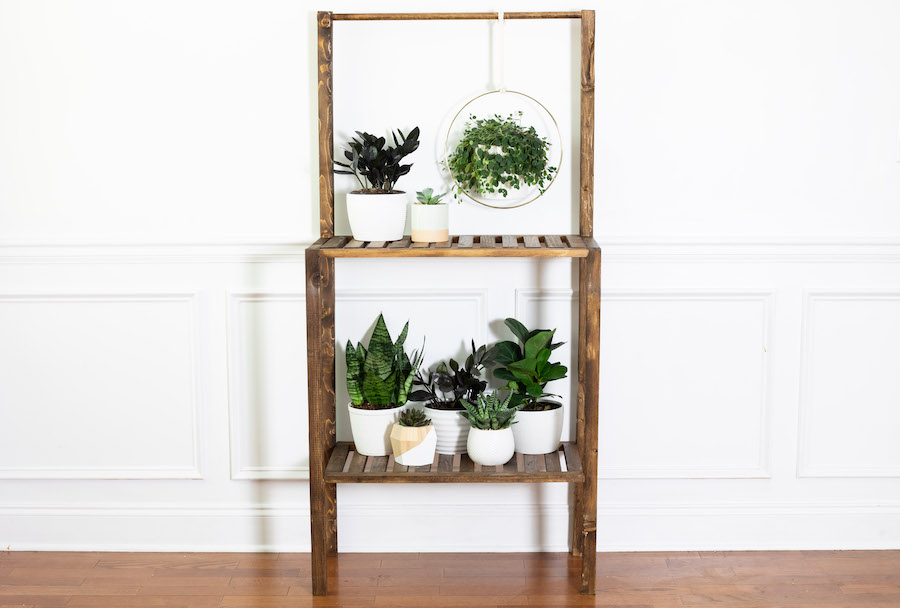


This simple, modern DIY plant shelving unit is the perfect place display your potted and hanging house plants. Customize the finish by painting or staining it any color you choose!
Tools
Kreg Tools


Other Tools
-
SML-C125-100

-
SML-C250-50
-
Saw
-
Hammer or mallet
-
¾” Forstner bit or Spade bit
Materials
Wood Products
- 3 Boards , 2”x2”x8’
- 5 Boards , 1”x2”x8’
- 1 Dowel Rod (cut to fit) , ¾” thick
Hardware & Supplies
- 1 Box of 1 ¼” Pocket hole screws (See tools list)
- 1 Box of 2 ½” Pocket hole screws (See tools list)
Directions
-
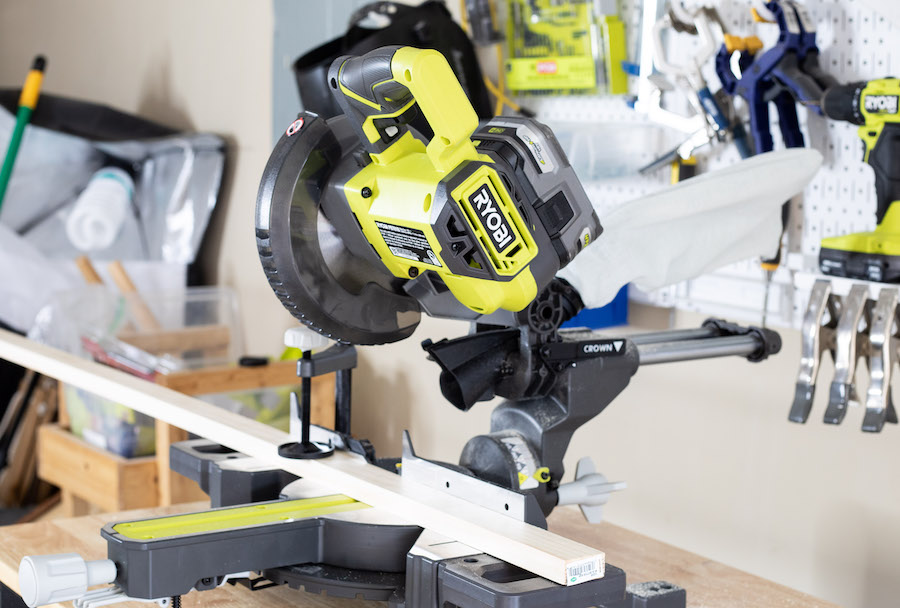
Step 1
Make cuts according to cut list
-
Step 2
Sand everything smooth
-
Step 3
Use the Kreg Jig 520PRO to drill pocket holes as follows:
-2 pocket holes at each end of the (24) 12" long 1x2 pieces-1 pocket hole at each end of the (2) 12" long 2x2 pieces.

-
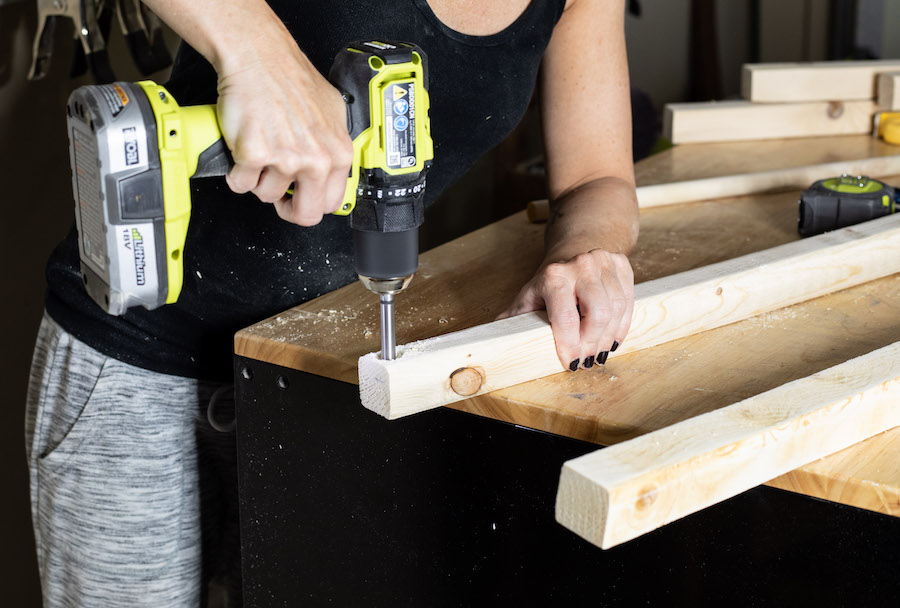
Step 4
Drill a hole at one end of each of your 5’ long 2x2 pieces using a ¾” forstner bit or spade bit. You may need to sand the inside of each hole slightly with sandpaper just to create a tiny bit of added wiggle room for your dowel. (Or just wiggle your drill bit around slightly after you’ve created the hole to enlarge it a tiny bit.)
-
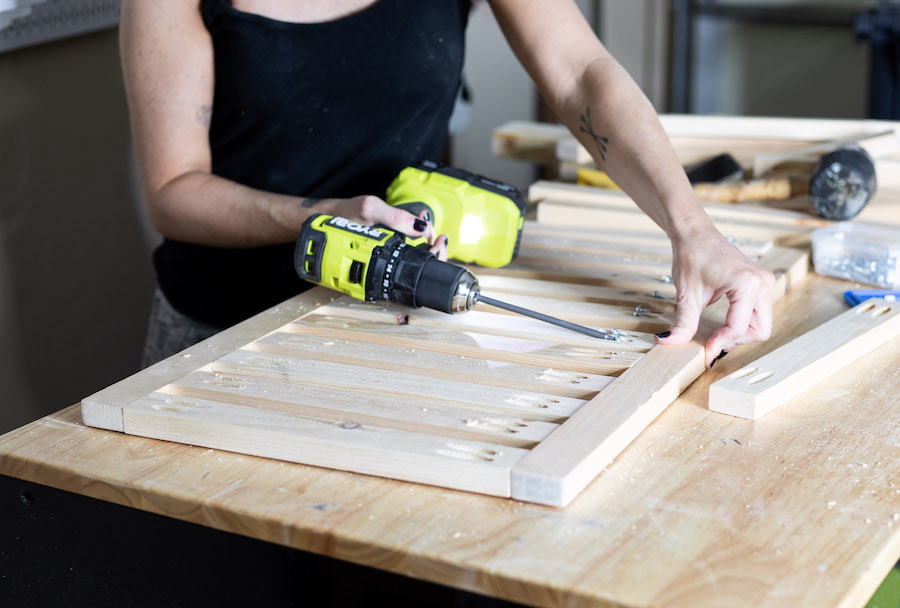
Step 5
Using 1 ¼” pocket hole screws, attach 12 of the 12” long 1x2 pieces to 2 of the 26 ½” long 1x2 pieces, creating a slatted shelf. Use a scrap 1x2 turned on its side as a spacer between each slat.
Repeat this process to create a second slatted shelf.
Tip:
Note: You could probably get away with just using one screw at each end of the 1x2 pieces to save time and screws, but I added 2 at each end for added strength and stability.
-
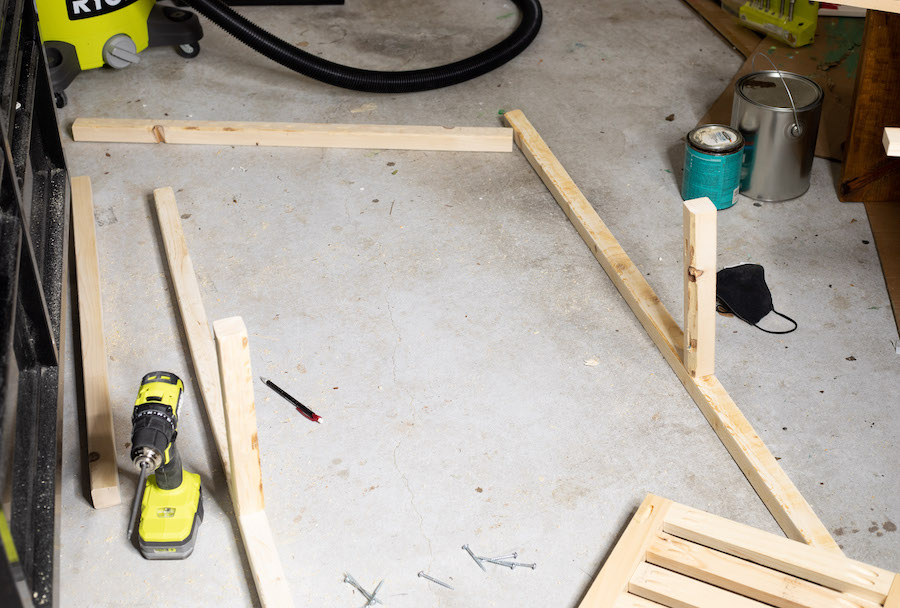
Step 6
To build the sides of the base, connect your 5’ long 2x2 piece to your 3’ long 2x2 piece using a 12” long 2x2 piece, centered perpendicular to the 5’ long board. Attach using 2 ½” long pocket hole screws. Repeat the process for the second side piece.
-
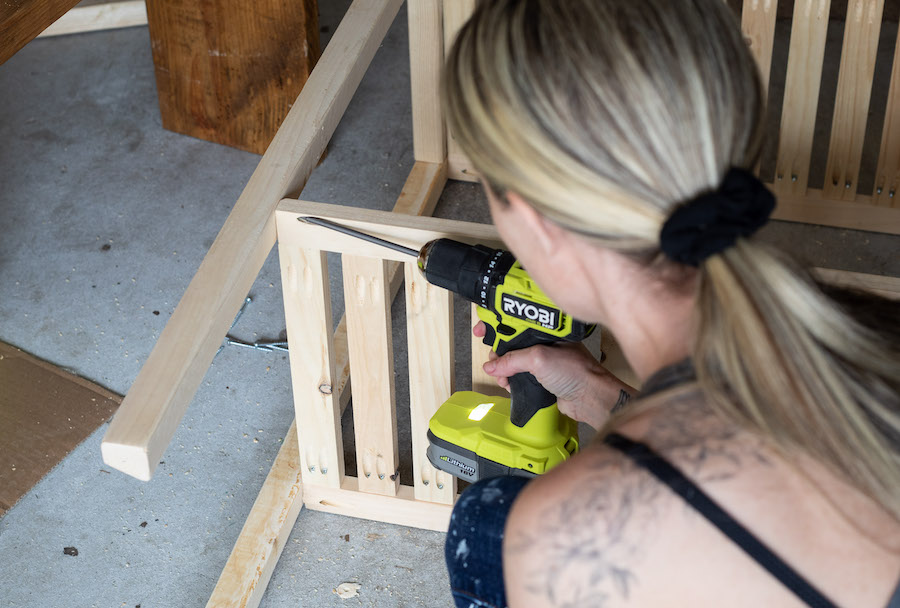
Step 7
Attach one of the slatted shelves by drilling pocket holes into the end of each slatted shelf, being careful to avoid the existing screws. Then attach the shelves to the base of the shelving unit using 1 ¼” pocket hole screws. (I drilled one hole in each corner of the shelves.)
-
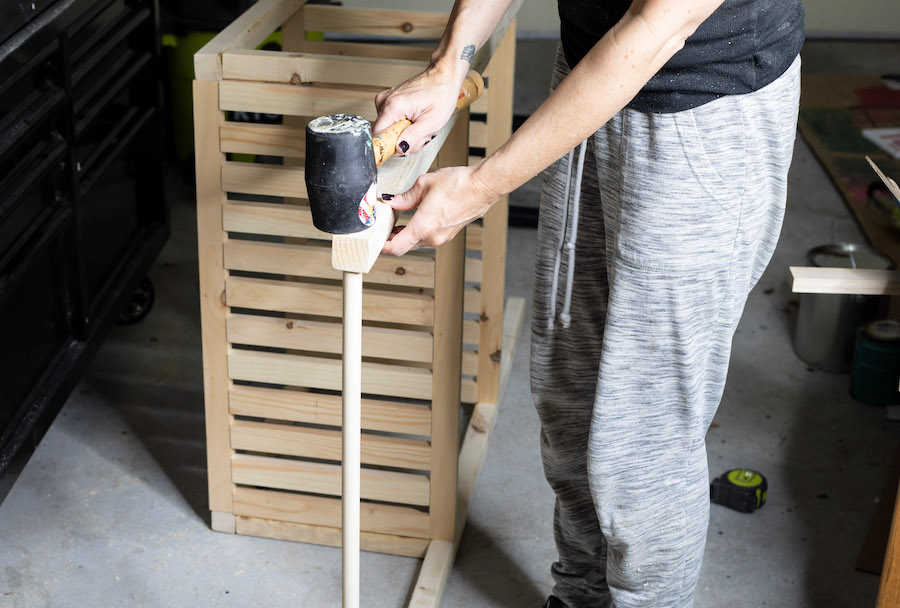
Step 8
Use a hammer or a mallet to install the dowel rod through the two holes in the top of your 5’ long 2x2 boards. I found it easiest to position the entire unit on its side for this part, and hammer the dowel rod in from the top.
-
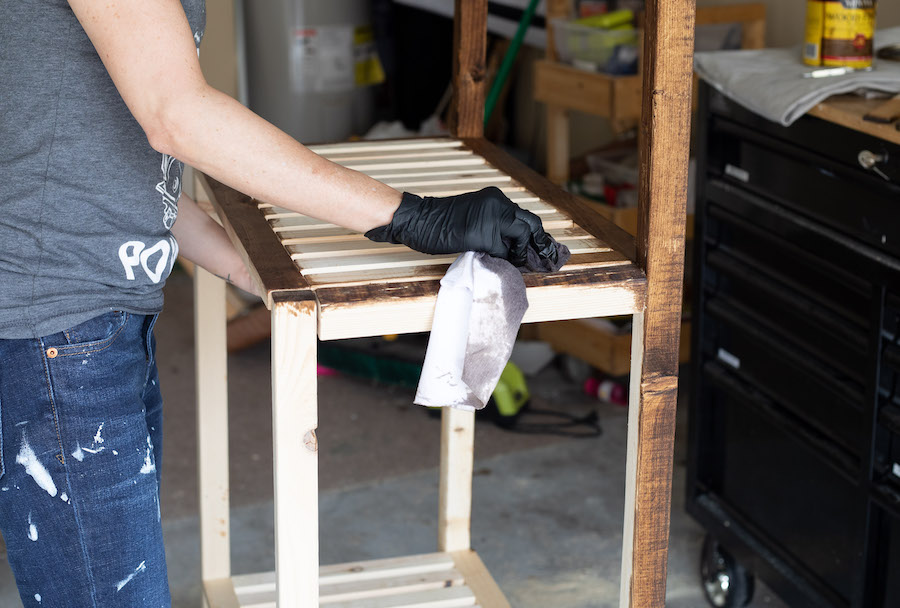
Step 9
Paint or stain your shelving unit. I used a Provincial stain and then sealed it with a water-based spar urethane.