


This simple, rustic bench only costs about $30 in lumber and takes under two hours to assemble. It’s a quick, beginner-friendly project that looks anything but quick and easy! It’s great for your entry, your front porch, or at the foot of your bed.
Tools
Kreg Tools


Other Tools
-
Miter saw

Materials
Wood Products
- 1 Pine board , 2x12 , It only needs to be as long as your bench is - mine is 4'.
- 3 Furring strips , 2x2
- 1 Stud , 2x4
Hardware & Supplies
- 1 Wood glue
- 1 Distressing tools
- 1 Stain
Directions
-
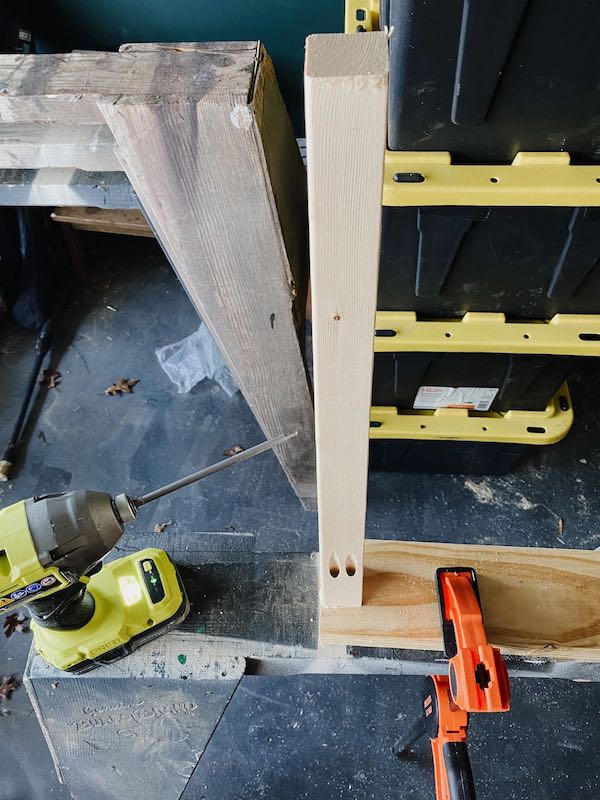
Drill Pocket Holes in Legs
Begin by drilling pocket holes in one end of each of your 18” 2x2s.
Consider which side will be facing out when you assemble it to determine which face to drill the pocket holes into. You want the pocket holes to be on the side of the wood with the higher angle on the end, so they’re facing inward on the bench.
If you do it on the wrong side, you can fill the hotels with pocket hole plugs!
-
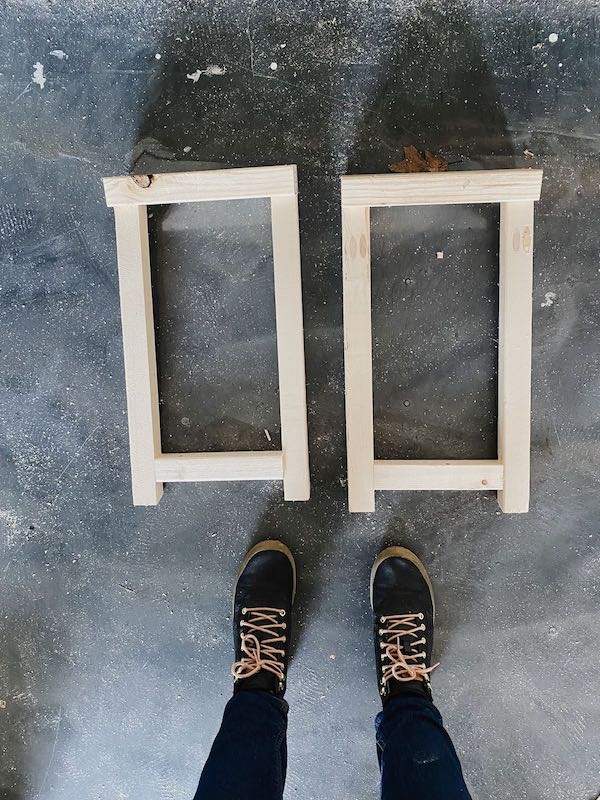
Assemble Legs
To assemble one leg, you’ll use wood glue and pocket hole screws to attach one leg to each side of one of your 2x4 pieces. Center them in the middle of the board widthwise.
Once the two legs are attached to the support piece, measure the distance between the top part of the two legs. Cut a 2x2 piece to fit the distance between the legs, drill pocket holes in each side of it, and attach it to the two legs. It will overhang slightly on the corners, since the legs are angled - just make sure it's lined up perfectly with the outside of the legs and you're good to go.
-
Attach Legs to Top
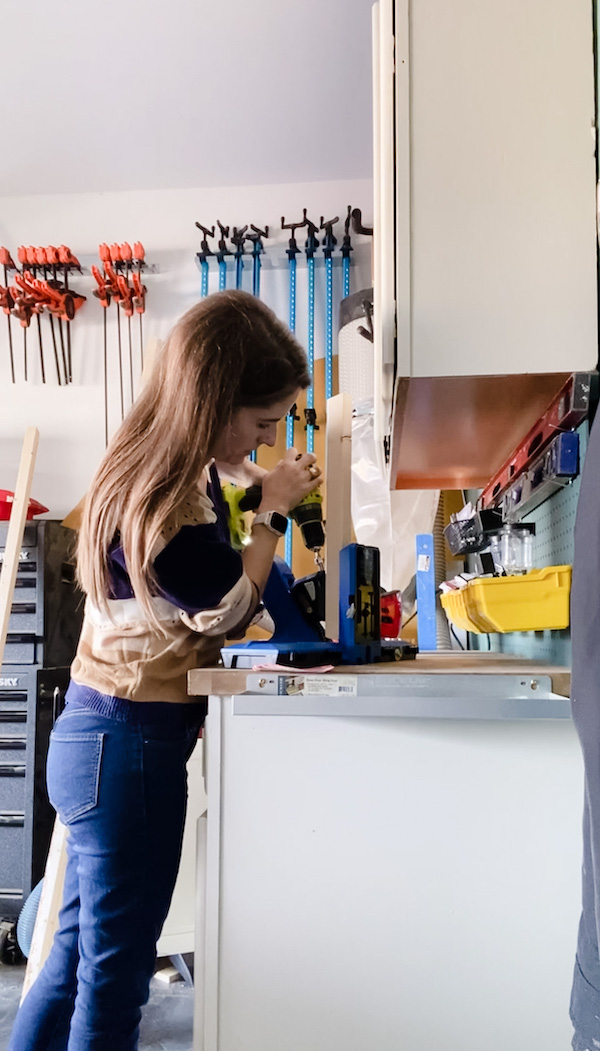
Use your drill to attach the two leg pieces to the underside of the board.
Center the 11" 2x4 pieces widthwise on the 2x12 board, and put them 2" in from either side.
-
Add Bottom Support Piece
Measure the distance between the bottom support pieces on the legs. Cut a board that is exactly that length, with 15-degree angles on each end. It should slide onto the angled legs and fit snugly.
Drill pocket holes on each end (make sure you put them on the side that will be facing the ground if you don't want to have to fill them), then attach it to the support pieces.

-
Distress + Stain
If you’d like to make your bench look more rustic, spend some time distressing it. You can use a hammer, screws, old chains, or a belt sander to add scratches, gouges, and texture to the wood.
After distressing, be sure to thoroughly sand your bench. Spend extra time focusing on the corners and edges of the board - round them out so they look like they’ve worn down over time for a more rustic look.
Finally, once you’re done sanding, stain the bench using your favorite stain.
-
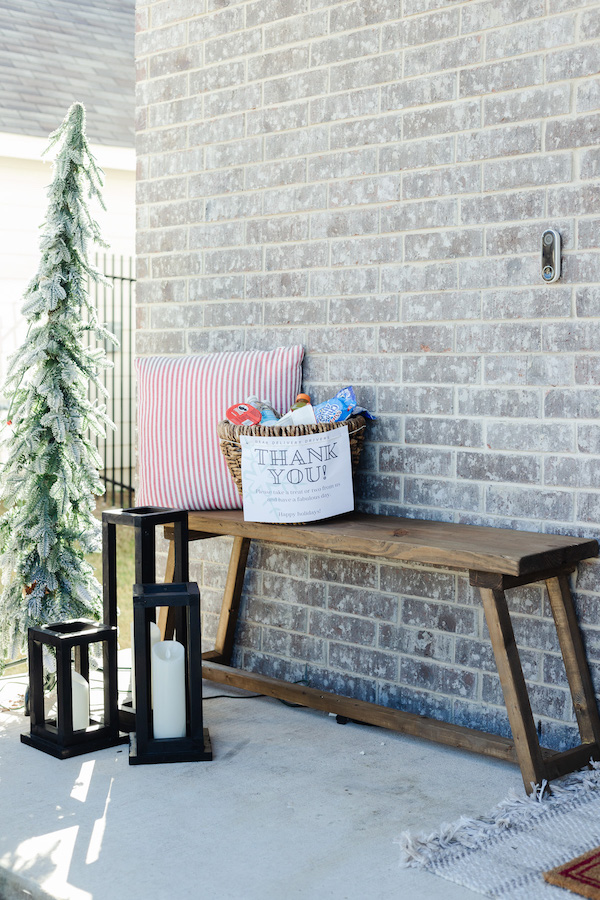
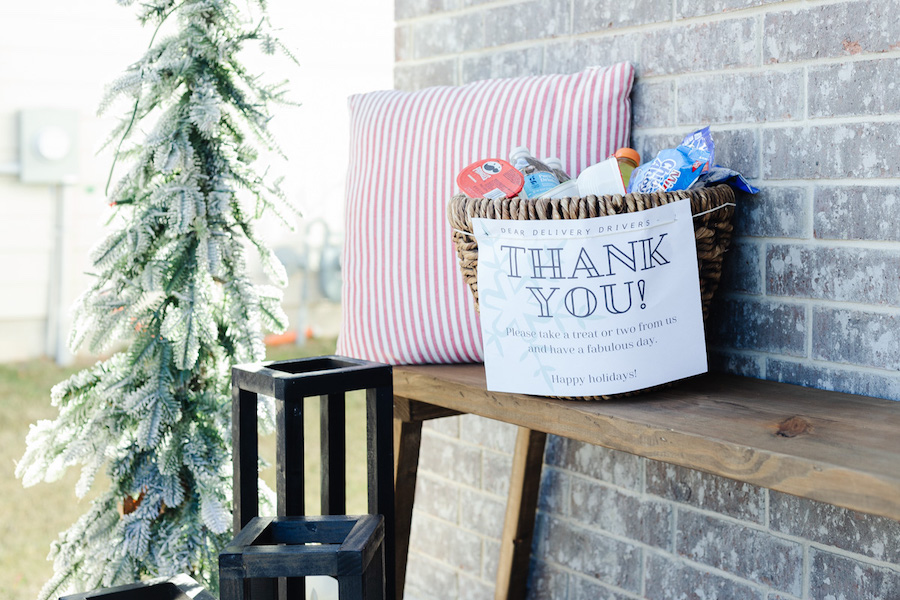
Add Treats for your Delivery Drivers!
If you’re creating your bench to be used on your front porch, a great addition for the holidays (or any time of year) is a little basket with some treats for your hardworking delivery drivers.