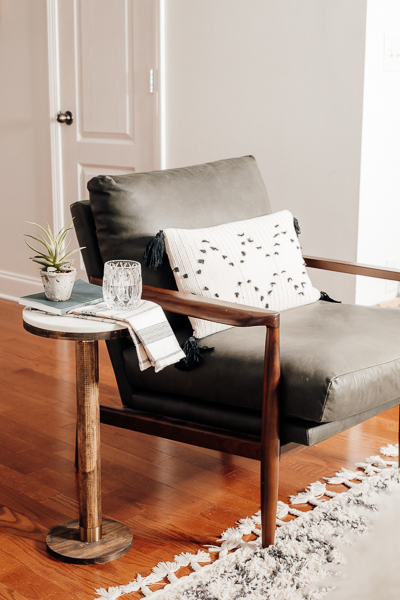
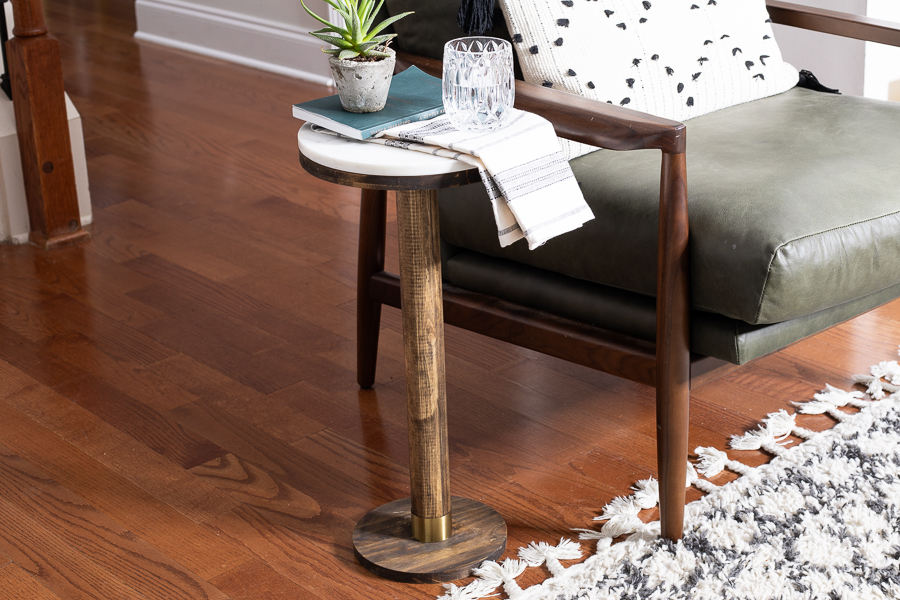
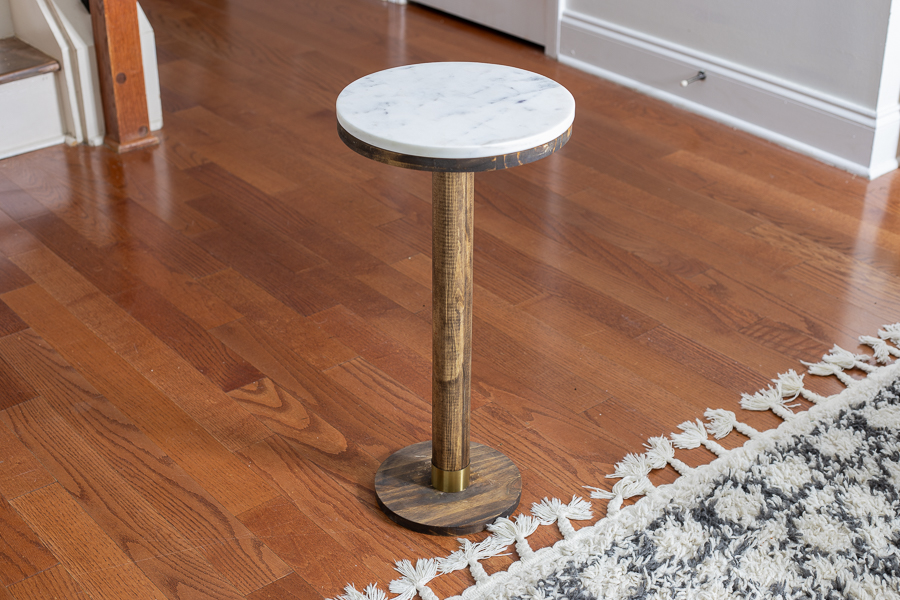


This wood and marble DIY cocktail table is a great addition to any home! The modern design includes a touch of brass, and thanks to Kreg Tools it's an easy build.
Tools
Kreg Tools


Materials
Wood Products
- 1 Project Panel , 15 13/16"x 48"
- 1 Dowel Rod , 48" x 2"
Hardware & Supplies
- 1 11" Flat Marble Tray
- 2 2 1/2" Wood Screws
- 1 Wood Glue
- 1 Construction Adhesive
- 3 Clamps
- 1 1 3/8" Peel and Stick Gold Metal Molding
- 1 Stain
- 1 Countersinking Drill Bit
Directions
-
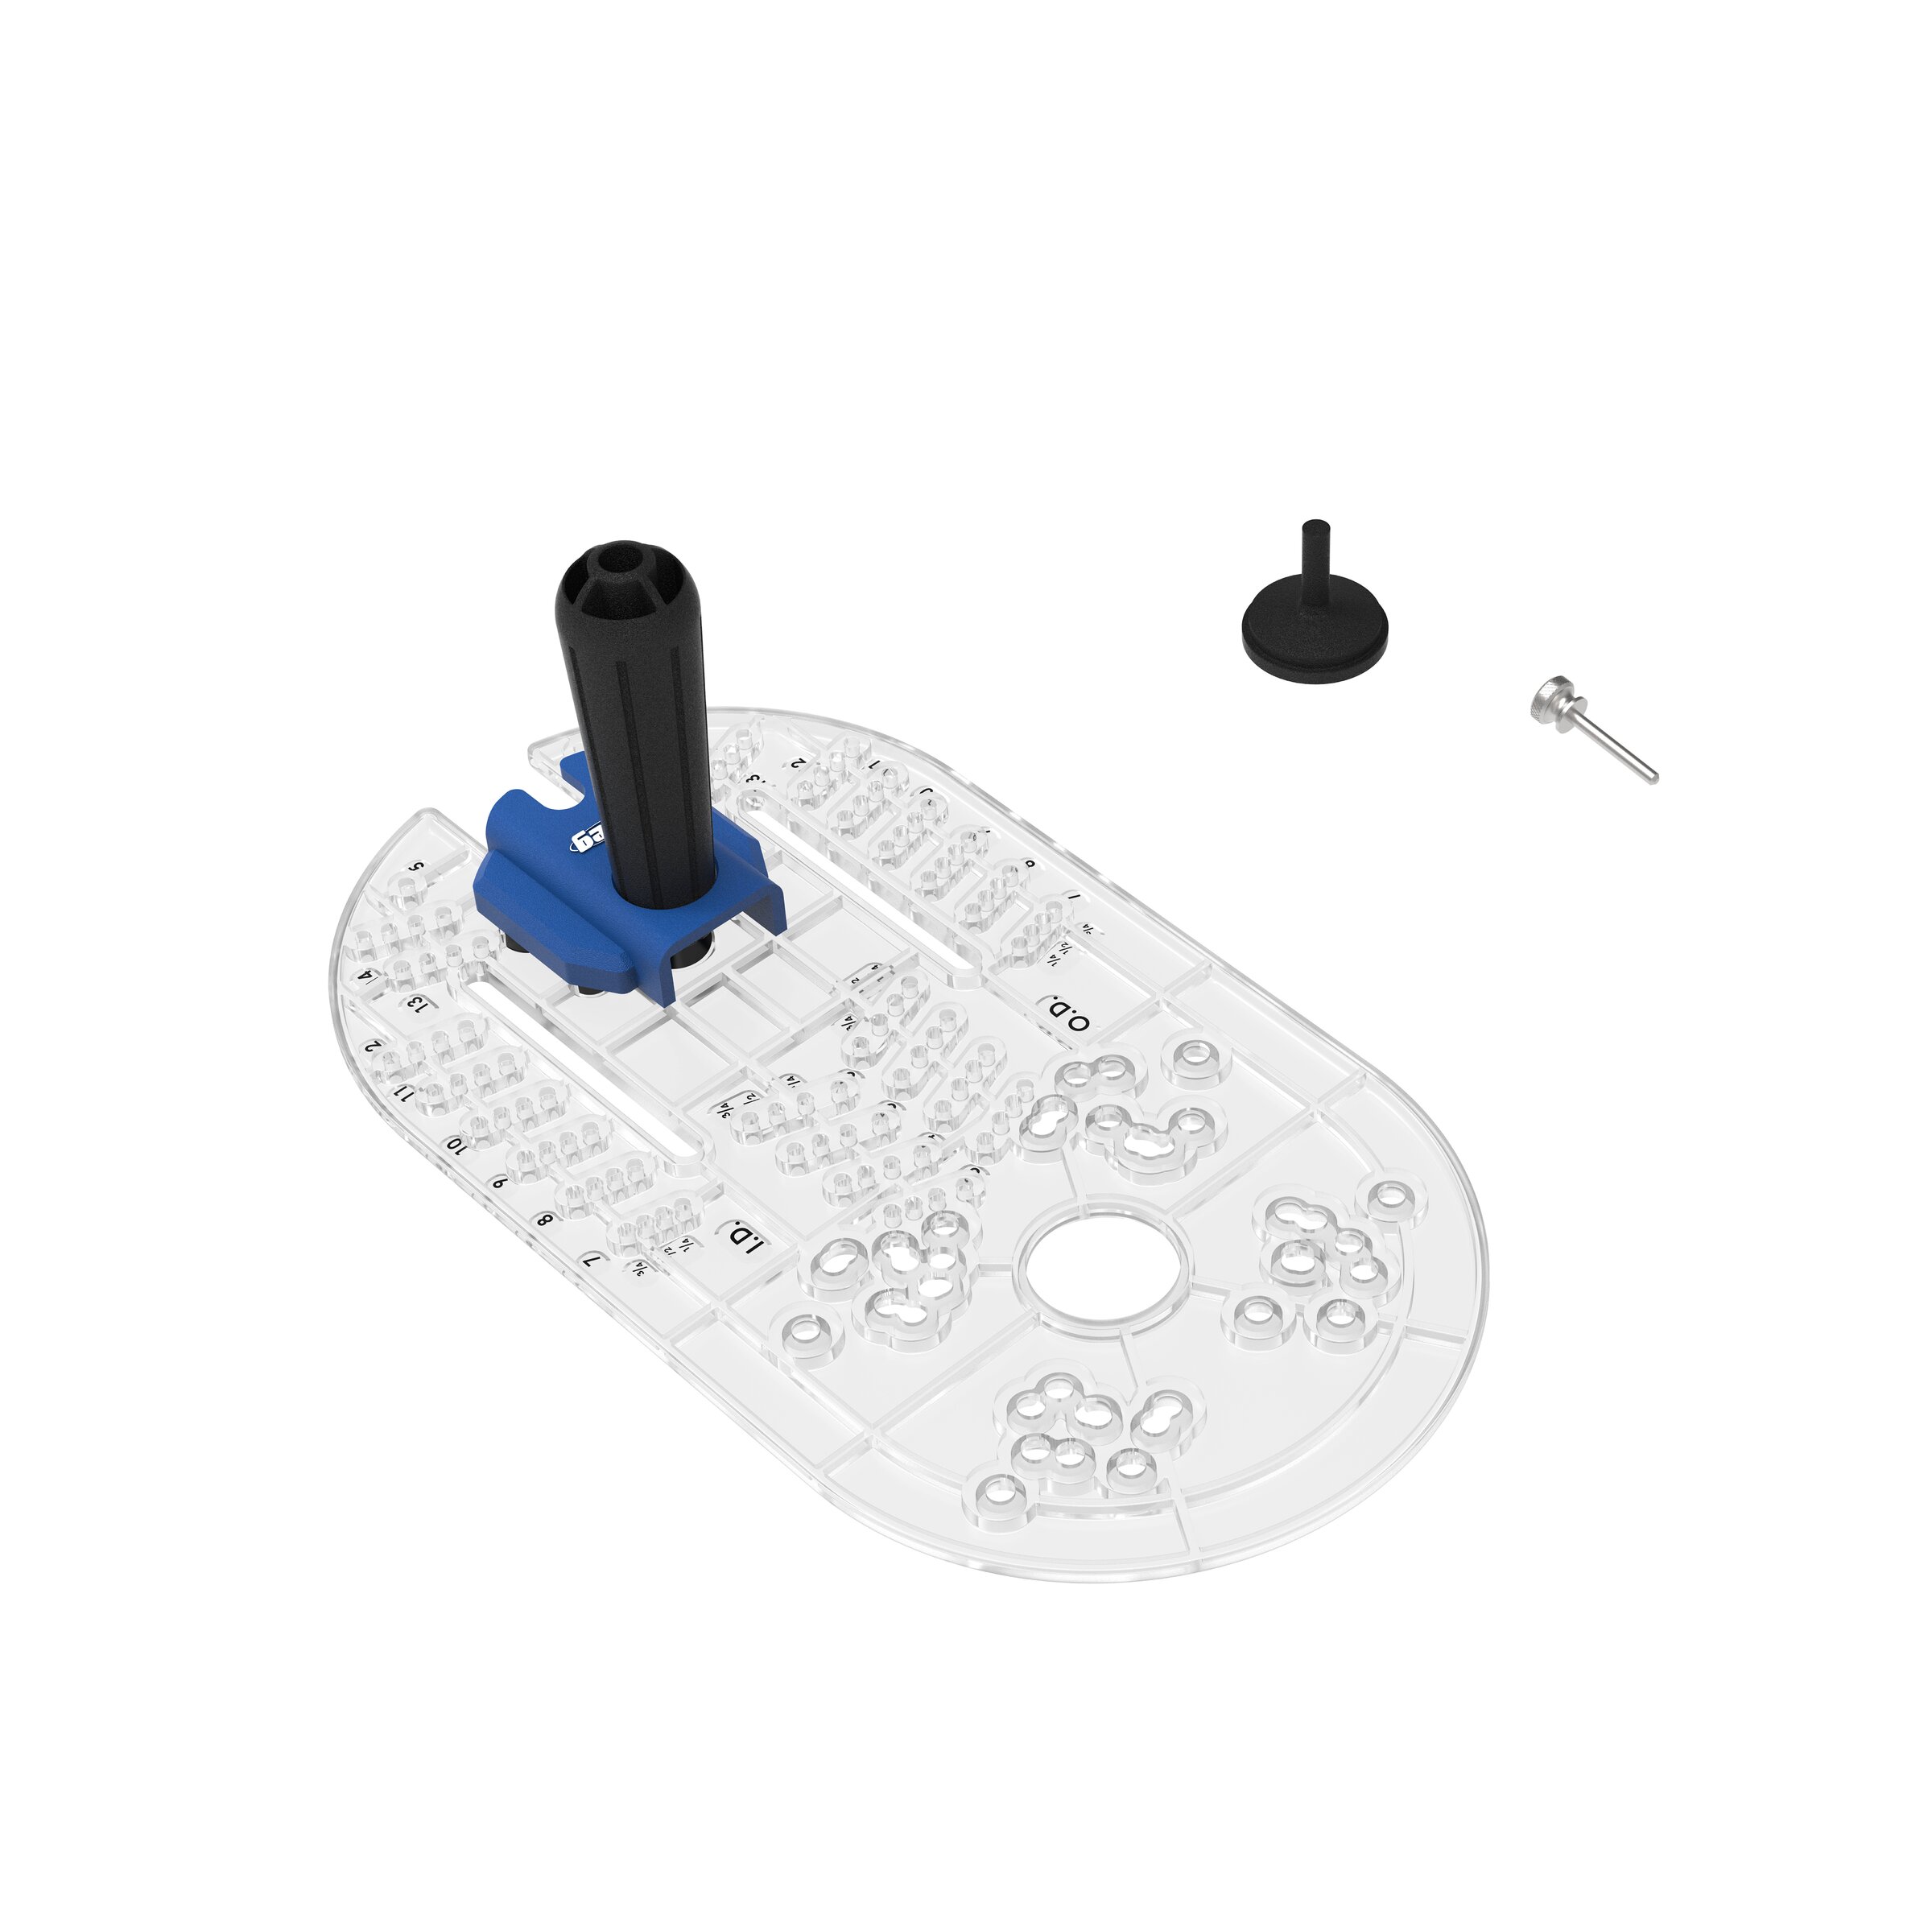
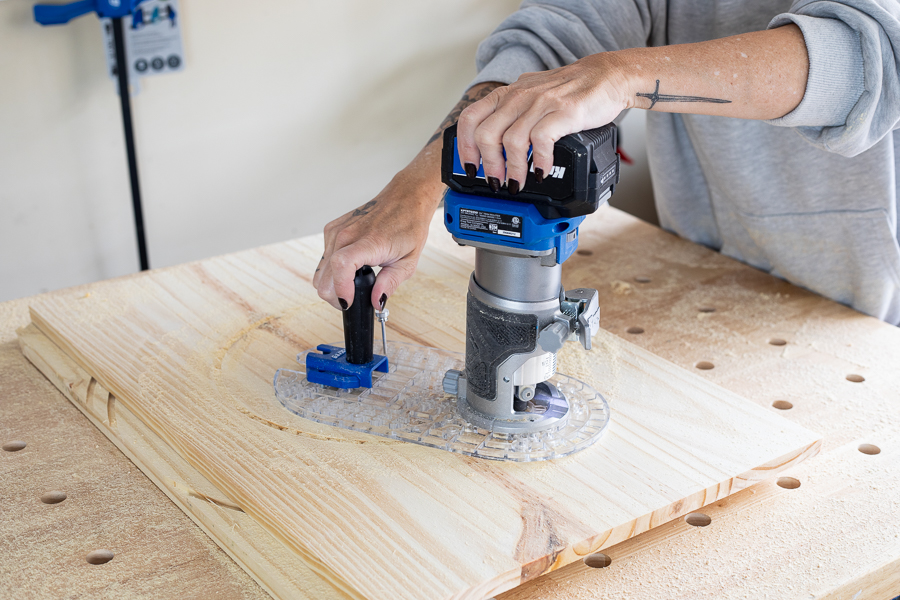
Cut Circles
Using the trim router base plate attached to a trim router, cut 2 circles (one at 11" and one at 8" diameter) for the top and bottom of the table. (Pre-drill a hole in the center of your boards to insert the pin that comes with the base plate, which keeps it in place.) Tip: I usually place a scrap piece of wood underneath it and stick it to my work surface with doubled up pieces of painter's tape to keep it from shifting around.
-
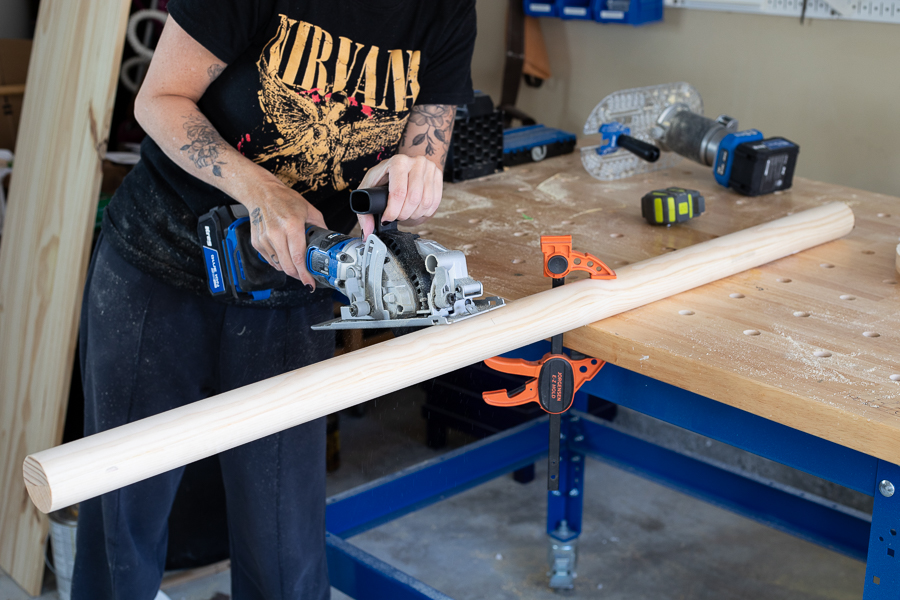
Cut Dowel
Cut a 2" dowel rod to 20 1/2" long. If you use a circular saw, you will have to make a couple of passes (flip it over for the second pass), or you can use a miter saw. This will be the base of the table.
-
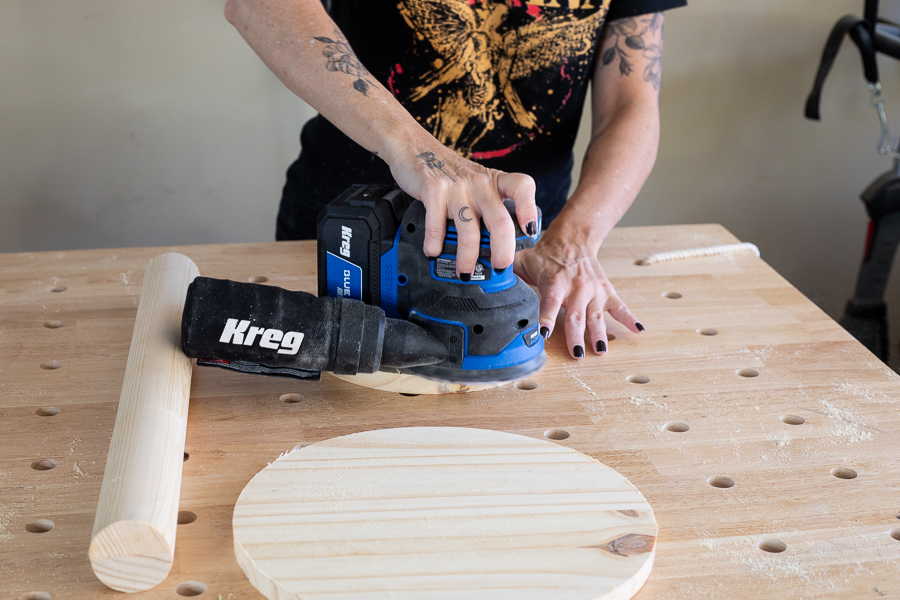
Sand
Sand everything smooth using a random orbit sander.
-
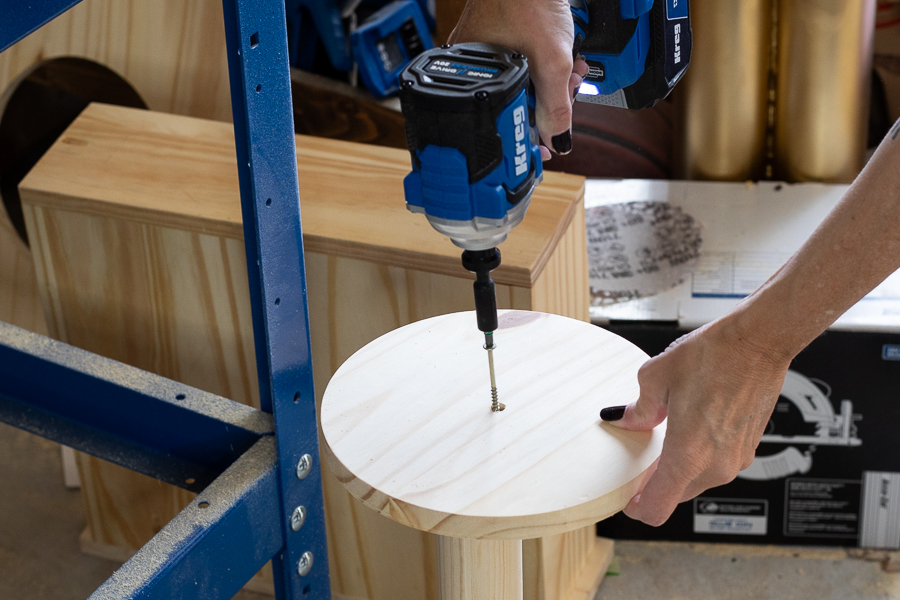
Attach Top and Bottom to Base
Pre-drill holes in the center of each end of your dowel rod and use a countersinking drill bit to pre-drill holes in the center of each circle. Then use wood glue (for added strength) and 2 1/2" wood screws to attach your circle pieces to the dowel rod.
-
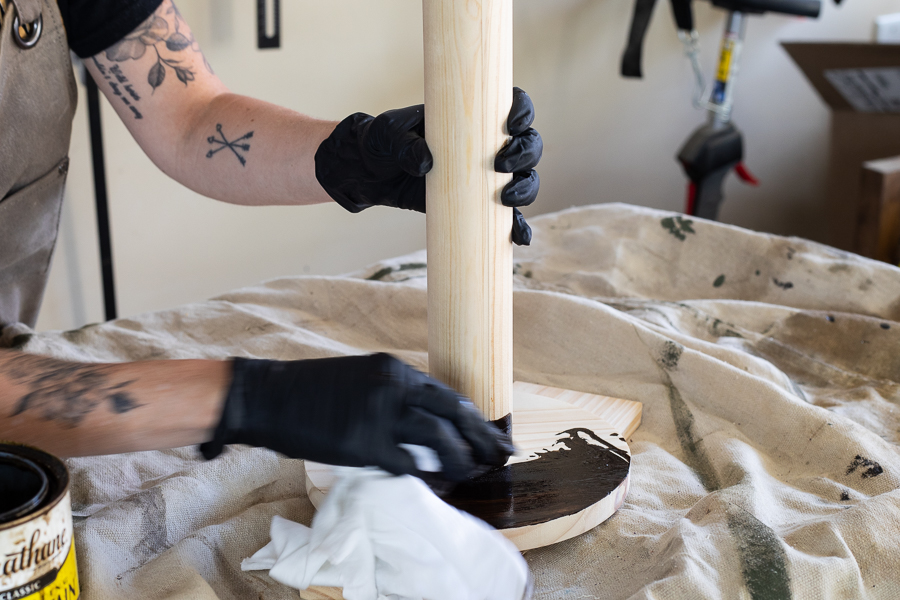
Stain
Stain your table (or paint if that's your preference).
-
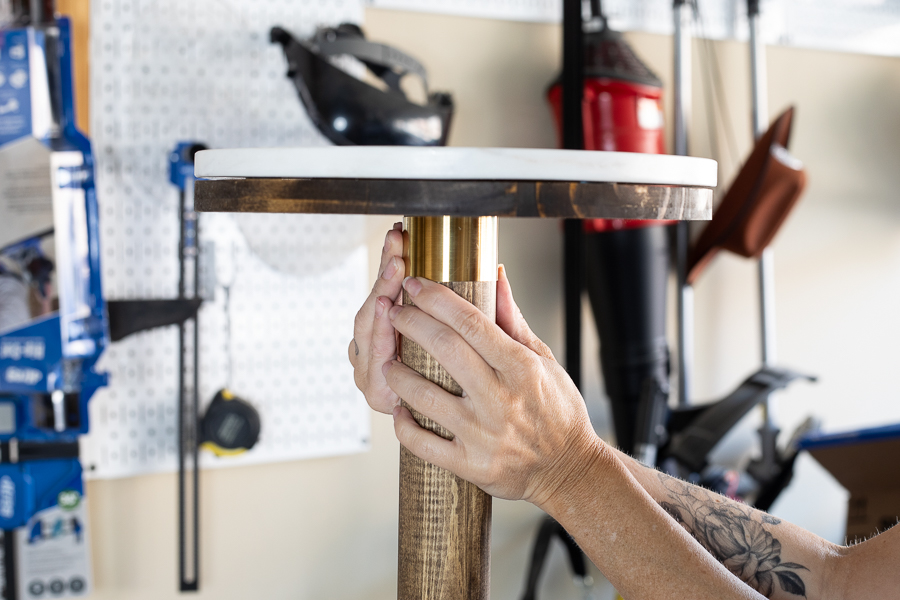
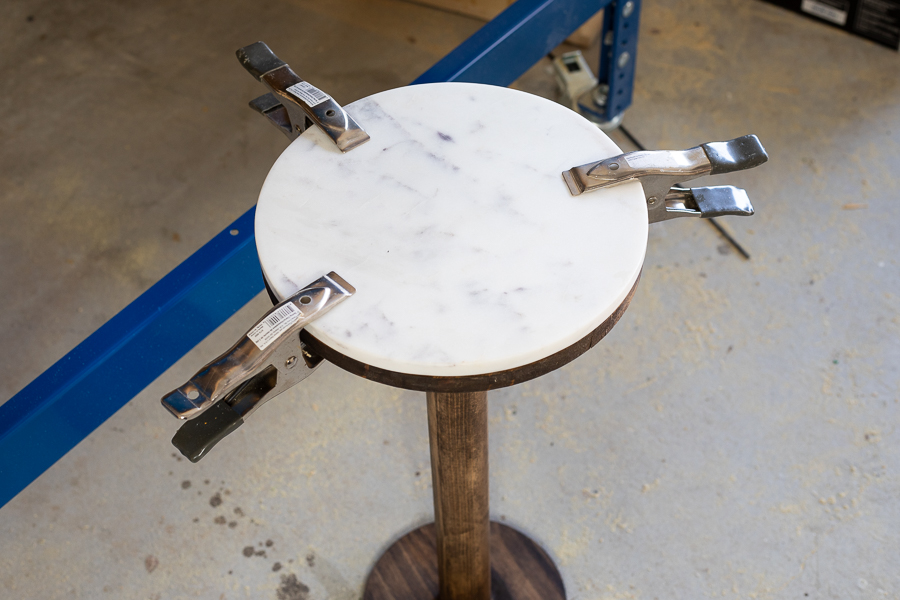
Attach Marble Top
Attach a flat marble tray (this 11" tray was found on Amazon) using construction adhesive, then use spring clamps to hold it in place while it dries.
-
Add Metal Trim
I used peel and stick metal trim around the top and bottom of the base for an added design detail. The adhesive is not strong enough, so I added a little bit of construction adhesive. If you have issues with it adhering, you can reinforce it at the seam using a crown stapler or brad nailer.