

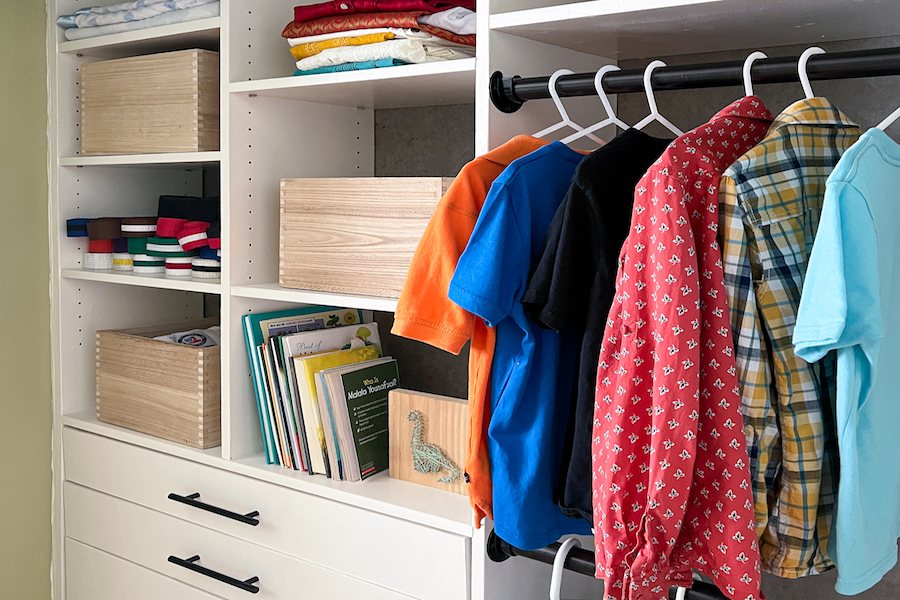
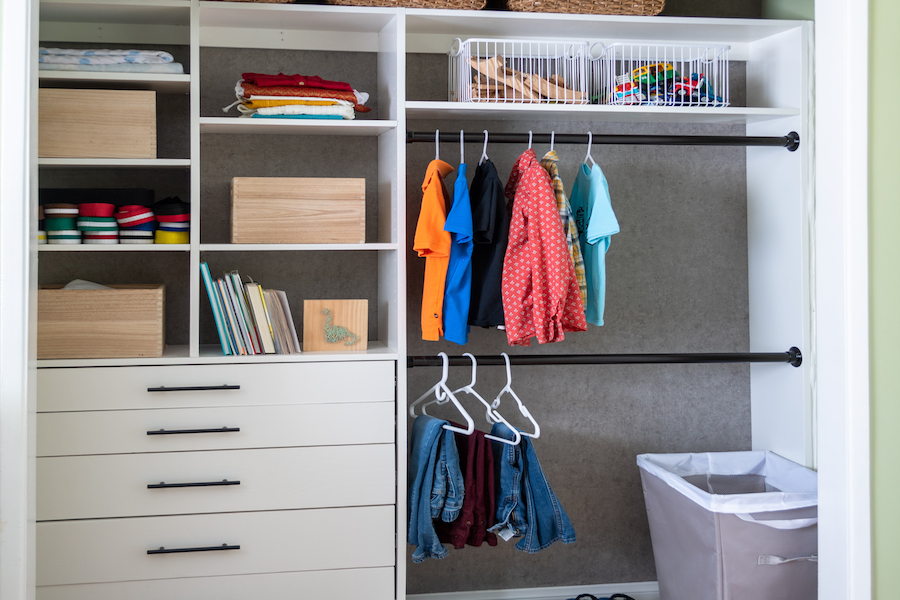


Build a custom reach-in closet with drawers and adjustable shelves. Great weekend project to add lots of storage and organization to a small closet.
Tools
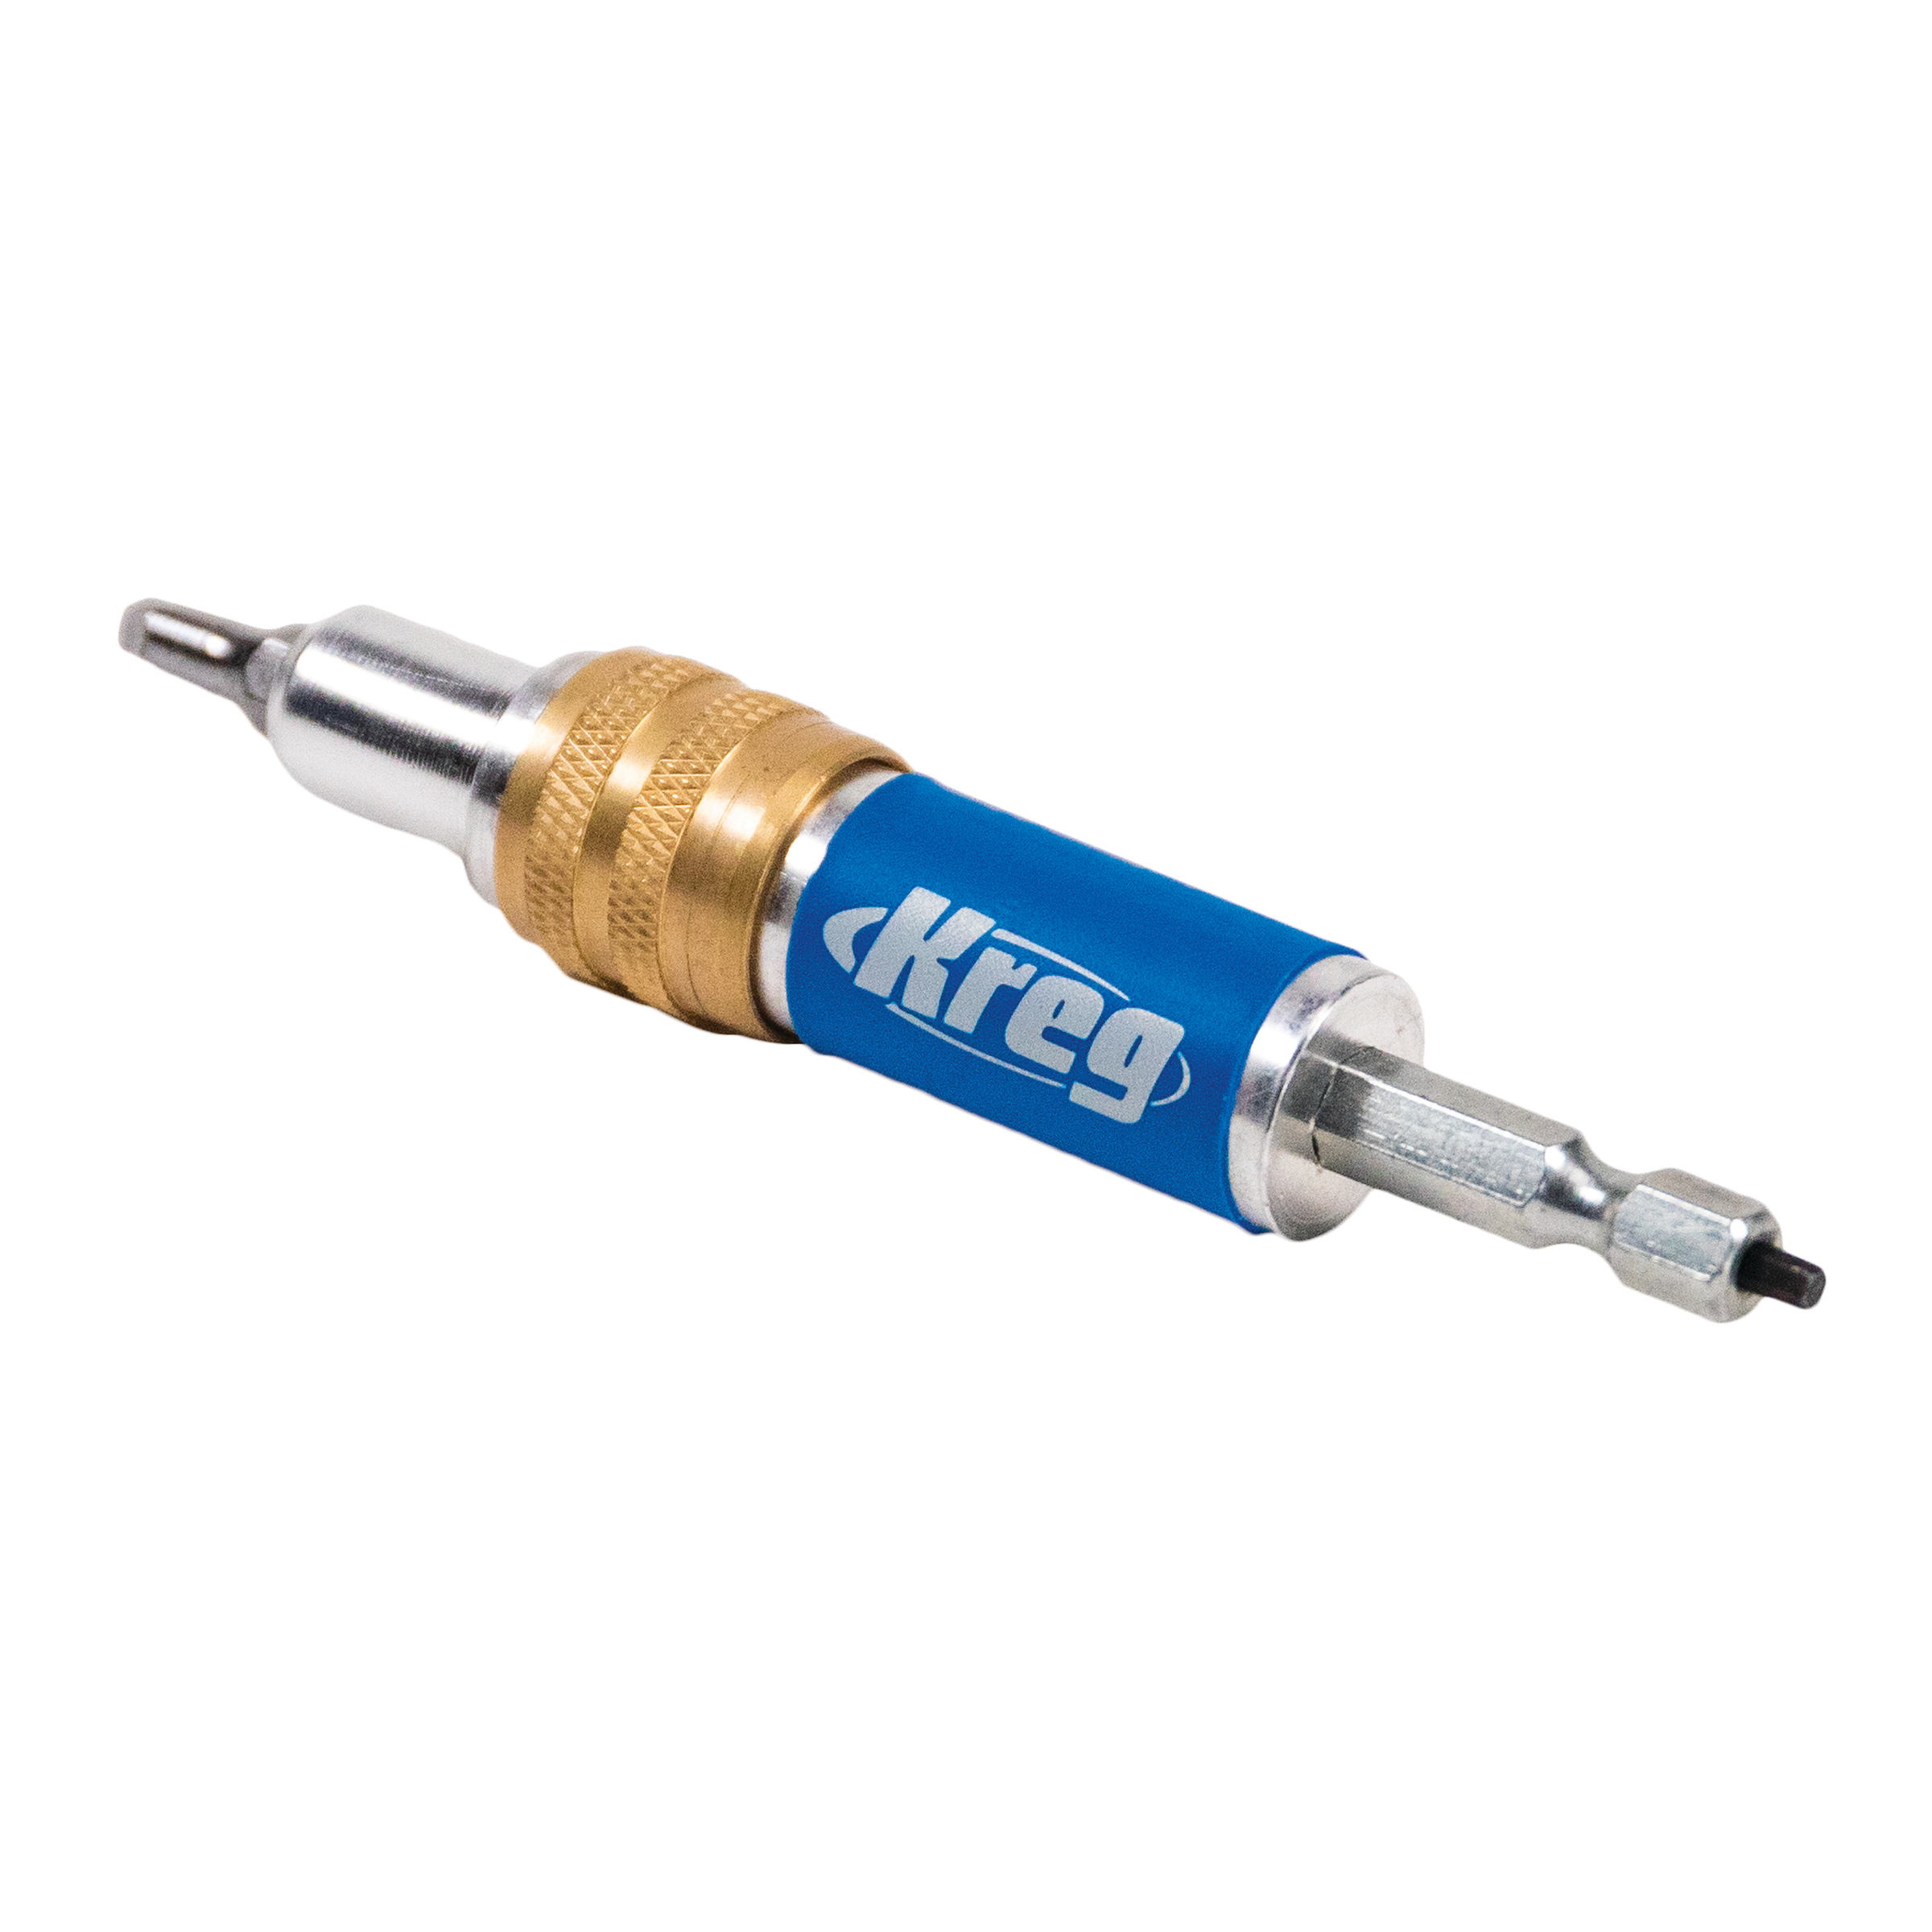
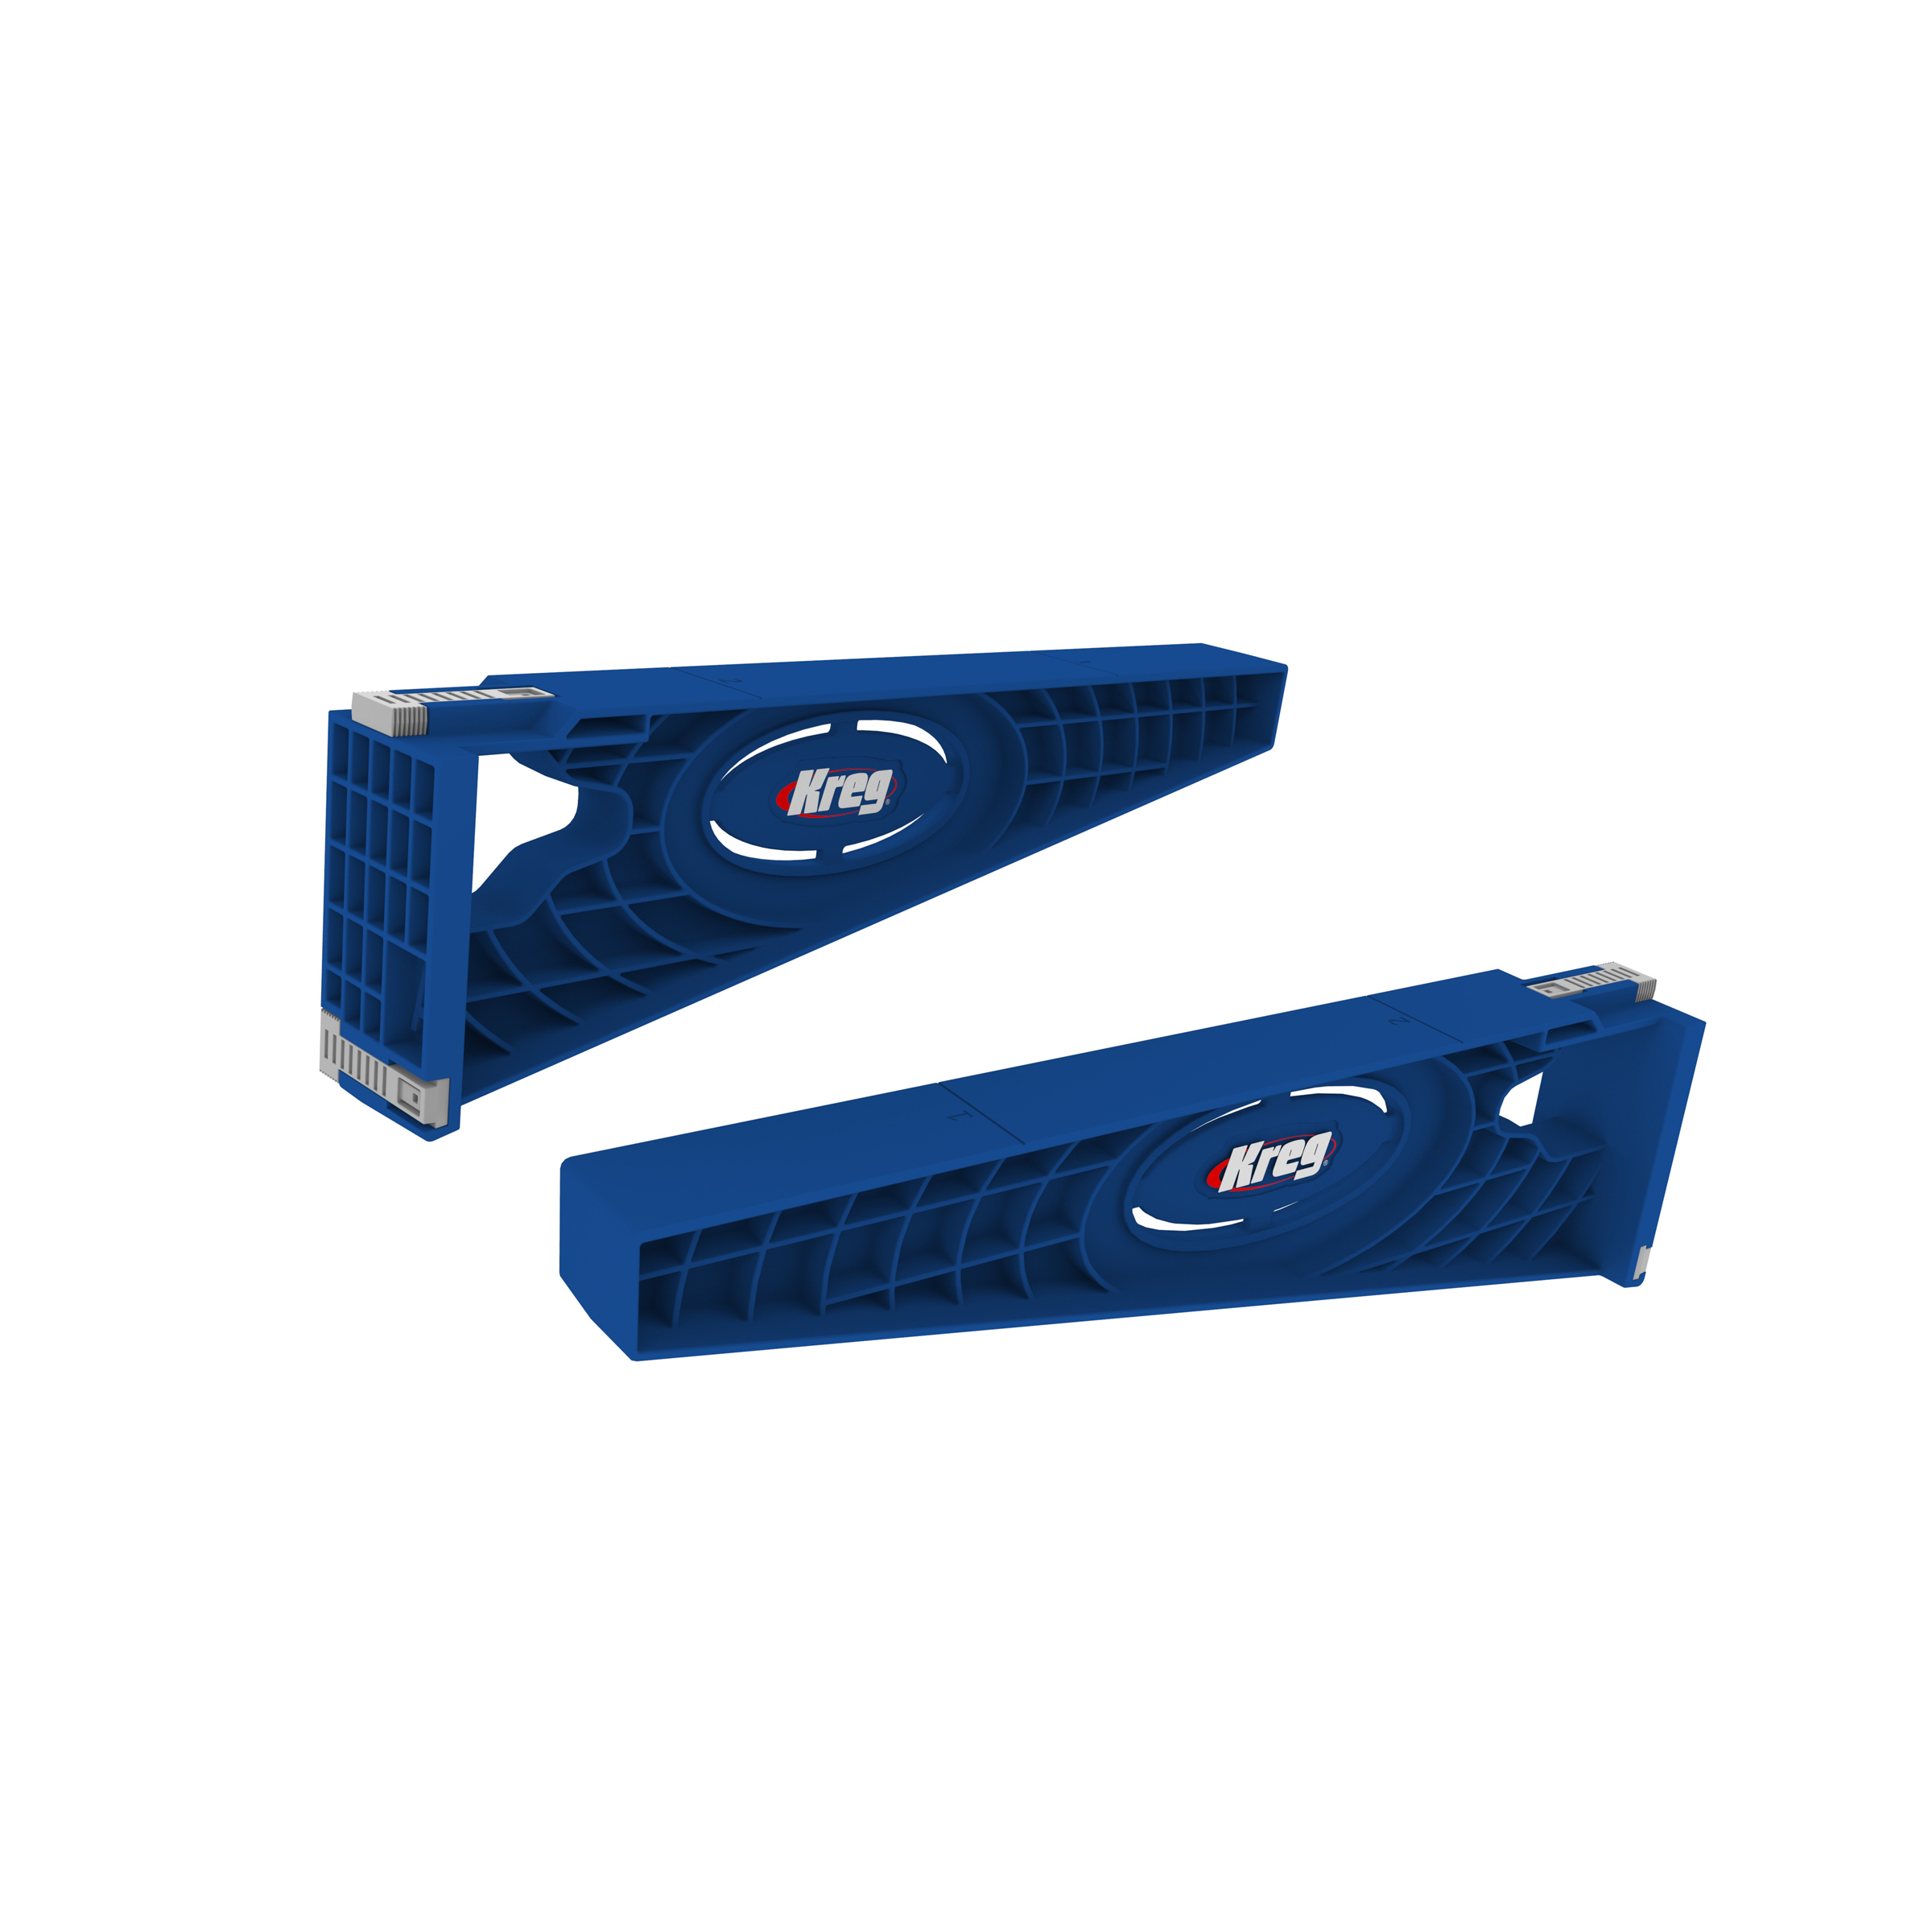
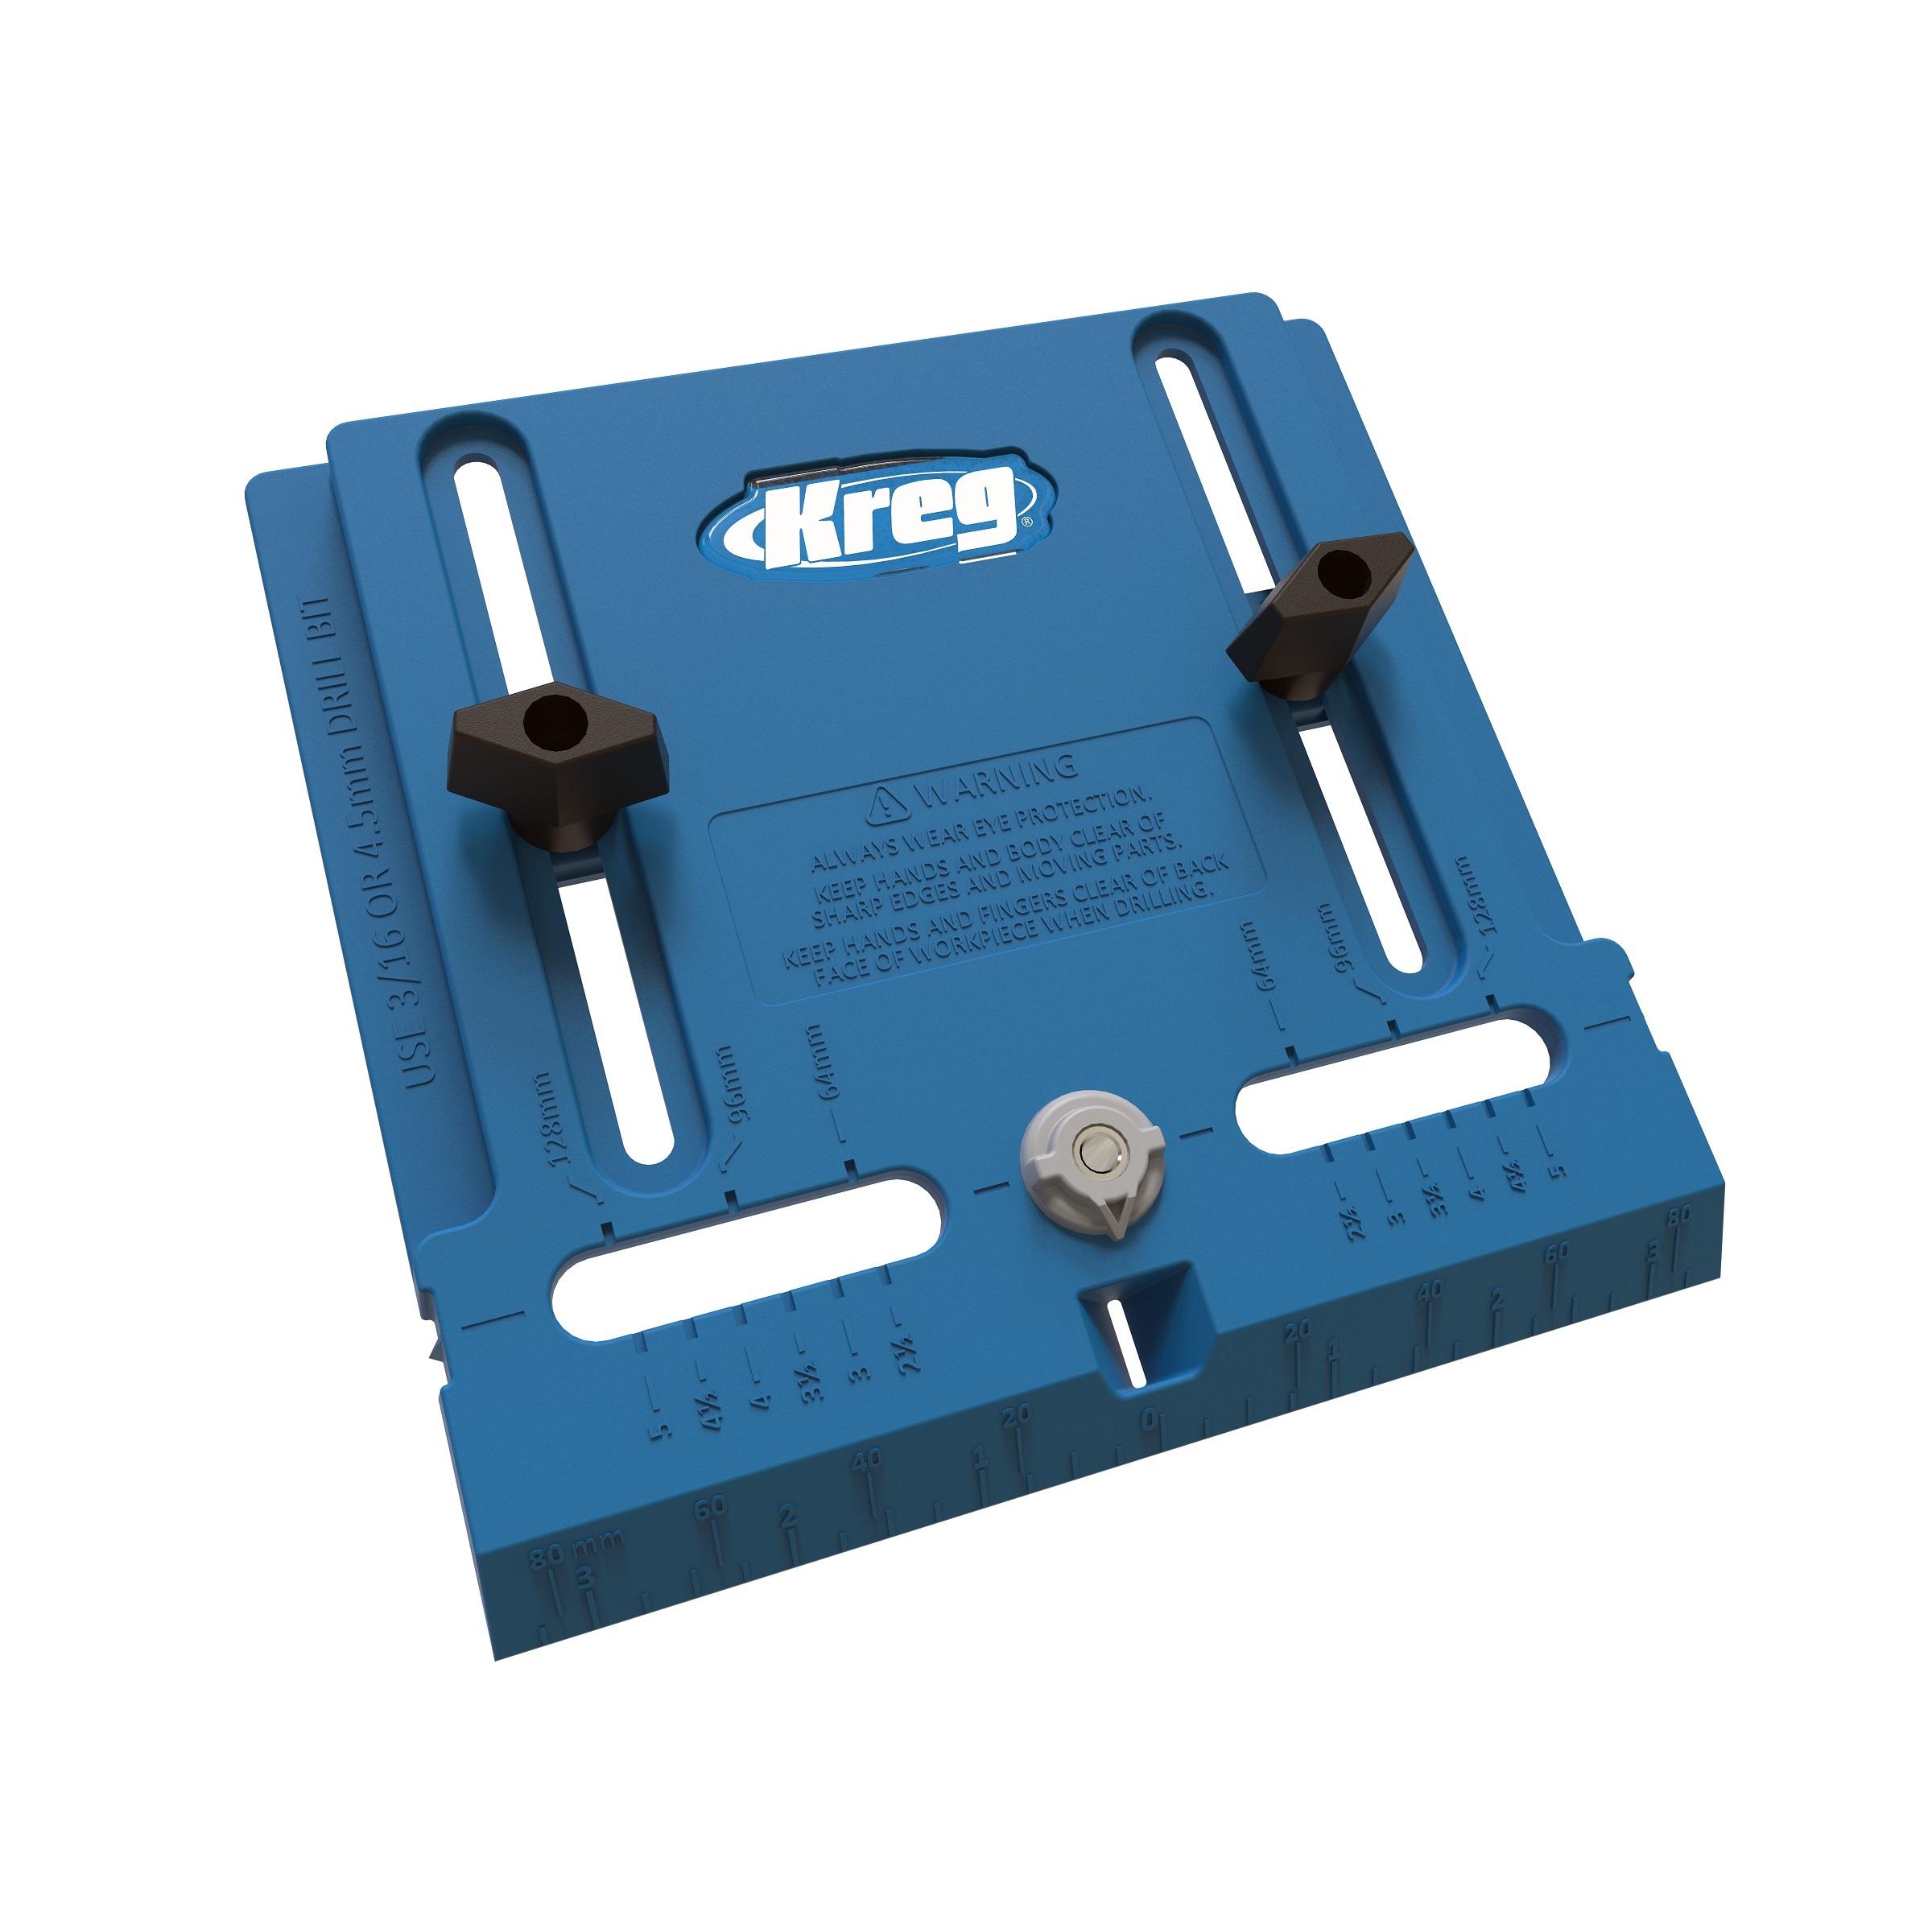
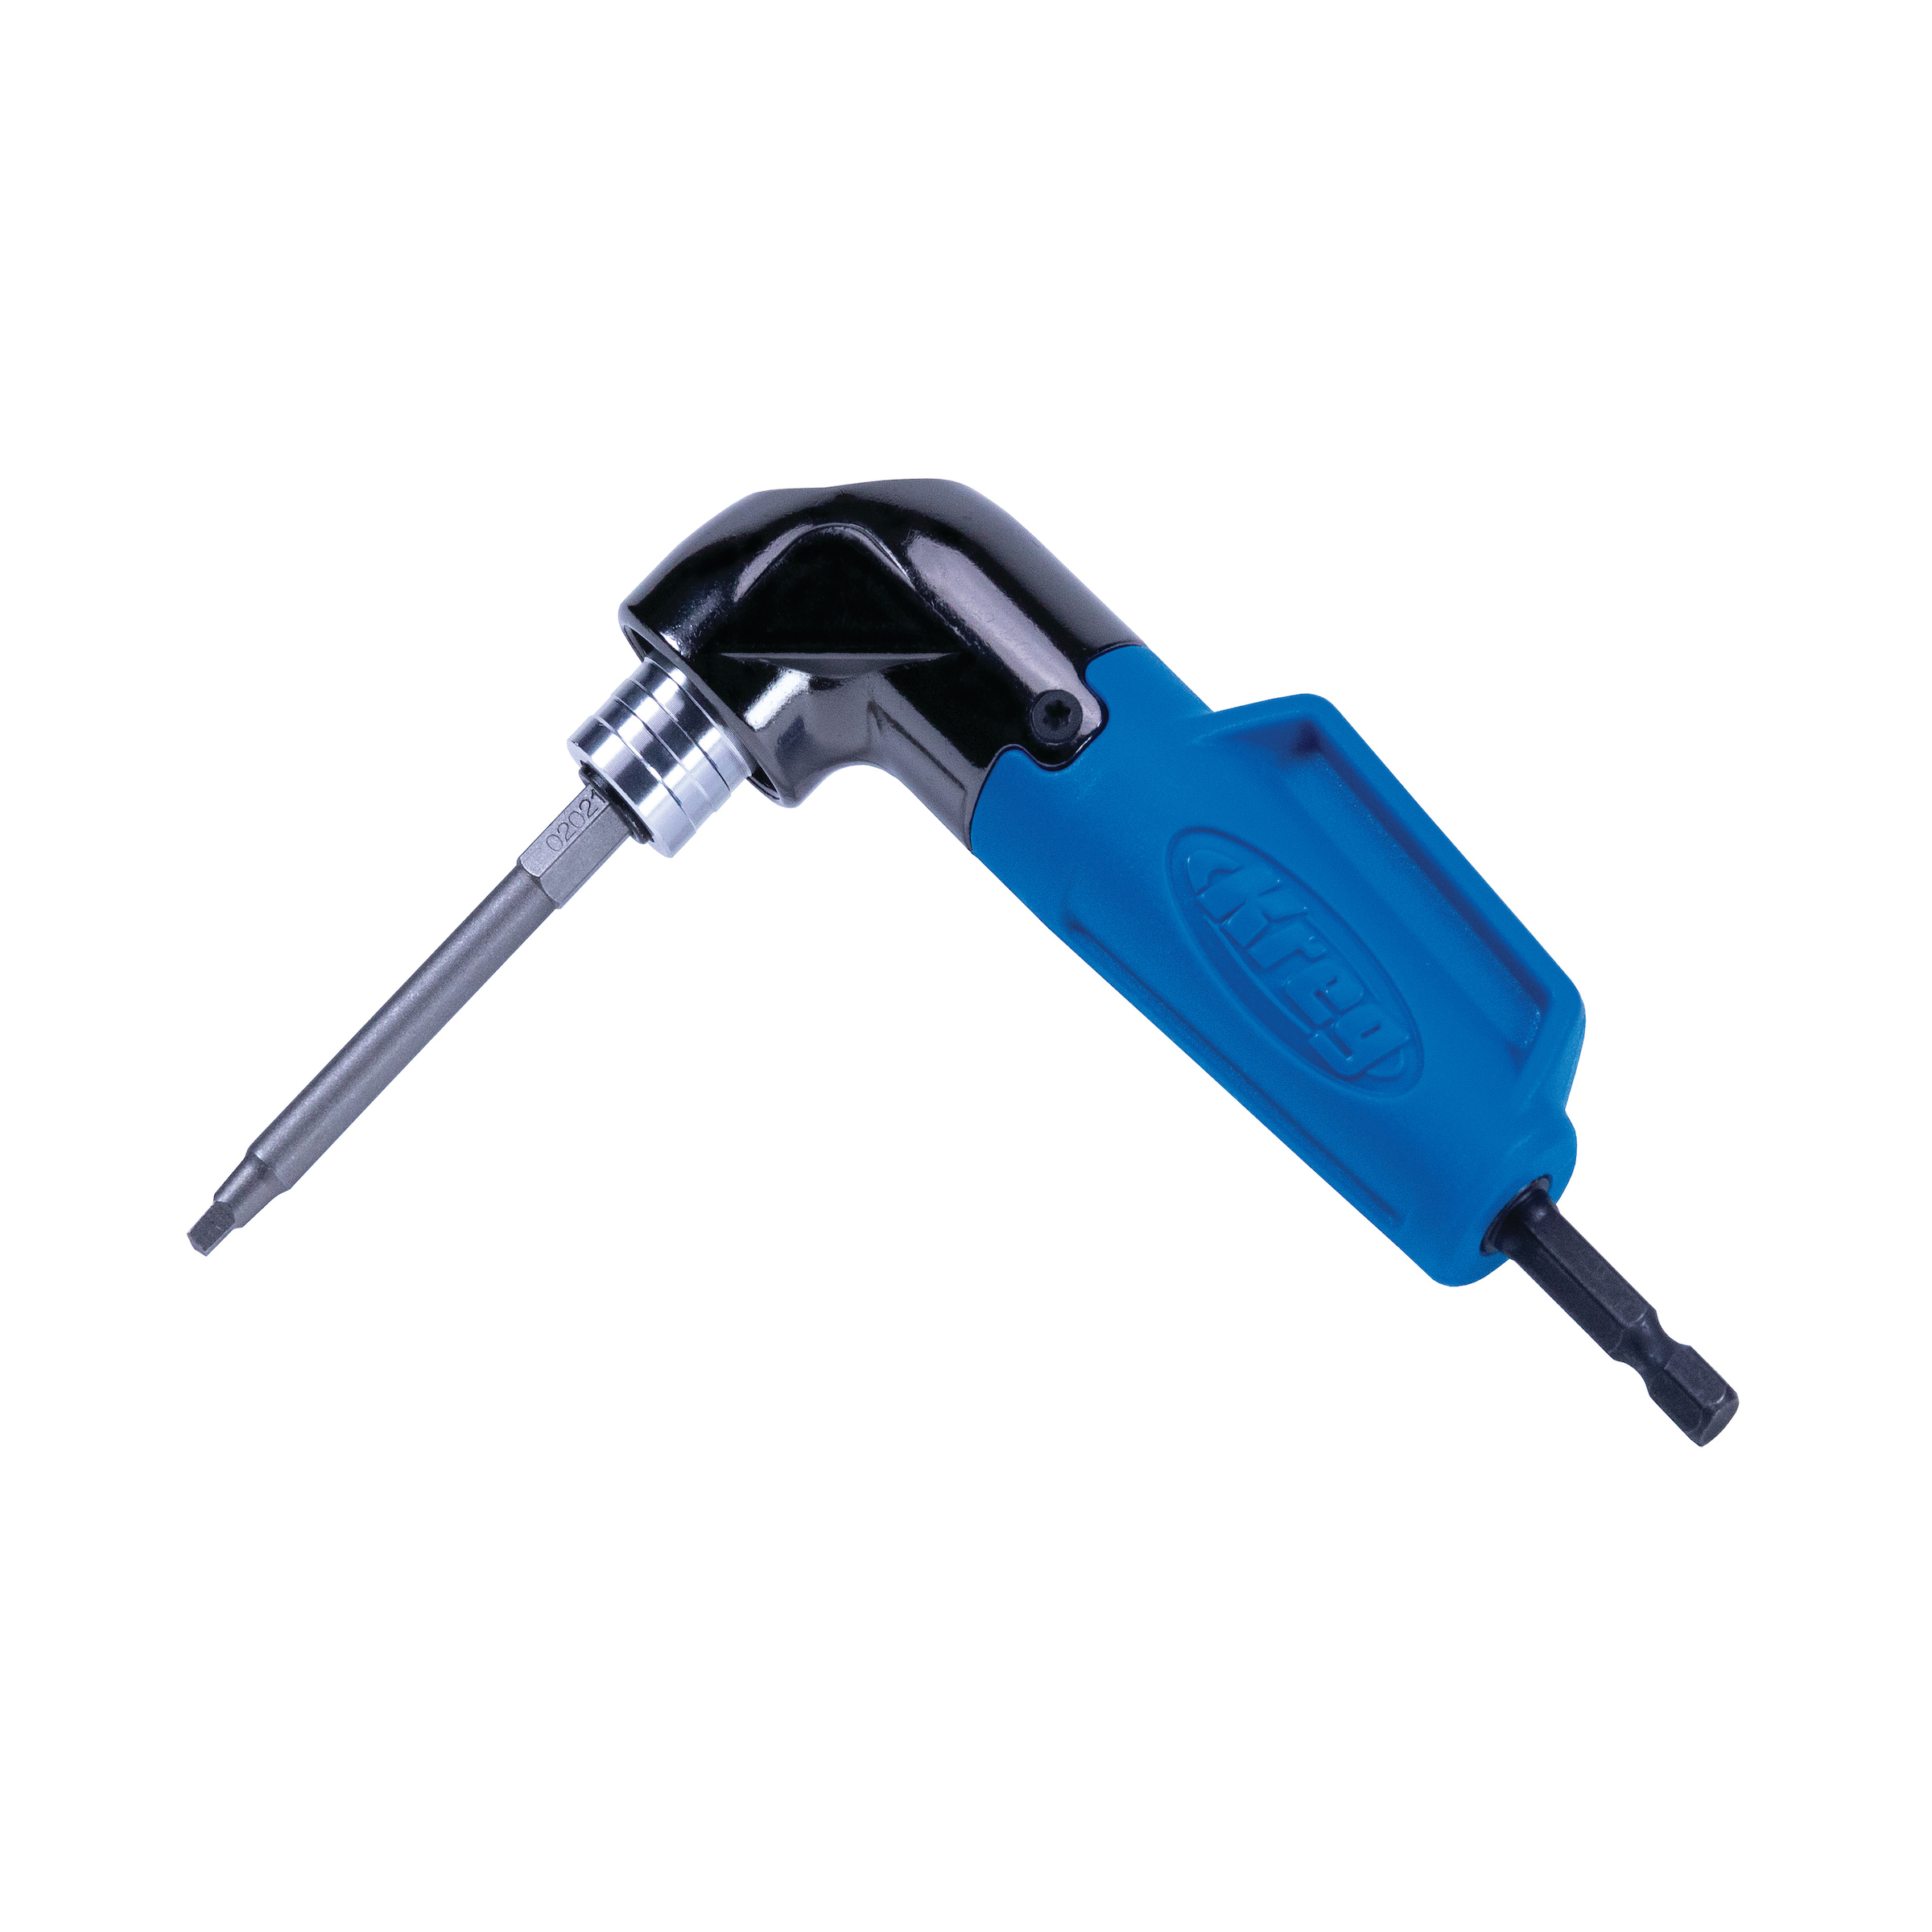
Kreg Tools


Materials
Wood Products
- 1.5 Plywood , ¾” thick
- .5 Plywood , ¼” thick
- 5 Boards , 1x6x8
- 2 Boards , 1x8x8
- 1 Board , 1x4x8
- 2 Boards , 1x3x8
Hardware & Supplies
- 1 Box of 1 ¼” pocket hole screws (see tools list)
- 1 Edge banding
- 1 Wood glue
- 5 Drawer pulls of choice
- 1 Paint of your choice
- 10 10" drawer slides (2 per drawer)
- 1 Box of 5mm shelf pins
Directions
-
Prepare the boards
-Make the cuts per the cut list.
-Review the plans and make pocket holes where needed. Pocket holes in plywood are made with ¾” setting on the pocket hole jig and drill bit collar.
-Apply edge banding to all the edges that will be visible.Tip:
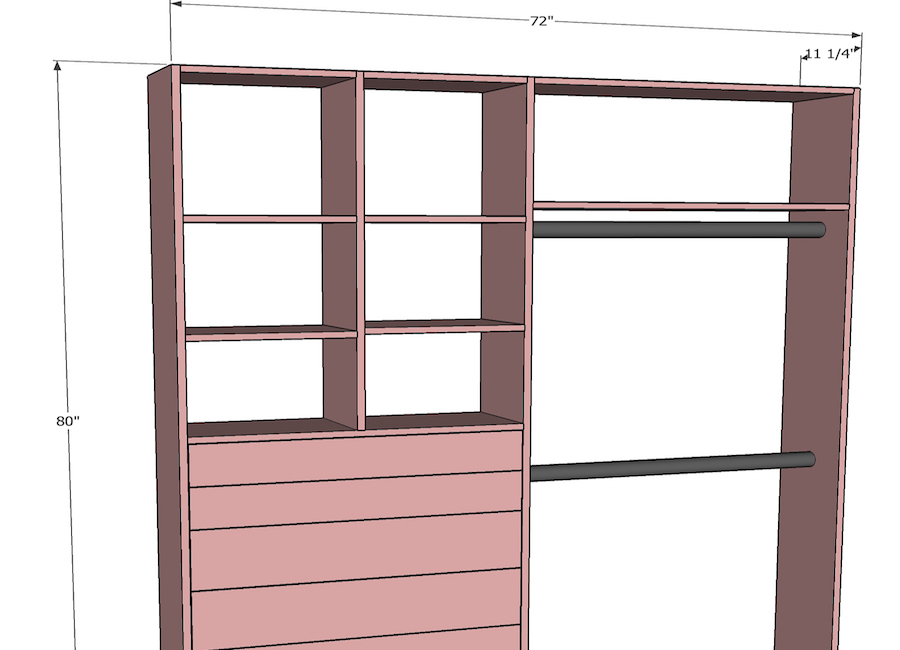
The closet is 72” wide and 80” tall leaving space at the top to store items. You can increase/decrease the width of the shelves and sides based on the closet's dimensions. All other dimensions would change accordingly.
Once built, install baseboards, caulk and fill any gaps and proceed to priming and painting the closet. -
Attach the permanent shelves
-Attach the bottom and top shelf using 1¼” pocket hole screws. The pocket holes face outwards so they are hidden.
-The height of the bottom shelf is determined by the baseboard.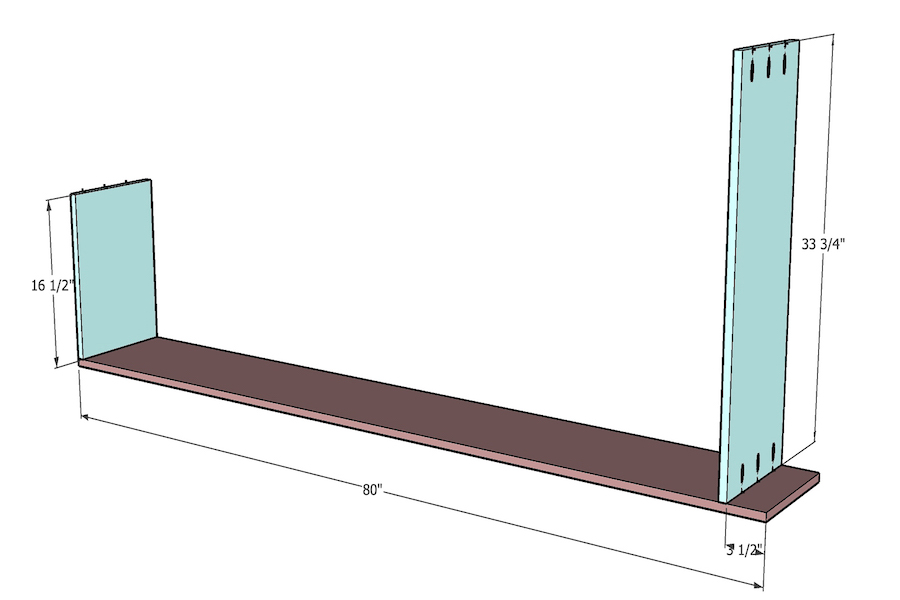
-
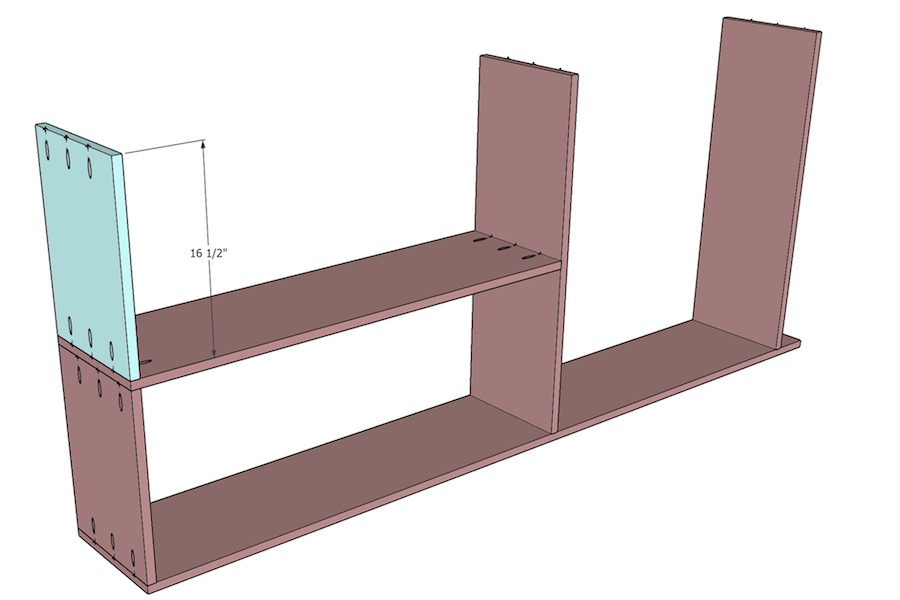
Attach divider to the middle shelf.
Attach the divider to the middle shelf using wood glue and 1 ¼” pocket hole screws.
-
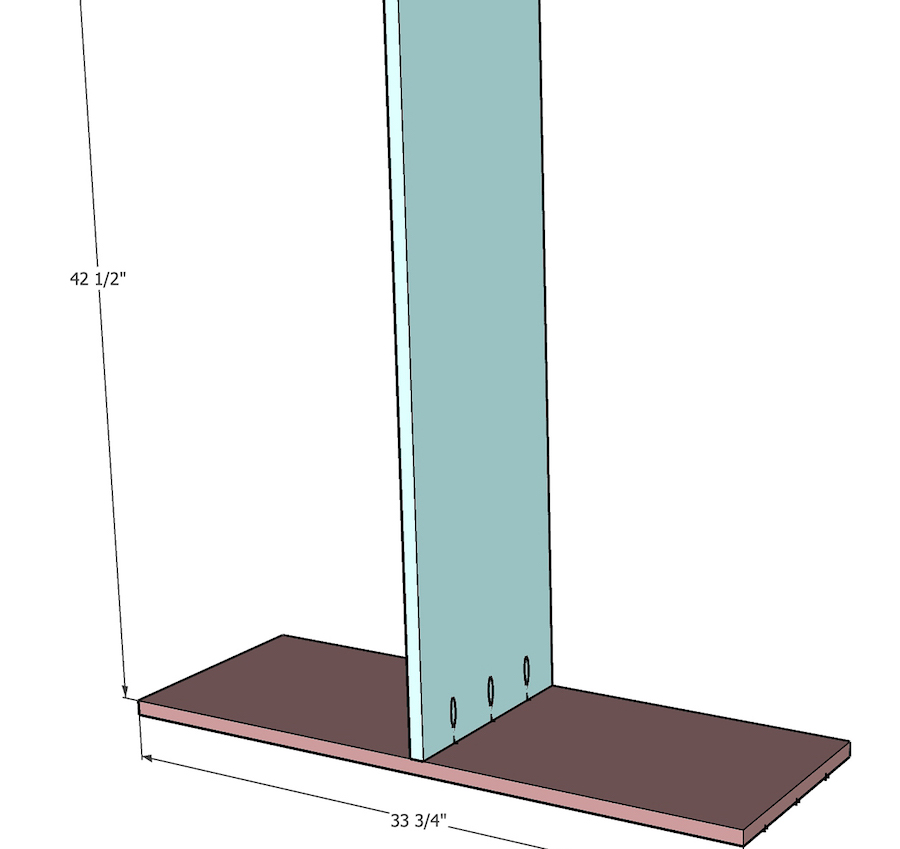
Attach the divider to closet side.
Attach the divider and middle shelf to the side using wood glue and pocket hole screws

-
Attach the small shelf
Attach the second small shelf to the divider using wood glue and pocket hole screws.
-
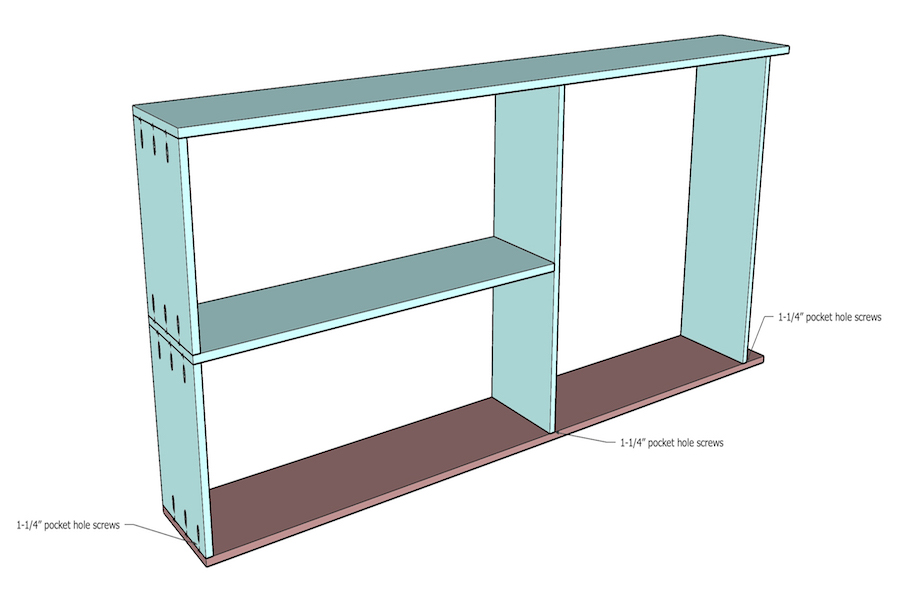
Attach the other side
Turn the entire structure over onto the other side and attach using wood glue and pocket hole screws.
-
Attach the cleats
-Attach the short cleats to the back of the organizer with wood glue and pocket hole screws.
-The pocket hole screws are on the outside so they are hidden once the organizer is installed in the closet.
-This is the perfect time to use the shelf pin jig to make the shelf pin holes.
-
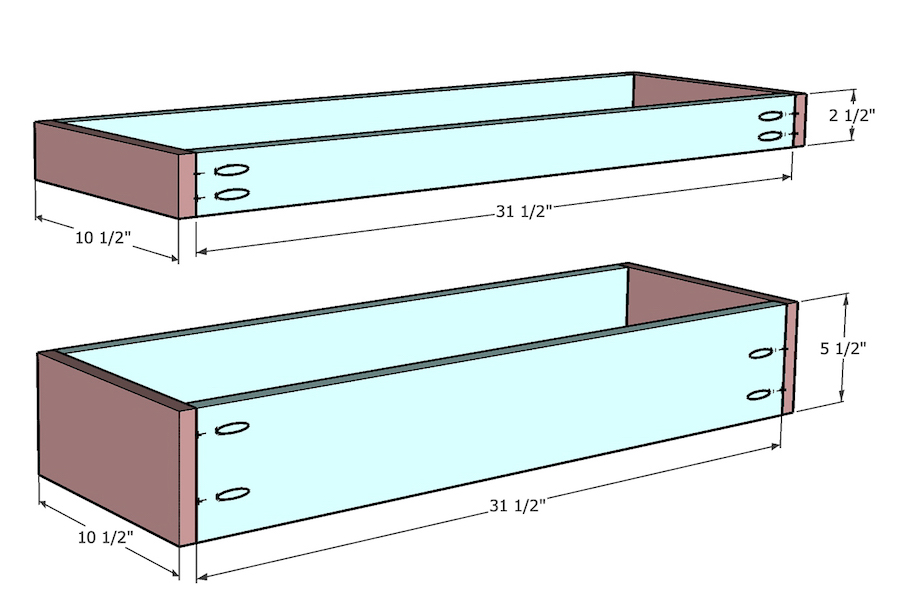
Build drawers
-Build the drawer boxes as shown below
-There are total 5 boxes - Two built using 1x3 boards and 3 built using 1x6 boards.
-The drawer box can be built in two ways - either with the bottom sitting in a dado groove or on the outside.
-Install the drawer slides and ensure it works.
-Install the drawer fronts.Tip:
Overall drawer size may vary depending on slides used.
-
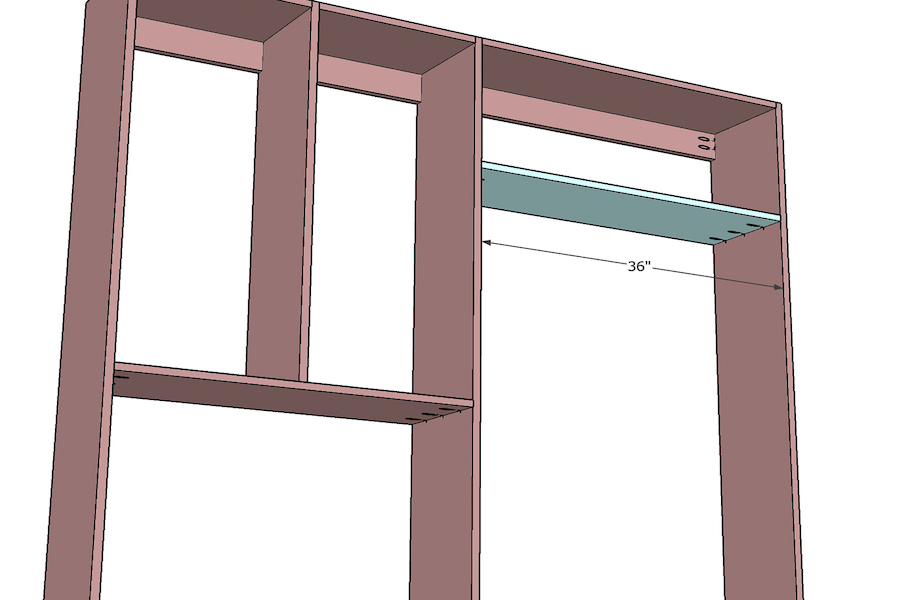
Build other side of the closet
-Attach the long shelf and long cleat to each other using pocket hole screws and wood glue.
-Attach this to the side.
-The pocket holes that attach to the shelf face outwards but the pocket holes attaching to the side face inside.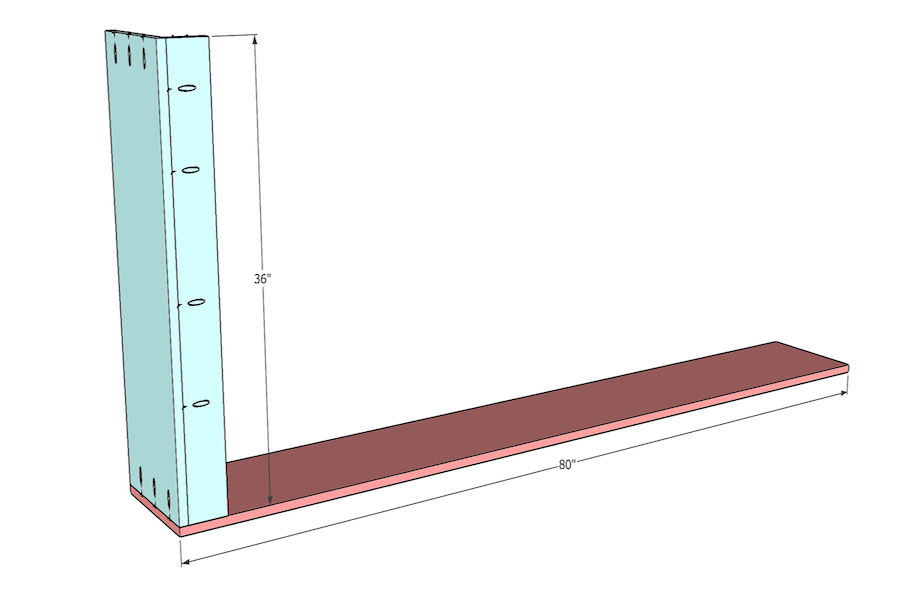
-
Attach to the closet
-Attach the closet organizer built in step 7 to the wall using 3” screws into studs through the cleats.
-Attach the second organizer side to the first side using pocket hole screws.
-Once attached, use 3” screws and attach the cleat to studs in the wall.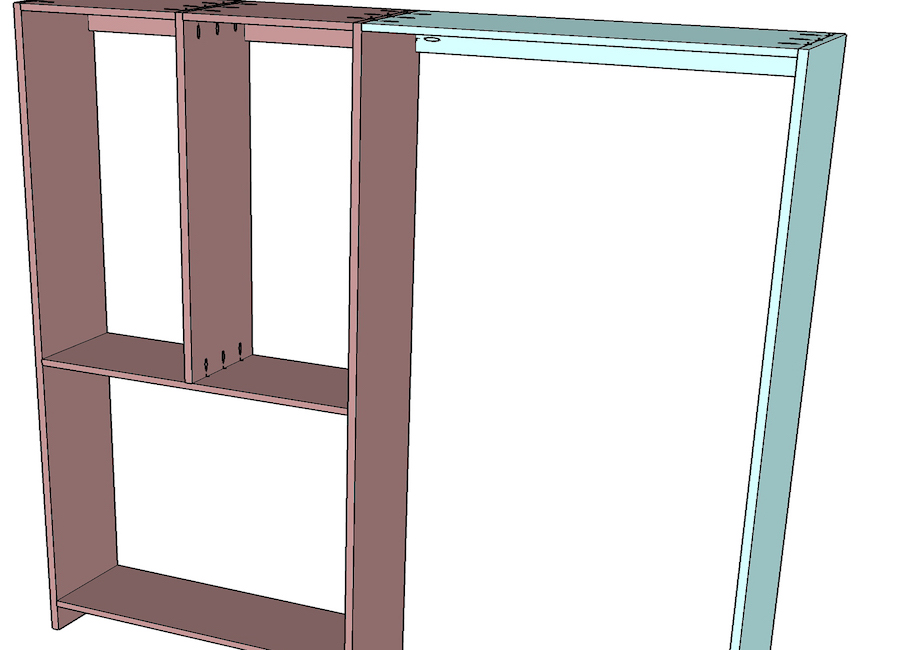
-
Attach second shelf
Attach a second long permanent shelf to the right side of the organizer using pocket hole screws.
-
Install drawer and hardware
Install the drawer front, add the shelving and the closet rods to complete the closet.
See more on Anika’s blog post here: https://www.anikasdiylife.com/diy-closet-organizer-with-drawers/
See the video for this project here: https://youtu.be/P8nnAE6Z12E