

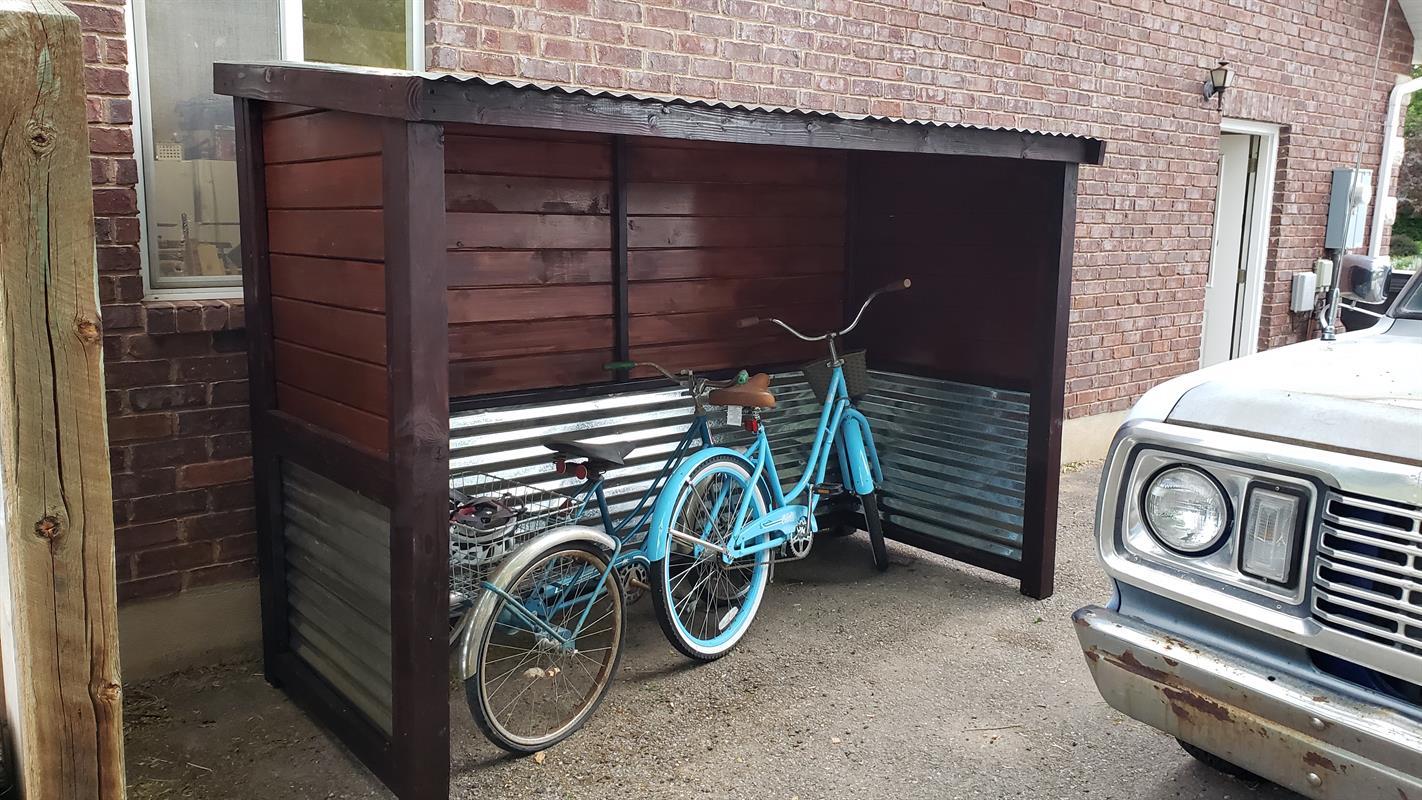


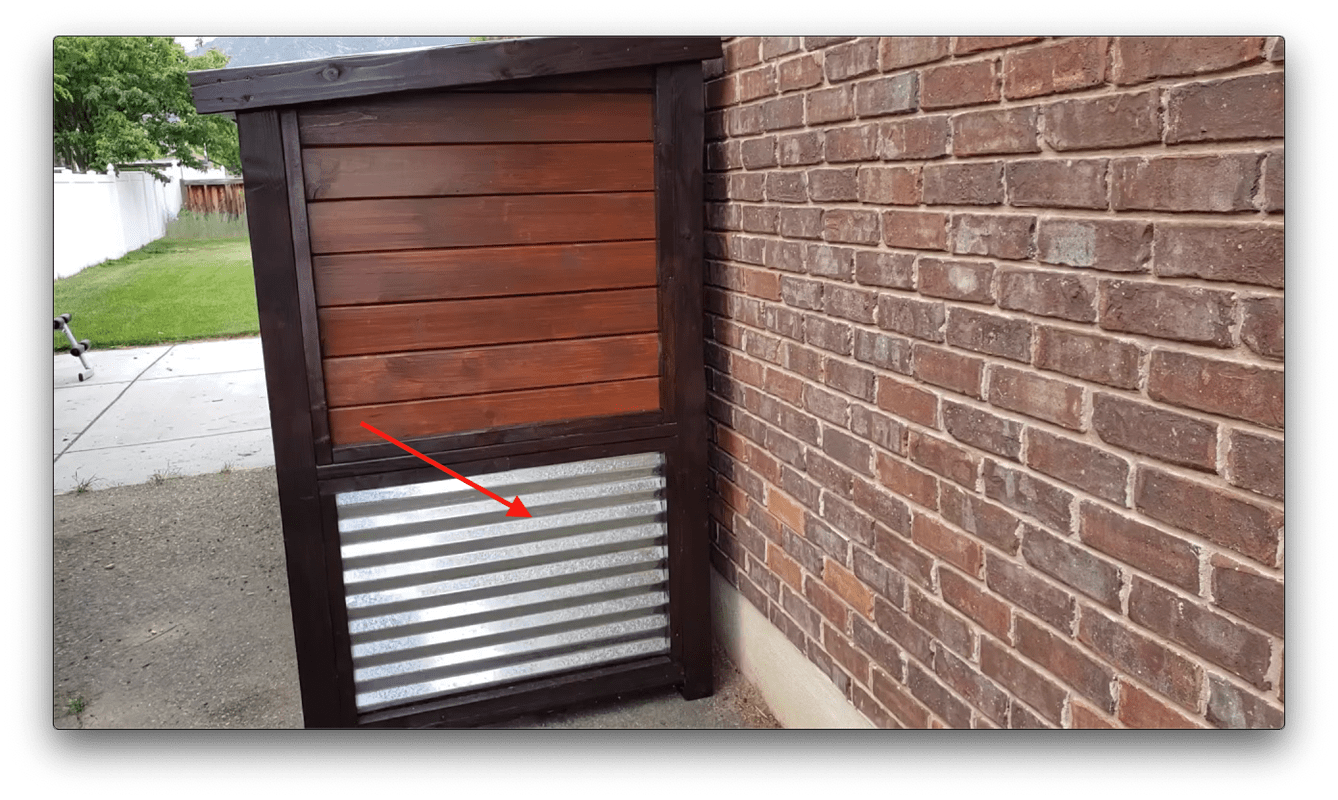
This plan covers the steps for building a bicycle shelter or shed using common building materials.
Tools
Kreg Tools


Other Tools
-
Miter Saw

-
Square
-
Tape Measure
-
Clamps
-
Hammer
-
Nail Gun
-
Sawhorse
-
Tape Measure
Materials
Wood Products
- 2 Board , 4x4 , 12 ft
- 16 Board , 1x6 , 96"
- 9 Board , 2x4 , 96"
- 12 Board , 2x2 , 96"
Hardware & Supplies
- 4 27" x 8' Corrugated Panel
- 1 Box 1" Kreg Pocket Hole Screws
- 1 Box 2.5" Kreg Pocket Hole Screws
- 1 Box 1" Brad Nails
Cut List & Parts
- 2 Back Legs , 4"x4"x6'
- 2 Front Legs , 4"x4"x5'8"
- 3 Back Cross Braces , 2"x4"x8'
- 1 Back Center Brace , 2"x4"x38.5"
- 1 Back Corrugated Panel , 27"x8'
- 16 Back Wall Slats , 1"x6"x47.25"
- 2 Back Bottom Horizontal Nailing Boards , 2"x2"x8'
- 3 Back Bottom Vertical Nailing Boards , 2"x2"x24"
- 4 Back Top Vertical Nailing Boards , 2"x2"x38.5"
- 4 Side Cross Braces , 2"x4"x36"
- 4 Side Bottom Horizontal Nailing Boards , 2"x2"x36"
- 4 Side Bottom Vertical Nailing Boards , 2"x2"x24"
- 4 Side Top Vertical Nailing Boards , 2"x2"x38.5"
- 2 Rafter Beams , 2"x4"x48"
- 1 Ledger Board , 2"x4"103"
- 2 Side Corrugated Panel , 27"x36"
- 16 Side Wall Slats , 1"x6"x36"


Directions
-
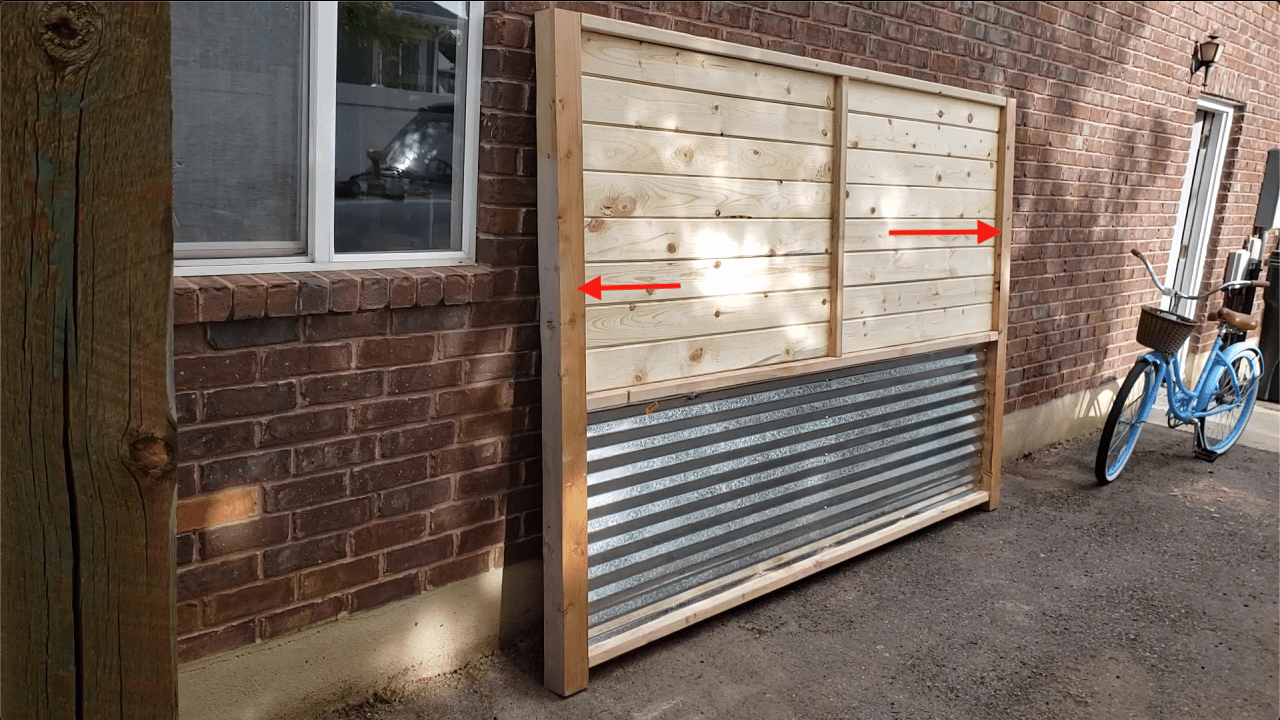
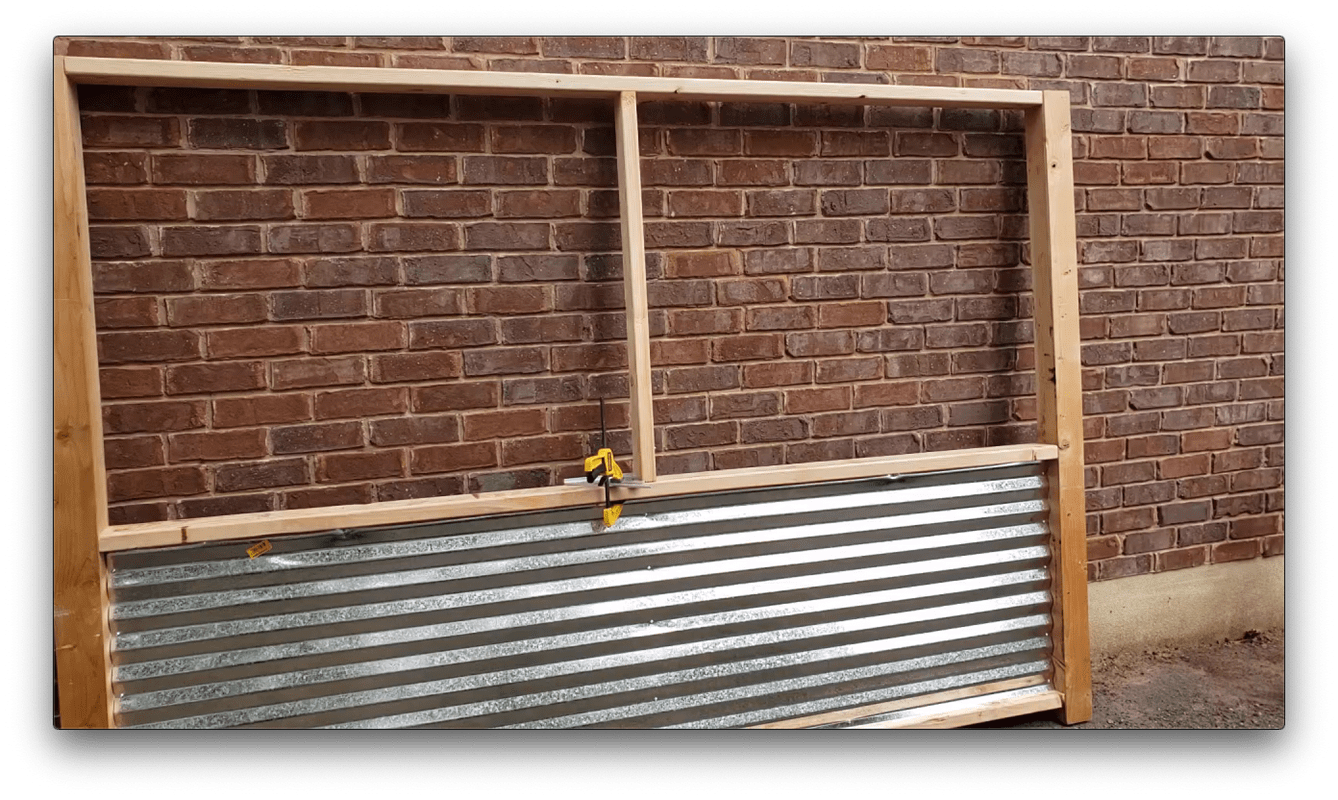
Build Back Wall Frame
1. Cut 4"x4" back wall legs to 6' in length
2. Drill pocket holes in both ends of each 2"x4"x8' cross brace
3. Attach a cross brace to each leg (2" from the bottom) using 2.5" Kreg Pocket Hole Screws.
4. Attach a 2nd cross brace 27" above the top of the lower cross brace (there should be 27" between the 2 cross braces).
5. Attach the remaining cross brace flush with the top of the legs.Hint: Do not attach corrugated panel (like I did) before staining frame.
-
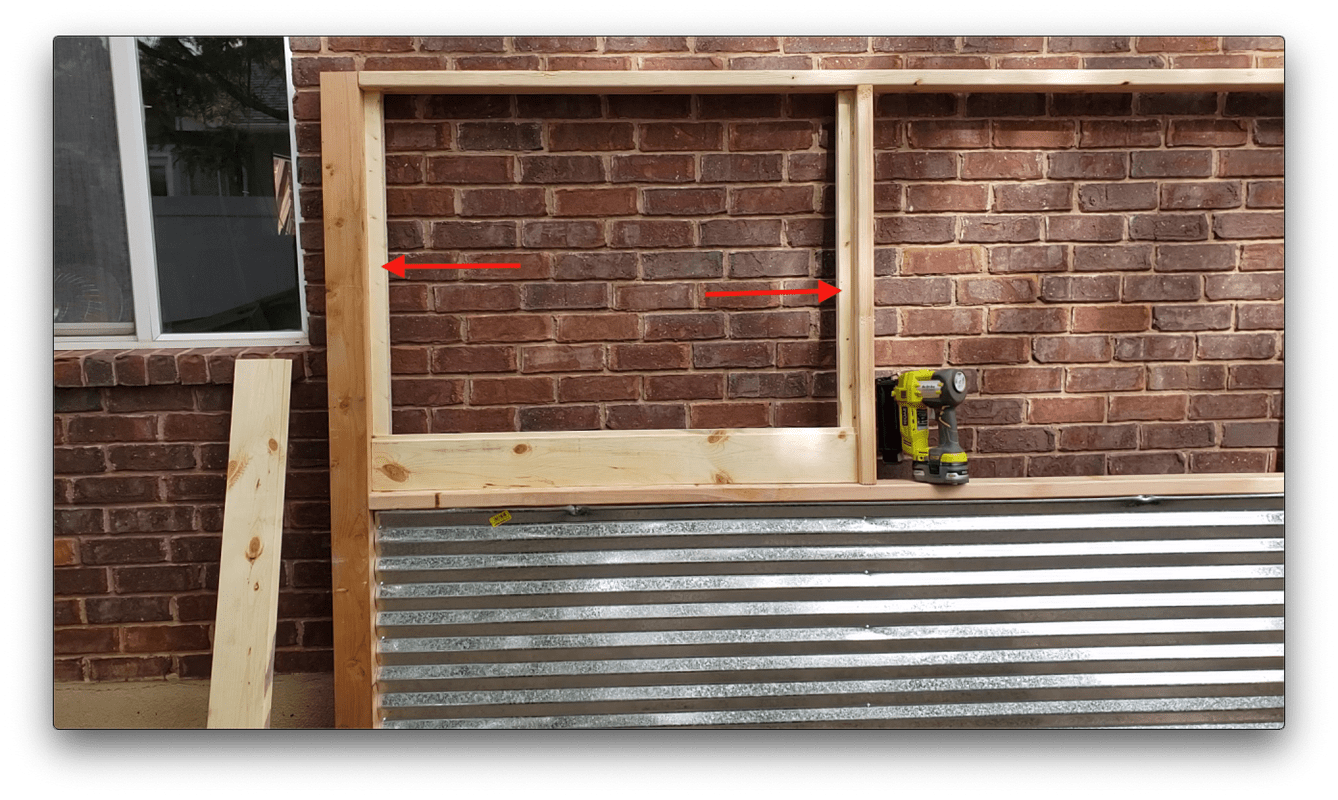
Add Back Wall Nailing Boards
1. Attach 2"x2"x8' bottom horizontal nailing boards to the bottom of the center cross brace and the top of the lower cross brace.
2. Attach 2"x2"x24" bottom vertical nailing boards to the legs, between the 2 horizontal nailing boards, and the 3rd 24" vertical nailing board in the center.
3. Attach 2"x2"x38.5" top vertical nailing boards to the inside of each leg and to both sides of the center brace.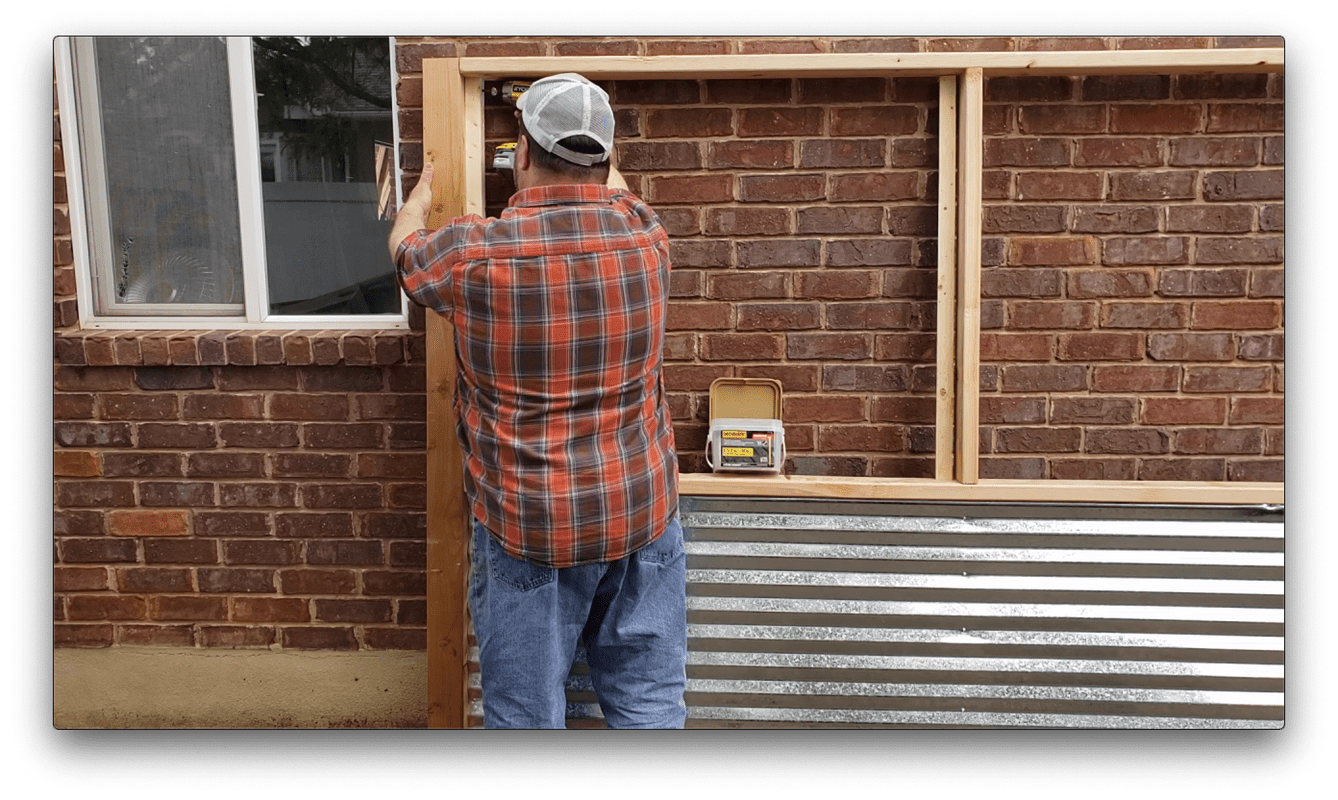
-
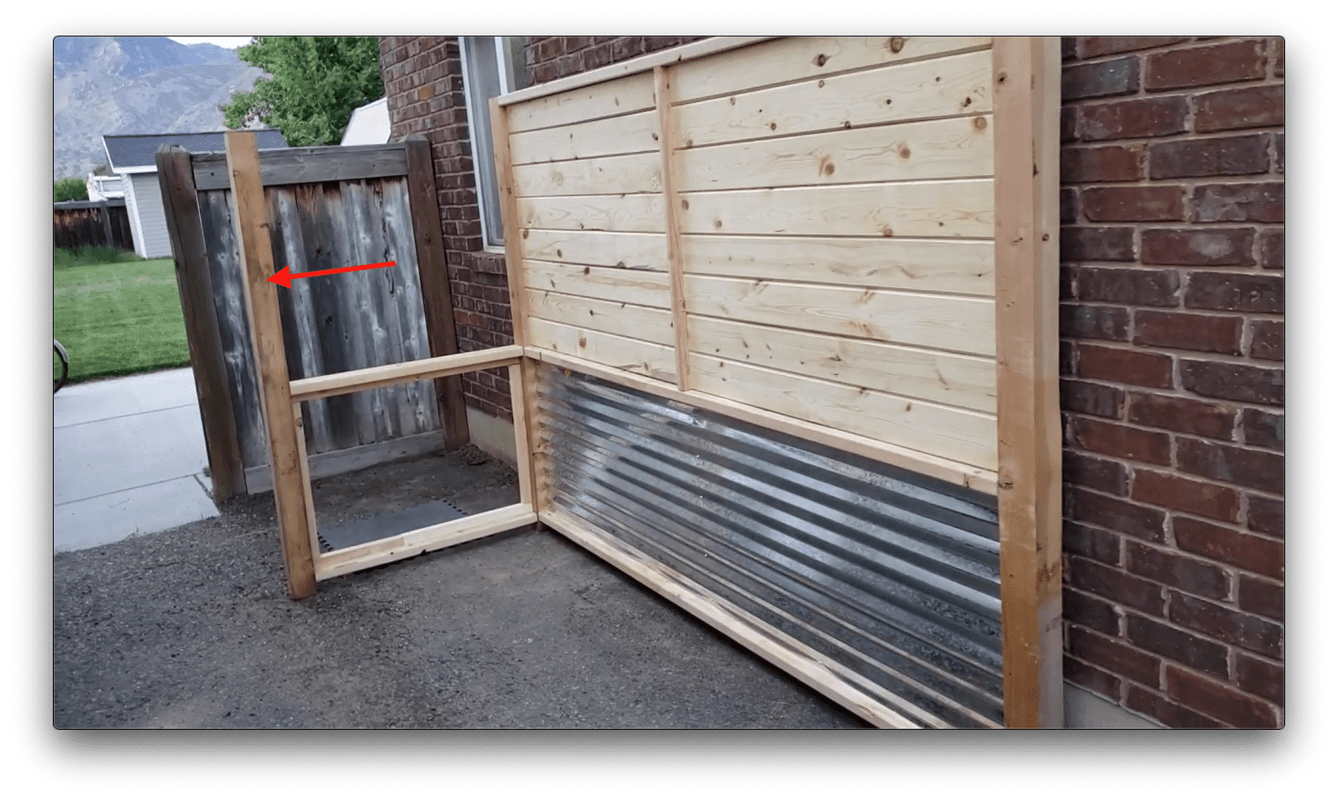
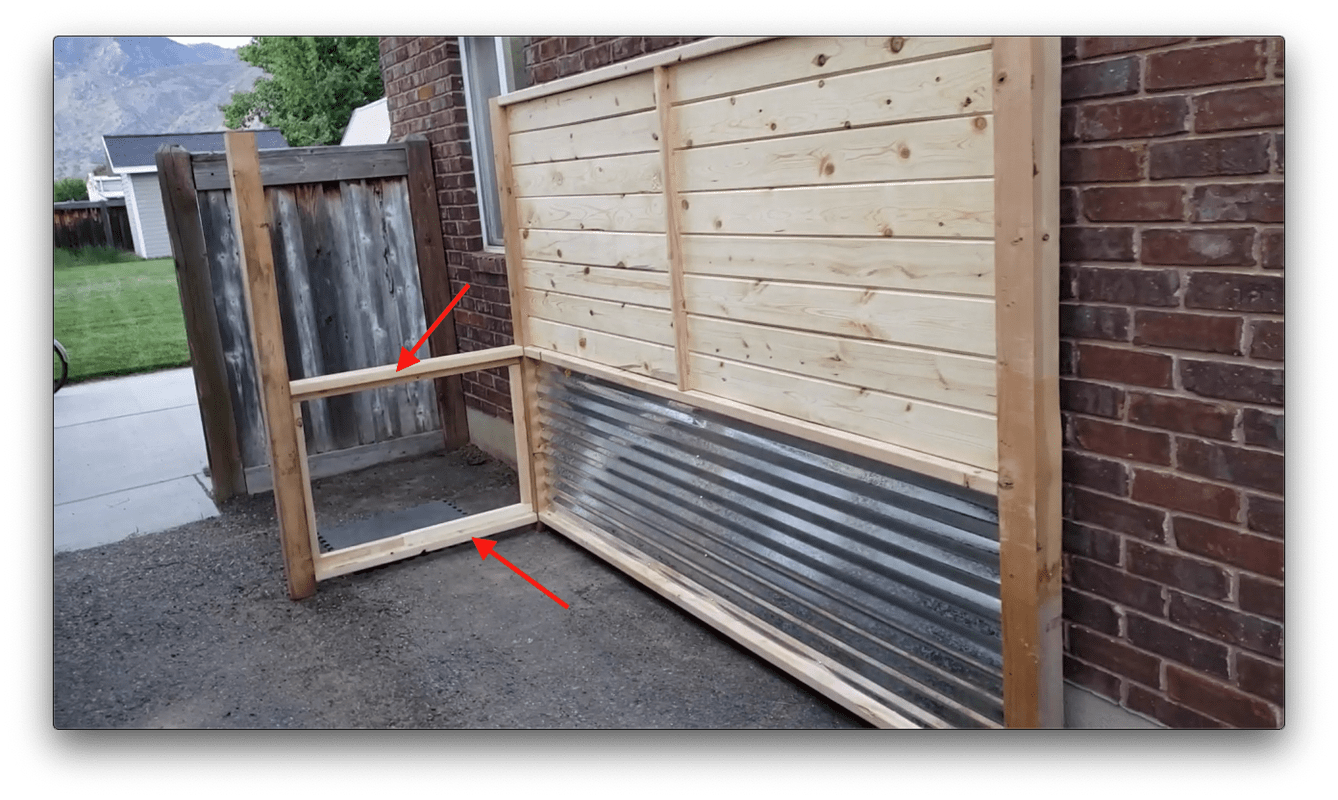
Build Side Wall Frame
1. Drill pocket holes in each end of the 2"x4"x36" side cross braces.
2. Attach the 5'8" front legs to the back wall frame with the 36" side cross braces. Attach at the same location off the ground as the lower and center cross braces of the back wall. (Attach using 2.5" Kreg Pocket Hole screws)
3. Attach 2"x2"side nailing boards to both top and bottom sections.
(Horizontal=36" long, Vertical=24" long)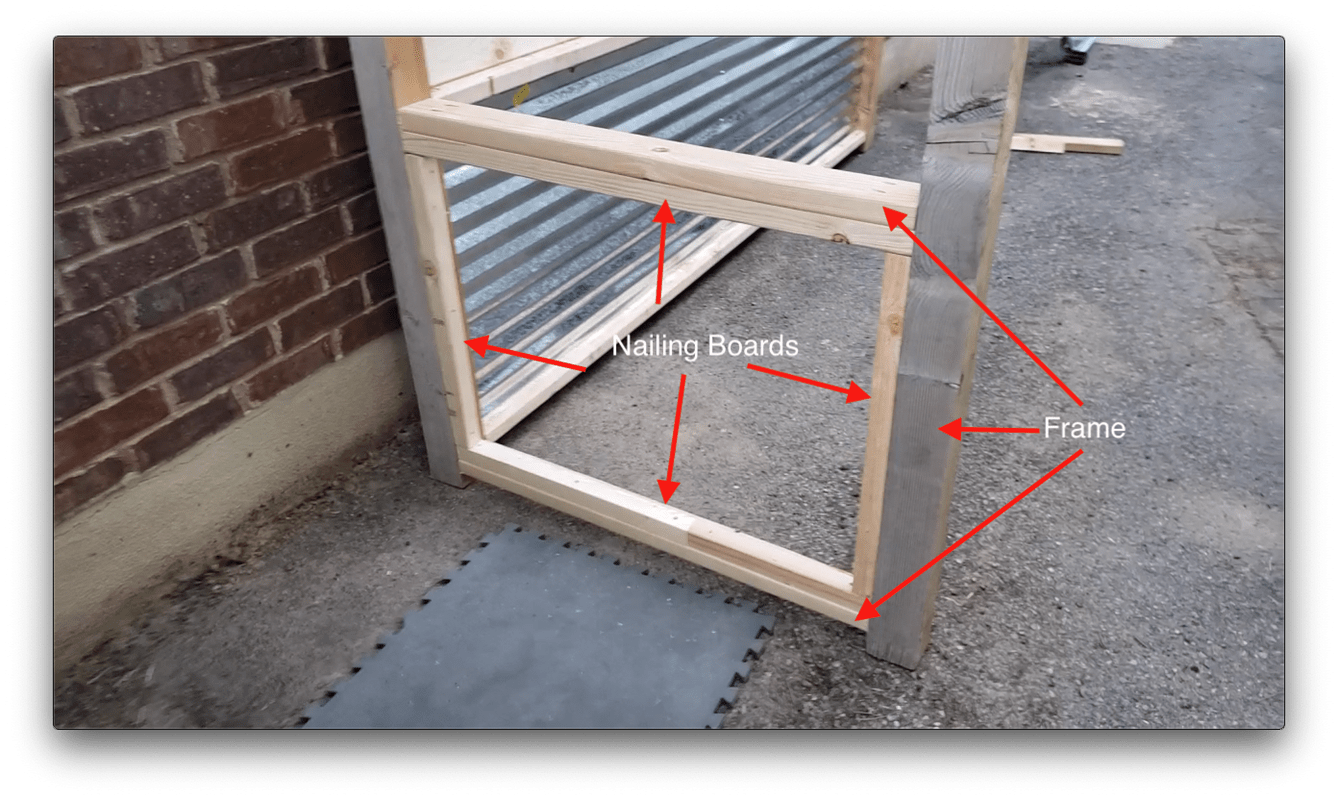
-
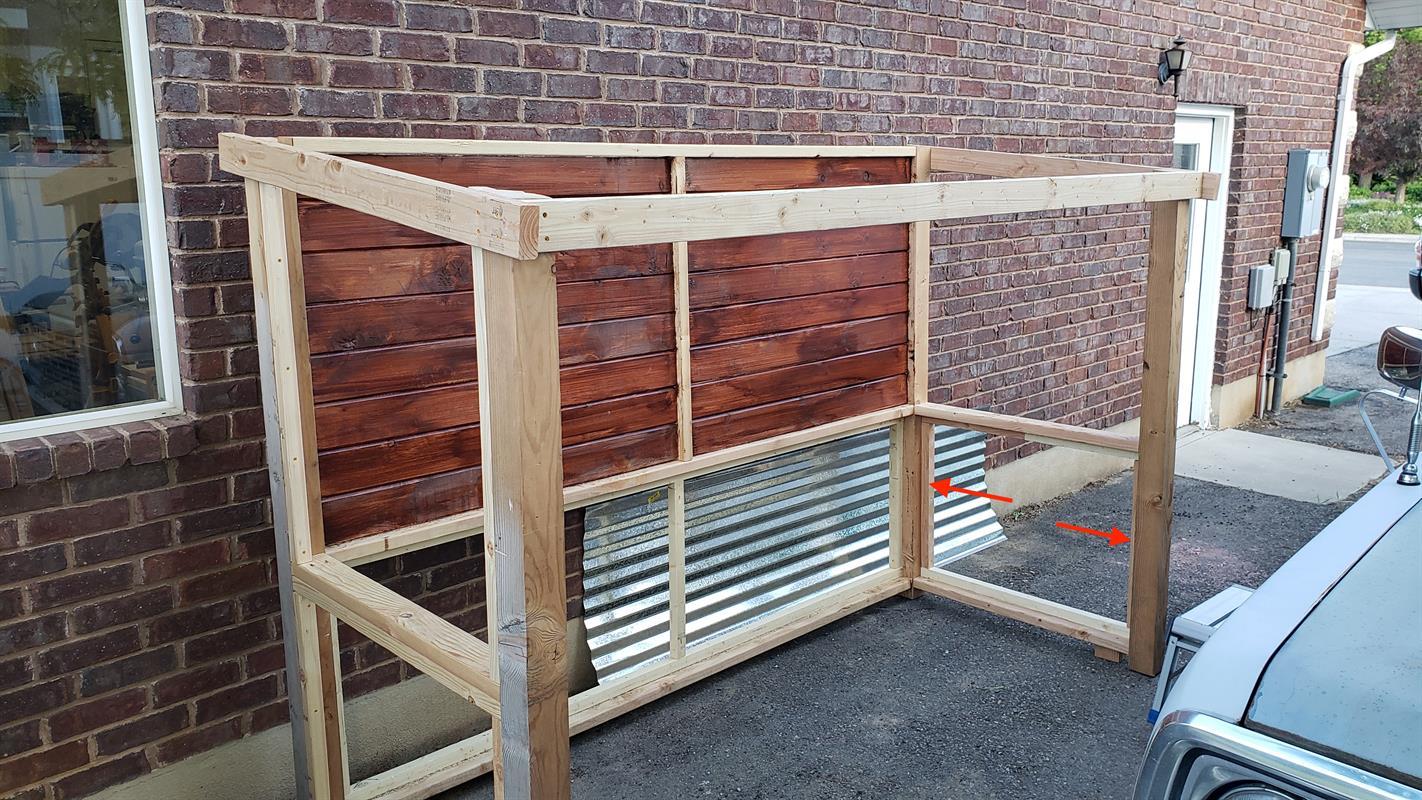
Add Rafter Boards
1. cut 2ea. 2"x4"x48" rafter boards.
2. (Optional) cut a 9 degree taper (back to front) on each leg.
3. Attach the rafter boards to the outside and flush with the highest point of the legs, leaving a 2" overhang at the back of the back wall.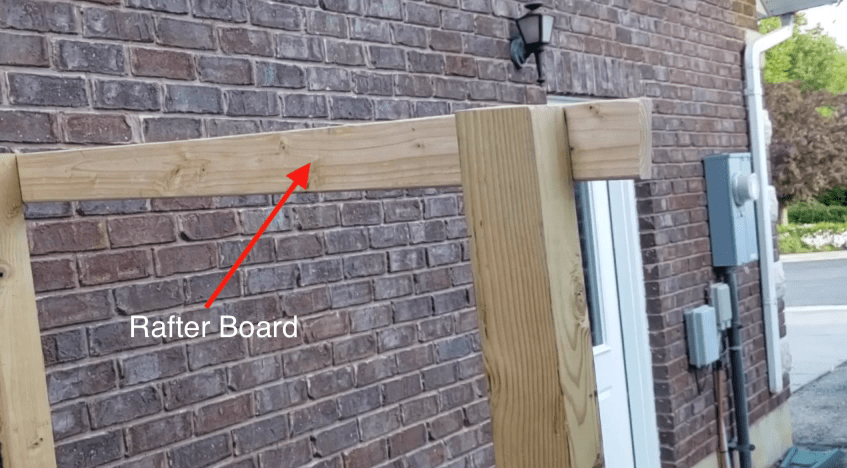
-
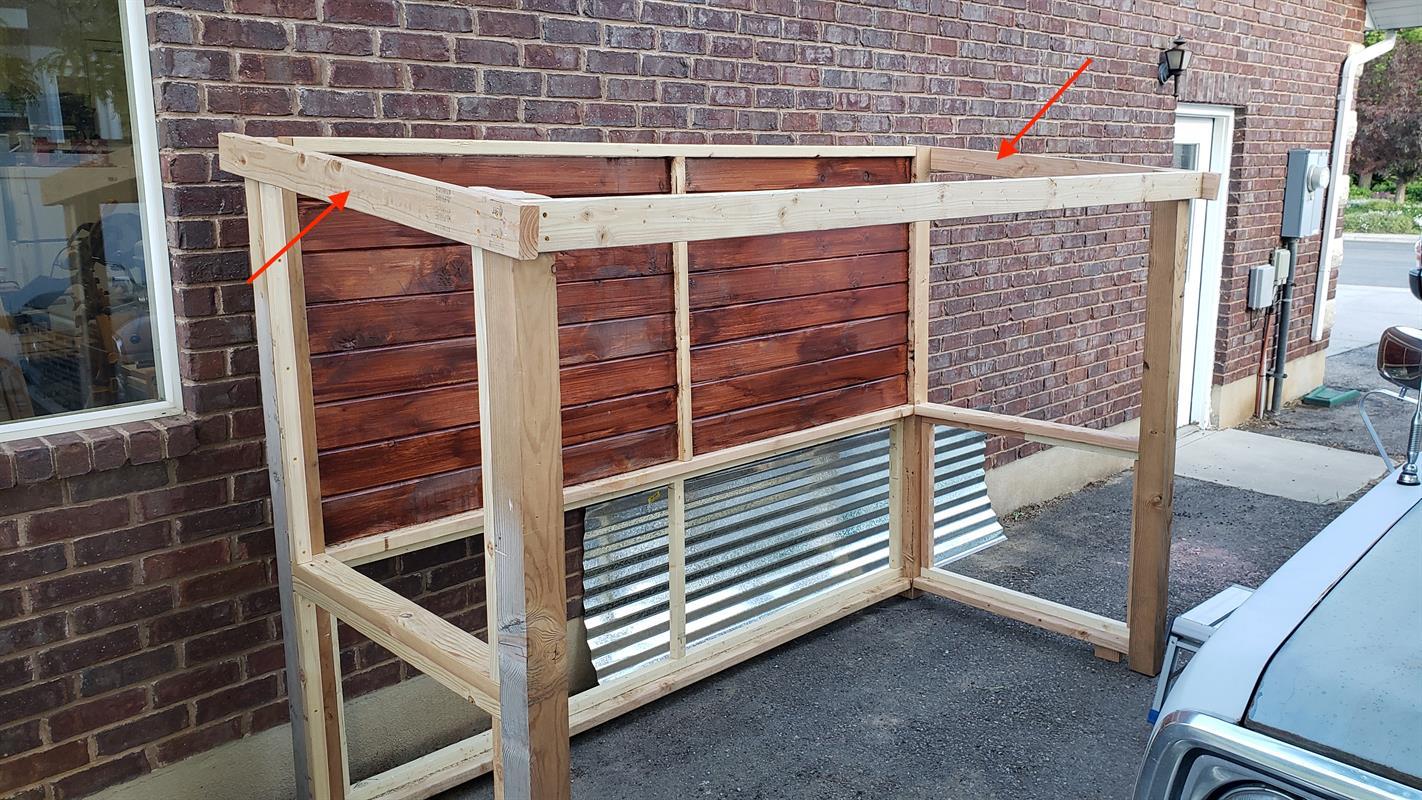
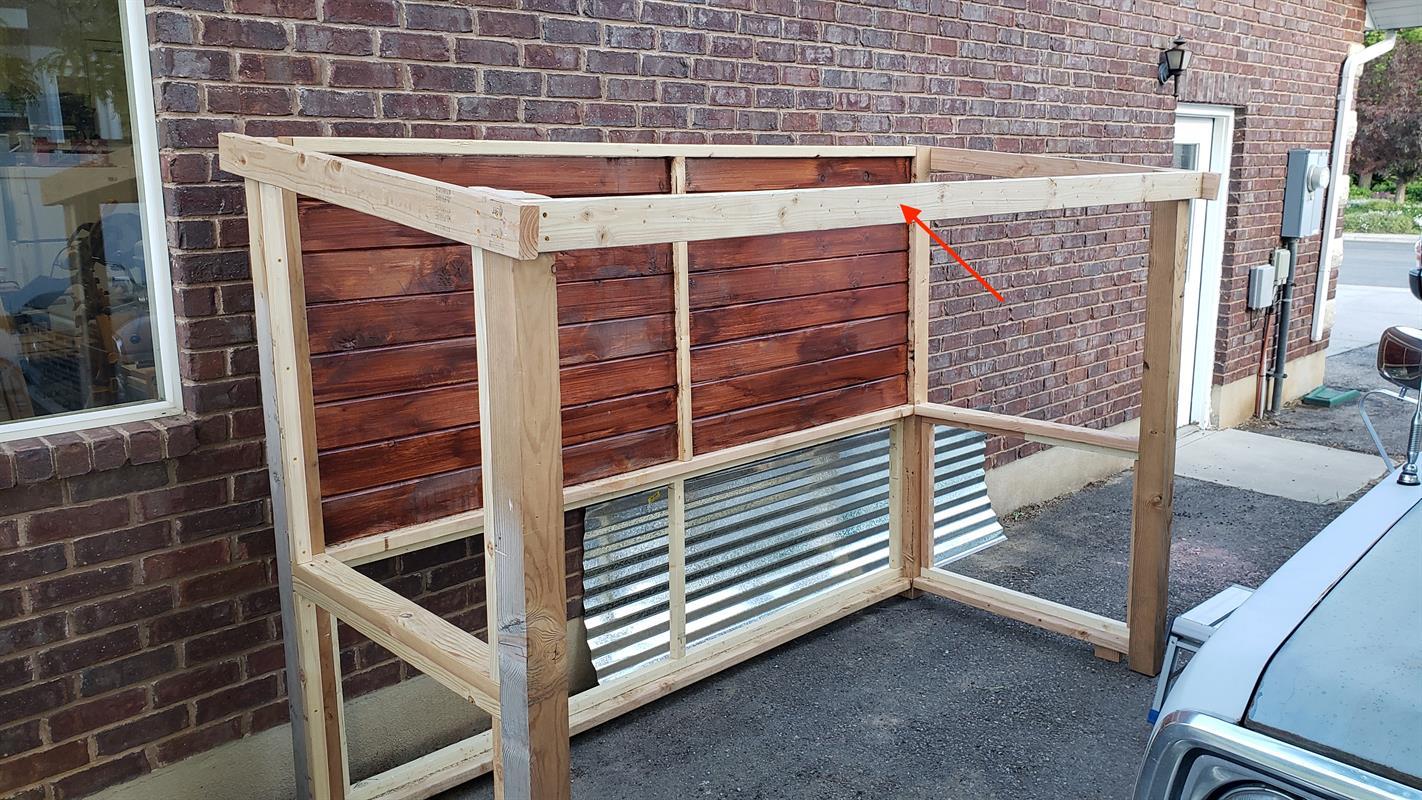
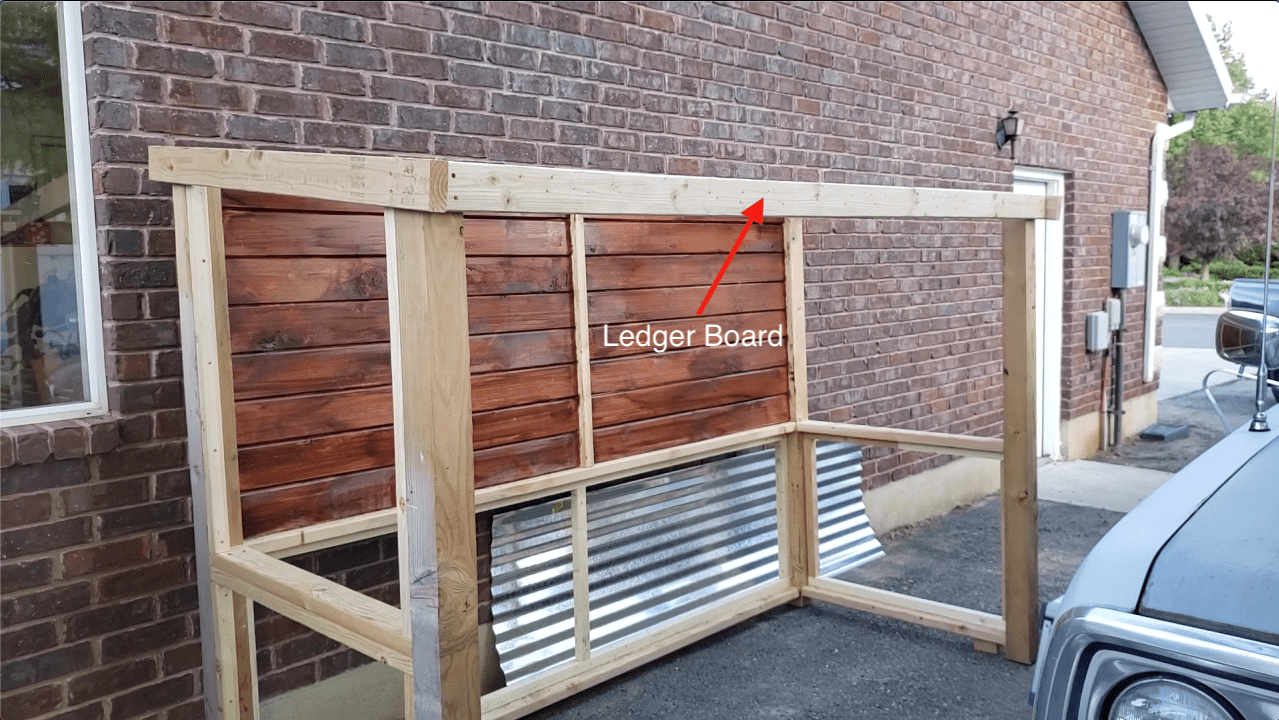
Attach Front Ledger Board
1. Cut the 2"x4" ledger board to a length of 103" (I cut mine from 9' studs)
2. Attach the ledger board to the front legs, just below the top of the front legs, flush with the top of the rafters. (I used 2.5" deck screws)Hint: Do not attach slats (like I did) before staining frame.
-
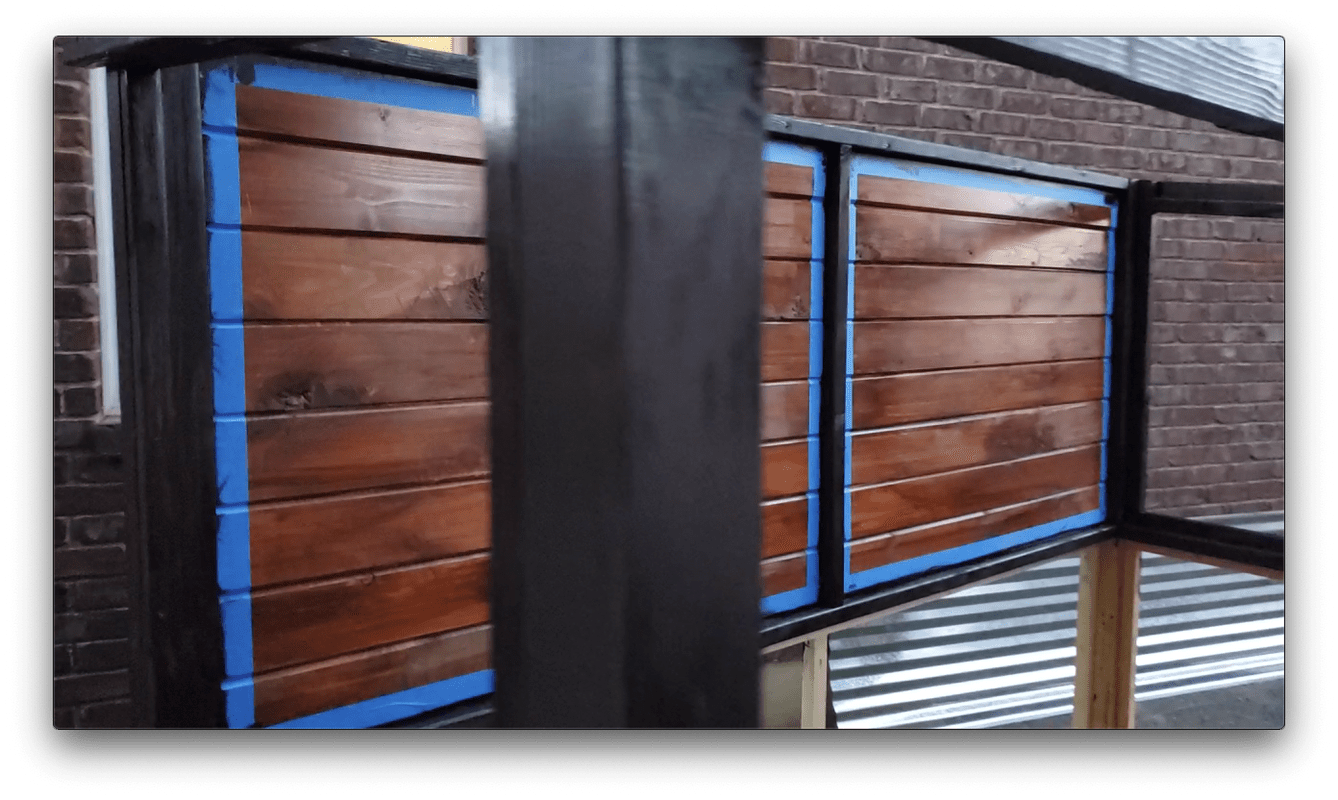
Stain Shed Frame
1. Stain the shed frame (including the nailing boards, rafters and ledger board). I used a Black Cherry stain.
2. Let dry fullyHint: If you attach slats before staining frame (like I did) you will need to tape off the slats prior to applying stain.
-
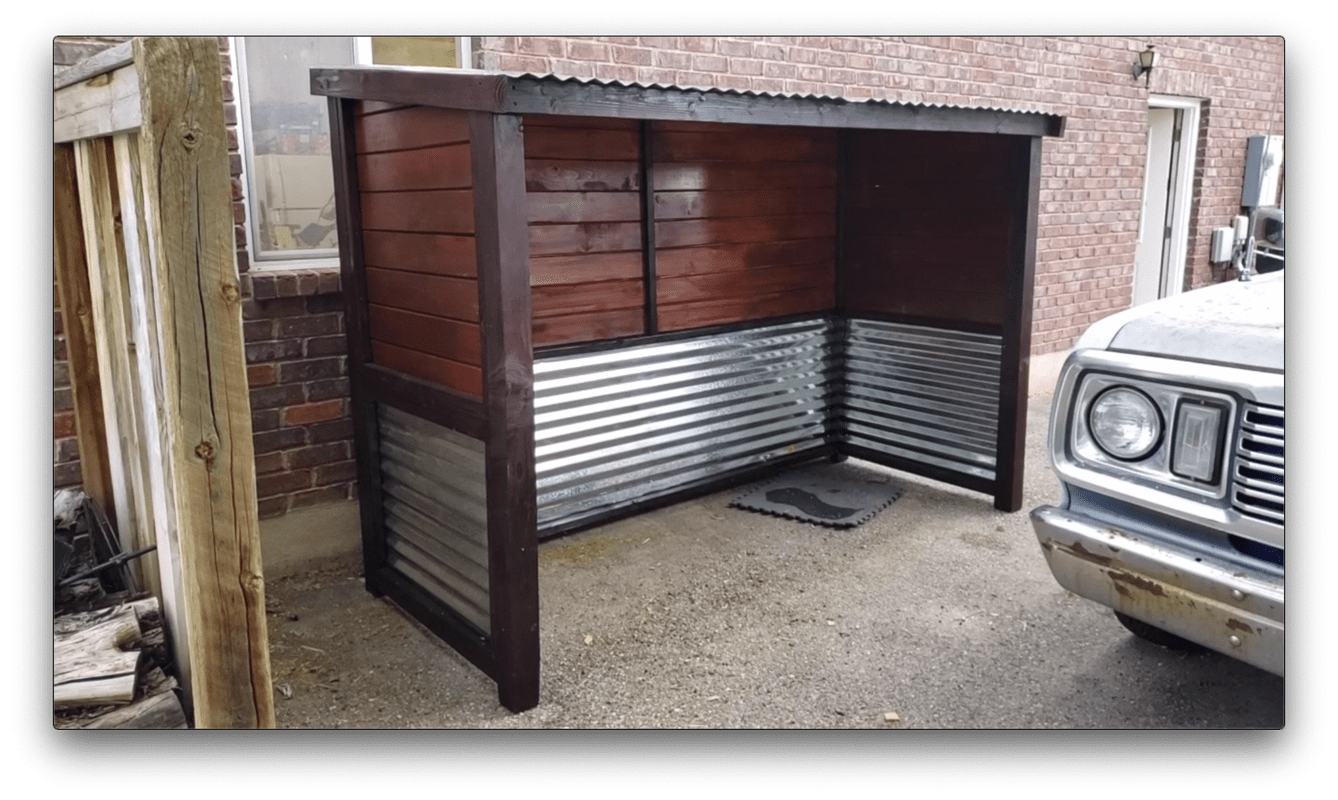
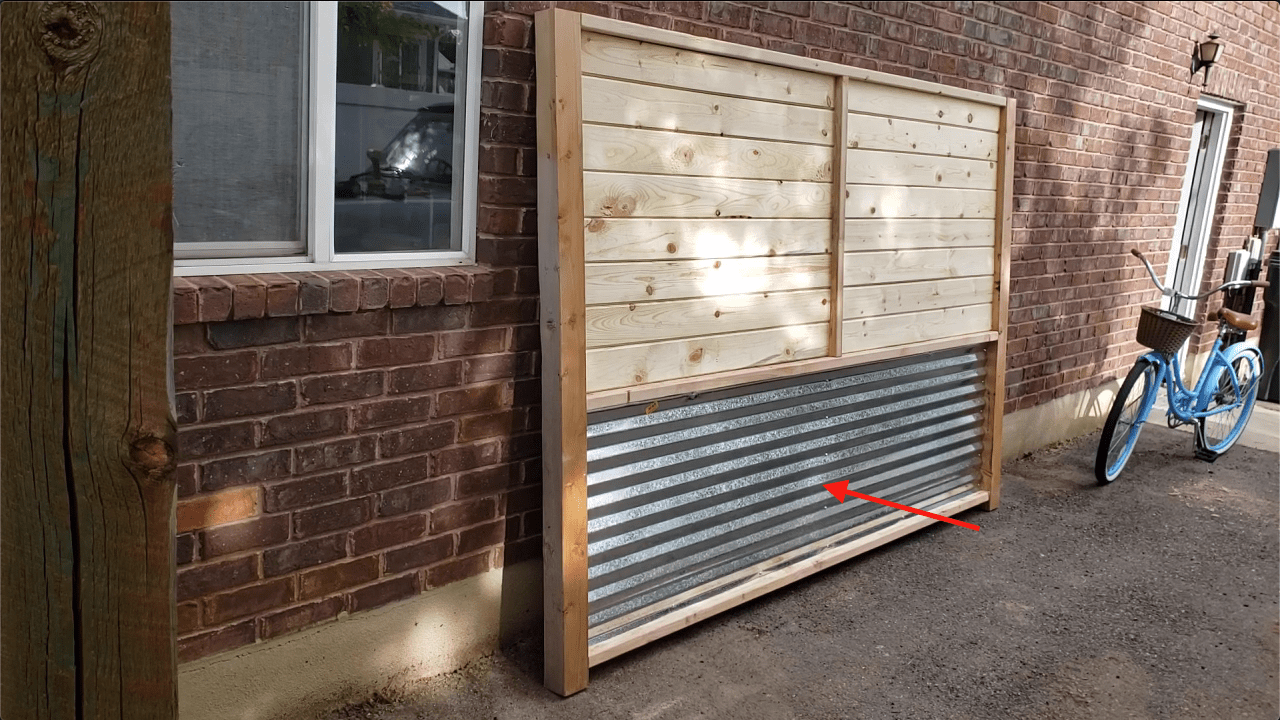
Attach Corrugated Panels
1. From the inside of the frame, attach the 27"x8' corrugated panel to the lower section of the back wall using 1" Kreg Pocket Hole screws. (attach to the nailing boards)
2. Cut 2ea. sections of 27" corrugated panel to 36" in length.
(I used a circular saw)
2. From the inside of the frame, attach each 27"x36" corrugated panel to the lower section of the side walls using 1" Kreg Pocket Hole screws. (attach to the nailing boards)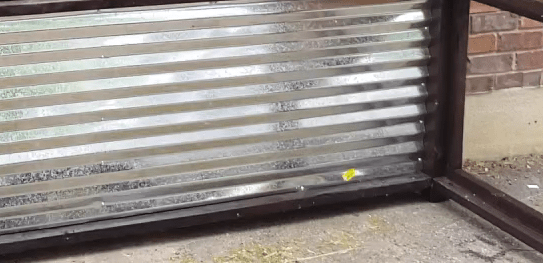
-
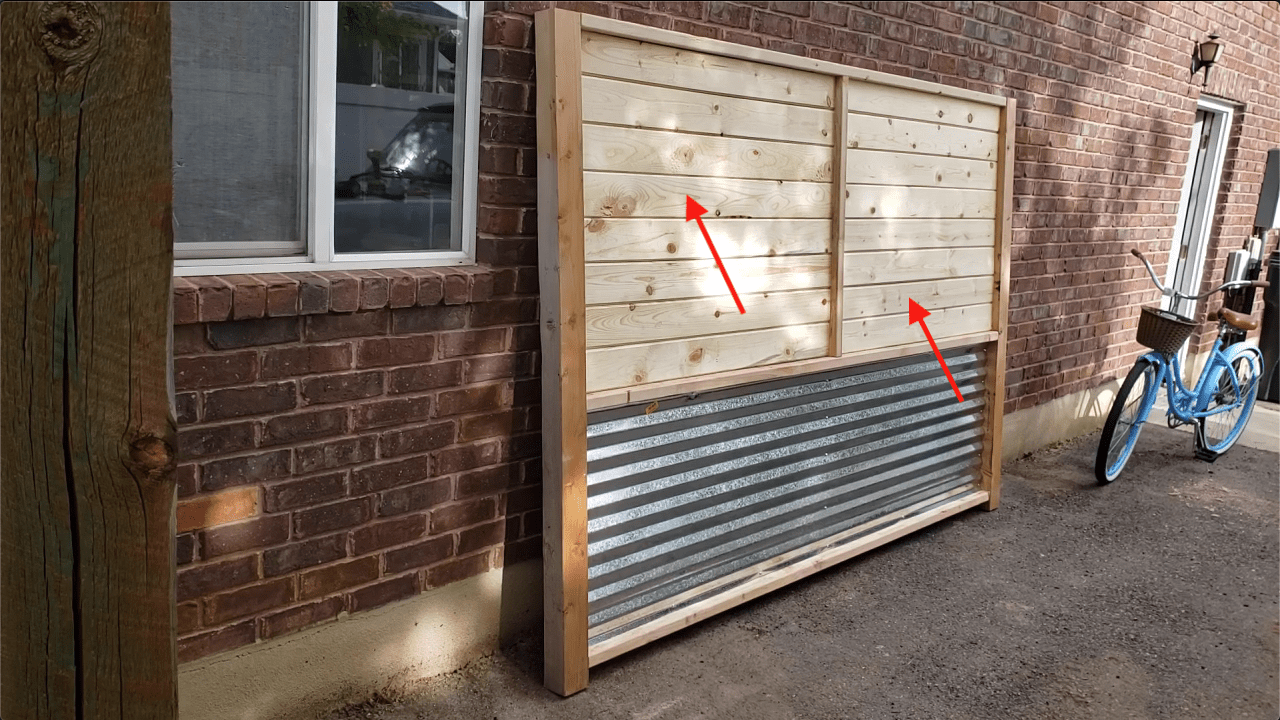
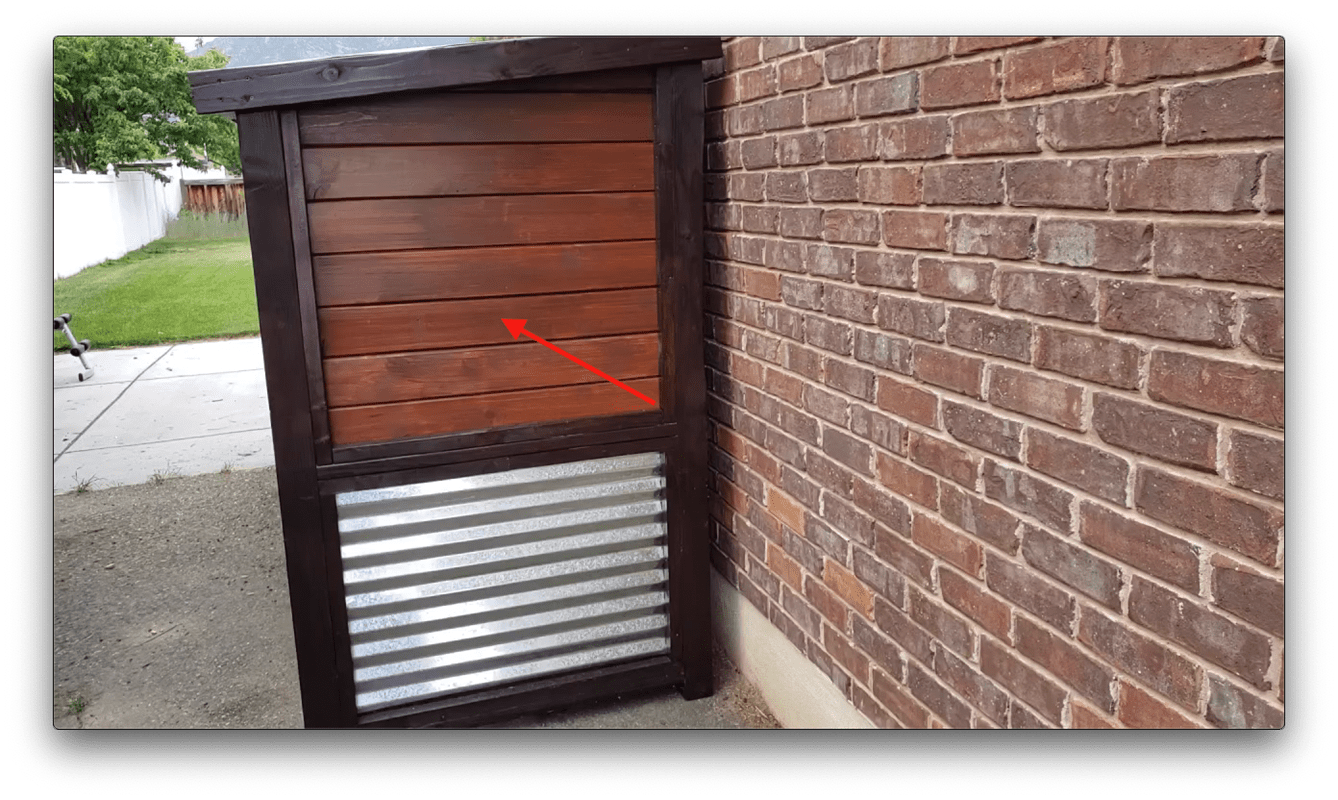
Cut and Stain Wall Slats
1. Cut 16ea. 1"x6" boards to 47.25" in length. (back slats)
(I used 1"x6" pine shiplap)
2. Cut 16ea. 1"x6" boards to 36" in length. (side slats)
2. Stain each of the slats and allow to fully dry.
(I used gunstock stain)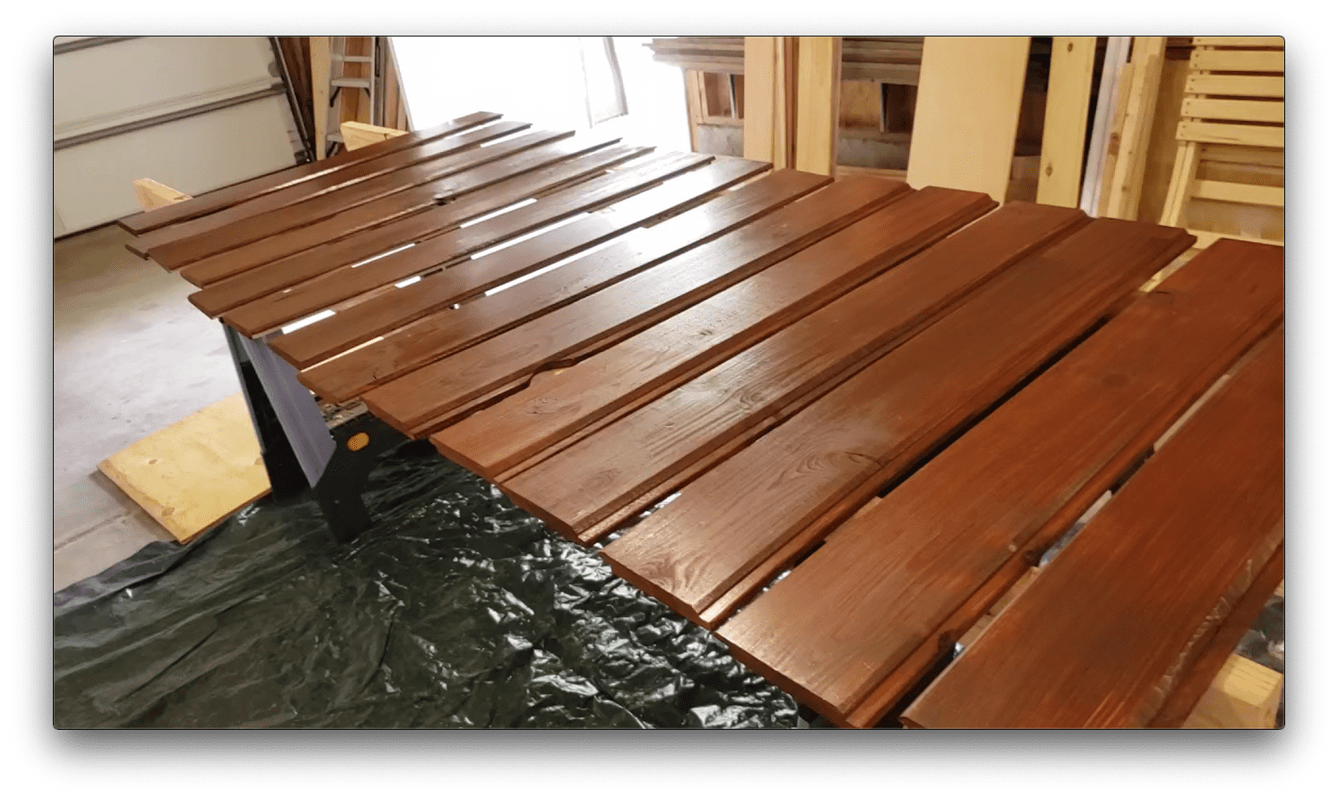
-
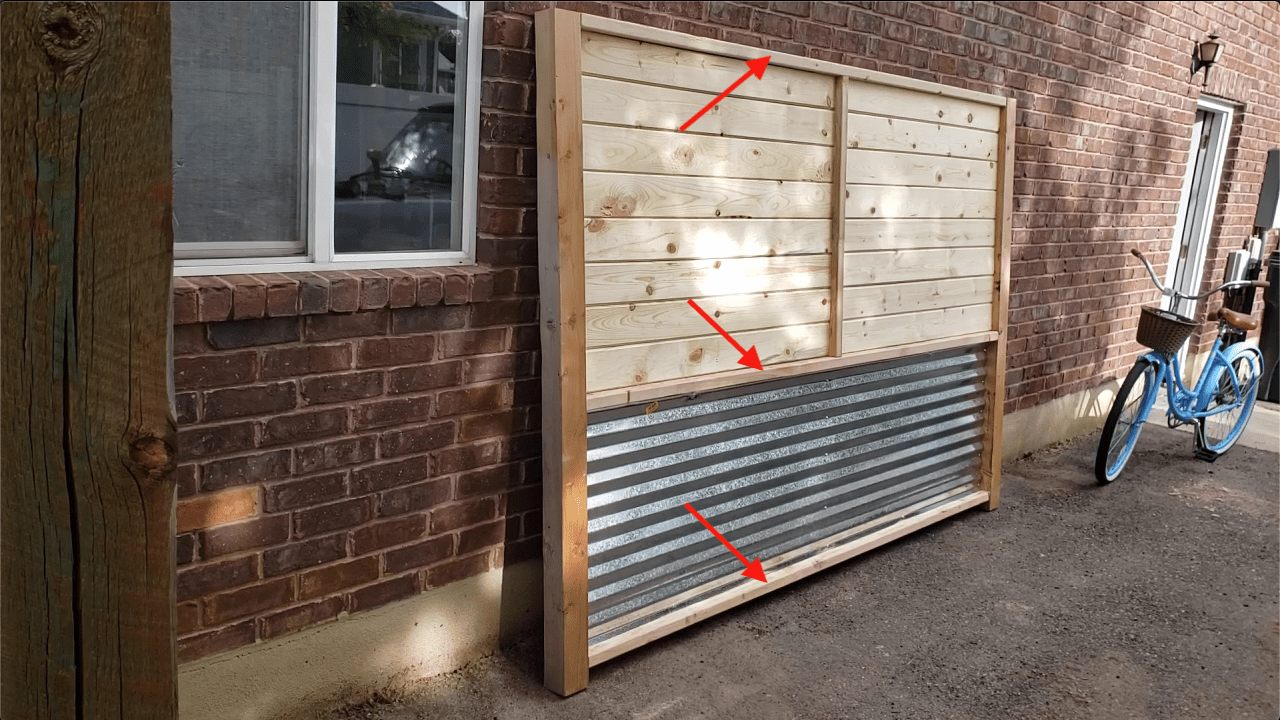
Attach Wall Slats
1. Attach the 47.25 slats to the top vertical nailing boards on the back wall using 1" brad nails. (I used a Ryobi cordless brad nailer)
2. Attach the 36" slats to the top vertical nailing boards on each side wall using 1" brad nails.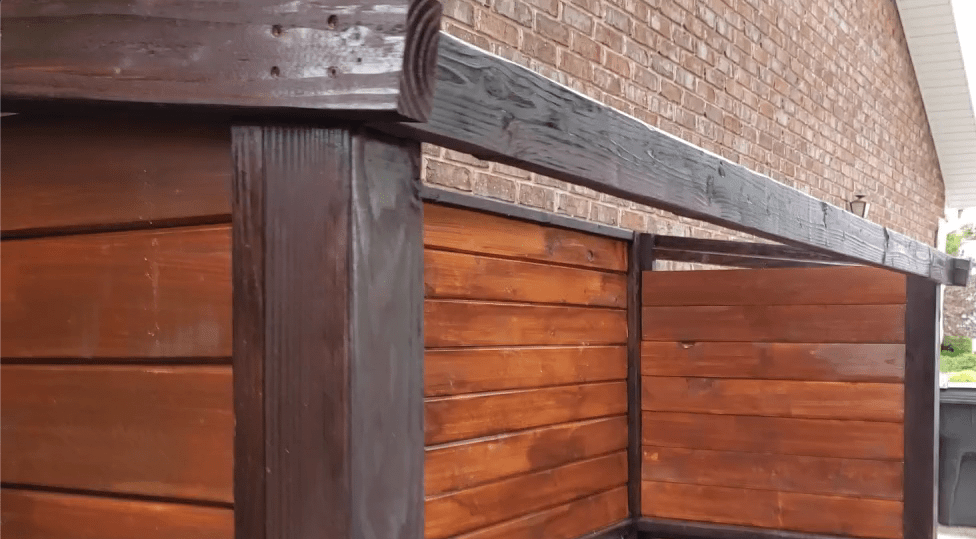
-
Attach Corrugated Roofing
1. Cut 3ea. 27"x8' corrugated panels in half (you should have 6 panels at 27"x48") (only 5 will be used.
2. Attach a roof panel to each side of the roof so that each rafter is completely covered.
3. Find the center of the roof and attach a corrugated panel to the center.
4. Attach the remaining 2 corrugated panels by overlapping the side and center panels.
(I used 1" Kreg Pocket Hole screws to attach each panel)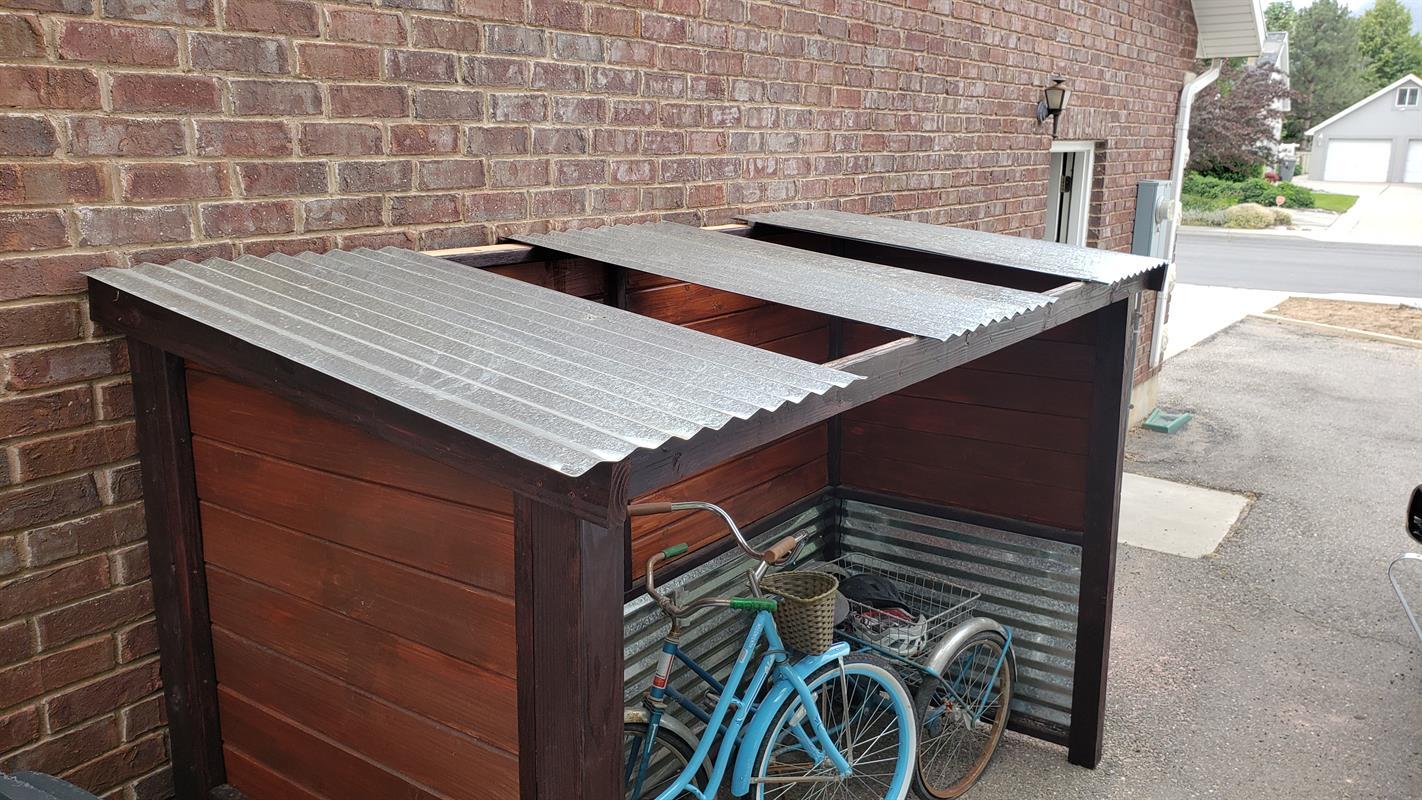
-
Free Video Tutorials
For a video tutorial on how to build this bike shed, there are 2 YouTube videos (part 1 & 2) listed in the Extras section of this plan.